Greetings!
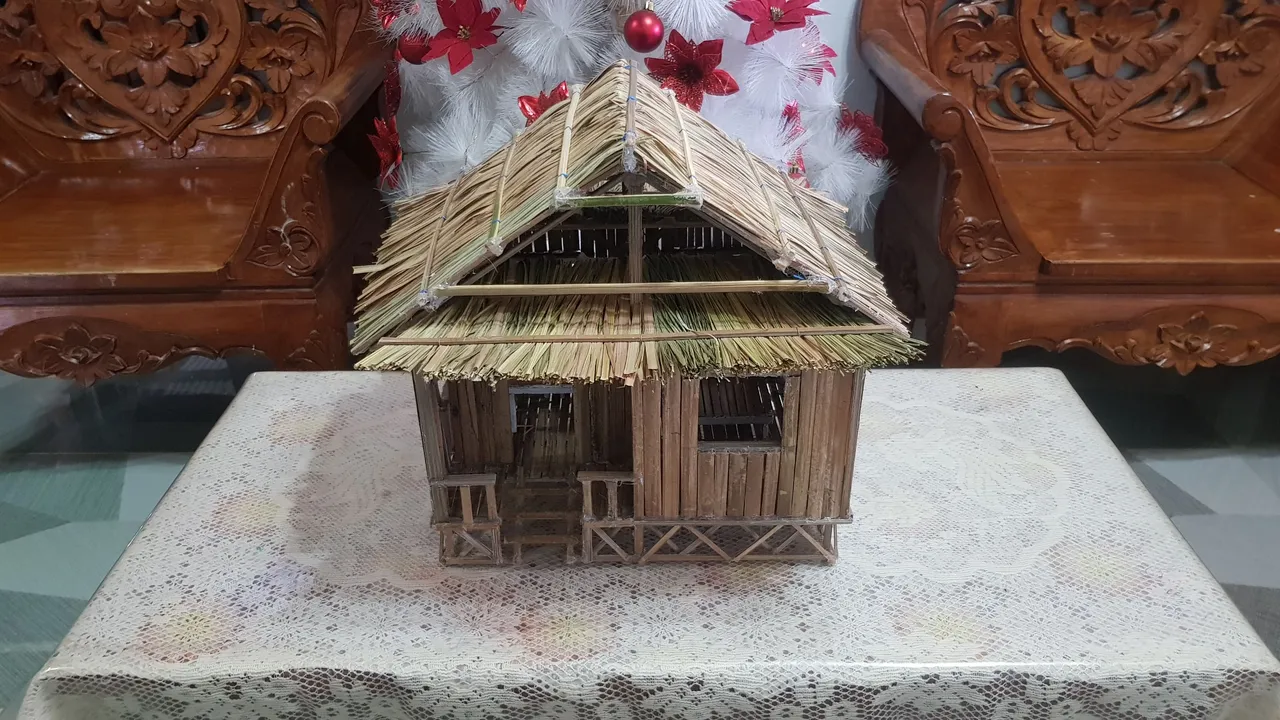
As I come to the conclusion of this series it makes me excited how all the scaled models will look once I put them together. And as I am finishing the last piece of this series which is the Bahay Kubo I decided to make the roof detachable for the sake of using it as a "display" inside our house so that our visitors can see the inside of the Bahay Kubo.
In this way, I could remove all the furniture inside the Bahay Kubo at will or add some in the future and also because I have plans on the scaled models of the furniture that I will be putting inside the Bahay Kubo.
For those who are not aware I started this series by building a scaled model of a Bamboo Chair first, followed by a Bamboo Table, and the third one is a Bamboo Bed. After I built the scaled model of the chair it became the basis of all the scaled model that I going to build in this series until its conclusion.
While I am building the Bahay Kubo I realized that it will take me some time to complete it because of my quite busy daily activities.
With that said, what if would make this a two-part blog? But I retracted. Because I think it would be best to put all the stages in building the Bahay Kubo on a single publication.
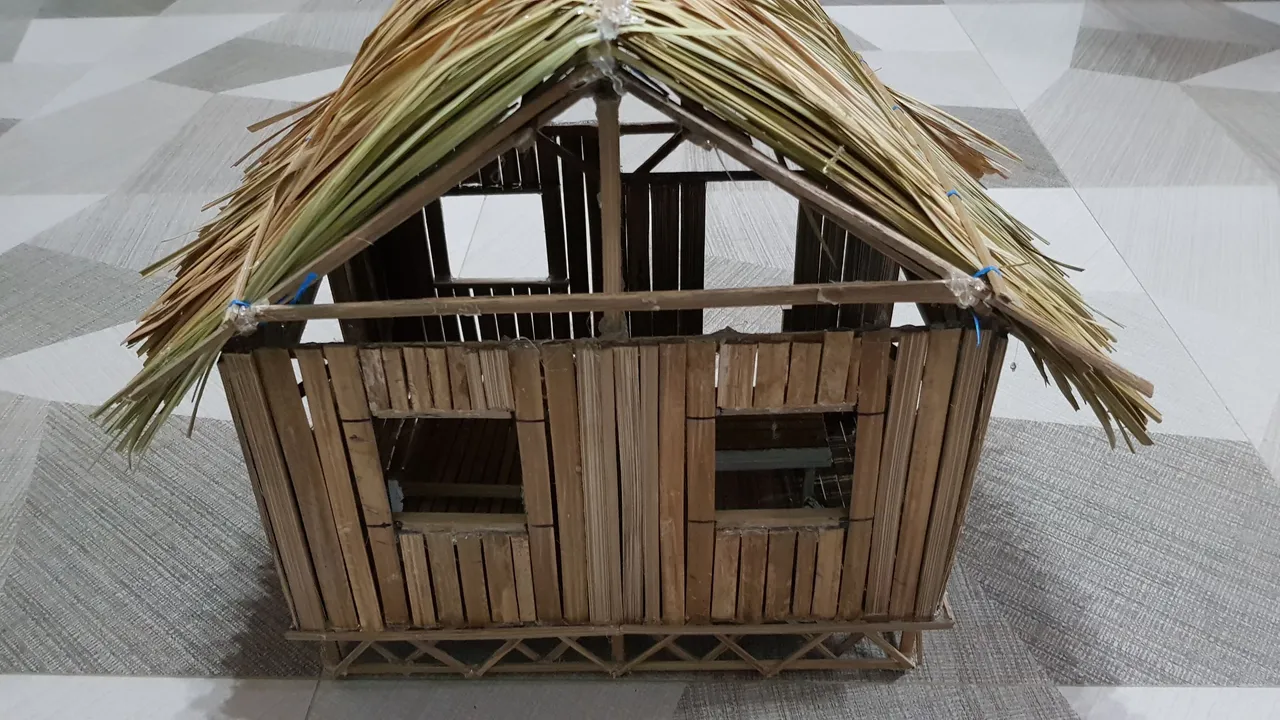
TRIVIA: Bahay Kubo is an icon of Philippine Culture. It is characterized by the materials used to build it such as Bamboo, Wood, Cogon Grass, Coconut Leaves, and Buri/Buli Palm.
I started building the Bahay Kubo a day after I finished the bamboo bed. I also indicated the days (as stages) in building the Bahay Kubo.
So, without further ado here's how I started building the Bahay Kubo.
DAY 1
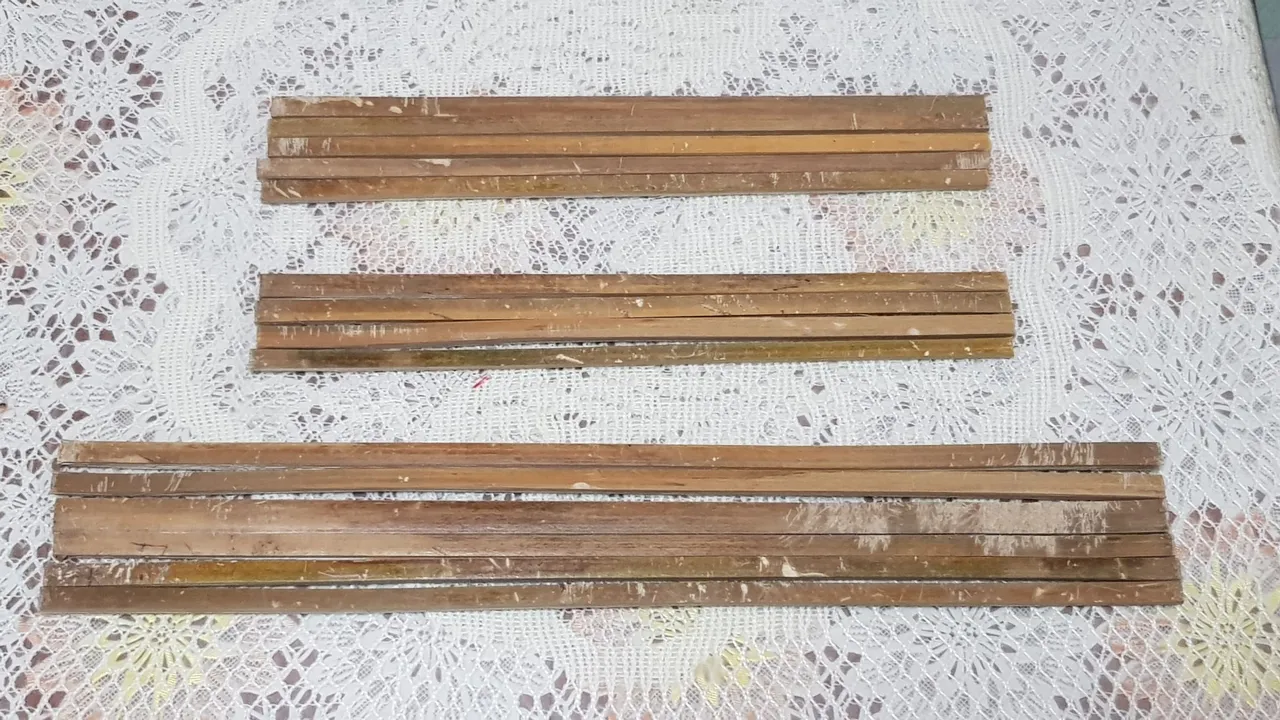
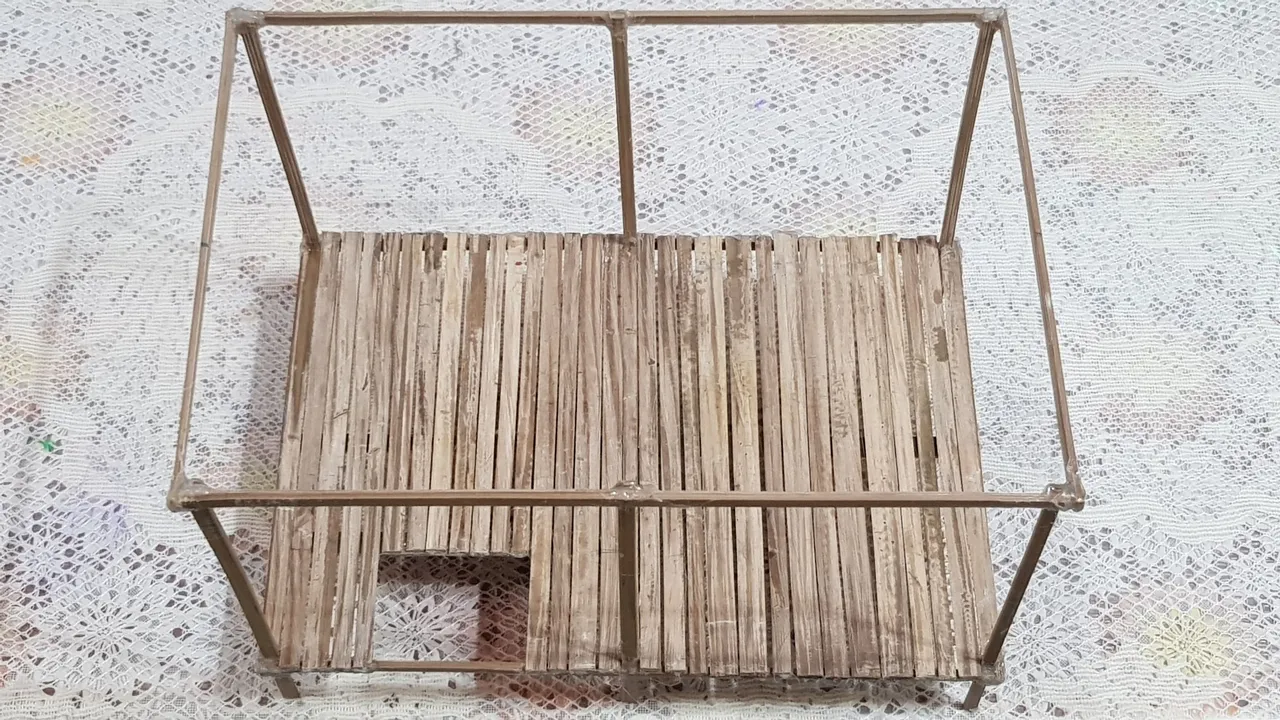
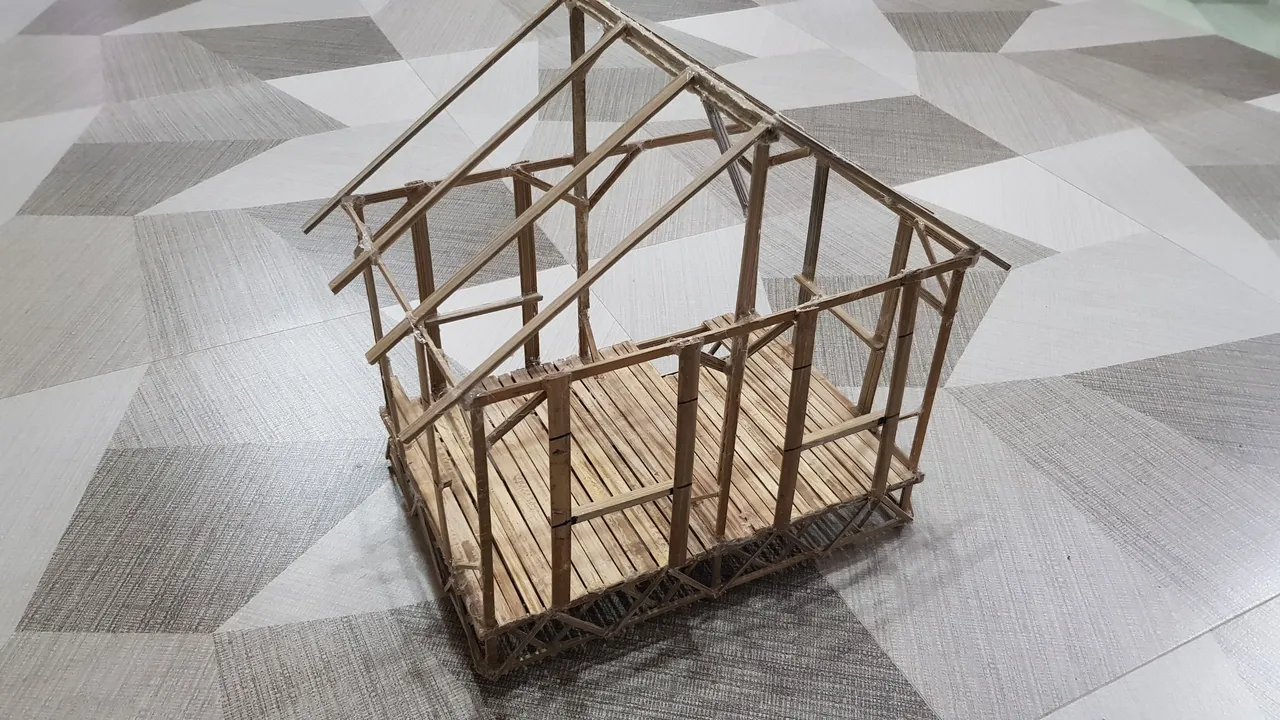
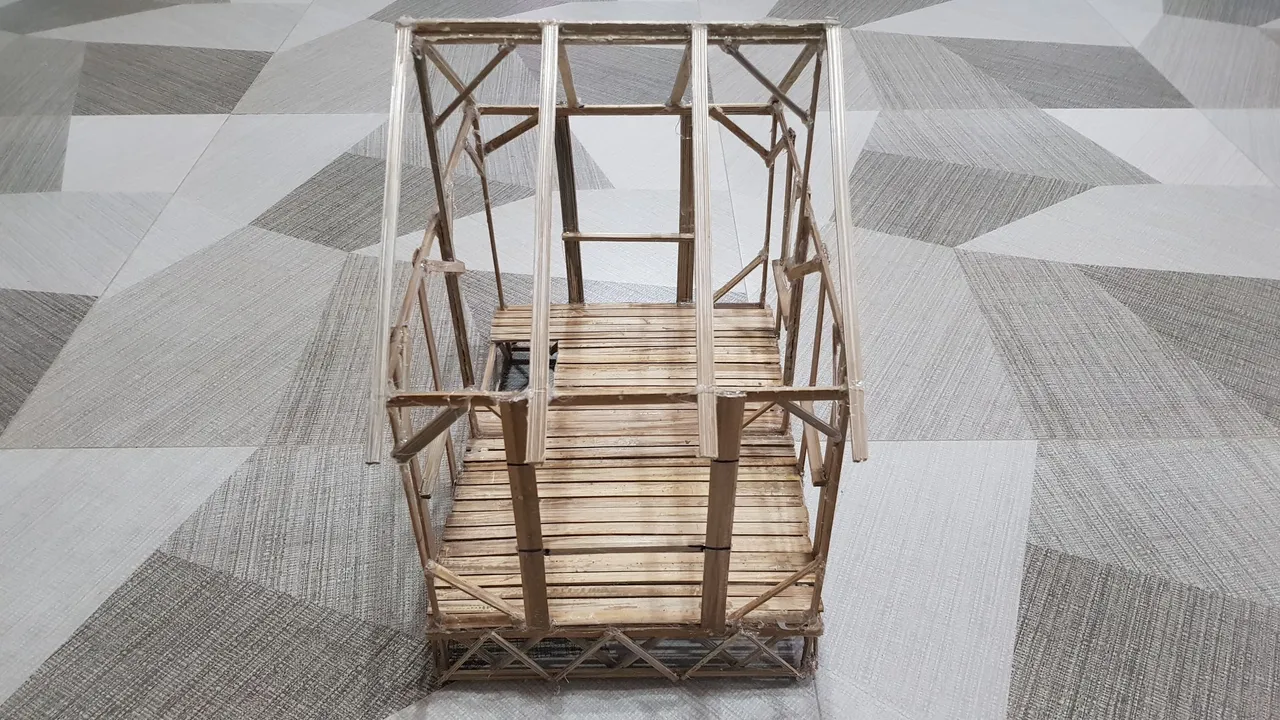
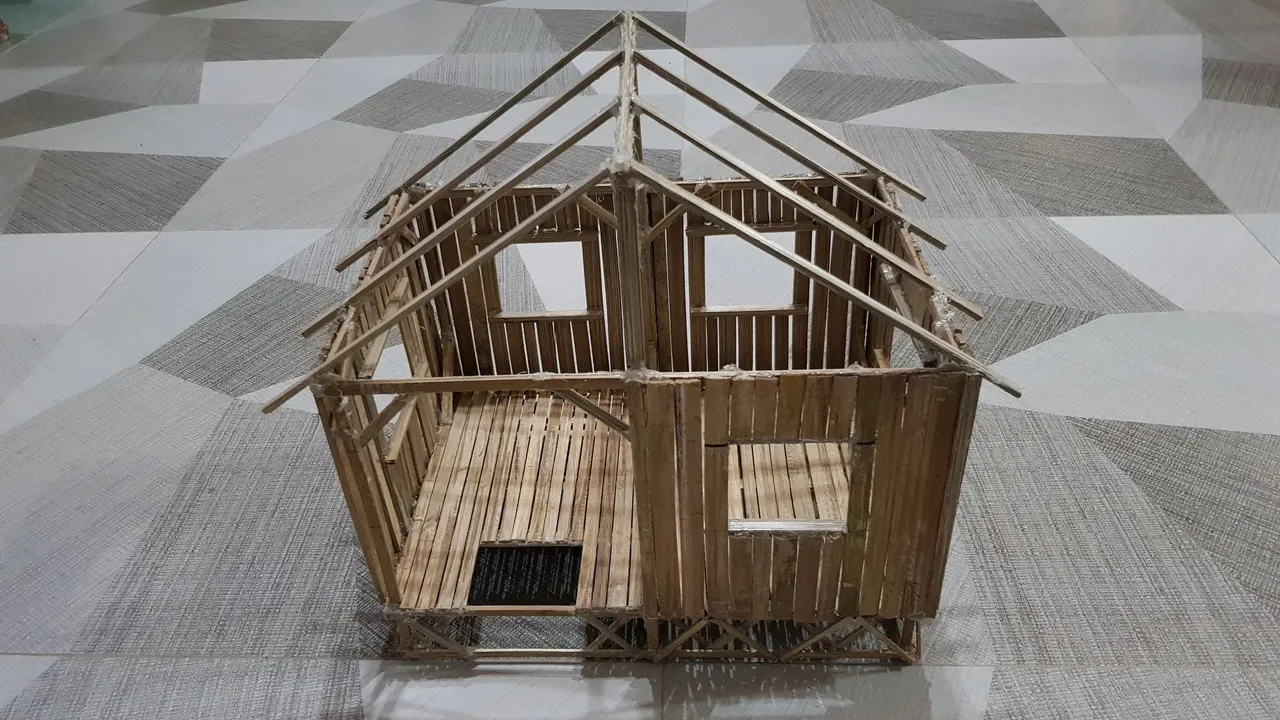
I started by creating the main skeleton of the Bahay Kubo (photo below)
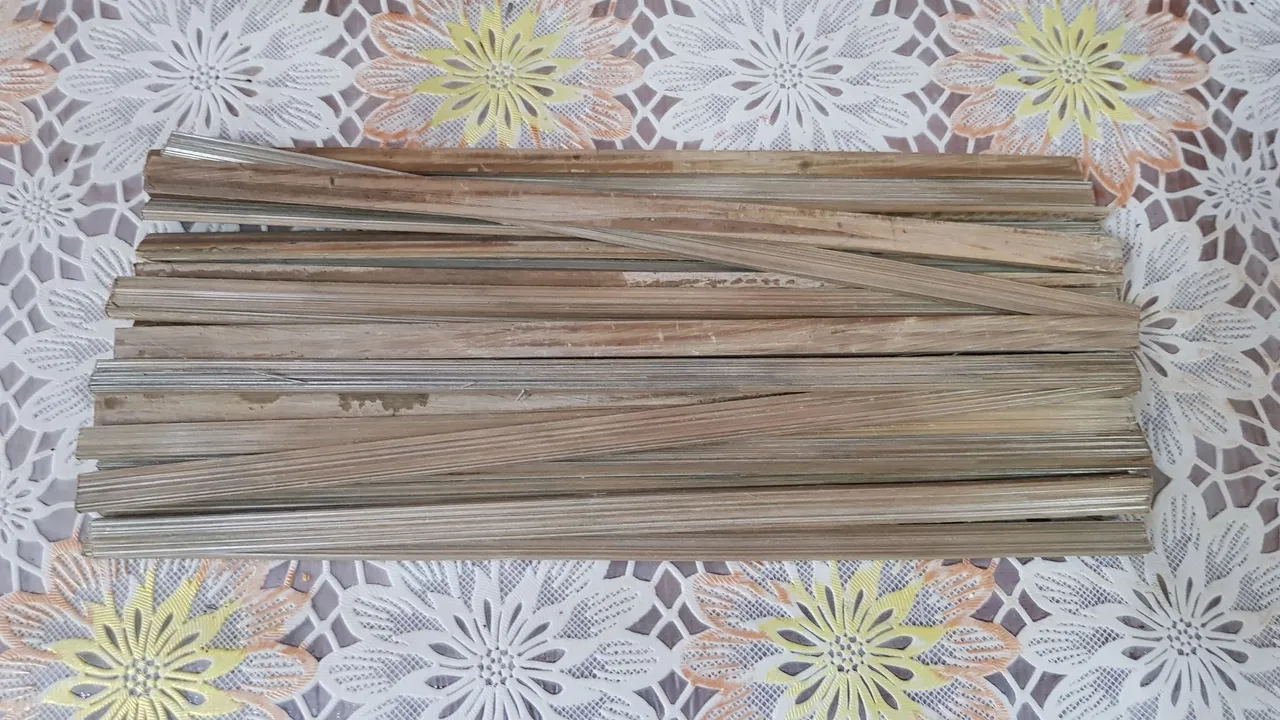
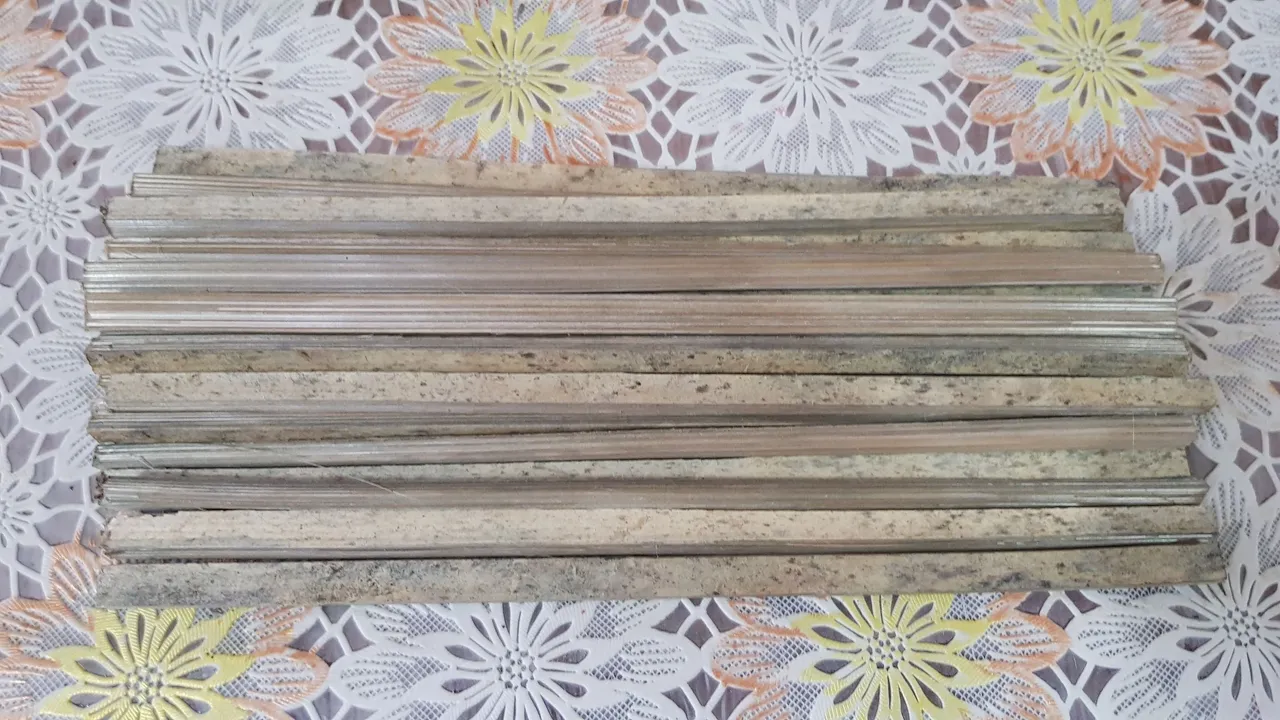
Here are the bamboos that I used to create the main skeleton of the Bahay Kubo
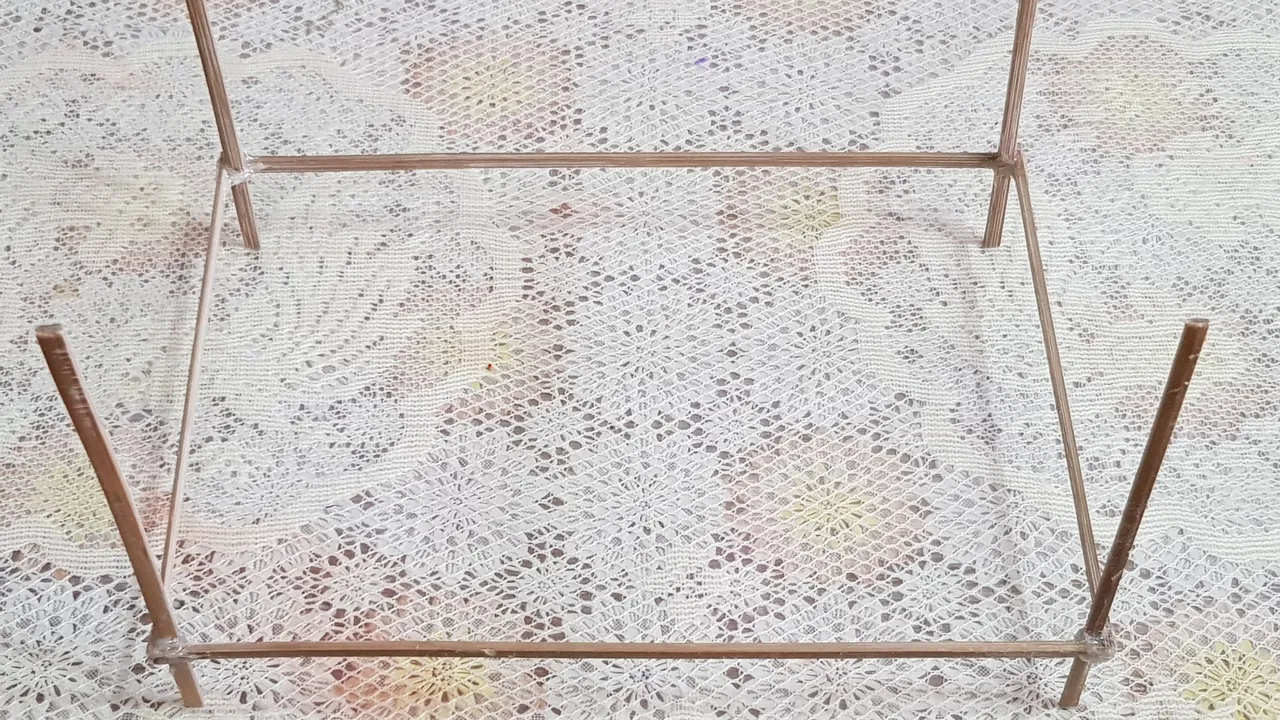
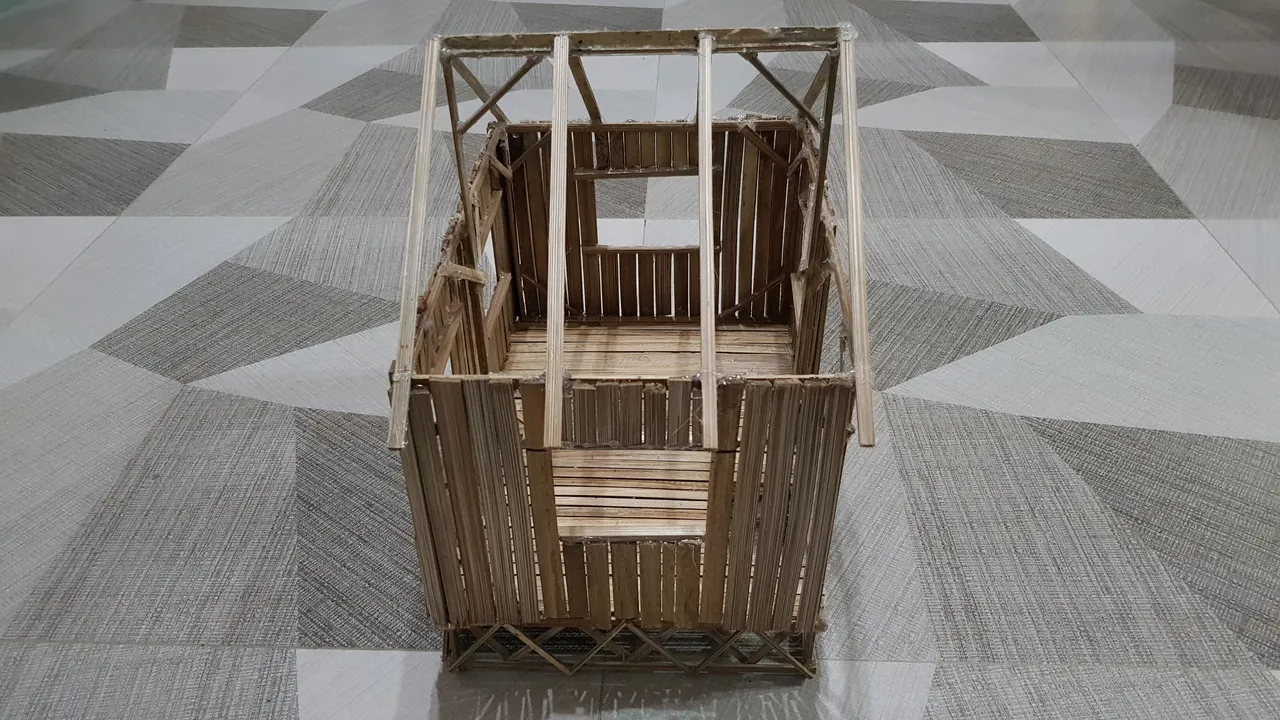
Then I started to glue together the lower rectangular skeleton.
In the photo below I started to glue the first four posts
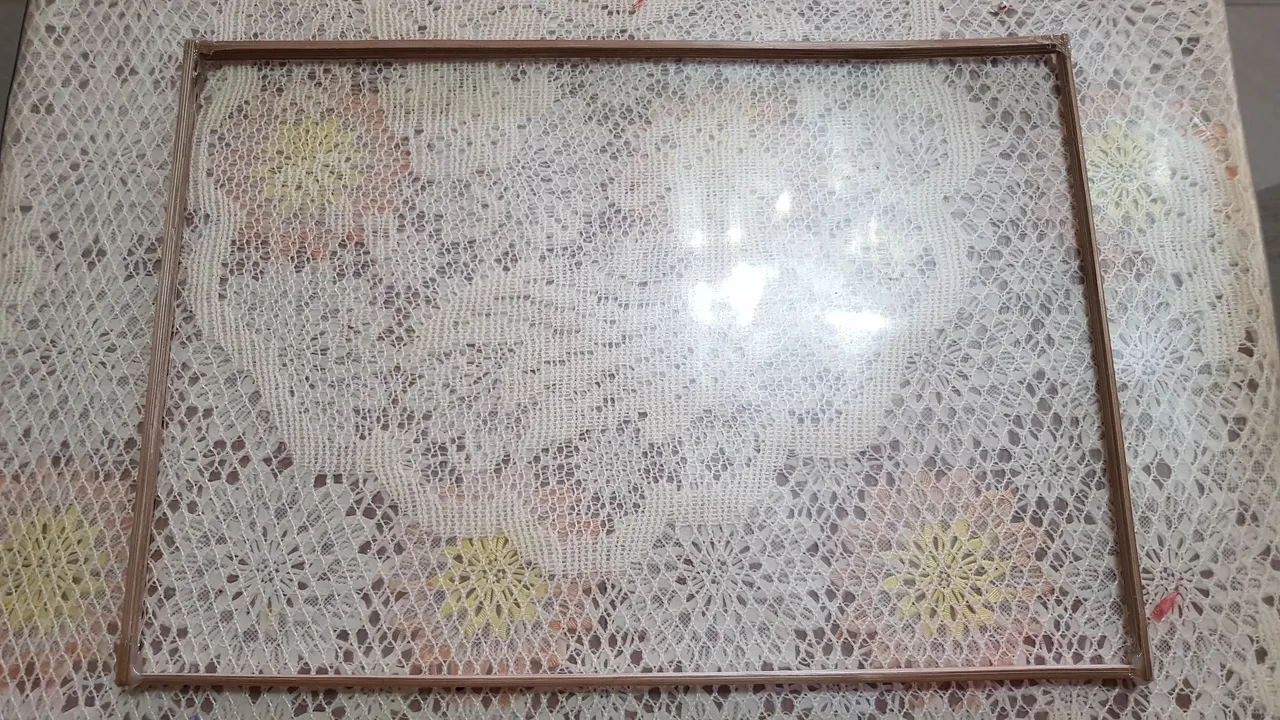
And then I followed it by gluing the upper rectangular skeleton
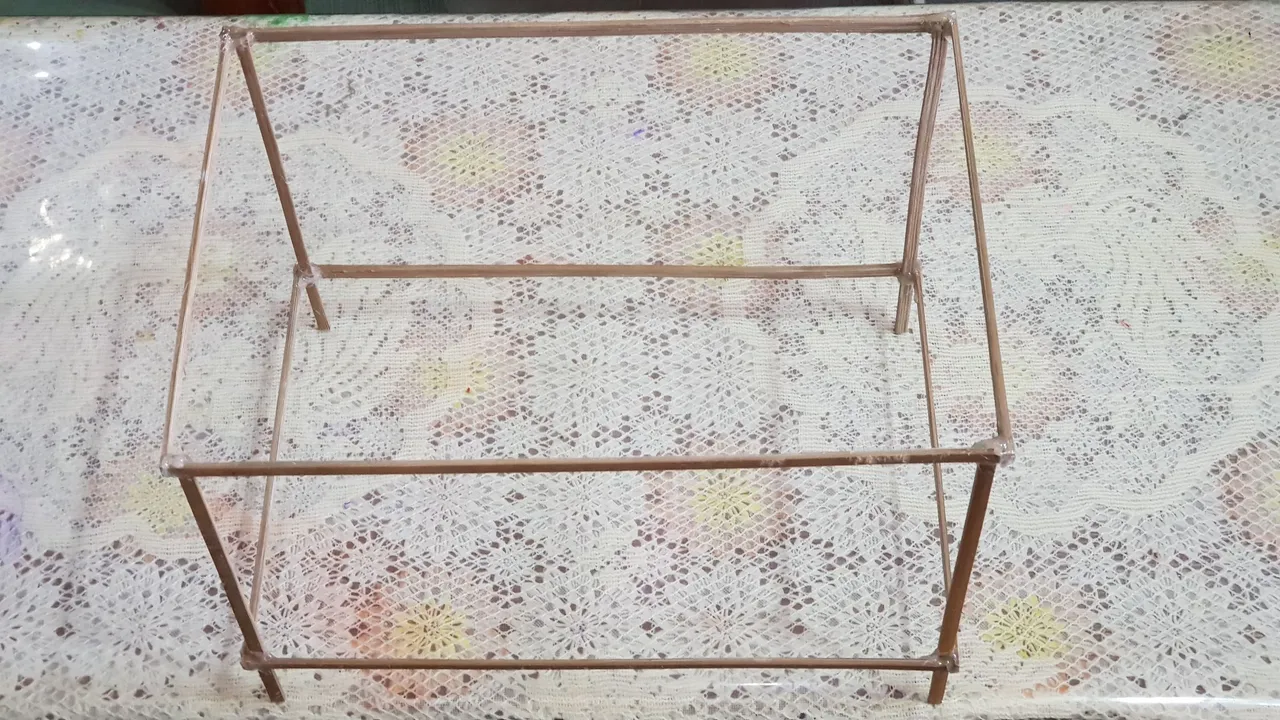
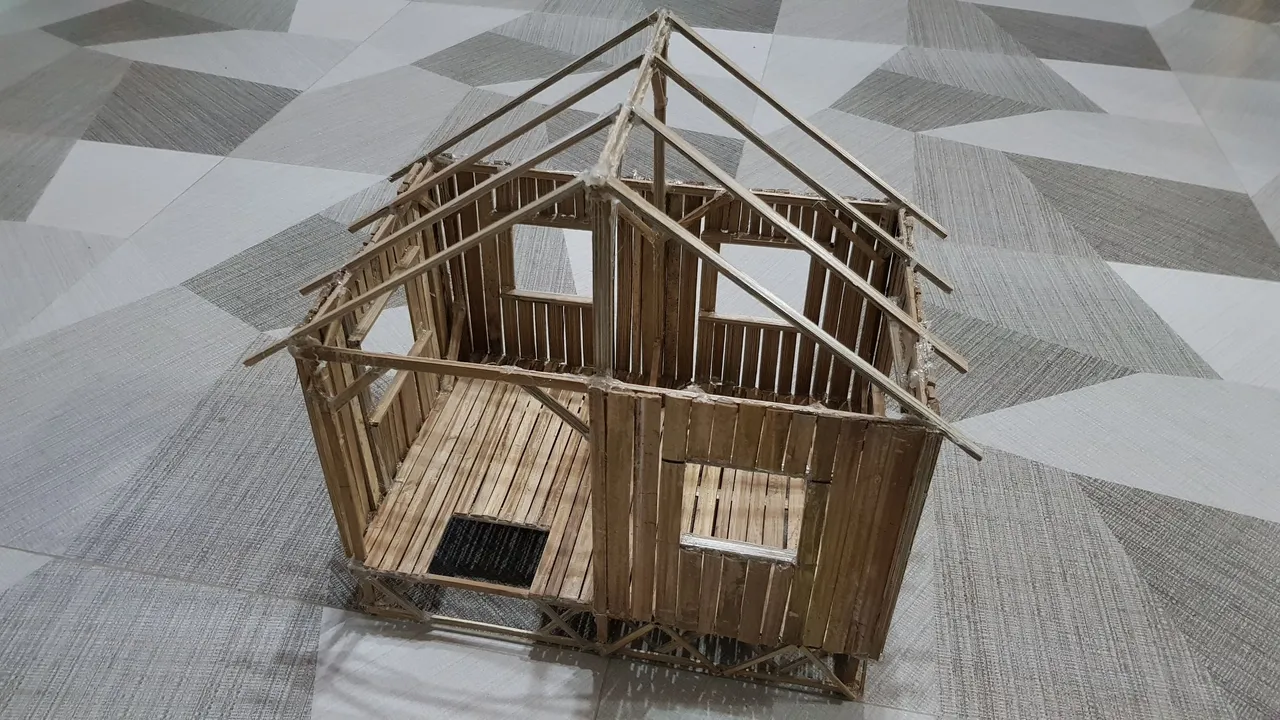
Then I followed it up by gluing the middle posts (this ultimately decided that the Bahay Kubo that I am creating will have two main divisions, the kitchen, and the bedroom)
And that's how the first stage of me creating a scaled model of a Bahay Kubo (It took me about an hour to finish this stage)
DAY 2
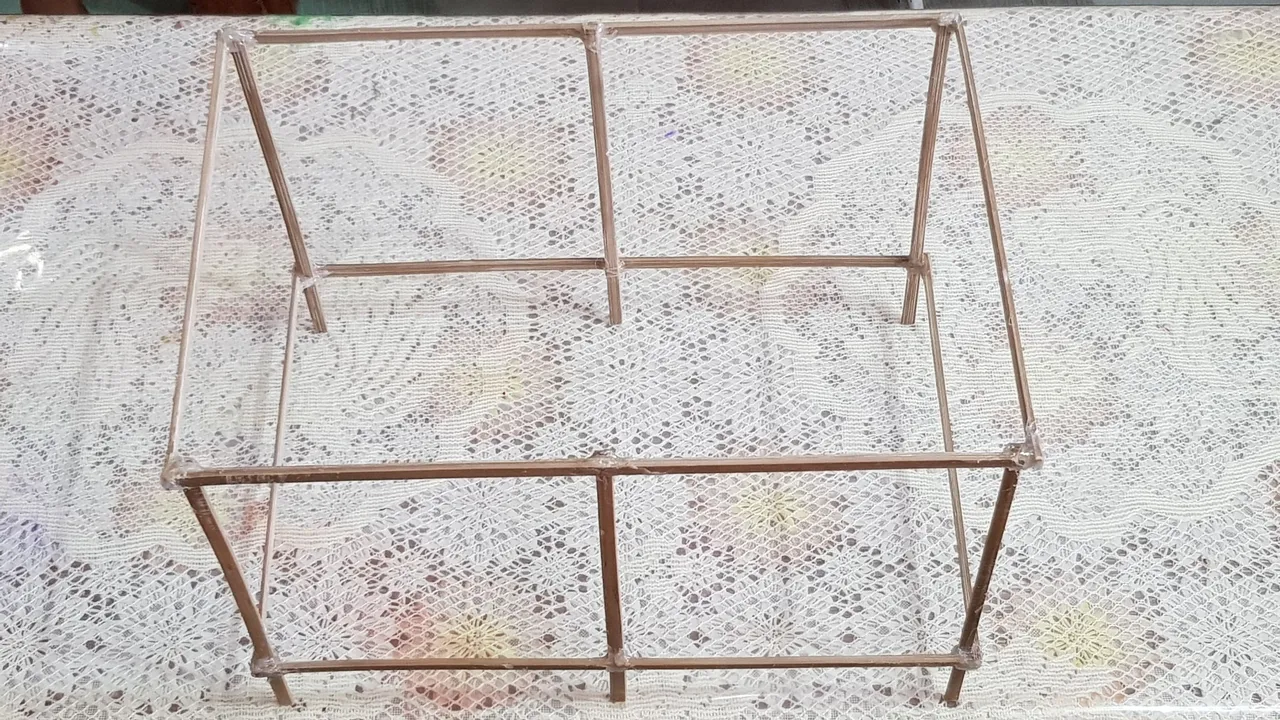
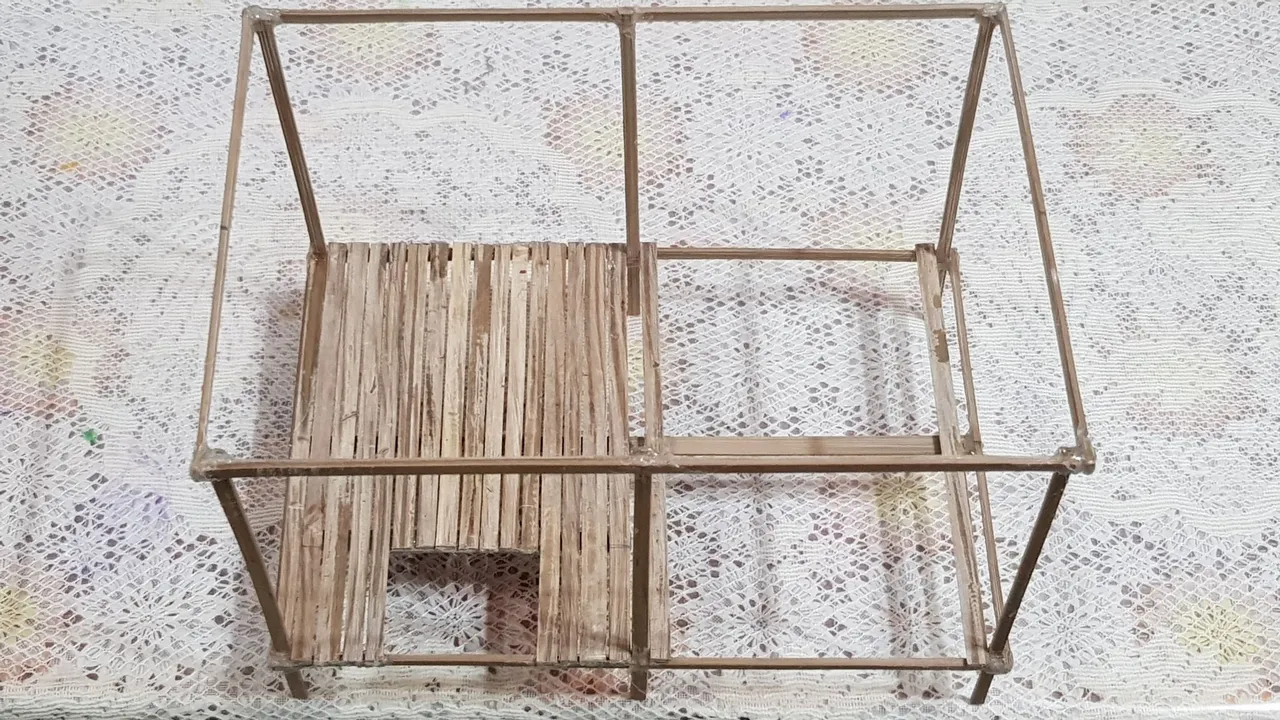
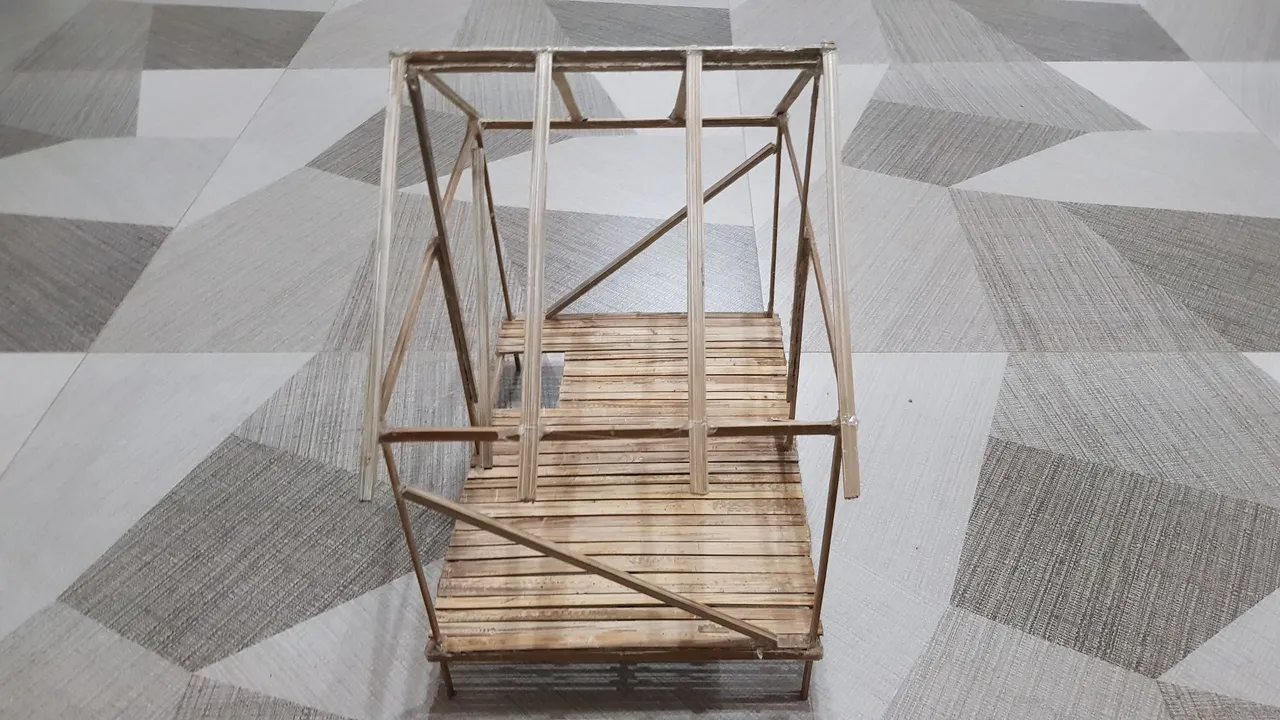
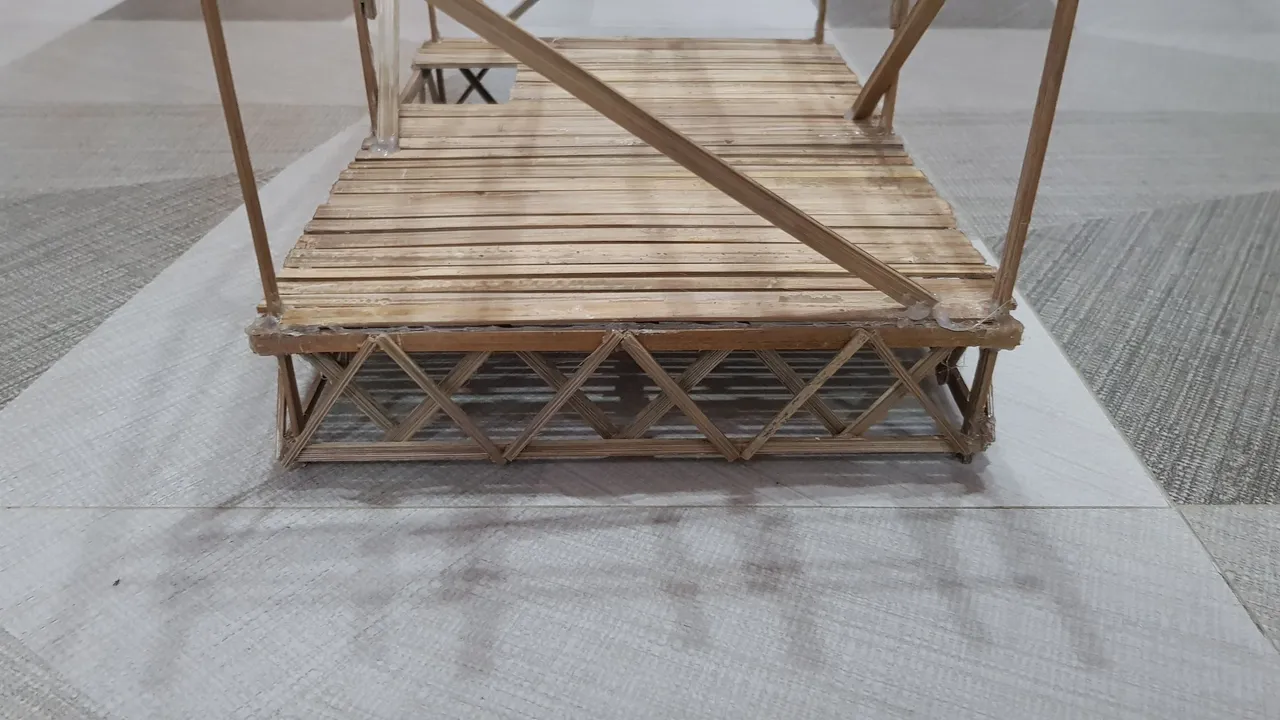
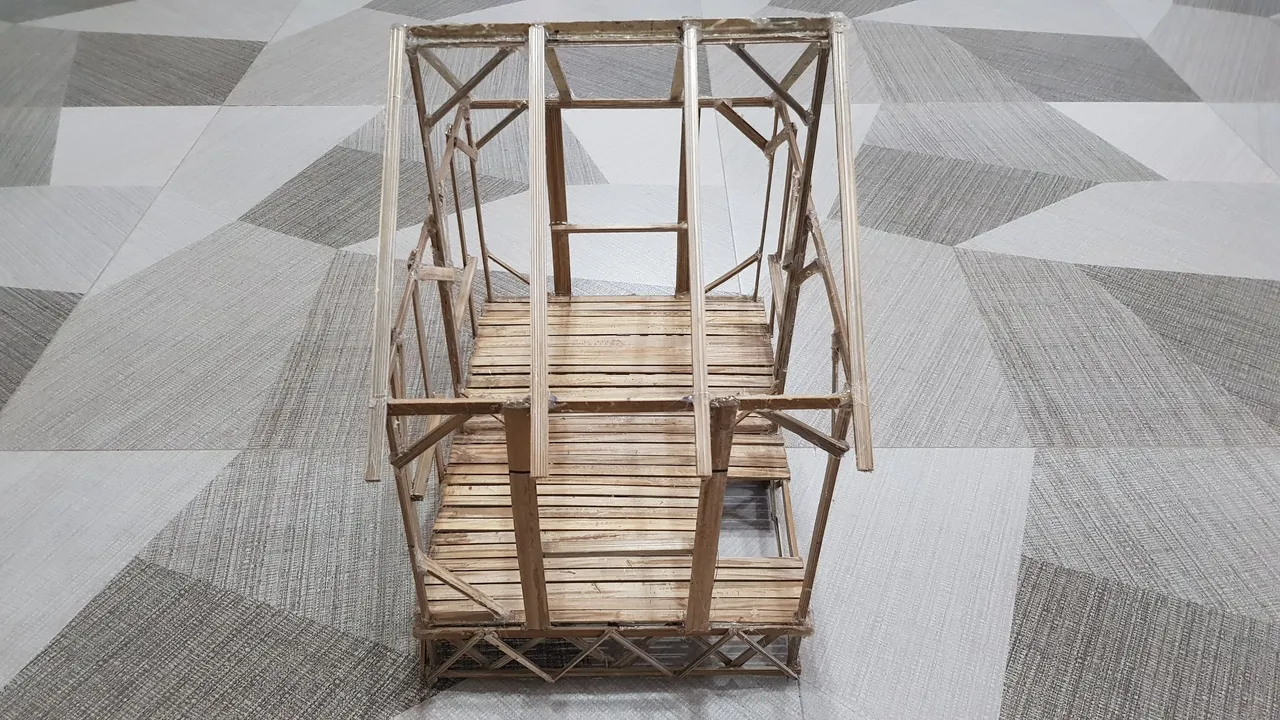
And comes day two. On this day, I glued the floor of the Bahay Kubo
Here are the bamboos to be used as the floor of the Bahay Kubo
DAY 3
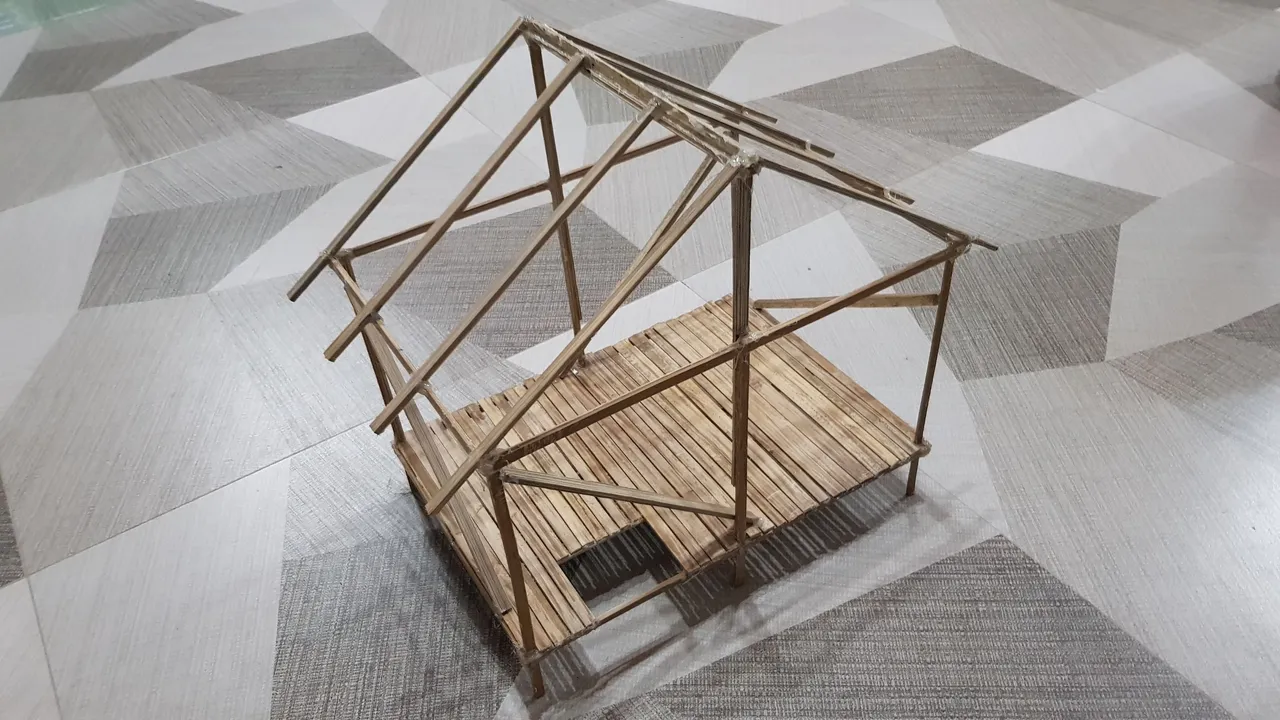
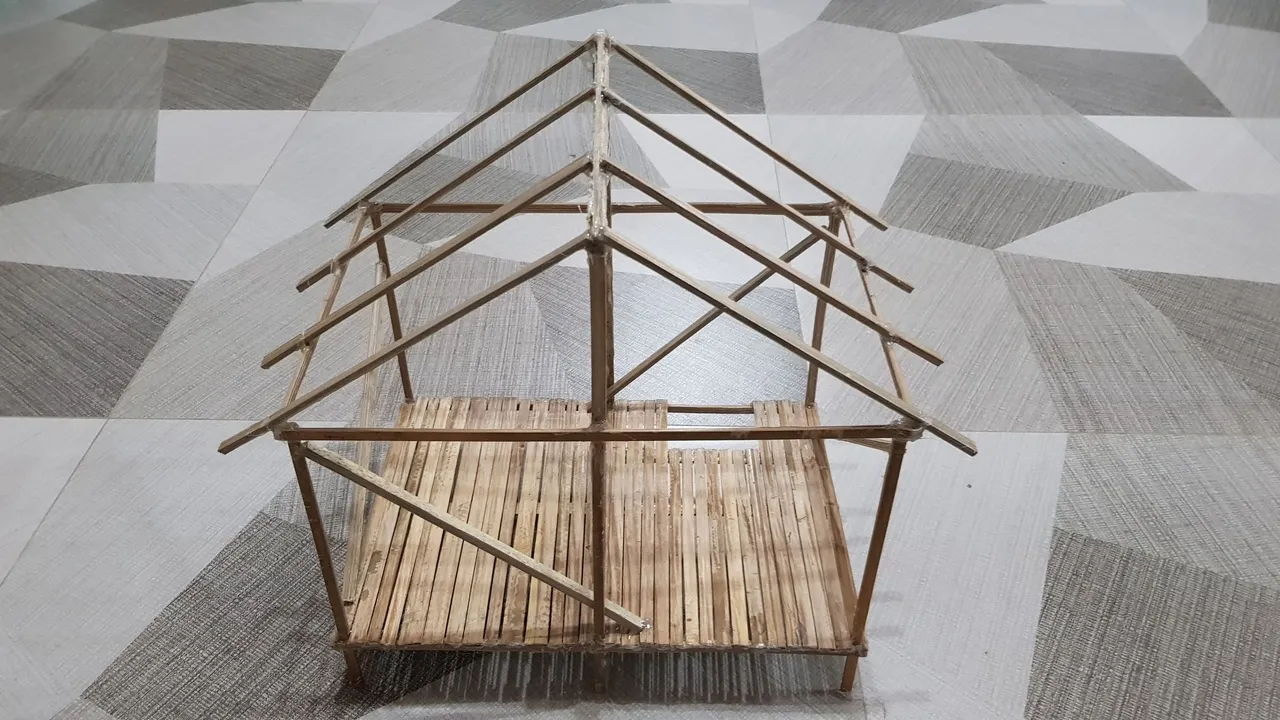
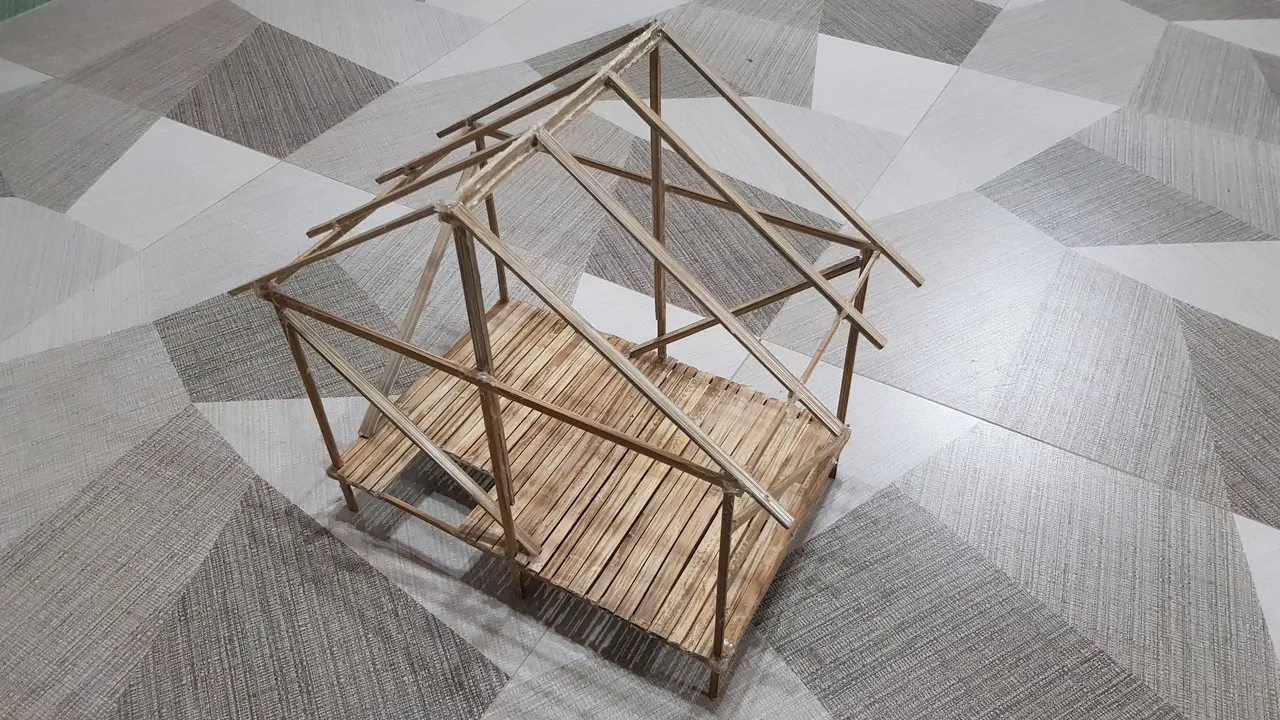
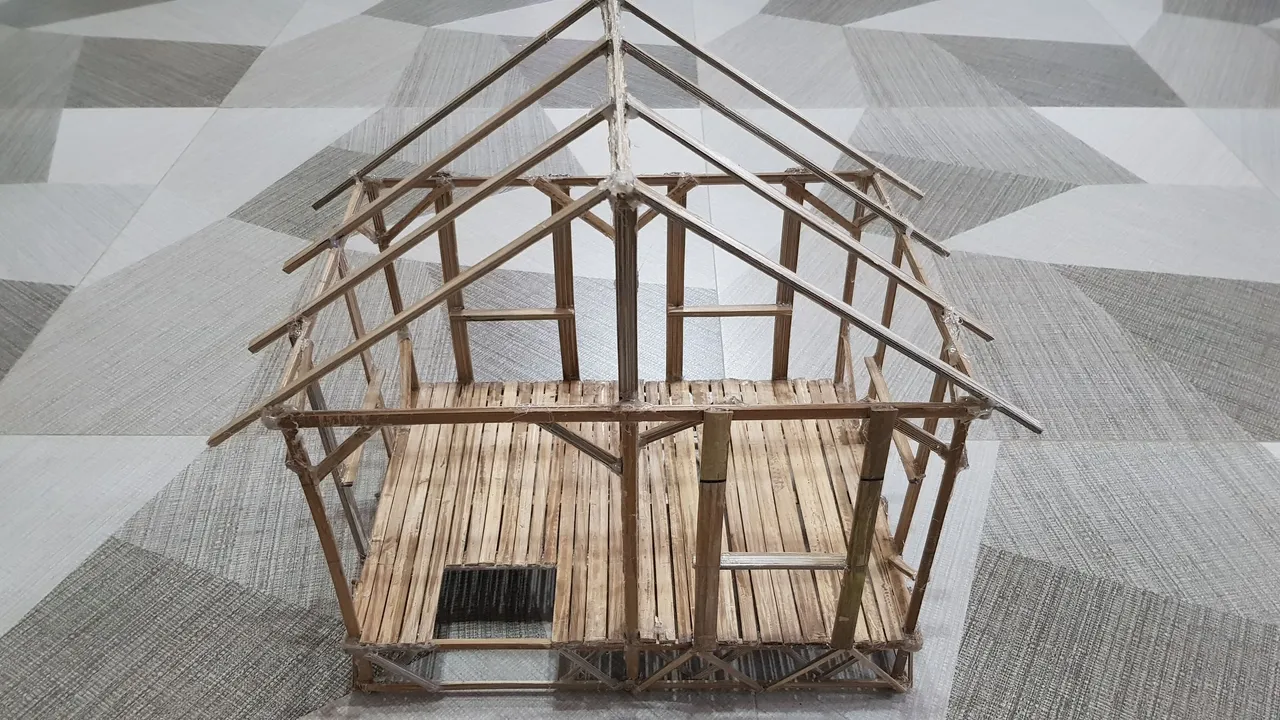
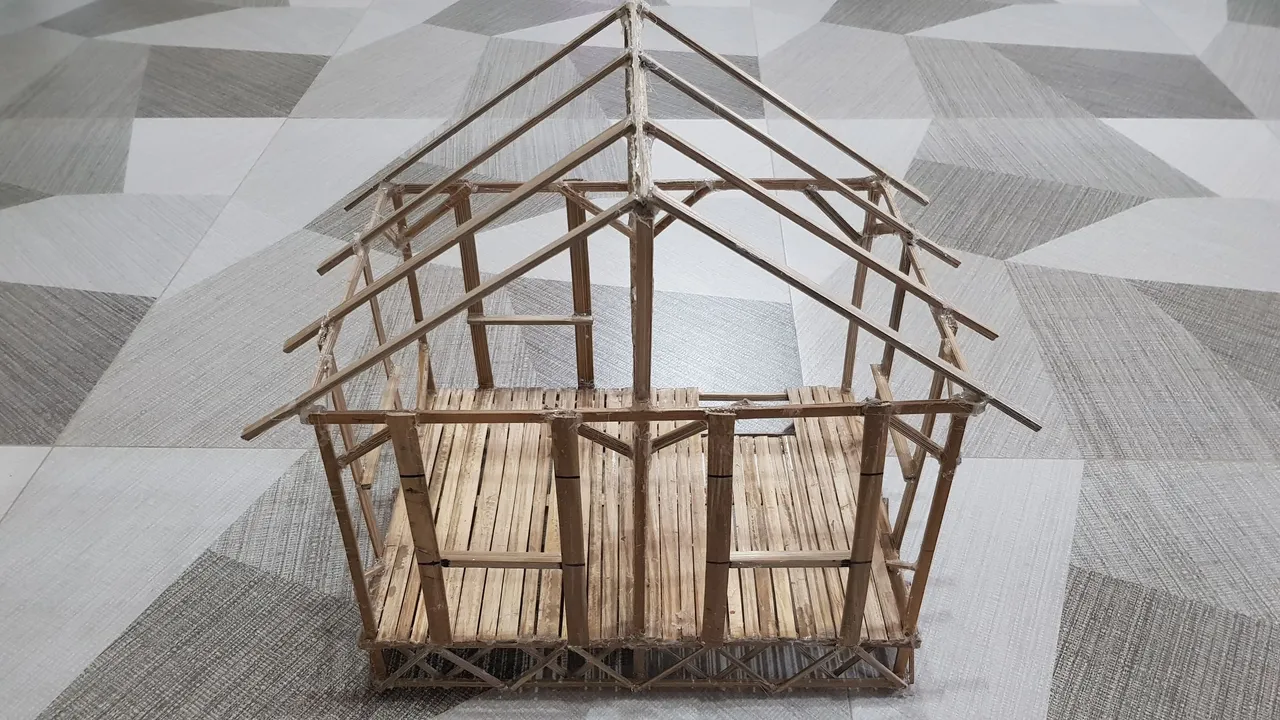
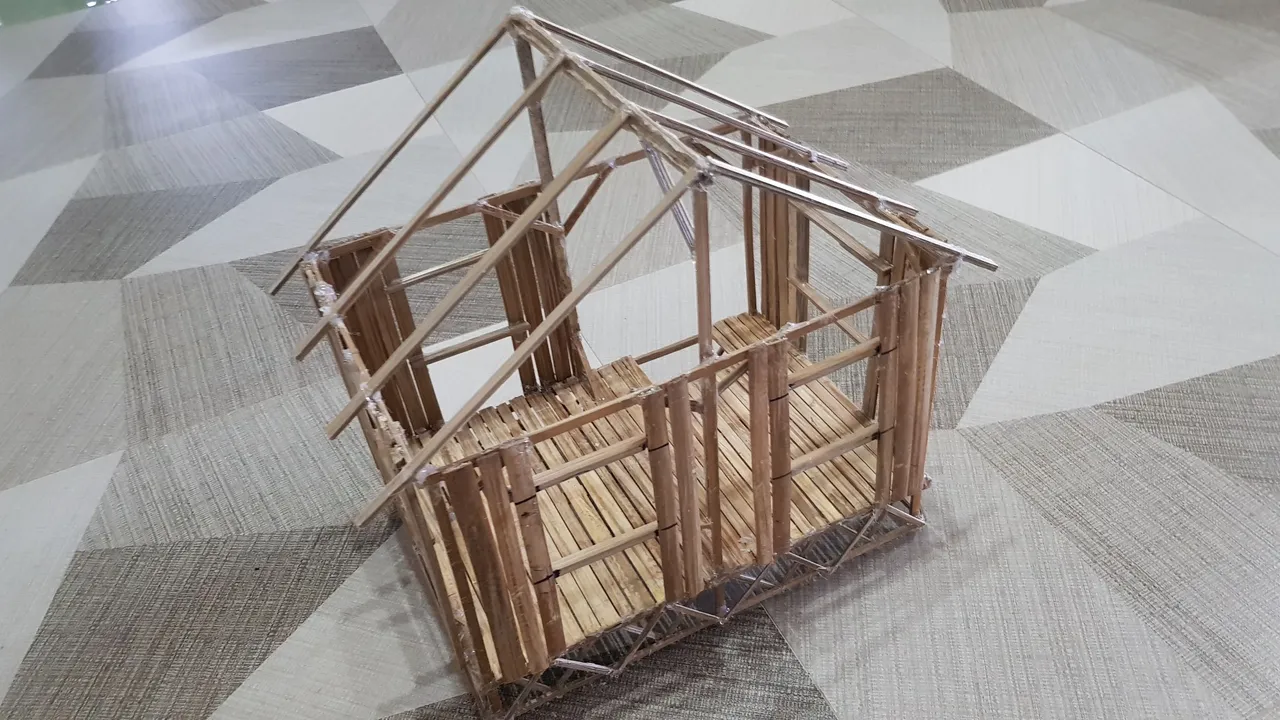
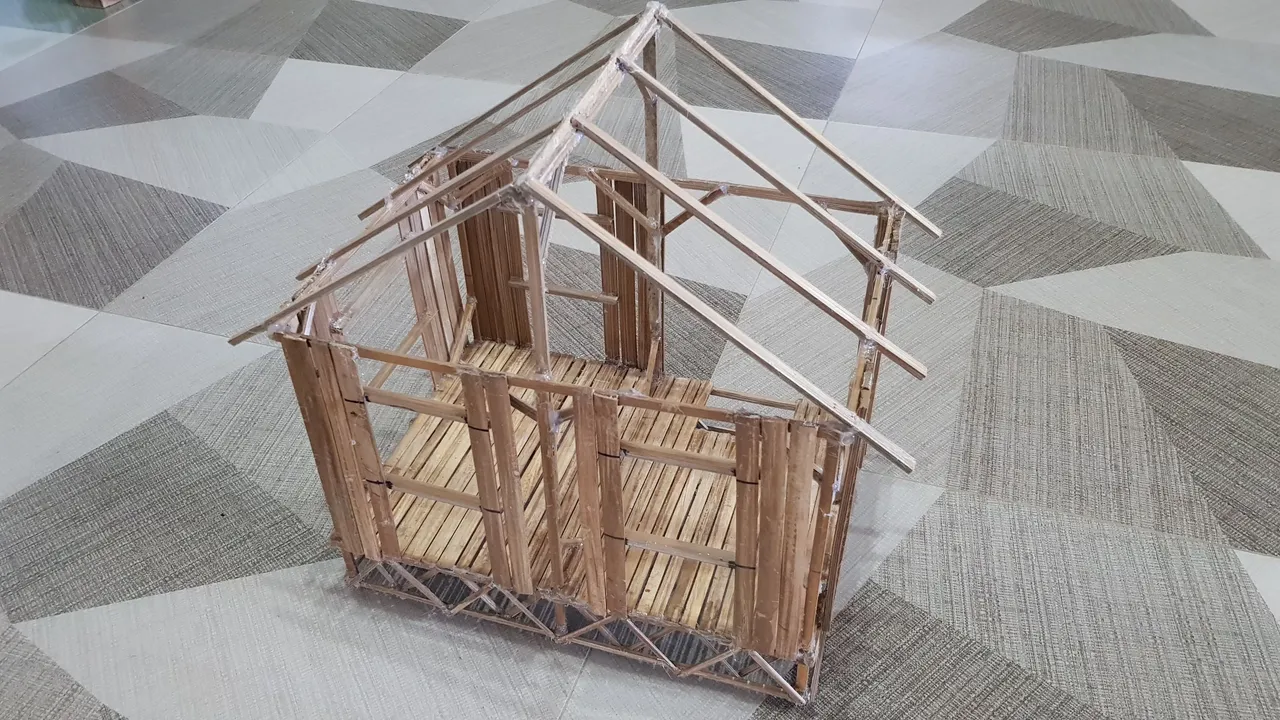
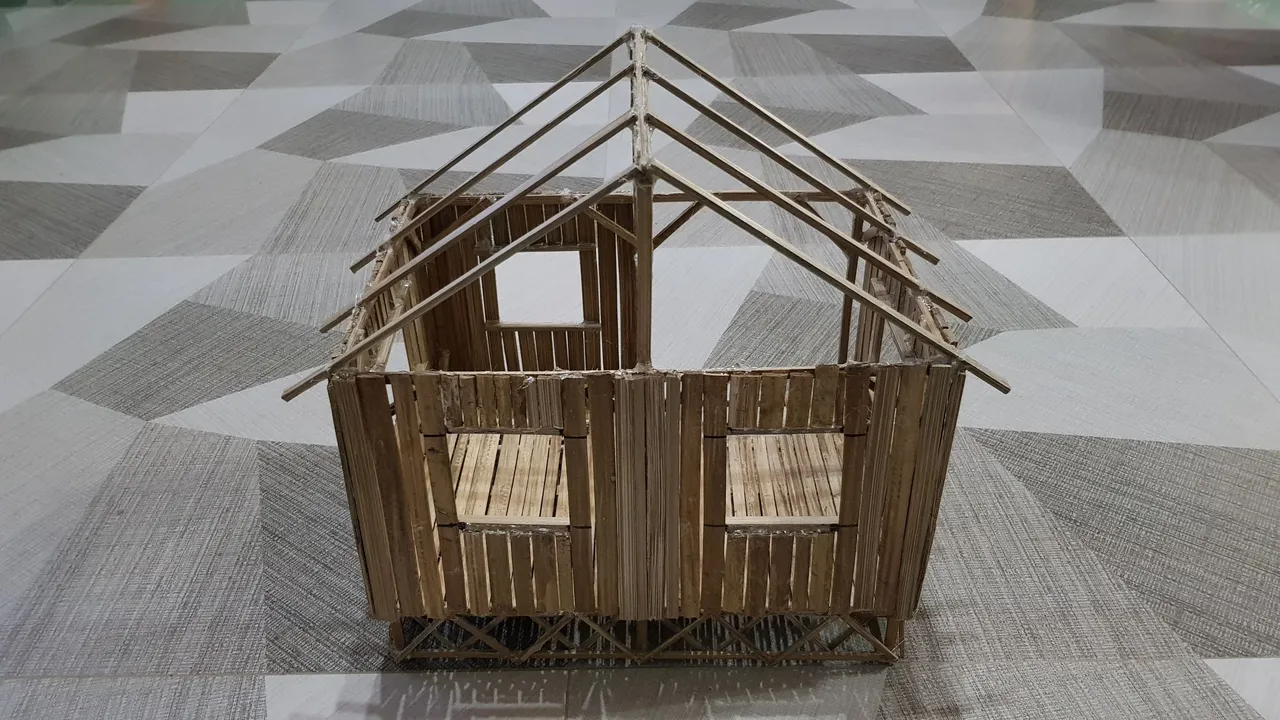
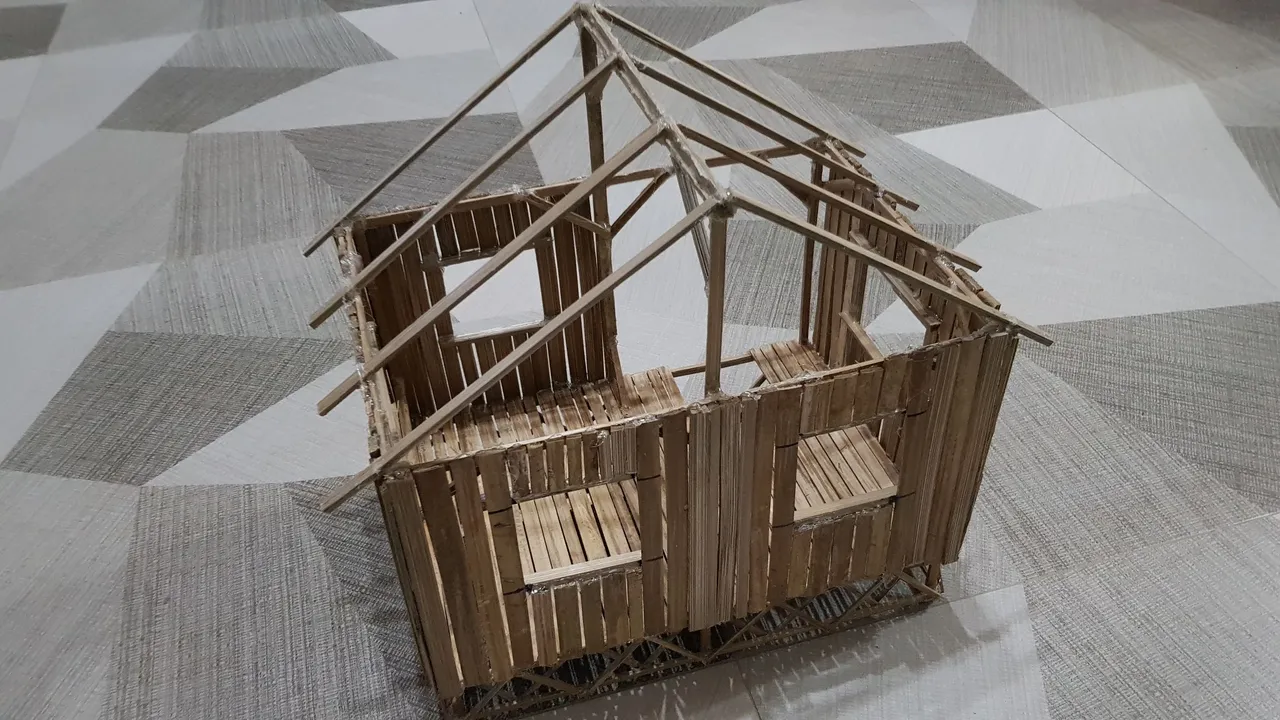
And then day three comes along. On this day, I decided to create the roof skeleton of the Bahay Kubo
Here are the bamboos that I used in building the skeleton of the roof

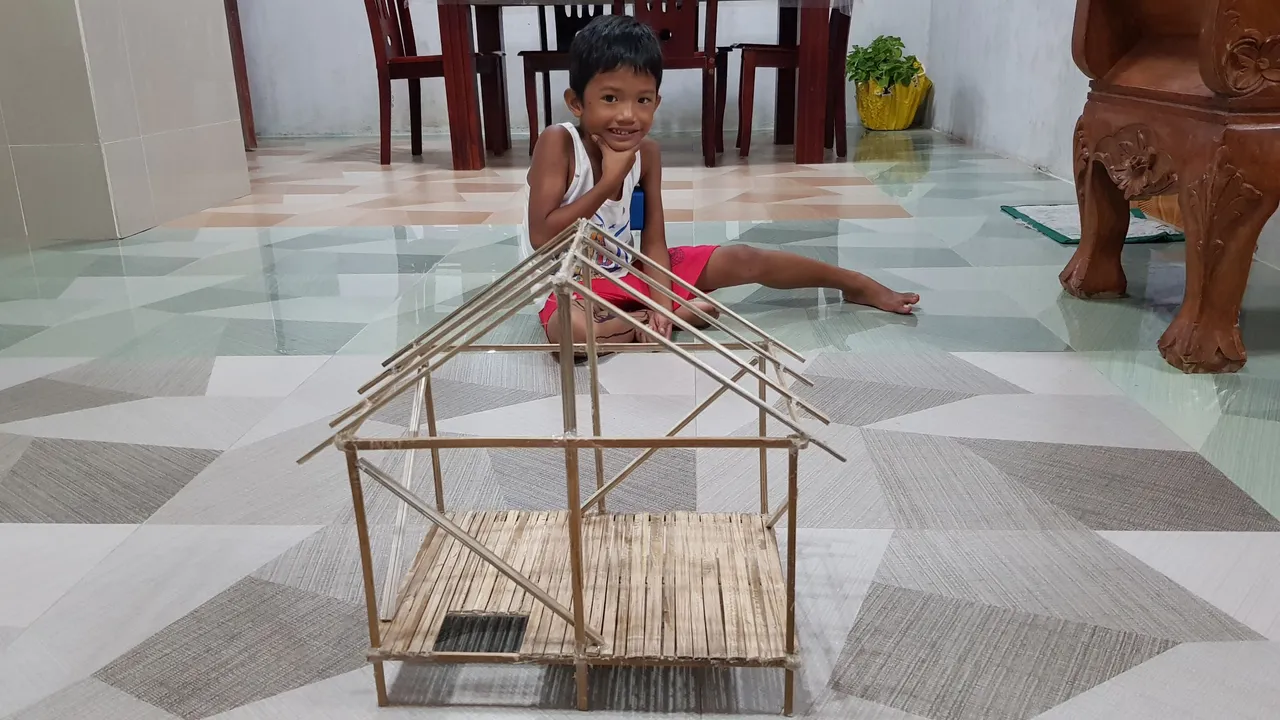
Here's a nice thing. My son loves to ask me to create a house out of cartons so when he saw that I am building a house he was all smiles and asked me if he could play with it. While he was playing with the Bahay Kubo he asked me to take a photo of him together with the unfinished Bahay Kubo.
My son asked me to take a photo of him with the unfinished Bahay Kubo
DAY 4
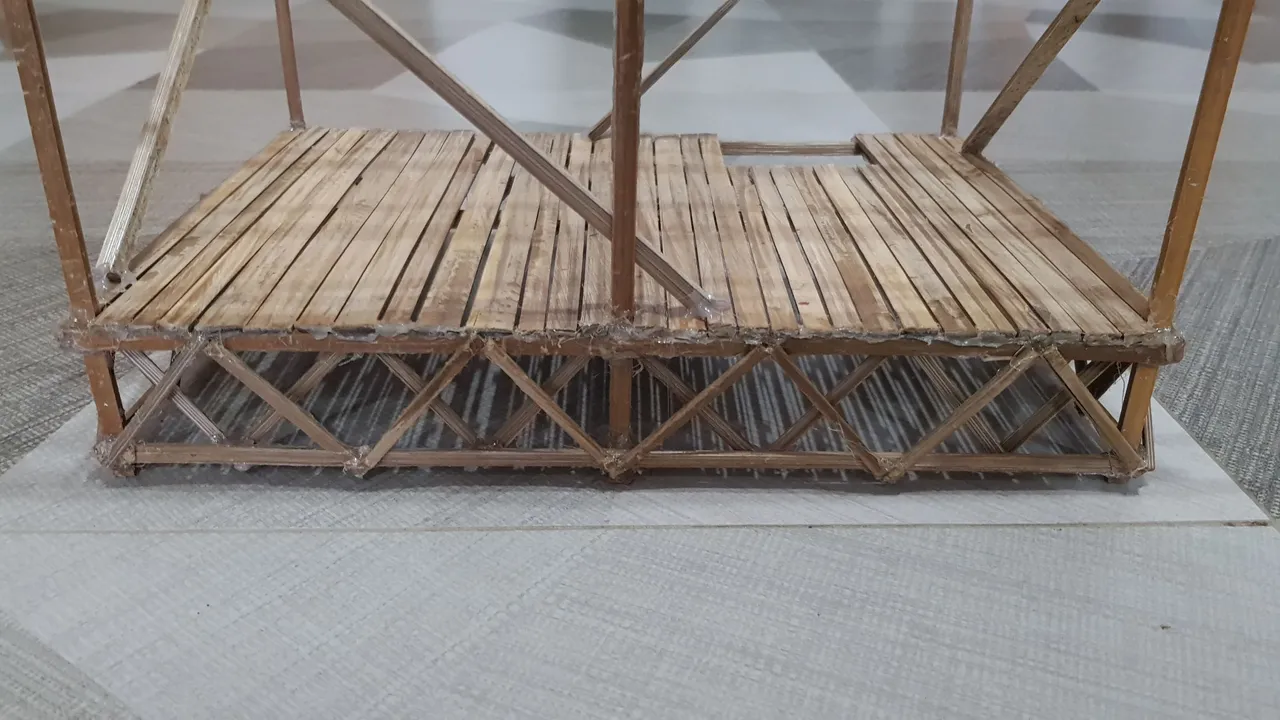
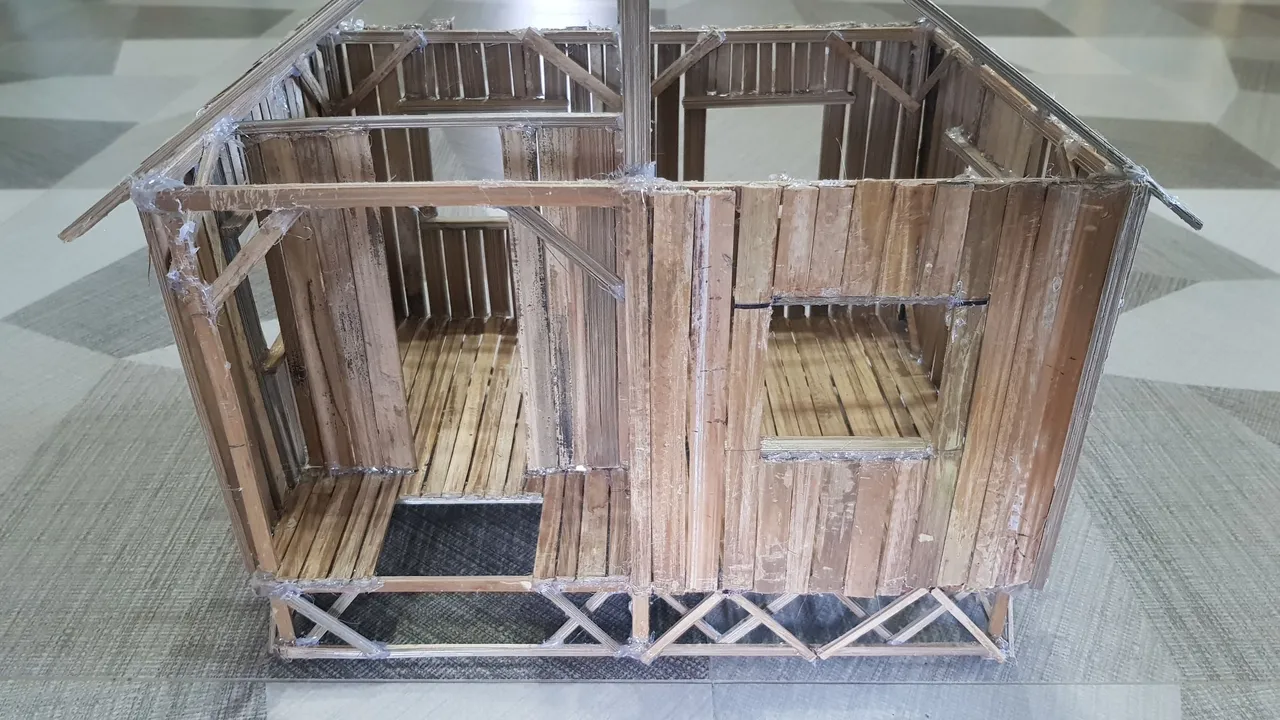
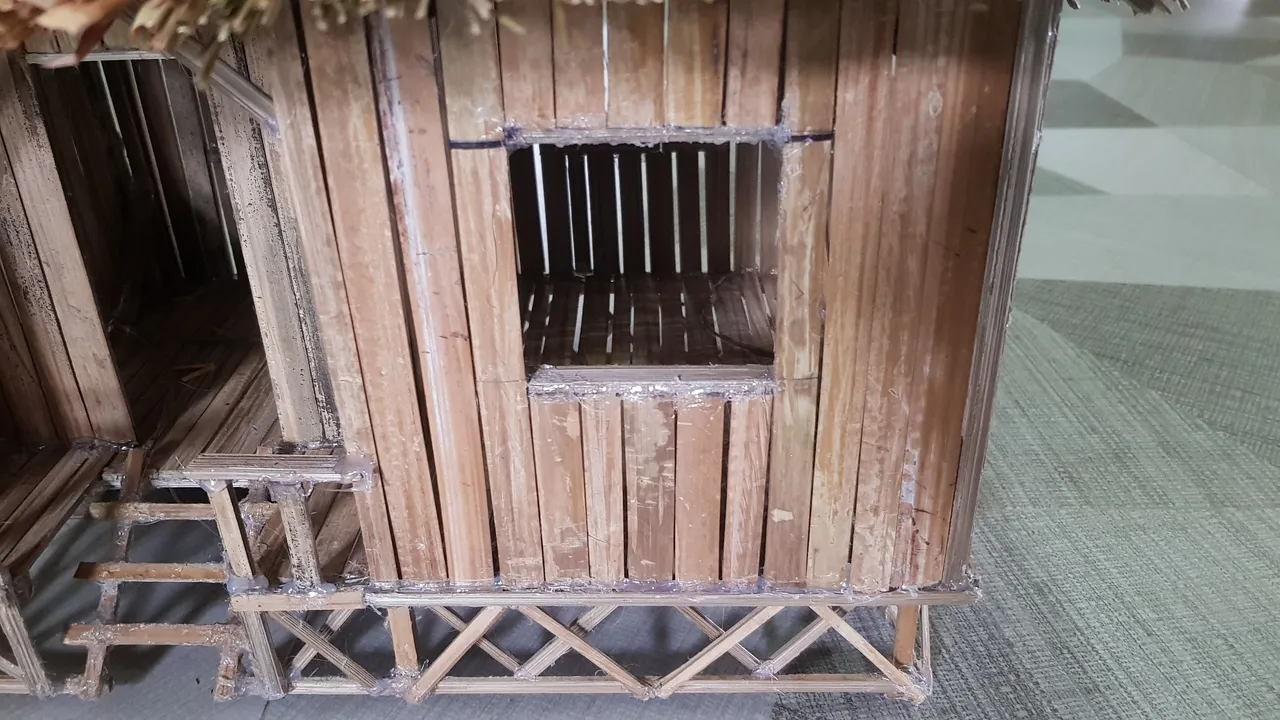
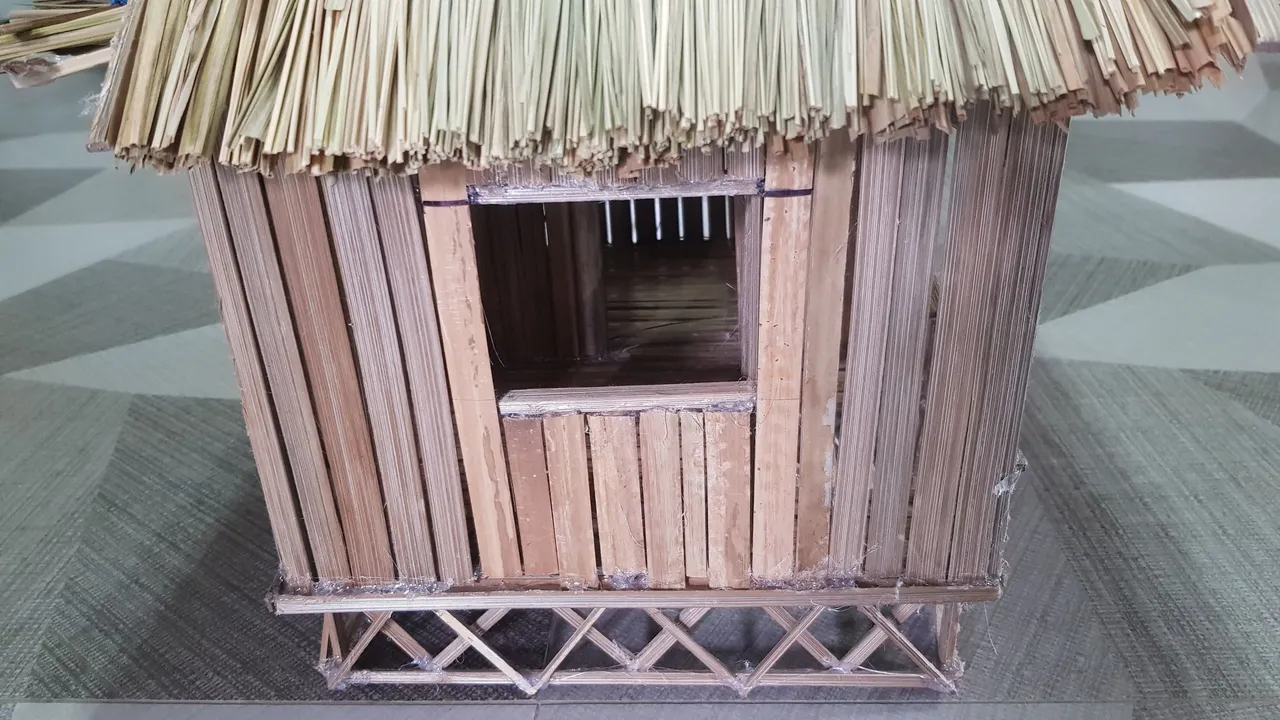
And here I am at day four. Most Bahay Kubo has a criss-cross fence at the bottom so I decided to put some

Day 5
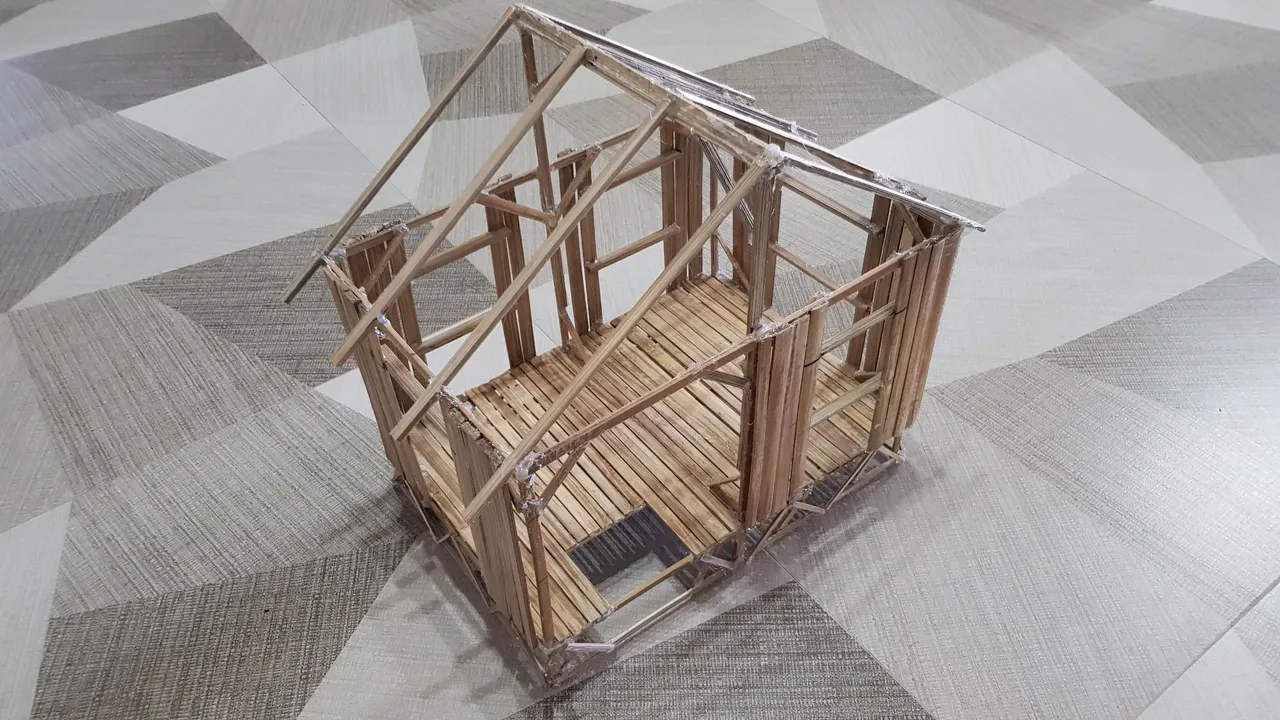
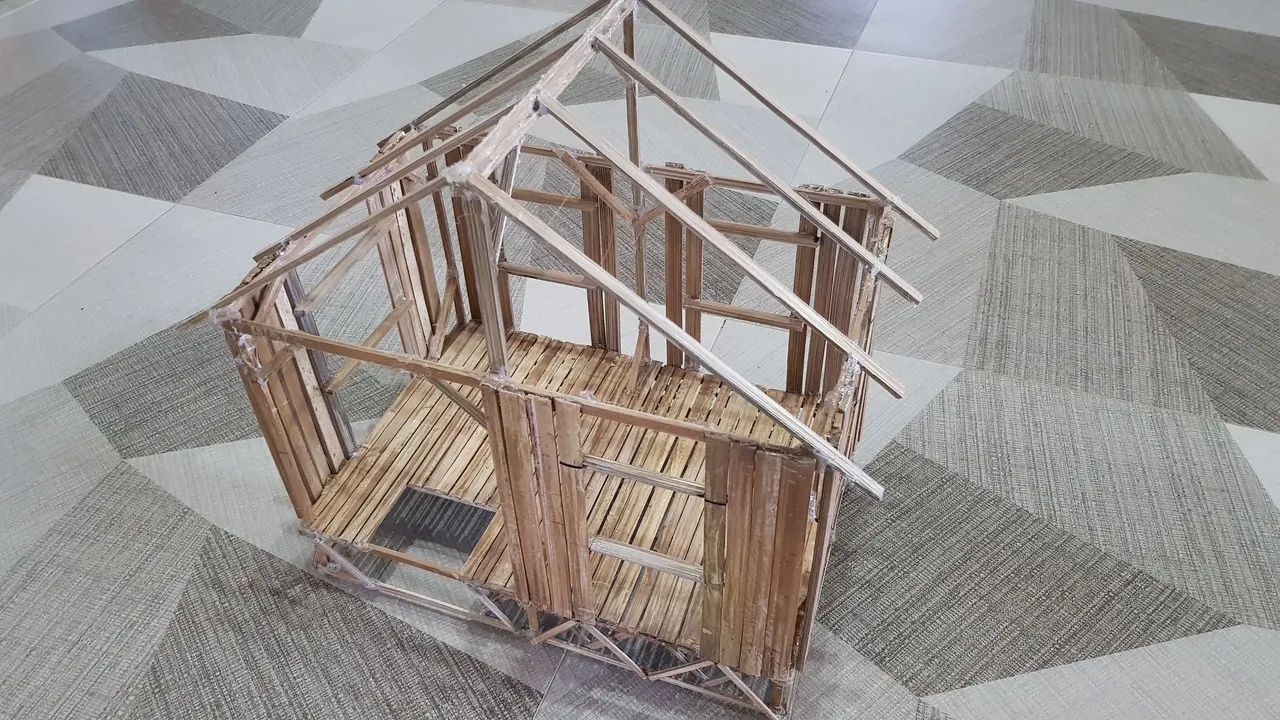
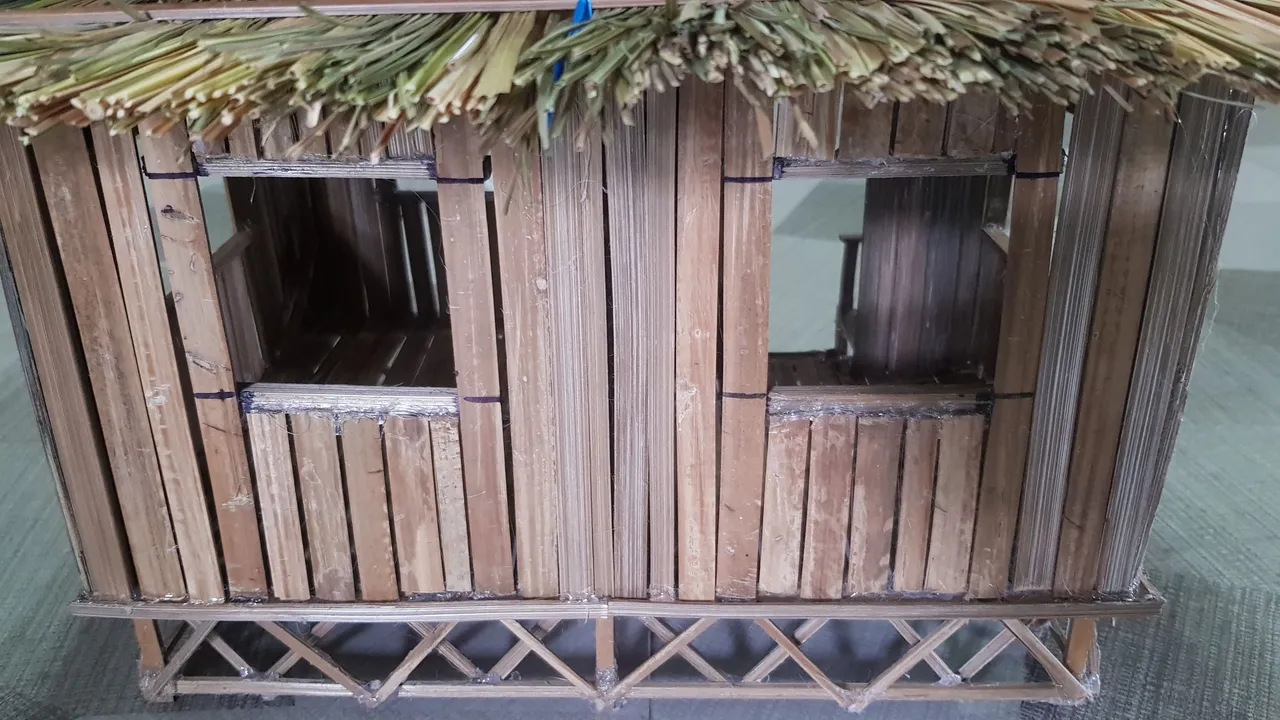
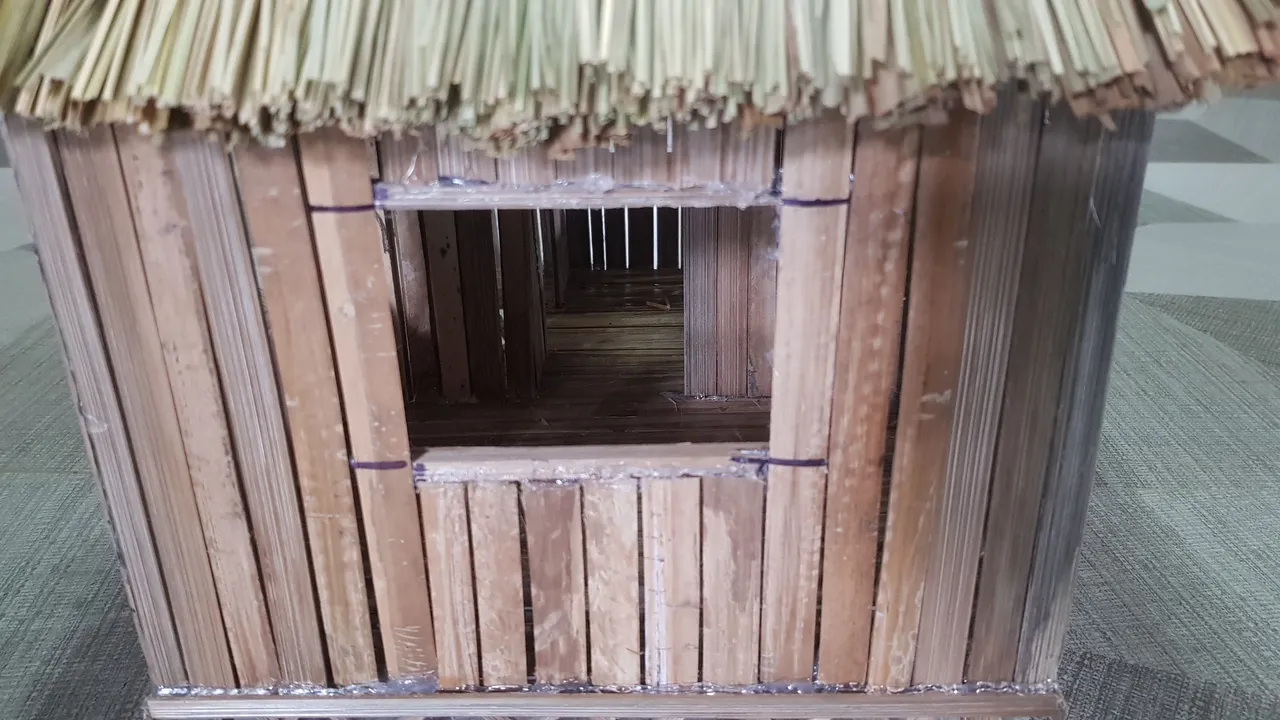
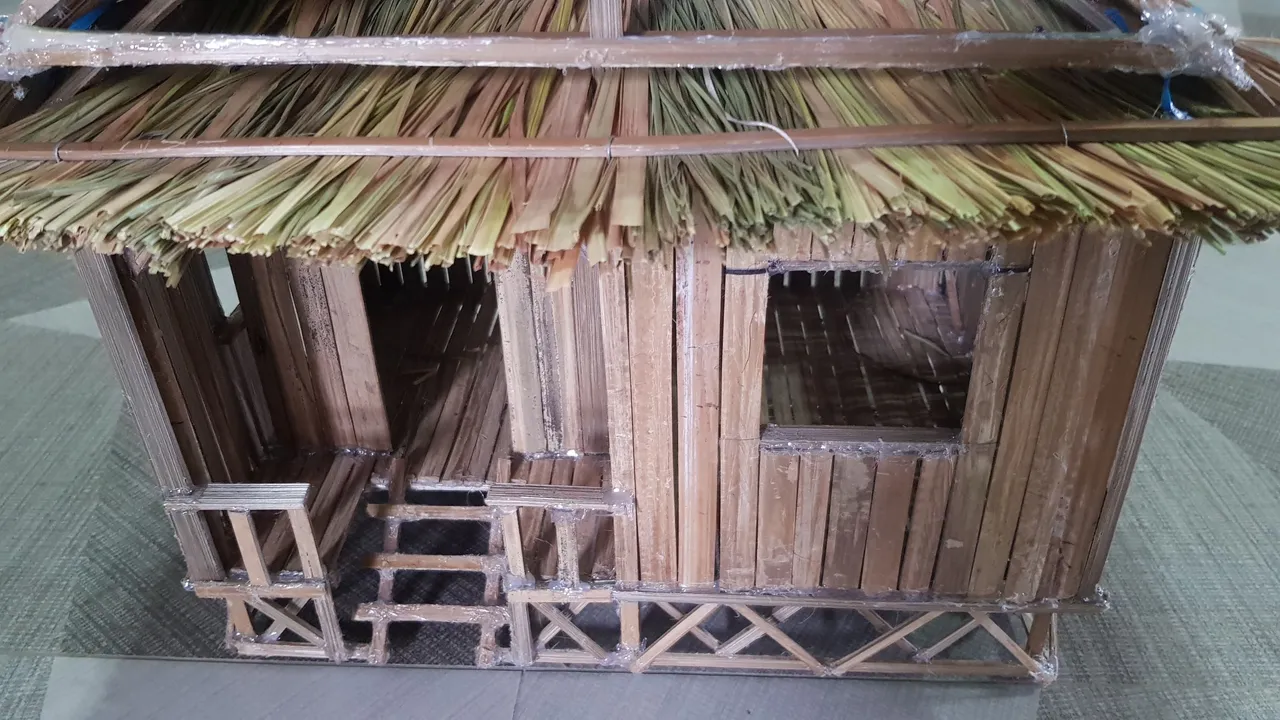
On day five it is time to start building the four windows of the Bahay Kubo.
Some of the bamboos that I used to build the windows and walls of the Bahay Kubo


DAY 6
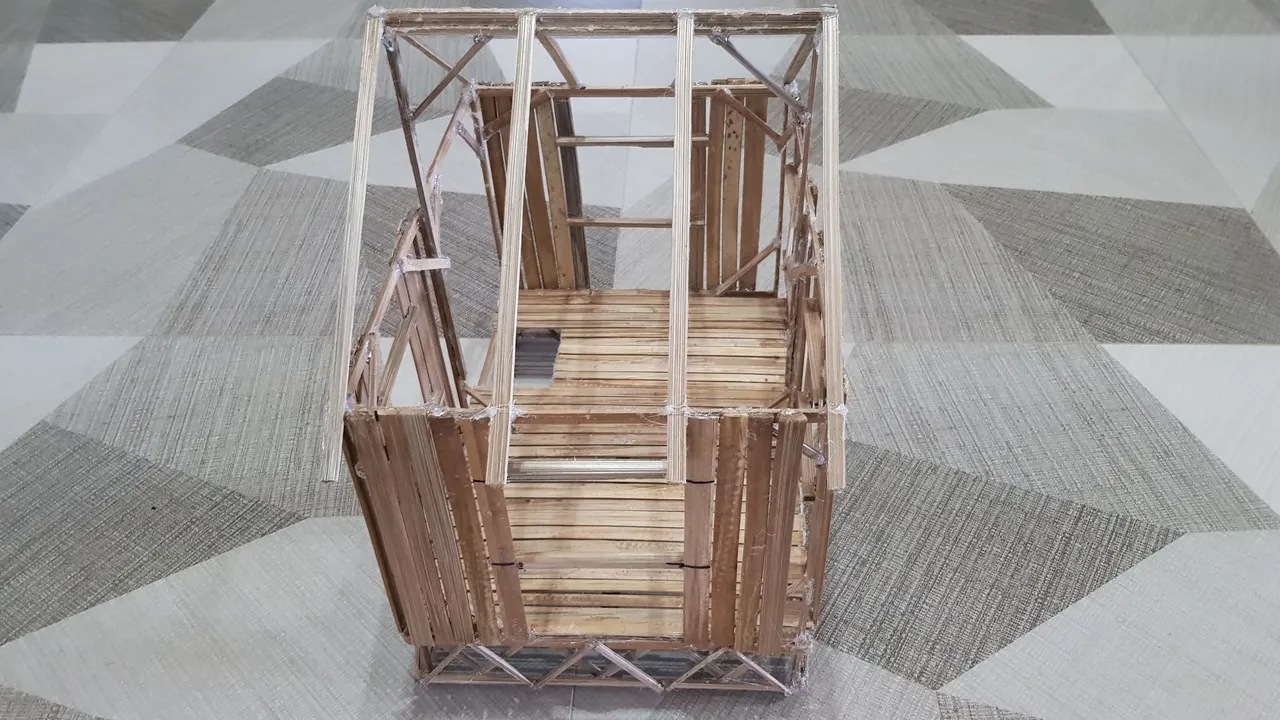
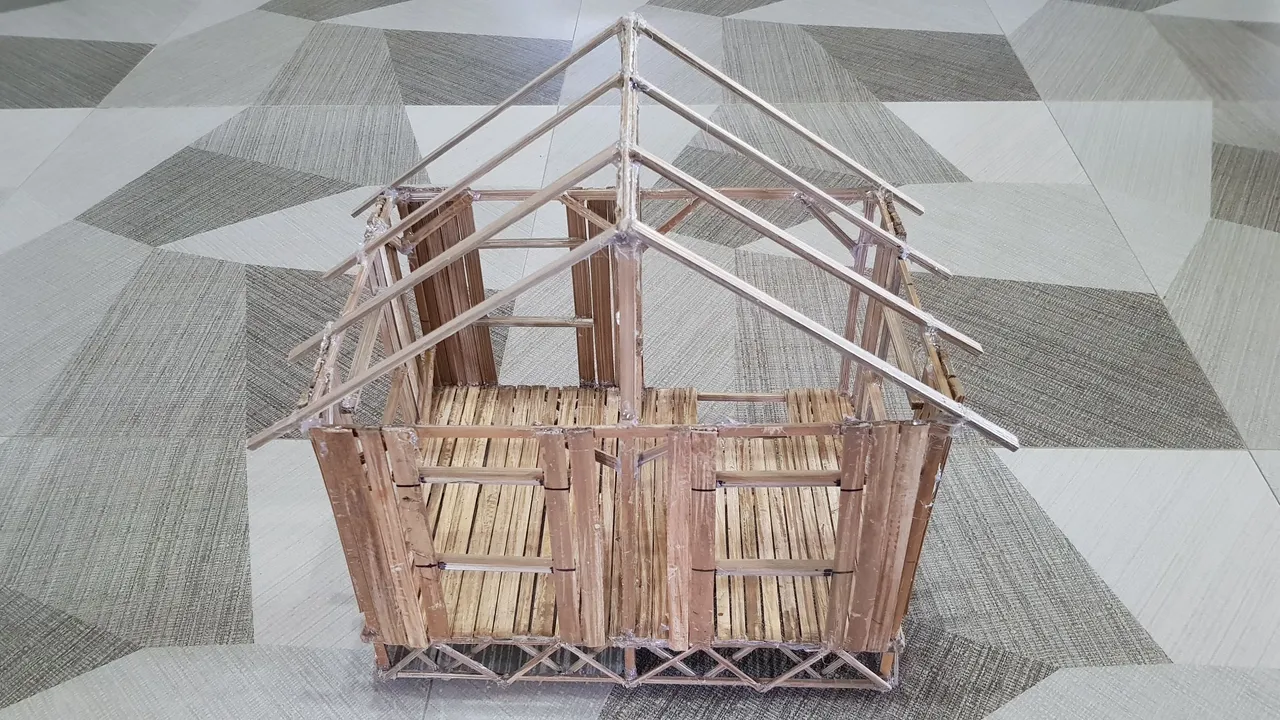
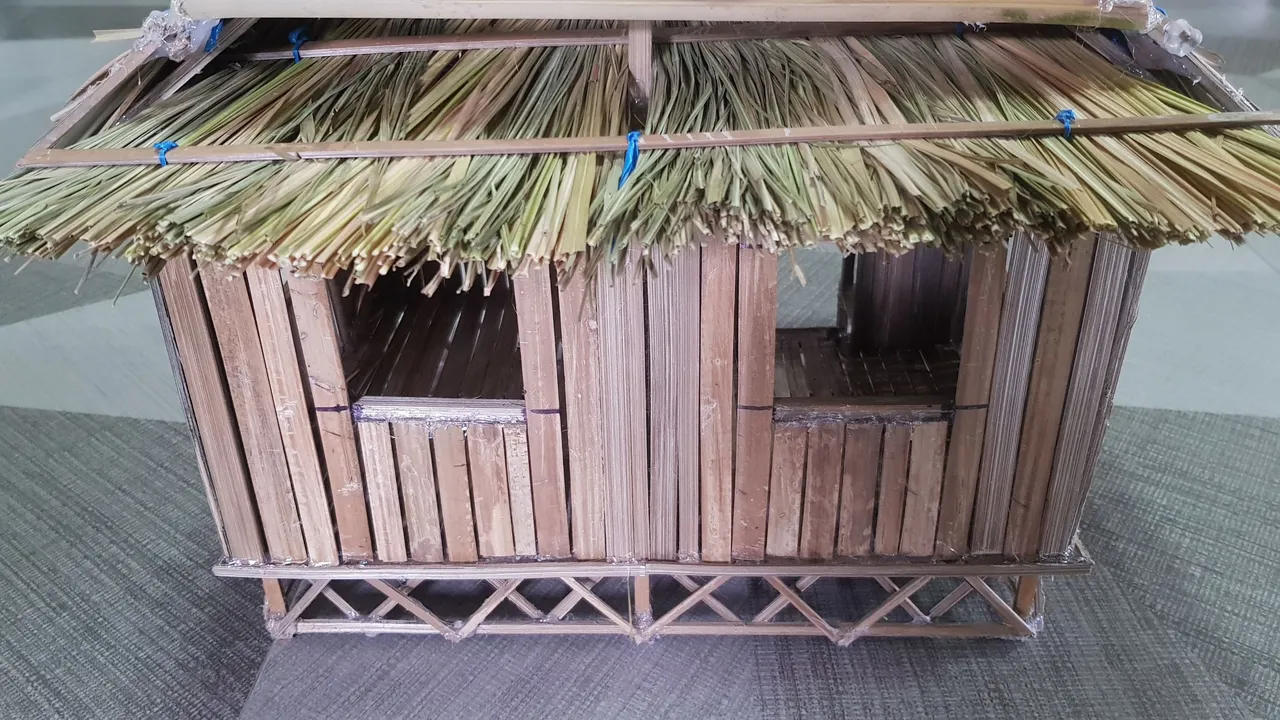
On day six I started to glue the walls of the Bahay Kubo

DAY 7
Day seven is the continuation of gluing the walls of the Bahay Kubo
DAY 8
Then the 8th day comes.
By the way, the days that I indicated in this publication does not mean that I am building the Bahay Kubo on consecutive days, it simply means the number of days of building the Bahay Kubo (sometimes there are days/days that I was not able to spare some time in building the Bahay Kubo).
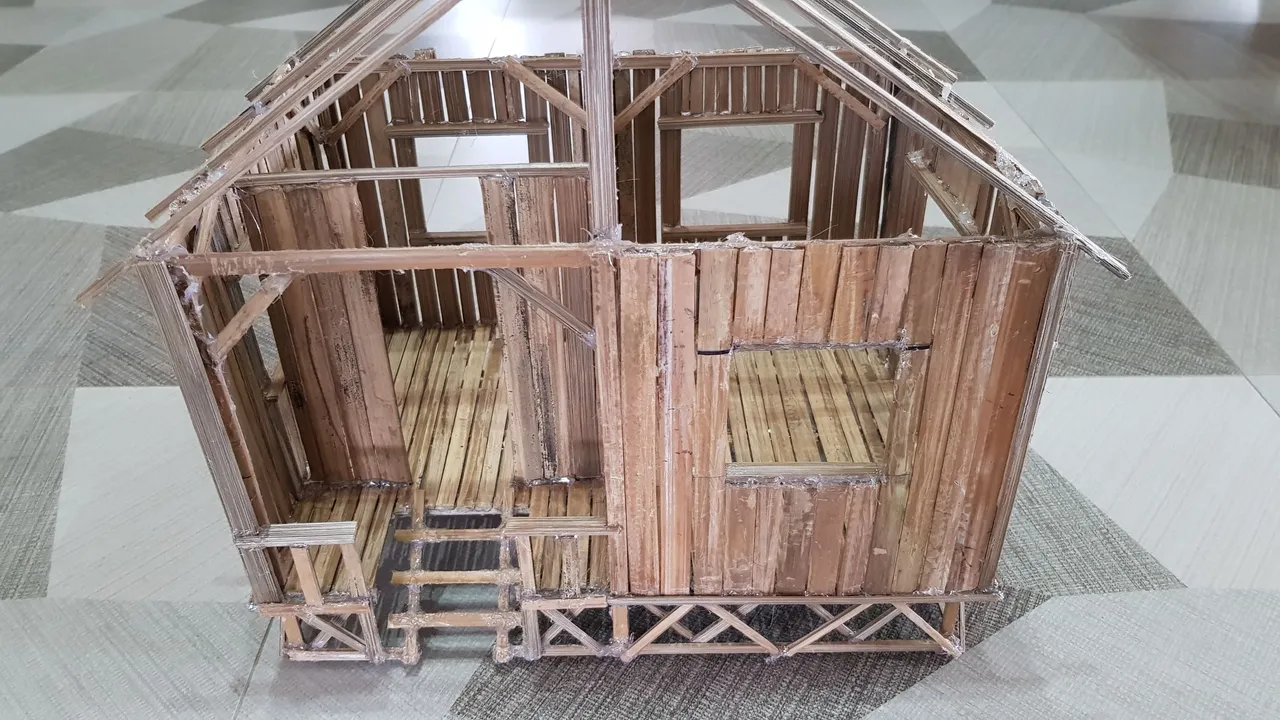
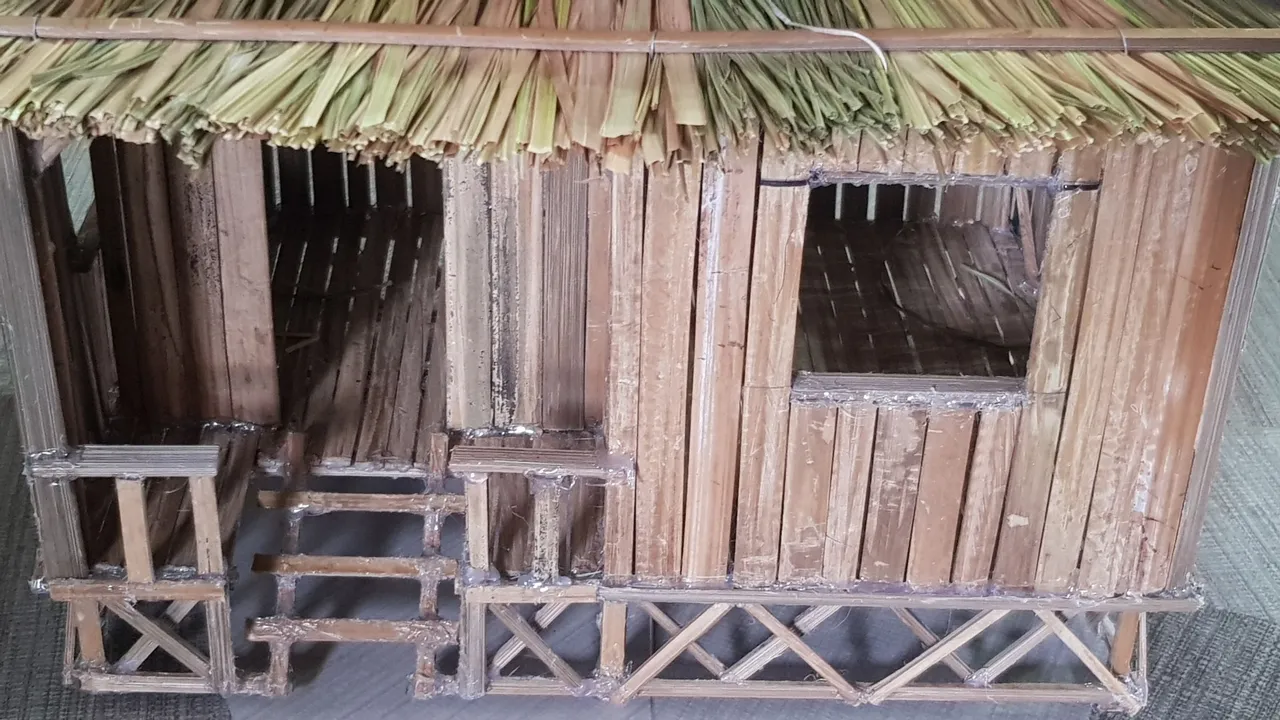
Day 8 is when I put the doors into place
DAY 9
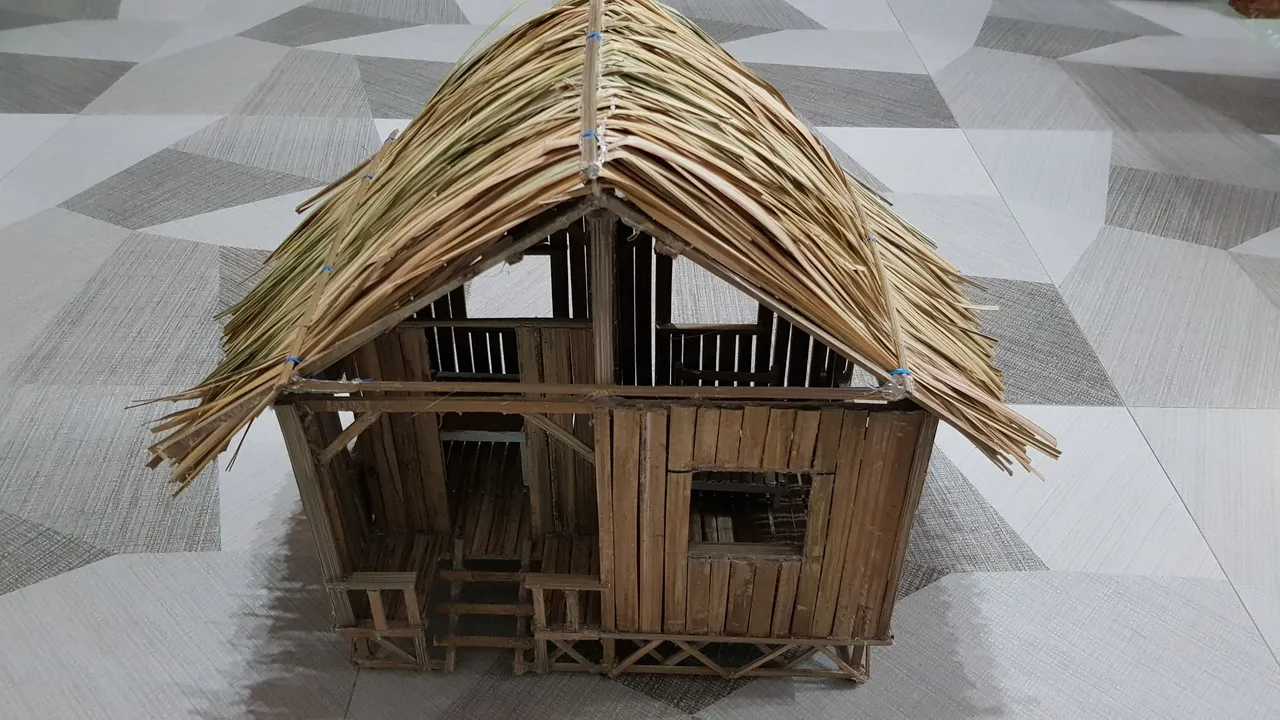
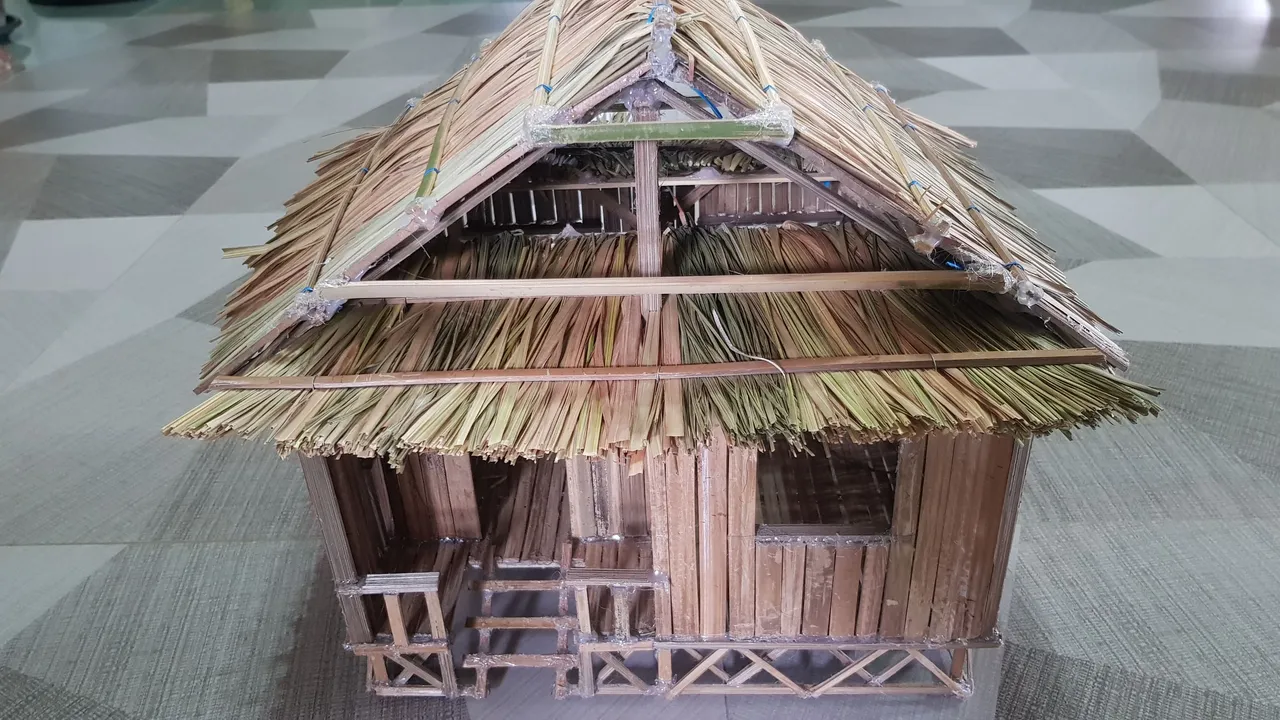
On the ninth day, I made the stairs of the Bahay Kubo and I started to build the roof (I used cogon grass for the roof)
The stairs turn out to be cute, isn't it?
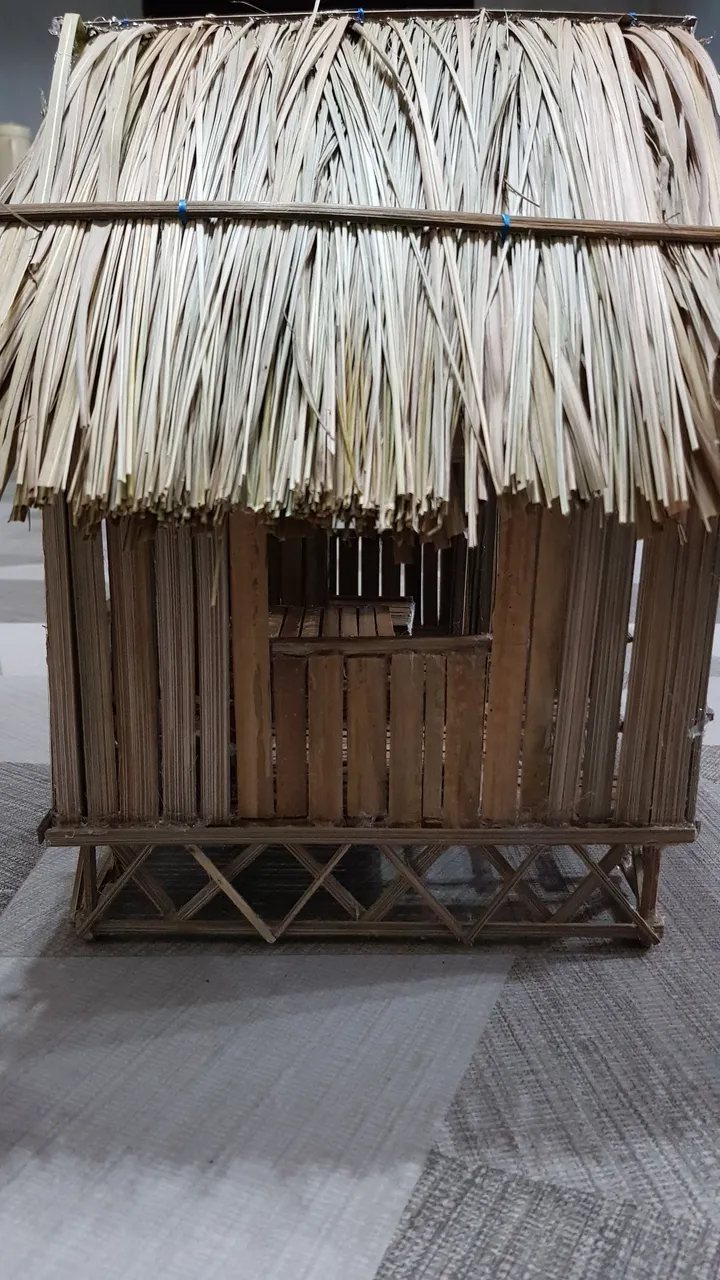
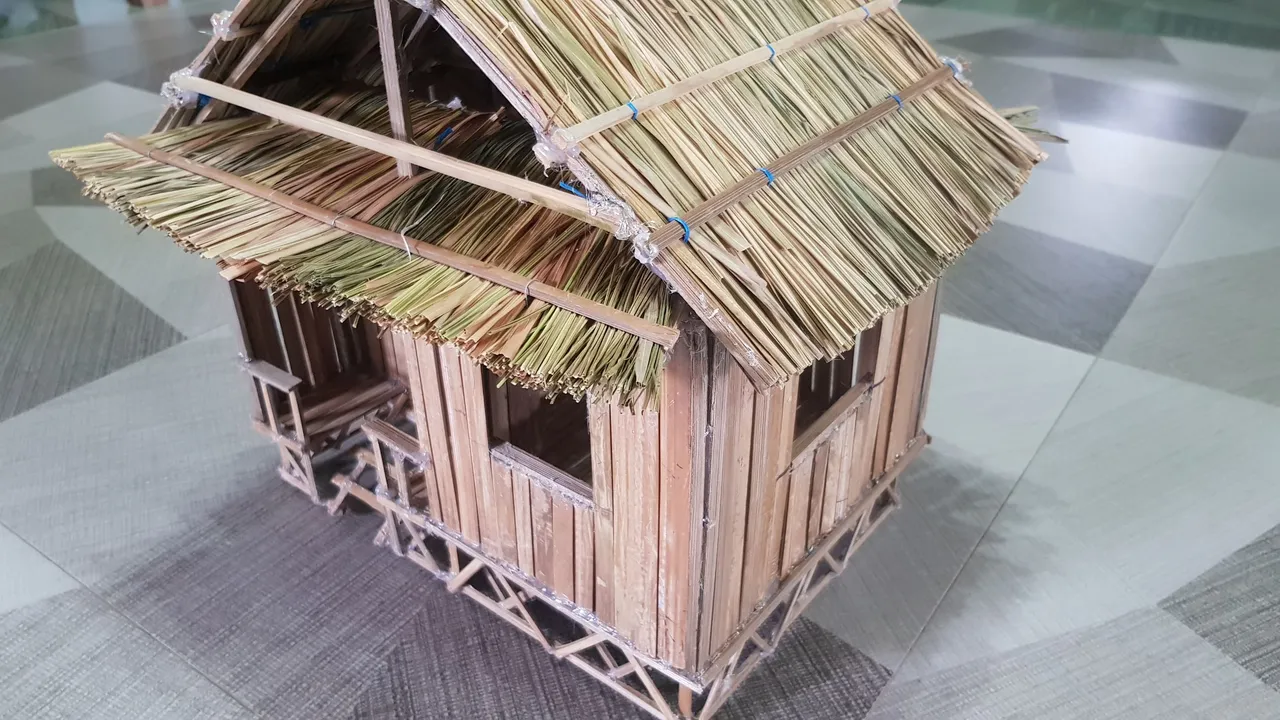
Here's how it looks when I first put the cogon grass for the roof.
DAY 10
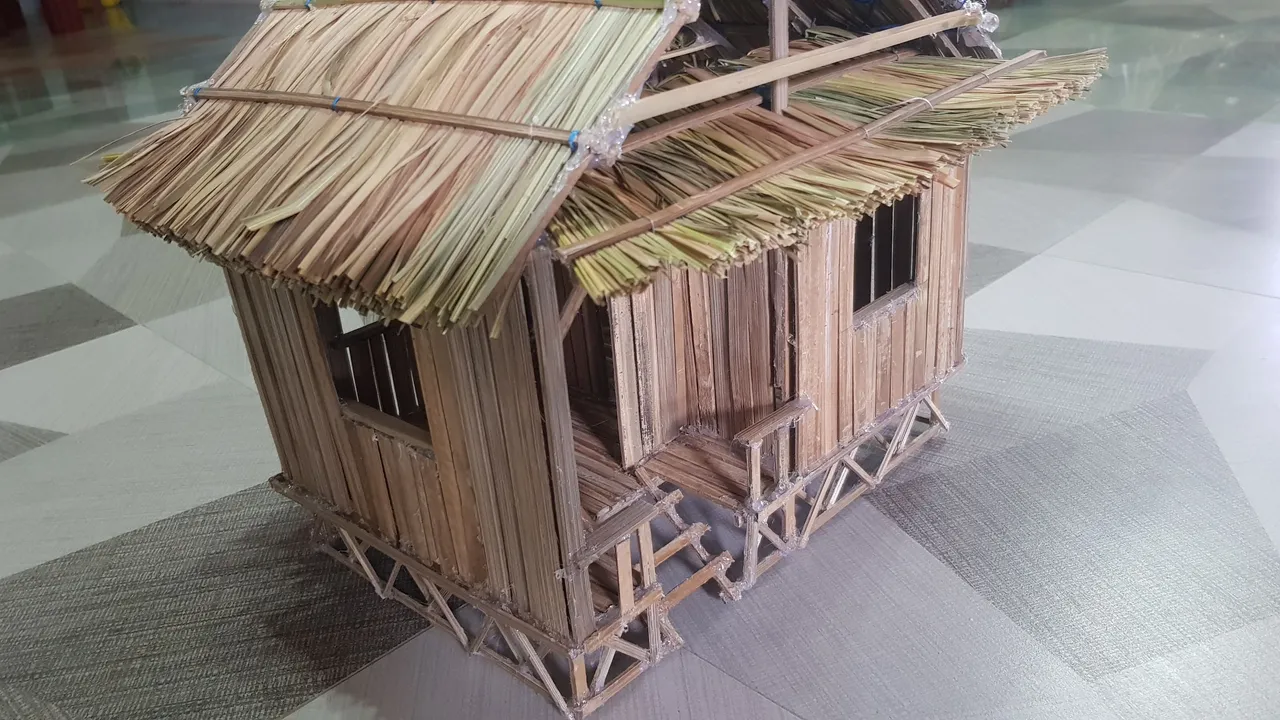
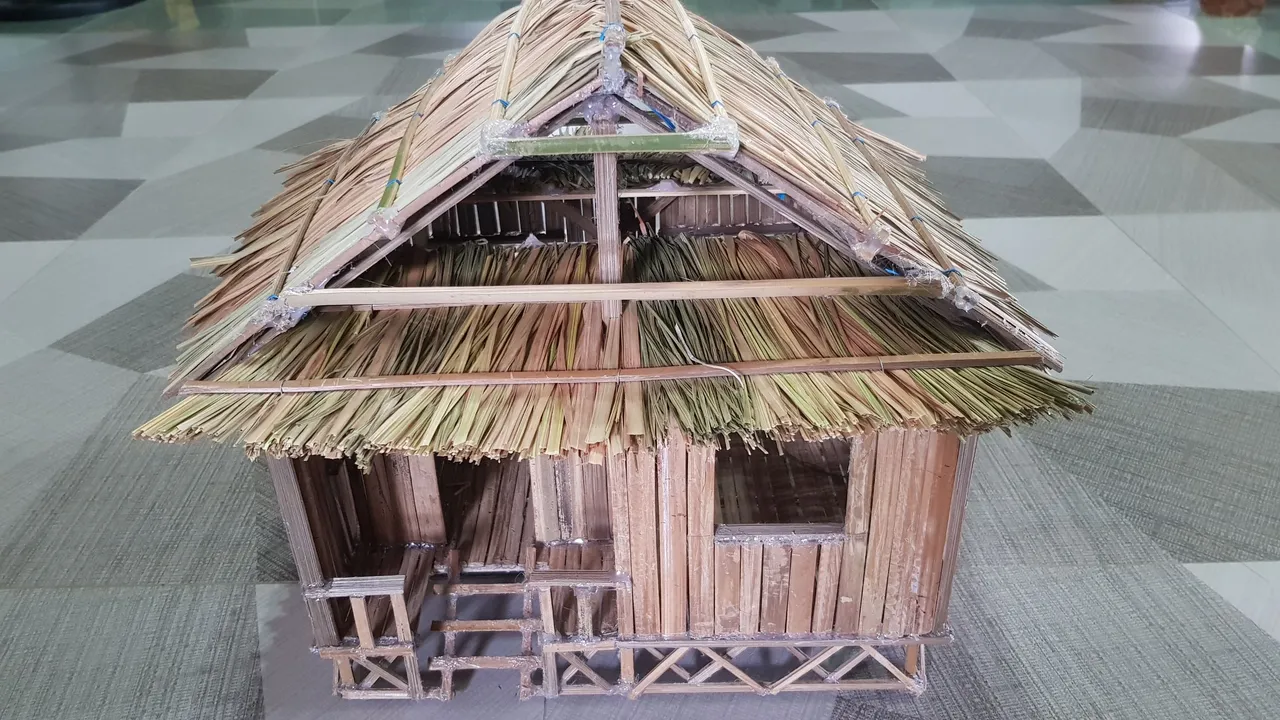
The tenth day is the final day of building the Bahay Kubo. On this day I finally put the final piece of the roof.

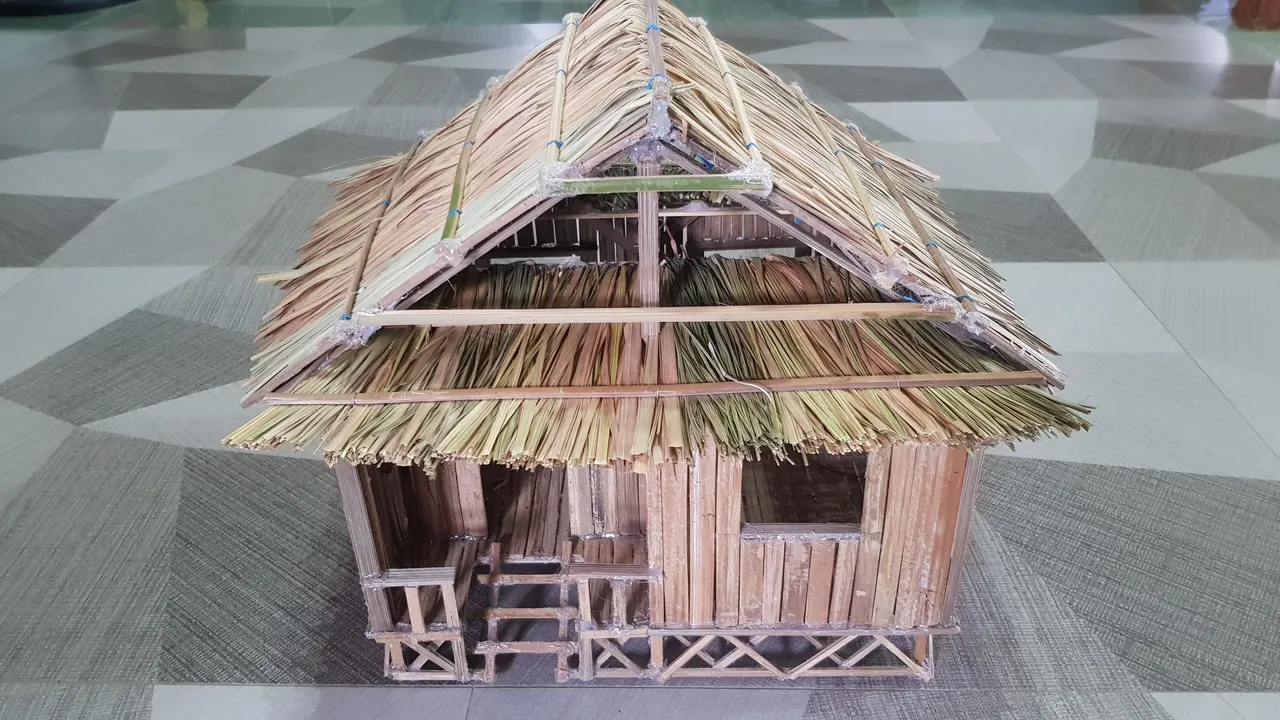
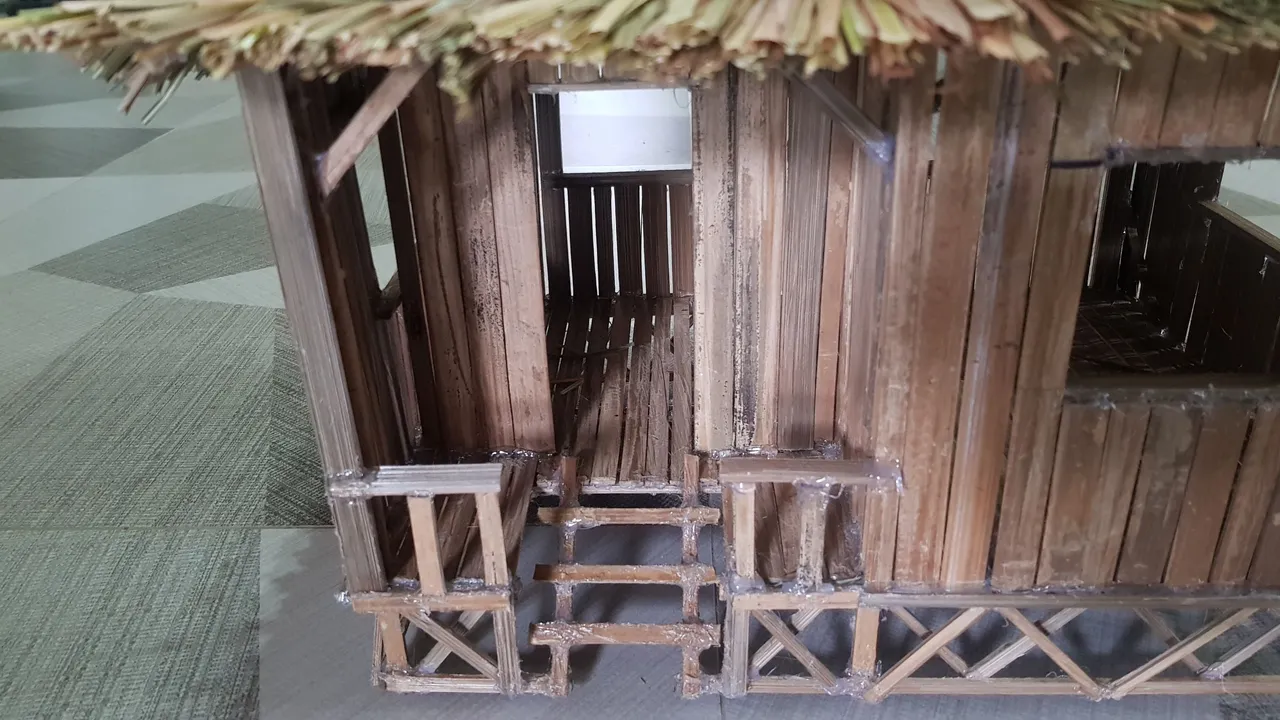
Close up of the stairs
And here's the finished product side by side with the bed, table, and chair that I made for this series
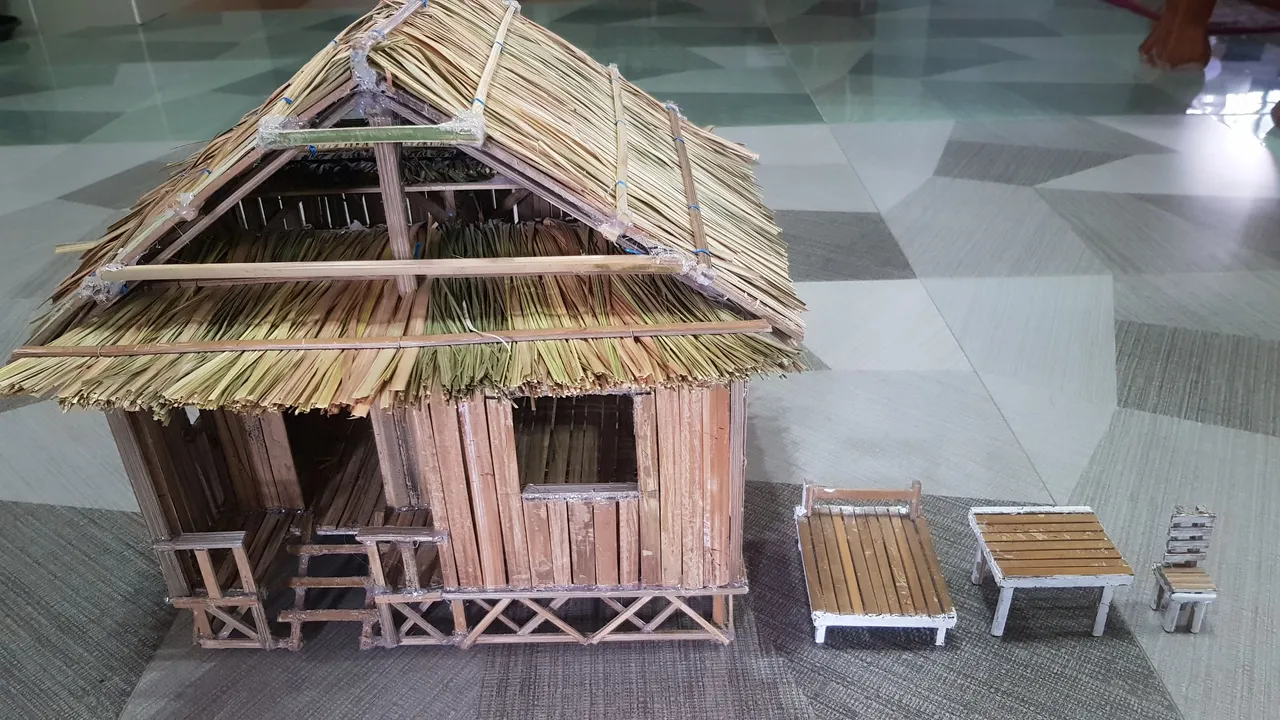
The bamboo bed inside the Bahay Kubo

The bamboo table and the bamboo chair inside the Bahay Kubo

And finally, I put the Bahay Kubo on display on our sala