ESPAÑOL
Hoy como todos los lunes nos encontramos en este espacio para dar a conocer nuestros trabajos semanales y compartir con nuestras amigas virtuales.
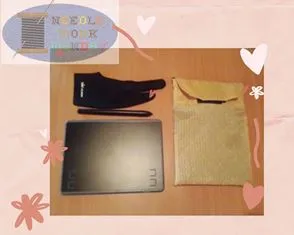
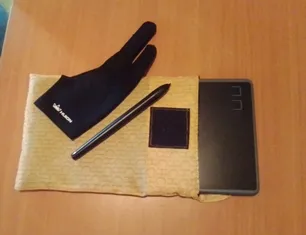
Hace pocos días mi hija @nicxi realizo una compra gracias a HIVE, entre ellas una tableta gráfica y otras cosas que eran necesarias para continuar con sus prácticas en el área de Diseño Gráfico.
Entonces me puse manos a la obra y le realice un forro protector para su activo y no se vaya a deteriorar tan rápido con el paso del tiempo, te traigo el paso a paso del forro.

Busqué entre mi caja de costura una tela que tenía guardada de otra cartera que ya no usaba pero me gusto su forro y lo guarde.
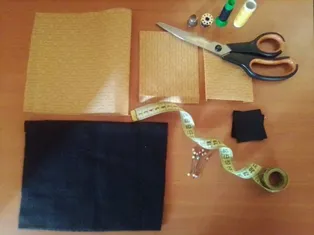
Tomé las medidas de lo que necesitaba, tamaño de la tableta, bolsillos internos para el lápiz y el cable.
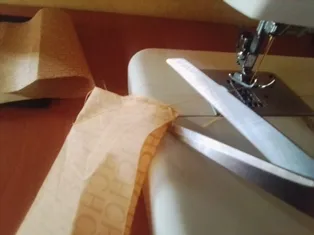
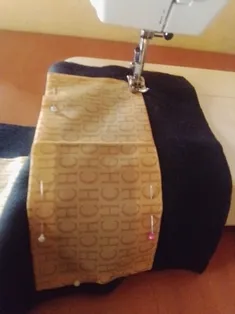
Cosí con mucho cuidado ya que esta tela era un poco floja y temía que se corriera al coser.
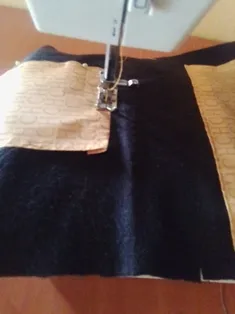
Cosí todos los extremos menos 1, me di cuenta que necesitaba una tela un poco más gruesa y se me ocurrió colocarle fieltro internamente que le dio un poco más de protección y rigidez.
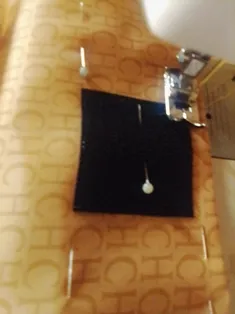
Con ayuda de unos alfileres sujete los bolsillos internos y cosí.
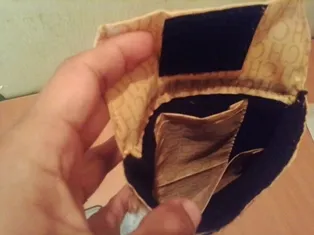
Aquí puedes observar como quedaron listos los bolsillos internos.
Agregue a la costura de este forro un cierre mágico.
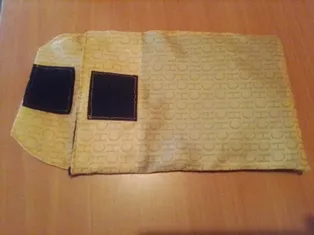
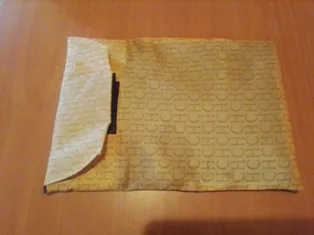
Y así quedo terminado mi proyecto de forro protector para una tableta gráfica.
A pesar de ser un proyecto sencillo, lo hice con mucho amor para mi hija y lo mejor es que ella quedo muy contenta y agradecida, además le encanto la tela que utilice.
Hasta aquí mi publicación por el día de hoy, espero que sea de tu agrado y pueda leer tus comentarios por alguna duda o sugerencia.
Te envío un caluroso abrazo virtual y muchas bendiciones. Continúen creando, nos leemos.

- Todas las fotografías aquí presentadas son de mi propiedad, tomadas con mi teléfono Blu Studio X10
- Los separadores los realice con ayuda de PowerPoint
- El banner lo realice en Canva
- Mi idioma natal es el español, realice la traducción con ayuda de Deepl.com
ENGLISH
Today as every Monday we meet in this space to share our weekly work and share with our virtual friends.
A few days ago my daughter @nicxi made a purchase thanks to HIVE, among them a graphic tablet and other things that were necessary to continue with her practices in the area of Graphic Design.
So I got down to work and made a protective lining for its asset and not going to deteriorate so fast with the passage of time, I bring you the step by step of the lining.
I searched through my sewing box for a fabric I had saved from another wallet I no longer used, but I liked the lining and put it away.
I took measurements of what I needed, tablet size, internal pockets for stylus and cable.
I sewed very carefully as this fabric was a bit loose and I was afraid it would run when sewing.
I sewed all but 1 end, realized that I needed a slightly thicker fabric and thought of putting felt on it internally which gave it a little more protection and stiffness.
With the help of pins, fasten the inner pockets and sew.
Here you can see how the internal pockets are ready.
Add to the stitching of this lining a magic zipper.
And that's how my project of a protective cover for a graphic tablet was finished.
Despite being a simple project, I made it with a lot of love for my daughter and the best thing is that she was very happy and grateful, she also loved the fabric I used.
So far my publication for today, I hope you like it and I can read your comments for any questions or suggestions.
I send you a warm virtual hug and many blessings. Keep on creating, we will read each other.
- All the photographs presented here are my own, taken with my Blu Studio X10 phone.
- The separators were made with the help of PowerPoint
- The banner was made in Canva
- My native language is Spanish, I made the translation with the help of Deepl.com