¡Un saludo a todos! En esta oportunidad les traigo una nueva edición en Photoshop, cortesía del curso de platzi.com y siendo el segundo proyecto que hago a través de este, luego de haber aprendido un par más de herramientas. La verdad, siento que podría haberlo hecho mejor teniendo mucha mas experiencia manejando la herramienta, pero considerando que es uno de mis primeros proyectos, pues pienso que no esta mal. Así que a continuación los dejo con el proceso de esta edición ¡Espero les guste!
Greetings to all! This time I bring you a new Photoshop edition, courtesy of the platzi.com course and being the second project I do through this one after learning a couple more tools. To tell you the truth, I feel I could have done better having much more experience with the tool, but considering it's one of my first projects, I think it's not bad. So I leave you with the process of this edition. I hope you like it!
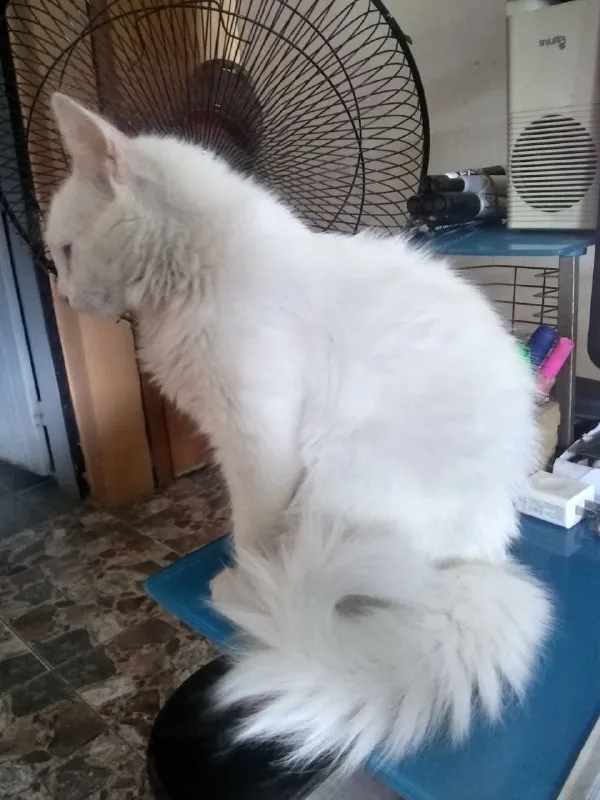
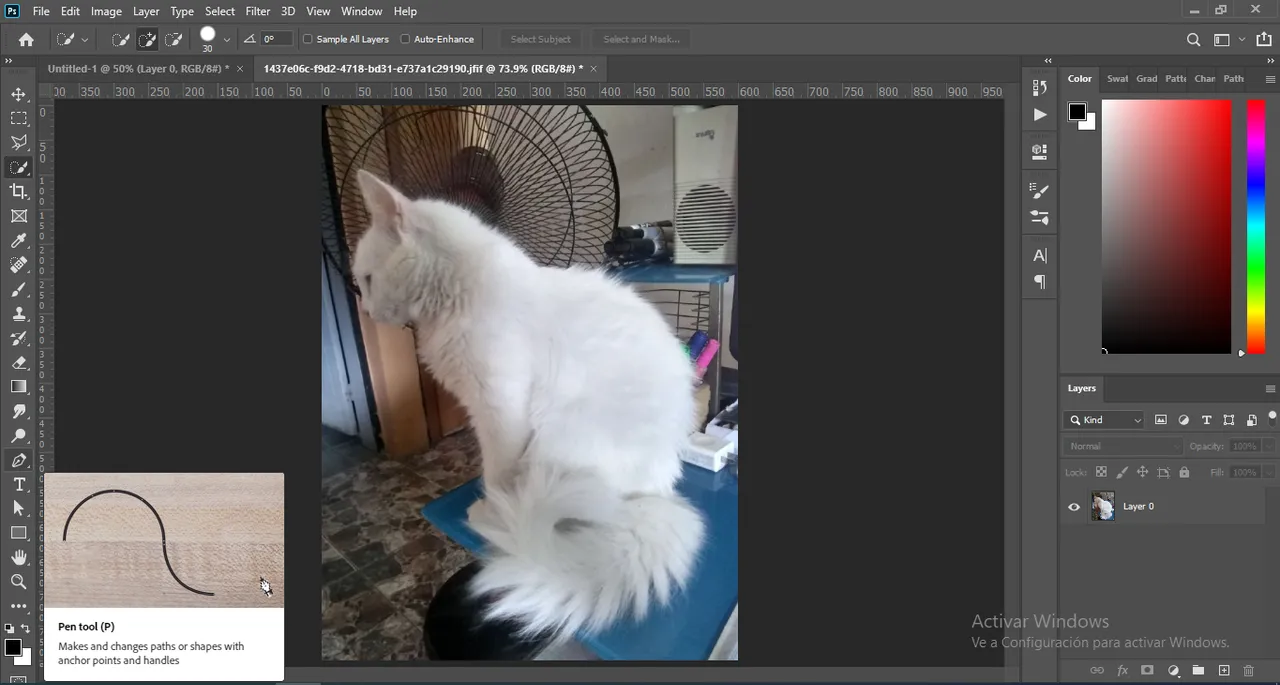
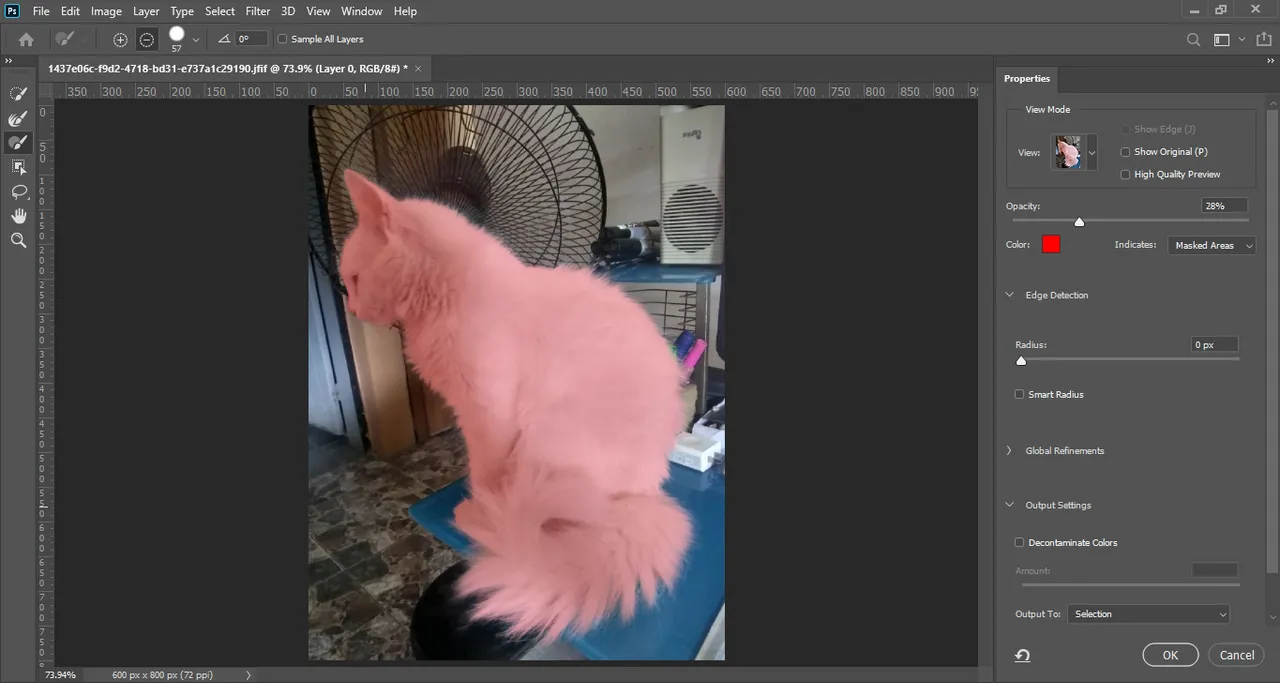
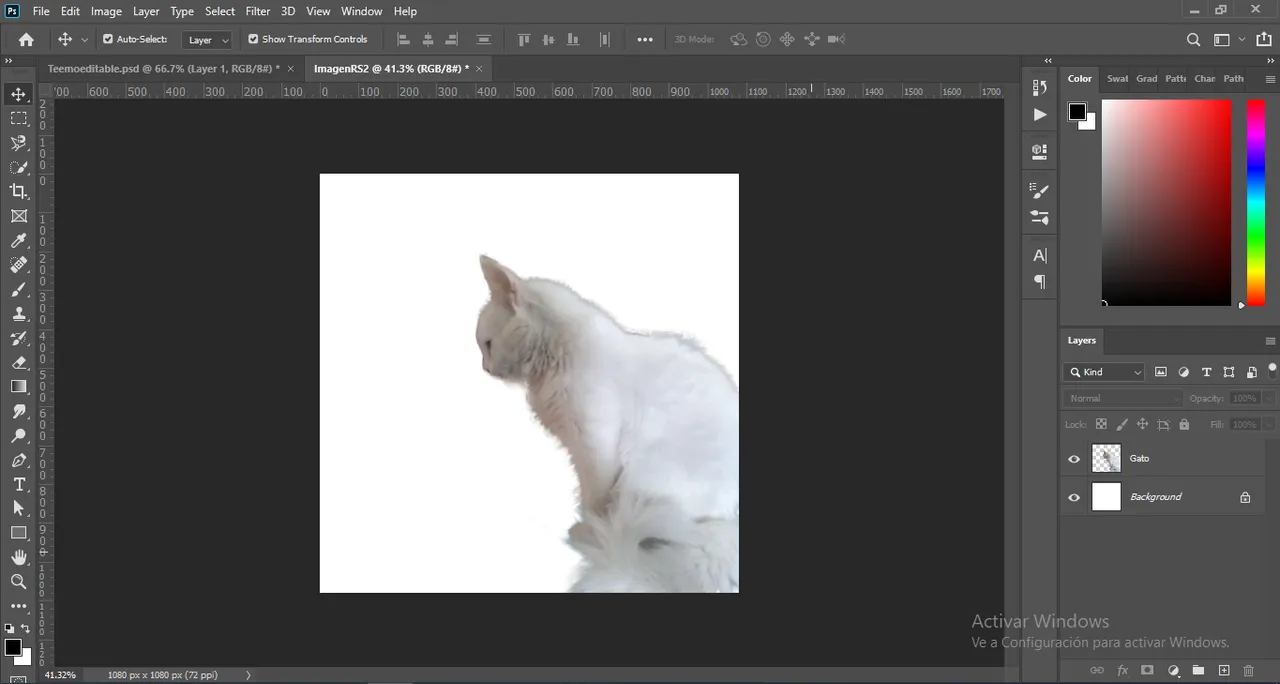
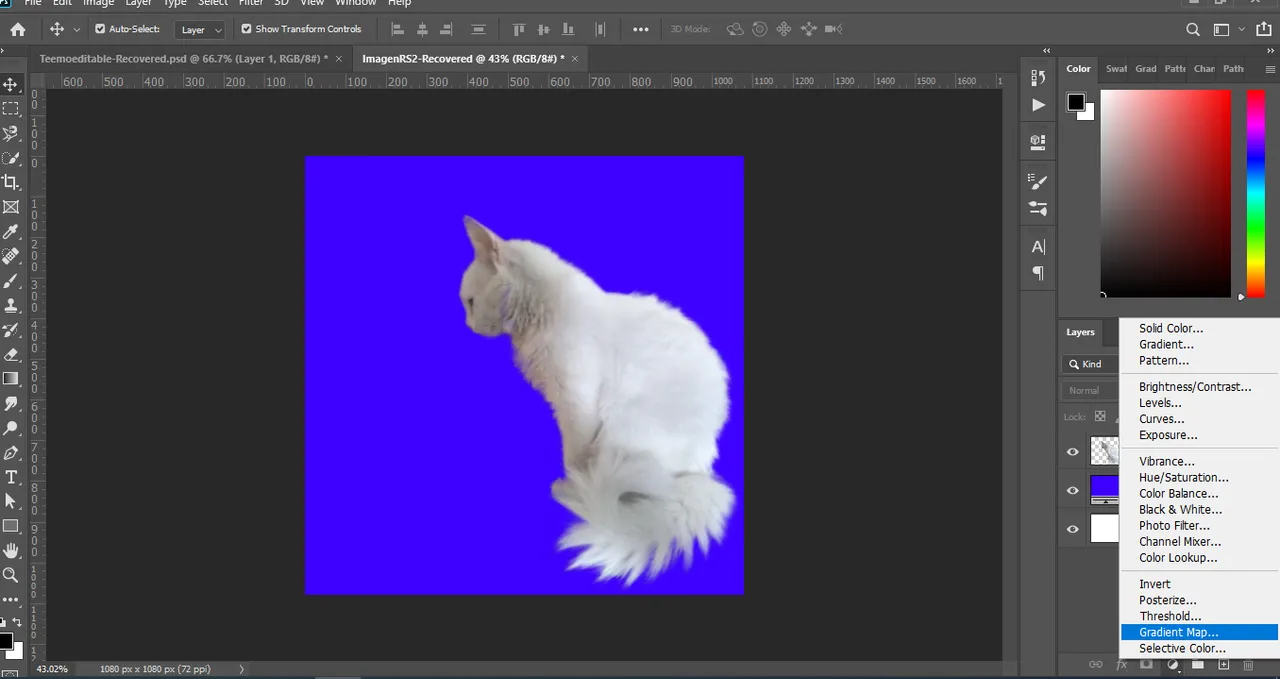
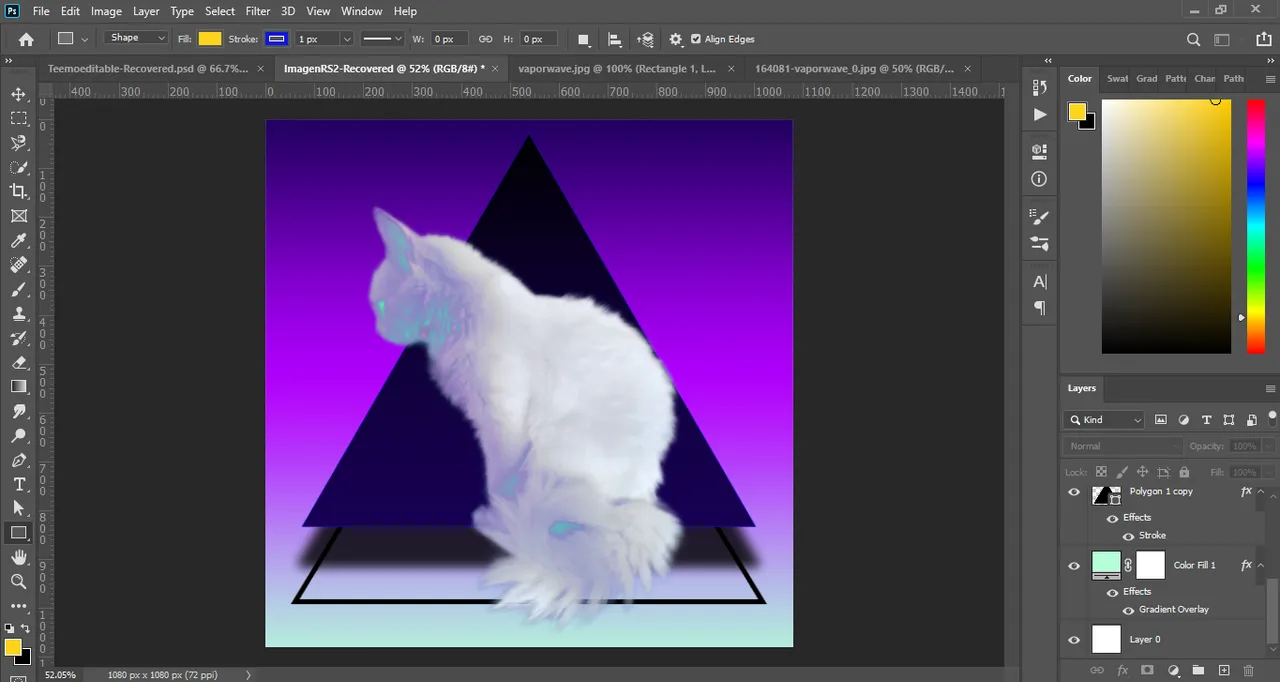
Para esta ocasión, la victima de esta edición fue mi gato, así que aproveche una foto que le tome hace un tiempo sobre la cual improvisaría y editaría utilizando lo recién aprendido en el curso y una de esas cosas fue, aprender a recortar con precisión una imagen; una de las cosas mas comunes que se hacen en Photoshop. Para ello utilicé la herramienta pluma, dibujando la silueta que quería recortar. Luego la convertí en una selección y finalmente utilicé los ajustes de selección ¡y listo! Imagen recortada.
For this occasion, the victim of this edition was my cat, so I took advantage of a photo I took some time ago and I would improvise and edit it using what I just learned in the course and one of those things was to learn how to accurately crop an image; one of the most common things to do in Photoshop. To do this I used the pen tool, drawing the silhouette I wanted to crop. Then I turned it into a selection and finally I used the selection settings and that's it! Crop image.
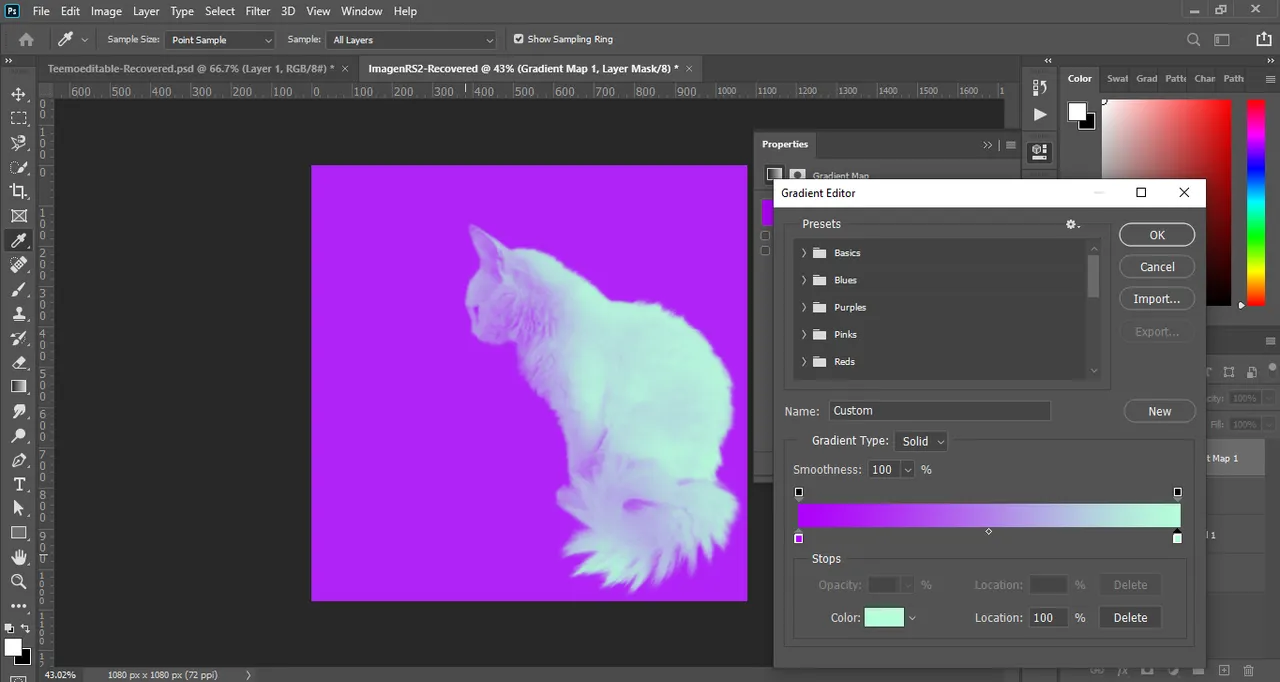
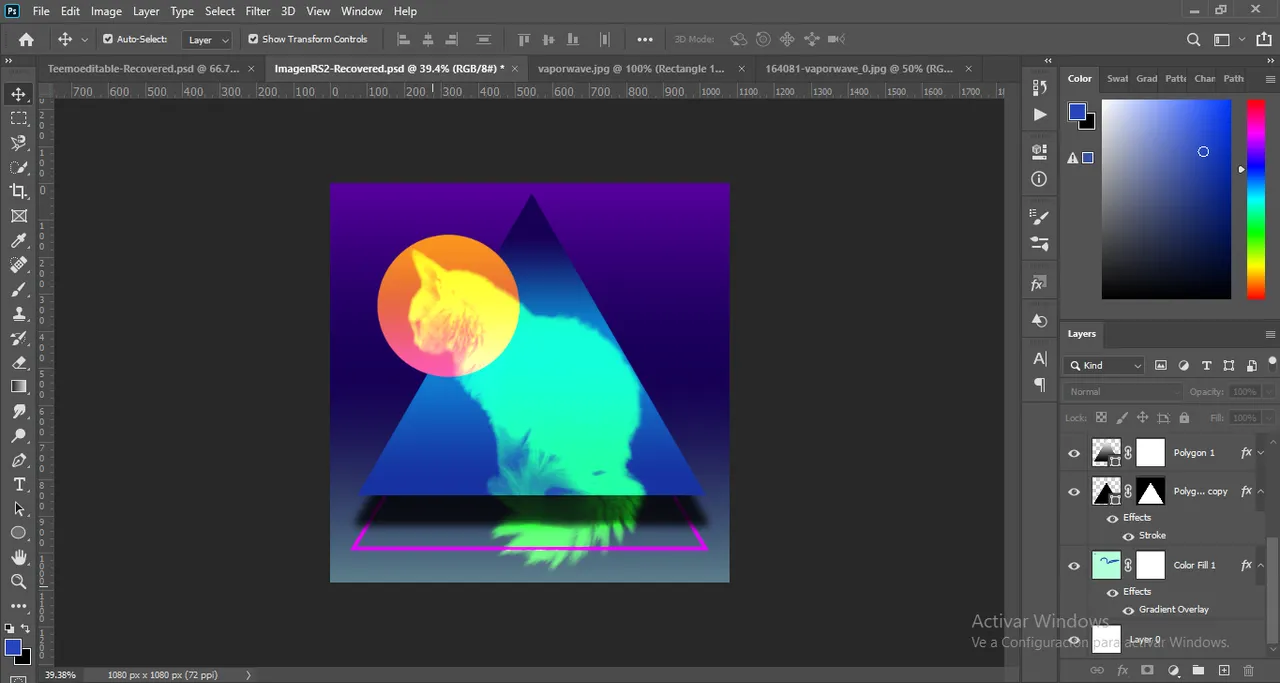
Después, le coloque un magenta solido al fondo, y a mi gato le aplique una capa de ajuste “gradient map” para generar un degradado tipo duotono entre los colores de este.
Then, I applied a solid magenta to the background, and to my cat I applied a "gradient map" adjustment layer to generate a duotone-like gradient between the colors of the cat.
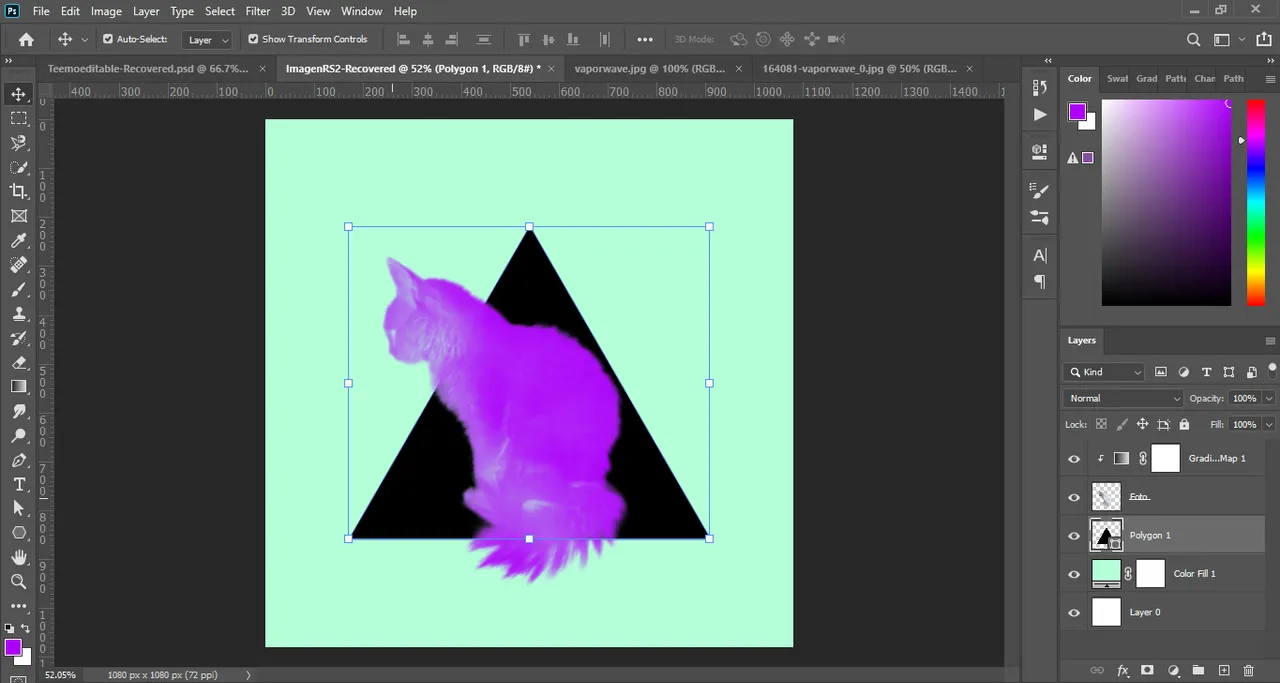
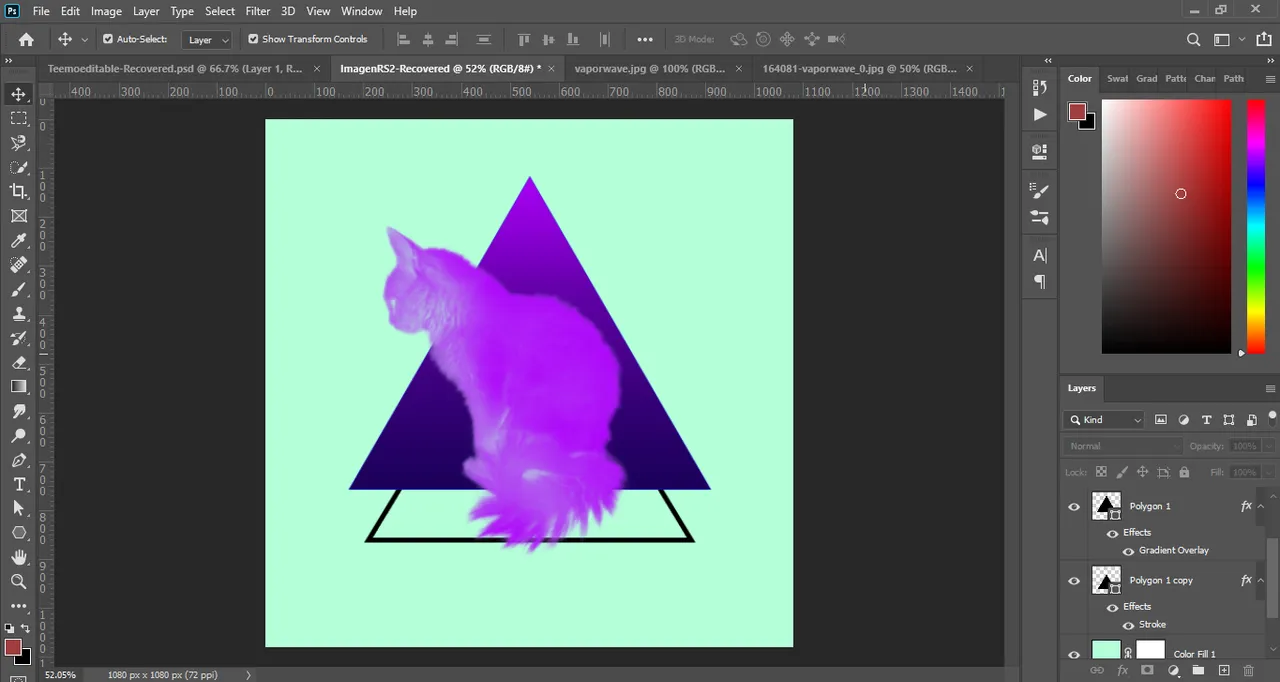
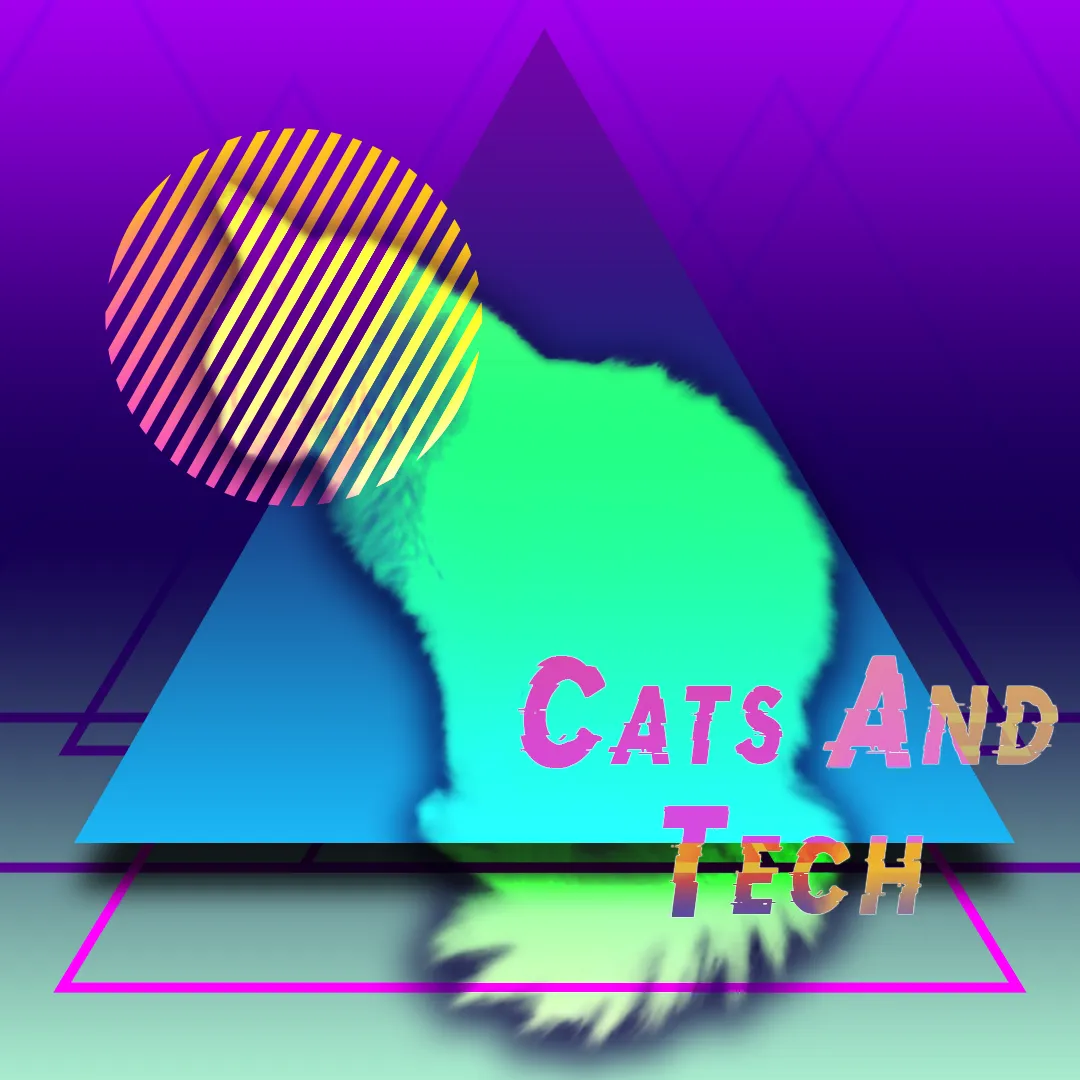
Luego, cambie un poco el fondo y probe una nueva composición la cual consistía en dar un efecto como si mi gato (Teemo ) venia o sobresalía de este triangulo flotante y mientras hacia esto, iba probando otros colores, como por ejemplo, el degradado de Teemo o en el interior del triangulo o como dije anteriormente, en el fondo.
Then, I changed the background a little bit and tried a new composition which consisted in giving an effect as if my cat (Teemo) was coming or protruding from this floating triangle and while doing this, I was trying other colors, for example, the gradient of Teemo or in the inside of the triangle or as I said before, in the background.
Aquí estaba probando nuevos colores y otros estilos de degradados para ver cual me convencía mas.
Here I was trying out new colors and other gradient styles to see which one suited me best.
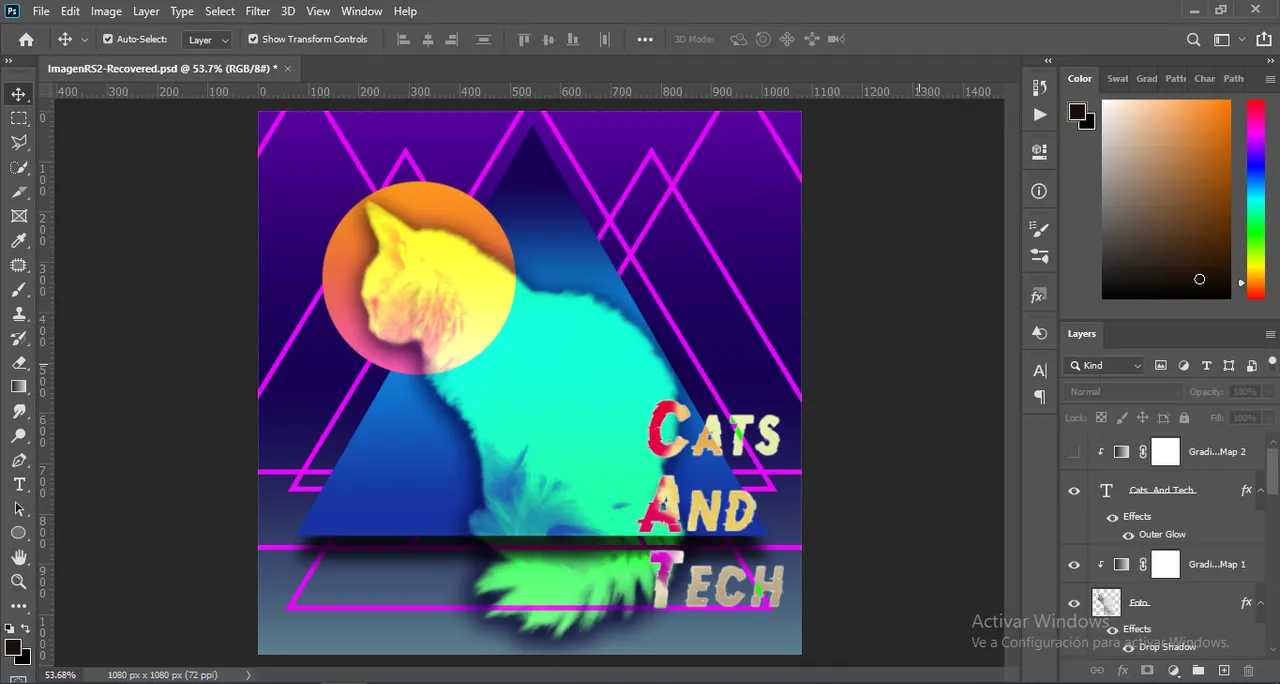
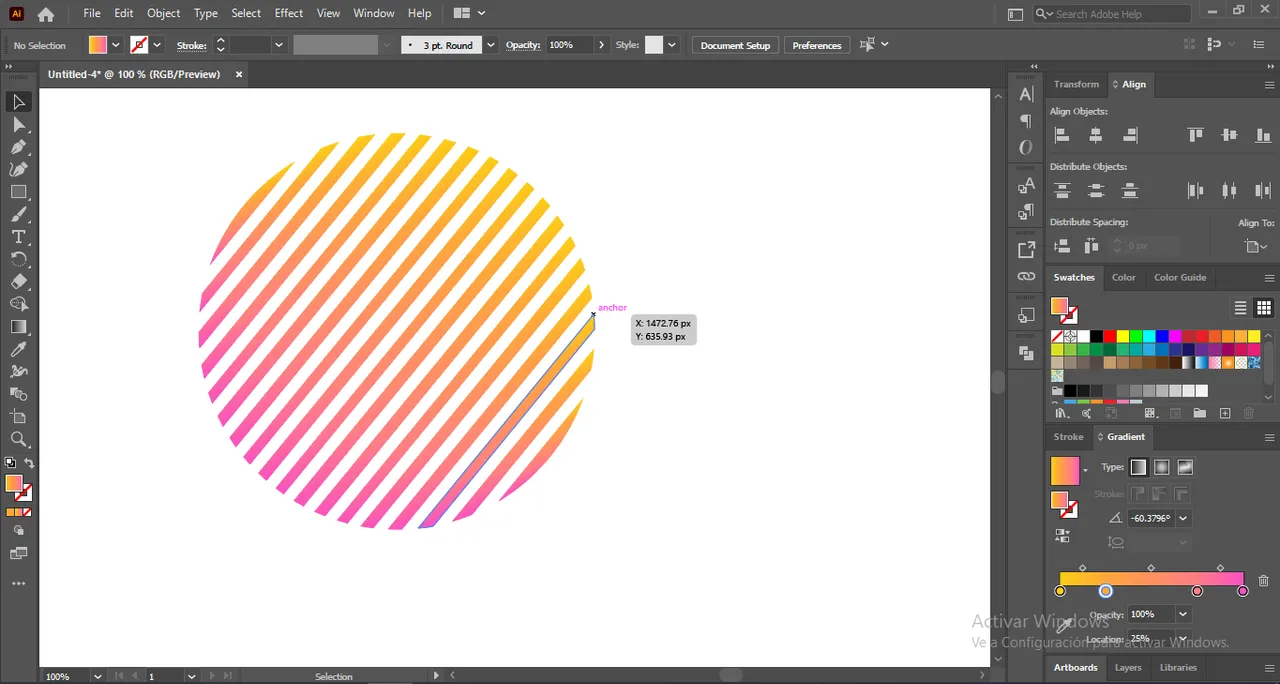
Agregue este circulo y le aplique un degradado tipo amanecer, pero inclinado más hacia al neón, ya que como podrán observar, al final me decidí ir por una paleta de colores estilo vaporwave. También cambie las propiedades de los colores del degrado de Teemo, en los modos de fusión para que estos se fusionaran y cambiaran según el fondo. Además de esto, agregue en el fondo varios trazados de triángulos para que este no se viese tan vacío. Mas tarde decidiría que haría con el color de estos, si dejarlos así o cambiarlos.
I added this circle and applied a sunrise type gradient, but leaning more towards neon, because as you can see, in the end I decided to go for a vaporwave style color palette. I also changed the properties of the Teemo gradient colors in the blend modes so that they would blend and change according to the background. In addition to this, I added several triangle paths to the background so that it didn't look so empty. Later I would decide what to do with the color of the triangles, whether to leave them like that or change them.

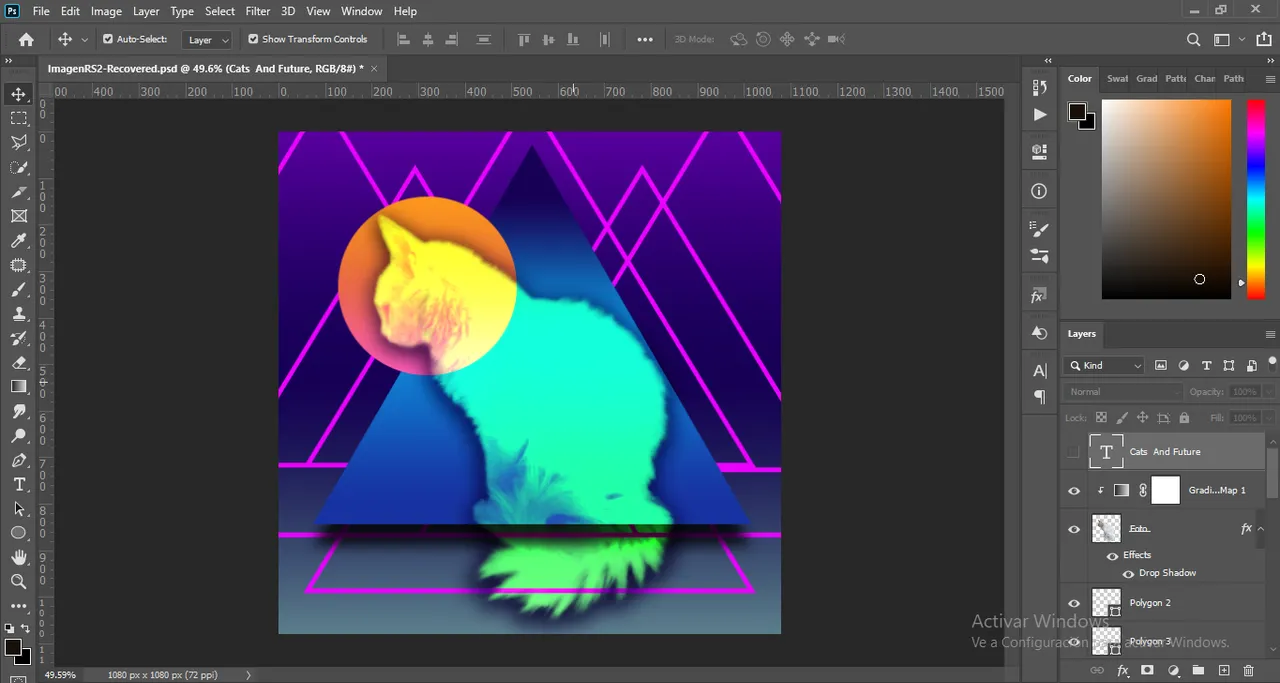
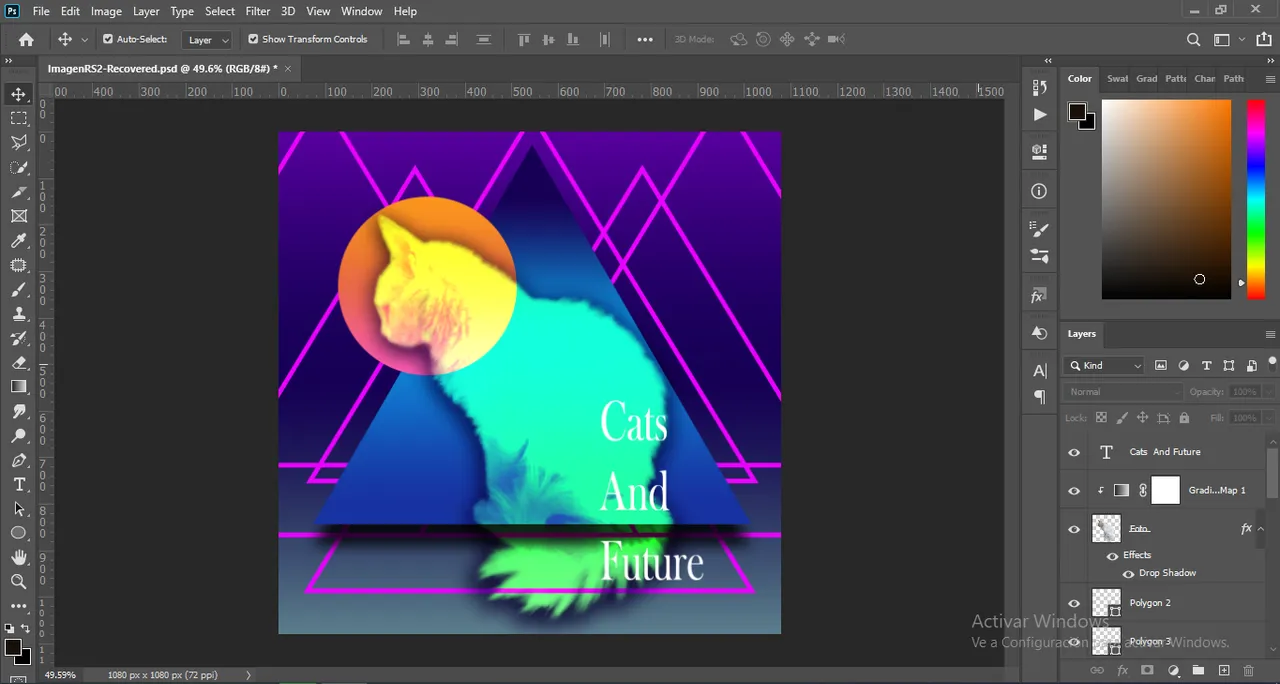
Luego agregue un poco de tipografía, la cual sería el título de esta edición “cats and tech” haciendo alusión a la fusión de los gatos con la tecnología. Luego, cambie el estilo de la tipografía por una mas acorde, así que descargue esa fuente tipo glitch, le aplique un degradado y con los ajustes de fusión, cambie las propiedades de los colores para que estos se fusionaran con el fondo y demás elementos.
Then I added some typography, which would be the title of this edition "cats and tech" alluding to the fusion of cats and technology. Then, I changed the style of the typography for a more appropriate one, so I downloaded that glitch font, applied a gradient and with the blend settings, changed the properties of the colors so that they would merge with the background and other elements.
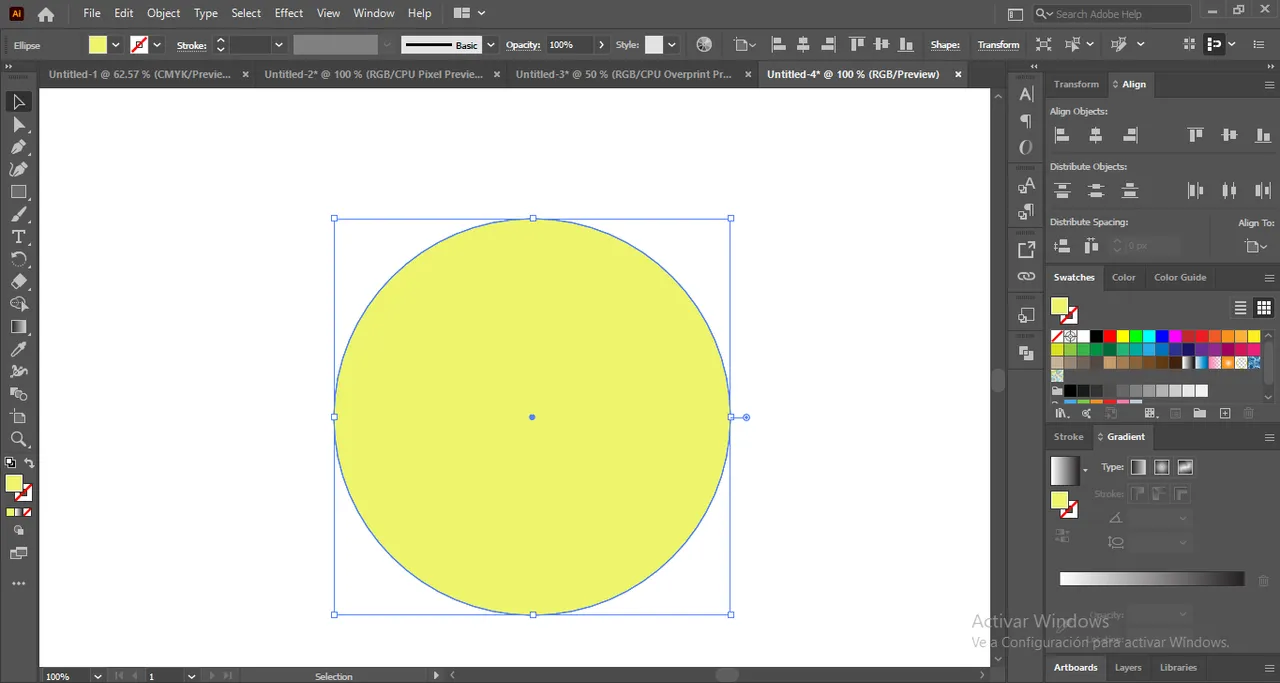
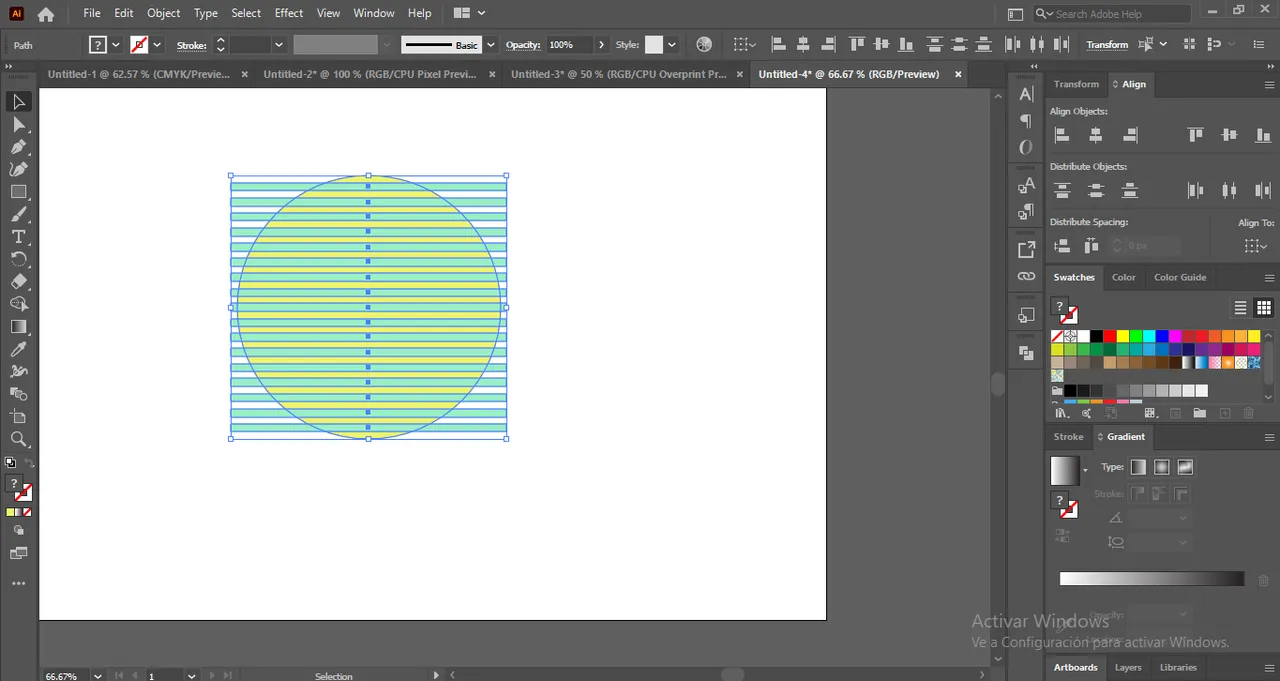
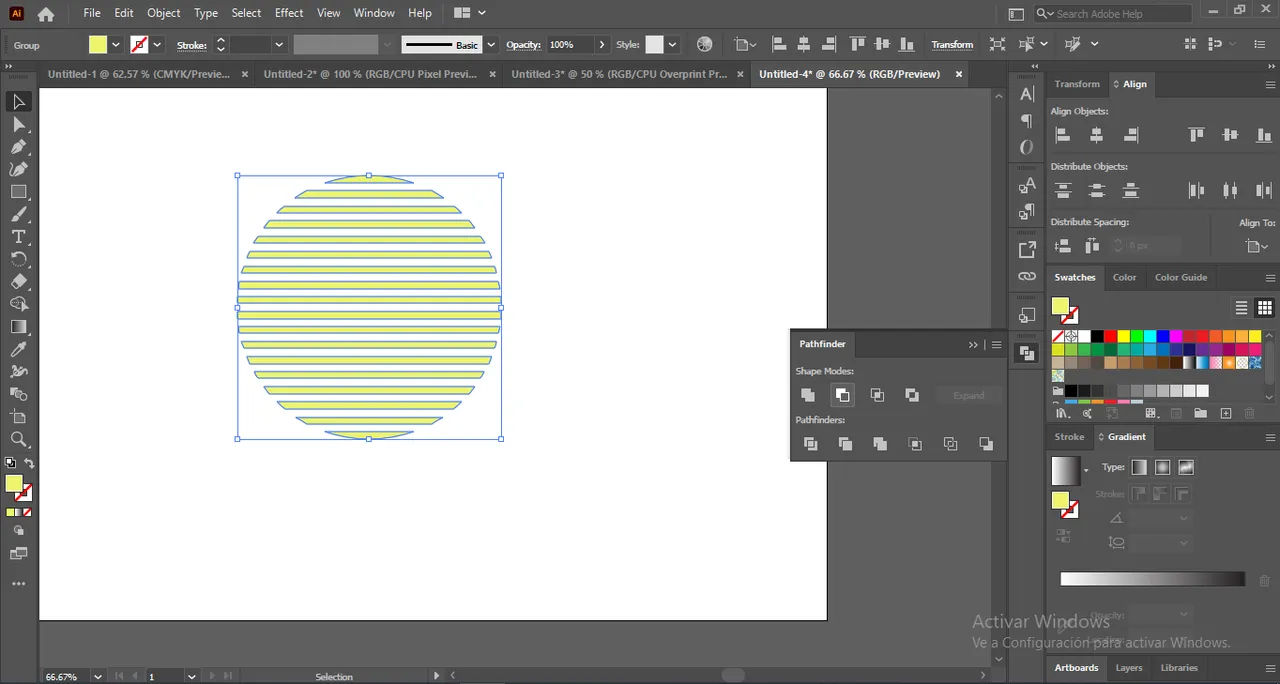
Faltando poco para terminar, quise hacer un poco más de alusión al vaporwave cambiando un poco el circulo. Para ello me fui a Illustrator, y estando allí cree un circulo nuevo y varios rectángulos los cuales usaría para dividir este circulo en partes iguales. Eso lo hice sobreponiendo los rectángulos en el circulo y con ayuda del busca trazos, elimine los rectángulos y me quedo este circulo dividido en secciones iguales. Después, simplemente aplique el degradado que poseía antes y lo importe a Photoshop.
Being close to finish, I wanted to make a little more allusion to vaporwave by changing the circle a little bit. For that I went to Illustrator, and being there I created a new circle and several rectangles which I would use to divide this circle in equal parts. I did that by superimposing the rectangles on the circle and with the help of the stroke finder, I removed the rectangles and I had this circle divided into equal sections. Then, I simply applied the gradient I had before and imported it into Photoshop.
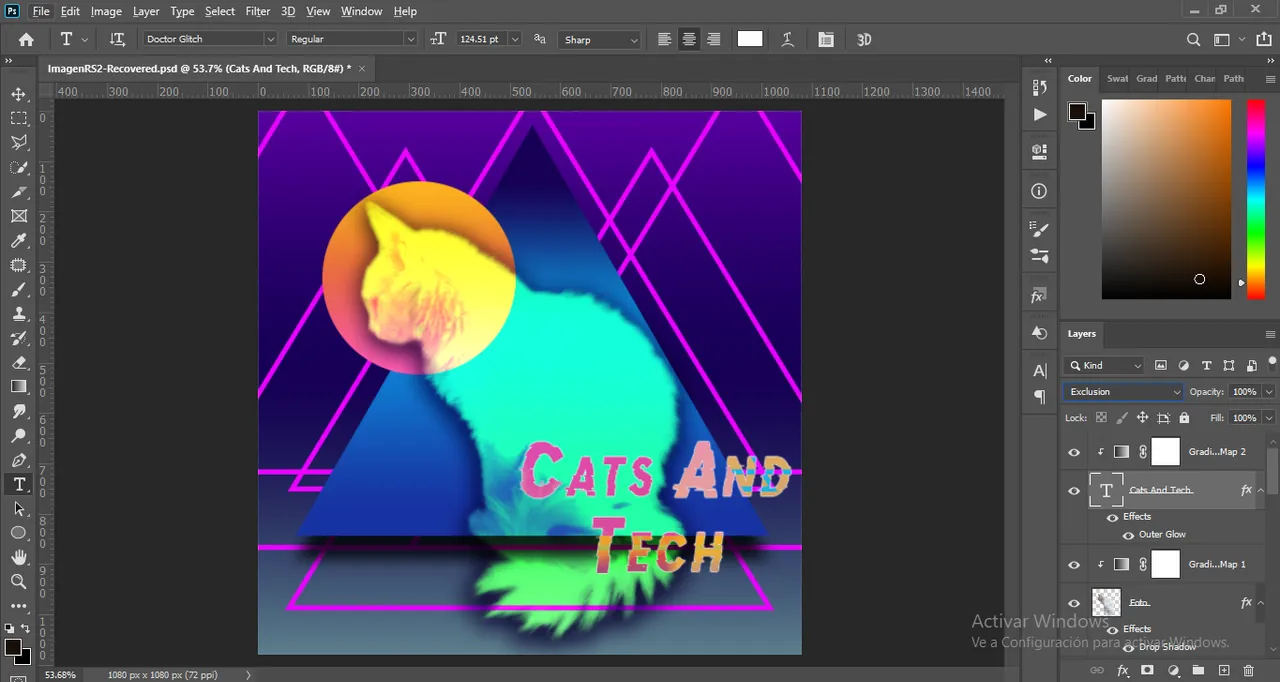
Finalmente, cambie un poco el trazo de los triángulos del fondo ya que entorpecían un poco con la edición del circulo que acaba de hacer. Cambie un poco el degradado del interior del triángulo principal ¡Y listo!
Finally, I changed a little the stroke of the background triangles as they were getting in the way of the editing of the circle you just did. Change a little the gradient inside the main triangle and that's it!
Thanks for watching, I hope you liked my post. A hug and see you next time.😊