
Bienvenidos a este nuevo post de belleza.
¡Si eres amante 🌺 de llevar las uñas bien arregladas y no sabes que hacerte 😵 este post es para ti!.
Las Uñas de gelatina o Cristal o como su nombre original "Jelly Nails" es una tendencia en las redes sociales que se está llevando últimamente entre famosas y se ha hecho muy popular y no puedes quedarte sin lucirlas. Te mostraré un paso a paso con imagenes de como realizar ente set de uñas Jelly con Acrílico; y si lo tuyo no son las uñas postizas, al final dejaré un pequeño post de como hacerlas en uñas naturales con materiales que puedes tener en casa.
Welcome to this new beauty post.
If you are a lover 🌺 of having your nails well-groomed and you don't know what to do 😵 this post is for you!
Gelatin or Crystal Nails or as its original name "Jelly Nails" is a trend in social networks that has been taking place lately among celebrities and has become very popular and you cannot miss show them off. I will show you a step by step with images of how to make this set of Jelly nails with Acrylic; And if yours are not false nails, at the end I will leave a small post on how to do them on natural nails with materials that you can have at home.
¿Qué son las uñas Jelly?
Las conocidas como «jelly nails» o uñas de gelatina se caracterizan por su aspecto transparente y brillante (como el de los postres de gelatina que tanto gustan a los niños). Este acabado se consigue colocando un postizo acrílico transparente que deja ver la uña real debajo y aplicando un esmalte transparente con color para dar esa sensación de brillo gelatinoso.
Este efecto también se puede conseguir al mezclar los productos como: el líquido monomer con unas gotas de esmalte del color elegido, podemos conseguir el efecto Jelly. El cuál veremos a continuación.
What are Jelly Nails?
The ones known as «jelly nails» or jelly nails are characterized by their transparent and shiny appearance (like that of the jelly desserts that children like so much). This finish is achieved by placing a transparent acrylic hairpiece that reveals the real nail underneath and applying a colored transparent polish to give that sensation of jelly-like shine.
This effect can also be achieved by mixing products such as: the monomer liquid with a few drops of enamel of the chosen color, we can achieve the Jelly effect. Which we will see next.
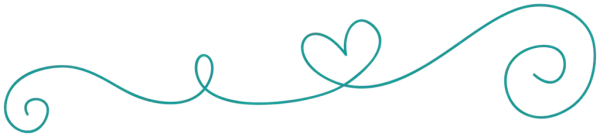
Materiales a utilizar
🌺 Monomer
🌺 Polvo Acrílico cristal
🌺 Esmalte de color
🌺 Pincel acrílico n° 10
🌺 Envase de vidrio pequeño
🌺 Molde para esculpir o uñas postizas transparente
🌺 Top coap
🌺 Servilletas
🌺Lima 80/80 y 100/180
🌺Taco suave
Materials to use
🌺 Monomer
🌺 Crystal Acrylic Powder
🌺 Color nail polish
🌺 Acrylic brush n ° 10
🌺 Small glass container
🌺 Transparent mold for sculpting or false nails
🌺 Top coap
🌺 Napkins
Paso a paso / Step by Step
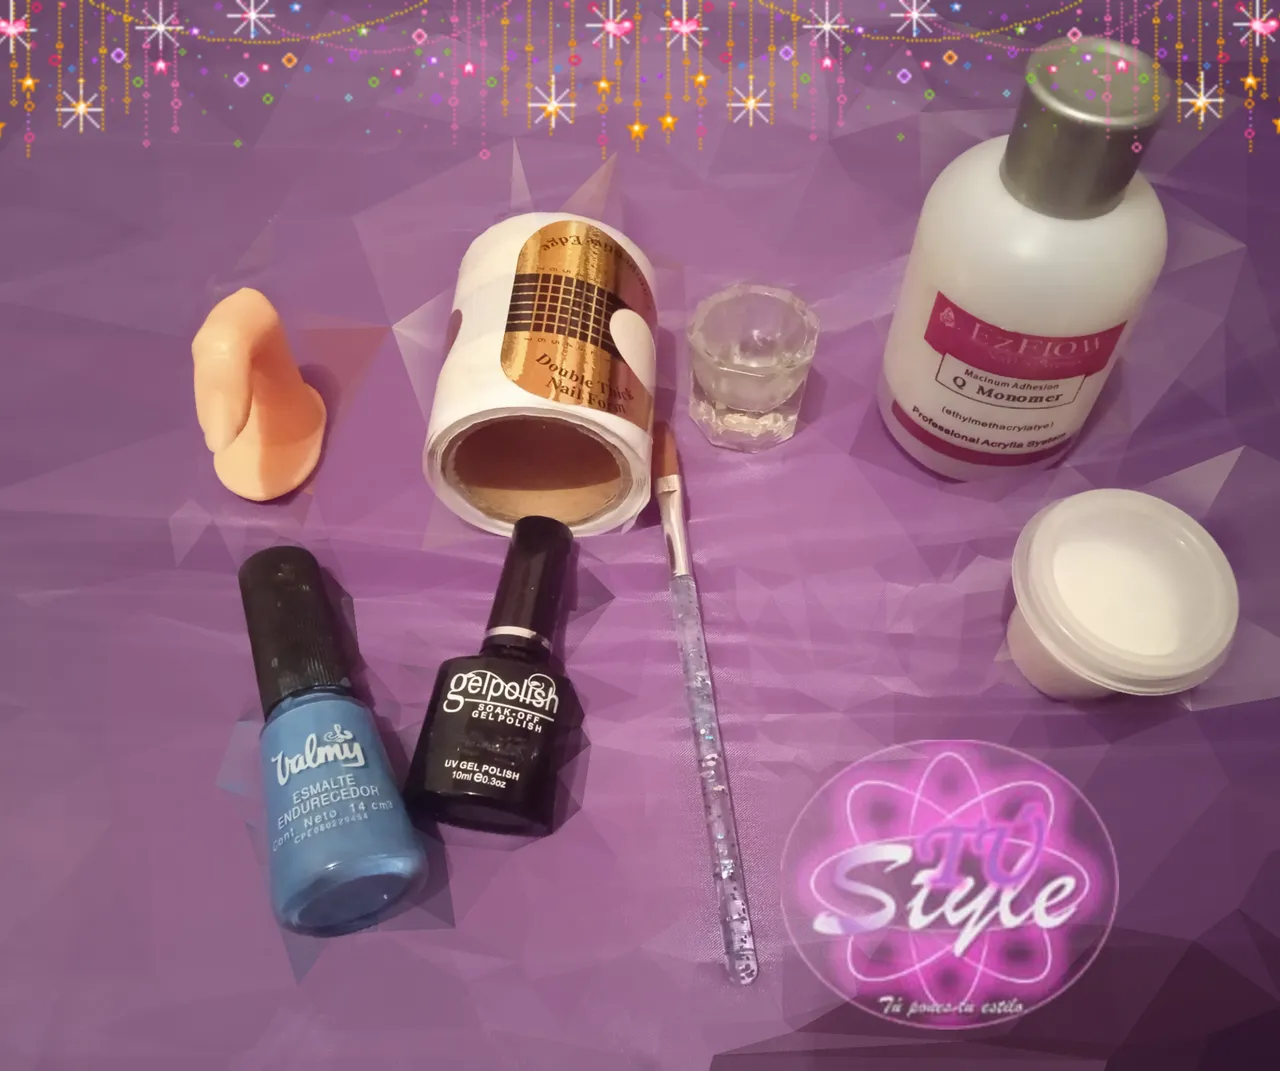
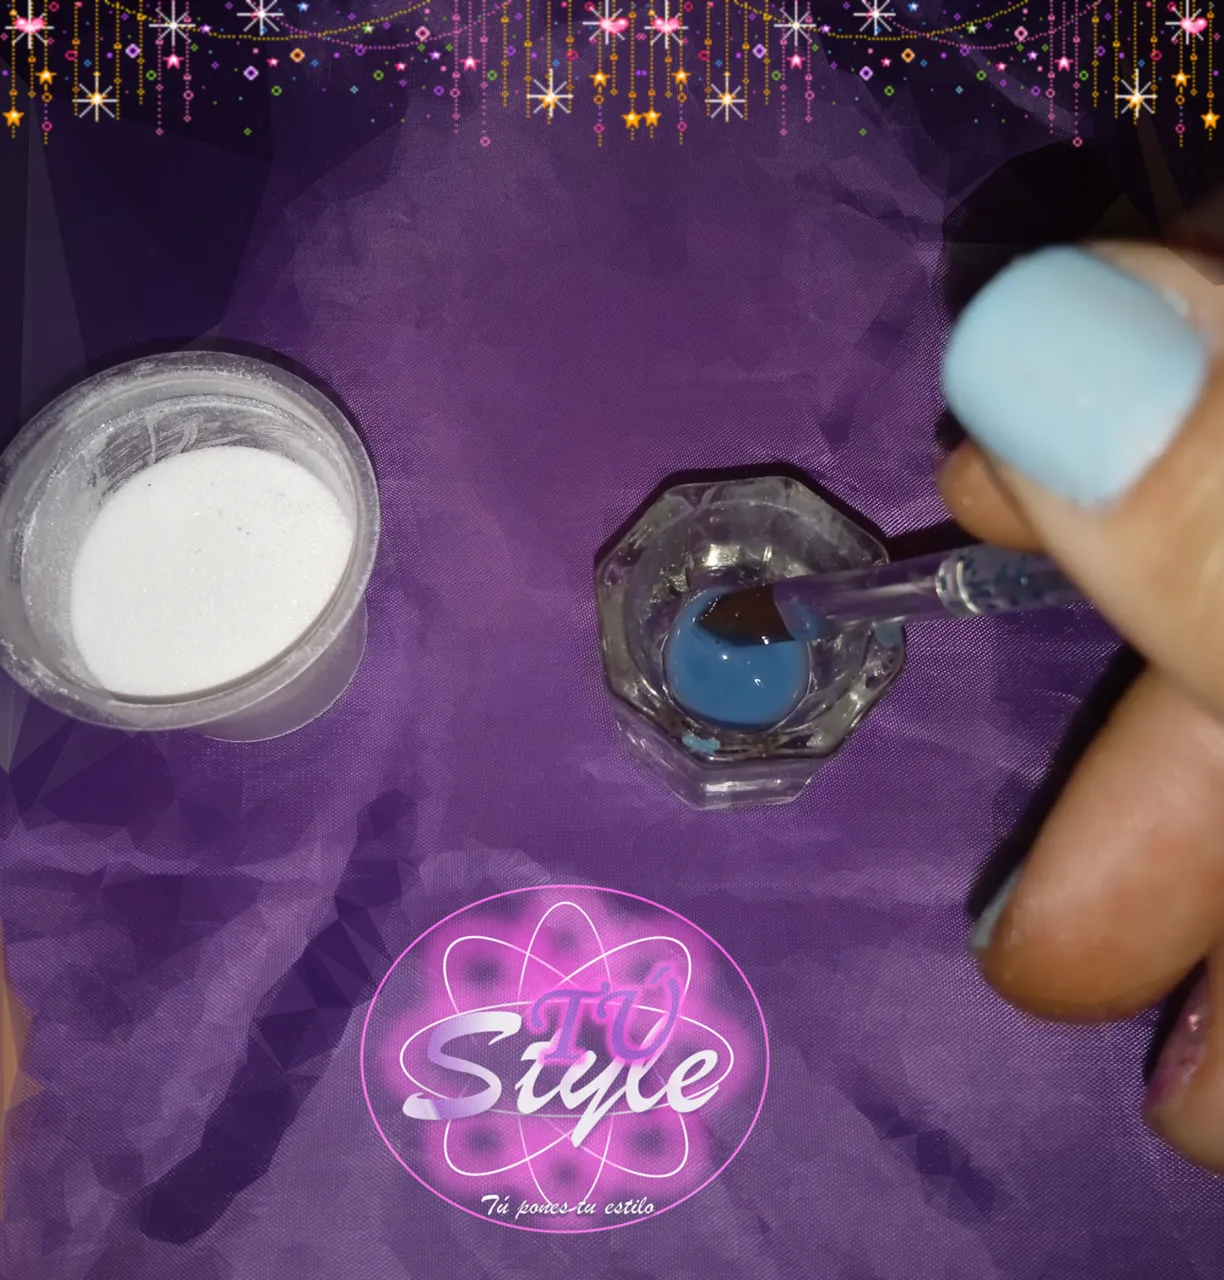
Paso 1: Teniendo a la mano el monomer y el envase de vidrios. Colocamos líquido monomer en el envase de vidrio.
Step 1: Having the monomer and the glass container at hand. We put monomer liquid in the glass container
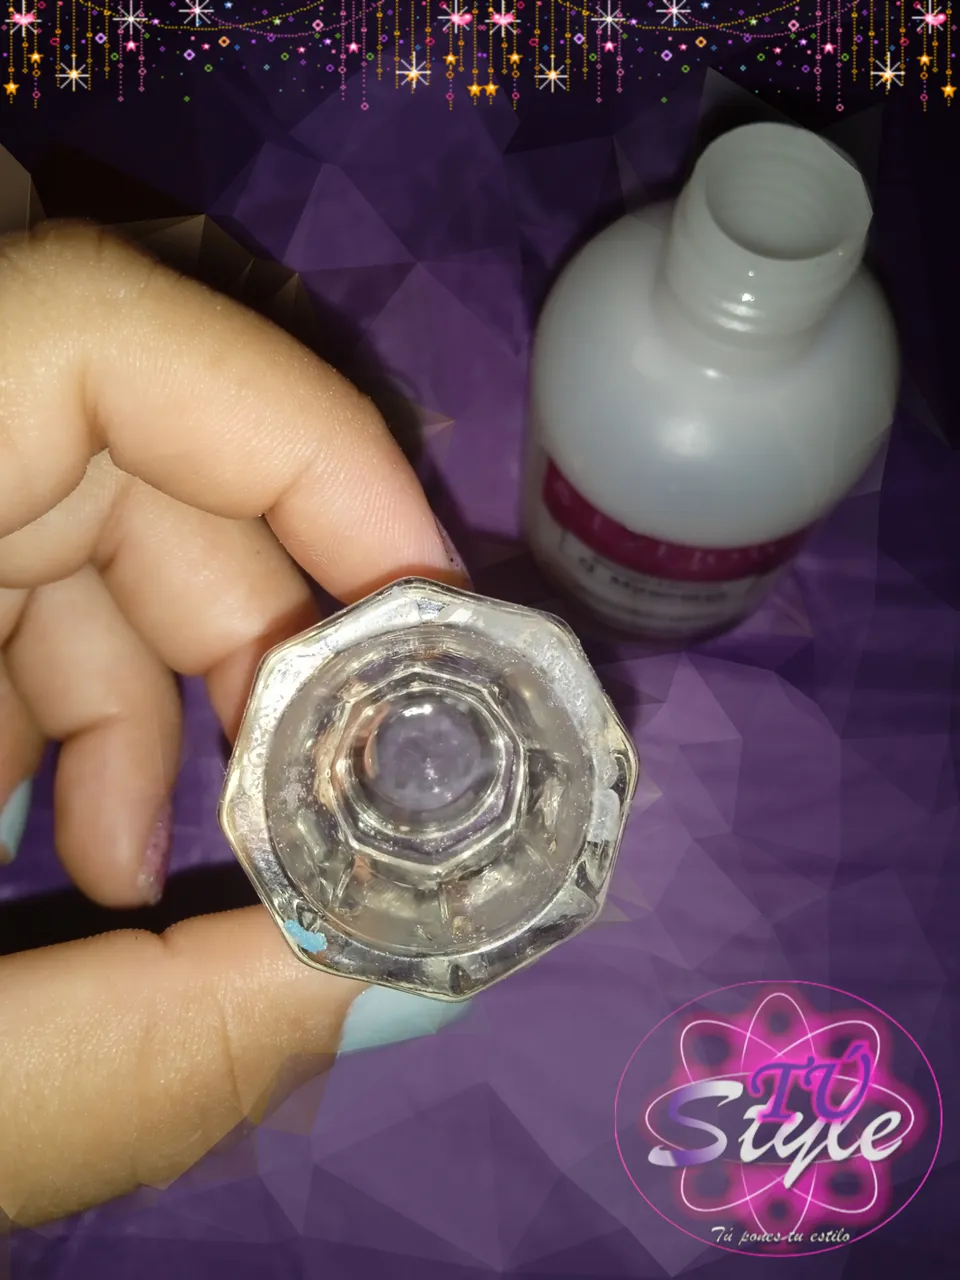
Paso 2: Colocamos una o dos gotas de esmalte de color en el envase de vidrio junto con el líquido monomer y mezclamos con un palito de madera.
Step 2: We place one or two drops of colored enamel in the glass container together with the monomer liquid and mix with a wooden stick.
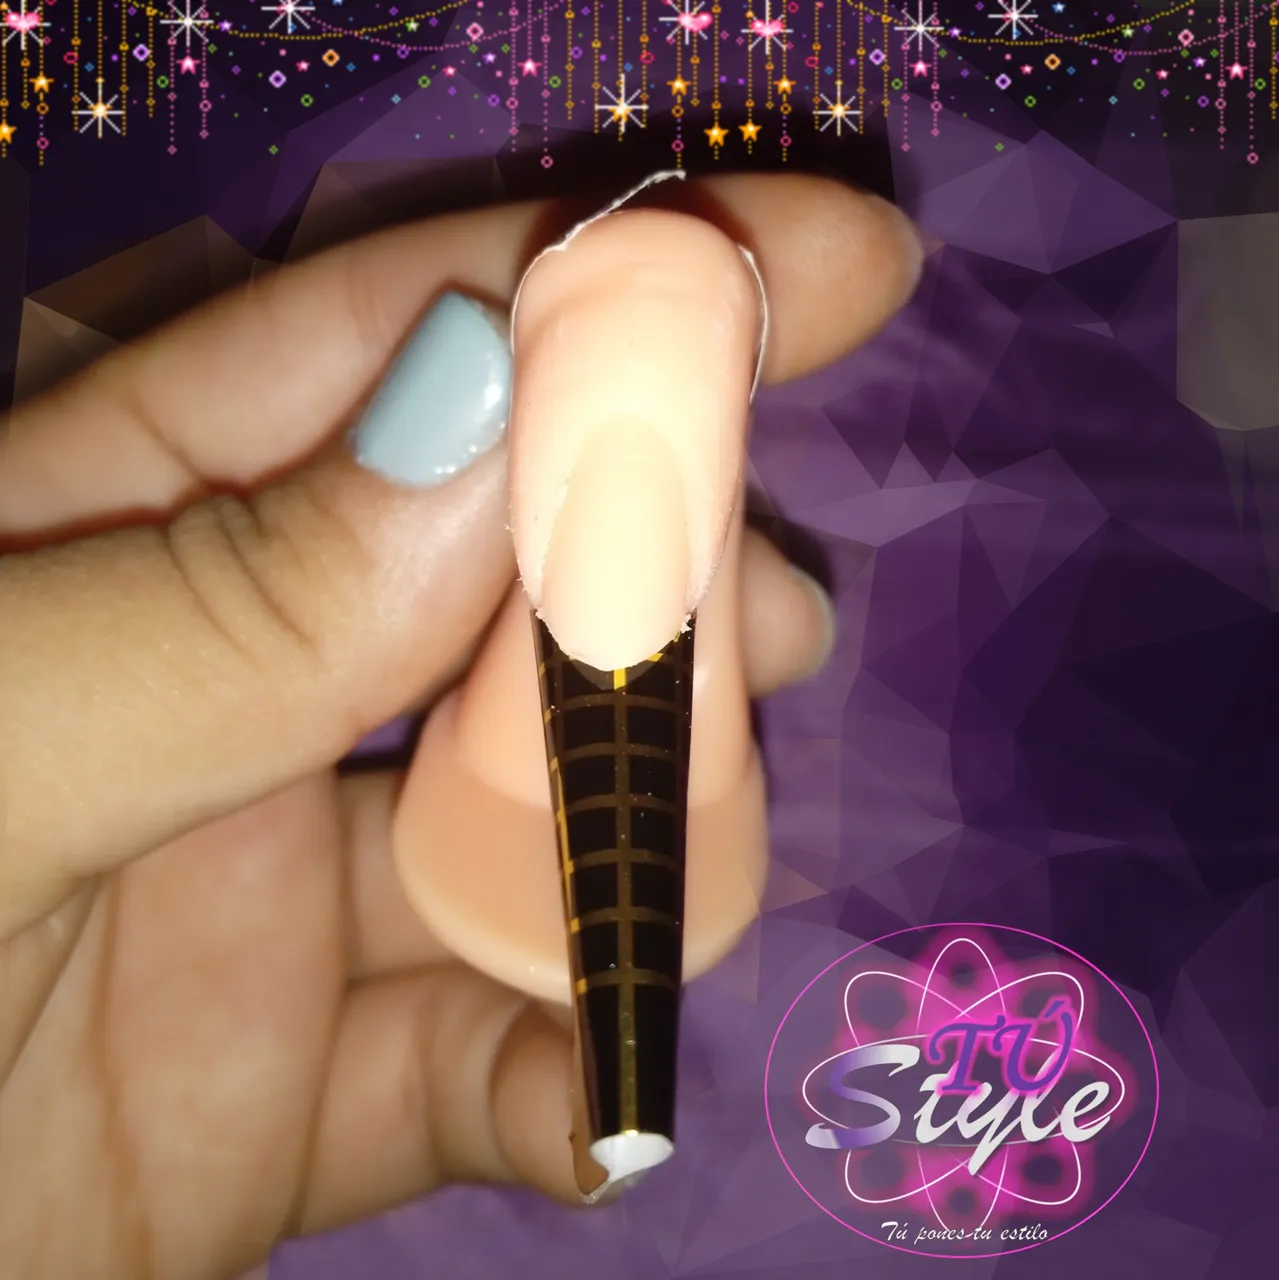
Paso 3: Preparamos la uña colocando el molde para estructuras.
Step 3: We prepare the nail by placing the mold for structures.
Paso 4: Introducimos el pincel acrílico en la mezcla hasta que esté absorba el producto preparado.
Step 4: We introduce the acrylic brush in the mixture until the prepared product is absorbed.
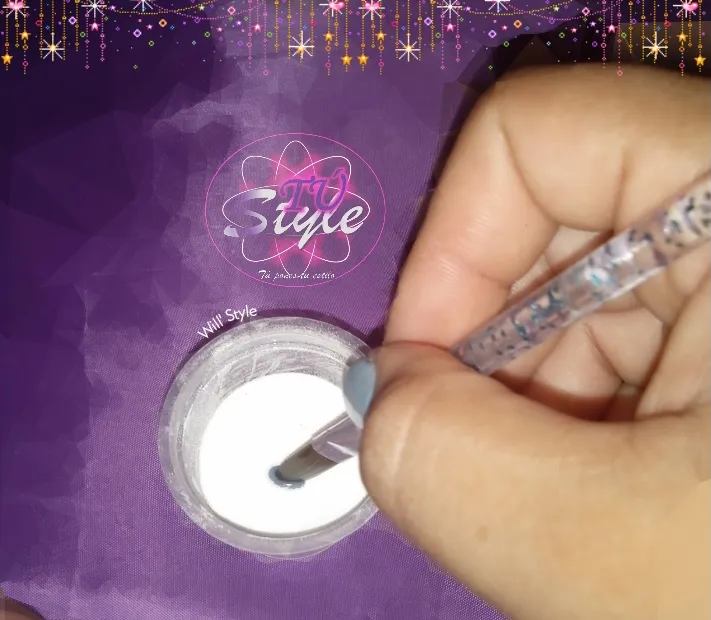
Paso 5: Tomamos una perla grande de acrílico cristal.
Step 5: We take a large crystal acrylic pearl.
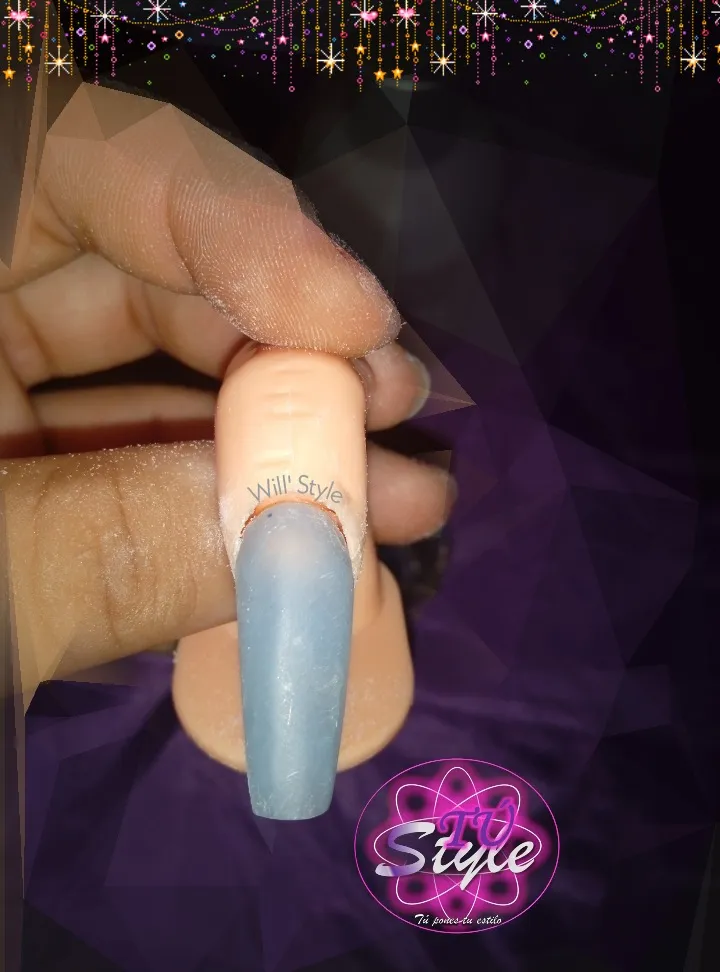
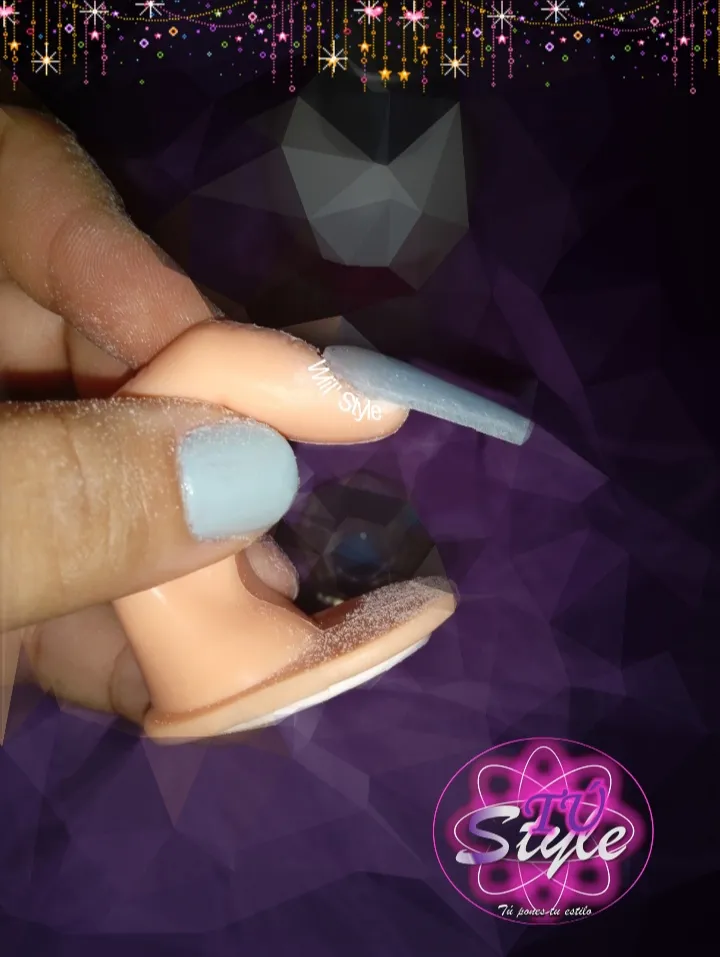
Paso 6: Colocamos nuestra primera perla en la zona libre de la uña o molde y esparcimos hacía la zona de tensión, luego tomamos otra perla y colocamos en zona de tensión esparciendo un poco hacía zona cutícula, formando así una estructura. Una vez lista nuestra uña dejamos secar hasta que se endurezca.
Step 6: We place our first pearl in the free area of the nail or mold and spread it towards the area of tension, then we take another pearl and place it in the area of tension, spreading a little towards the cuticle area, thus forming a structure. Once our nail is ready, we let it dry until it hardens.
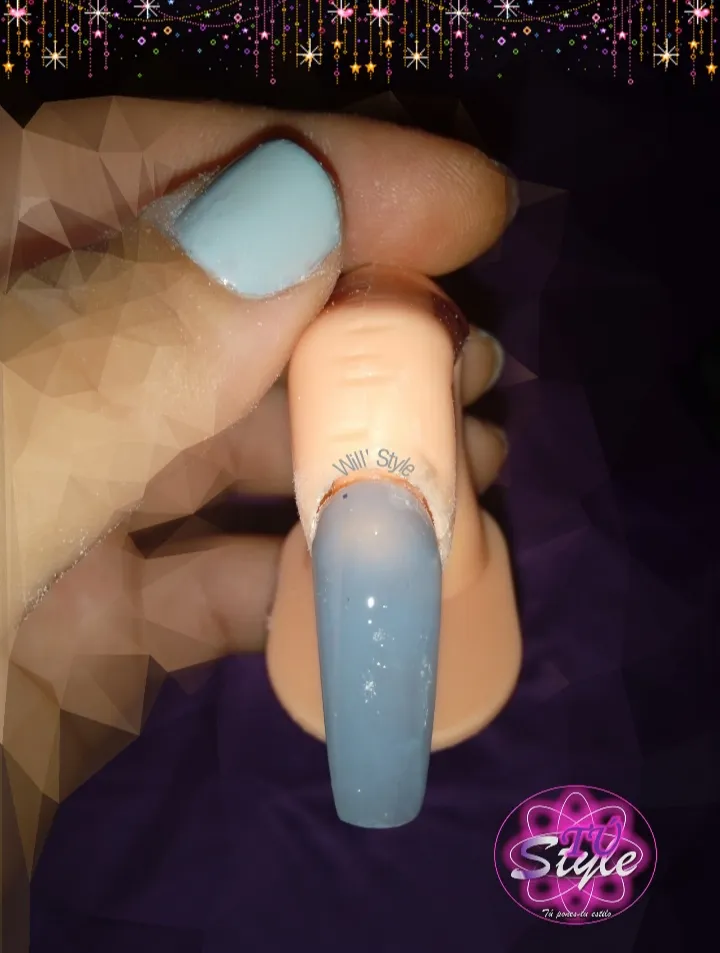
Paso 7: Retiramos molde y se lima con una lima 80/80 toda la uña para borrar imperfecciones y suavizar con el taco.
Step 7: Remove the mold and file the entire nail with an 80/80 file to erase imperfections and smooth with the block.
Paso 8: Colocamos el top coap sobre la uña y curamos en lámpara LED o UV por 1 o 2 minutos.
Step 8: We place the top coap on the nail and cure in an LED or UV lamp for 1 or 2 minutes.
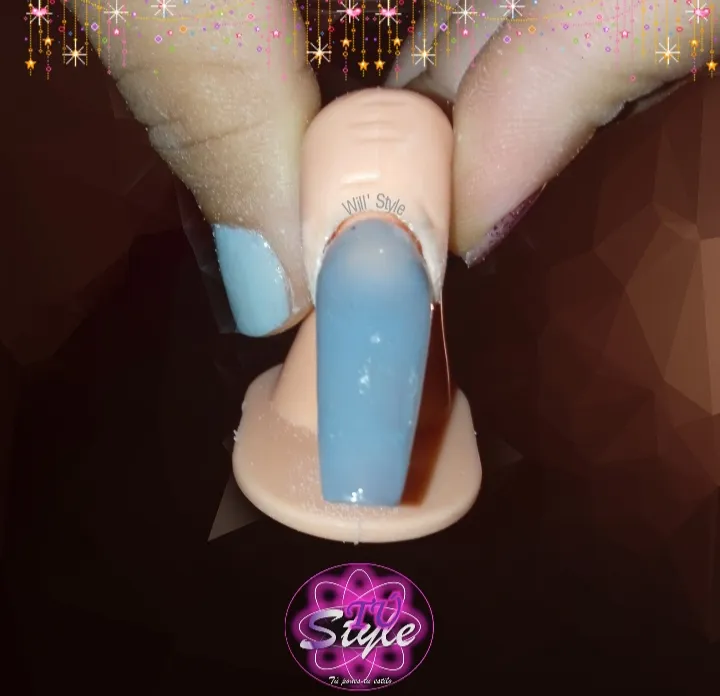
Paso 9: Colocamos top coap por debajo de la uña y curamos en lámpara.
Step 9: We place top coap under the nail and cure in a lamp.
Si las uñas postizas no son lo tuyo, o deseas llevar una manicura sencilla; tienes la opción de aplicar un esmaltado transparente con un toque de color en tus propias uñas para sumarte a la tendencia de la manicura «jelly».
¿Cómo se hace?
Muy simple: mezclando un esmalte «top coat» (transparente) con unas gotas de otro esmalte del color que prefieras. Tendrás que ir probando hasta dar con la intensidad deseada.
Aplicas en tus uñas naturales, curas en lámpara LED o UV y listo.
If false nails are not your thing, or you want a simple manicure; You have the option of applying a transparent nail polish with a touch of color on your own nails to join the trend of the «jelly» manicure.
How is it done?
Very simple: mixing a top coat (transparent) polish with a few drops of another polish in the color of your choice. You will have to try until you find the desired intensity.
Apply on your natural nails, cures in LED or UV lamp and that's it.
¡Deja volar tu creatividad y empieza a diseñar tus primeras "Jelly Nails" y que tus amigas se mueran de envidia.
Wilmarys Cabrera Peluquera y profesional en cejas, pestañas y uñas.
Sígueme en las redes sociales.
Instagram @tustylewf
Academia de belleza.
Facebook página Will' Style
Marca personal
Let your creativity fly and start designing your first "Jelly Nails" and make your friends die of envy.
Wilmarys Cabrera Hairdresser and professional in eyebrows, eyelashes and nails.
Follow me on social media by my stage name to see more of my work.
Instagram @tustylewf Beauty Academy.
Facebook page Will 'Style Personal branding