
Muy feliz jueves, saludos a los miembros de la comunidad Diyhub, espero se encuentren bien es un gusto para mí estar de nuevo compartiendo manualidades con ustedes, en esta ocasión me uno al concurso del dia mundial de la tierra 🌎.
Very happy Thursday, greetings to the members of the Diyhub community, I hope you are well, it is a pleasure for me to be sharing crafts with you again, this time I am joining the World Earth Day contest 🌎.
Cuidar la madre tierra es parte de nuestro deber, habitar en ella es un privilegio y que mejor forma de celebrarla reciclando materiales que tenemos en casa, como por ejemplo el cartón, el plástico, hojas, madera, y todo aquel material que estemos a punto de descartar y nos sea útil para crear lindas manualidades.
Taking care of Mother Earth is part of our duty, living in it is a privilege and what better way to celebrate it by recycling materials that we have at home, such as cardboard, plastic, leaves, wood, and all the materials that we are ready to use? to discard and be useful to us to create beautiful crafts.
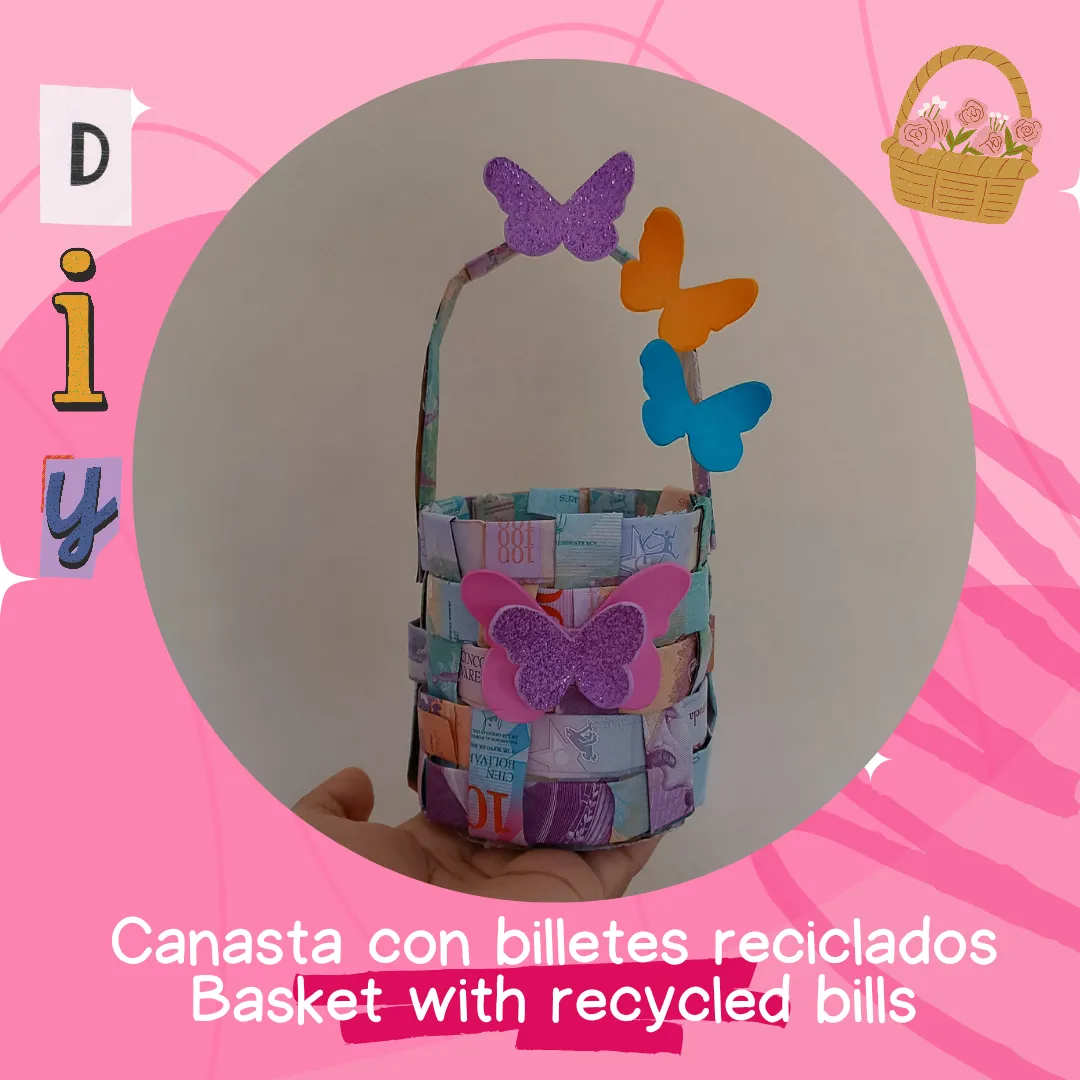
Yo voy a utilizar billetes de antigua denominación que tenía guardados para realizar una linda canasta, espero les guste, a continuación les muestro los materiales y el paso a paso.
I am going to use old denomination bills that I had saved to make a nice basket, I hope you like it, below I show you the materials and the step by step.
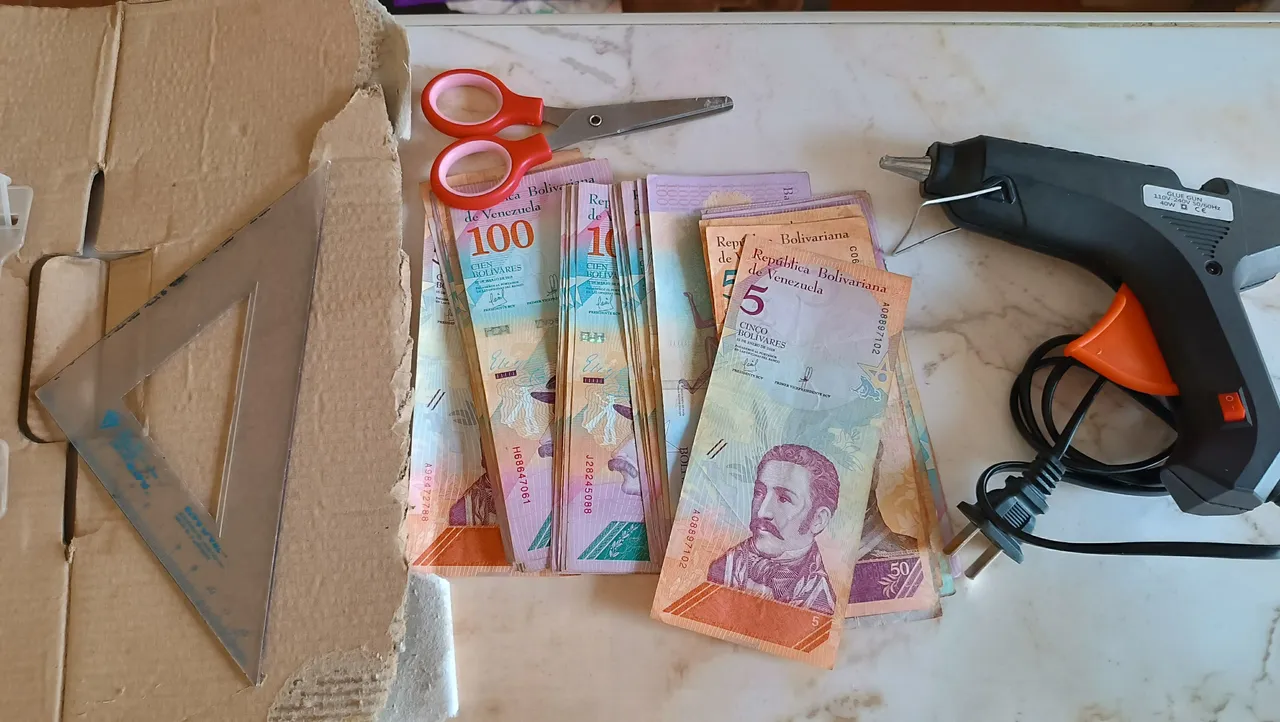
Materiales:
✅Billetes reciclados.
✅Tijera.
✅Silicón.
✅Regla.
✅Cartón.
✅Retazos de foami.
Materials:
Recycled banknotes.
Scissors.
Silicone.
Ruler.
Cardboard.
Scraps of foam.
Paso a paso / Step by Step
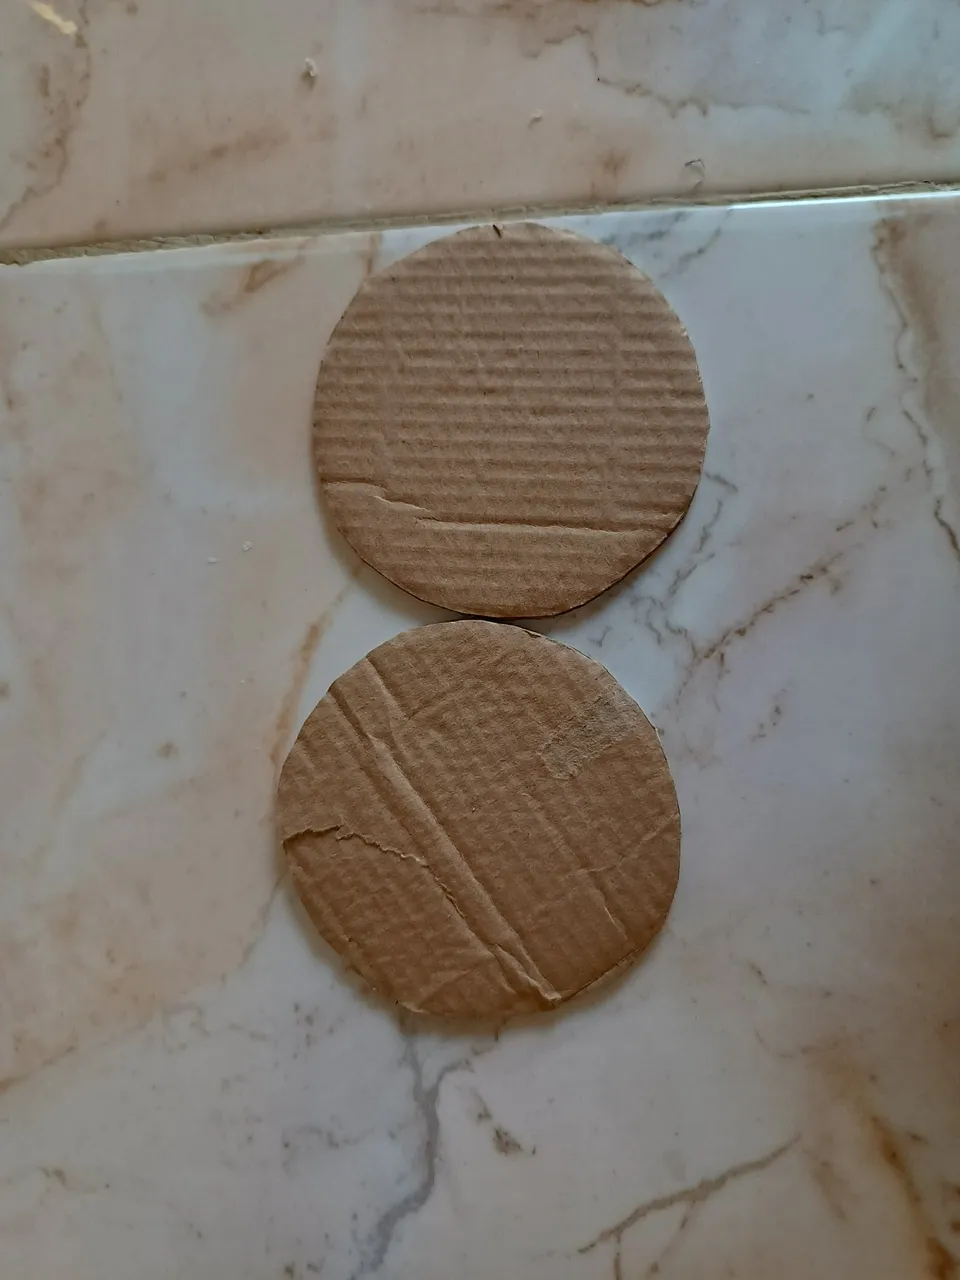
El primer paso que vamos a realizar es cortar dos círculos de cartón del mismo tamaño, con una medida aproximada de 8 cm de alto y ancho, ahora pasamos a la siguiente parte.
The first step we are going to do is cut two cardboard circles of the same size, measuring approximately 8 cm high and wide, now we move on to the next part.
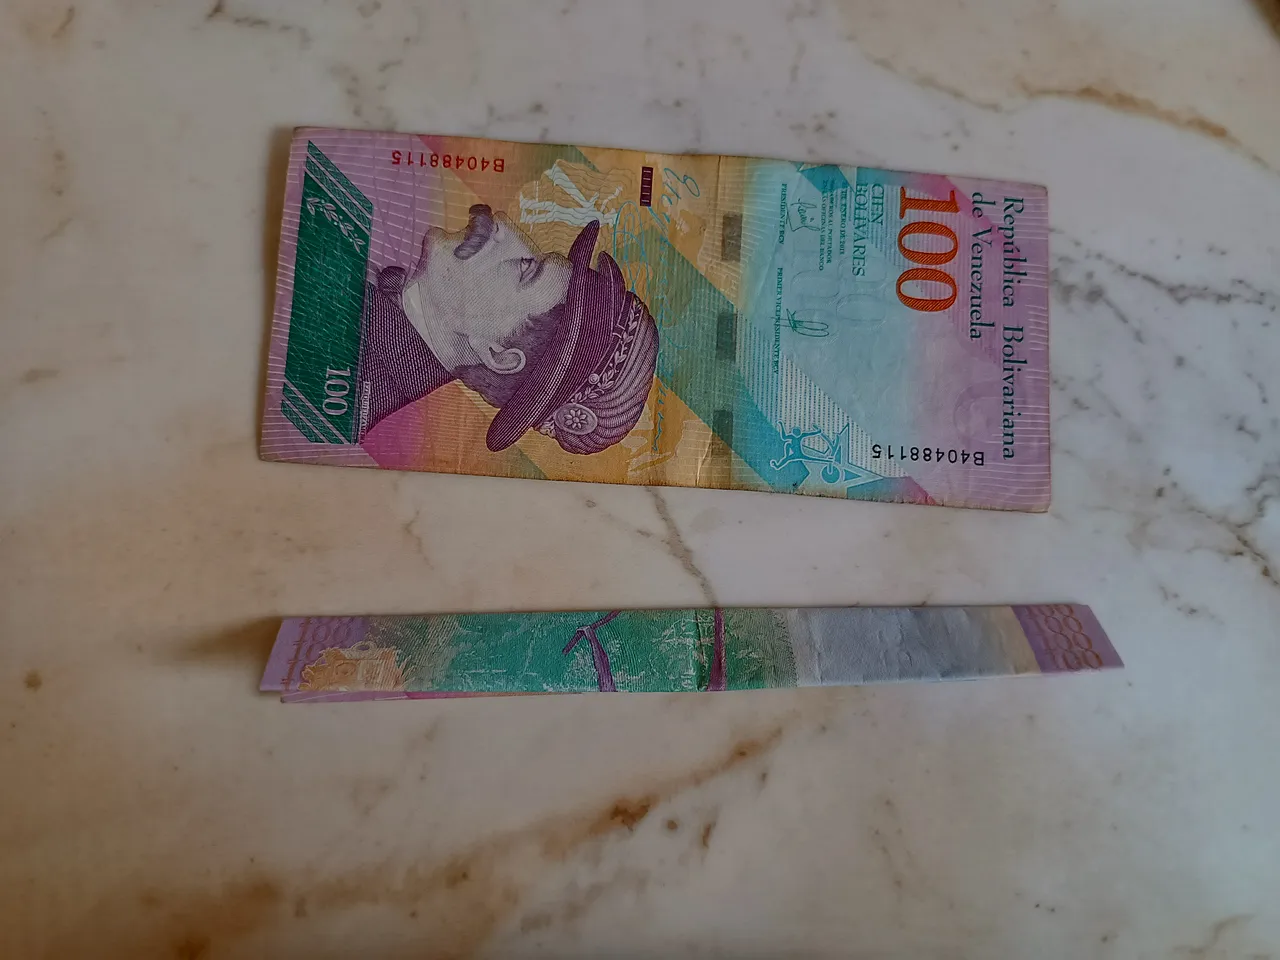
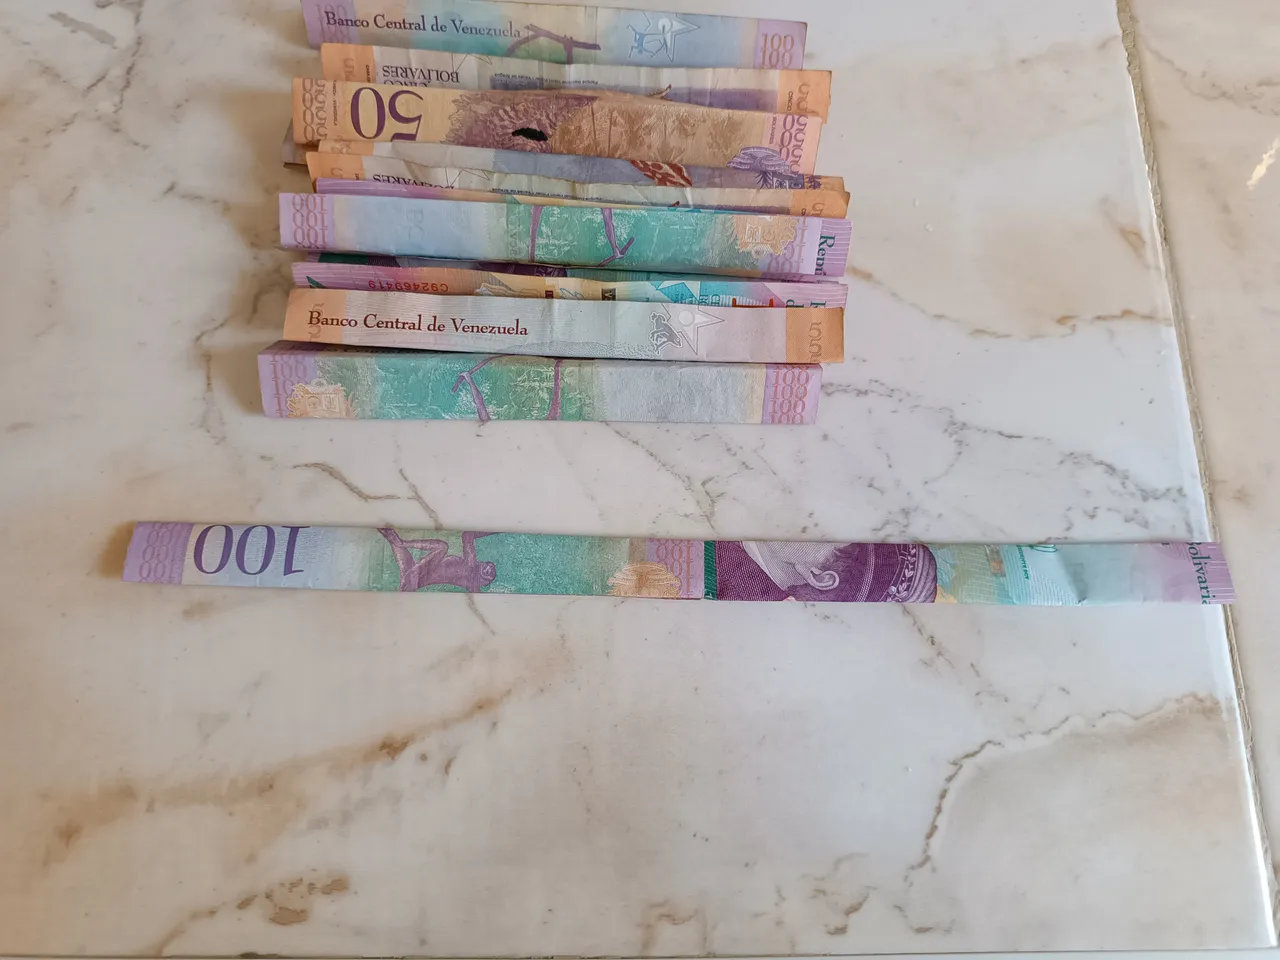
El siguiente paso es doblar 12 billetes, lo podemos hacer en 4 partes hasta que nos quede una franja fina, ahora voy a doblar 10 billetes más y los voy a unir en pareja hasta completar 5 partes estas deben quedar más largas, pegamos con silicón.
The next step is to fold 12 bills, we can do it in 4 parts until we have a thin strip, now I am going to fold 10 more bills and I am going to join them in pairs until completing 5 parts, these should be longer, we glue them with silicone.
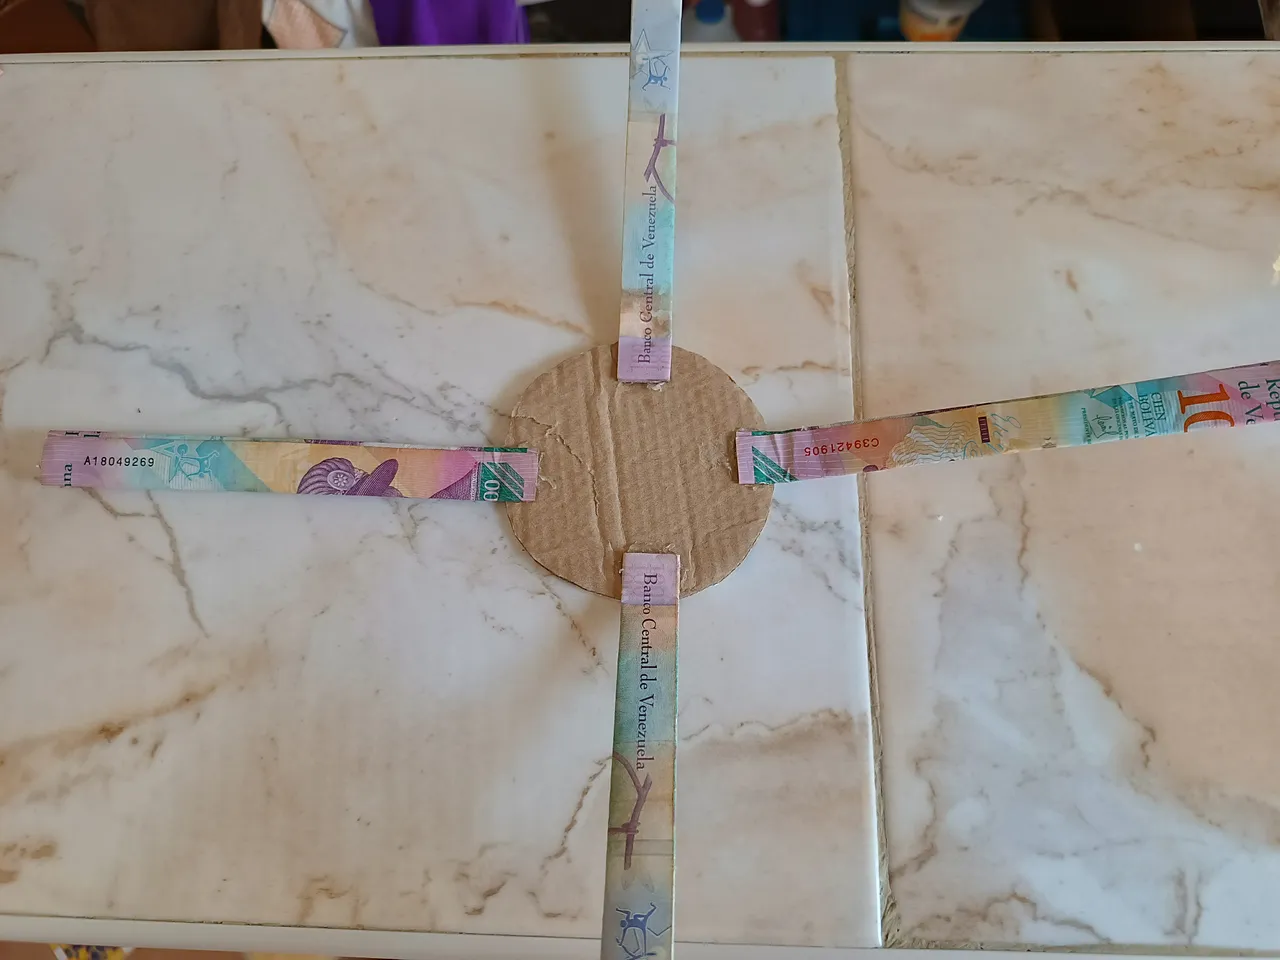
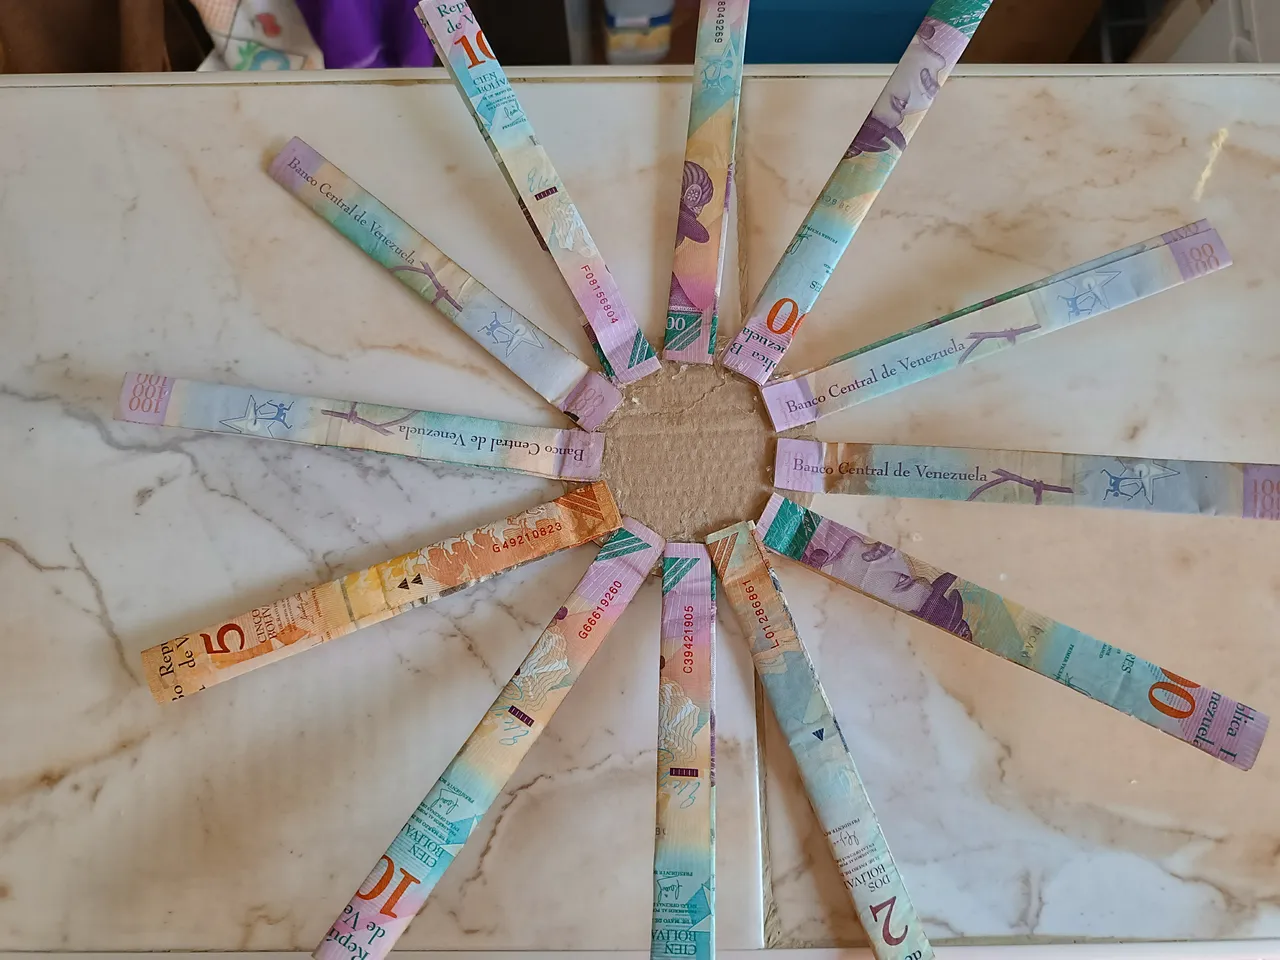
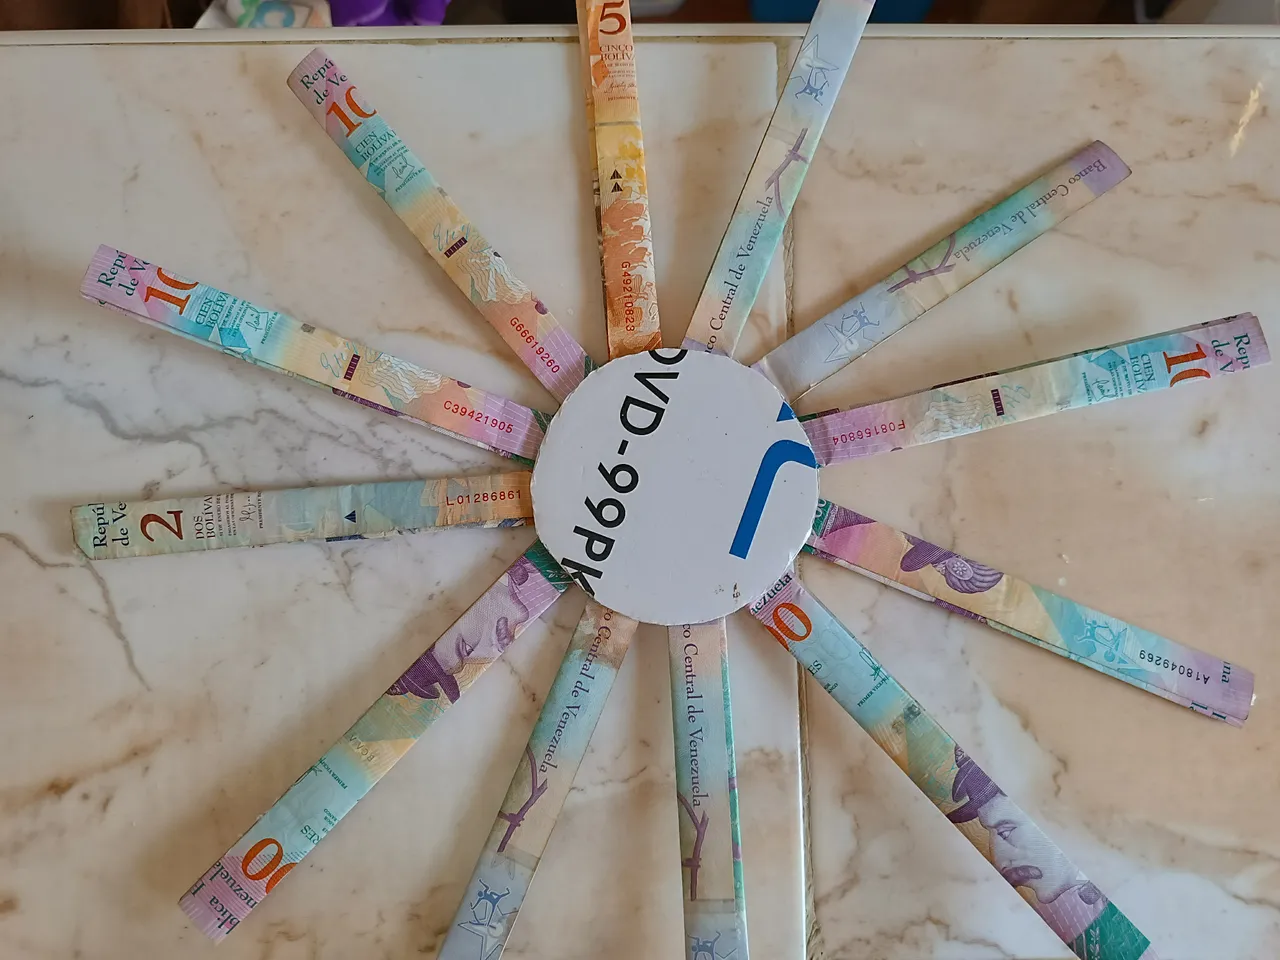
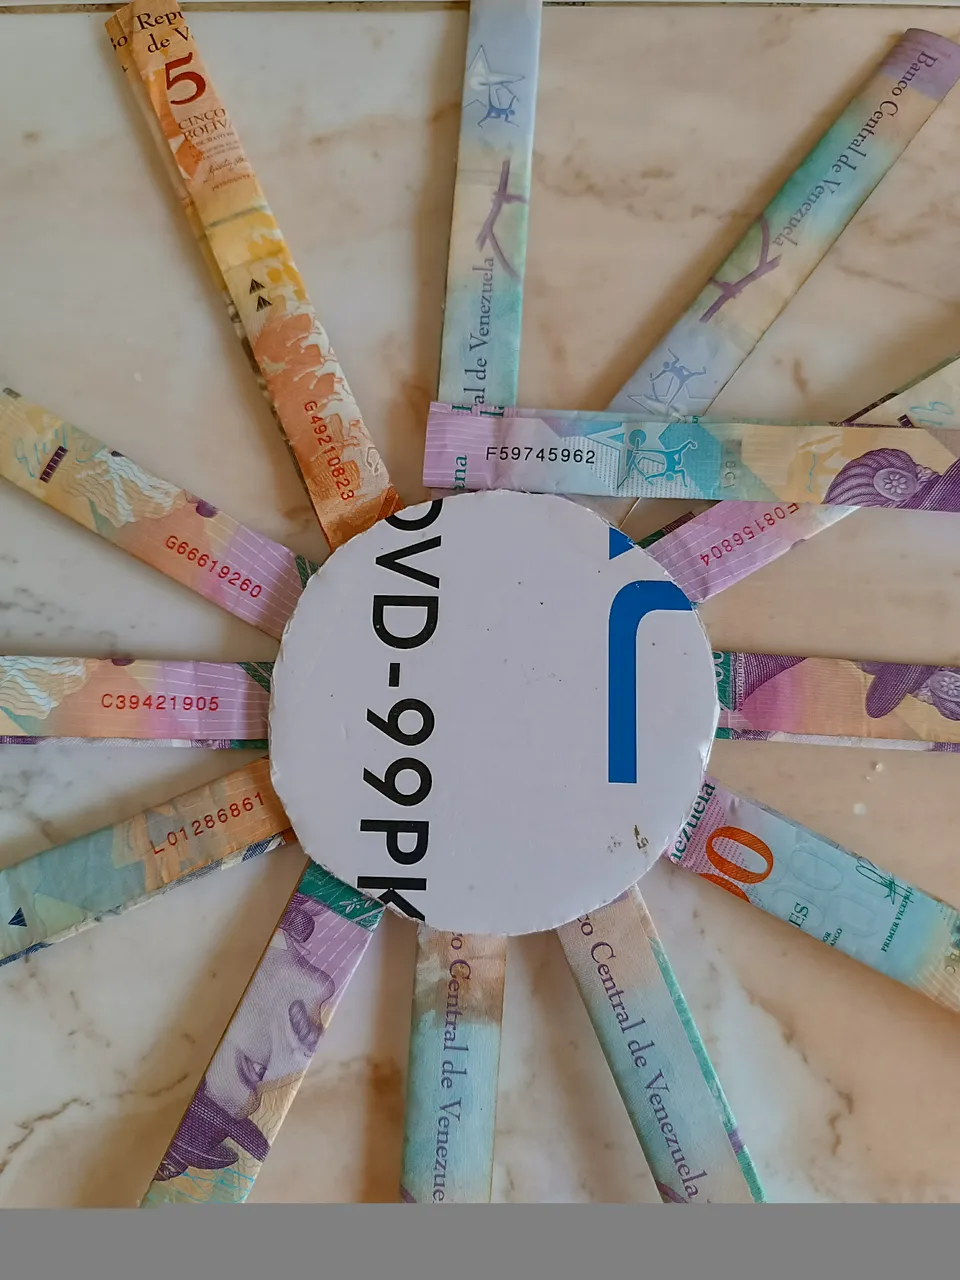
Vamos a comenzar a pegar los billetes de la siguiente forma, coloqué uno de los círculos de cartón y al rededor de él voy a pegar las 12 franjas cortas que ya tenemos listas, luego voy a pegar el otro círculo de cartón esto nos ayudará a qué queden más fijos y no se muevan al momento de realizar el tejido.
We are going to start gluing the bills in the following way, I placed one of the cardboard circles and around it I am going to glue the 12 short stripes that we already have ready, then I am going to glue the other cardboard circle, this will help us They are more fixed and do not move when knitting.
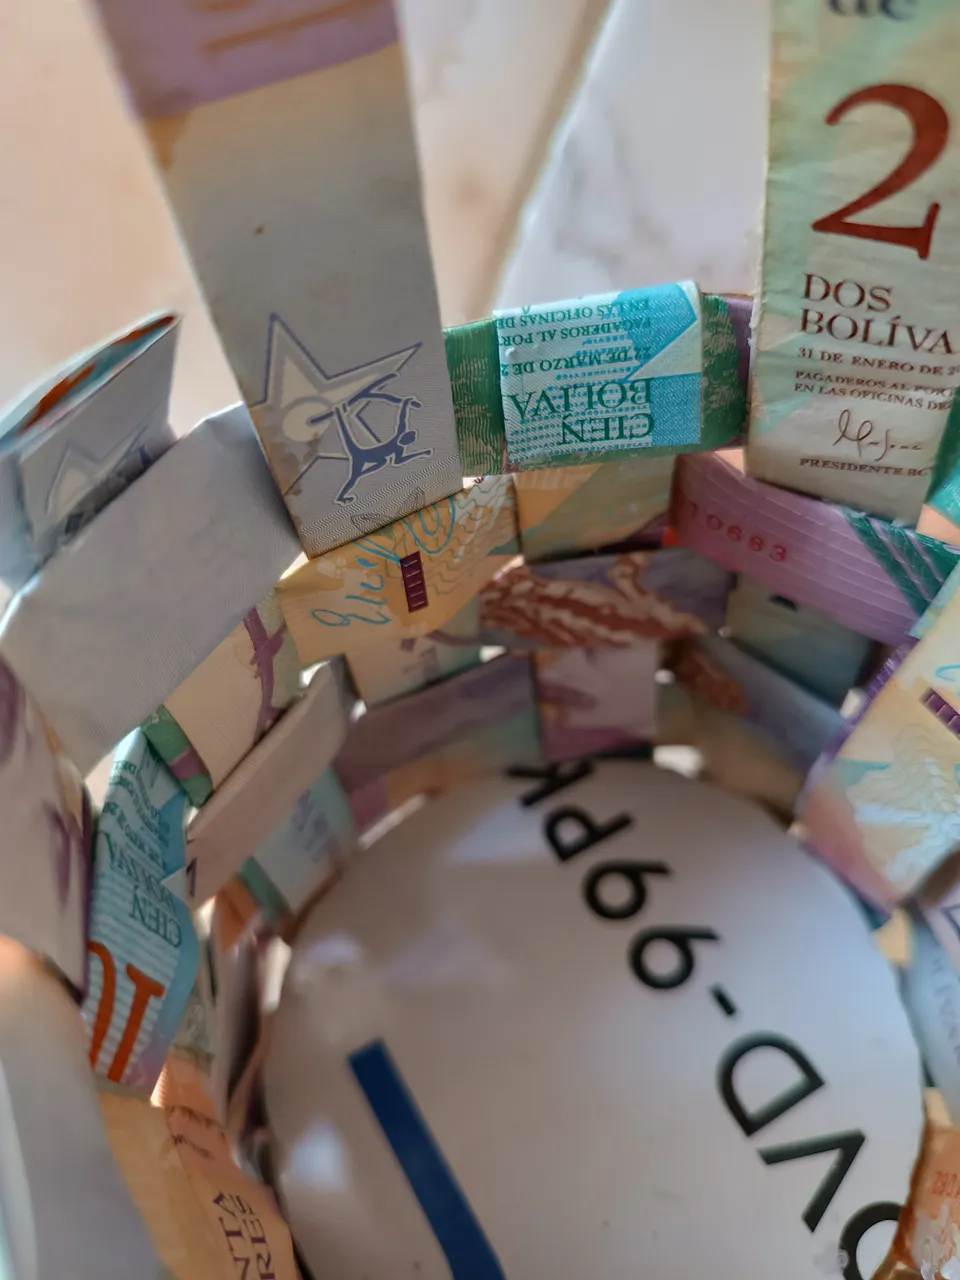
Luego voy a colocar una de las franjas largas de forma horizontal uniendo con una de las franjas que se encuentran de forma vertical, y comenzamos a tejer, para esto se cruza la franja horizontal una por delante y luego por detrás hasta completar las 5 franjas largas.
Then I am going to place one of the long stripes horizontally joining with one of the stripes that are vertical, and we begin to weave, for this the horizontal strip is crossed one in front and then behind until completing the 5 long stripes .
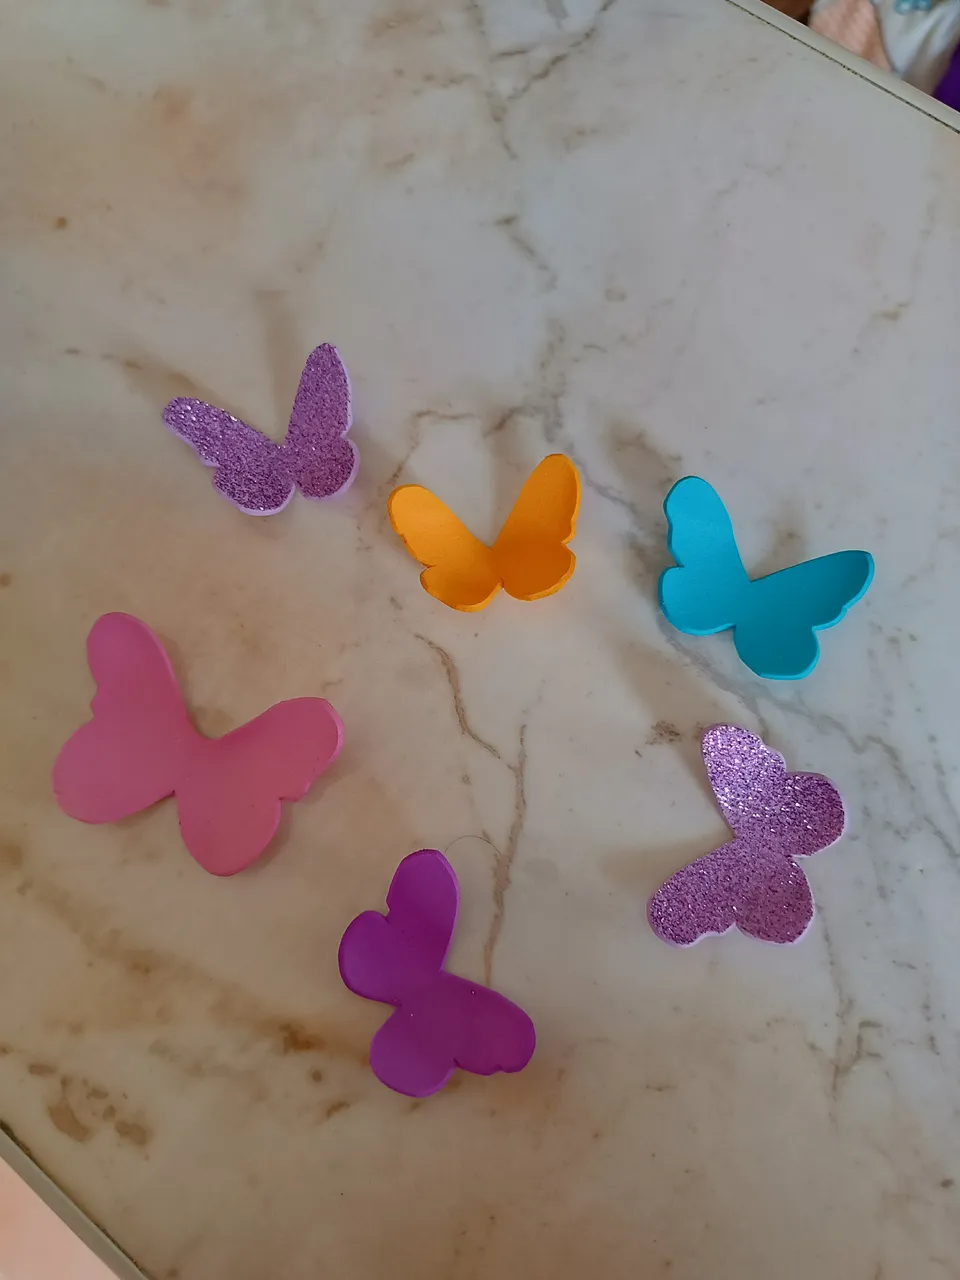
Es importante que este paso se realice con mucha paciencia y cuidado cuando terminemos de pegar todas las franjas el sobrante lo vamos cortar y pegamos el borde con silicón hacia la parte de adentro, para el agarradero utilicé una franja larga de billetes, también realicé unas lindas mariposas con retazos de foami de colores.
It is important that this step is done with a lot of patience and care. When we finish gluing all the stripes, we will cut off the excess and glue the edge with silicone towards the inside. For the handle I used a long strip of bills. I also made some nice ones. butterflies with pieces of colored foam.
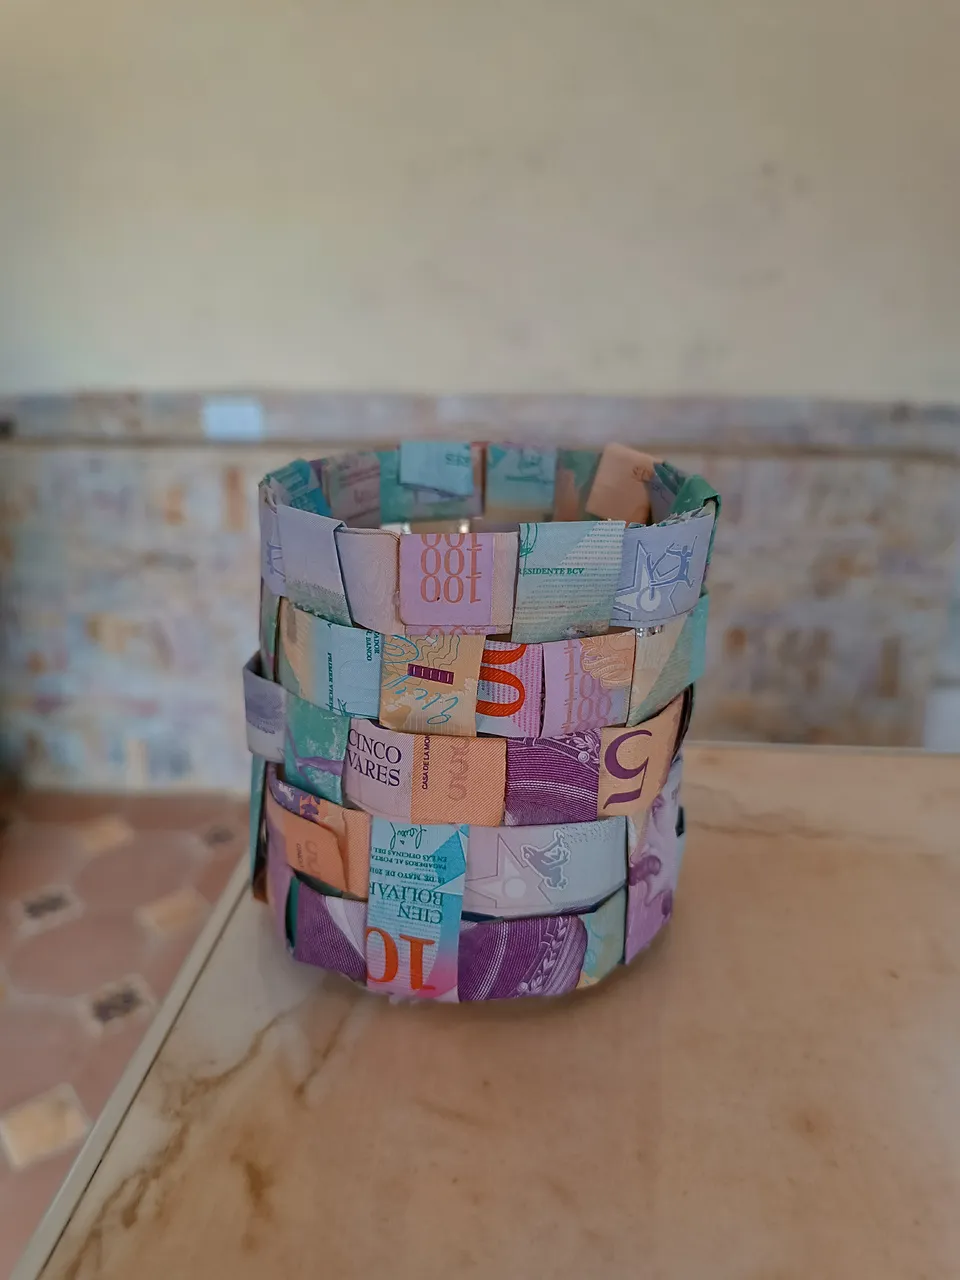

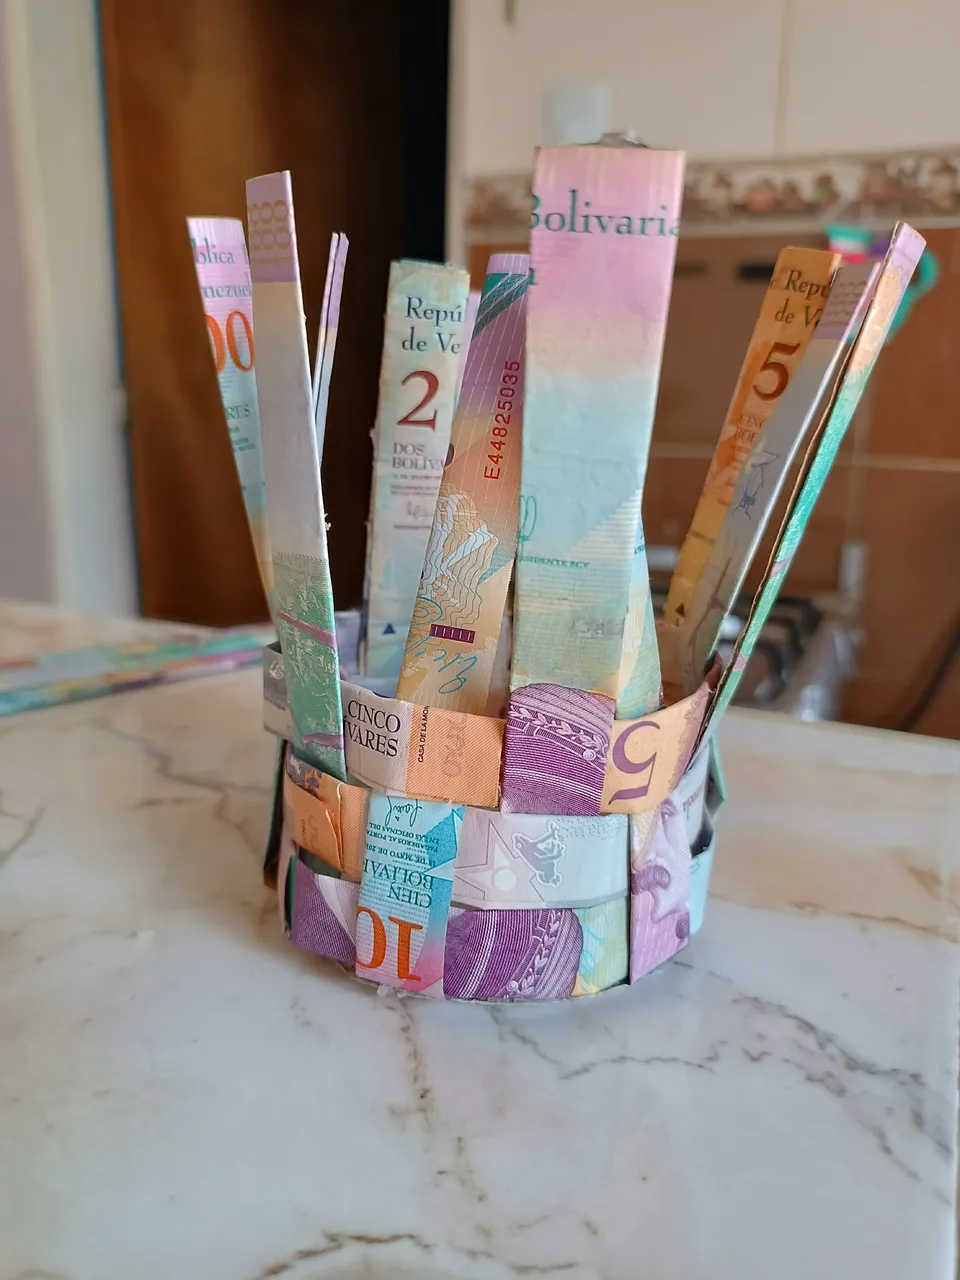
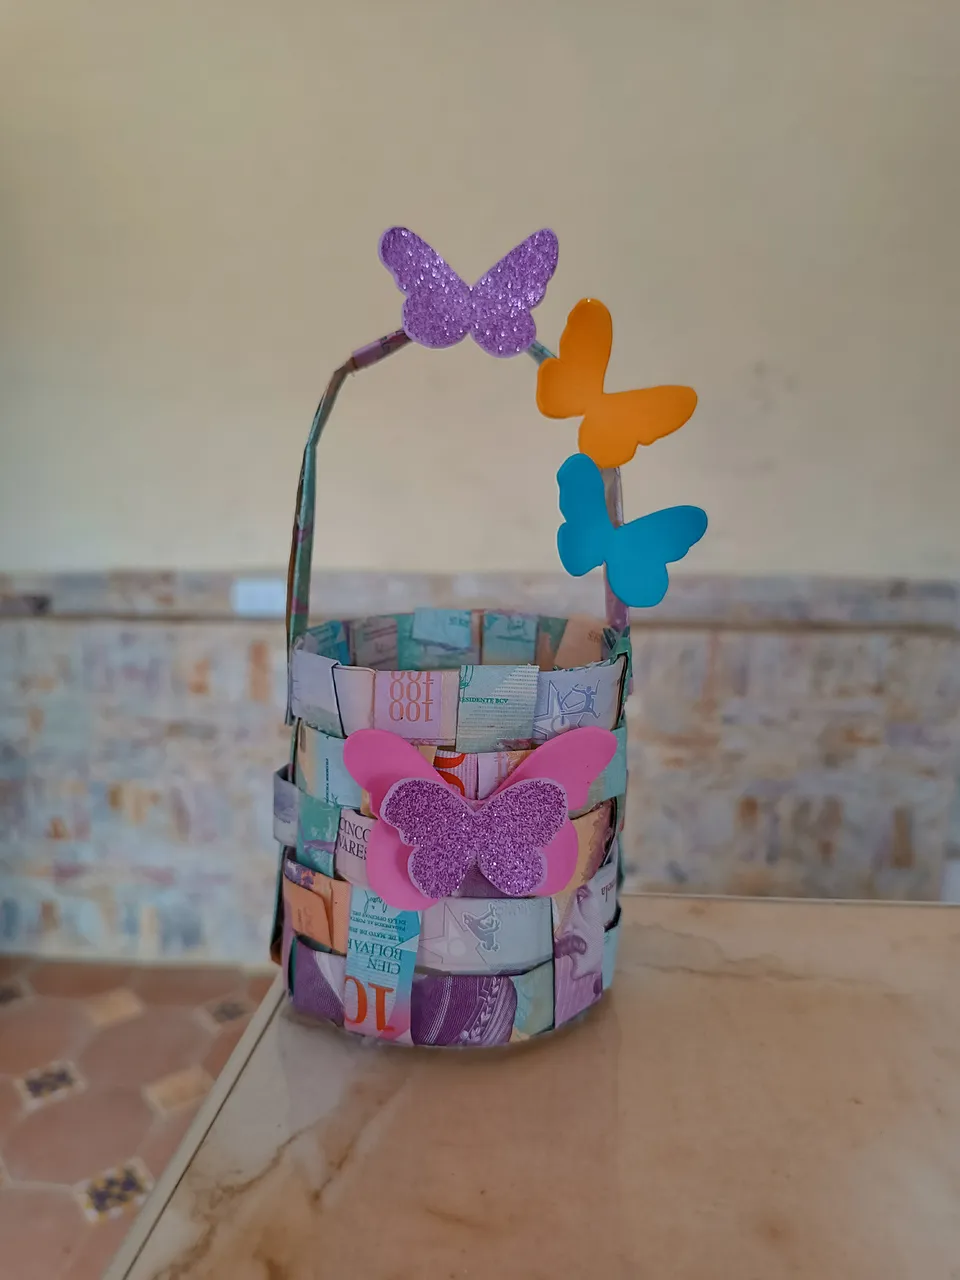
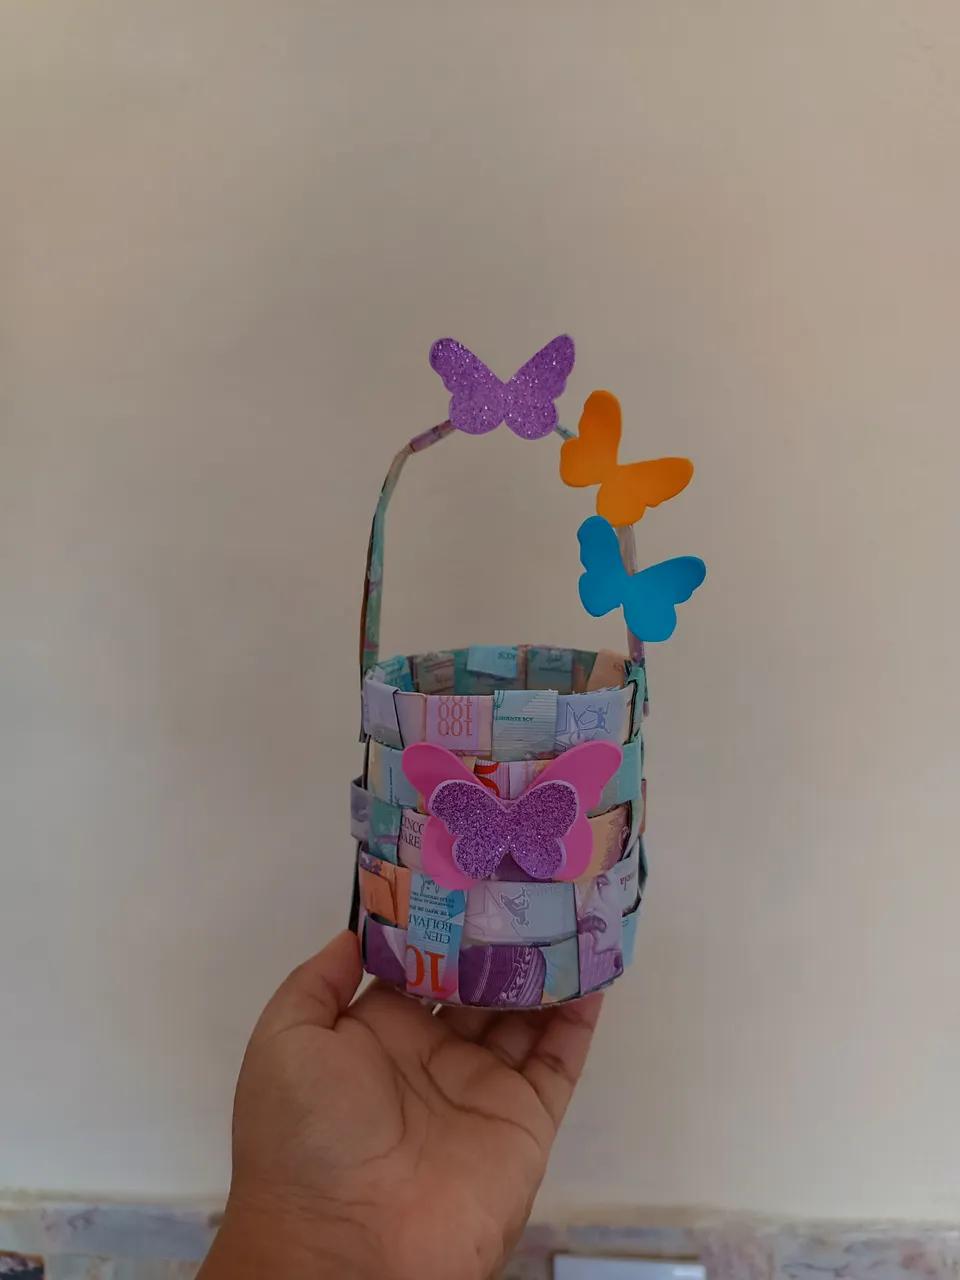
Y ya está lista esta bonita canasta, ideal para decorar los espacios de nuestro hogar, con pocos materiales y siendo creativos se pueden realizar diferentes manualidades con reciclaje. Muchas gracias por visitar mi publicación nos vemos en una próxima oportunidad.
And this beautiful basket is ready, ideal for decorating the spaces of our home, with few materials and being creative you can make different crafts with recycling. Thank you very much for visiting my publication, see you next time.

Contenido original. - original content.
Los separadores y banner fueron realizados en Canva. - The dividers and banner were made in Canva.
Las fotografias son tomadas con mi teléfono Redmi Note 11s y editadas en PicsArt - The photographs are taken with my Redmi Note 11s phone and edited in PicsArt.
Traducción de: Google traductor - Translation of: Google translator.
