English
Helloooooooo! My dear friends from Hive.
This time I am going to explain how to make a long envelope ideal for storing documents, to deliver a gift, a letter and the best thing is, that you can personalize it in a very inexpensive and simple way.
Without further ado, let's get started.
Spanish
¡Holaaaaaaaa! Mis queridísimos amigos de Hive.
En esta oportunidad le voy a explicar como hacer un sobre largo ideal para guardar documentos, para entregar un obsequio, una carta y lo mejor es, que puedes personalizarlo de una manera muy ecónomica y sencilla.
Sin más, comencemos.
MATERIALS / MATERIALES
English
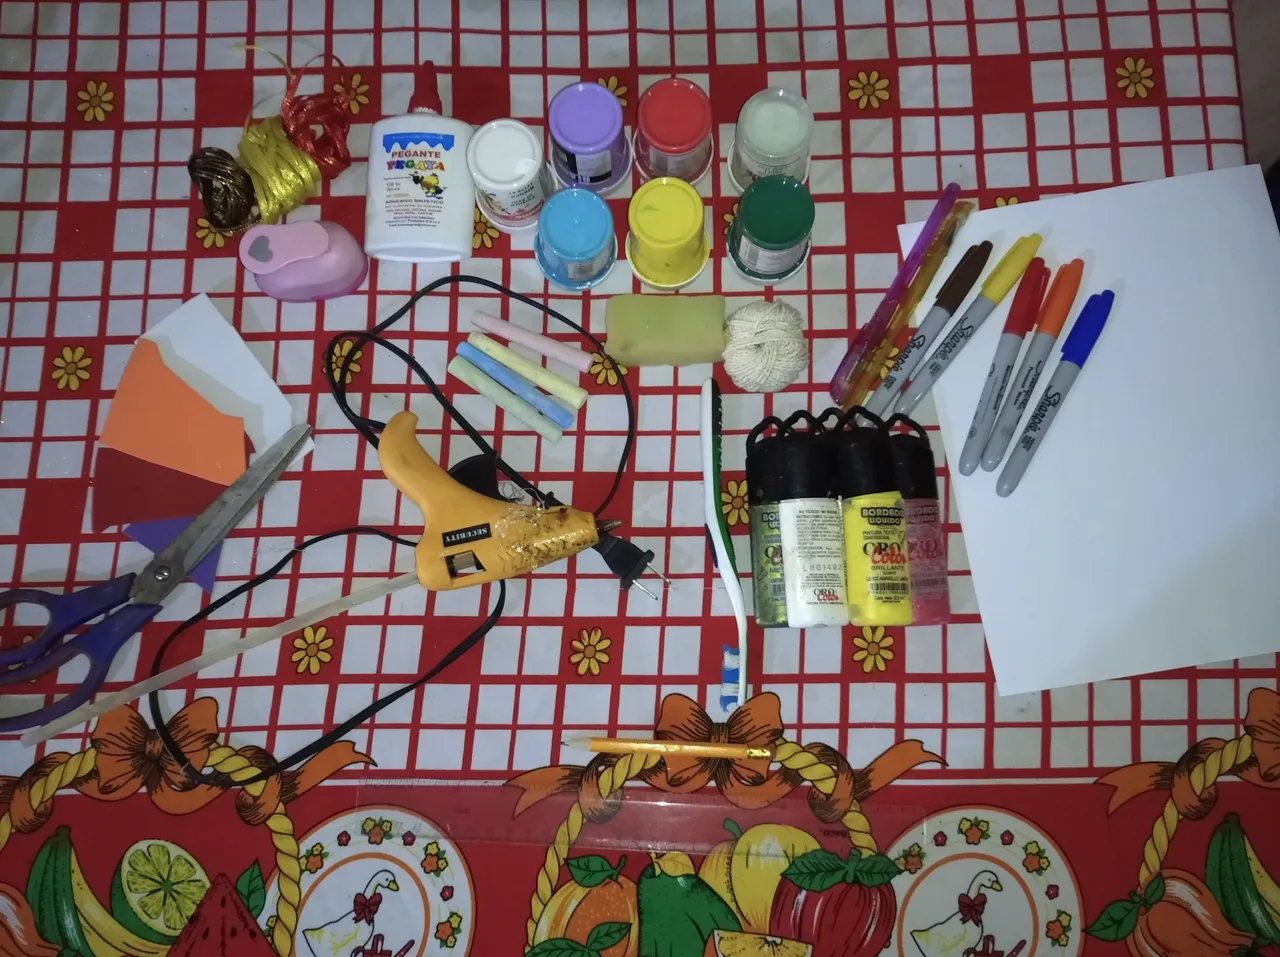
- Bond paper of the size you need
- Scissor
- School chalk of assorted colors
- White glue or stick preferably
- Glue gun and glue stick
- Wick thread
- Foami
- Shape cutter
Spanish
- Papel bond del tamaño que necesite
- Tijera
- Tiza escolar de colores variados
- Pega blanca o en barra preferiblemente
- Pistola de silicón y barra de silicón
- Hilo pabilo
- Foami
- Cortador de formas
PROCESS / PROCEDIMIENTO
English
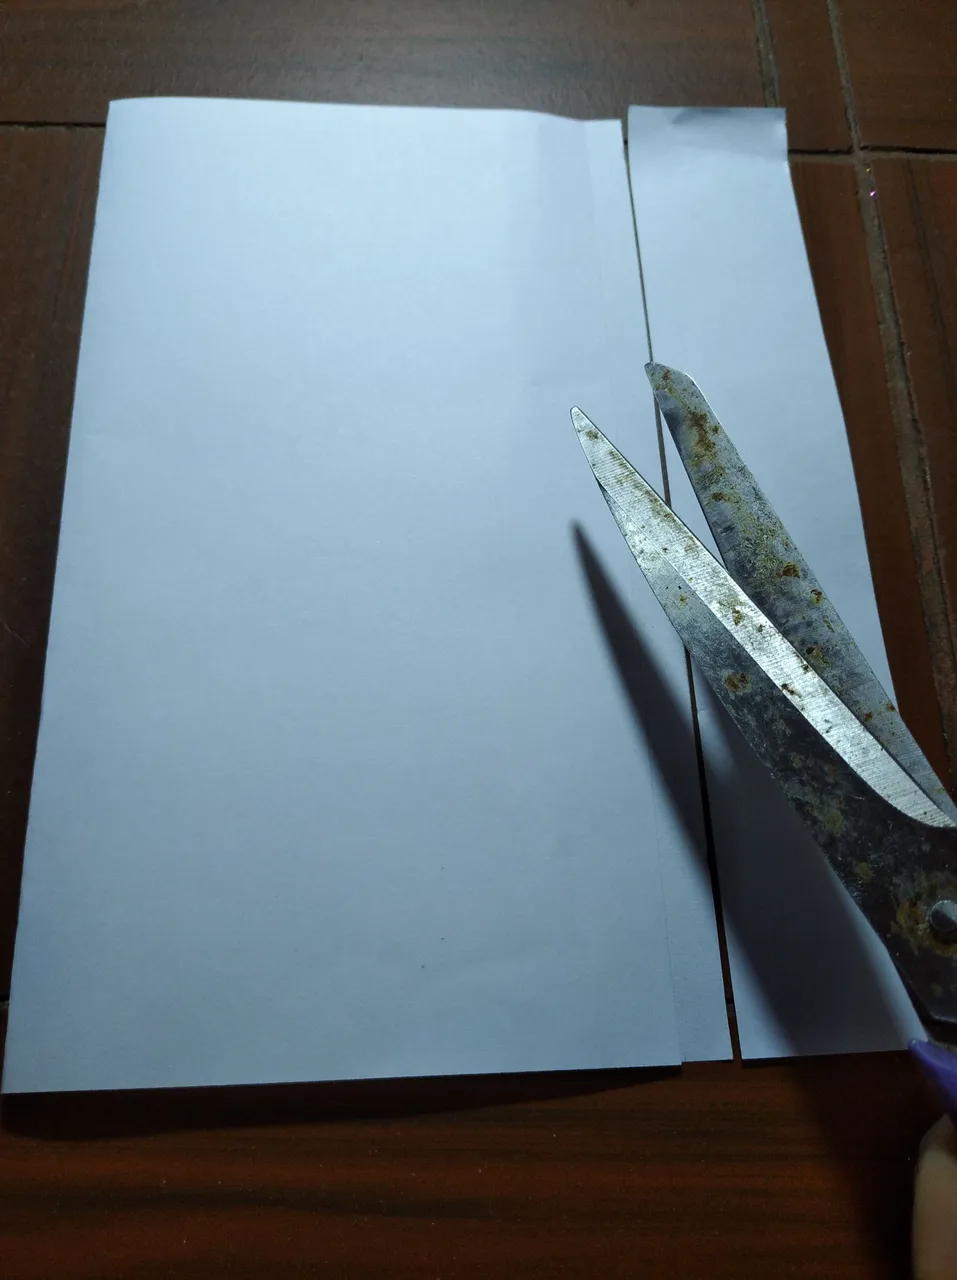
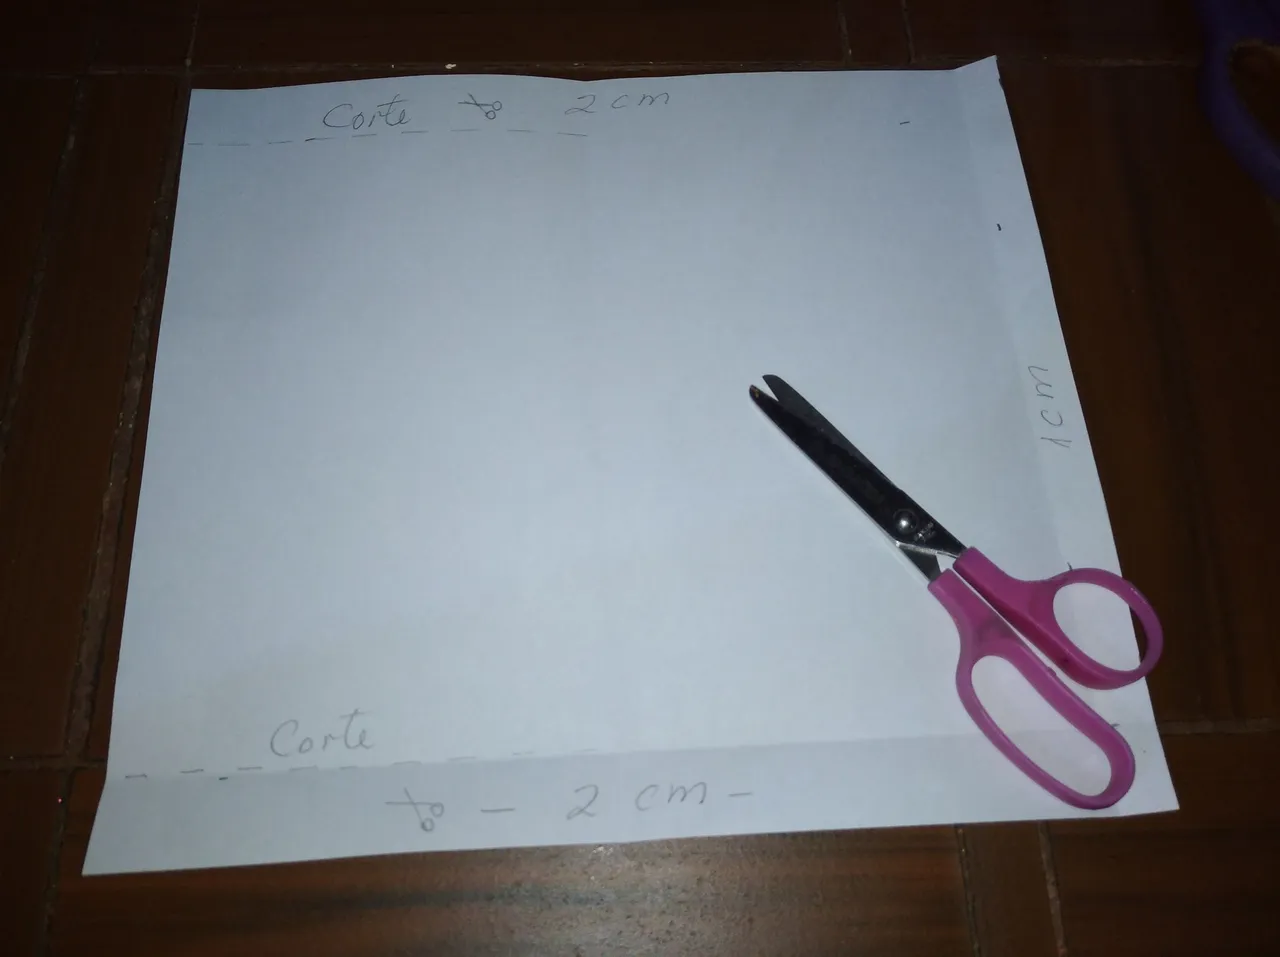
We measure the size of the envelope we want to make to the width of the paper and cut the excess.
Spanish
- Medimos el tamaño del sobre que deseamos hacer al ancho del papel y cortamos el sobrante.
English
- We mark the cutting and bending lines:
- 1 cm to seal the envelope on the left side.
- 2 cm to seal the envelope at the bottom
- 2 cm at the top for the flap
- We cut out the paths.
Spanish
- Marcamos las líneas de corte y doblado:
- 1 cm para sellar el sobre en la parte izquierda.
- 2 cm para sellar el sobre el la parte inferior
- 2 cm en la parte superior para la solapa
- Recortamos lo trazado.
English
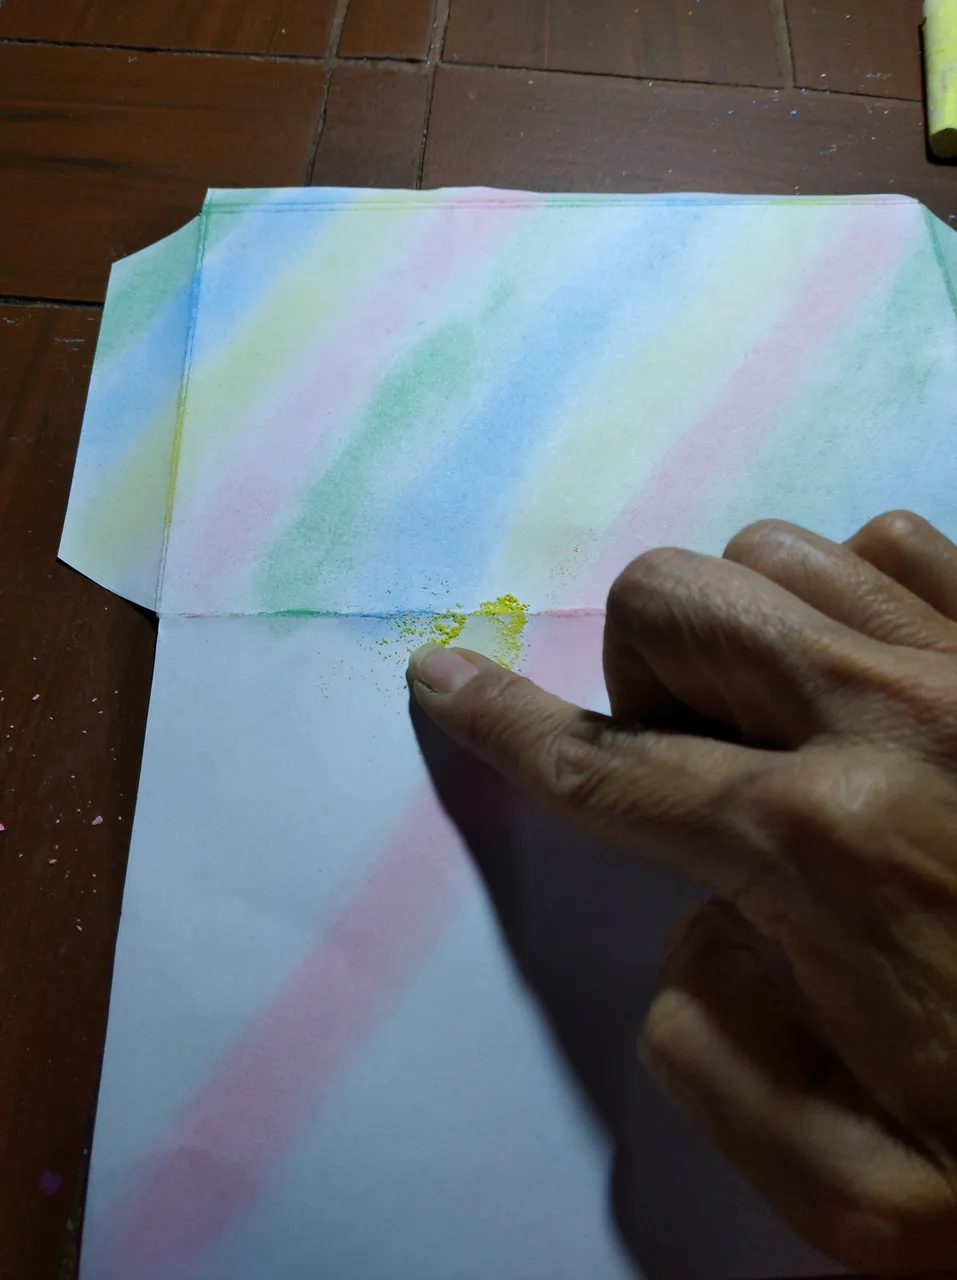
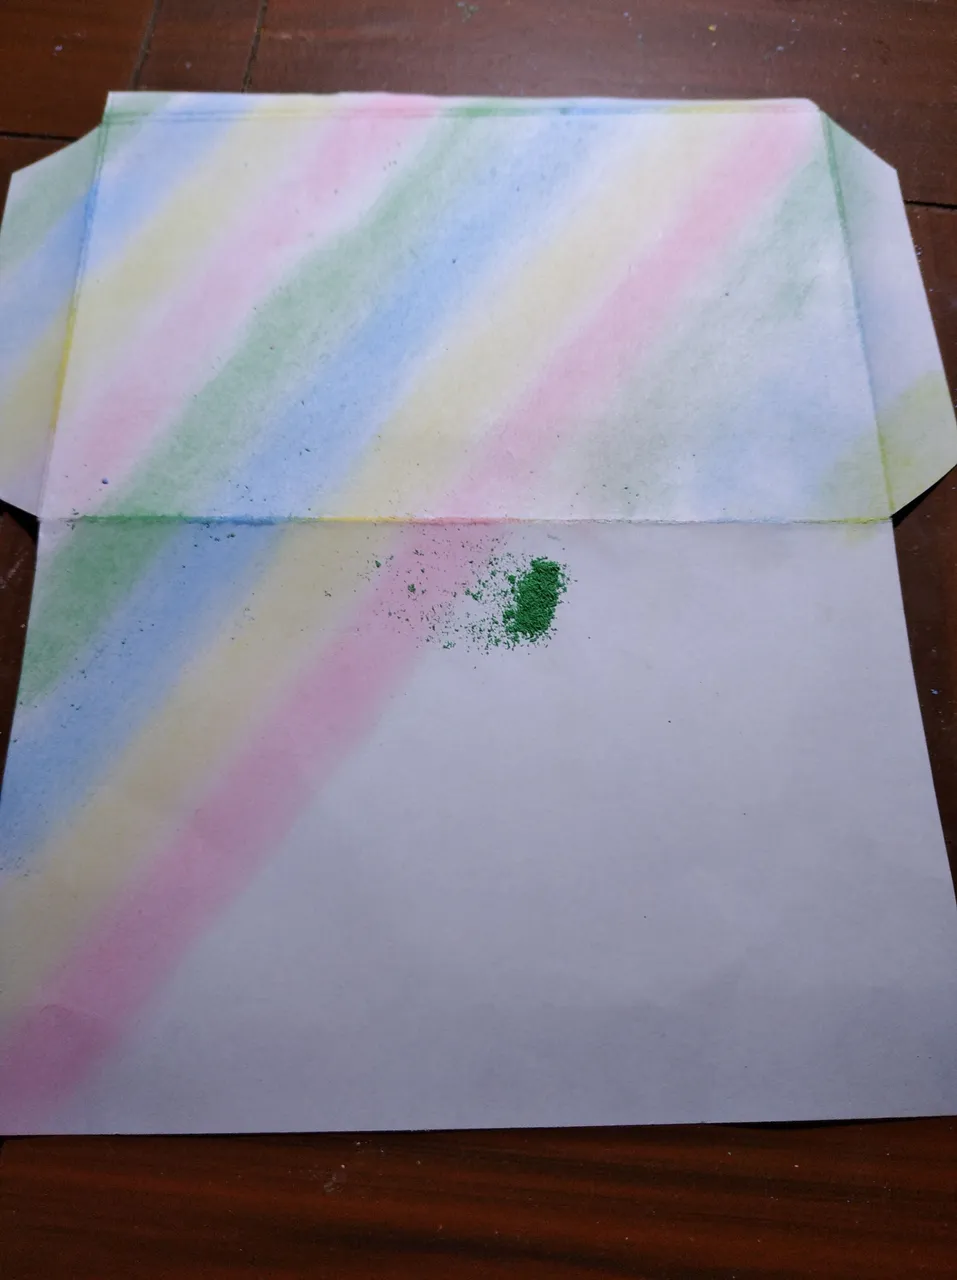
- We personalize our envelope with chalk powders of various colors and with our finger we spread all over the paper until it is completely covered.
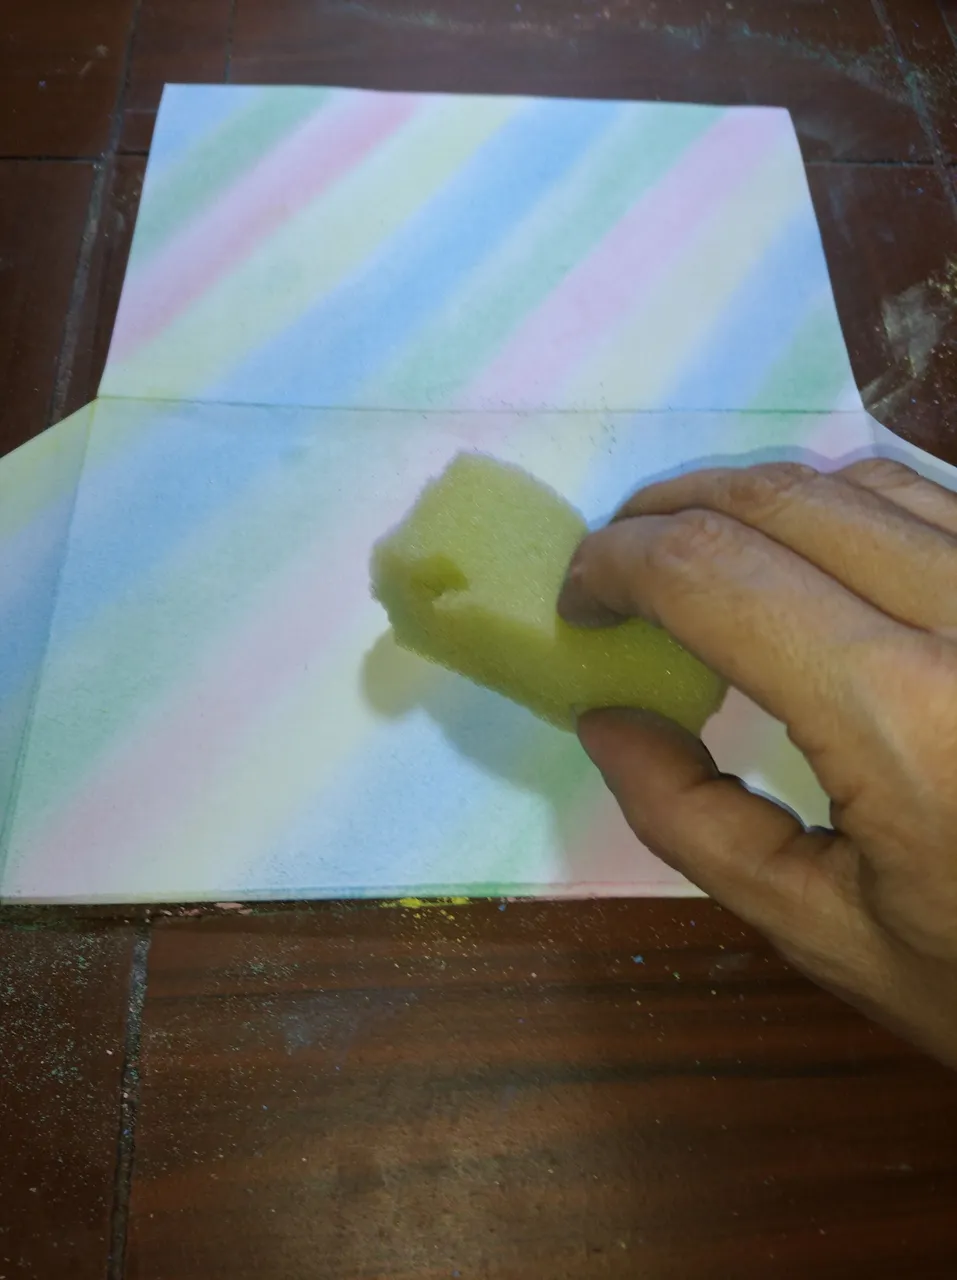
- With a sponge we remove the excess and blur the joints of each color.
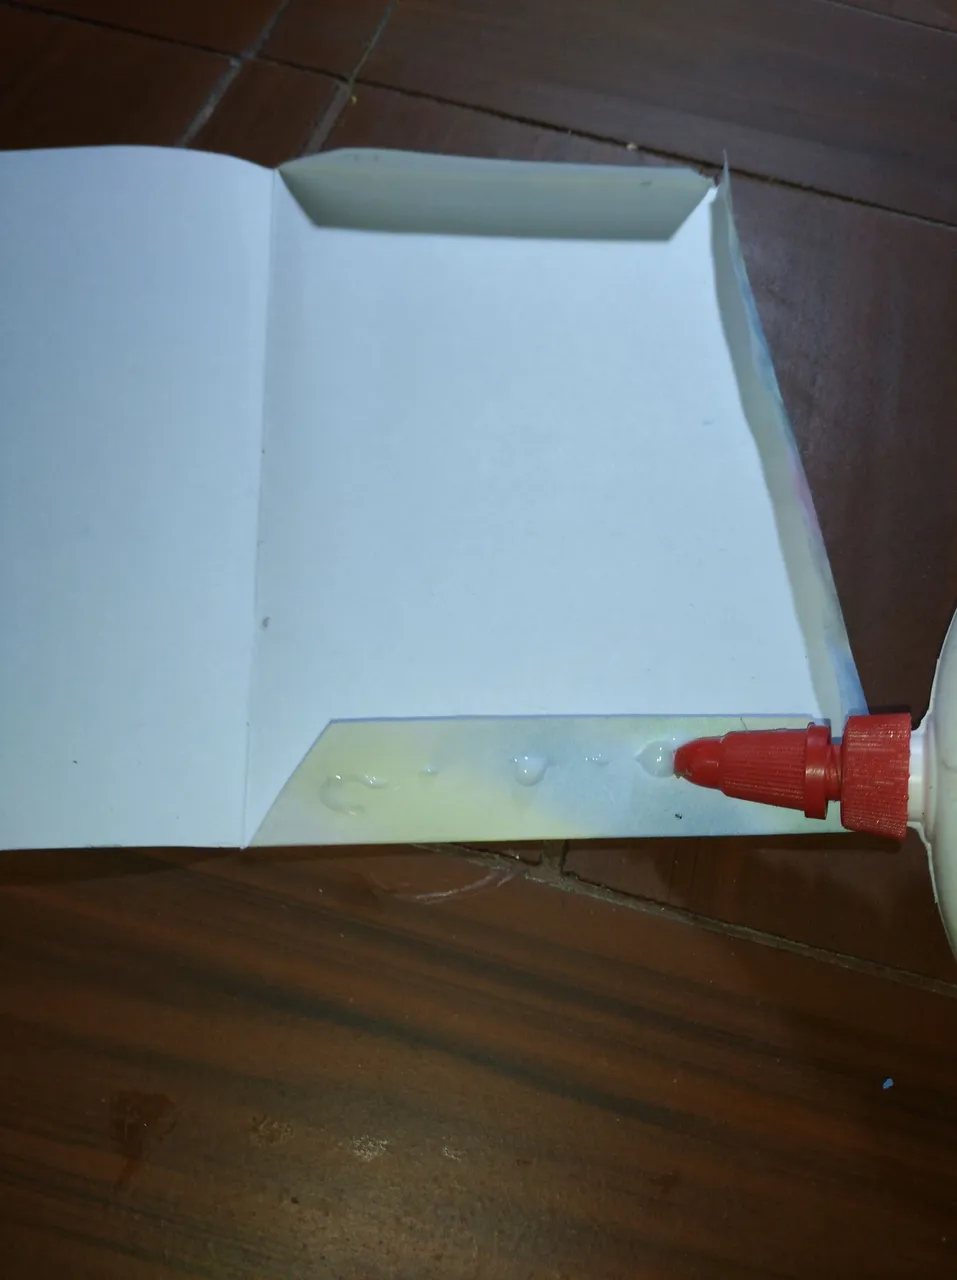
- With the glue we seal the envelope, except the upper flap.
Spanish
- Personalizamos nuestro sobre con polvos de tiza de varios colores y con el dedo extendemos por todo el papel hasta cubrirlo totalmente.
- Con una esponja retiramos el sobrante y difuminamos las uniones de cada color.
- Con la pega sellamos el sobre, menos la solapa superior.
English
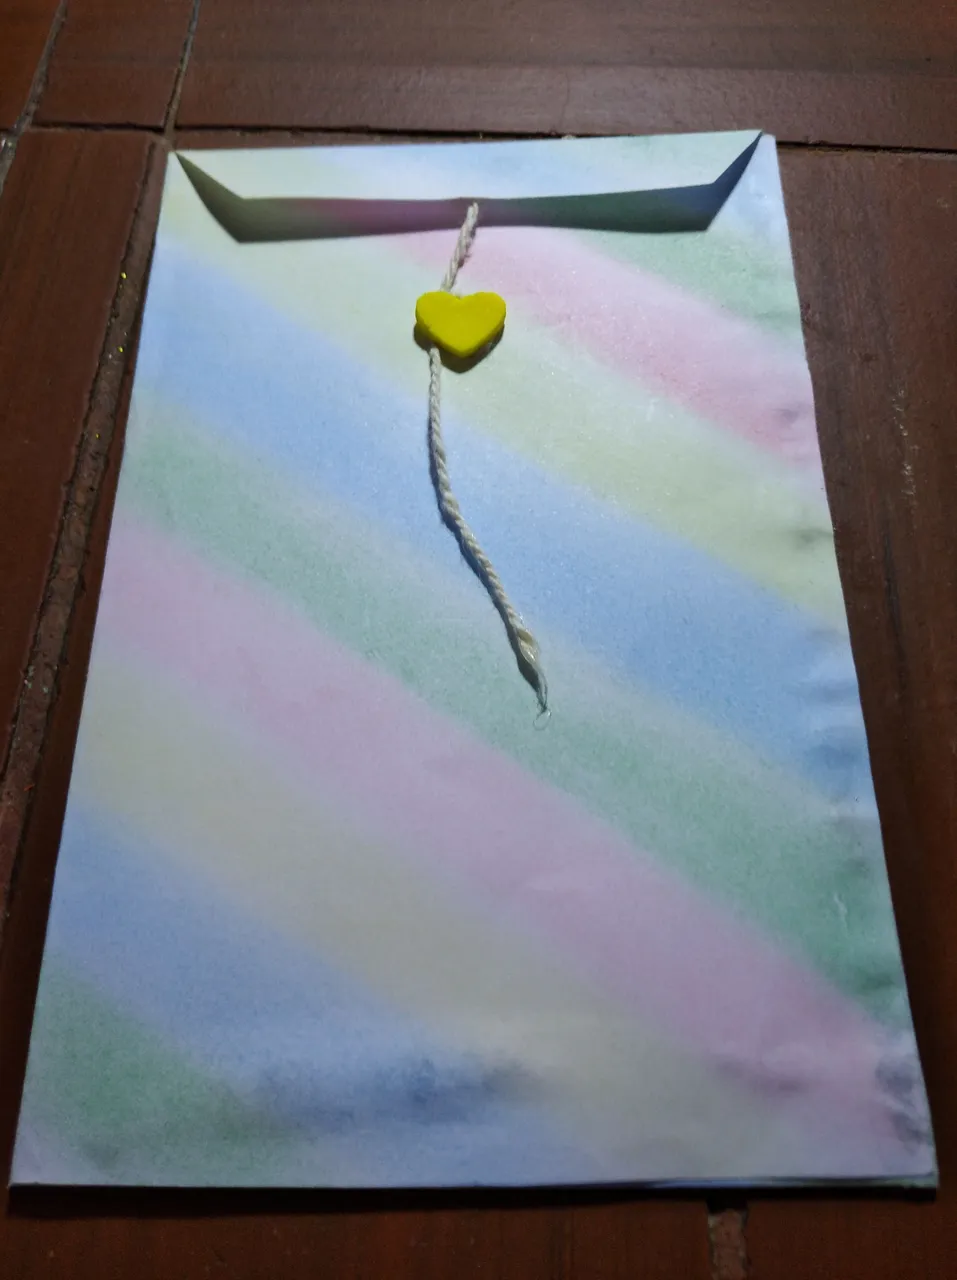
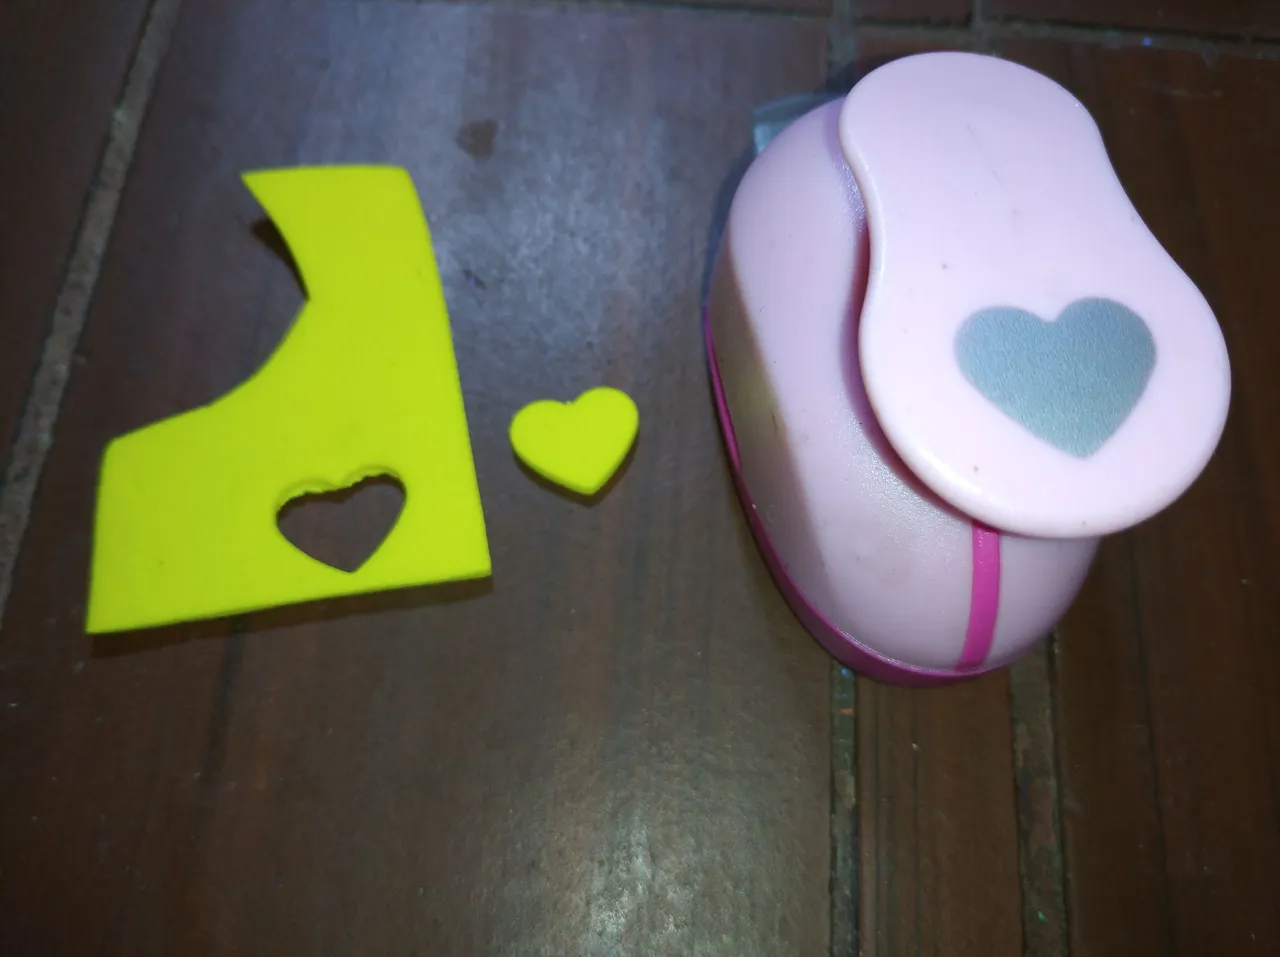
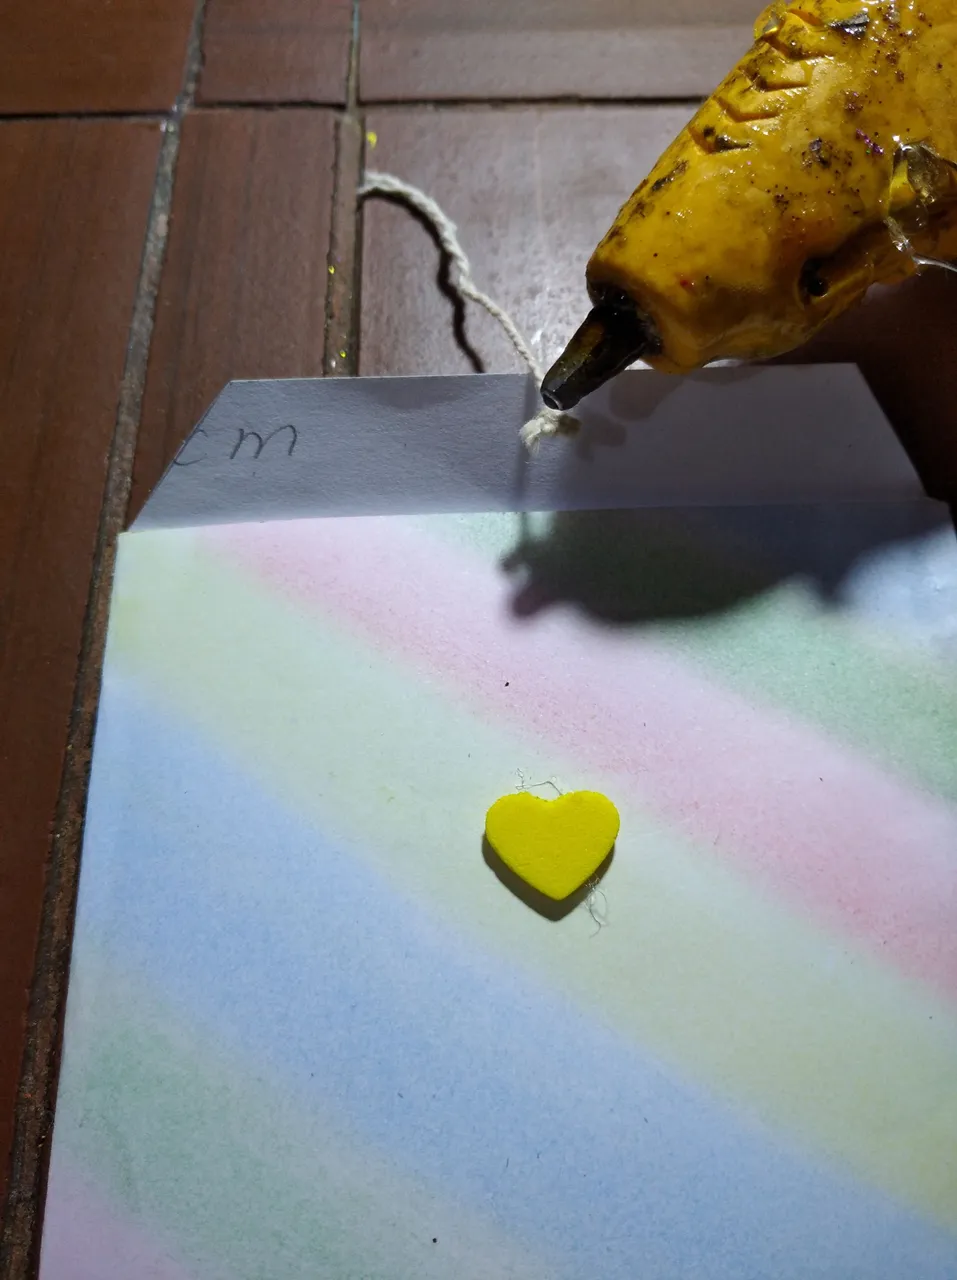
- We cut a heart in foam and glue with silicone so that there is space to close the envelope with the thread.
- We glue the thread on the inside of the flap.
Spanish
- Cortamos un corazón en foami y pegamos con silicón de manera que quede espacio para cerra el sobre con el hilo.
- Pegamos el hilo en la parte interna de la solapa.
English
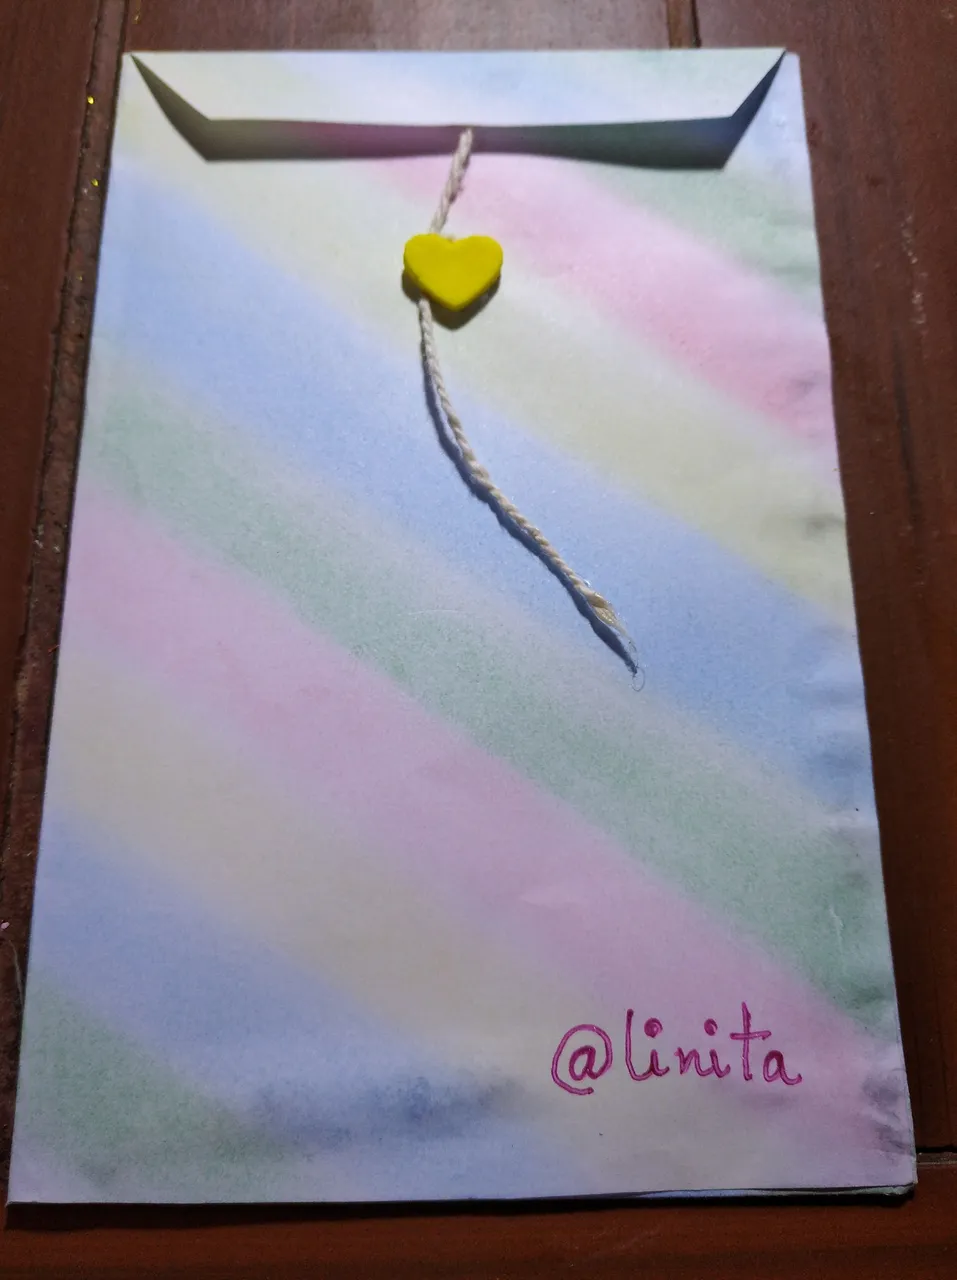
And ready. We already have a spectacular envelope made with our hands for when we need to keep documents, send letters, in short, to give it the use we think is necessary.
I hope it has been very useful to you.
Spanish
Y listo. Ya tenemos un espectacular sobre hecho con nuestras manos para cuando necesitemos guardar documenos, enviar cartas, en fin, para darle el uso que creamos necesario.
Espero les haya sido de gran utilidad.