Hey guys! I have a project to share with all of you that I am super proud of!! I promised yall that I would share this project when I finished it, so here is the dress I mentioned in my last post. I did not take that many progress pictures, but I will still try to share the entire process of making it. I did sort of finish this dress about ten days ago… procrastination is real lol. I am particularly proud of this dress because I designed it all by myself, and someone I really look up to (who has a career in costume design) really liked my design. I wore this dress to an Alec Benjamin concert in Atlanta, which was my first big concert, it was so amazing and fun!
So the first step is always to find inspiration, and I had been a little bit short on inspiration for a few weeks so naturally the only solution was to dig threw my boxes of fabric and throw pieces of material all around my room. I made a huge mess, but it was worth it because I came out of it with a color scheme for my next project: red and black. The next part was to figure out the design of what I wanted to sew. I looked through some old screenshots on my phone of designs that had inspired me, and ended up using the one I shared in my last post as a style inspiration for my dress.
After I was done with all that, I used yarn to draw seam lines on my dress form. I always have trouble sketching my ideas on paper, so when designing I always go straight to my dress form. After I covered my dress form in lines, I used them to drape a basic pattern for the top part of the dress. I then copied the pieces onto paper and labeled each piece. While doing this, I measured my waist to make a skirt, and doubled the measurement so I would have plenty of fabric for pretty pleats. I turned this measurement (which ended up at about 60 inches) into a rectangle by making it wide enough for the bottom of the skirt to end below my knees.
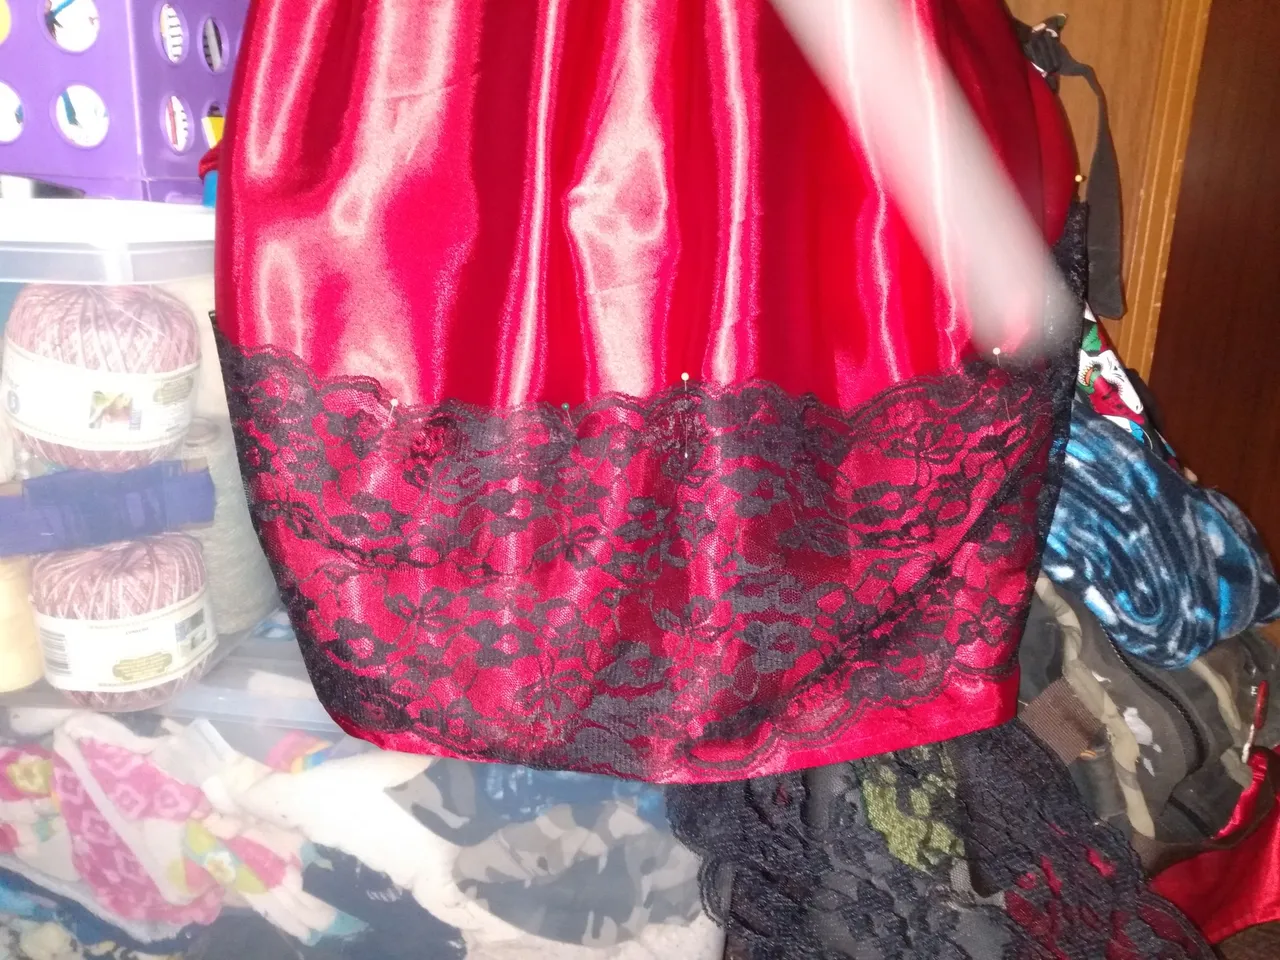
Then I cut out each piece I was going to need and I ironed them all. (I actually ironed the skirt piece twice because satin wrinkles very easily). I debated for a little bit about which kind of pleats to use on my skirt, and ended up with what I think are called box pleats. Please someone tell me in the comments if that is correct. I basted and re-ironed the pleats so that they would stay while I worked on the bodice piece and debated on the details of the design. I also decided to add some lace to the bottom of the skirt.
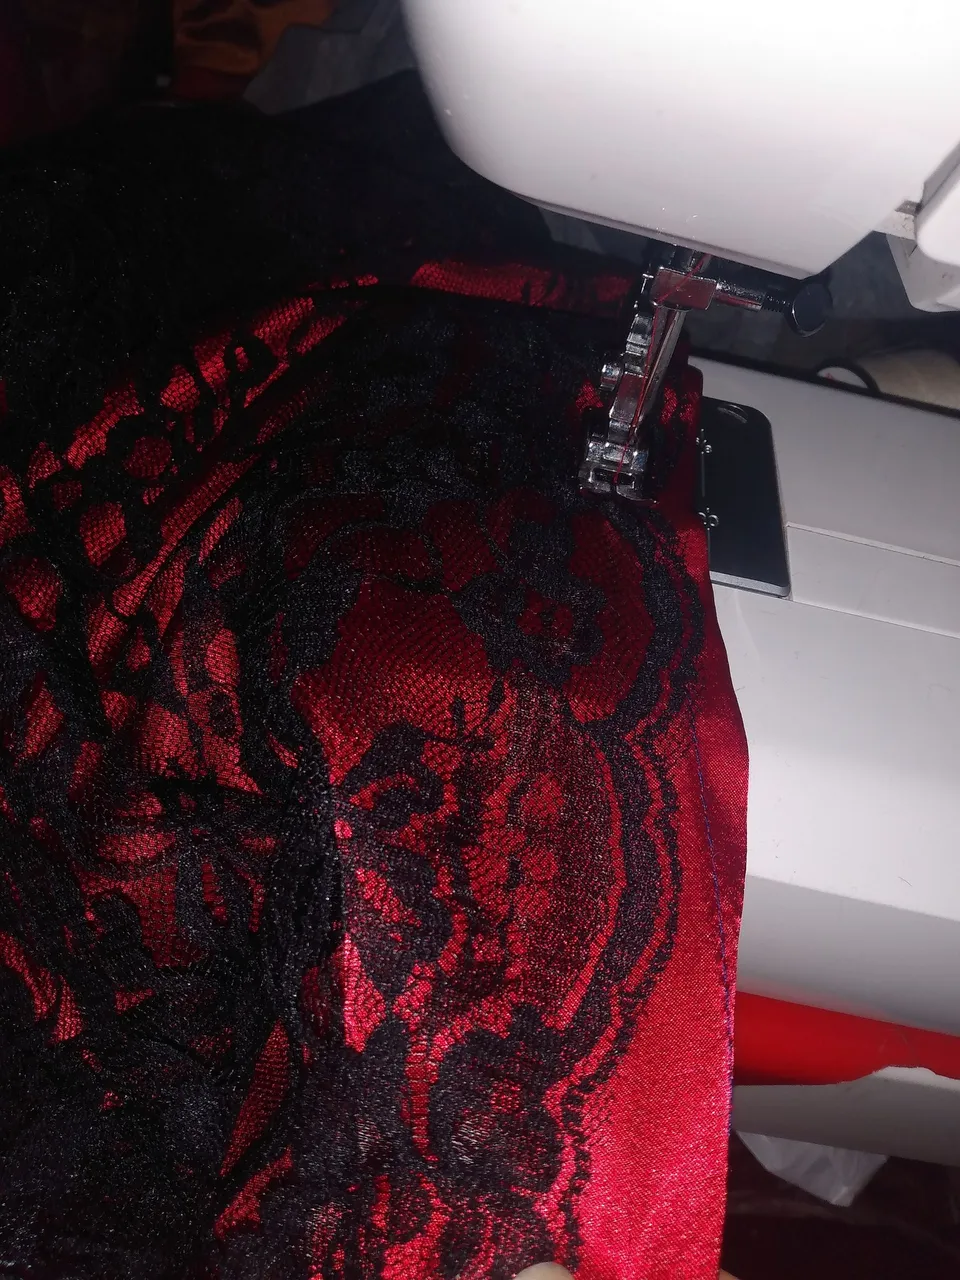
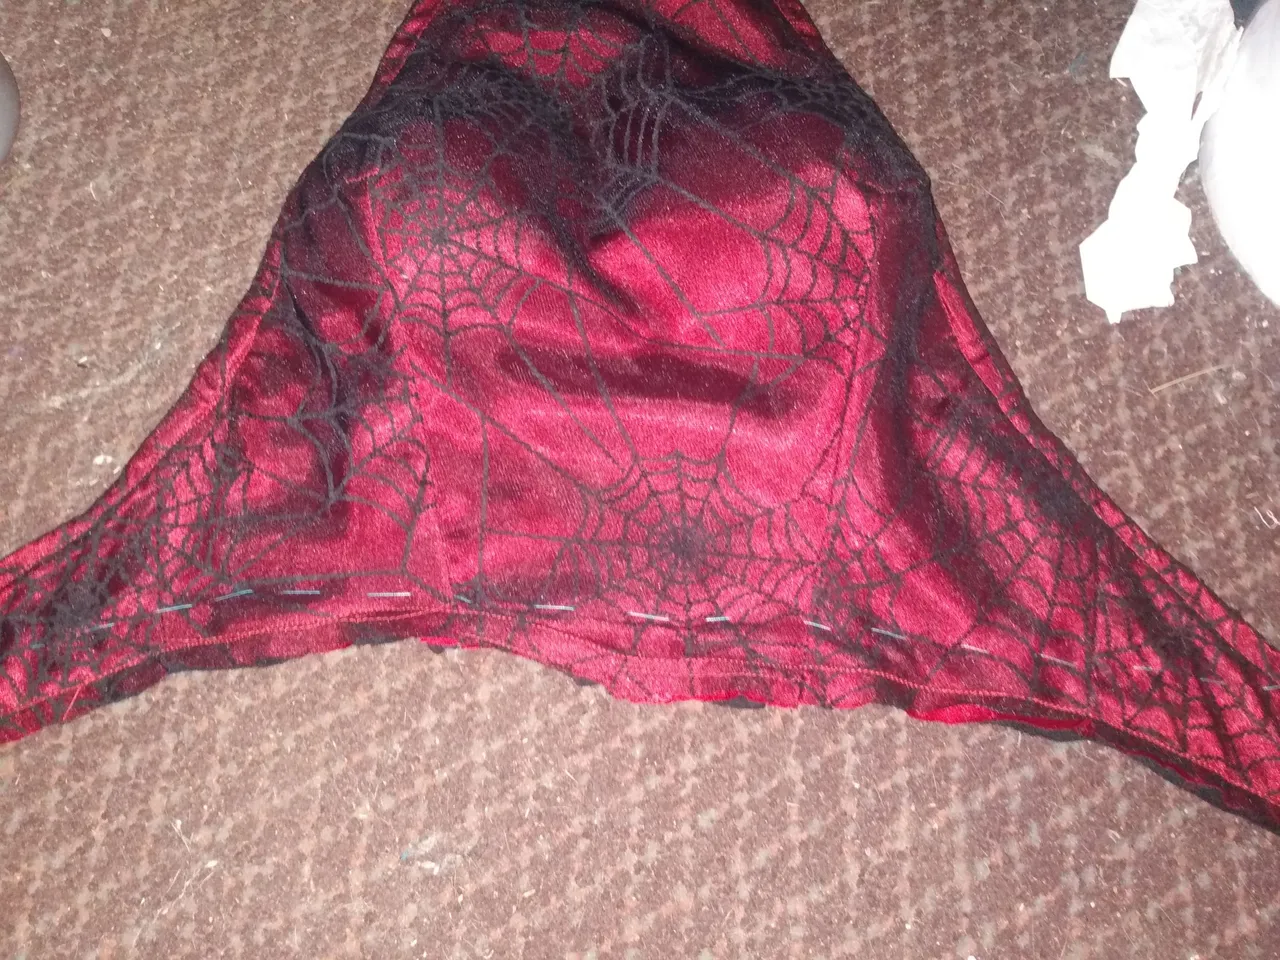
The bodice piece was made out of three layers, the lining, the red satin, and the spiderweb lace. I first stitched the satin and the lace together, and sewed the dart in them.
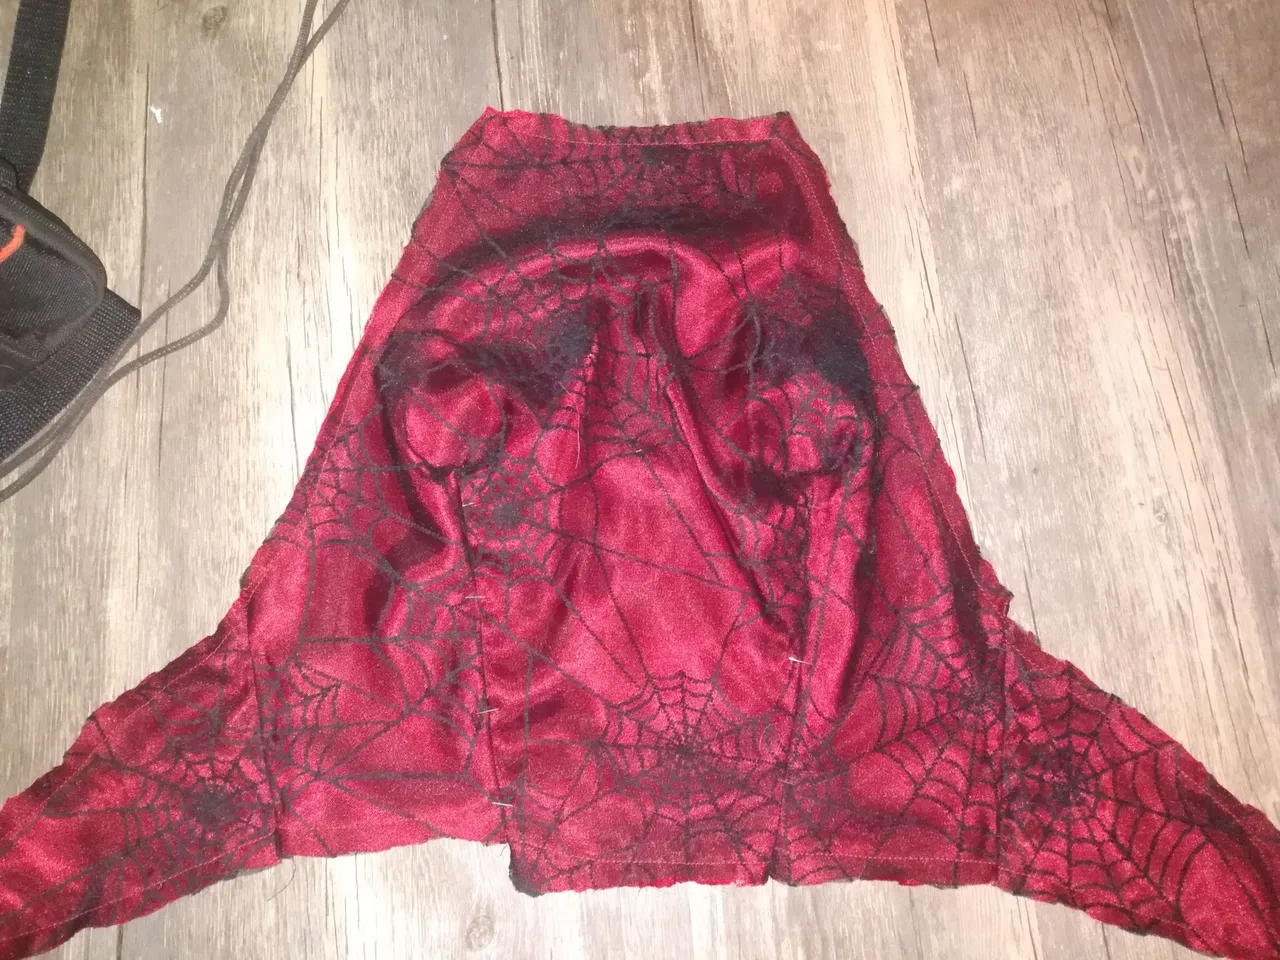
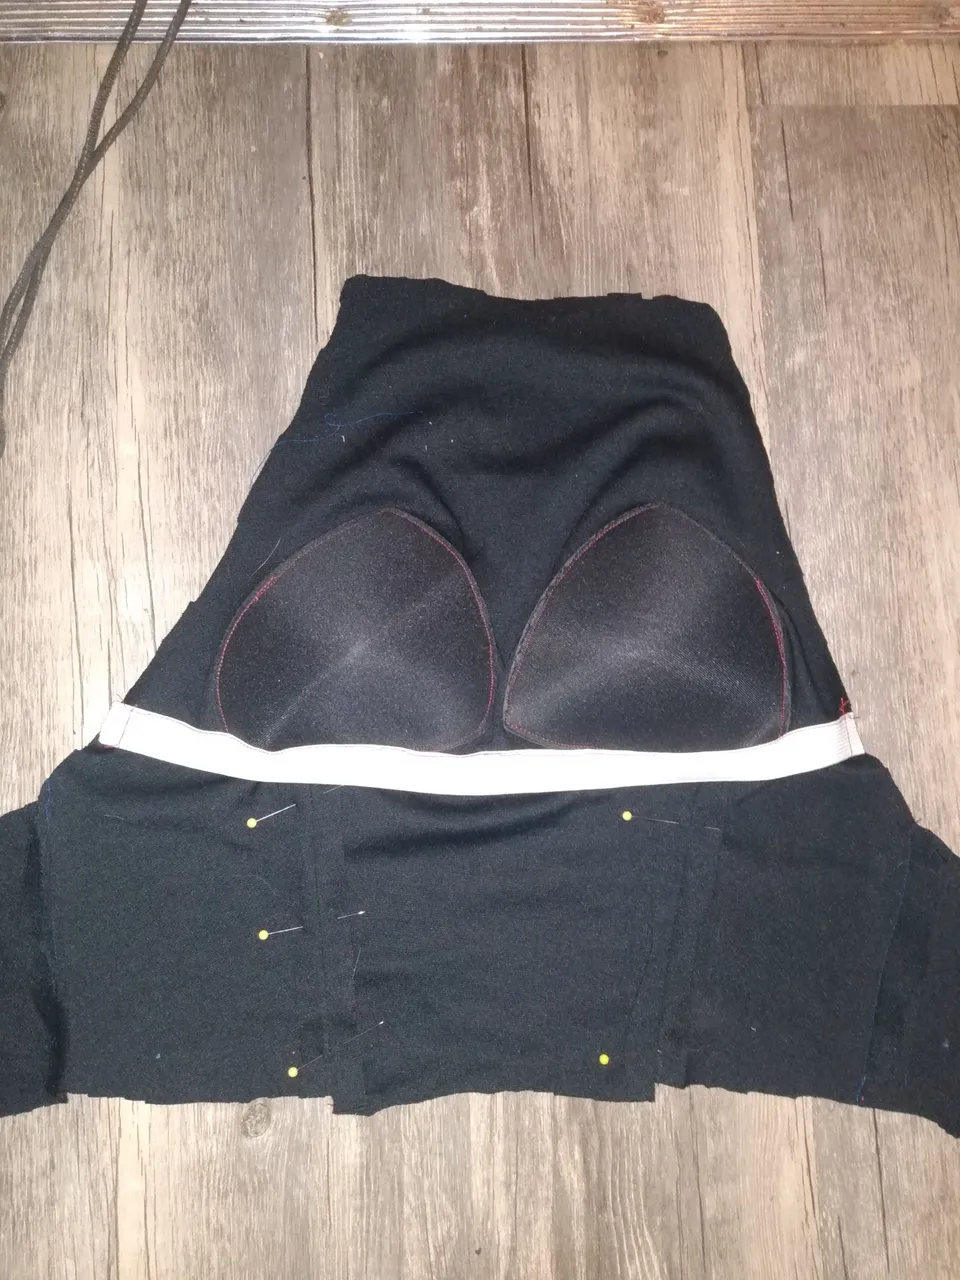
I then sewed the dart in the lining piece, and added foam bust pads to the wrong side of the lining piece (it was seriously a challenge to place them correctly because I did not have the forethought to mark the placement on the pattern beforehand). I also added a piece of elastic to right under the bust pads.After this I stitched the lining to the main fabric of the bodice piece.
It was at this point that I realized I had made a mistake. I pinned the bodice piece to my dress form to test it out and it was the wrong shape. As the teenager I am, this sent me into an emotional outburst.
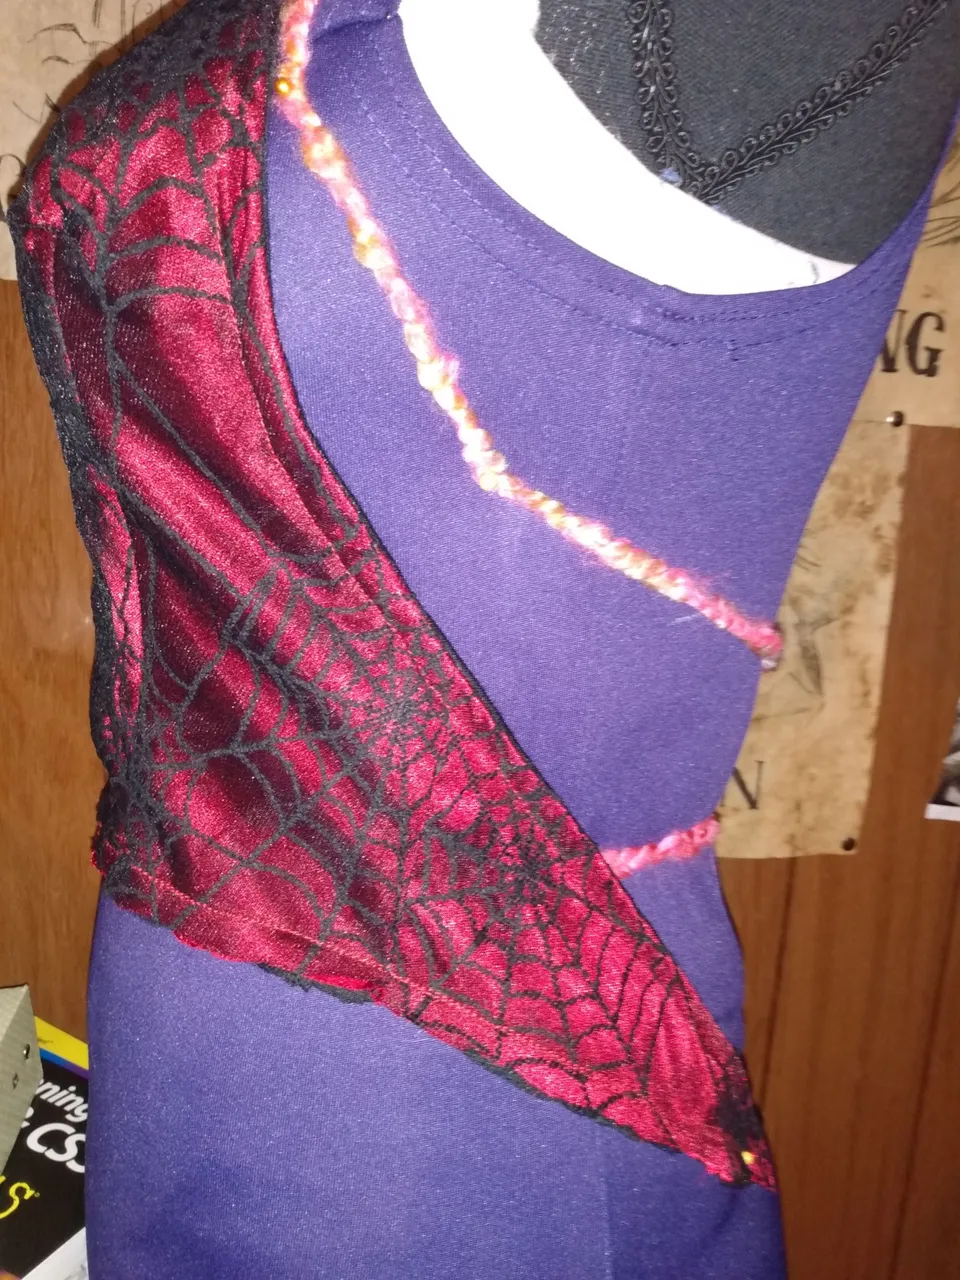
The pink yarn shows where the edge of the piece should have been
After dealing with that and letting it sit for about a day, I decided to just go with the flow and fix the pattern to accommodate the mistake without having to restart. Having made this change, the already low back became even lower. Even so, I prevailed.
Next I attached the neck piece. After that, I hand basted a line along where I was going to attach the waistband. I had to do this because the edge of the material no longer quite lined up with the waistband.
Then I sewed the waistband to the skirt and then to the bodice. Next, I added a zipper that I cut out of an old pair of pants, and sewed the center back seam.
Somewhere along this journey I also realized that I had unwittingly given into social norms by accidentally not adding a side seam in the skirt, therefore effectively preventing me from adding hidden pockets. In this type of dress I only like to add hidden pockets so that I do not mess up the aesthetic of the “Fanciness,” so any other type of pocket would be unacceptable.
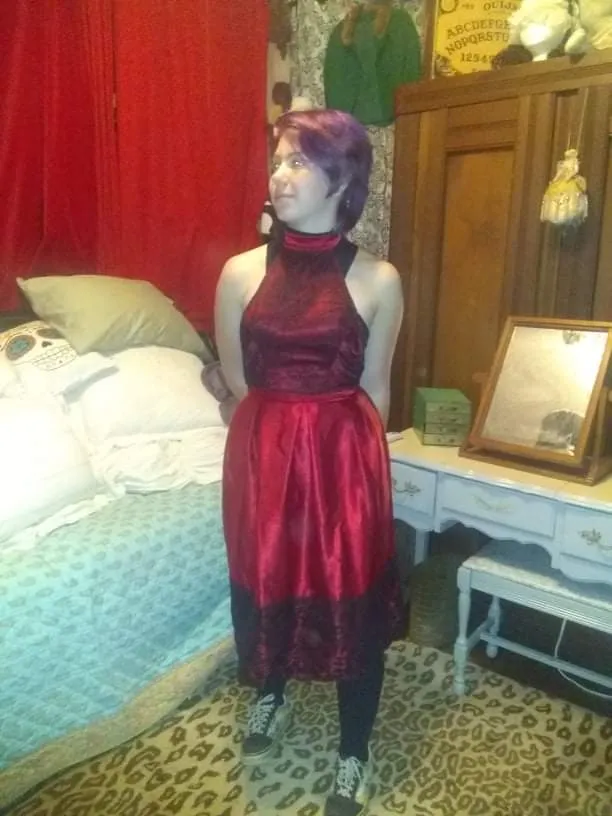
After the whole process, this is my finished dress. I am very happy with it, and I have already worn it outside of my house twice.
Having said that, The mistake that I mentioned earlier ended up making the front of the dress a bit more narrow than I would have liked, as shown below.
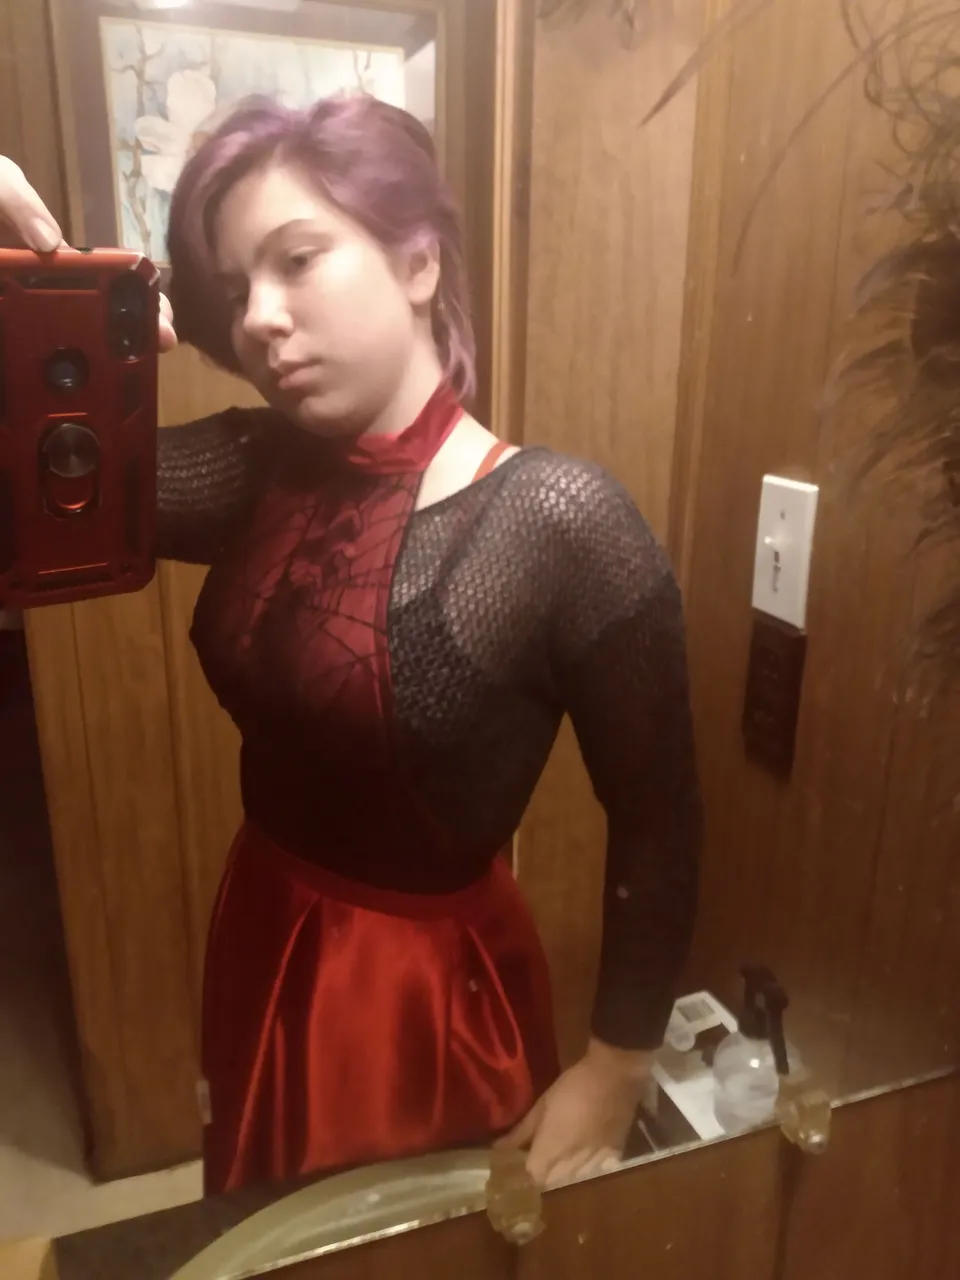
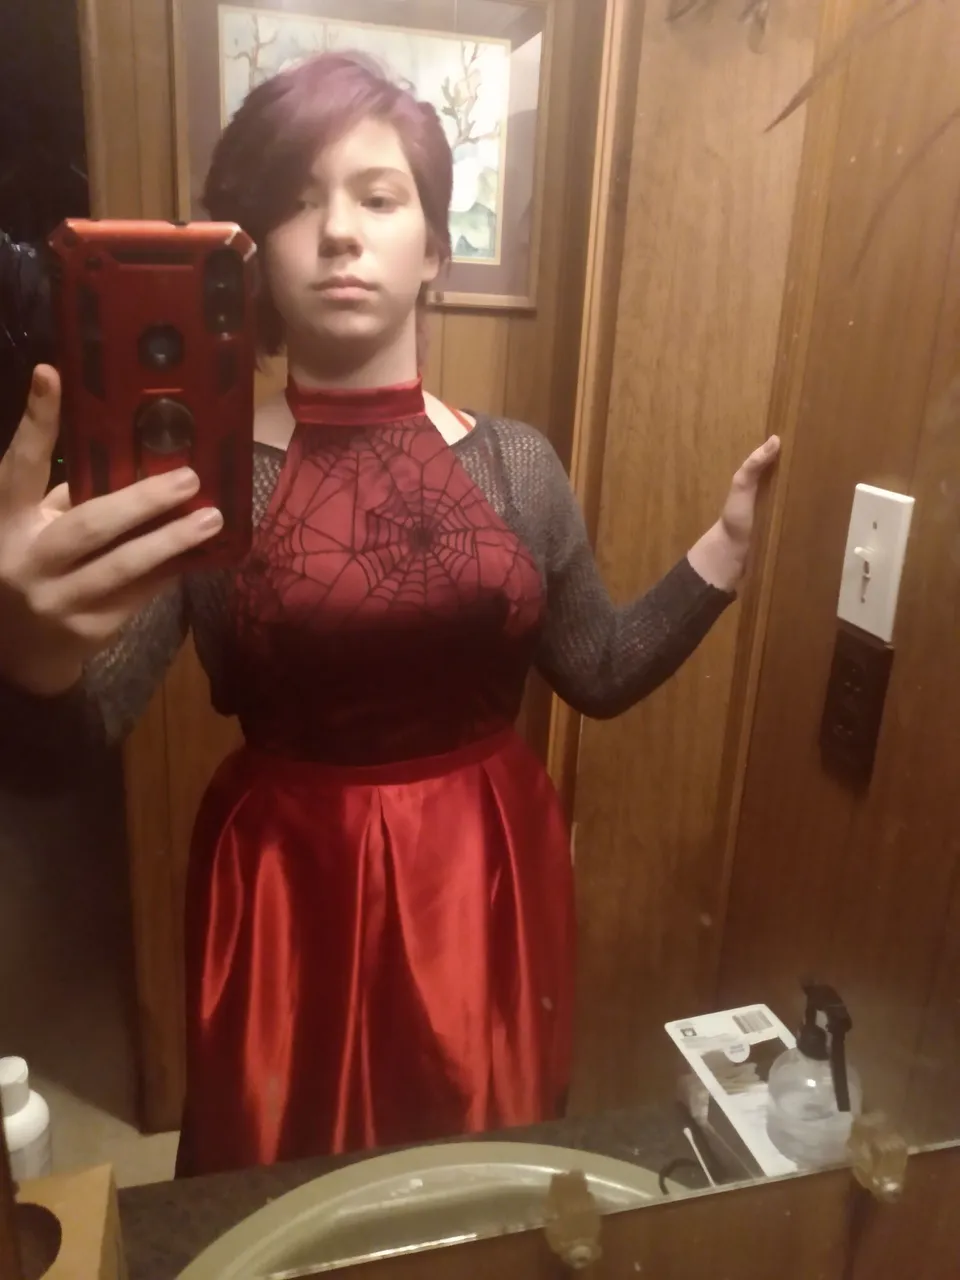
I do truly apologize for the bad mirror pictures, alas, when I tried on the dress for the first time to take these pictures, I was the only awake human in my house, as it was the wee hours of the night.
I feel the need to share with you all that my inner perfectionist is yelling at me for not calling it trash because of a few minor mistakes that nobody other than me will even notice, but it is alright because I’ve gotten a little better at ignoring it.
I hope you all enjoyed reading my journey of making a dress!! Also, please leave a comment so that I know you read it and I’m not only getting auto-votes. Peace, and I hope you are all doing well.