Hey, ZENZOnites!
Today, we are going to learn how to configure a ZNZ Masternode on Social SEND platform and paying with ZNZ.
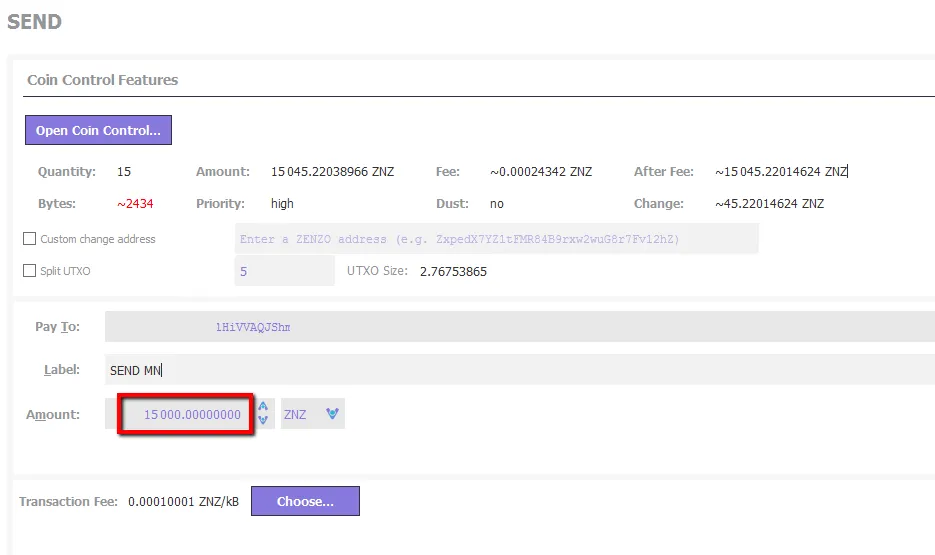
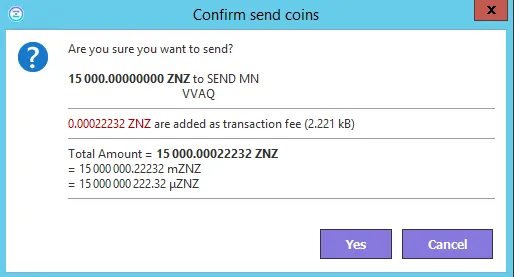
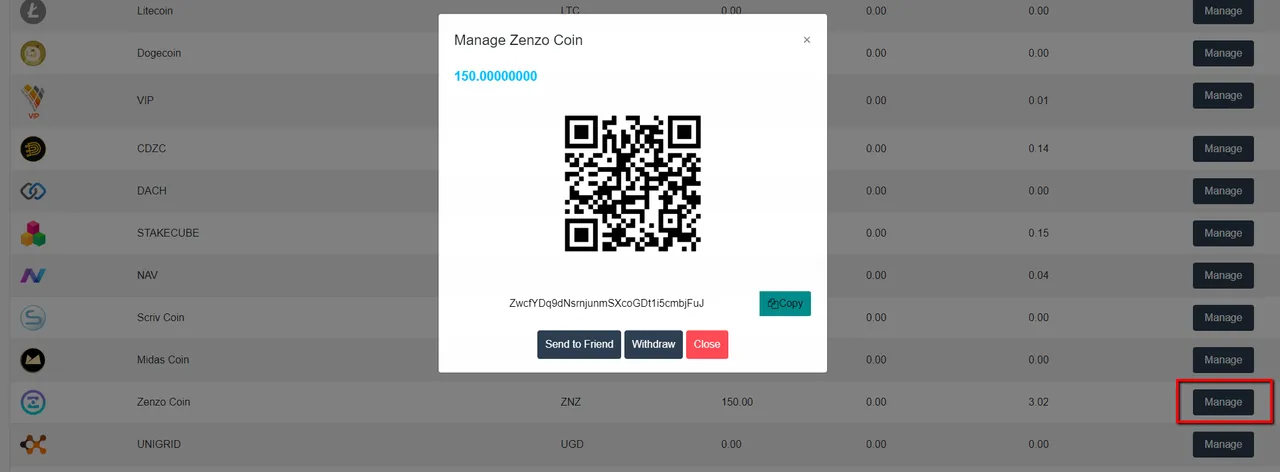
- You must send exactly 15,000 ZNZ to your own address, in your wallet.
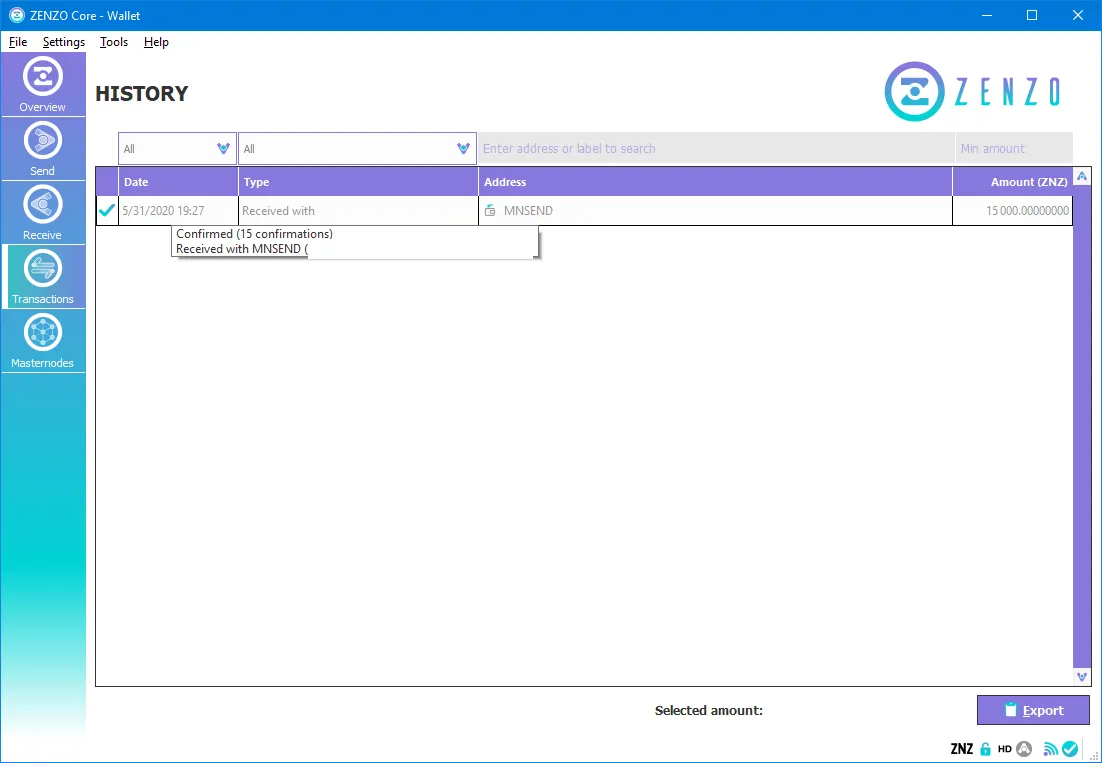
- Wait until you have at least 15 confirmations.
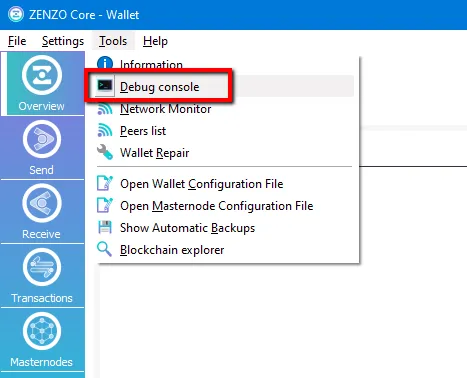
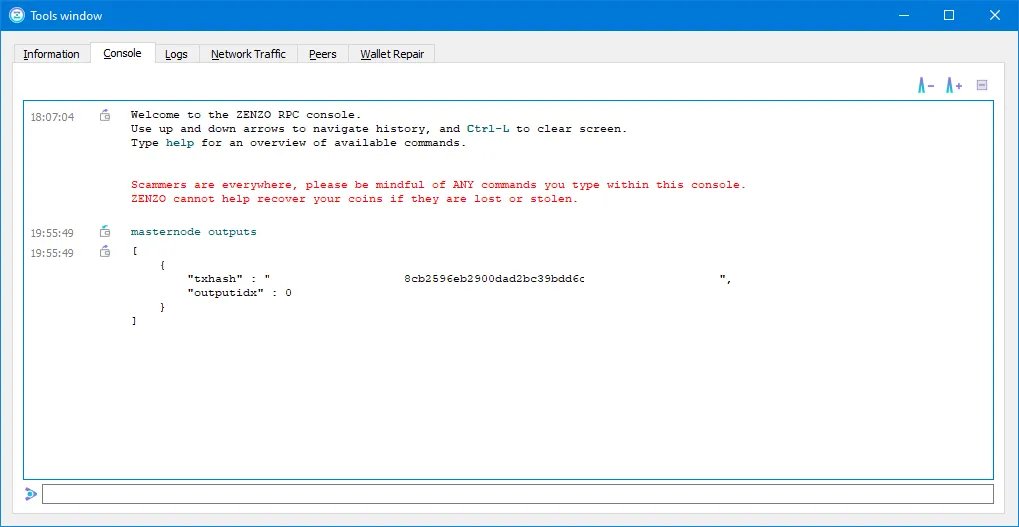
- Go to Debug console and type
masternode outputs.
- Copy txhash and outputidx.
You will need it later.
Now, we are ready to configure the Masternode on the Social SEND platform.
Go to https://socialsend.net/
Go to add balance on your account.
Please go to https://socialsend.net/user/wallet
Add a sufficient balance to deploy your masternode.
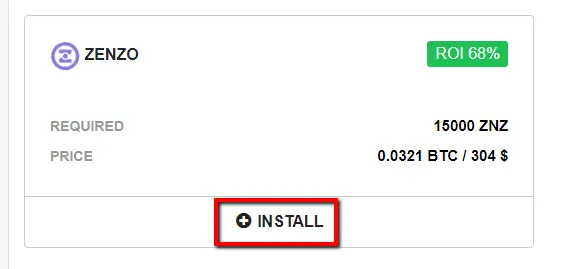
- Go to https://socialsend.net/user/node/index and click on install.
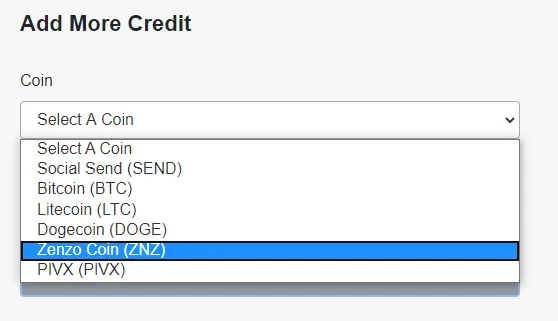
- Go to Add More Credit.
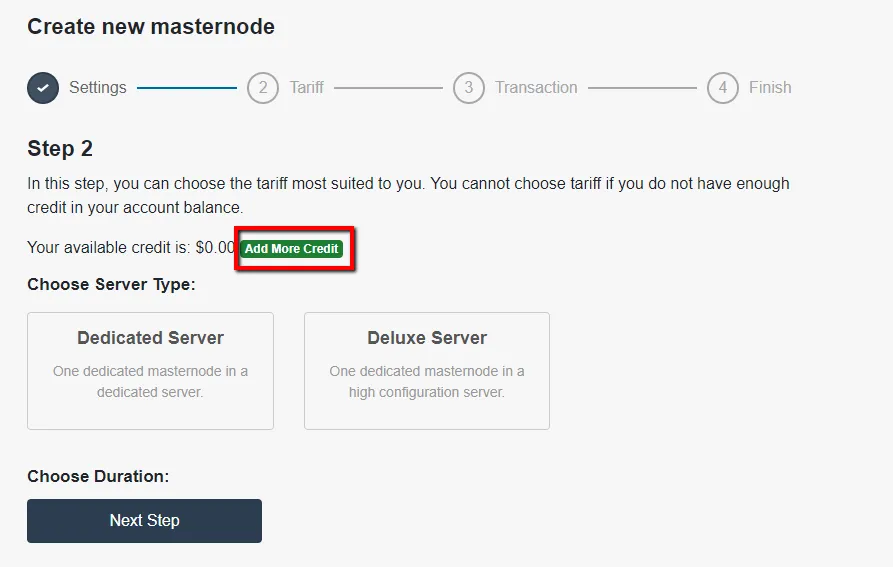
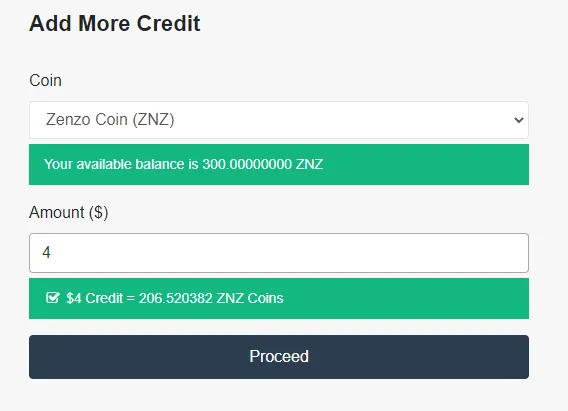
- Select Zenzo Coin (ZNZ)
- Then, write in USD the value to add.
- After that, click on Dedicated server.
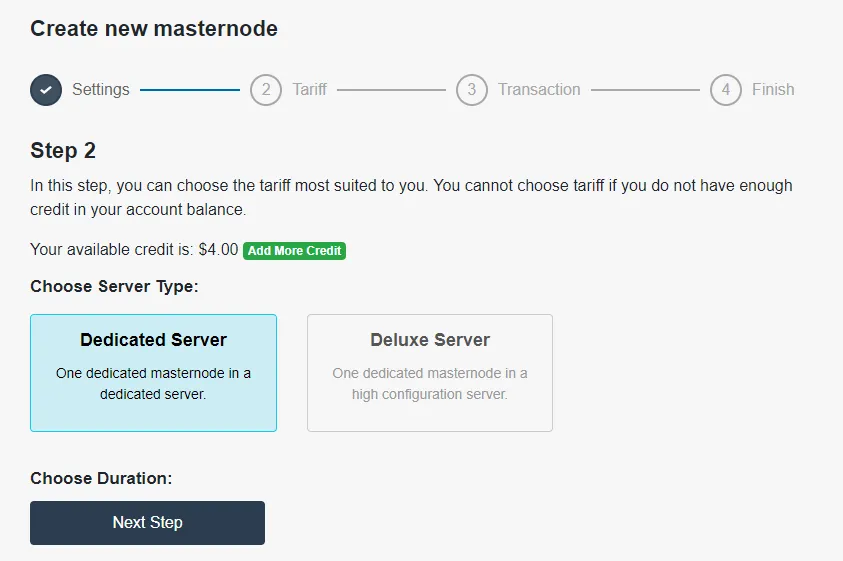
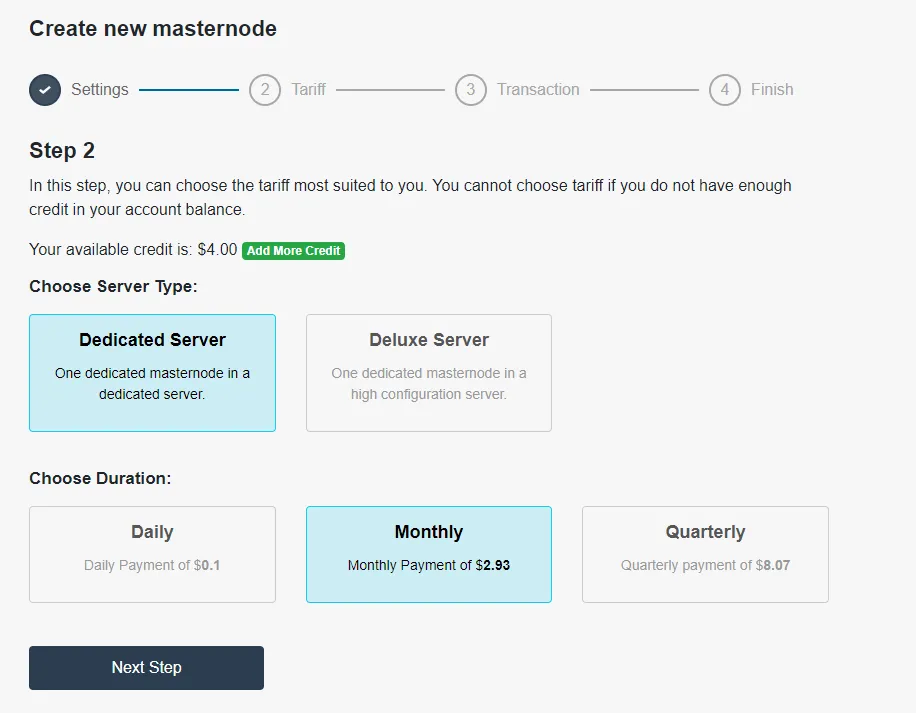
- Choose duration (For this example, I'm going to select Monthly).
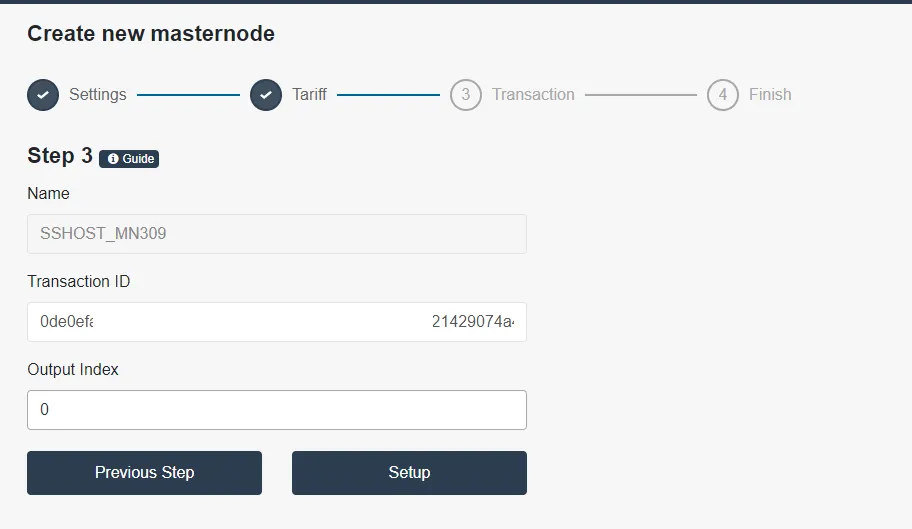
Click Next Step.
- Do you remember saving the txhash and outputidx on one of the first steps?
Copy txhash on Transaction ID and outputidx on Output Index
Click on Setup.
- Success!
Now, copy this line and go to your ZENZO Wallet.
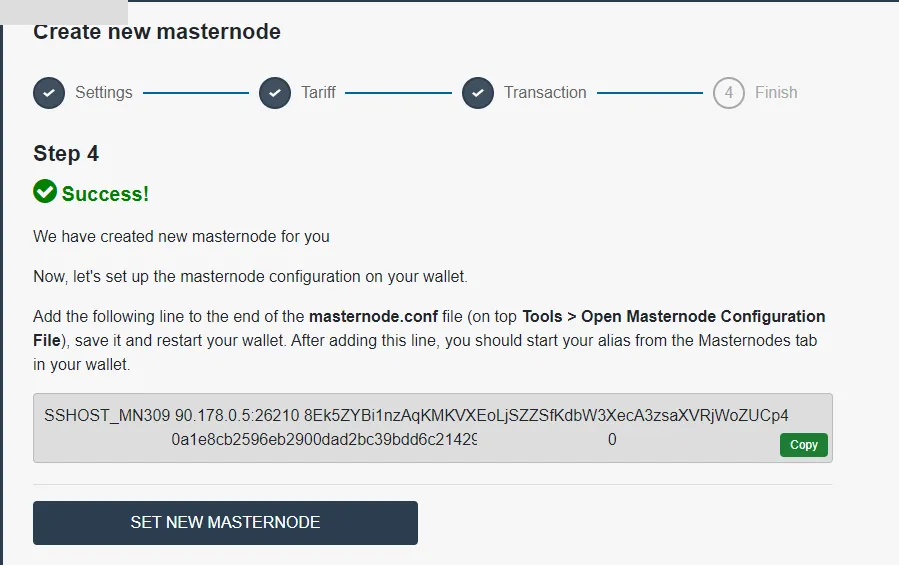
- Go to Tools > Open Masternode Configuration File.
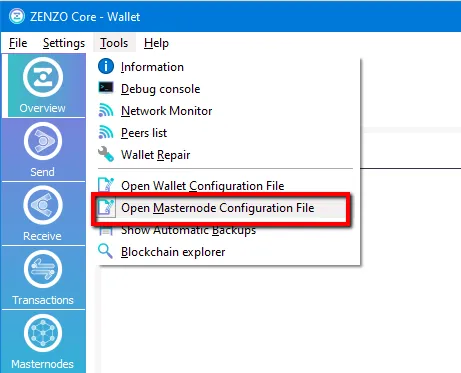
- Paste the line, save the file, and close it.
Safely close your wallet and then launch it back up.

- Now, you need to activate your ZENZO Masternode.
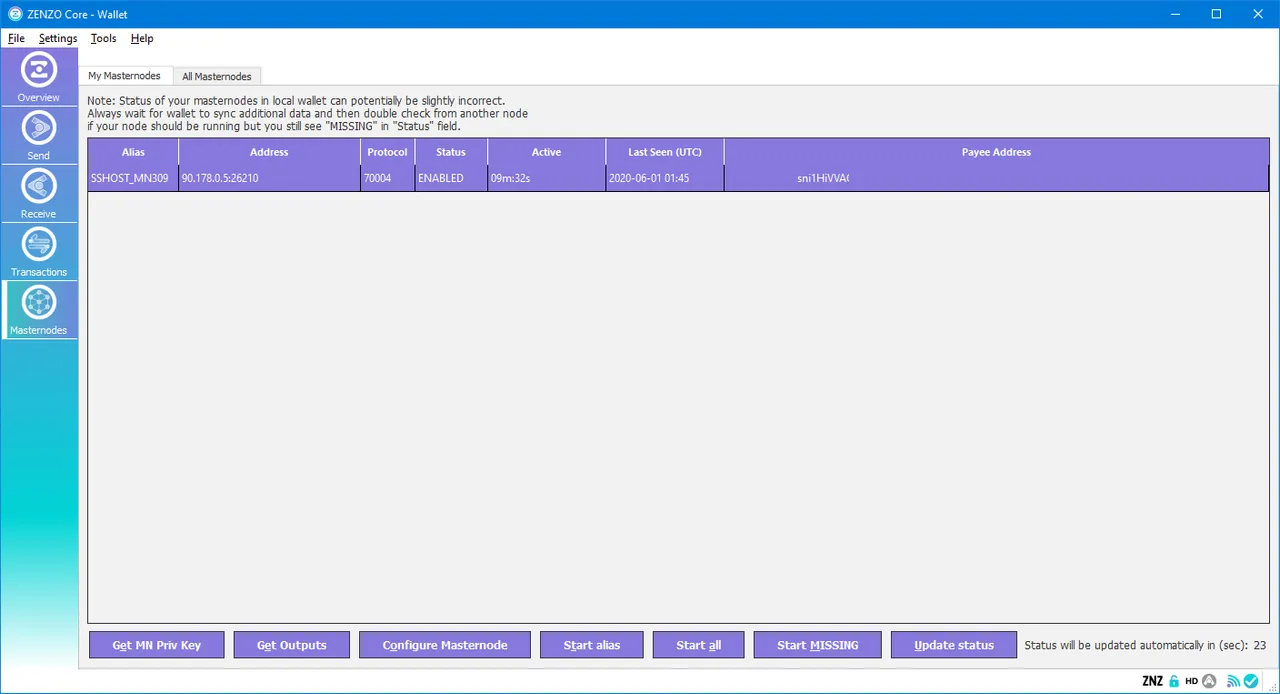
Unlock your wallet and go to the Masternodes tab.
Right click on your masternode and selectStart Aliasand selectYes.
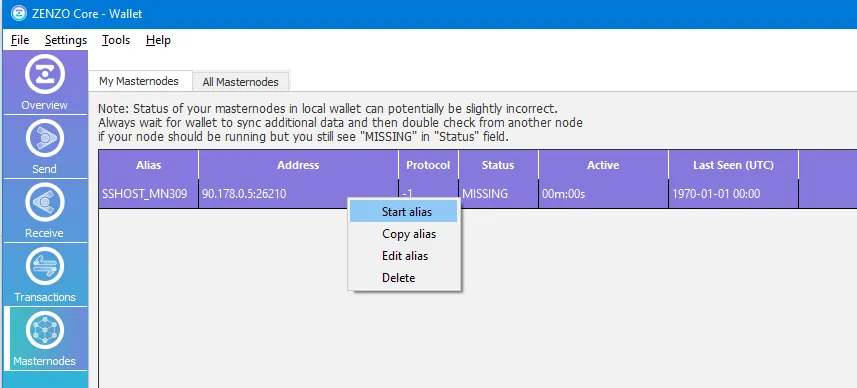
That's it! Your ZENZO (ZNZ) Masternode is configured and successfully setup!
You can check your masternode on the Social SEND platform hereAfter a few minutes, you will see you masternode like the image below:
For News, Updates, and Announcements:

• Website • ZENZO Arcade • GitHub • Twitter • Discord • Telegram • Reddit • Facebook • Medium • BitcoinTalk • Block Explorer • Twitch • DLive •