Greetings Stemian.
Hello Steemians Friend, how are you all? Hope the keep the spirit to work!
This is my work while doing a photography class at my work location, the town of Sigli-Pidie Regency, Aceh province, Indonesia.
Here is my entry for the challenge of #mypictureday #photography by the @timsaid this week, hope you guys like my works.
On this occasion I will share tips on layout setup lighting when photographing in studio. This technique is most interest in photography but many wrong when applying it. Let's say if you want to buy the tools of billionaires was appointed the studio's most fabulous though if they don't understand the techniques, then just the same as you throw money into the trash bin. Learn photography is not as easy to reverse the Palm of the hand, need special techniques when photographing.
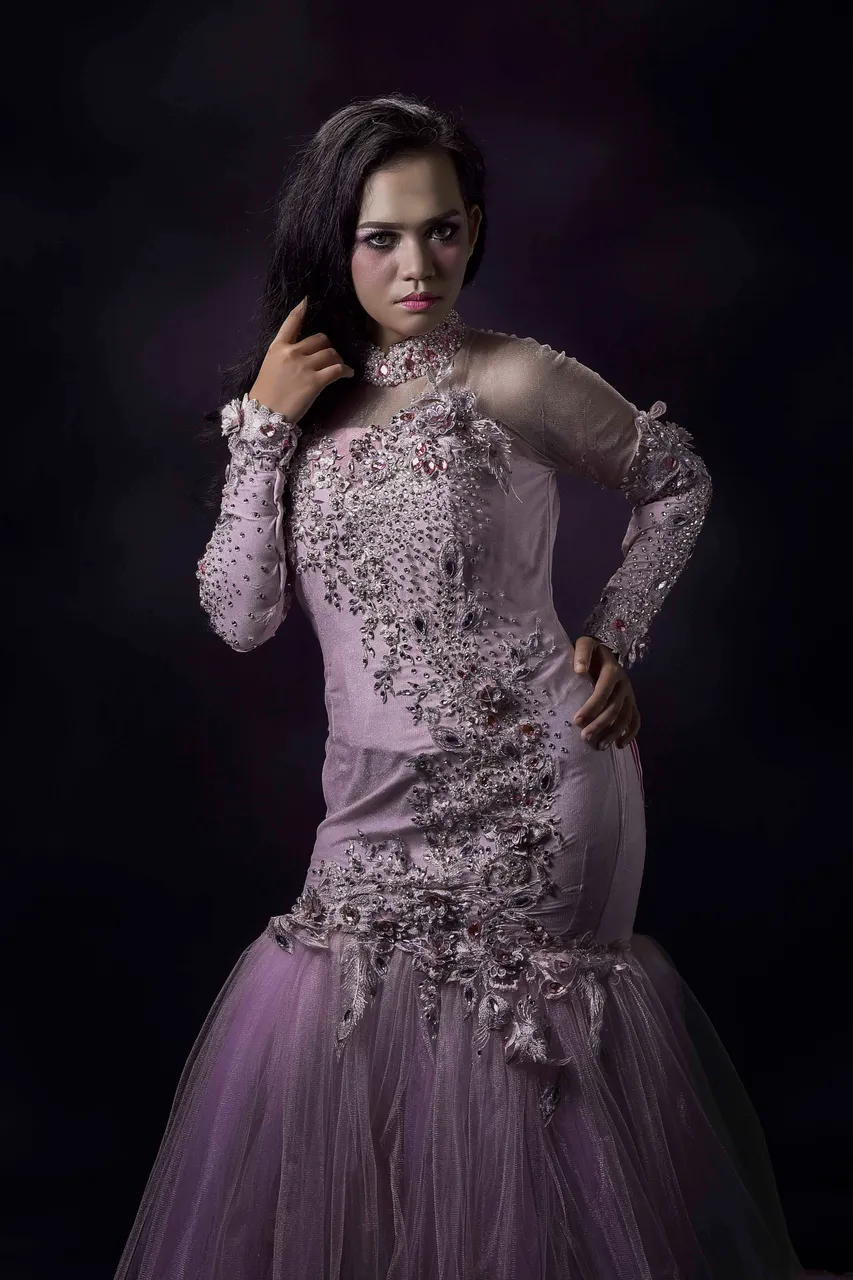
Here I try to invite you to work with using the * Three Point Lighting * which we use 3 point lighting.
First, the Main light which means the light is the most powerful or the most light from a third light which we use. Main Light itself we position with 45 ' angle on the side of the object on the camera.
Second, the Fill light which means a secondary light to eliminate the effects of the strong influence of the dark light of the main light. The fill light in position opposite the Main light and strength is not as strong as the Main light.
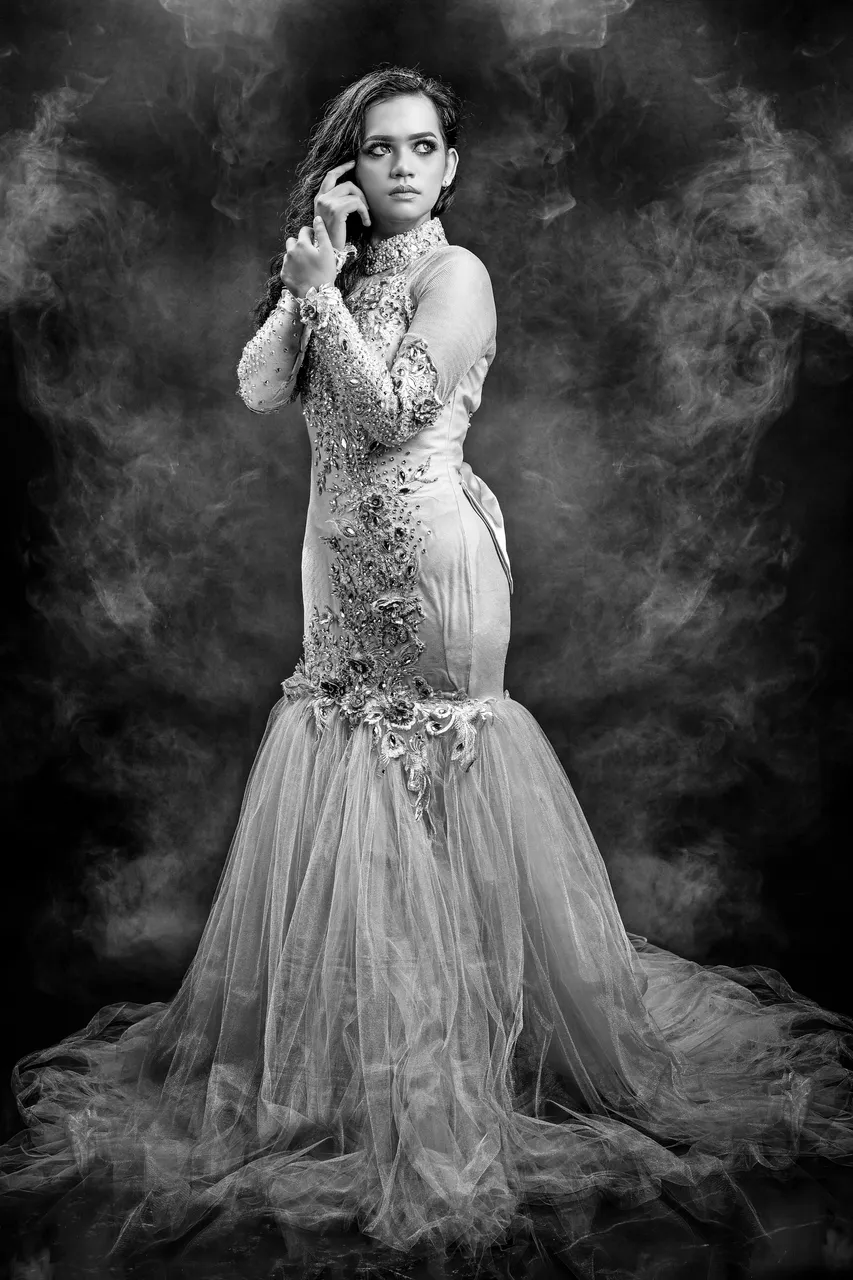
Third, the Back light which means light from behind to make the photos apart from the background and give rise to the impression of three dimensions.
Before you guys understand and started photographing using 3 point lighting it, you guys should understand in advance the triangle exsposure or * exposure * triangle. Because if you do not understand about this triangle, it will be difficult to get perfect results where the ISO SPEED deployment and APPERTURE differently when we are photographing outdoors or outdoor session.
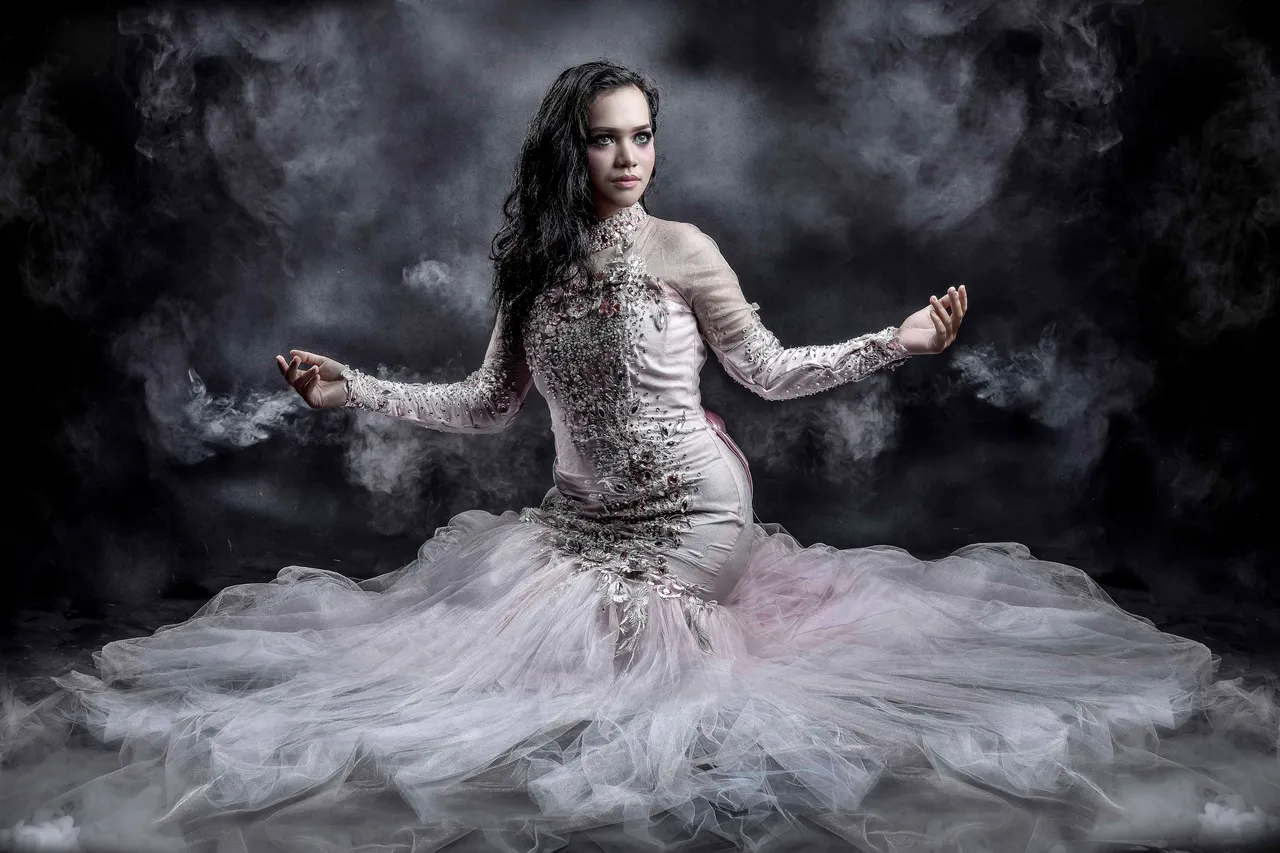
Here I am using the model as an object and use the dry ice * as * property to cause the effects of smoke.
Tools I use are:
- Camera Nikon D810
- Lens Nikon 24-70mm F/2.8 G
- Lighting Elinchrom Ranger Quadra
- Softbox Elinchrom
For the tutorial please you guys watch the video below:
Assalamualaikum wr.wb.
Salam Stemian.
Halo Sahabat Steemians, bagaimana kabarmu semua? Berharap tetap semangat untuk bekerja!
Ini adalah karya saya saat melakukan kelas fotografi di lokasi kerja saya, Kota Sigli - Pidie Kabupaten, Provinsi Aceh, Indonesia.
Di sini adalah entri saya untuk tantangan #mypictureday #photography oleh @timsaid minggu ini, berharap kalian suka hasil karya saya ini.
Pada kesempatan kali ini saya akan berbagi tips tata letak lighting setup saat memotret di dalam studio. Teknik ini paling banyak di minati fotografer tapi banyak yang salah ketika mengaplikasikannya. Katakanlah jika anda seorang milyarder ingin membeli alat studio yang paling hebat sekalipun kalau tidak mengerti tekniknya, maka sama saja seperti anda membuang duit ke dalam tong sampah. Belajar fotografi tidak semudah membalikkan telapak tangan, butuh teknik khusus ketika memotret.
Di sini saya mencoba mengajak anda untuk berkarya dengan menggunakan Three Point Lighting yang mana kita menggunakan 3 titik lighting.
Pertama, Main light yang berarti cahaya yang paling kuat atau yang paling terang dari ketiga cahaya yang kita gunakan. Main Light ini sendiri kita posisikan dengan sudut 45' di sisi objek di sebelah kamera.
Kedua, Fill light yang berarti cahaya sekunder untuk menghilangkan efek gelap dari kuatnya pengaruh dari cahaya main light. Fill light di posisikan bersebrangan dengan Main light dan kekuatannya tidak sekuat Main light.
Ketiga, Back light yang berarti cahaya dari belakang agar menjadikan foto terpisah dari background dan menimbulkan kesan tiga dimensi.
Sebelum kalian memahami dan mulai memotret menggunakan teknik 3 point lighting ini, sebaiknya kalian memahami terlebih dahulu segitiga exsposure atau triangle exposure. Karena jika kalian tidak mengerti tentang segitiga ini, akan sulit mendapatkan hasil yang sempurna dimana pengaplikasian ISO SPEED dan APPERTURE berbeda ketika kita memotret di luar ruangan atau outdoor session.
Di sini saya menggunakan model sebagai objeknya dan menggunakan dry ice sebagai properti untuk menimbulkan efek smoke.
Alat yang saya gunakan yaitu :
- Kamera Nikon D810
- Lensa Nikon 24-70mm F/2.8 G
- Lighting Elinchrom Ranger Quadra
- Softbox Elinchrom