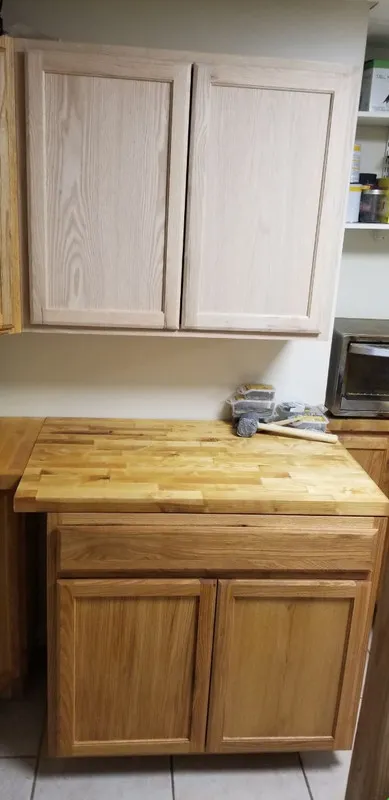
For the last month or so I have been upgrading my kitchen. It already had a few cabinets but we are running out of space, so I found some cabinets that fit well in the kitchen. Recently I already installed my new lower cabinets but it did not have any shelves in it. We saw that in a recent post of mine, and I still needed more space. So I returned to the hardware store and got myself another cabinet and shelves for both of them.
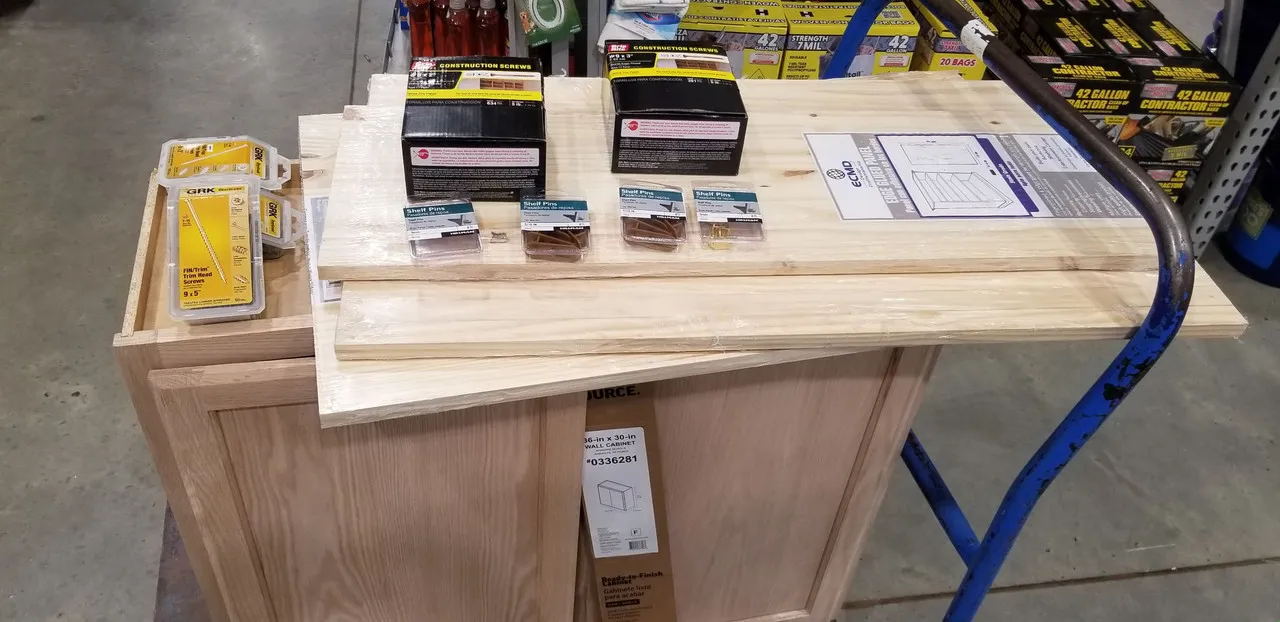
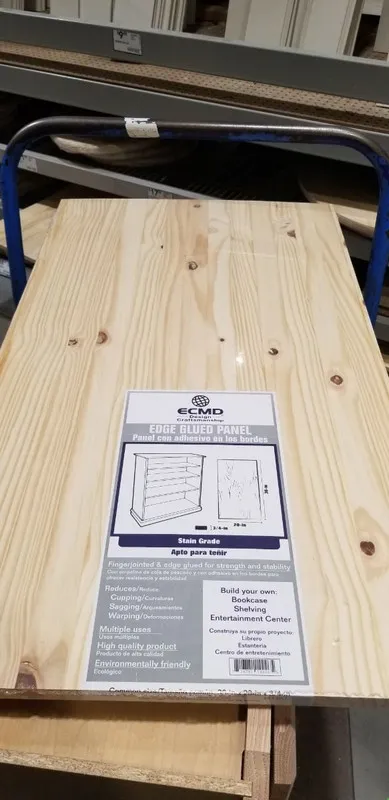
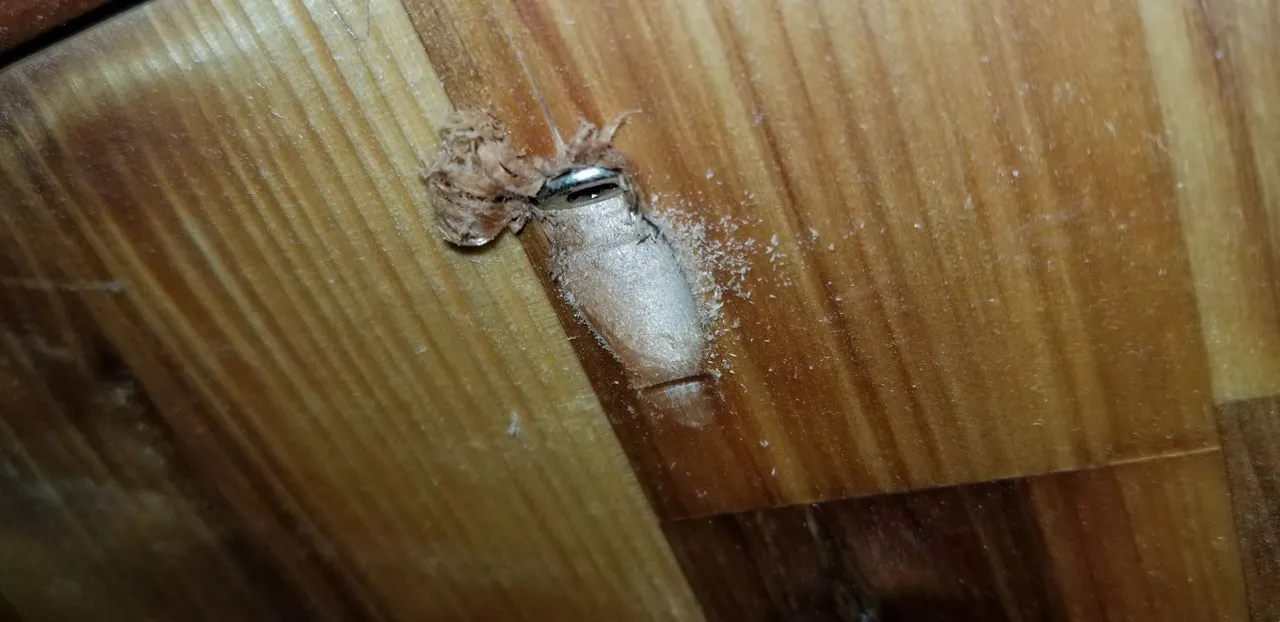
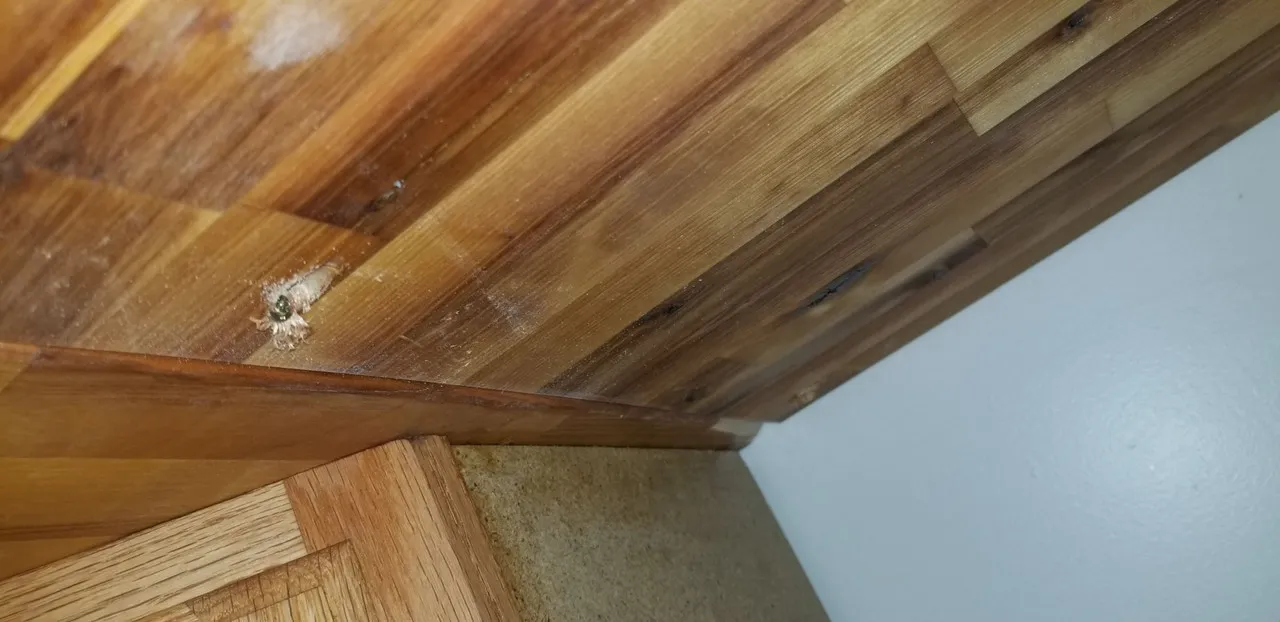
Luckily they sold precut boards for the size of the cabinets they sell, so I just bought them instead of cutting large boards to size. I also picked up some GRK screws for attaching the Brazilian hardwood to the unfinished parts of the cabinets. And some more construction screws if we need them. Lastly the brackets to hold the shelves, got two kinds so we can see what we like to use best. I also need to fix a broken bracket on one of my older cabinets where the shelf came loose.
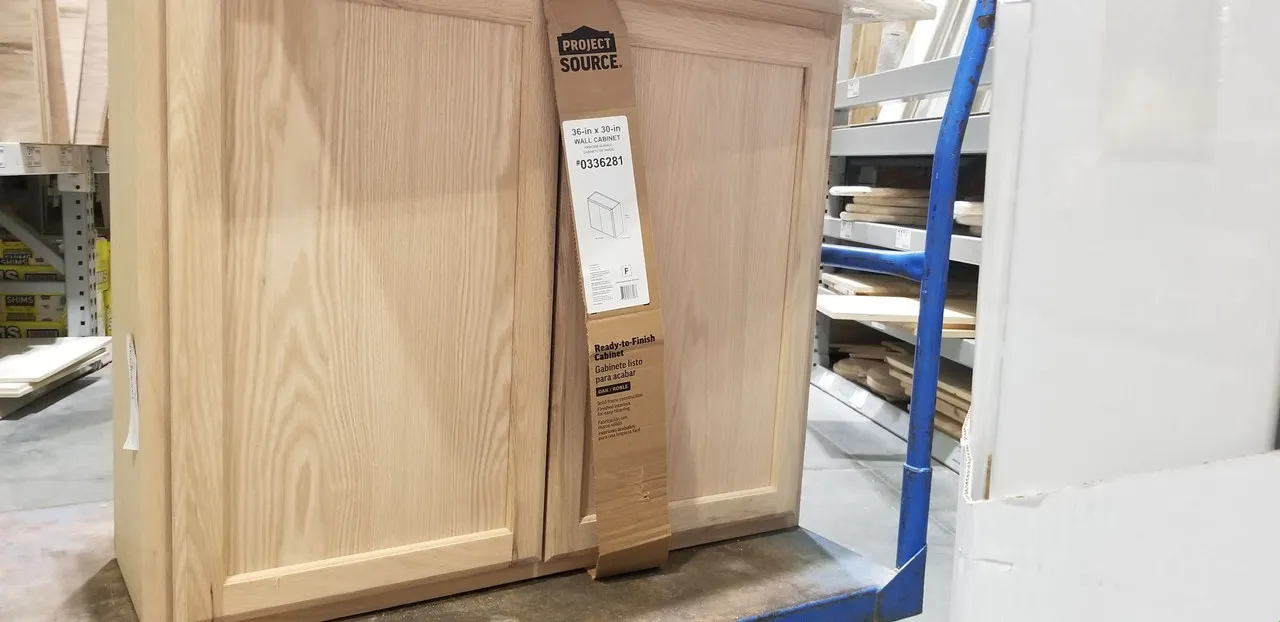
The cabinet I picked is 36 inches wide by 30 inches tall and around a foot or so deep. A little more shallow than the bottom cabinets.
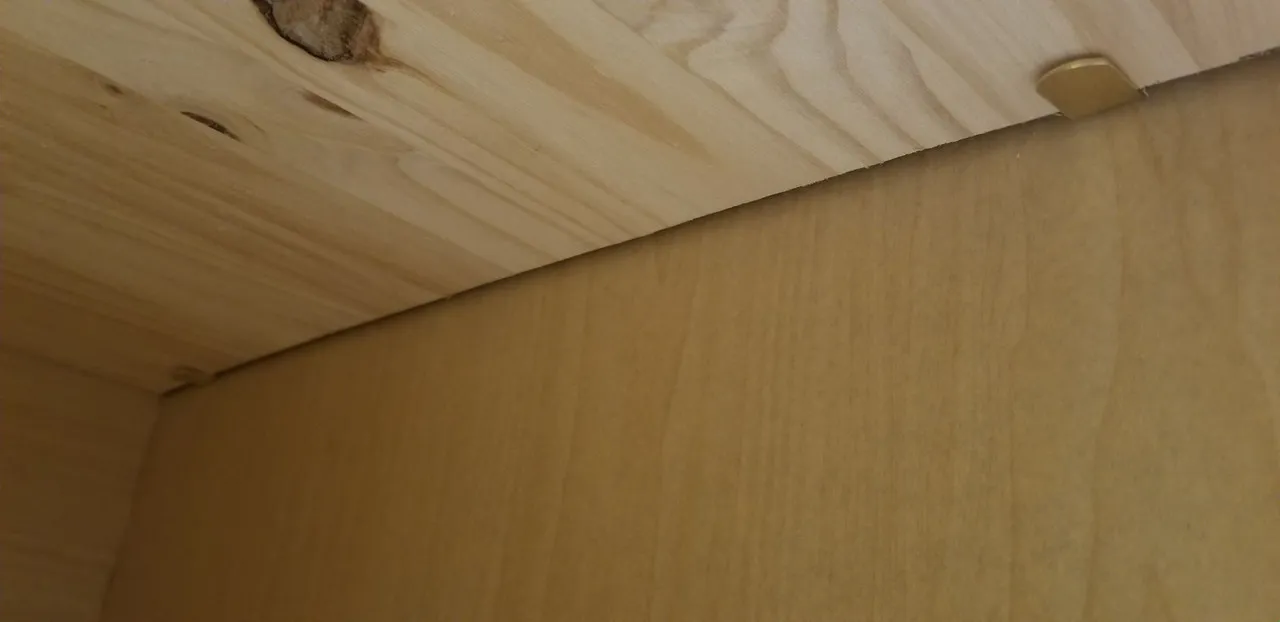
The panels are pine, I will just leave them bare in the cabinets. If I had to use plywood I would have painted them but this is not that stuff.
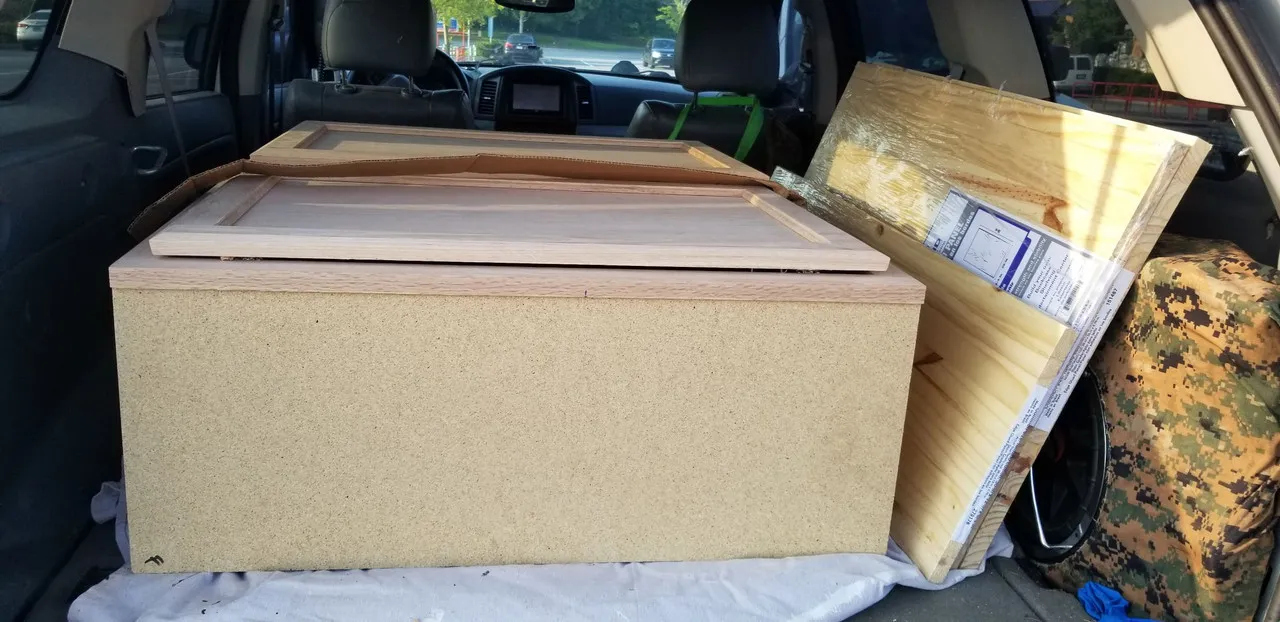
With everything loaded up I head home and wait for my friend @ibt to arrive. He will help me install the upper cabinet and help me with the shelves and such.
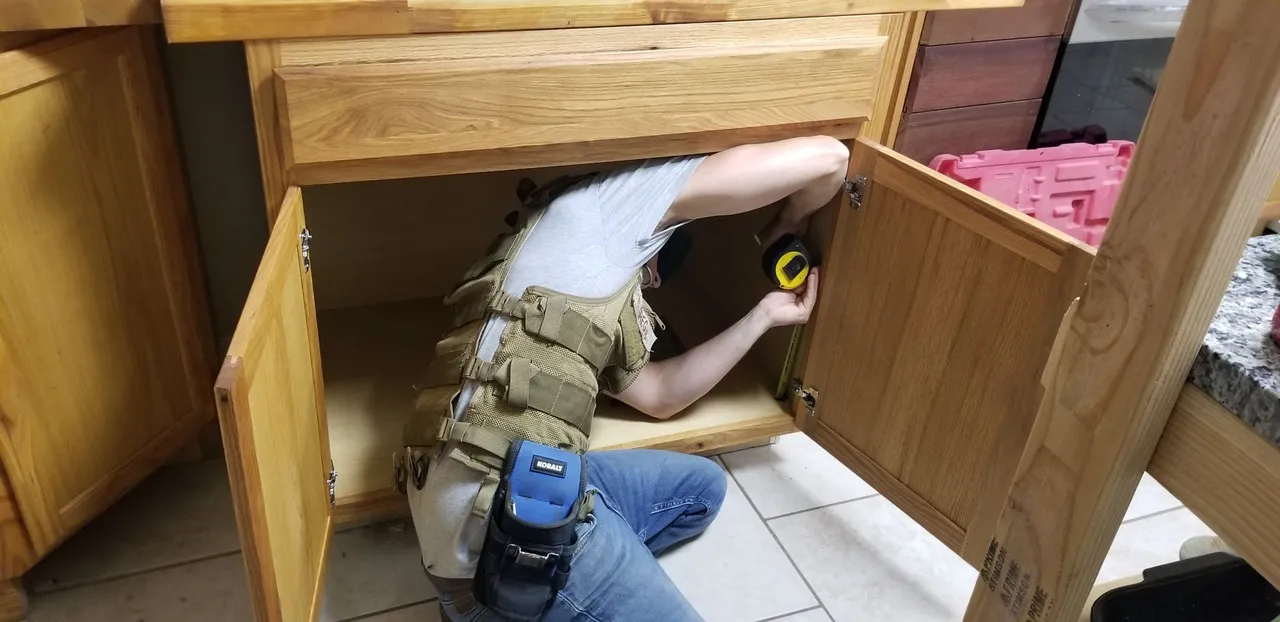
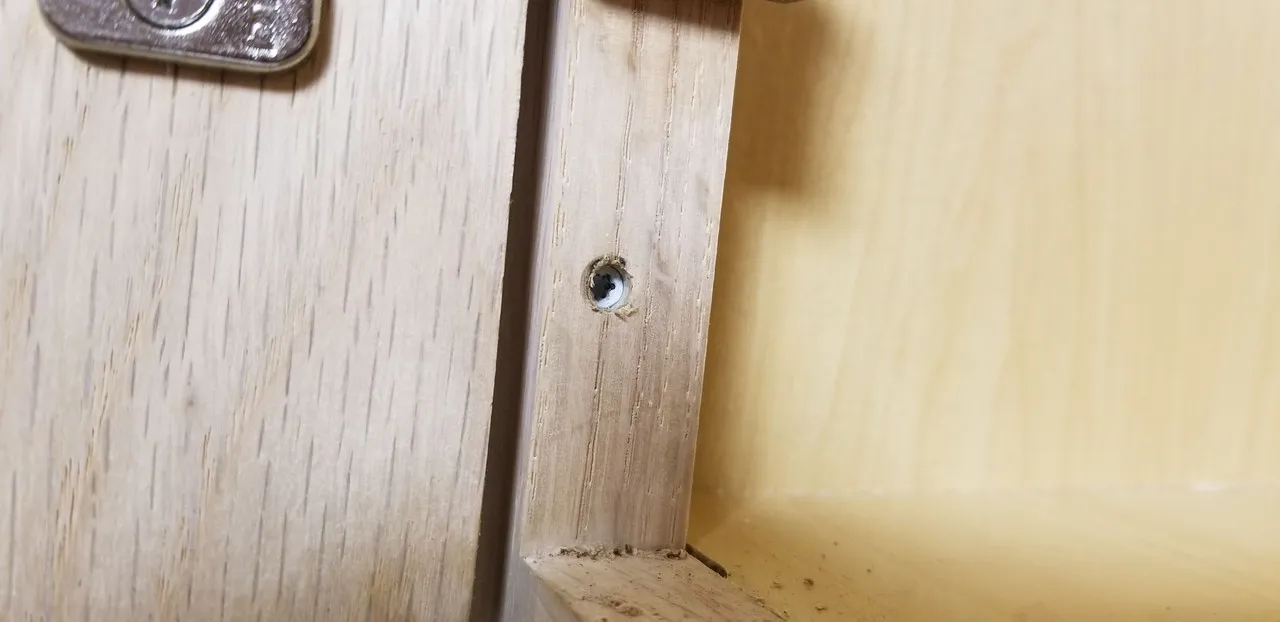
Measuring for two shelves he marks them and then drills out the holes and places the brackets inside. The holes come through the cabinets so we must finish off the sides with some nice hardwood.
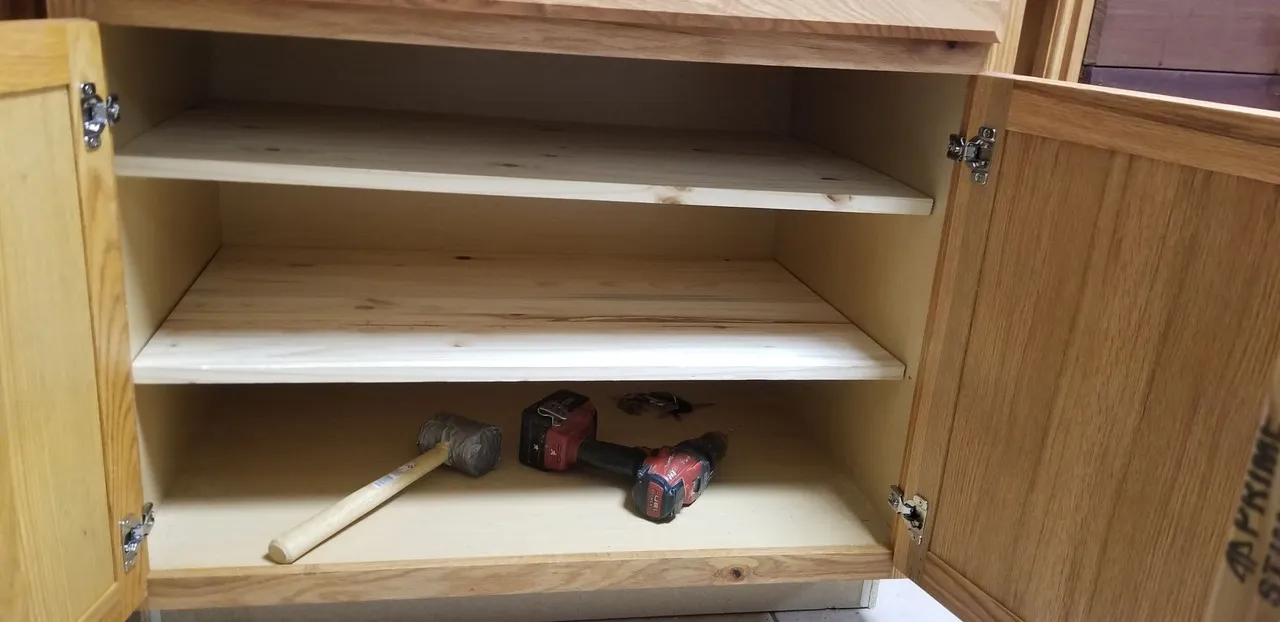
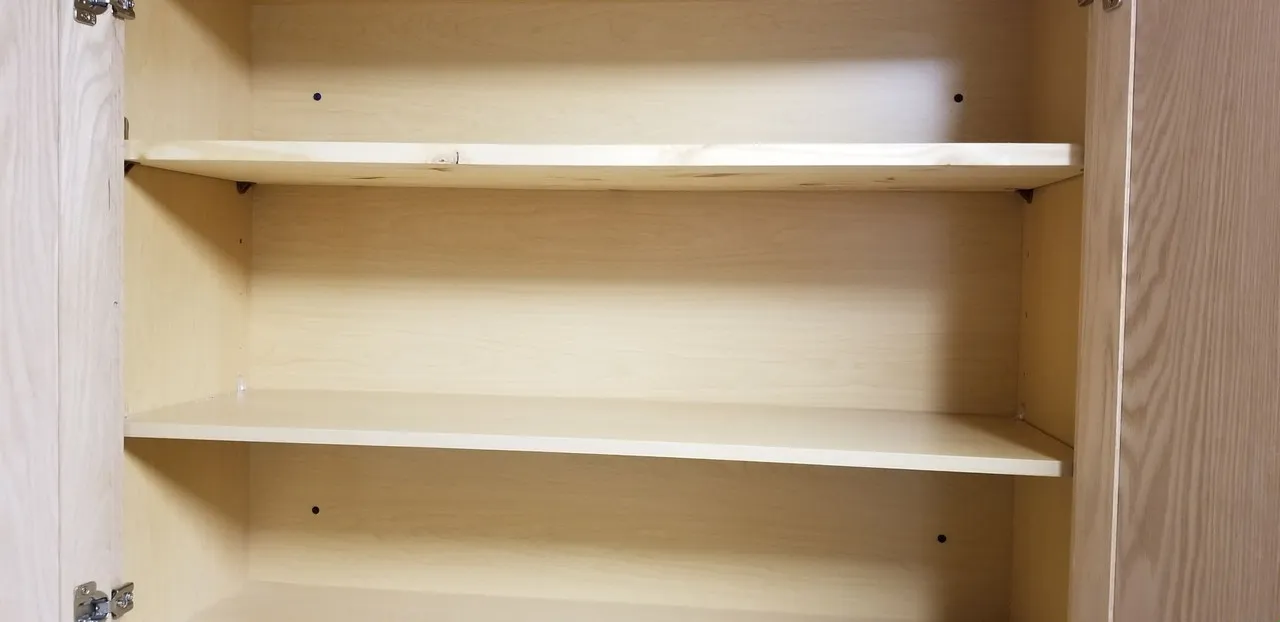
This cabinet had no shelves, and now it has two.. or three if you count the bottom. Much better use of the space.
We used the metal brackets, and I think they will hold up over time better than those plastic ones. They seem to crack after a decade of use.. Not the case with the metal ones.
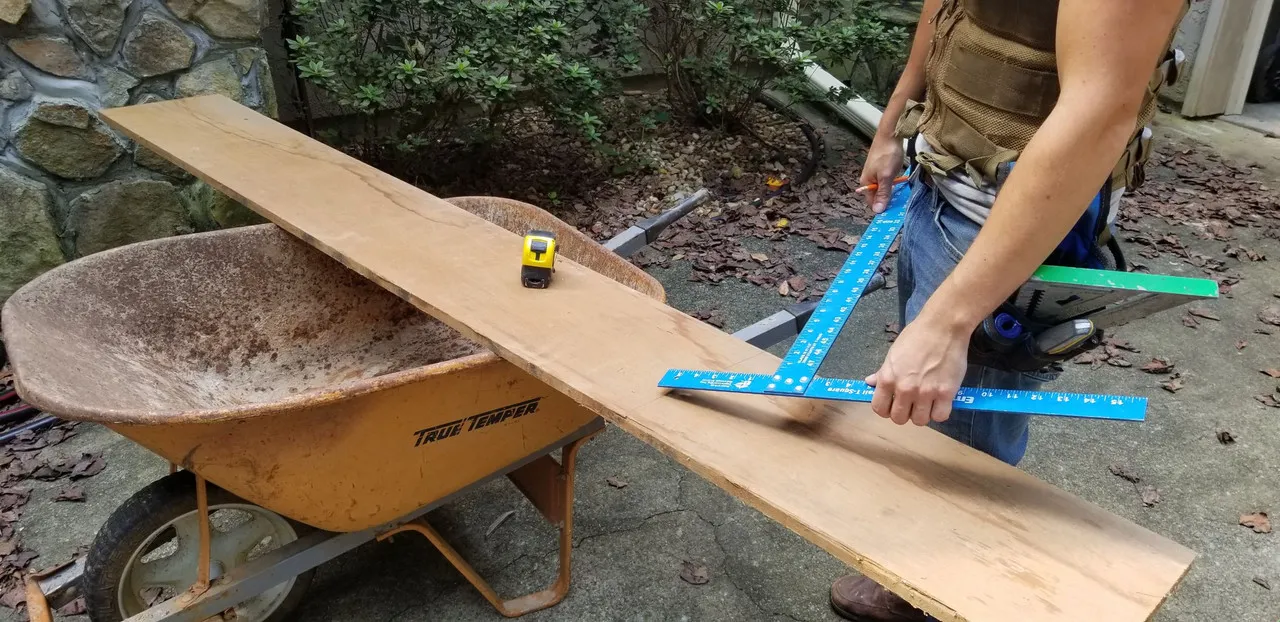
@ibt prepares the Brazilian hardwood, this piece was a left over from when we upgraded my deck to this hardwood. So glad we finally used it up, its been sitting in my garage for years.
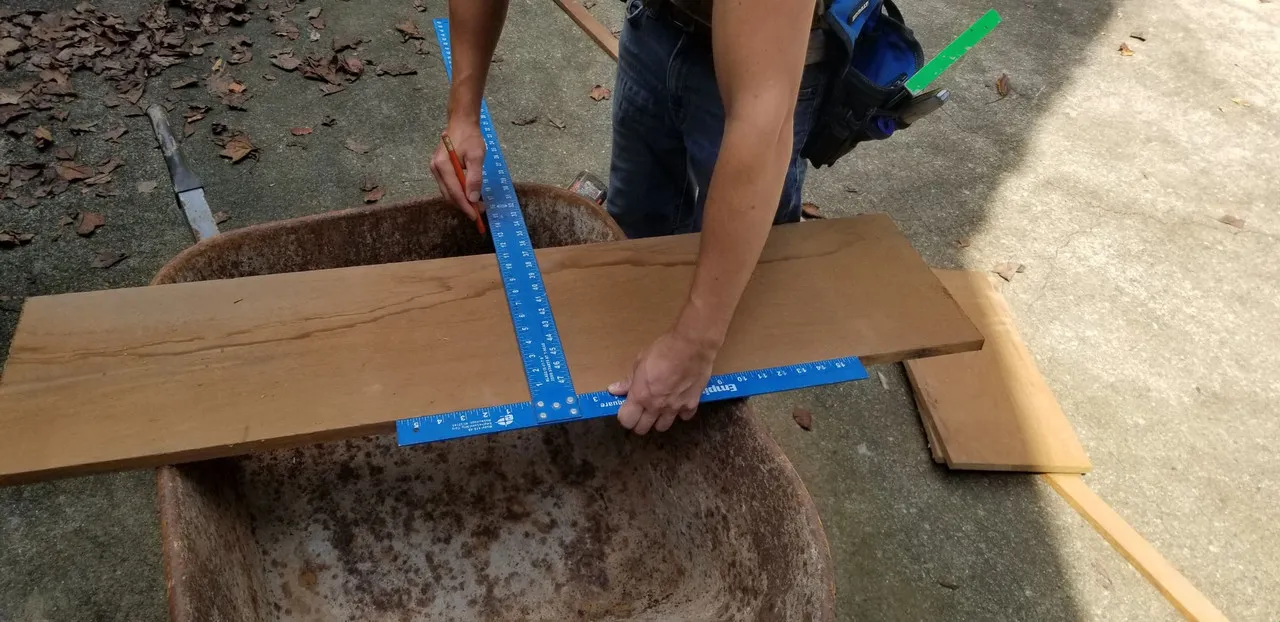
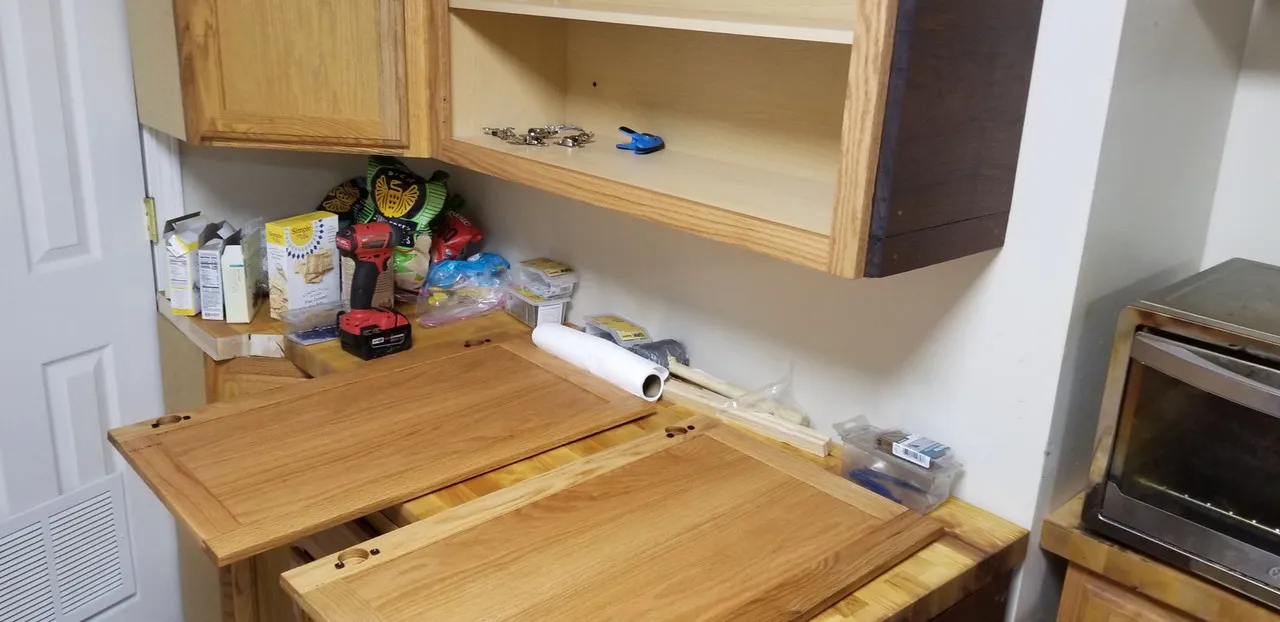
We cut them and brought them back inside to make sure they fit. They look bare right now but once oiled they really look great.

Looks like it all fits, now its time for me to coat them in oil. This will darken the wood with every coat I apply. I really love this stain as its not that bad on my hands and does not stink so its easy to work with. Boiled linseed oil is a great stain.
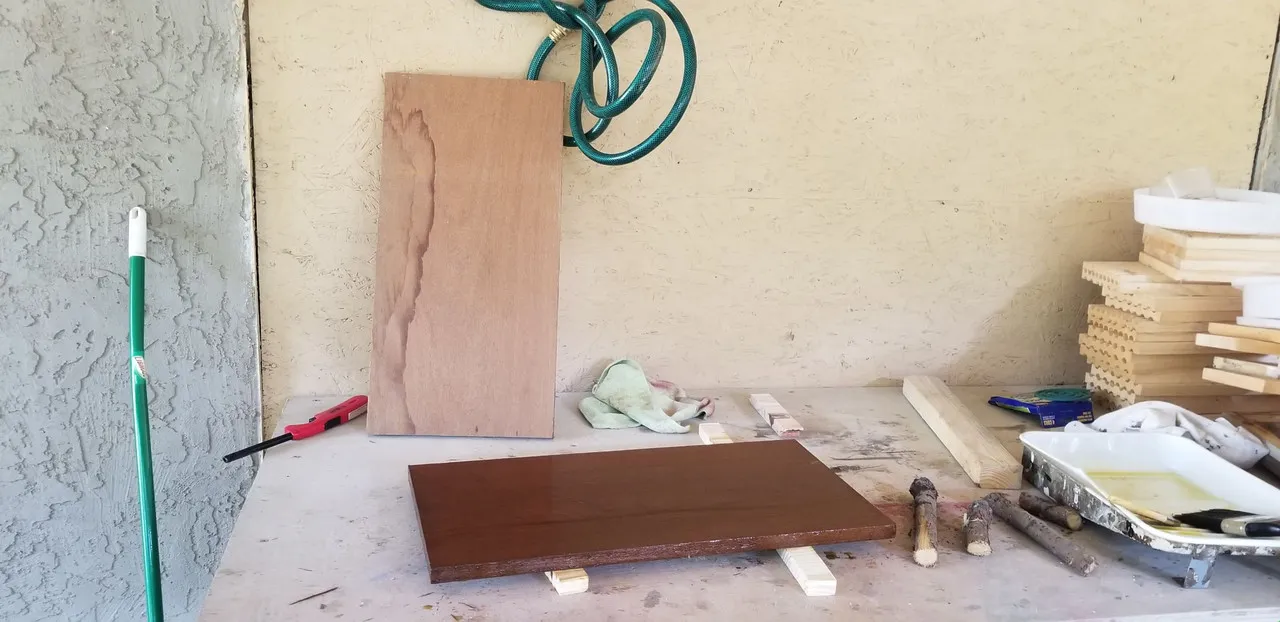
The dark color of this hardwood comes out with some boiled linseed oil. I brush it on, give it 5-10 minutes and then wipe it all off. I learned the hard way you have to wipe it off. My other cabinets had to be scrubbed down to get rid of the stickyness left over by the oil.
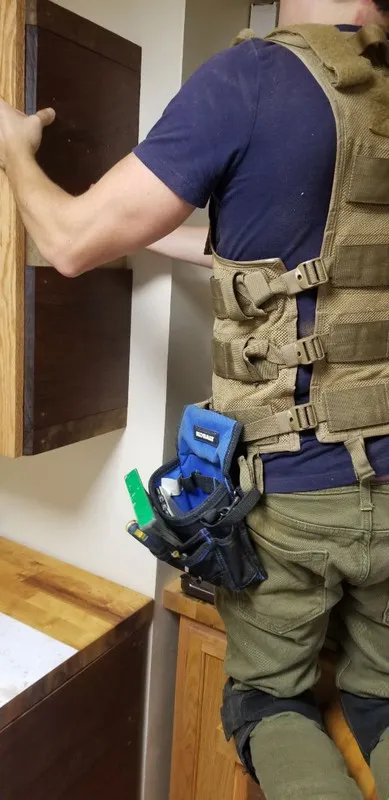
We attached the upper cabinet to the one of the corner cabinets, and then we screwed it into the wall with four concrete screws.
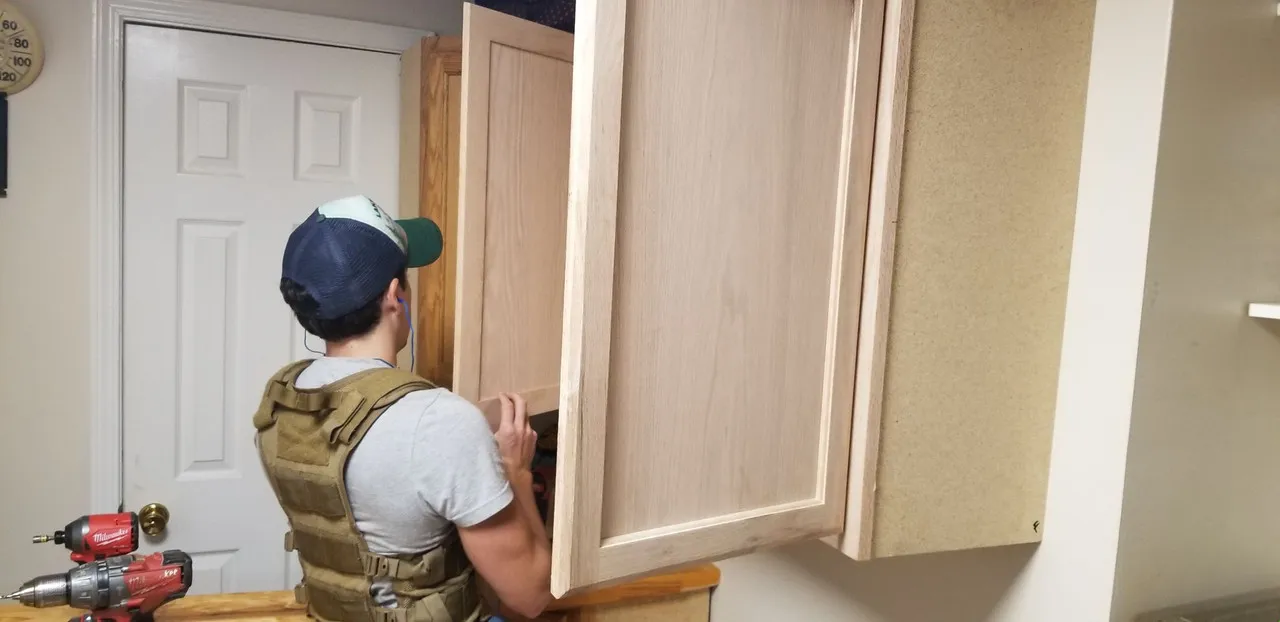
It went up pretty well, I had to hold it up while @ibt did the installing.
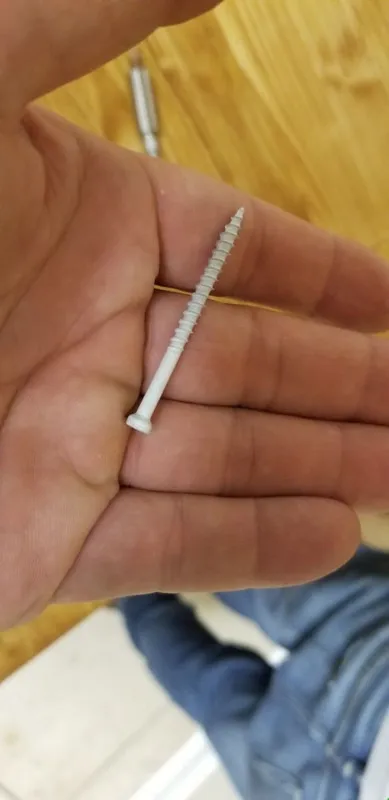
These are the GRK screws, we like using them where you may see a screw head. Since they recess well they are great for cabinets.
We added some more GRK screws into the side of the cabinet for safe measure.
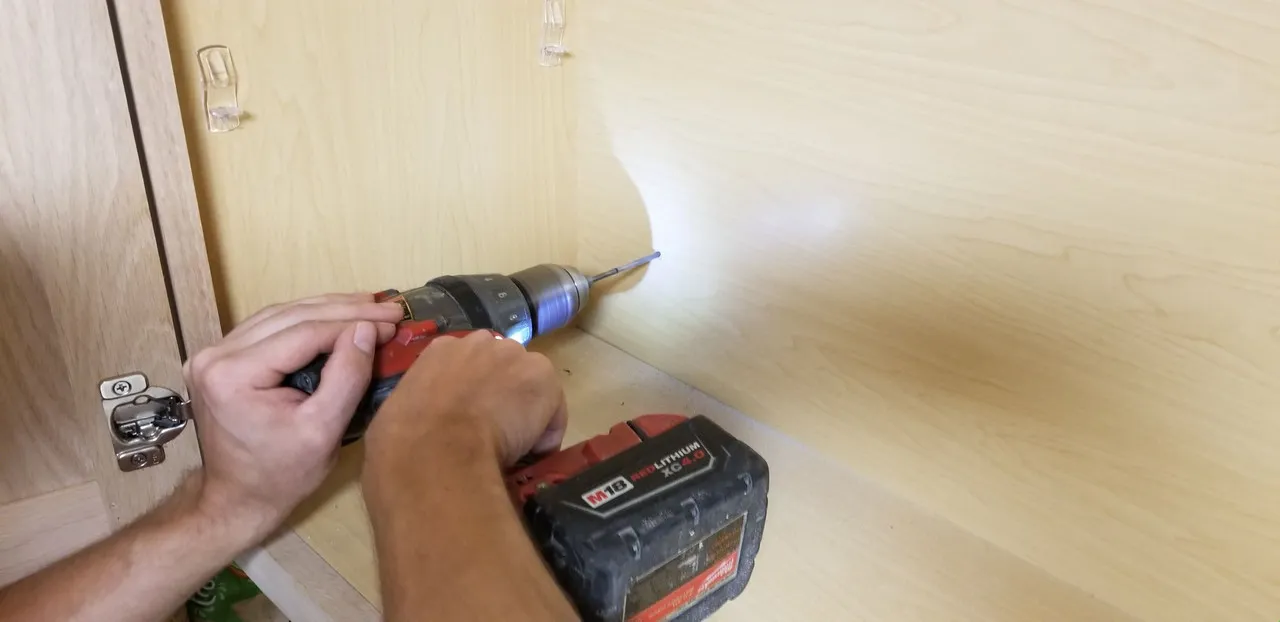
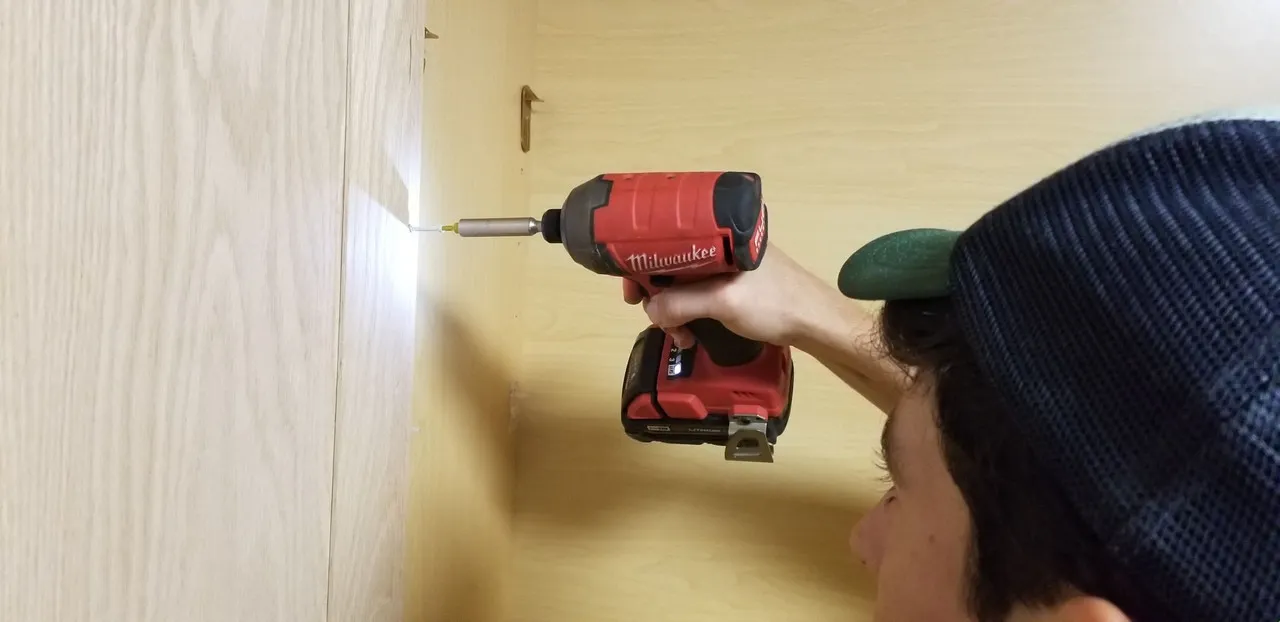
The back side of where these cabinets are is just concrete, so we drilled it out and then drove in Tapcons. His hammer drill made quick work of it so I did not have to hold it all that long.
We added the shelves next, there was one already included in this cabinet unlike the bottom one. But I decided I wanted more than one so I had two shelves put in just like the bottom one.
My friend also helped me correct the butcher block height. We had to take the lower cabinet outside and cut a few inches off the bottom. And then it sat well, he drove in screws on the underside to hold it to the glued in corner butcherblock.
With the tabletops secured it should feel alot more stable, @ibt also trimmed the edge by the left side so I can get into those cabinets more easily.
The corners of the cabinets need the hardwood added to the sides so that was next. I will do the staining of the cabinets later after he leaves. I do not need his help with that.
Hah you can really see the difference the stain makes, I need to put around 5 coats on the cabinet wood and the doors.

Its all coming together now, using that extra board from my deck project really helped with some nice siding on the cabinets.
With the last pieces installed we wrap up on the job, it took us about two days to get it all done. And another two days for me to stain the cabinets.

We were both hungry, so just chilled afterwards and ate some pizza.

After my friend @ibt left I added more coats of stain to the cabinet doors.

I also add stain to the finished wood on the outside of the cabinet.
A day later and with five coats in total I reinstall the cabinet doors.
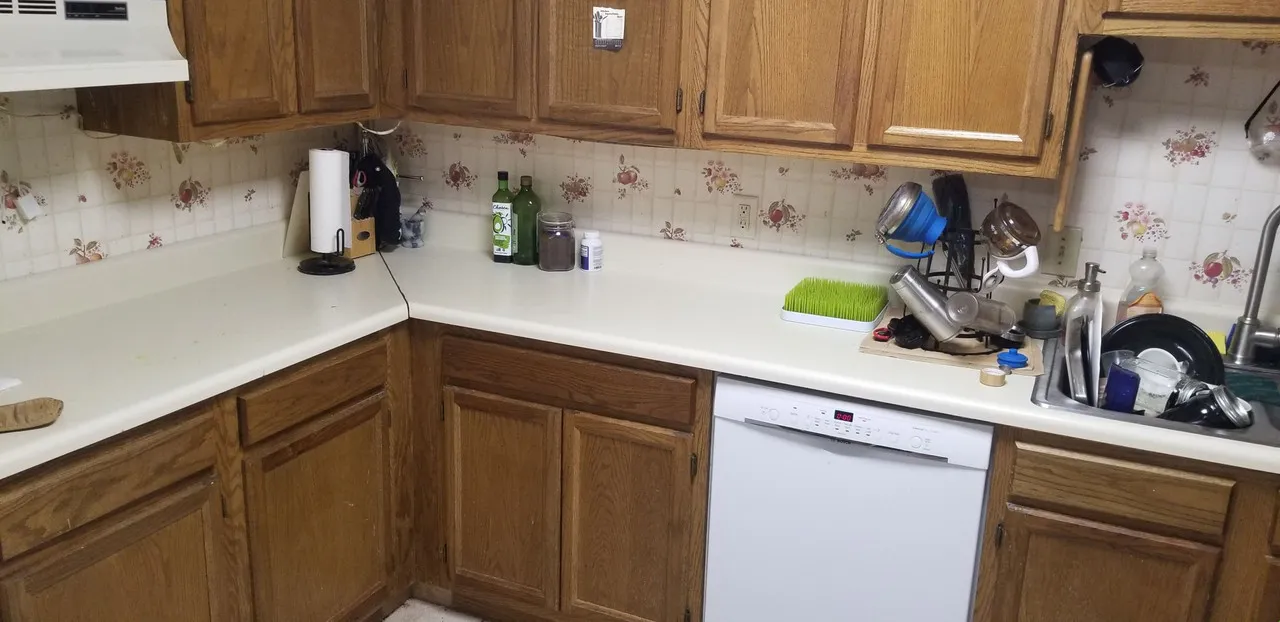
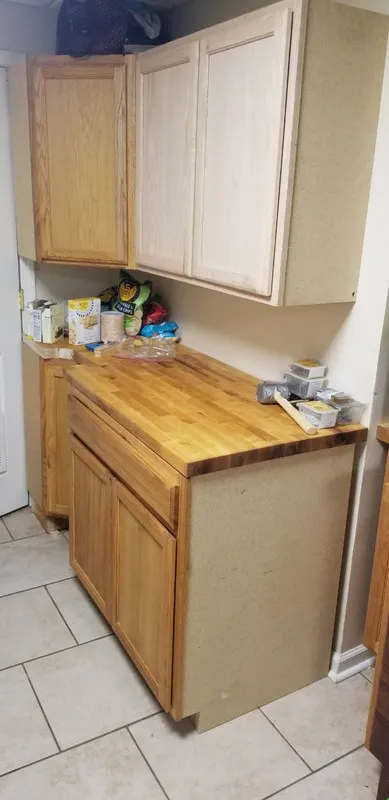
Ah it feels good to have table space again. For the last few days everything was piled on the only table in the kitchen. Now I put all the stuff away in cabinets.

And here is the finished product, all stained and pretty with the hardwood.
Previous posts on this project:
@solominer/adding-more-cabinets-to-the-kitchen-staining-the-wood
@solominer/adding-more-cabinets-to-the-kitchen-placement-and-table-cutting