A couple of examples of my photo edits
Some have asked about what I use or how I edit my photos so in this post I will share a couple of examples
I will start the post with a photo of the final edit of one that I will explain as if not the first photo on the post would be an unedited photo
Sony A7iii 17mm F8 1/20 Sec ISO 100
Click here to view larger
Let me start with a Long exposure photo I took one morning over the weekend
But let me first say
I have seen many a times people say or use the tag no filter unfiltered, straight off camera and I have no issue with that, but don't think if you shoot in Auto mode on a camera that the photo you get is unedited, when a camera is set to record images in jpg mode the camera is doing editing automatically.
and that's all well and good of course and what most do and should do its quick and easy and cameras and even phone cameras do an amazing jobs these days.
But for me I like to control the edit on the photos I take, so all the photos I take I shoot RAW
Now don't panic shooting RAW does not mean I am out taking photos naked and in the wild
RAW means the camera just catches whatever light it sees but does no adjustments.
Now before I go further I would like to point out for this post I may not have picked the best shots and not spent as much time editing as I usually do I wanted more to focus on the process
The first example I will do is of a single shot long exposure I did on the weekend at Fort Phoenix Park in Fairhaven.
Here is the shot straight off the camera
Sony A7iii 31mm F8 30 Sec ISO 100
Click here to view larger
The first thing I generally do is in Lightroom crop the image to my liking, which in this case was very minor, nd often I click the Auto button in Lightroom to see how it does, in most cases I will then do various adjustments, exposure, contrast, highlights and shadows, but in this case the tweaks I made after the auto button were fairly mild.
Now you may notice in these images some spots in the sky, those are dust on the sensor of my camera, which I cleaned and now I can say my sensor is spot free.
I should add for now, as sensors are dust magnets, and if you change lens outdoors as I often do you will get dust on your sensor.
Here is the initial edit in Lightroom.
Click here to view larger
I then take it into Photoshop, first thing I do is in this case edit out the spots in the sky with the spot repair tool.
Now I probably should have kept track of the edits I did in Lightroom, but from memory and it should be fairly accurate as it was only an hour or so ago, I didn't do too much with this one, a couple of tones curves and masks ( you use masks in photoshop so an edit can be limited to only a certain area of the photo), color balance and sharpening.
to give the final edit as shown below
Sony A7iii 16mm F8 1/200 Sec ISO 100
Click here to view larger
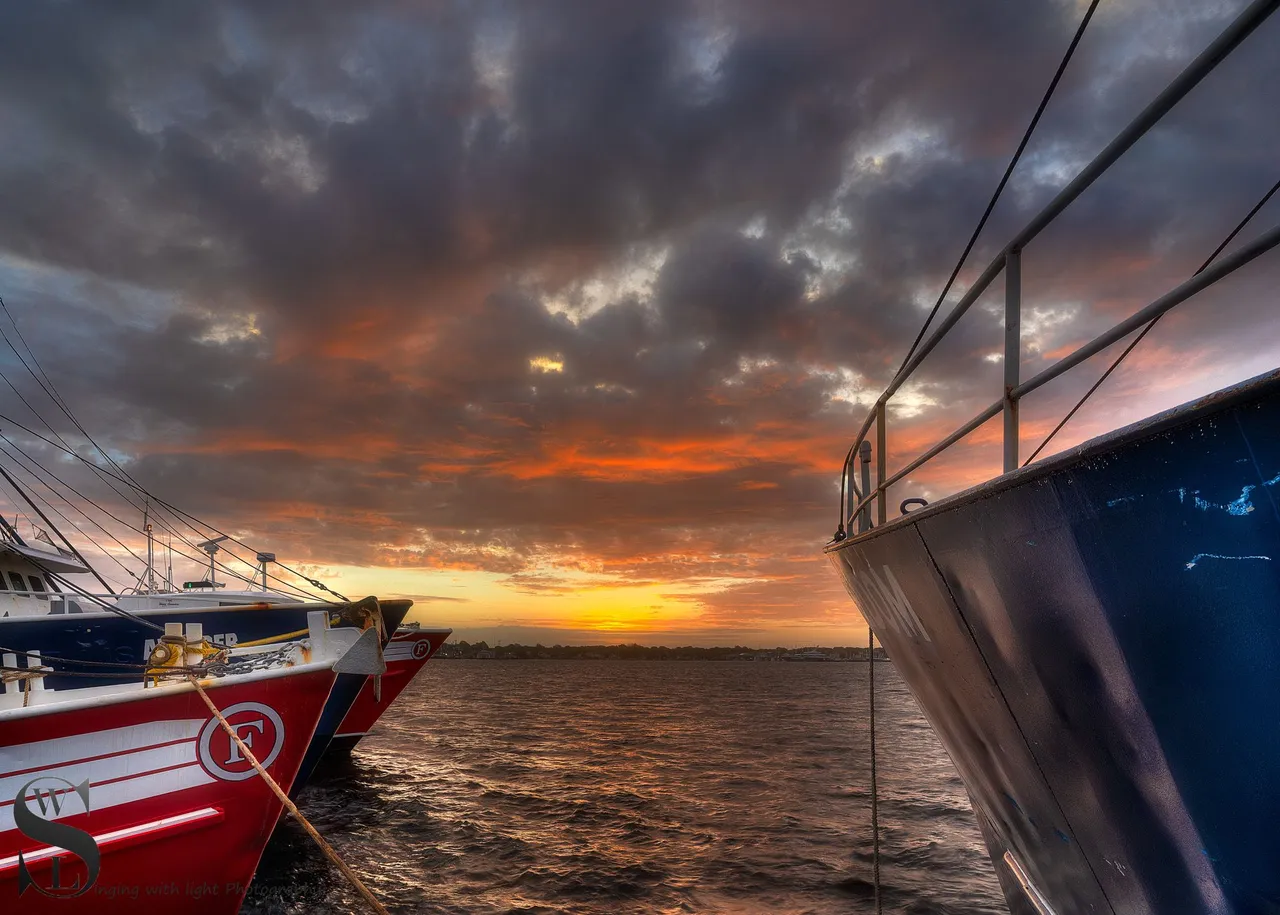
HDR photo editing
the next example i will shot is a technique I often use these days Bracketed exposure shooting or HDR images.
IN short that is taking photos at three different exposures
let me show you what I mean
A normal exposure image
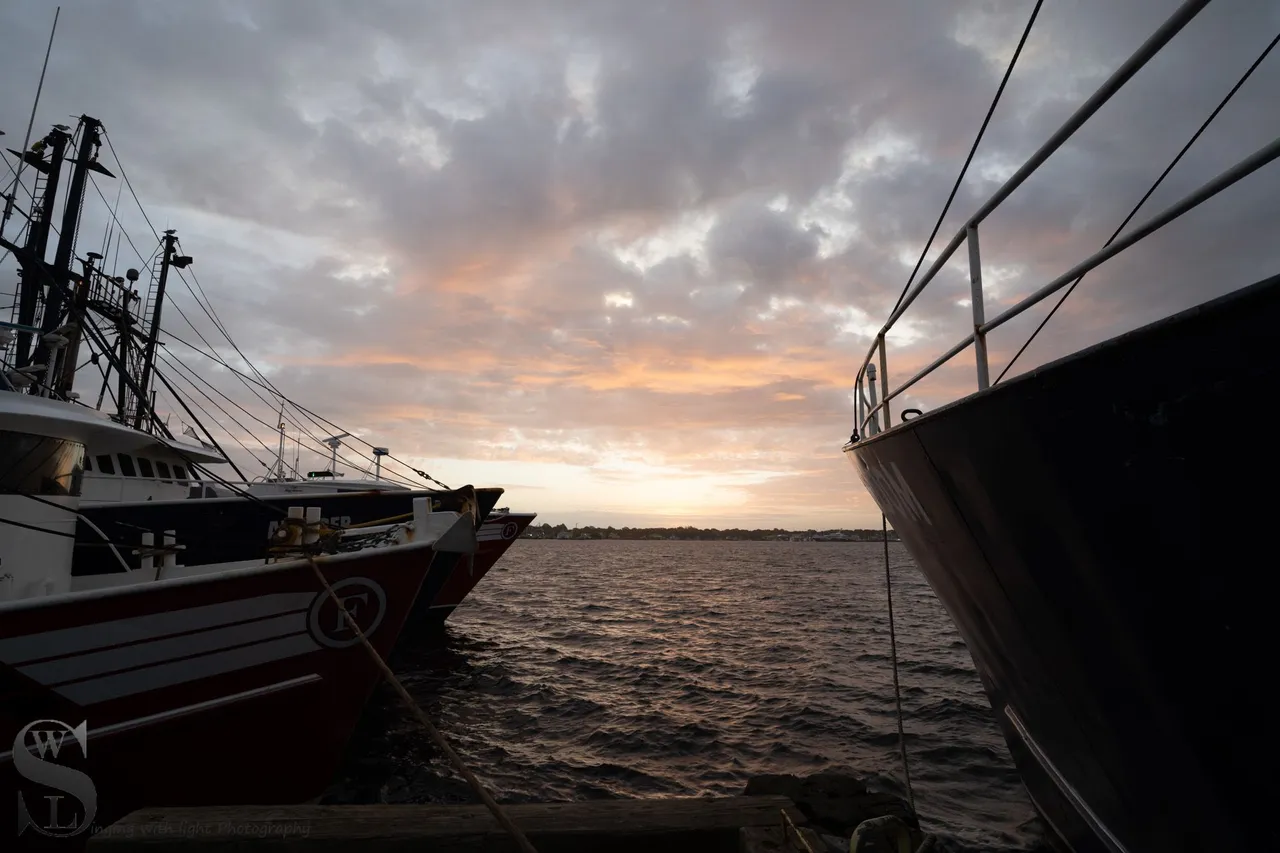
Sony A7iii 17mm F8 1/20 Sec ISO 100
Click here to view larger
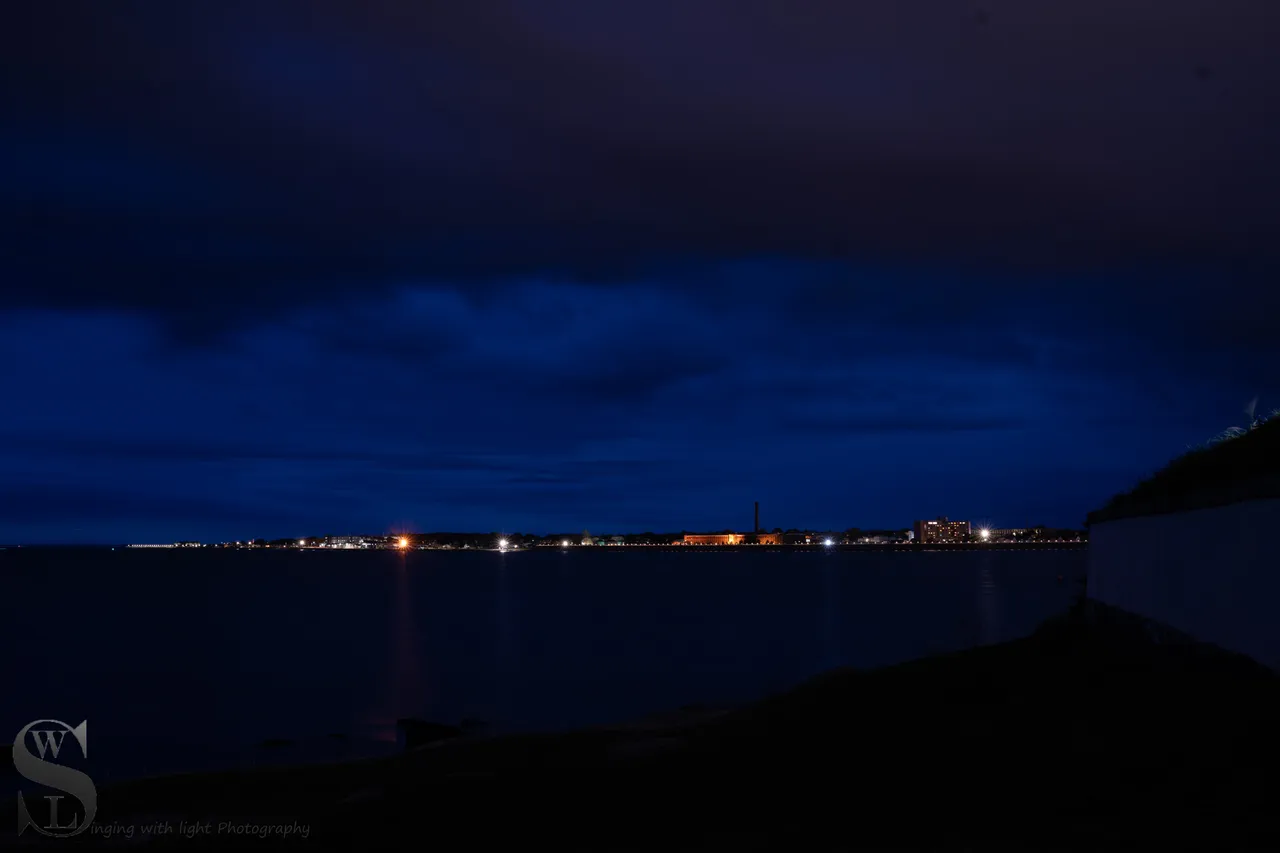
One under exposed which catches more of the detail and color in the brighter areas.
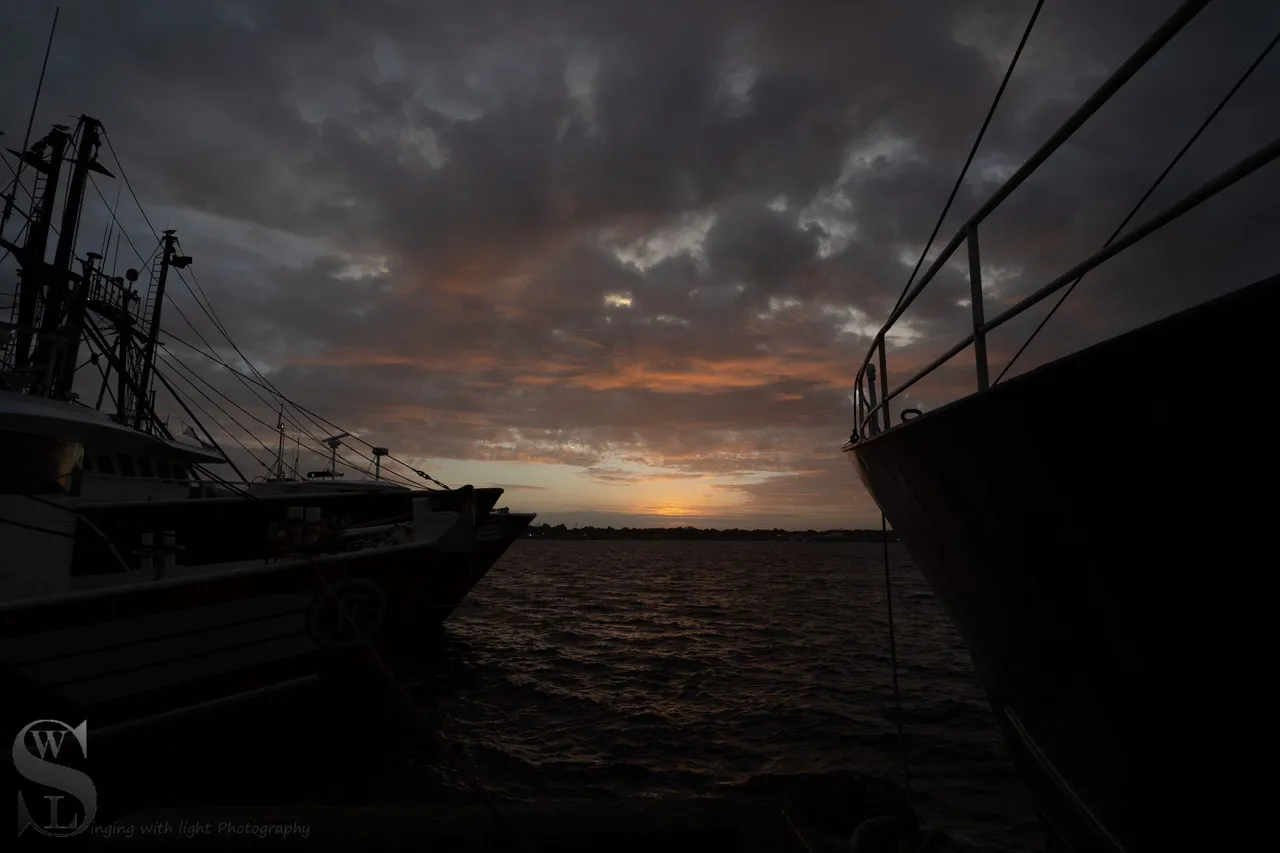
Sony A7iii 17mm F8 1/80 Sec ISO 100
Click here to view larger
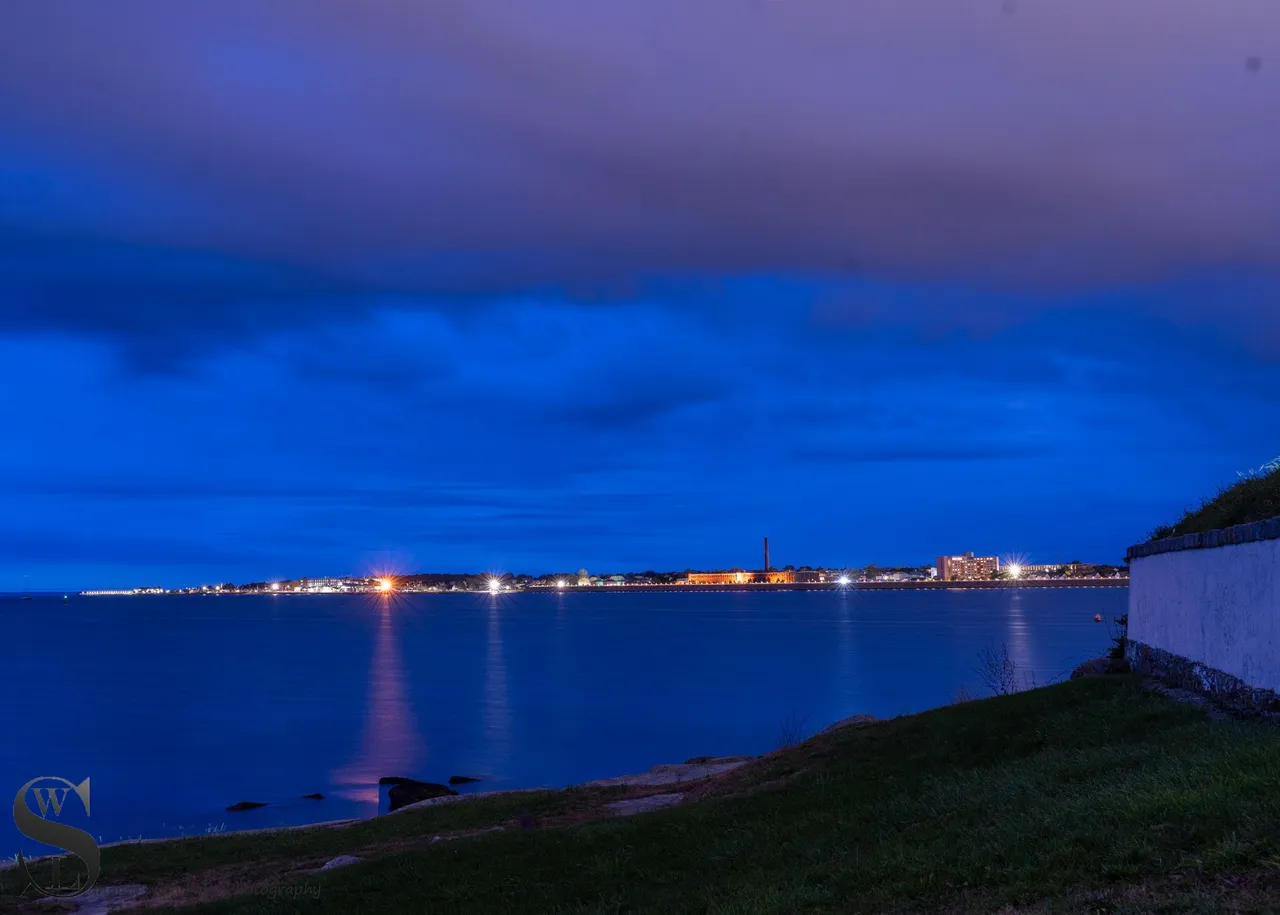
And one over exposed to catch more detail in the darker areas
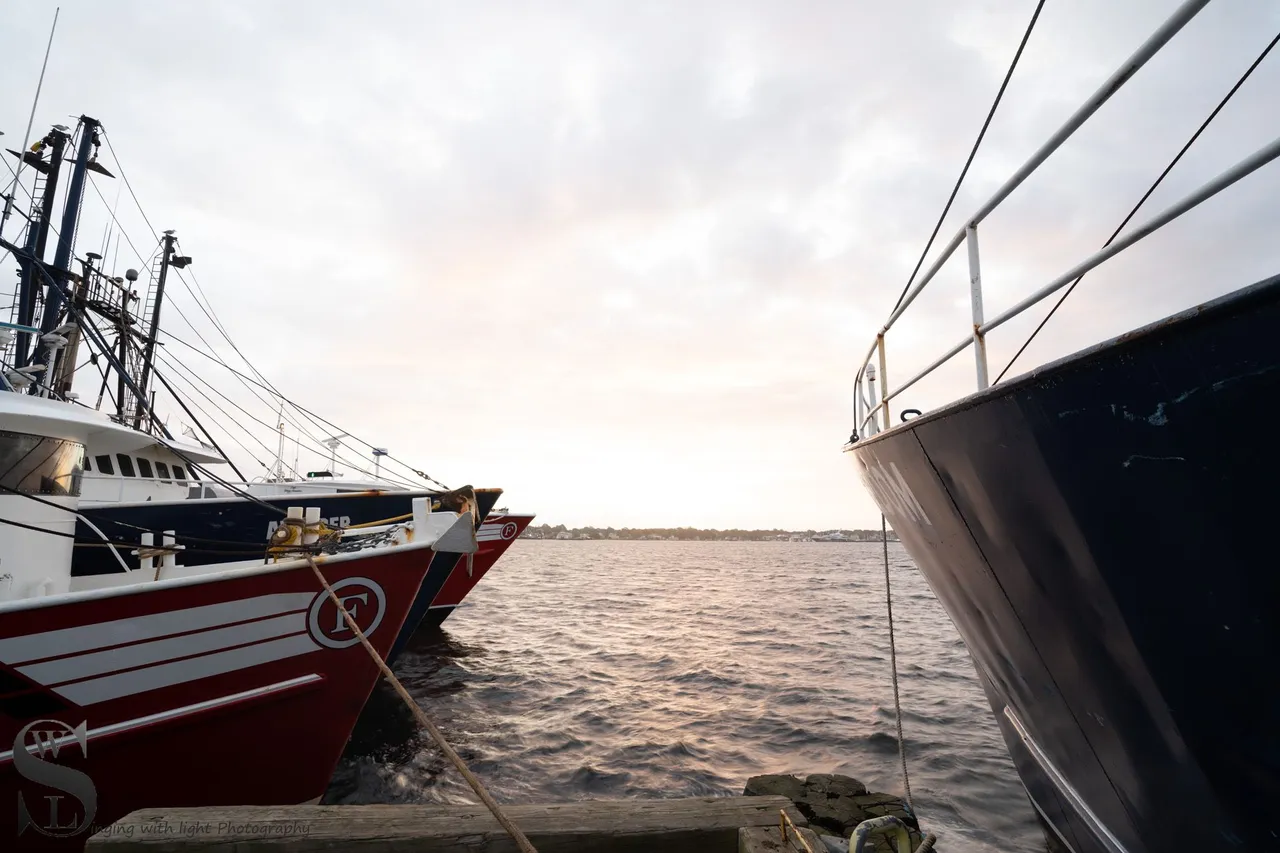
Sony A7iii 17mm F8 1/5 Sec ISO 100
Click here to view larger
This is a handy technique to use when there is a wide range between lights and darks in what your trying to capture
.
I didn't used to like HDR processed images I did for a long time, but then I found a technique that works for me and still keeps it looking fairly natural, often HDR processing can be overdone and look unreal.
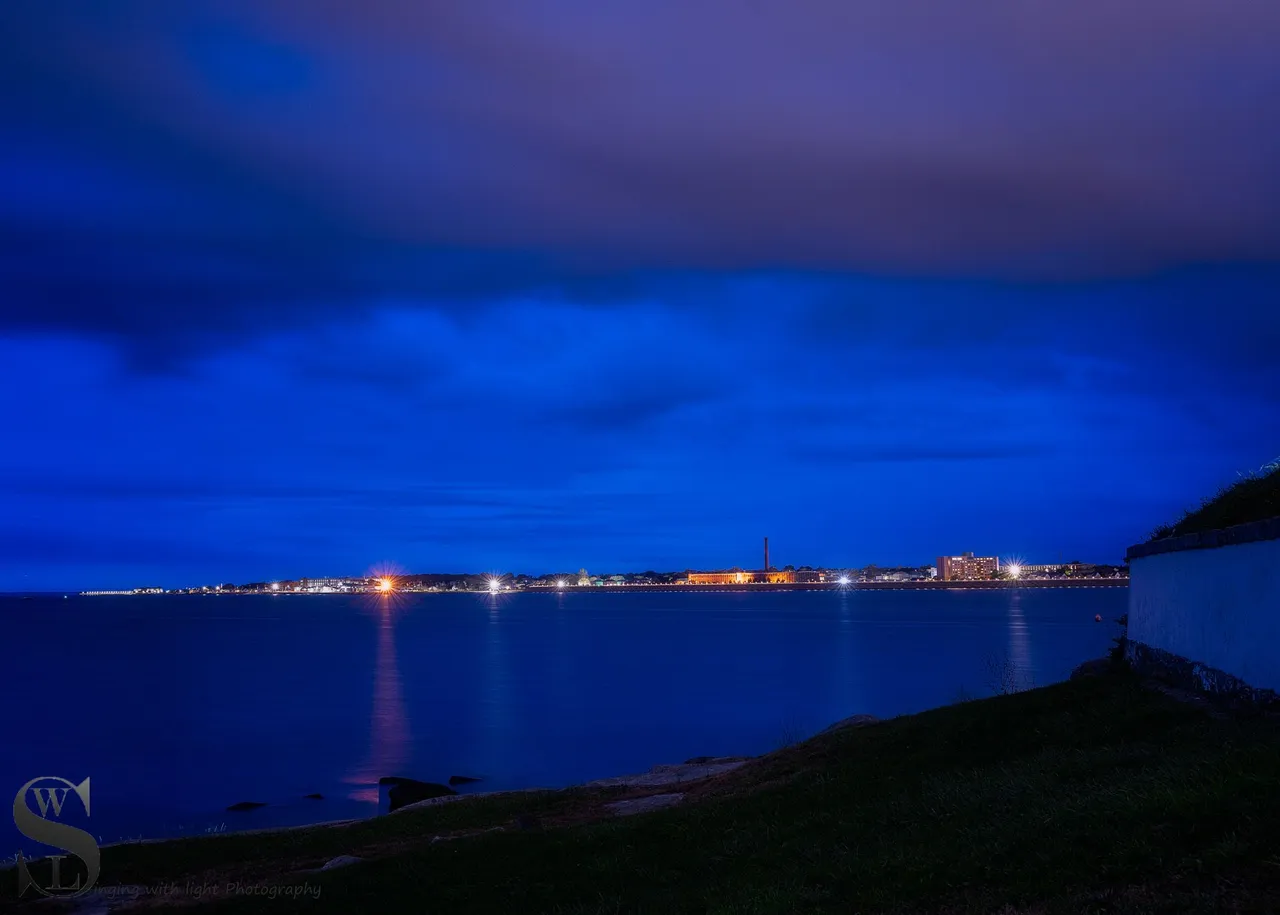
I take these three photos and merge them together, there are various programs that can do this, I do occasionally in Lightroom, using the photo merge tool, or I mostly merge them in a software called photomatix which has many tools and sliders to adjust the merged image.
here is the merged image in this example
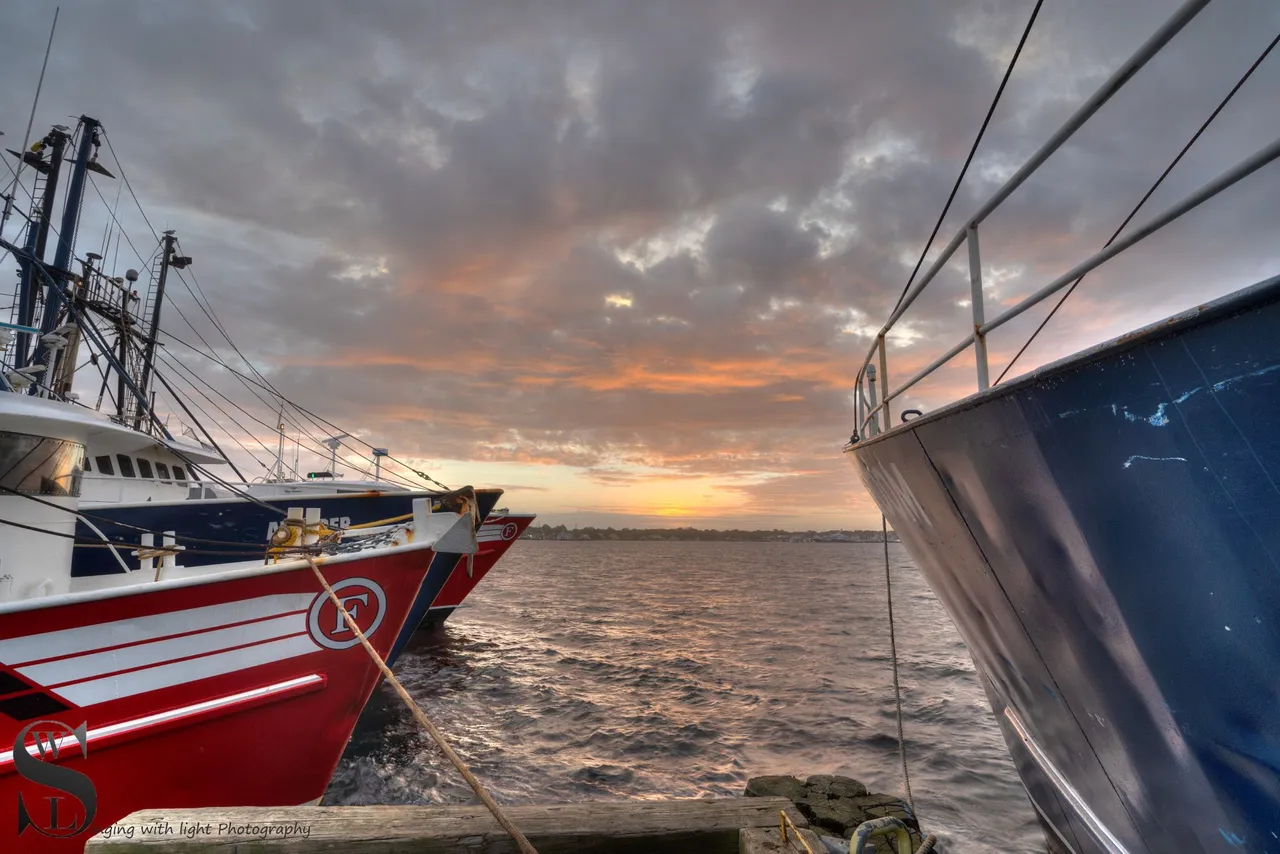
Sony A7iii 17mm F8 1/20 Sec ISO 100
Click here to view larger
And then the process is pretty much as I described above for a single image, editing in both lightroom and Photoshop to produce the final image
Sony A7iii 17mm F8 1/20 Sec ISO 100
Click here to view larger
And that’s all folks
unless stated otherwise all photos used in my posts are taken and owned by myself, if you wish to use any of my images please contact me.

TeamUSA is a Community for and supporting those from of in the United States, and now is in the process of rebuilding stronger than ever join us on Discord
!pinmapple 41.635944 lat -70.920507 long Pier New Bedford MA d3scr