Update on the garage wall repair we started several weeks ago. The frame wall is finished and installed, with the temporary lifting wall removed. I am pleased with the results, and I'll put a link at the end for the previous post.
Here's the final framing in place:
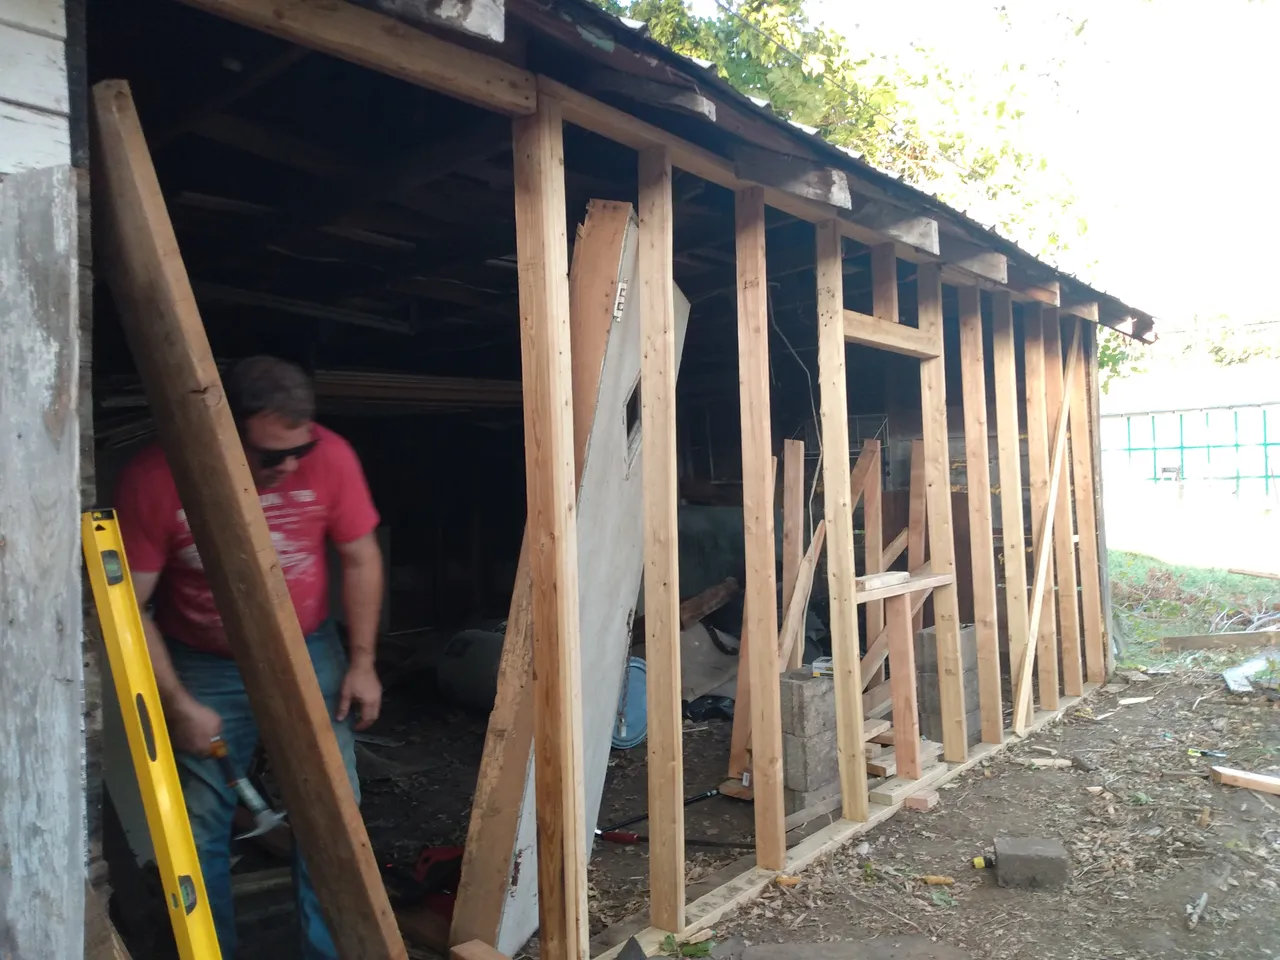
True and plumb, with anchors in the cement stem wall; and a new top plate over the door. It may be the only square surface in the entire garage, but it looks good, and is now doing its job supporting the roof.
We still have our cheer leader:
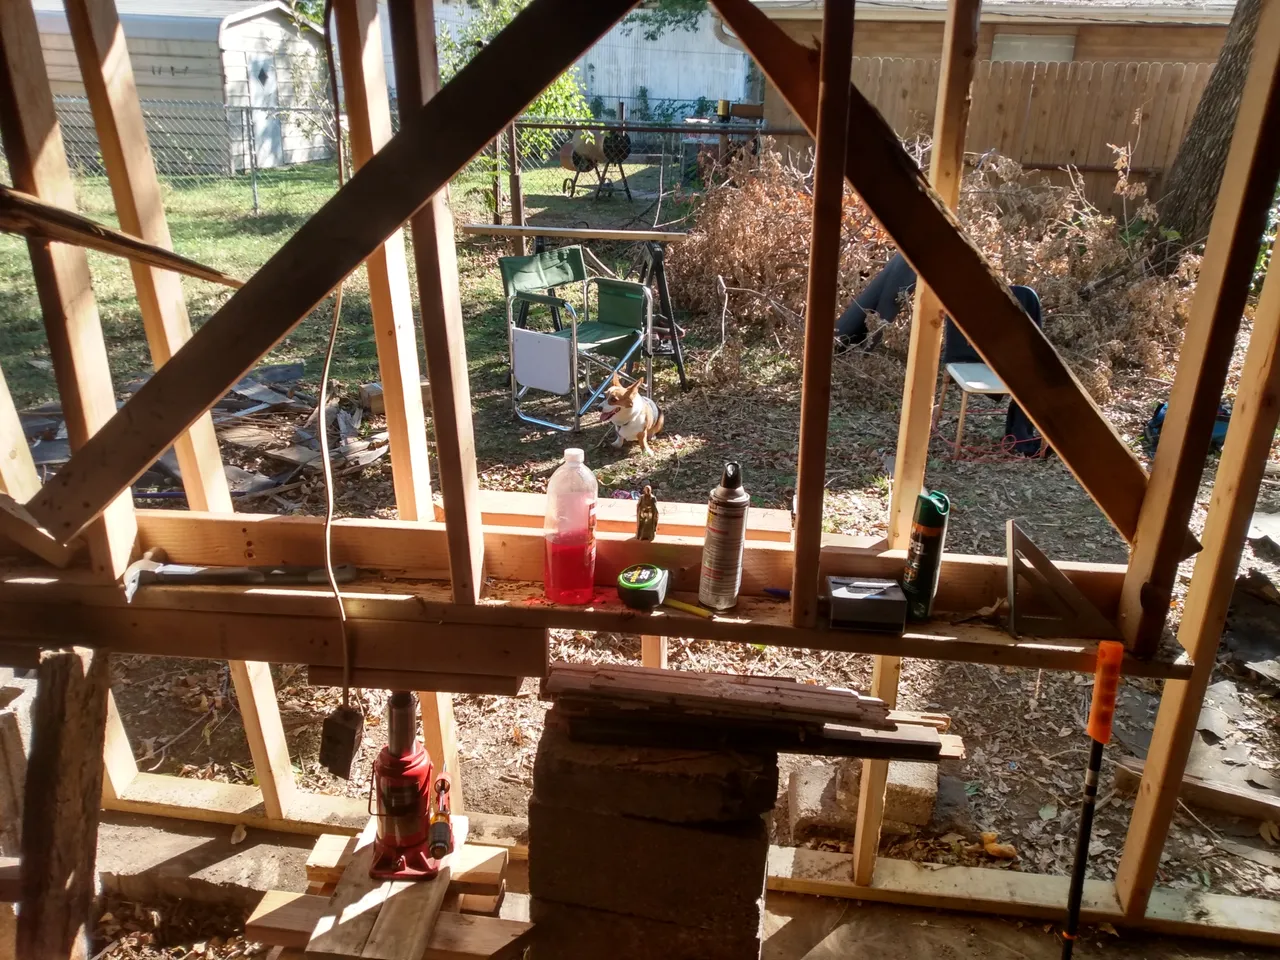
Petunia kept the neighbor's dogs properly barked all day long! Obviously the most important part of the job....
They are splicing the frame into the building:
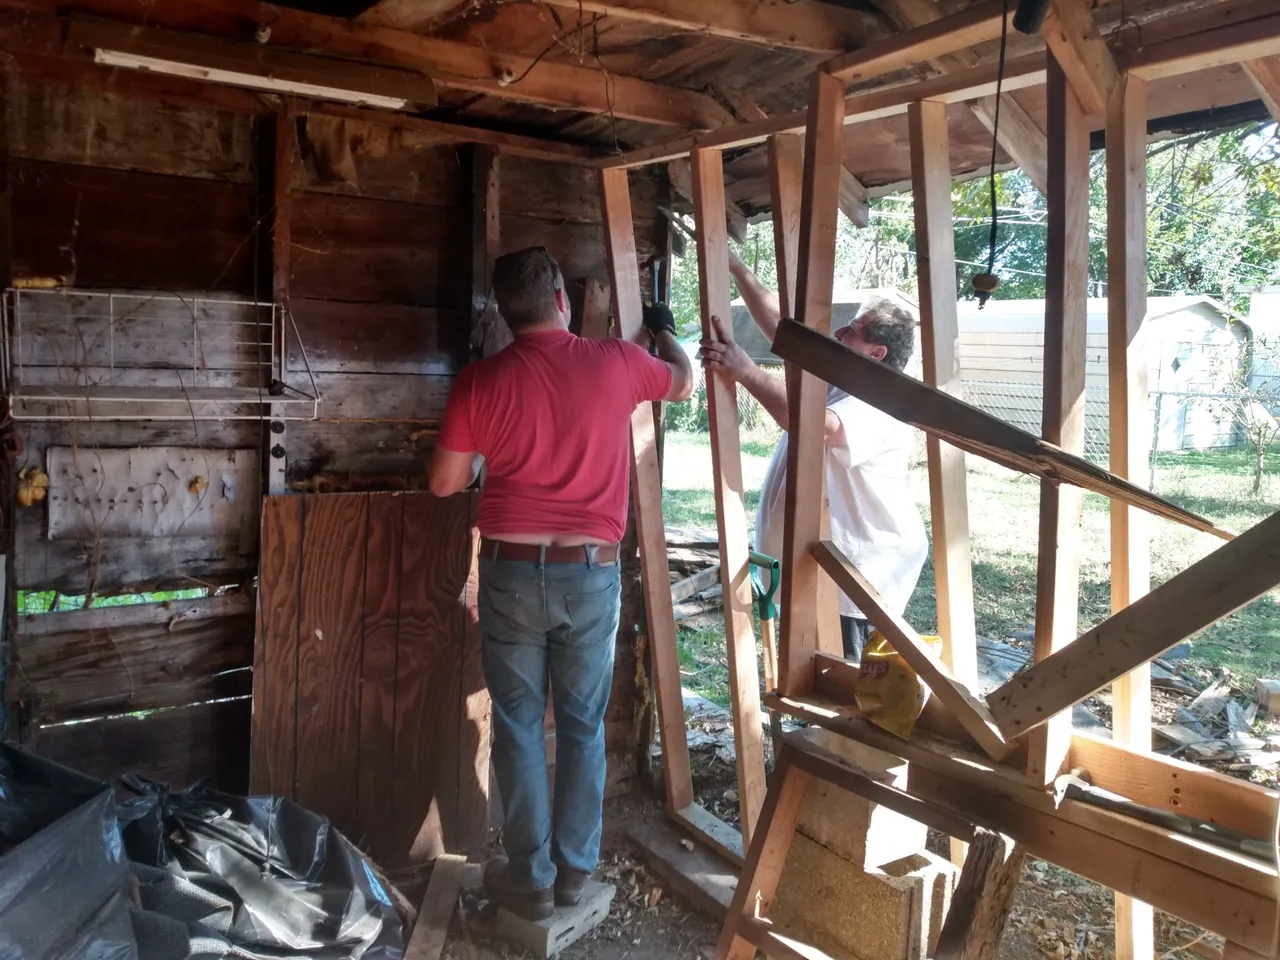
This stiffened up the wall they tied this new wall into. They are adjusting it for plumb, while I hold up the rafters over the door.
We added diagonal wind bracing into the frame:

Cutting the brace into the frame itself gives us wind bracing, without causing sheathing problems later.
Here is the window framing:

The top plate over the window carries the roof loading to the studs on each side.
This is how far we had to raise the rafters, to place in the new framing:
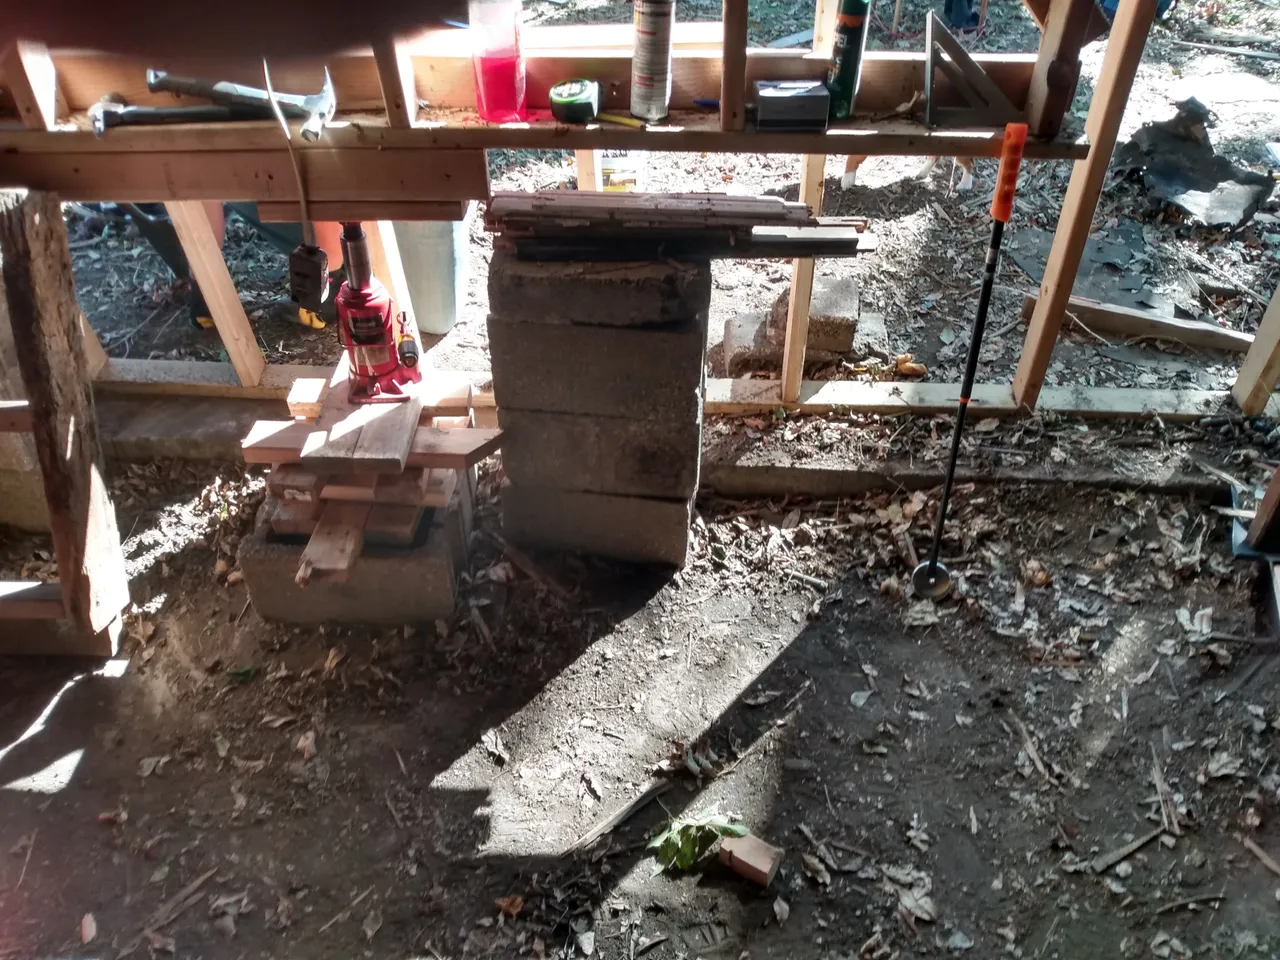
Once placed, we removed the blocks, and lowered the rafters onto the new framework. Then we cut up the temporary support wall and used the lumber for framing over the door.
Here is the lever I used to lift the rafter over the door:
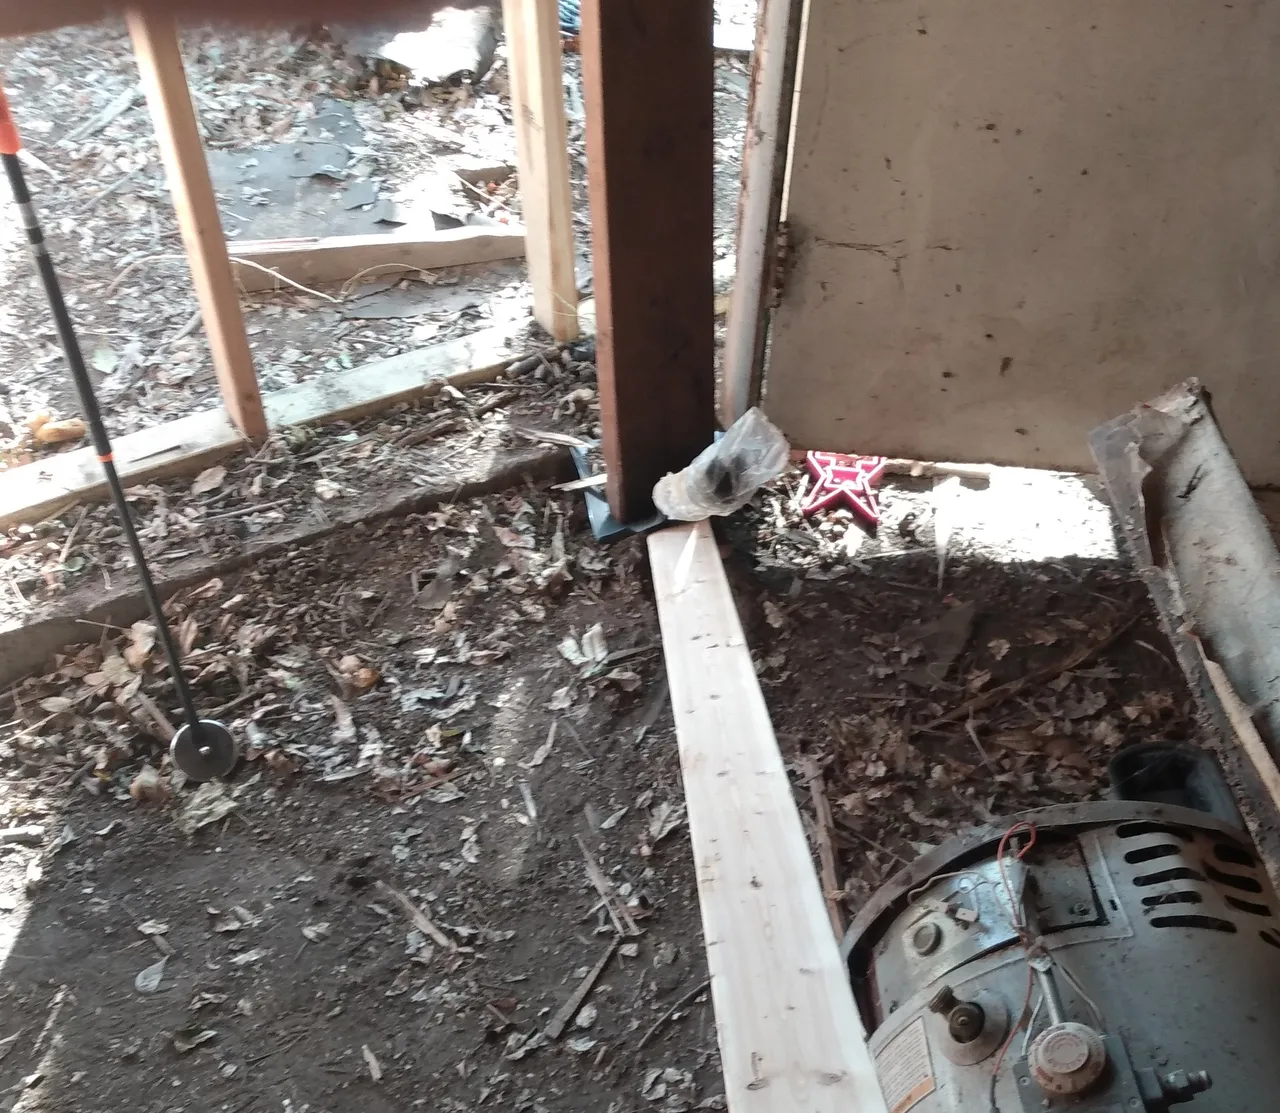
This allowed my to hold the structure up while they spliced in the new wall. Then we raised this rafter up with the hydraulic jack to raise it while we added the header over the door.
Frame is done, and is ready to cover. We will set the door first, and add the window after the sheathing is added.
Here is the first post, where we did the Demolition:
@smithlabs/extreme-garage-repair-or-fun-with-a-hammer-lol