Hello, hivers!
As most of you who follow my garden posts know, I have a small railroad in my garden. This is a 7-1/2 inch gauge railroad. That means that the rails are 7-1/2 inches apart. 7-1/2 inch gauge is one of the more common ride on miniature railroad gauges in the U.S. In Canada and Great Britain, 7-1/4 inch is the more common gauge. I chose 7-1/2 inch gauge because parts such as wheels and axles are available from several suppliers in the U.S.
Most people who build 7-1/2 inch gauge railroads build miniature equipment at 1-1/2 inch scale, which means that 1-1/2 real inches is equal to 1 scale foot. I chose to build my railroad to what is known as "minimal gauge" standards. That means it's not a miniature railroad, it's a very narrow gauge railroad that does actual work. Minimal gauge refers to any railroad of less than 15 inch gauge that is used to do various hauling work.
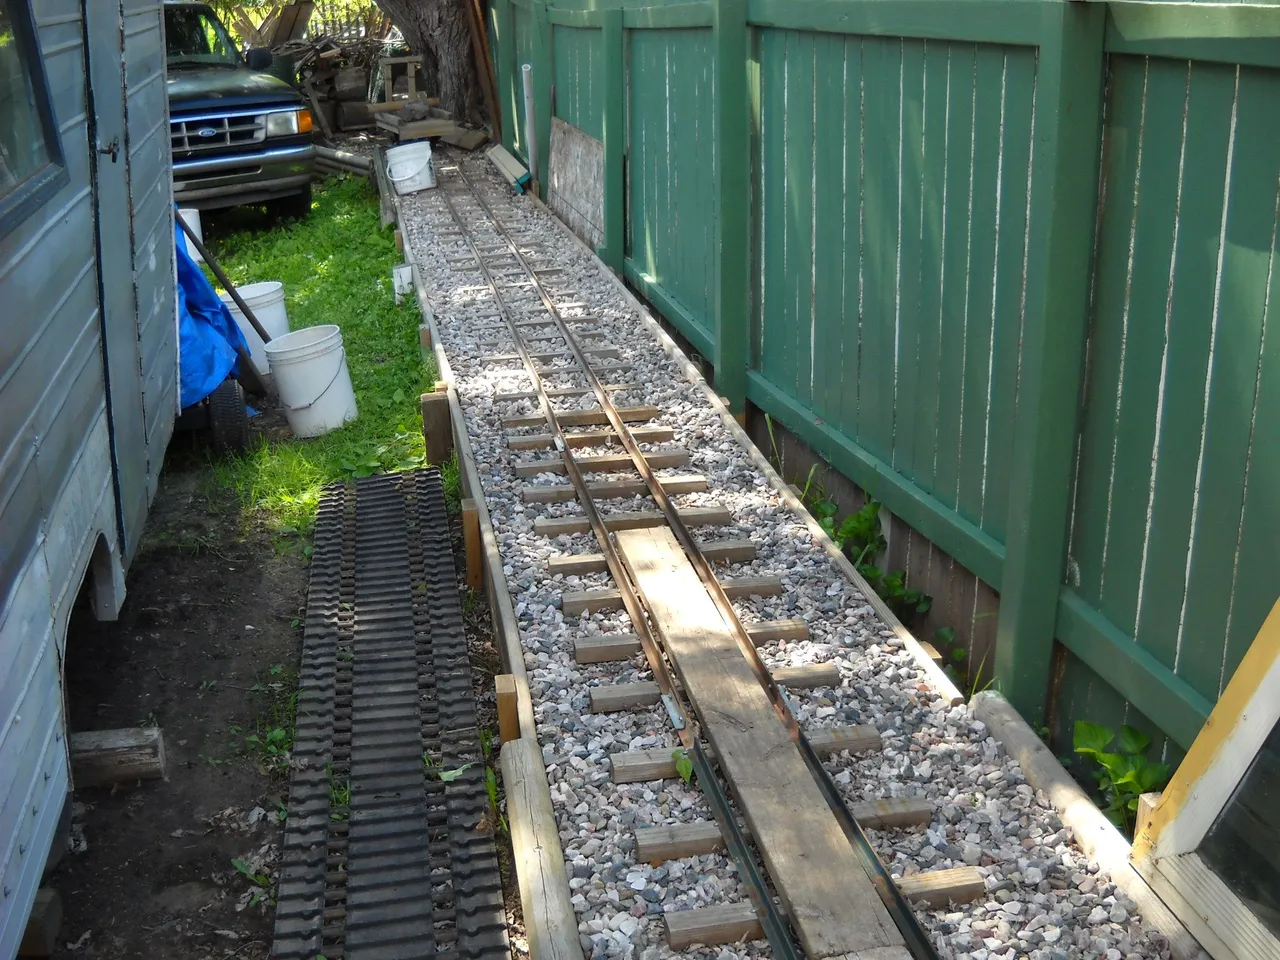
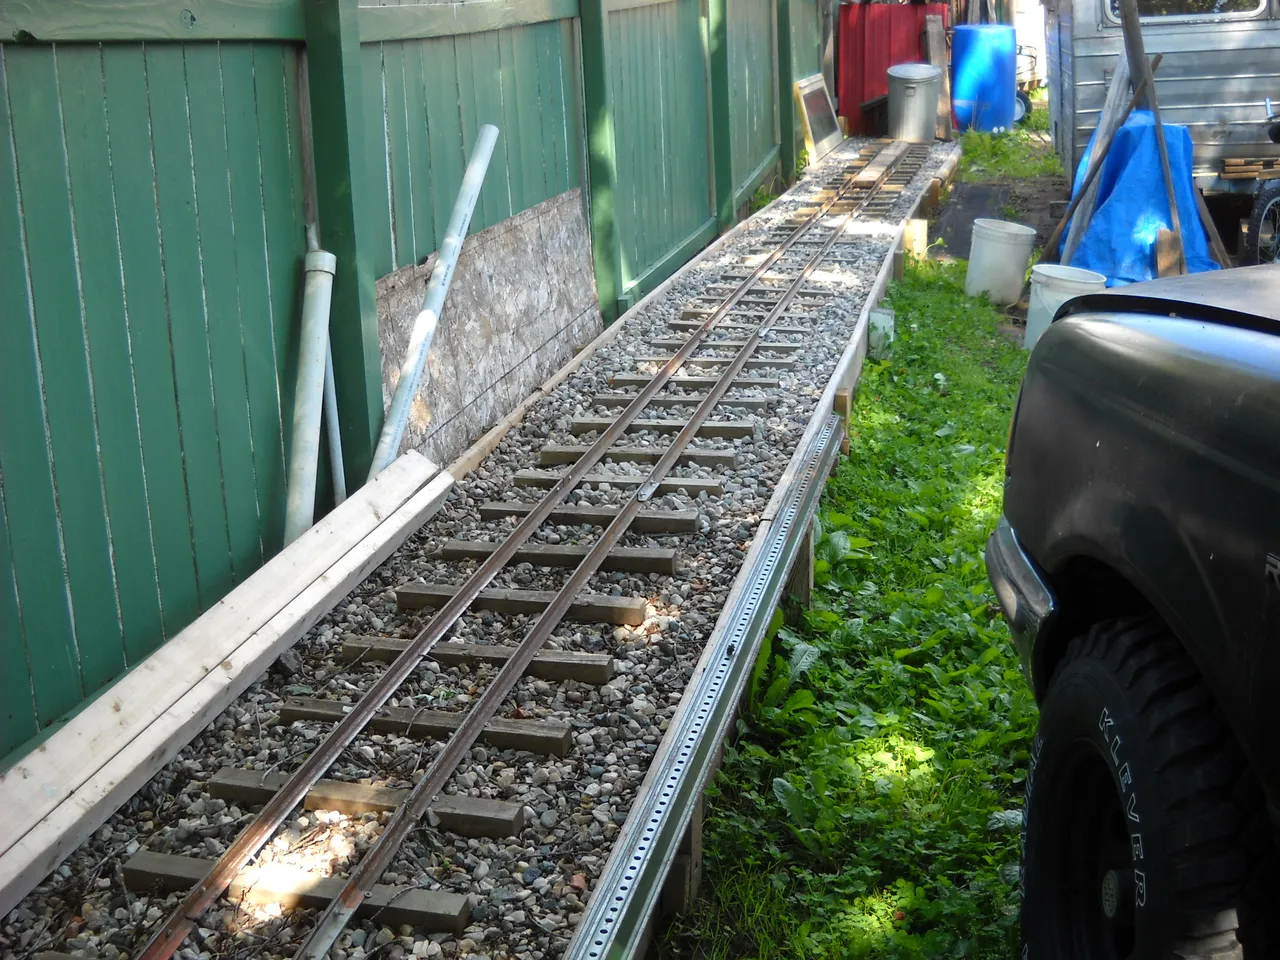
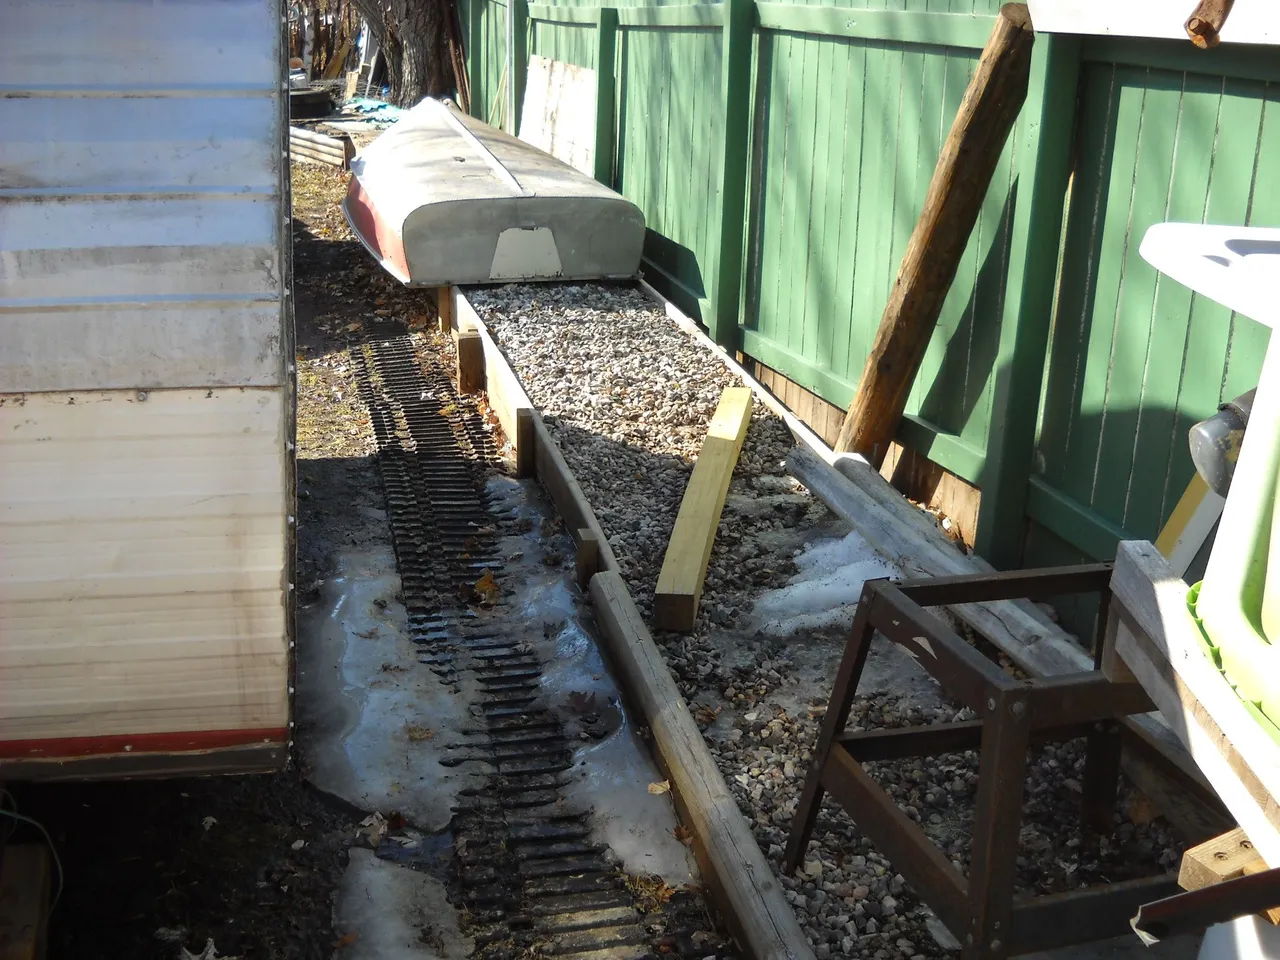
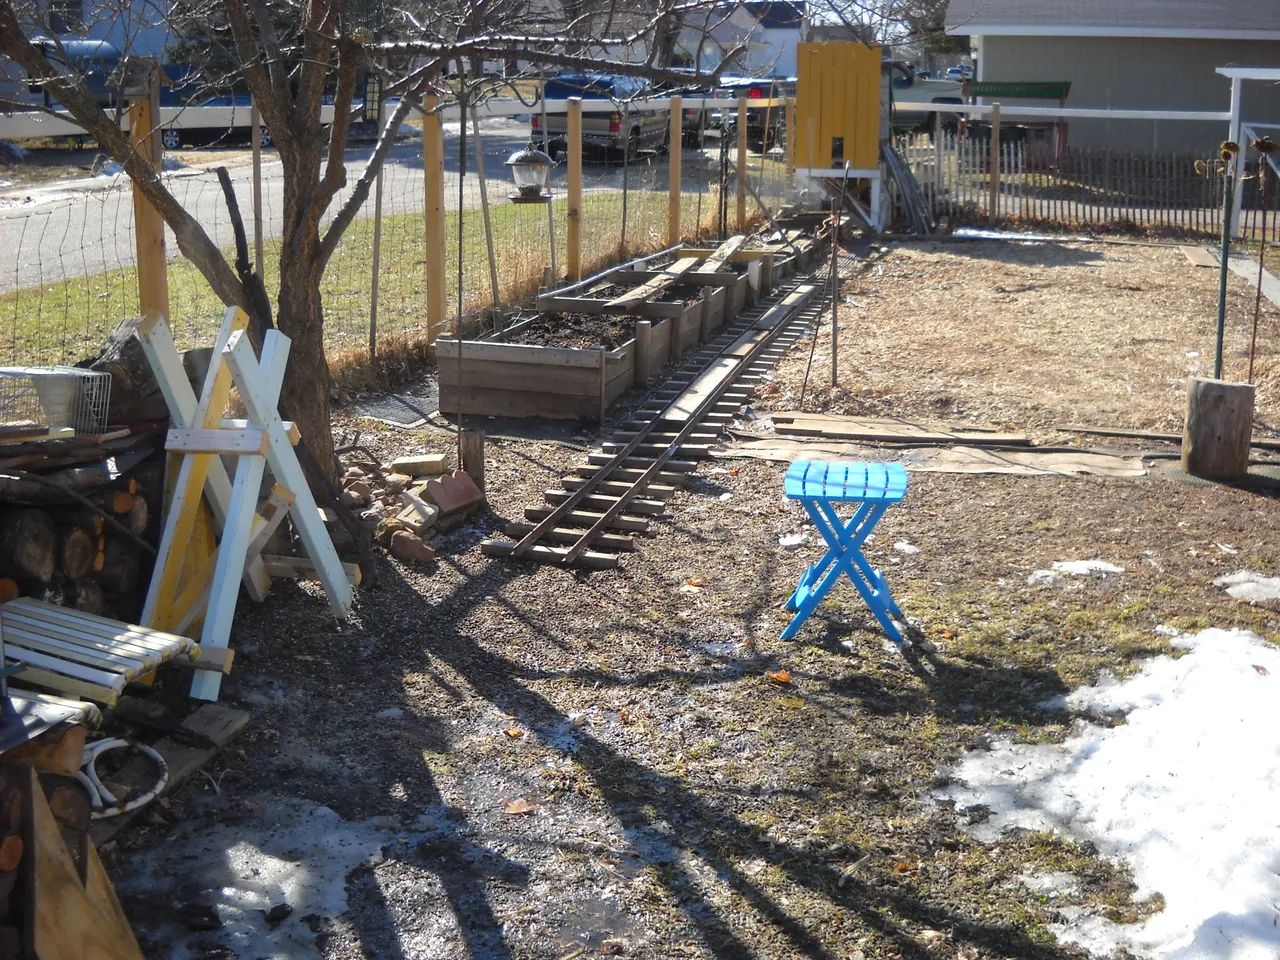
This is the first summer that I've had the railroad in my garden. For the previous 5 years, the railroad was in the back yard up against the fence. At the time that I started building the railroad, the back yard location seemed like the only good place to build it. The problem with having it there was that it wasn't actually useful for anything, and it mostly got ignored. I started thinking about moving the railroad last winter, so by early spring, I was ready to start working on that.
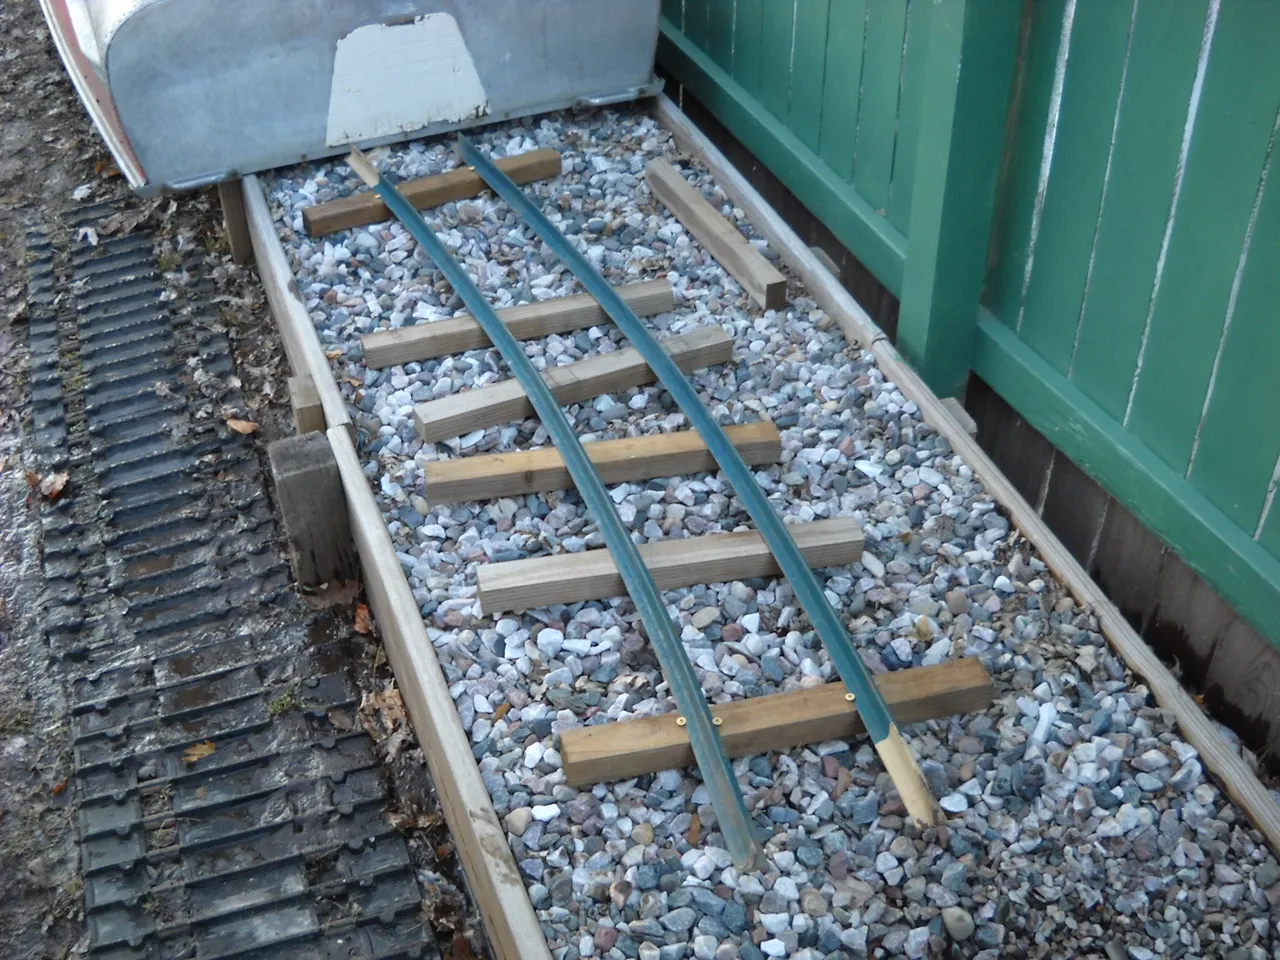
This is a couple of pictures of the old railroad from last year. As you can see, it pretty much went nowhere and didn't have much use except to roll back and forth on the flatcar.
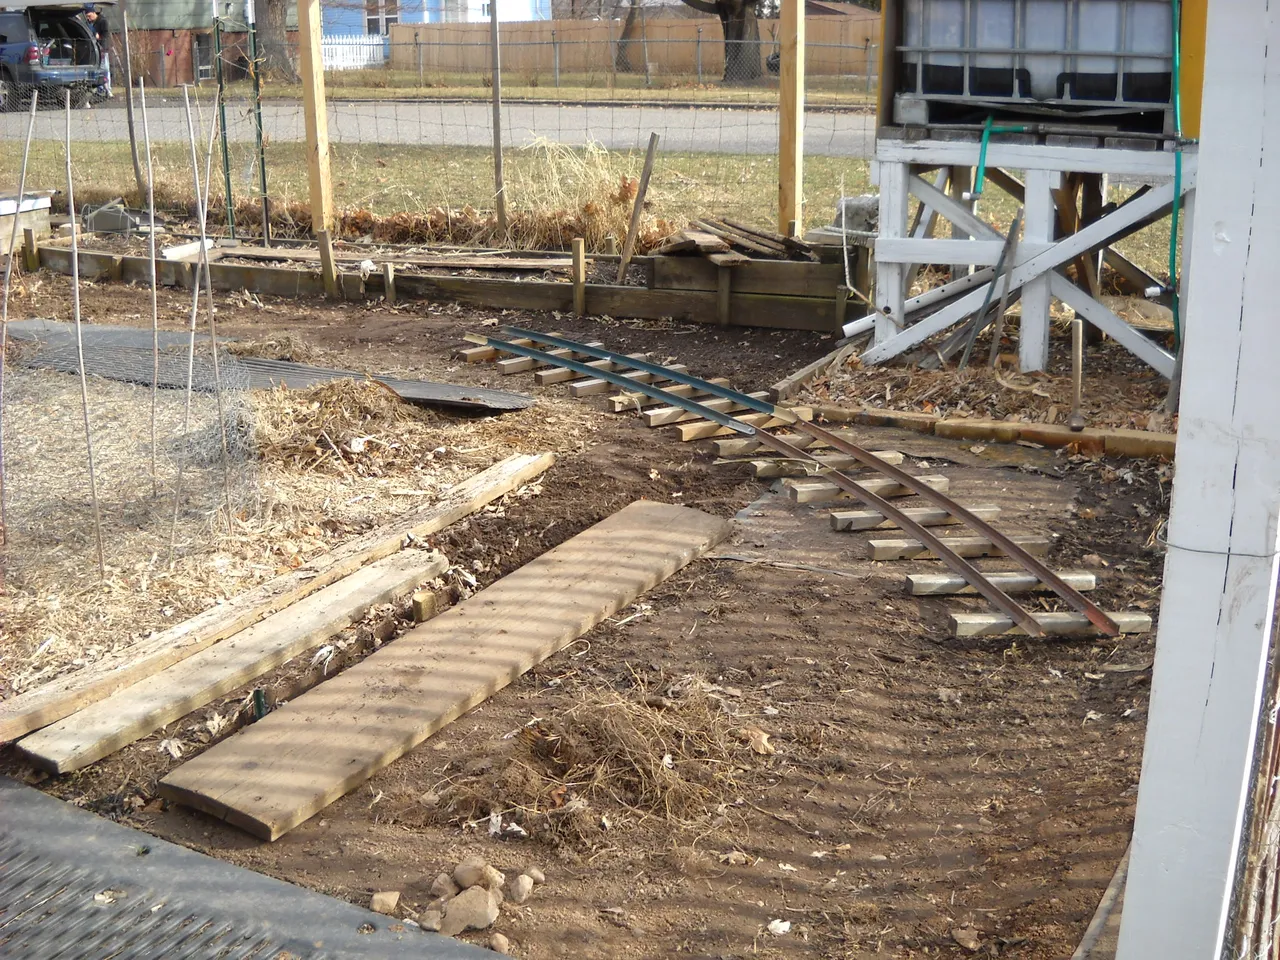
I started moving the track out to the garden in March. At the time, there was still some ice and snow left on the ground in the shady spots.
The first thing I did was to carry all of the track out to the garden and place it where I wanted it to go to get an idea of how it would fit. At this point, it was all just straight sections. I had 1 curve section from the old location, but I didn't put it here.
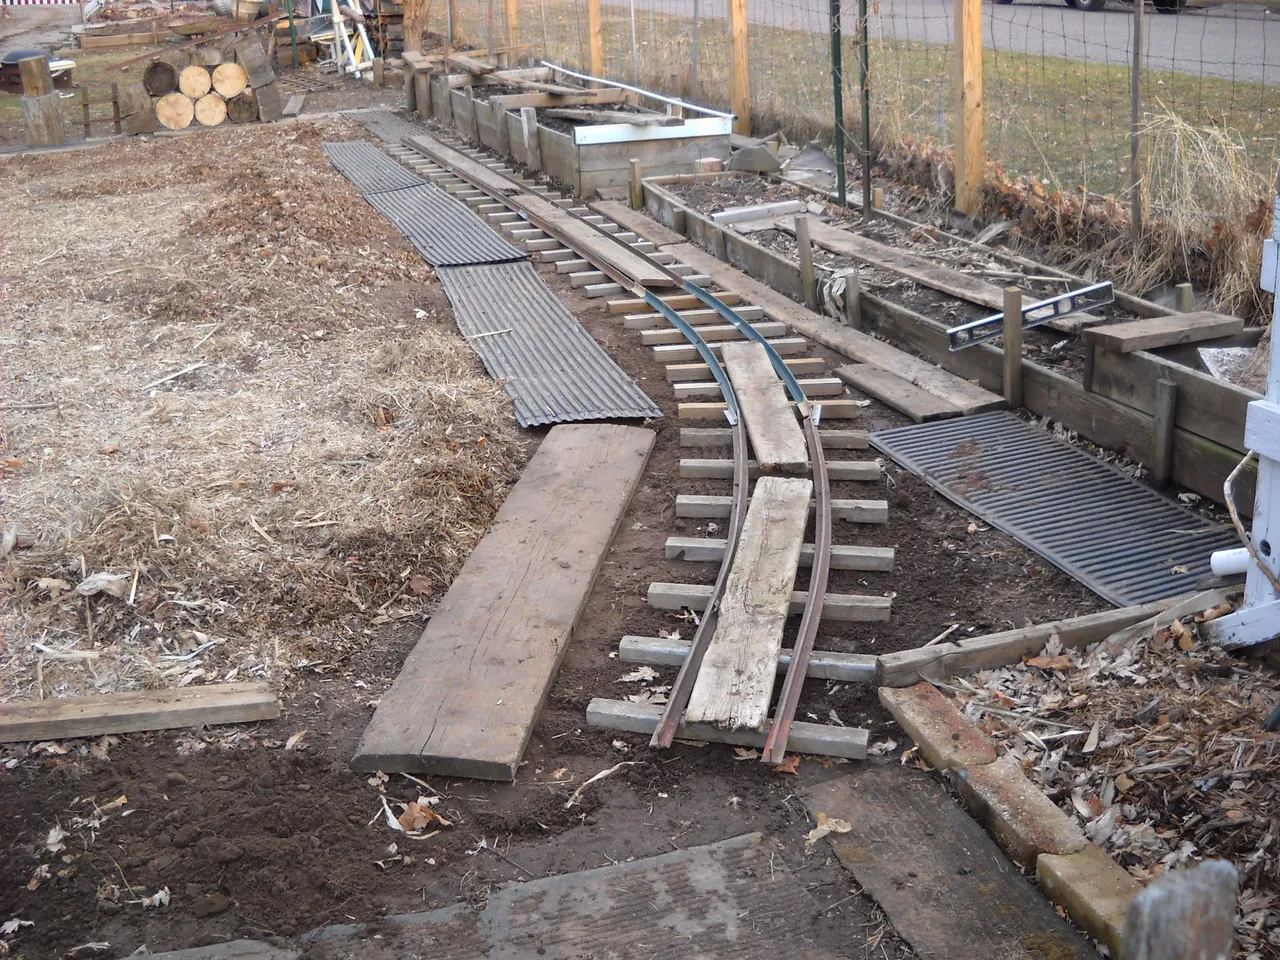
After laying out the track and pondering the layout for a few days, I decided that I wanted the track to curve over to the big gate in the back of the garden fence. I decided that I wanted to be able to load things on the flatcar from the alley and bring them up into the yard. At this point, I was mostly thinking about firewood for the fire ring in the yard.
Of course, this meant that I would have to make curved track sections for the railroad in order to reach the back gate. I started with the curve section that I had from the previous railroad, and a new section that I made.
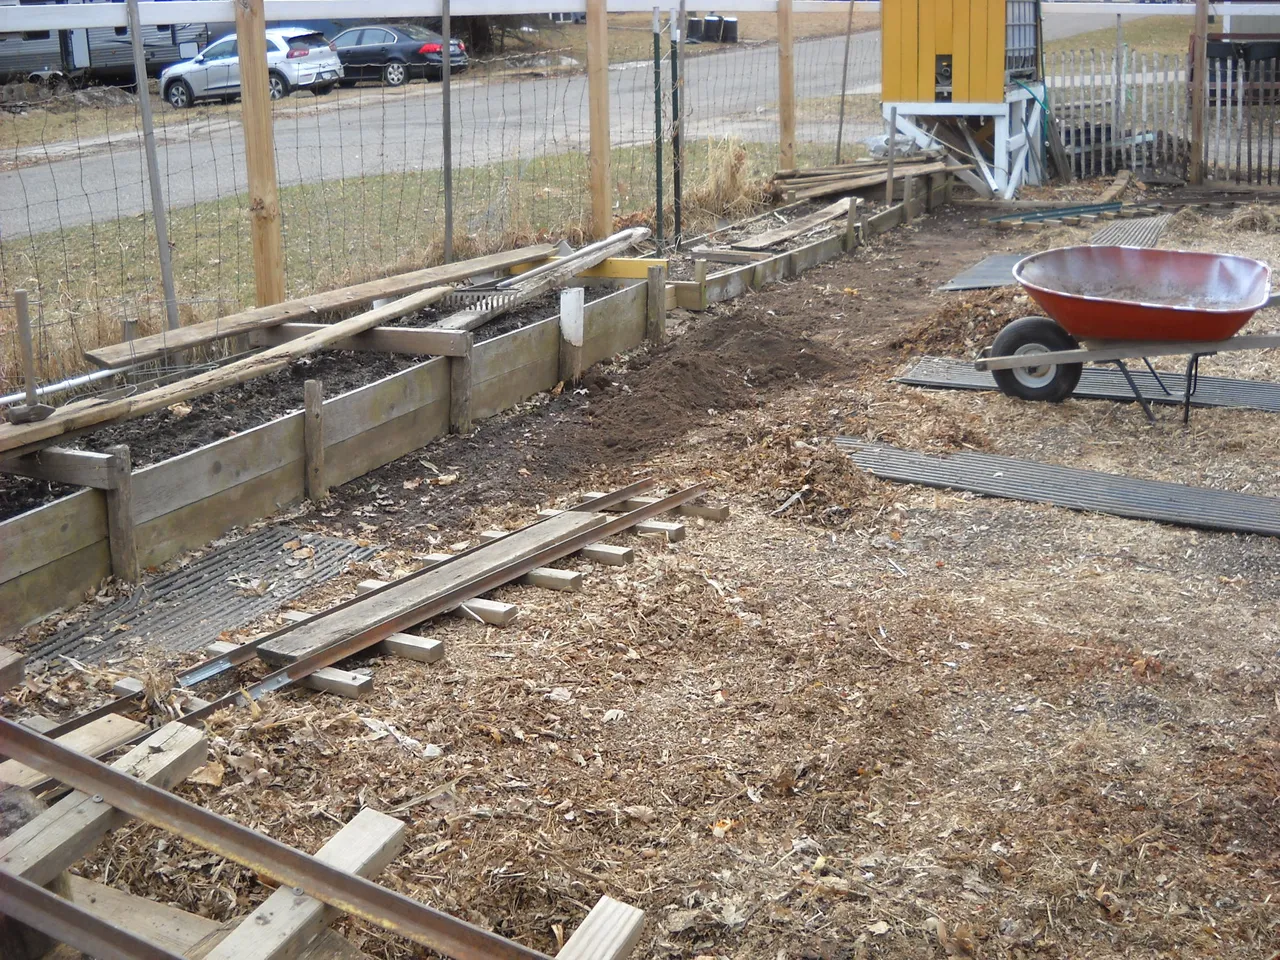
Laying out the curve was, shall we say, "interesting".

Because the edge of the garden was still pretty lumpy from last year's garden work, I decided to level out the area where I put the track so that it would sit more level.

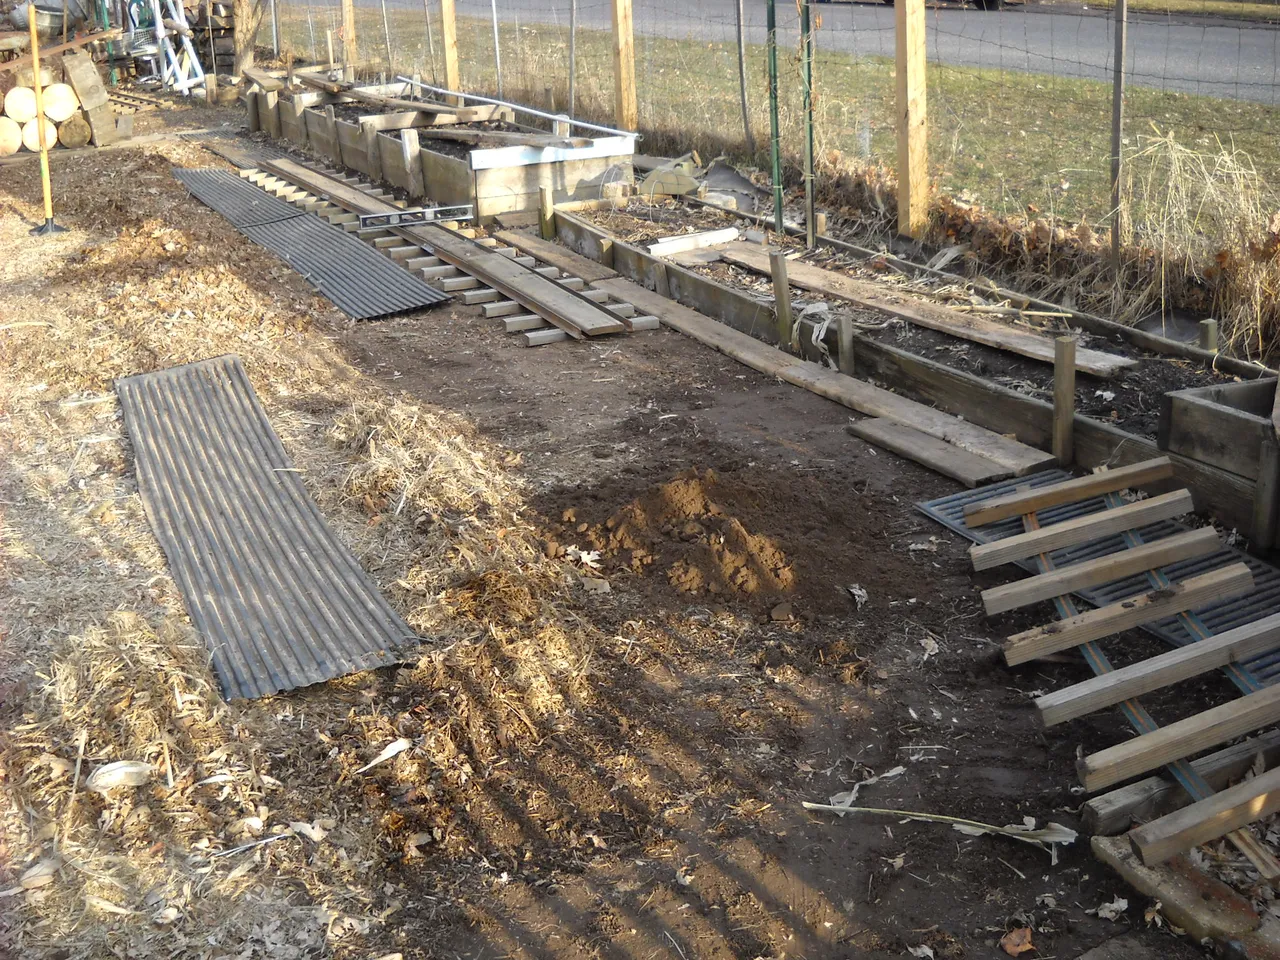
This was the result of that leveling work, after putting the track back in place.
All of this was done during the middle of March of 2021. This was just the first plan that I had for the railroad. In my next post on the railroad, I'll show how the plan evolved into the next phase of building the garden railroad.
That's all I have for this post, I hope you found it interesting.