Hello PHOTOGRAPHY [DAC] friends. Last time I wrote about the architecture photography basics and today I will tell more about photo edits or retouching of these shots. Is photo edit necessary in architecture photography? If you ask me, it is!
What is Photo Edit About?
Some will say photography nowadays is nothing comparing it back in time when there were no digital tools and making a good photo was all about great skills. My opinion? Technology is an important part of our evolution and not using advanced technology is nonsense. Sure, you can be a hipster and jump around with your old Laika (old Russian cameras) if this is your passion. But, if you would like to earn a living with architecture photography than advanced technology is for you. Just start with some entry-level camera and climb. There are a million factors that can ruin your photo, and luckily there are photo editing tools, that can save a day.
This is an architectural photo straight out of the camera. As you can see I didn’t have enough wide lens (12mm on 3/4) for it. I took it handheld, so there is a noise problem as well…
This is the same photo after some photo edit. As you can see I adjusted colors, draw some missing pieces, straightened it and reduced noise.
Most Common Photo Edits
Like I said before, there are a bunch of factors that can ruin your architecture photography, and here are the most common few that usually come around when editing a photo.
Straight Your Lines
Lenses have this barrel effect, which distorts your photo and even if you use a wide lens, there will be some distortion. Anyway, this distortion is simple to correct, and if you are shooting in JPG your camera does this task for you. Of course, it is much better to shot in RAW (we will talk about it later), where you need to correct it in your photo edit software. When you deal with barrel distortion, keep your lines straight. Wide lenses have also perspective distortion, where closer objects look bigger and lines of the walls are not straight. Try to straight those lines and you are good.
Straight out of a camera (18-105mm lens)
Fixing barrel distortion.
Fixing perspective distortion
Don’t Straight Your Lines
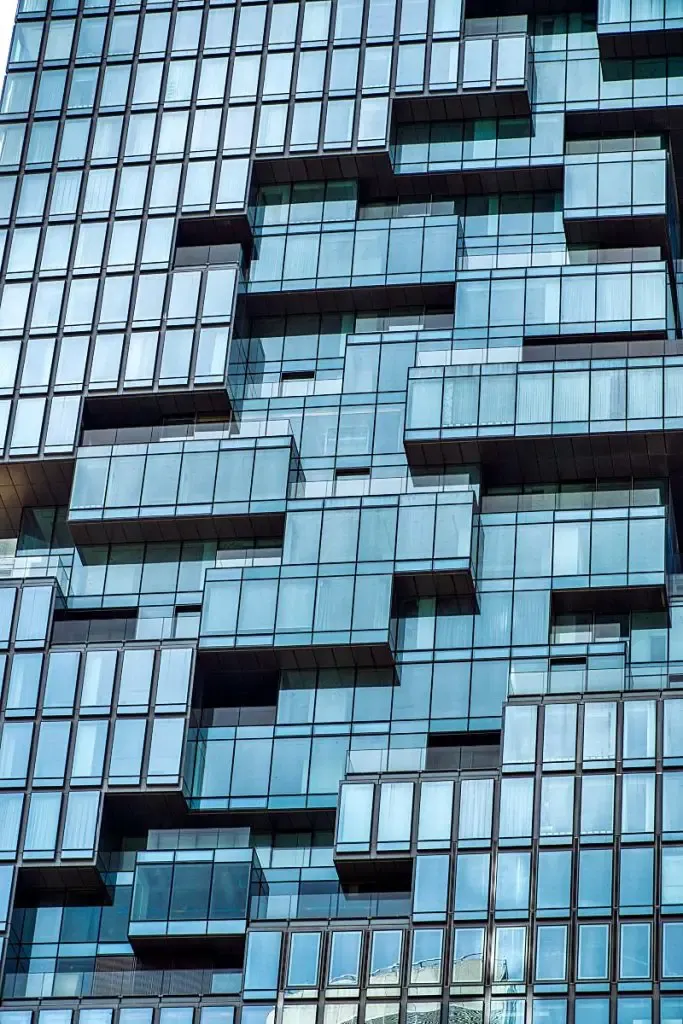
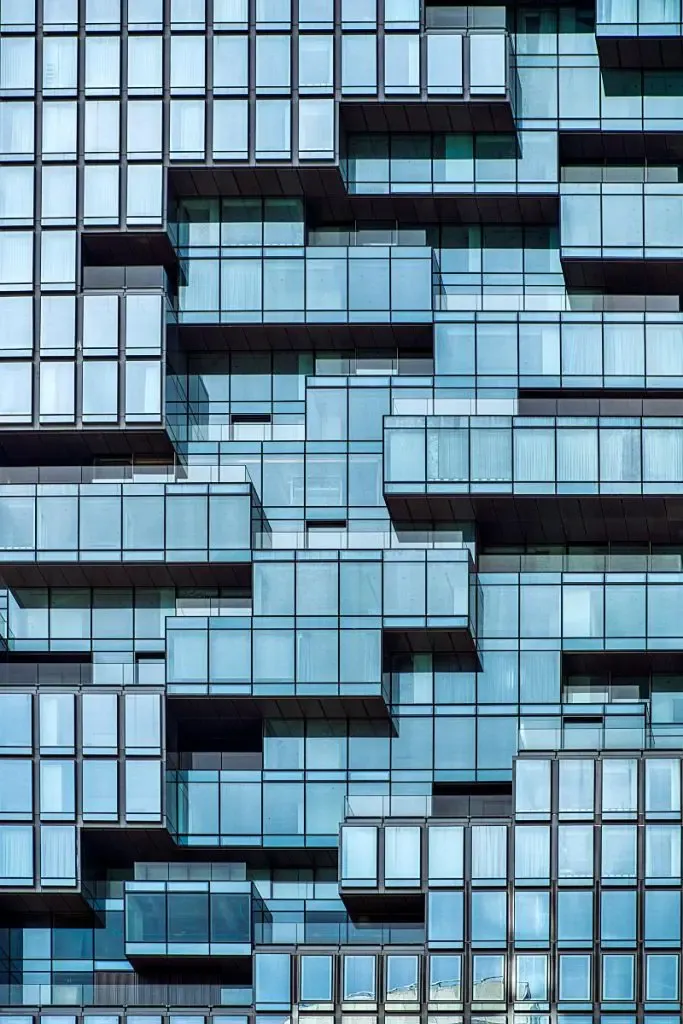
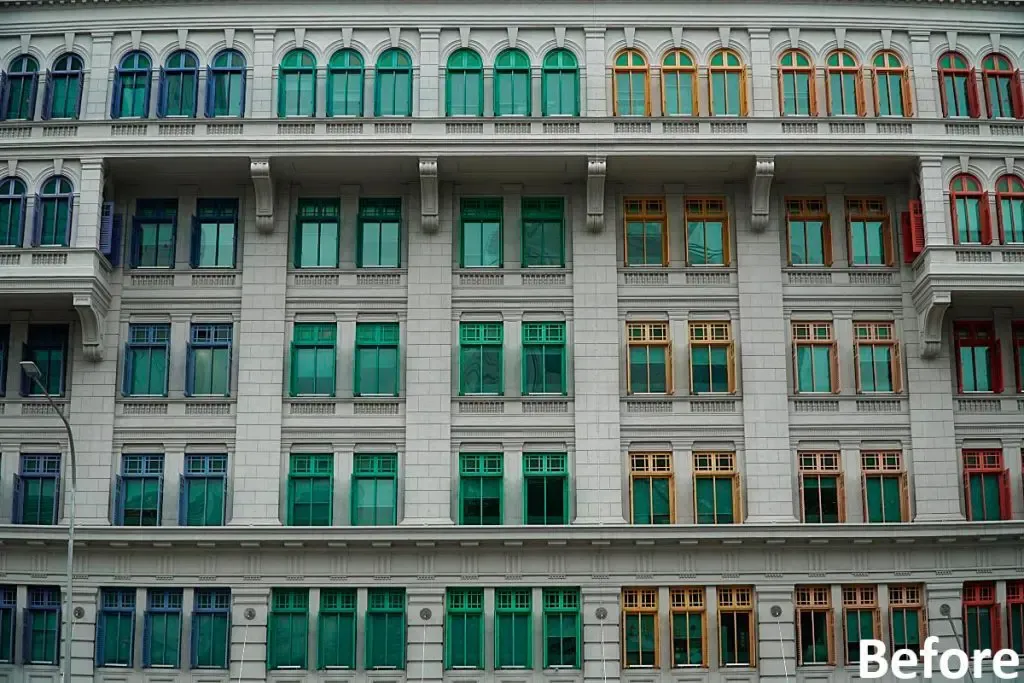
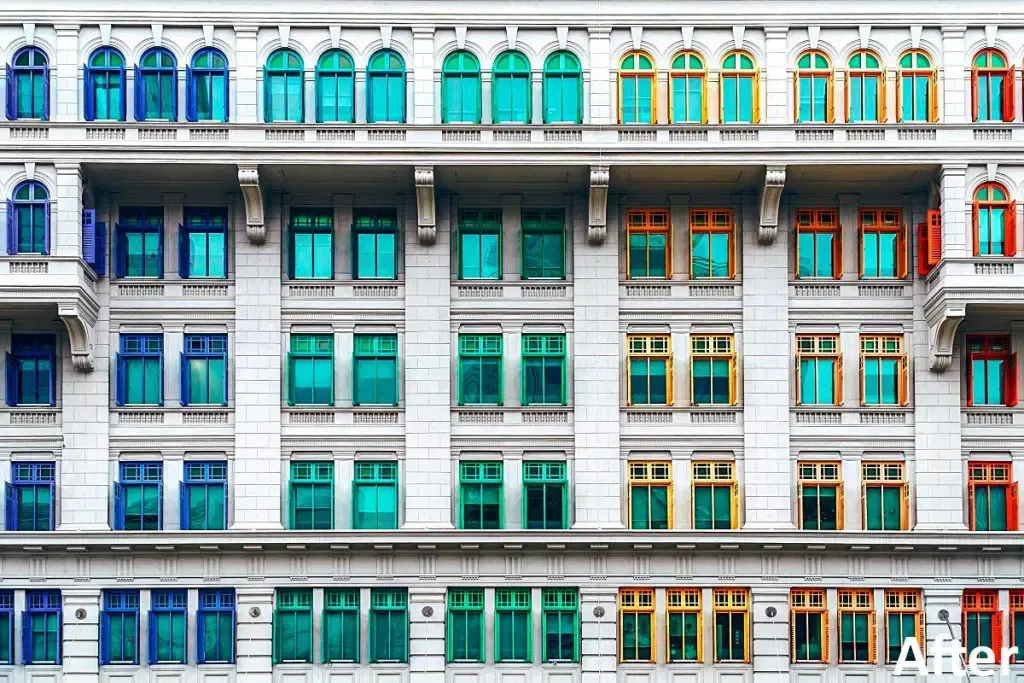
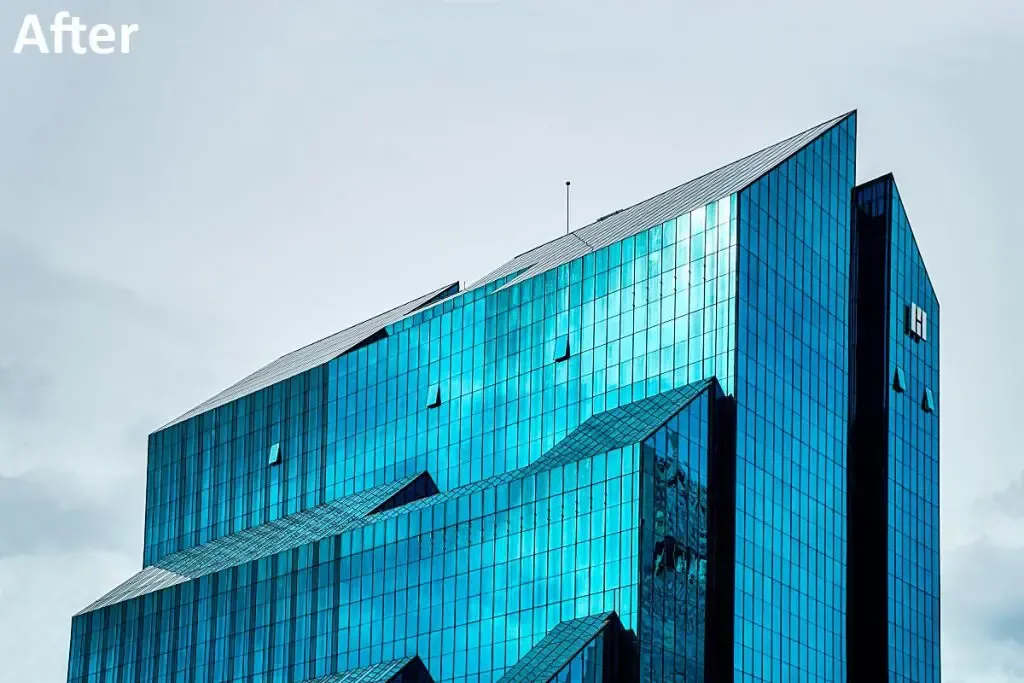
What the hell? Yes, it is true, sometimes you don’t need to straight anything, your perspective works just right and it is cool like it is. See the example from Singapore. This city is really architectural photography heaven.
The composition is great just as it is, so here is no need for straight lines. Rule? Trust your eyes.
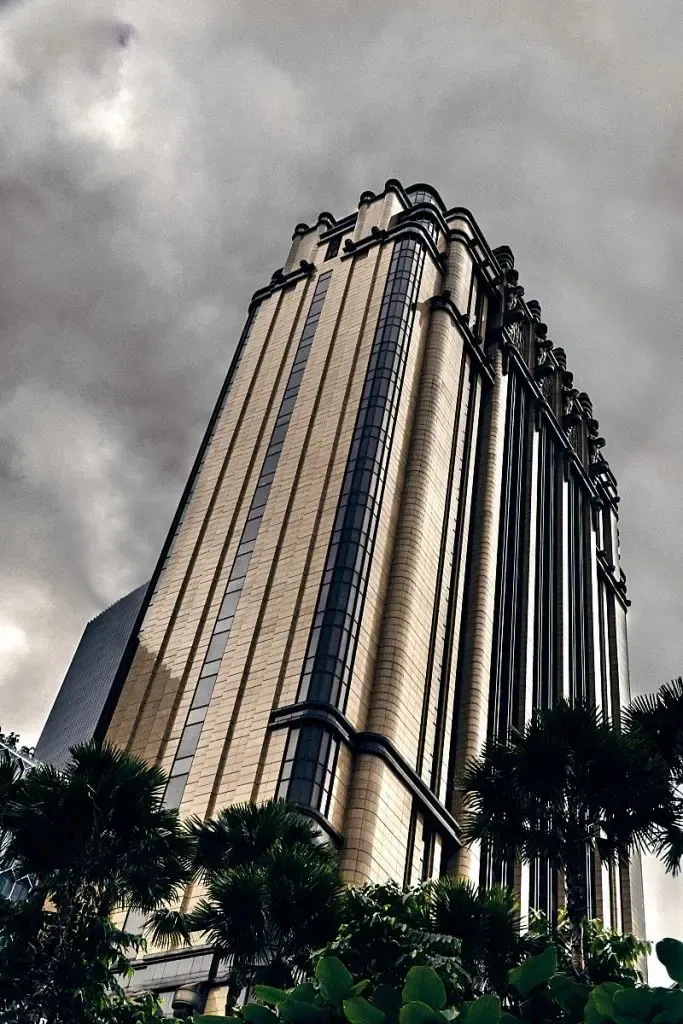
I Give Up on Lines
Here, I would like to show one cool example. If you look at the photo without any lines it looks like it goes out on the top. Later I draw lines, to show you there is everything in a straight line. It’s just an unnatural angle playing with our minds.
Fix the Noise
We all know that feeling when we got a nice shot and later find out it is noisy more than neighbors’ kids. Keep calm, this can be fixed and later in future also avoided. Noise happens when your ISO is high, due to the bad lighting condition. If there is a chance use a tripod and take a photo with low ISO and slow shutter speed. If needed take more of them and merge photos together in HDR (we will talk about it in the next chapter). Anyway, you can fix noise with every professional photo edit software.
As you can see the noise is quite harsh on this photo. If you look at it from distance there is no problem, but when you need bigger print or crop it out, the noise is annoying.
After the photo edit, the noise is gone. I am happy with the result.
Adjust Your Colors
If you know something about digital cameras, then you know you can shoot in a processed photo like JPG and in the RAW photo file, which has a lot more information about colors, shades, and details. I recommend shooting in both, so you have straight out fast results in the JPG and RAW for later photo editing if needed. The RAW photo will be flat so keep that in mind.
Not so nice weather, fast settings and this can be a result. As you can see JPG has also some barrel distortion problems and of course obstacles – traffic light on the left.
After some quick white balance fix, saturation and contrast edit and magic it can be an ok photo. For the best result, I should edit more accurate and get back lost details.
Go Away Intruder
Remember that situation when a wild huge tourist come in front of your camera just when you took the shot? Luckily, editing programs can cut them out and replace them with surrounding pixels. At architectural photography, you will usually need to remove traffic lights, cables, ugly adds and so much more. It is not hard to that, only sometimes it can be time-consuming.

High Dynamic Range – HDR
Have you ever seen that ugly photo from Instagram, looking like someone’s camera took acid and a girl on it looks like a Barbie doll with material error? Yes, this is a so-called high dynamic range photo (HDR). To make this photo properly you need three photos of the same composition in different exposures. Or simplified, same object in one dark, one normal and one bright photo. Later, a photo editing program merges these three photos into one and blow out all the shadows and show what is overexposed (highlights). At architectural photography, this method can be great, just make sure you don’t go too far with it.
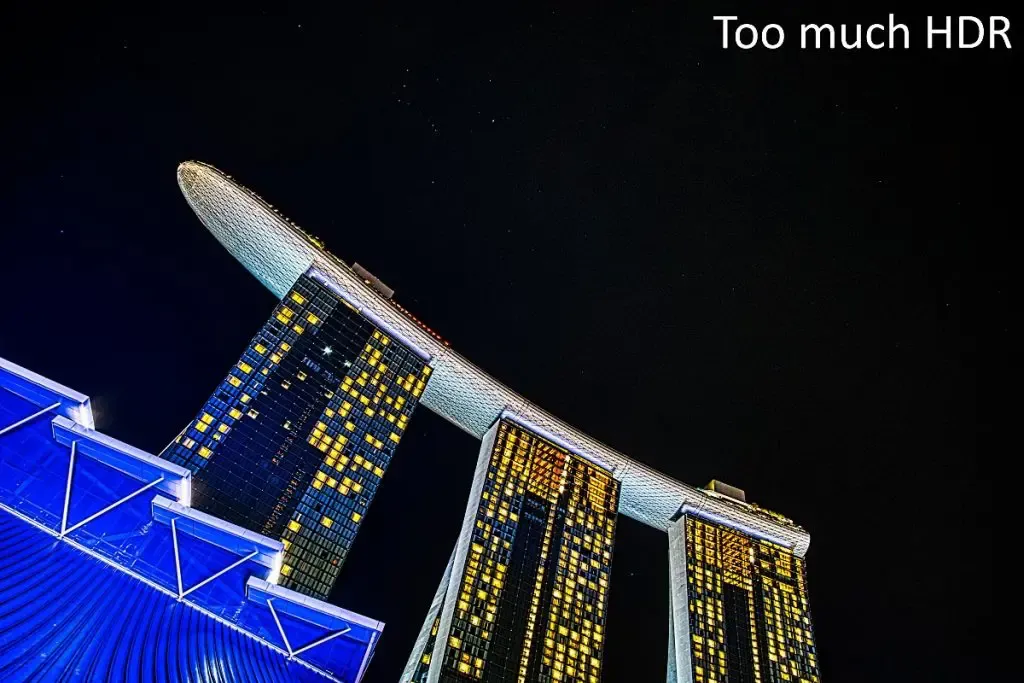
Woow, take it easy you Transformer Dildo.
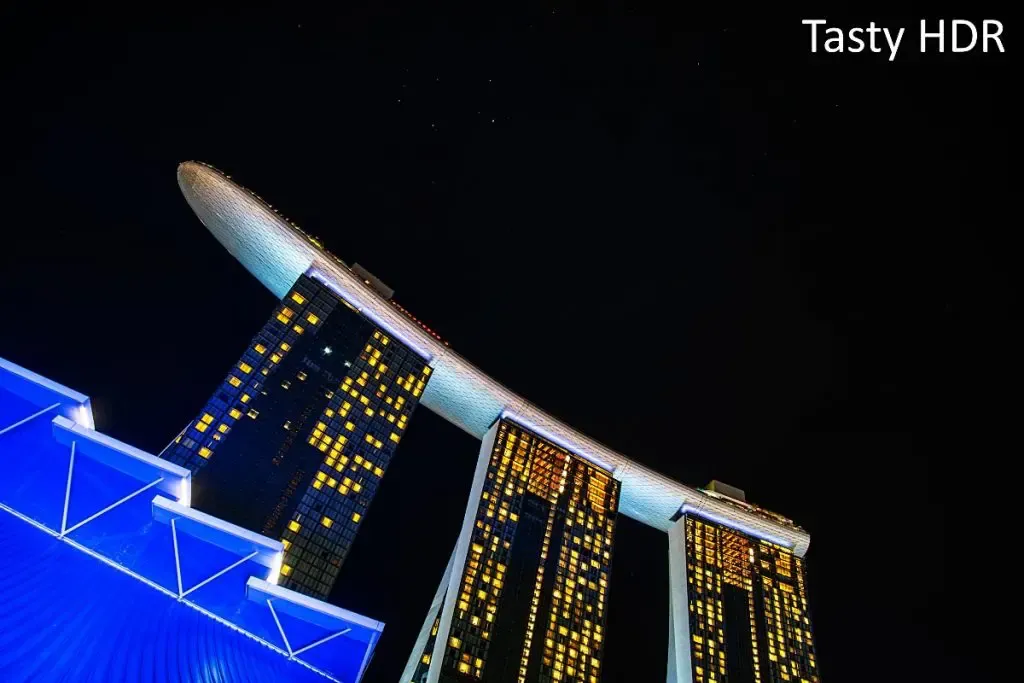
Better.
Restyle Your Shot
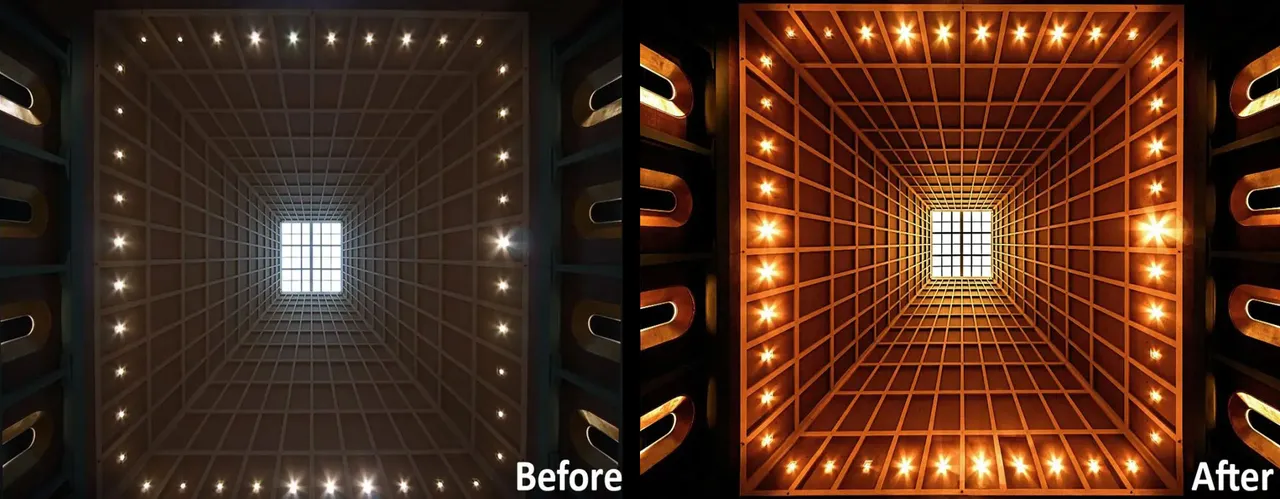
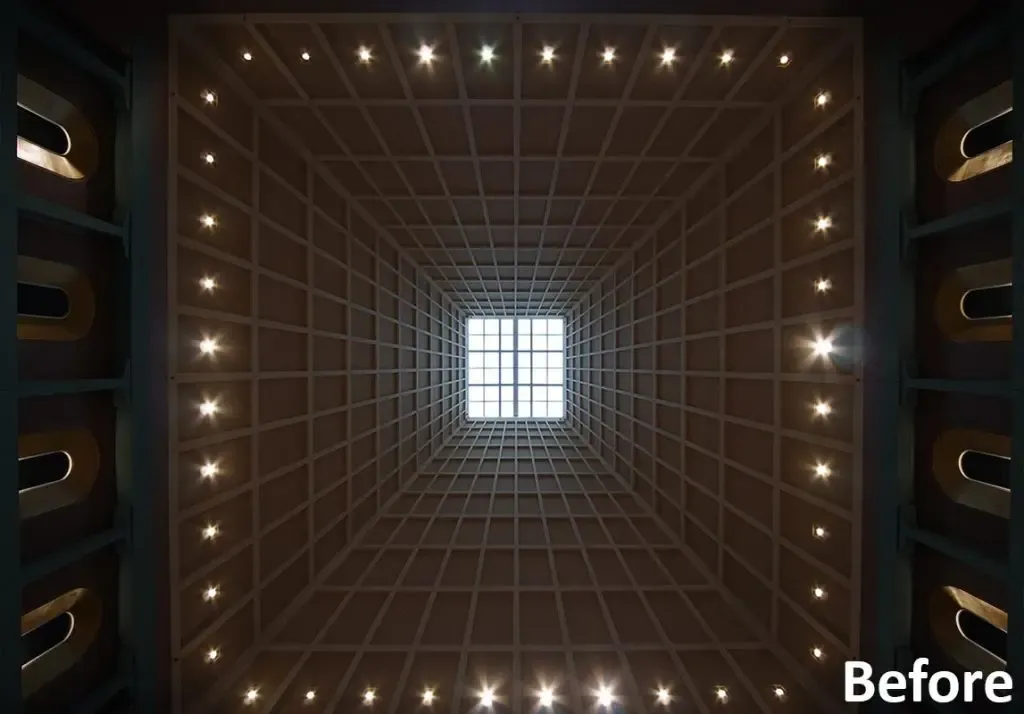
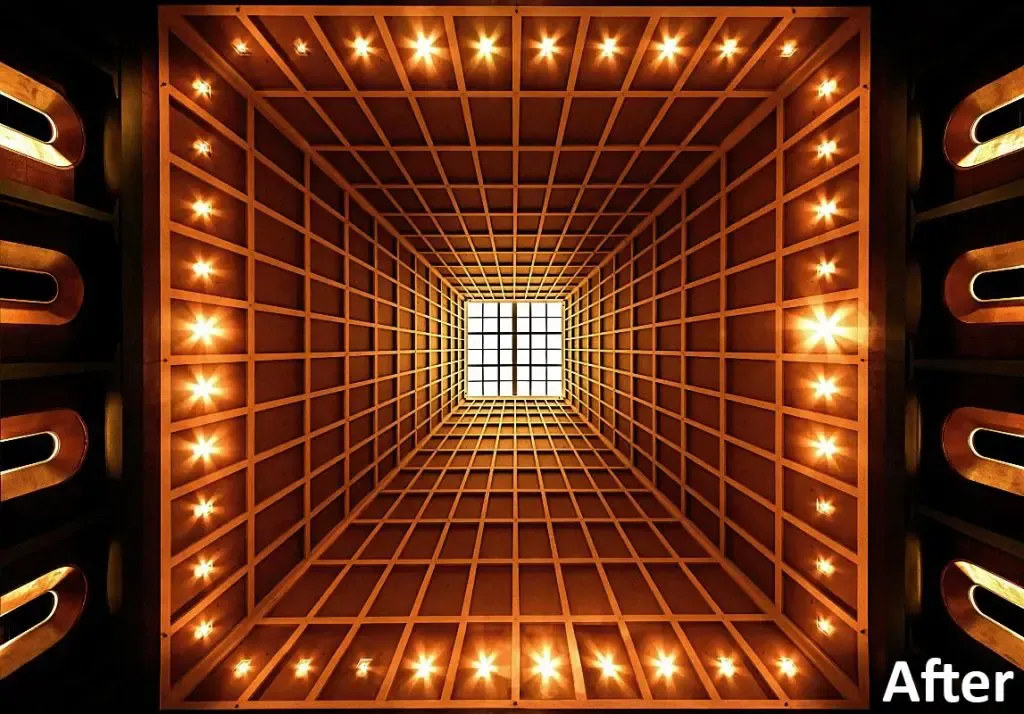
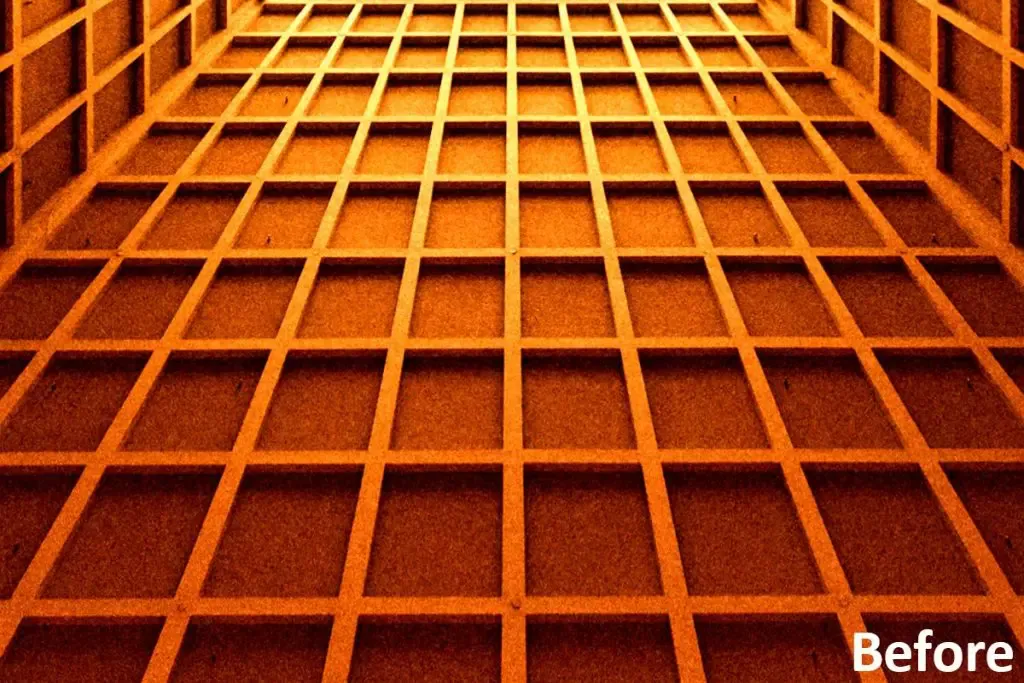
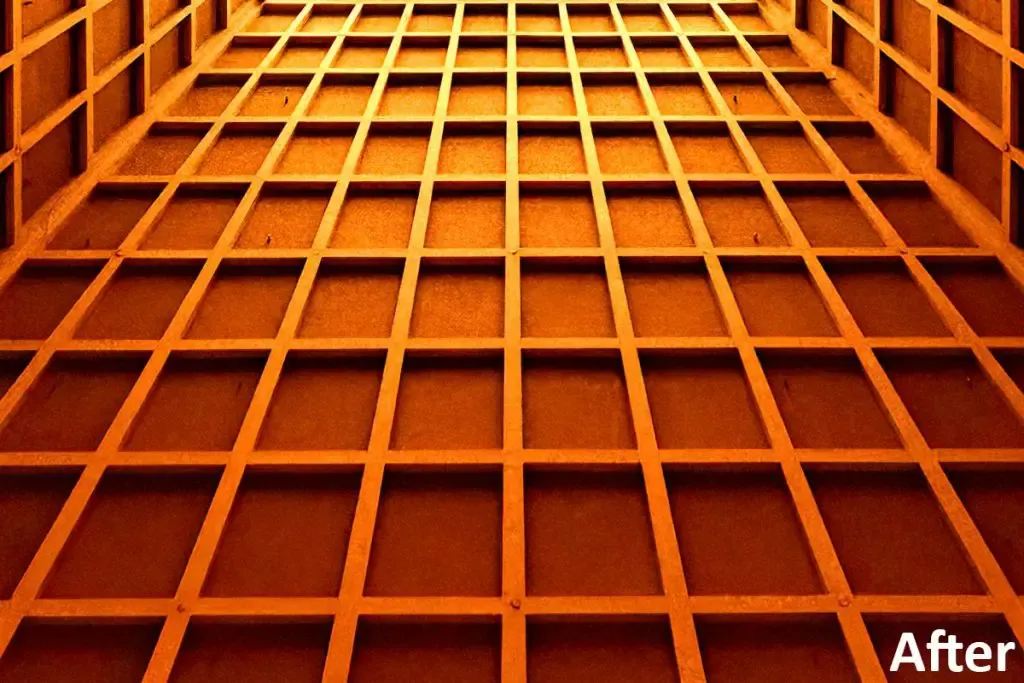
Be free and play with your photo, try to add different colors and change the mood of the photo. Sometimes an object can be outstanding, but something is missing. Usually, that are the colors, and since you didn’t have them while shooting, you can reproduce it. Check my shoot underneath. At first, it was to gray and dull, then I restyled it with some gold and the result looks nice. A sharp eye can see I restyled this photo also with some blur effect. Only the center is not blurred, which is so-called tilt-shift photography. This technique is great in architecture photography.
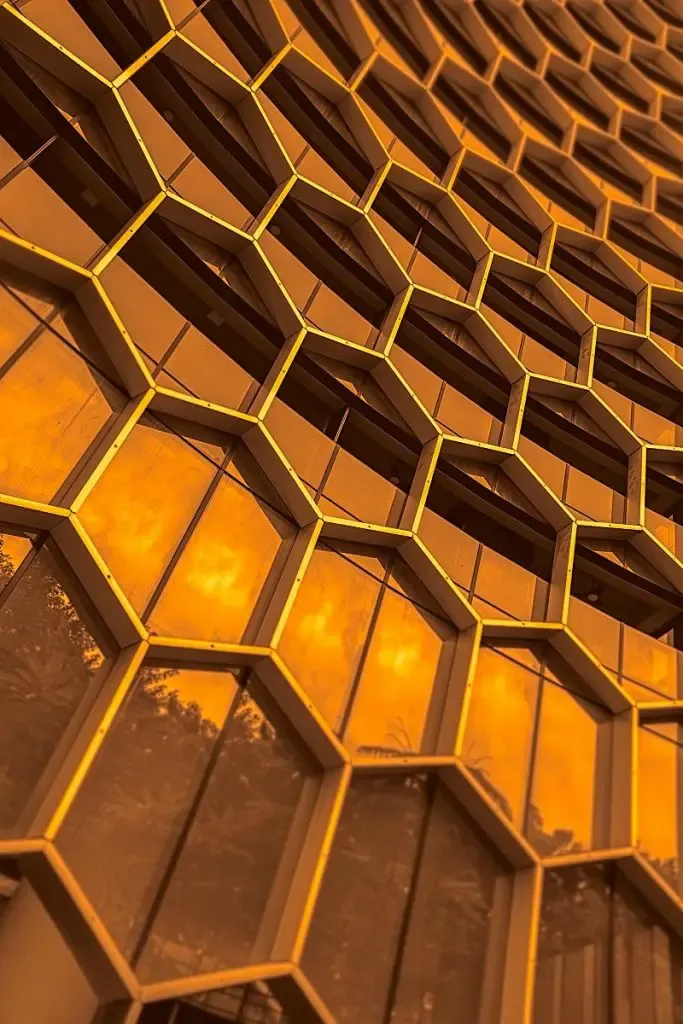
Golden hours are really golden while making photography. But hey, sometimes you can recolor by yourself as I did. Actually, here I wasn’t aiming for a golden hour look, but a more artistic way.
How Can One Learn All This Magic?
There are many tools for photo editing. Some are free, while others are quite expensive. You have also 30-days trials, so you can try it out before the purchase. If you would like to learn how to make all these adjustments, I recommend Youtube and Google for a start. If you have some extra bucks, you can check more serious training courses like Lynda, Udemy, PhLearn, etc. Most important is that you have fun while shooting and later while editing, no matters this is architecture photography or any other. Have fun! I hope you liked my Architecture Photography tips article about photo editing. Next time we might check about preparations before taking a photo.