Photography Basics: Learn Manual Mode - Thinking process
In the first 3 parts of this tutorial i did basics of exposure triangle and pros and cons of all 3 elements that determent exposure. If you missed it, and think you can learn something new check those out:
Photography Basics: Learn Manual Mode (tutorial, Part 1)
Photography Basics: Learn Manual Mode, Shutter speed (tutorial, Part 2)
Photography Basics: Learn Manual Mode, Aperture and ISO (tutorial, Part 3)
In this one i would like to share my thinking process for choosing Shutter speed, Aperture and ISO in diferent situations. A lot of the times when you can't affect the light, it will be some kind of compromise, you just need to think which element from exposure triangle is the most important to you in the situation you are in.
Best use case for manual mode is when light is constant, so power of the lights is not changing or direction of them is not changing. One of the examples of it is shooting sports indoor in a hall. Now there is great lit halls and not so great lit halls. First example i will share is not that great lit hall with my first entry level camera and a kit lens. Not a great situation, but good example of a compromise.
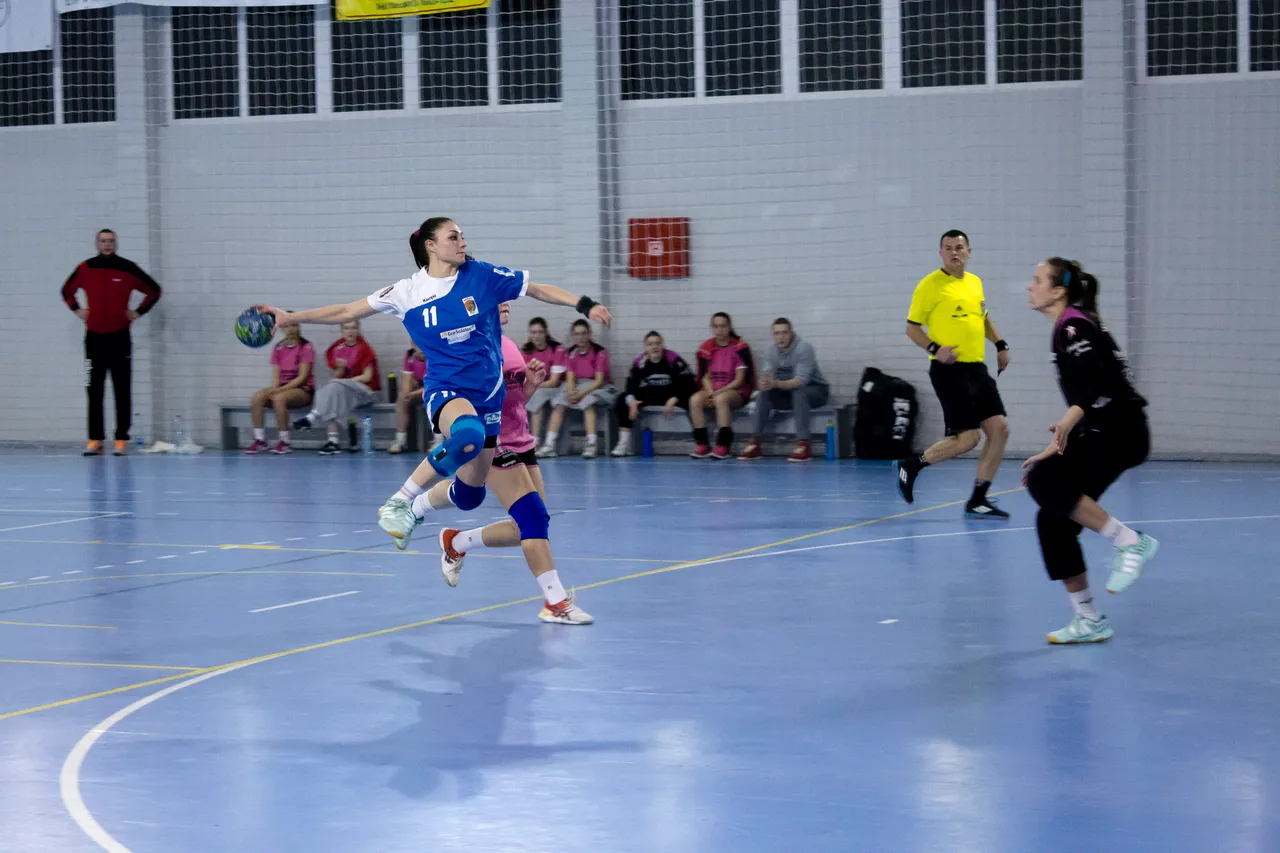
So photo was taken with Canon 600d and kit lens Canon 18-55mm. Settings for this one are: Shutter speed 1/200 of a second, Aperture F/5.6 and ISO 3200. How did i got to these settings?
Thinking process: Handball, a lot of movement, they move fast but not crazy fast. I don't want my photos to be all blurry because of them moving, so my priority in this situation is higher shutter speed. Ideal would probably be around 1/300 maybe even 1/400. Do i care about Aperture in this situation? Not really, especially on this lens where lowest setting is F/5.6, so a lot will be in focus. So i set F/5.6 as i want as much light possible. On this camera i know i am willing to go to ISO 3200 and not be that bothered by noise i get, over ISO 3200 the noise is just to much for me. I know i need a lot of light in this situation, so ISO 3200 it is.
I take a test shot with Shutter speed 1/400 (that i think will be good for this kind of movement), F/5.6 and ISO 3200. The shot is too dark. I can't get more light by a smaller number F-stop, as 5.6 is maximum of the lens. I could go to ISO 6400 but the noise would be to much for me, so i left it at 3200. The only way i can get more light is by slower shooter speed. So there is the compromise. I am willing to get some motion blur for more light. So i test Shutter speed of 1/200. As you can see in the photo her head and chest are in focus and there is no motion blur as it is not moving that fast, but her hands and legs have some motion blur because of faster movement. And i was happy with that, as there was an option of not getting the shots, or have a bit of a compromise. In the end i kinda like that bit of a blur, it gives the photo a feel of movement.
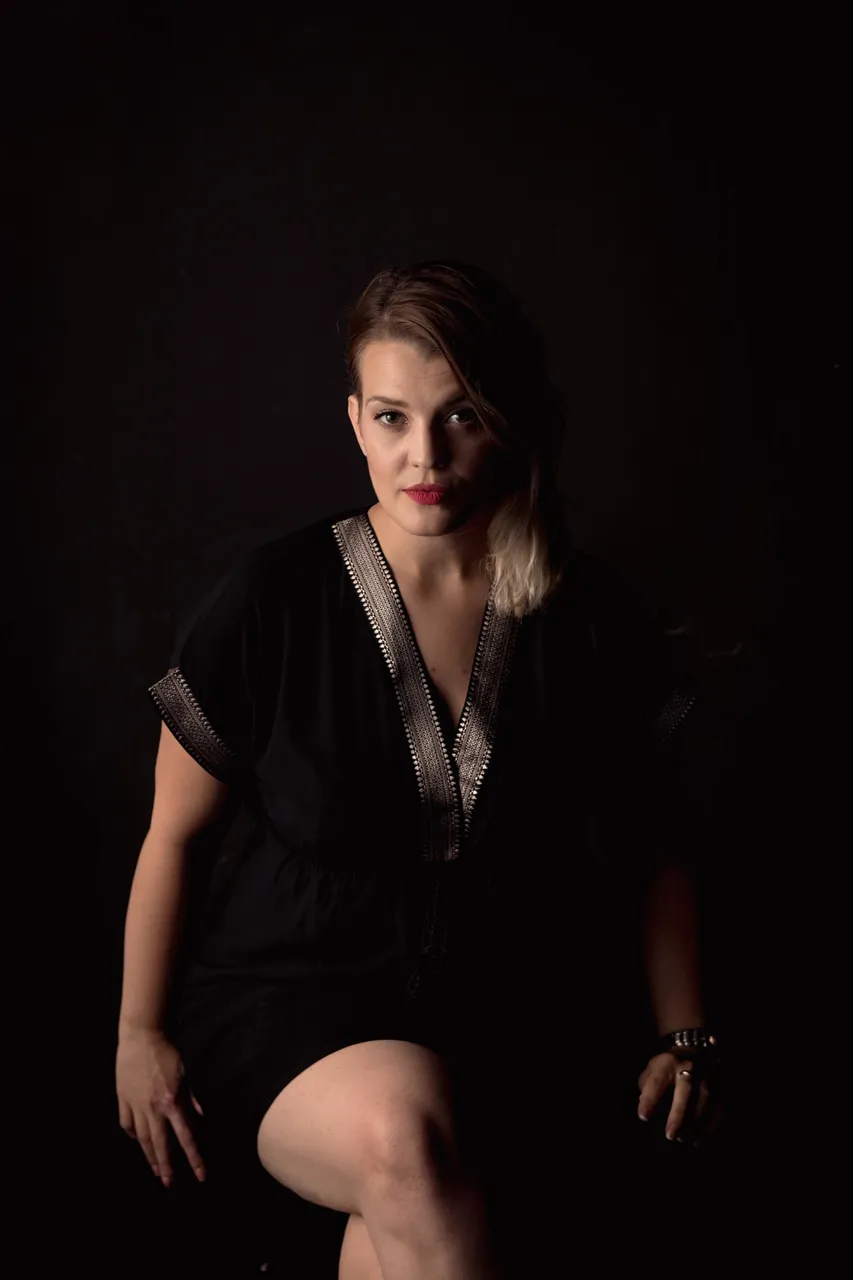
Another good use of manual mode is studio photography with an manual flash. You set up your flash so the power of your light will always be the same. You want your ISO as low as possible so ISO 100 in this case. When using flash you are not that concerned about motion blur, so i usually go with Shutter speed 1/160 or 1/200 (as 1/200 is the max sync speed, that is another topic to talk about). Now i use Aperture setting to get the exposure i want. In this case it was F/3.5. Now that i have my settings dialed in and i am happy with the exposure i got, every photo i take will have the same exposure and i don't have to think about that any more, i can now think only about posing and frame i want to capture. If i want to go a bit darker or a bit brighter, i just move my Aperture up or down and continue shooting.
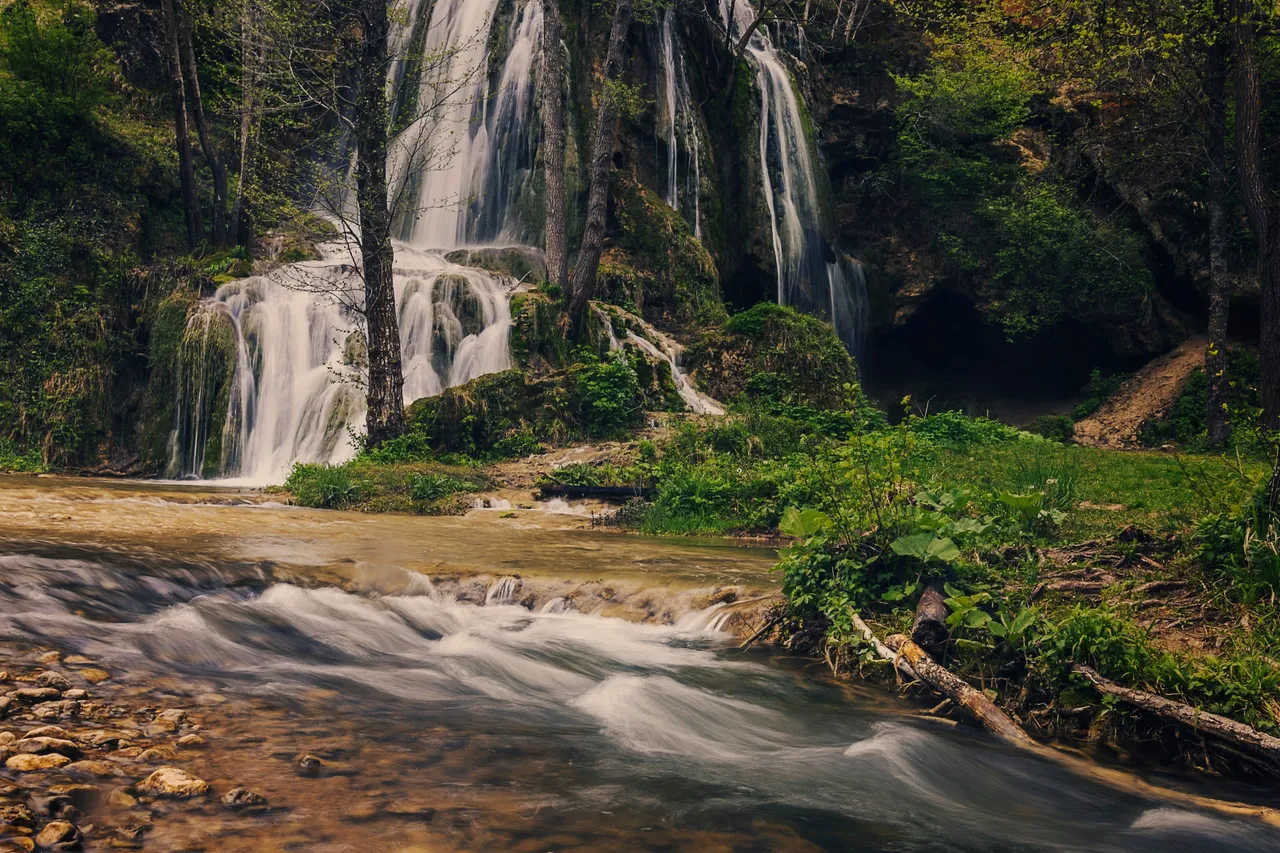
You are at a waterfall and you want to get some smooth water in the shot. To get that effect you will need slower shutter speed. I used a tripod for this as 1/3 of a second would be hard for me to do hand held and not get motion blur from my hands shaking. Now i know there is a lot of light, so i go lowest on ISO (ISO 100) and Aperture of F/16 the lowest one of that lens. So i set 2 of my settings as dark as i can, because i know that my most important setting in this situation (shutter speed) will get me a lot of light. Now if i was happy with smoothness of the water but the photo was to dark (i am happy with my shutter speed) i would change ISO or Aperture to get more light. In this situation i would probably change Aperture because max Aperture on a lens creates some problems and it affects sharpness of the photo (it is design of the lenses and how all those things work, all the lenses have a sweet spot aperture where they perform best, but in most cases you will not be on that setting :) )
I could probably add a lot more examples but every situation is specific. The main idea is to think what element of exposure triangle is the most important to you in the situation you are in, you start with setting that, and then knowing what other settings will do to your shot, you find combination that will make the best photo. After a while you will get to those settings in 3 shots max, without even watching on light meter in your camera.