
Welcome to the month of September, may it be a month full of blessings for all of us and may the covid19 outbreak pass quickly and also hopefully the people's economy will improve again.
I'm @deltasteem from Indonesia and my daily life as a furniture maker at one of the cv.furniture in aceh.
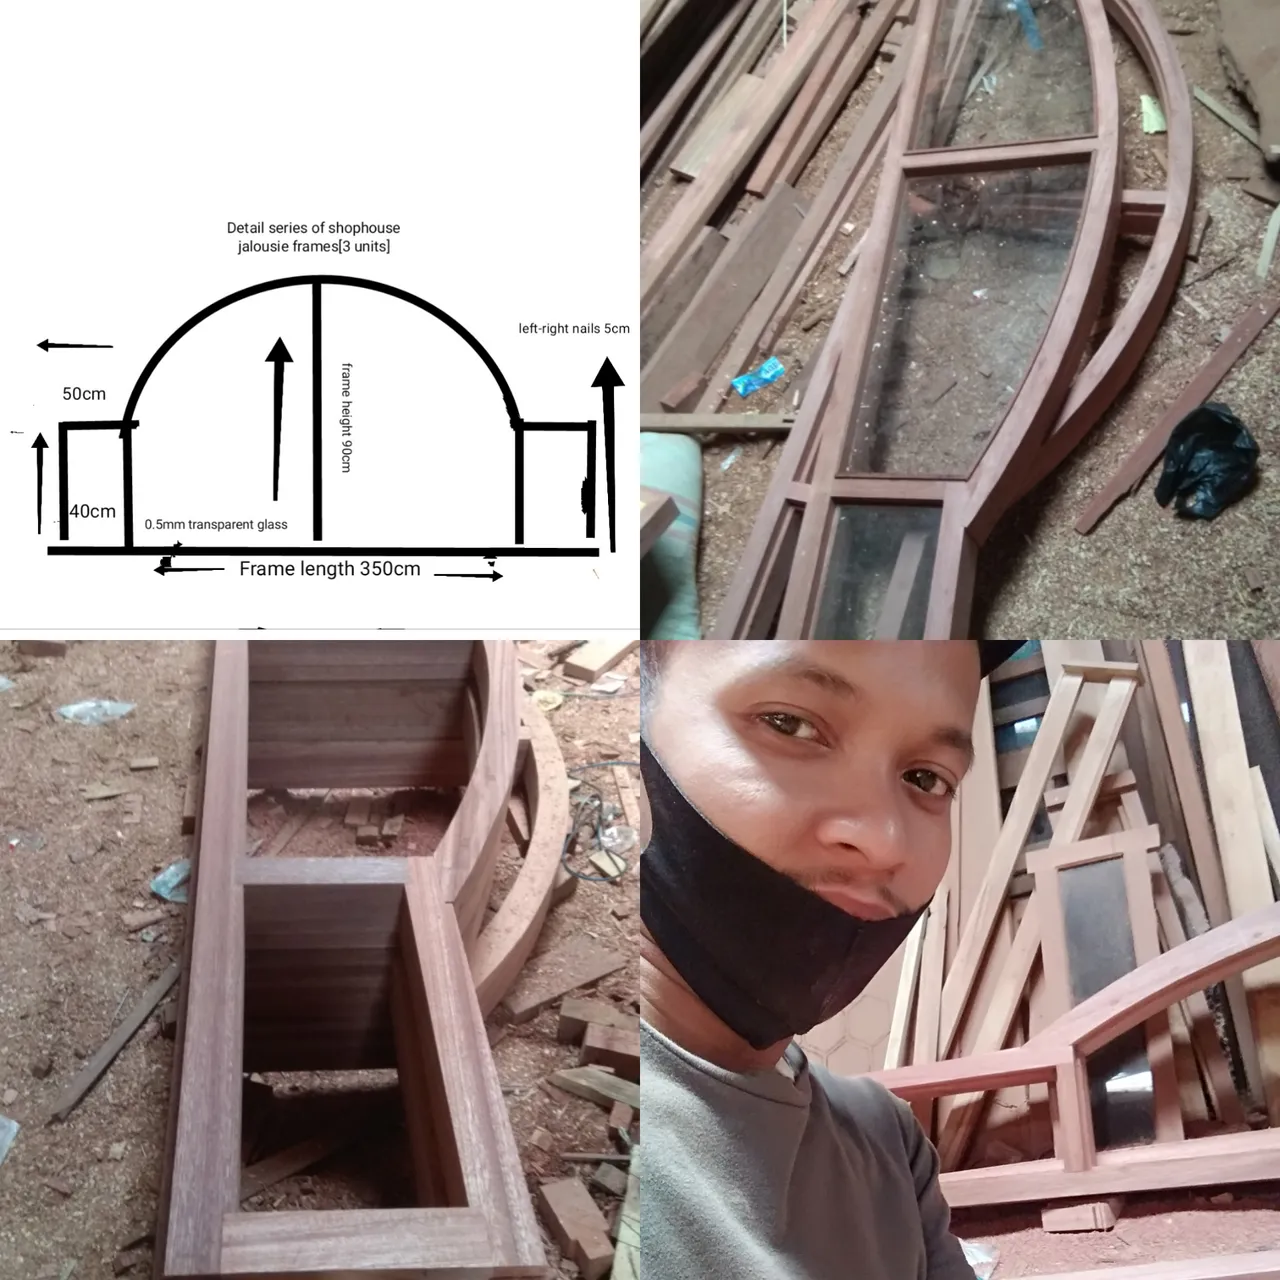
In the current covid19 outbreak season, my CV is very quiet and I'm very grateful, last week I just received an order for 3 shophouse decoration frames and this week I just finished three architectural projects for these frames.
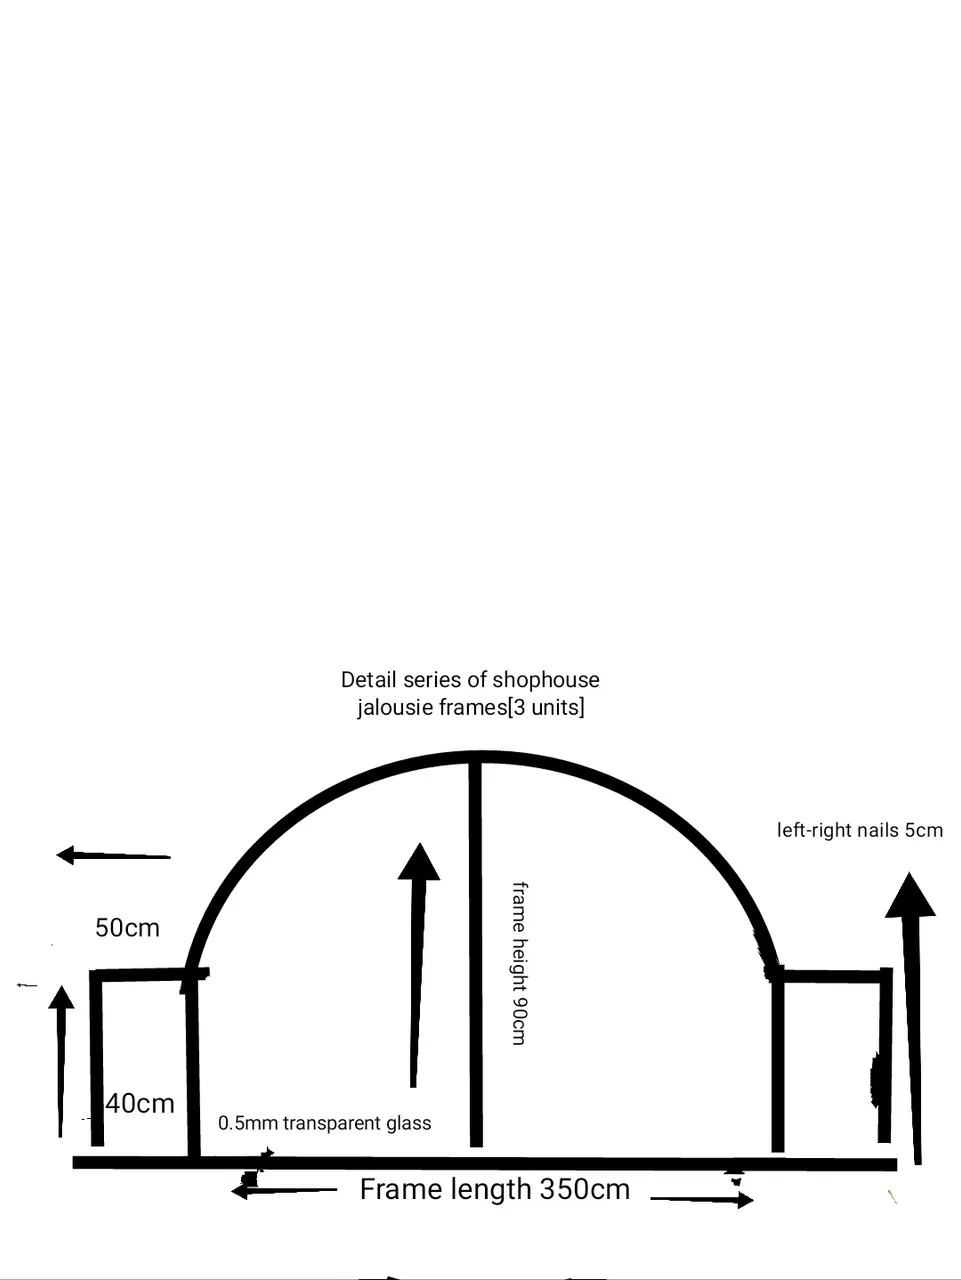
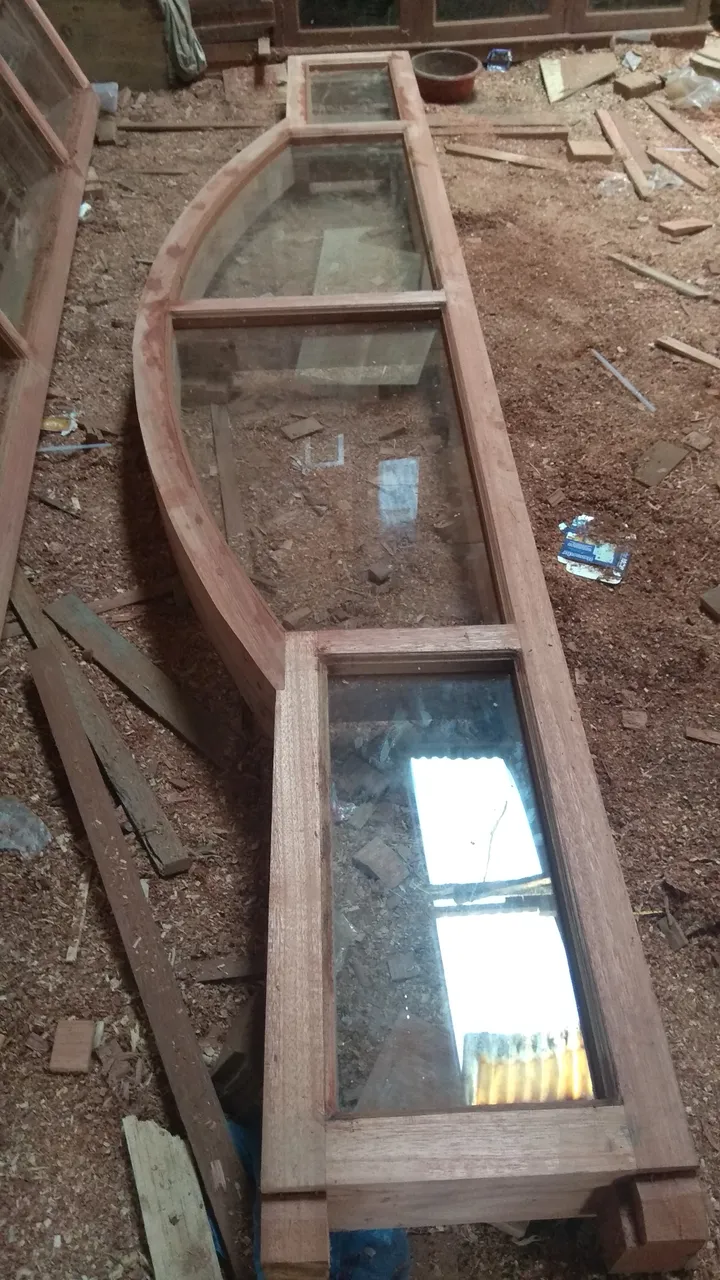
To complete the jalusi frame furniture project and the shop door, my customer has to prepare Rp12,500,000 or about $90 and you will get 3 pairs of complete jalusi frame with a size of 350cm x90cm x 40cm and this is the market price in the season covid19 and the frame- The frame is made of meranti wood, which is a good type of wood group III for the frame material which we often use for the construction of houses.
Here I will explain to you how to make this frame project as simple as possible and maybe this can be useful for all of you who sometimes feel curious or want to try when you build a shop or house .In working on furniture projects, it is necessary to use mathematics ( , - , x ) so that the results are exactly as stated in details the picture.
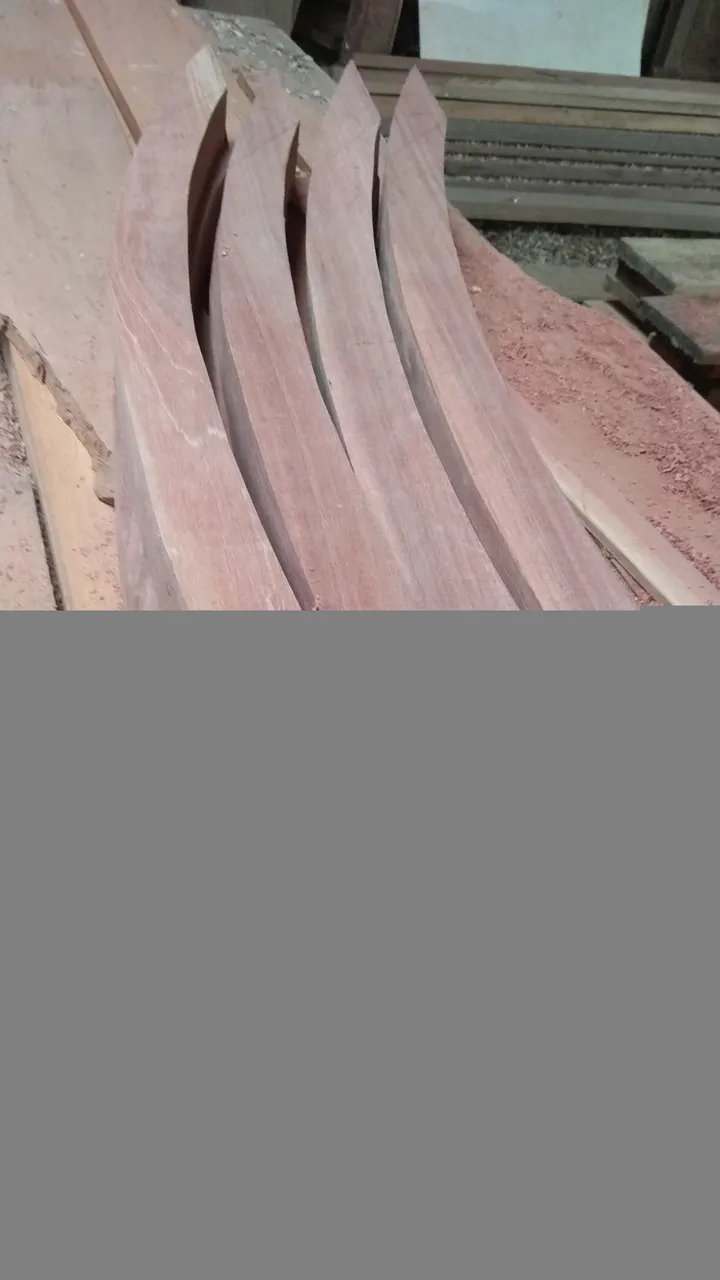
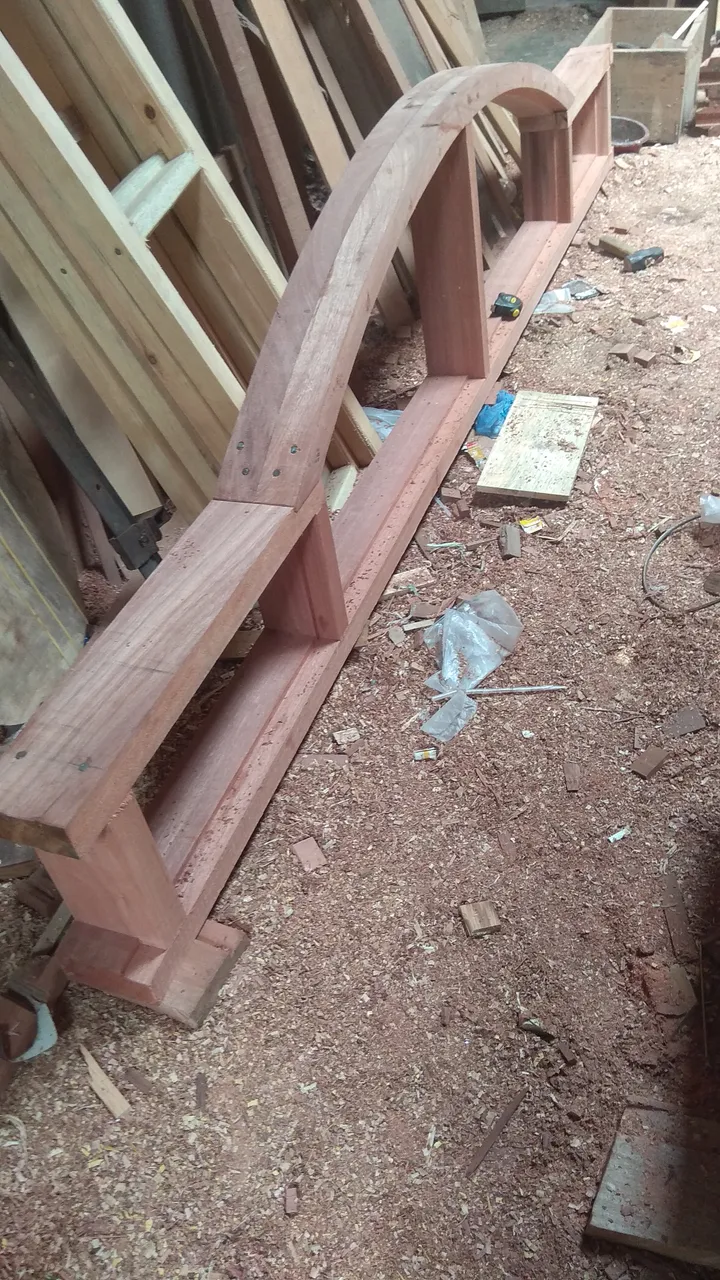
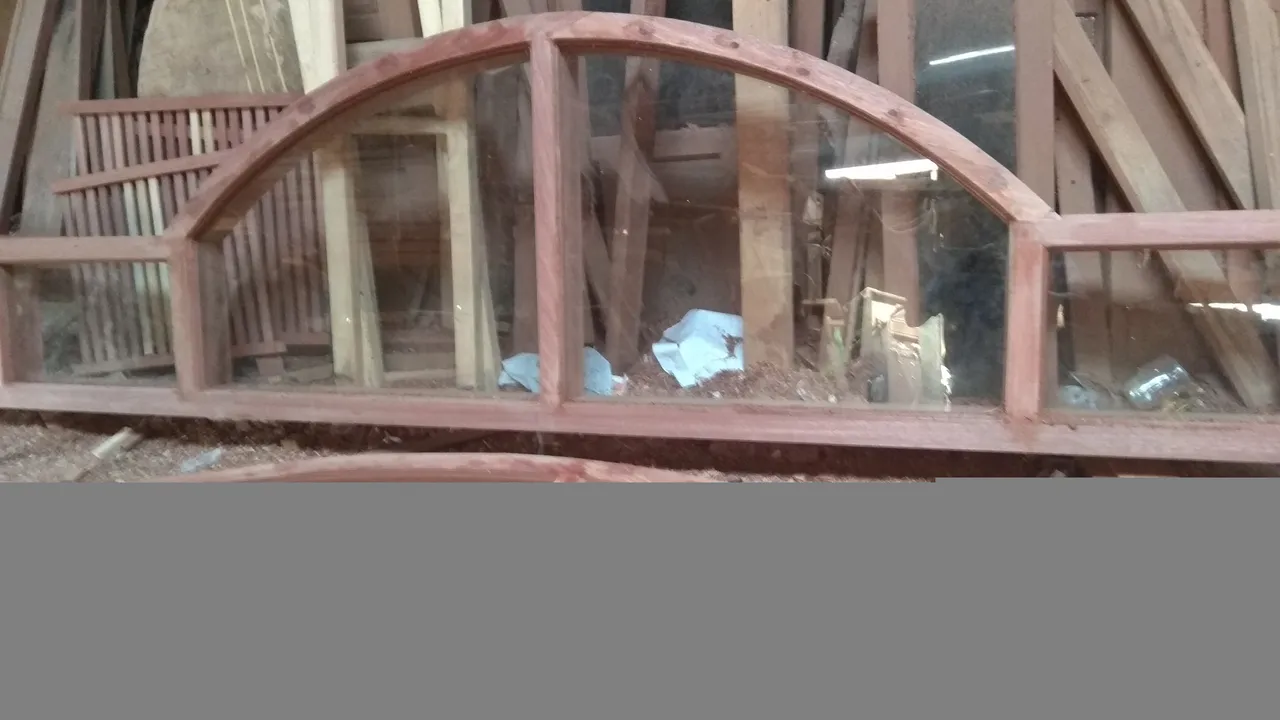
The wooden block that I used after the pruning process was 5.5cm in size and to make this arch (frame hat) I also used the wooden block which I had to cut by following the mold line and cut the wood using a shawl machine, then I glued the two parts together using a glue and nails.
To complete the jalusi frame project, first I made a mall made of 0.5mm multiplex, then I carved the shape of the frame using a pencil that was completed with detailed image sizes and after I finished drawing it then I cut it using a manual saw.
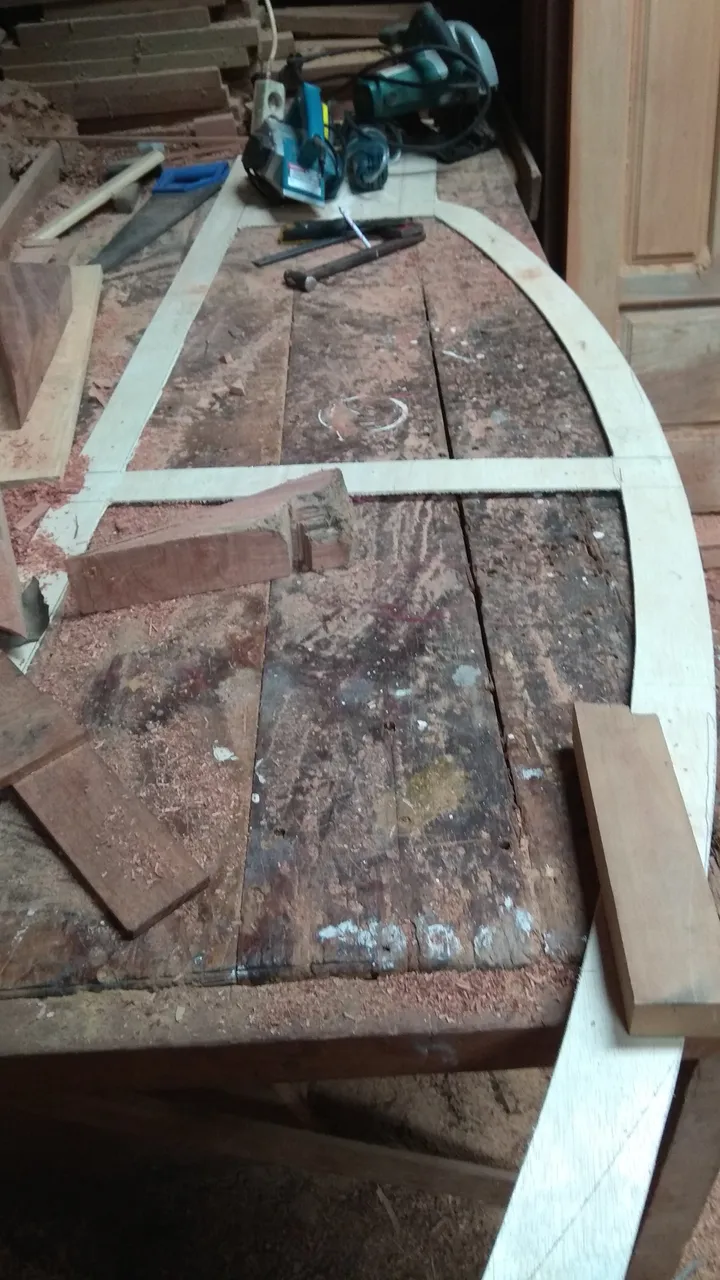
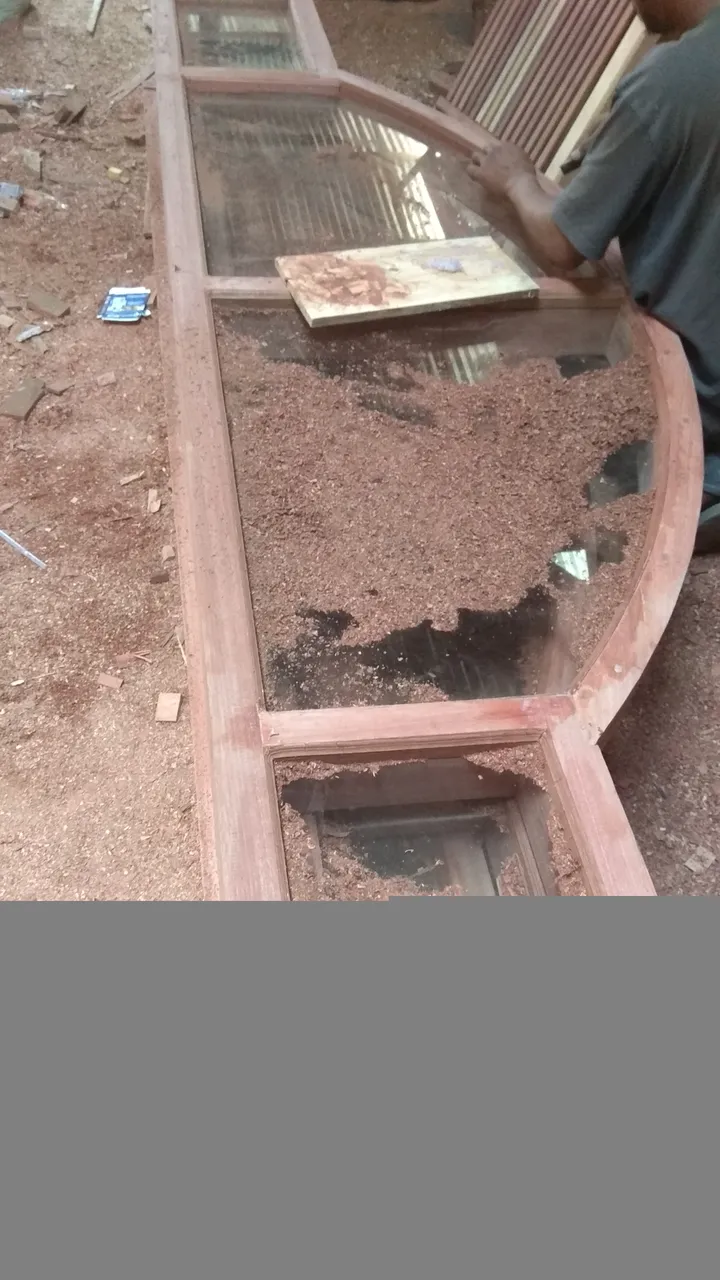
I printed the mall with a length of 175cm x 90cm x 40cm x50cm, then after I finished all the parts of the mall I finished working on, I continued by preparing the circuit blocks and some of the materials I lined following the shape of the mall's hollow, then I cut it using a shawl machine and the result was like this
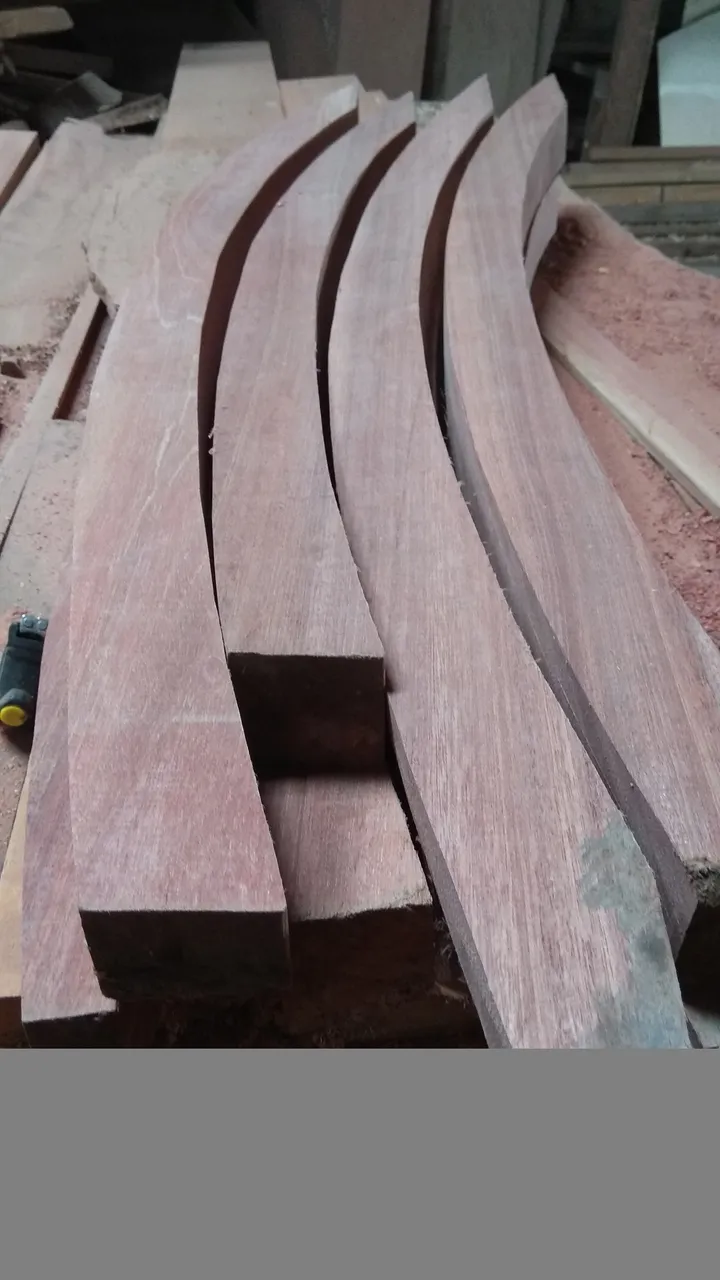
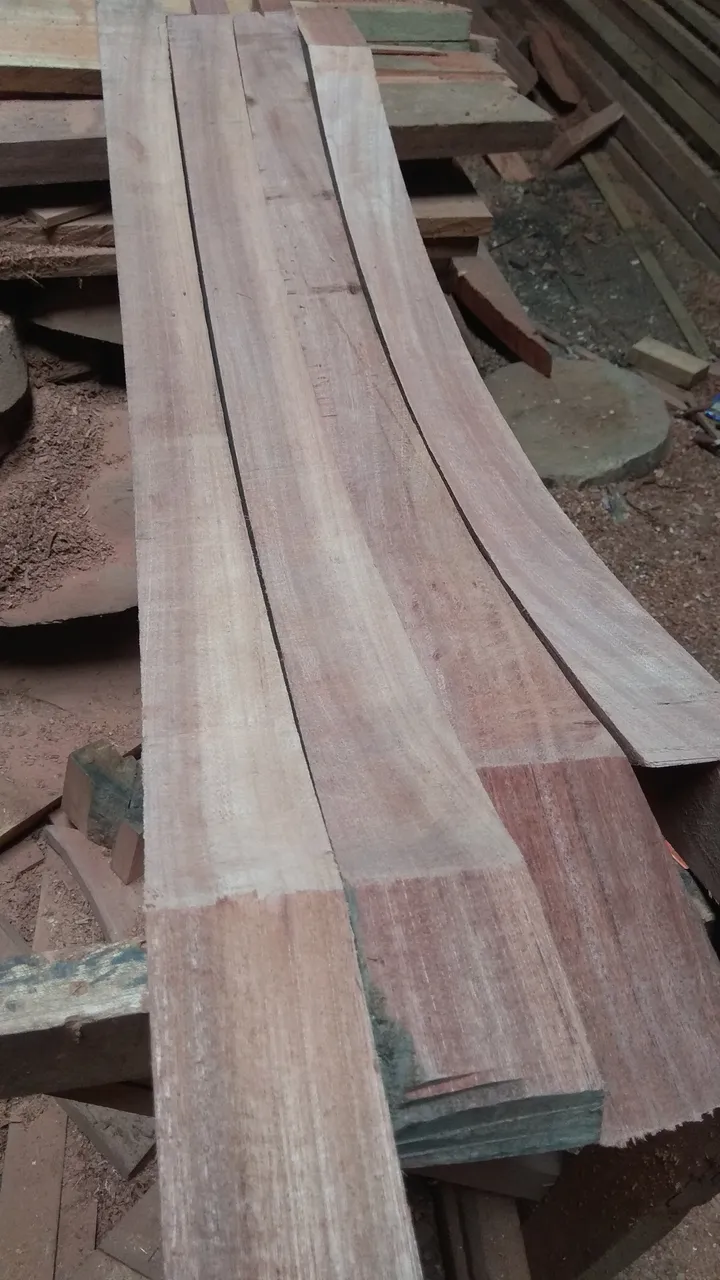
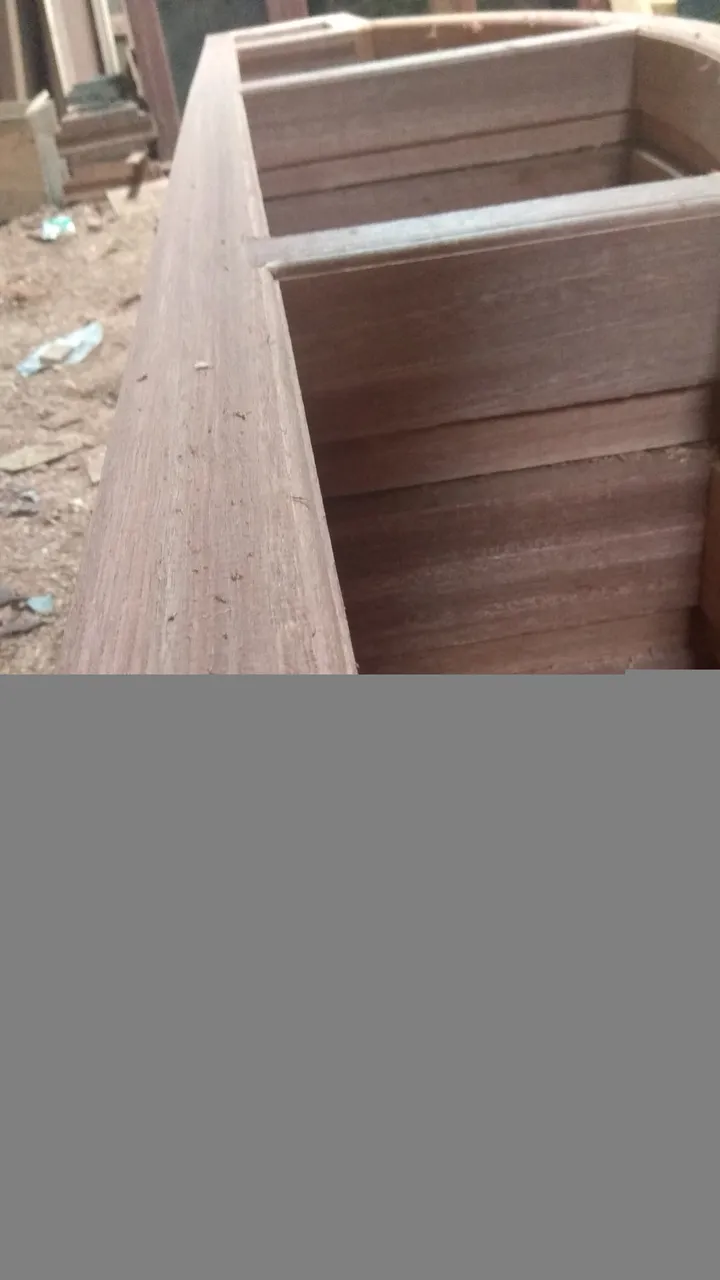
One of the blocks is 5.5cm thick and 6.5cm wide so that the size is the same as the size of the bricks of the two blocks-I put them together by following the mall mold using wood glue and nails, the size is 13cm wide, after the joining process is complete the result is like this.
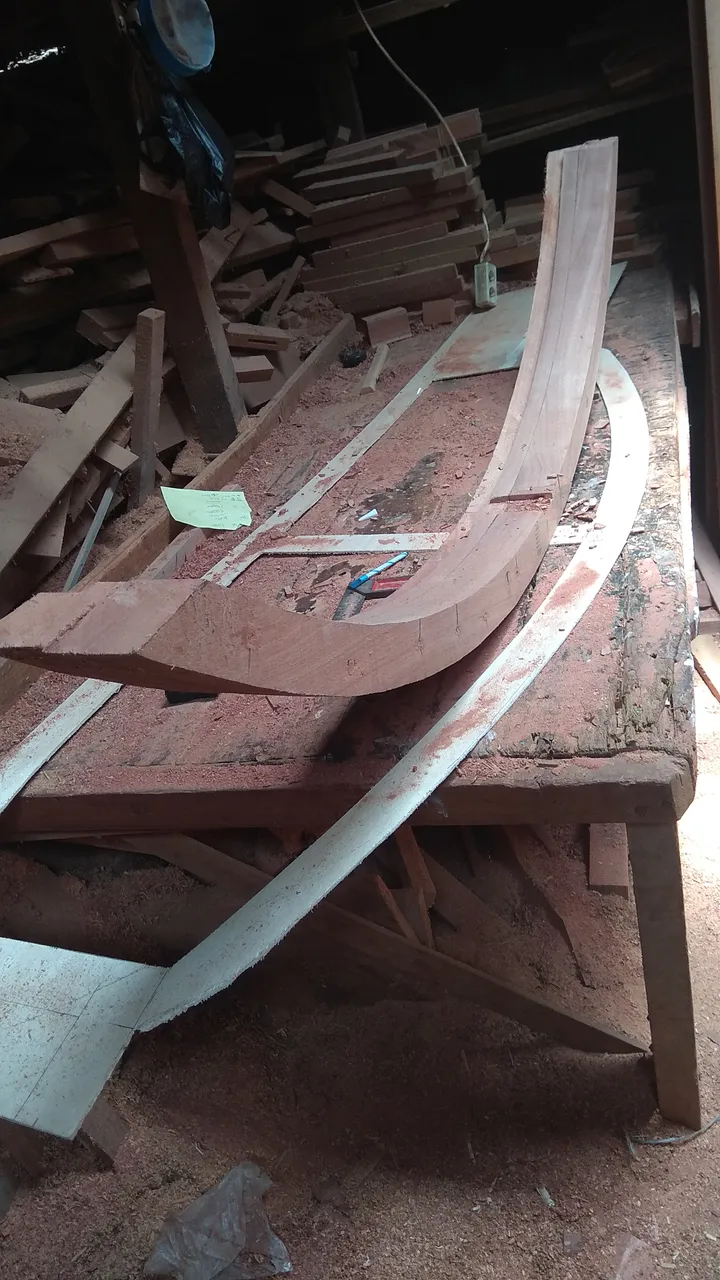
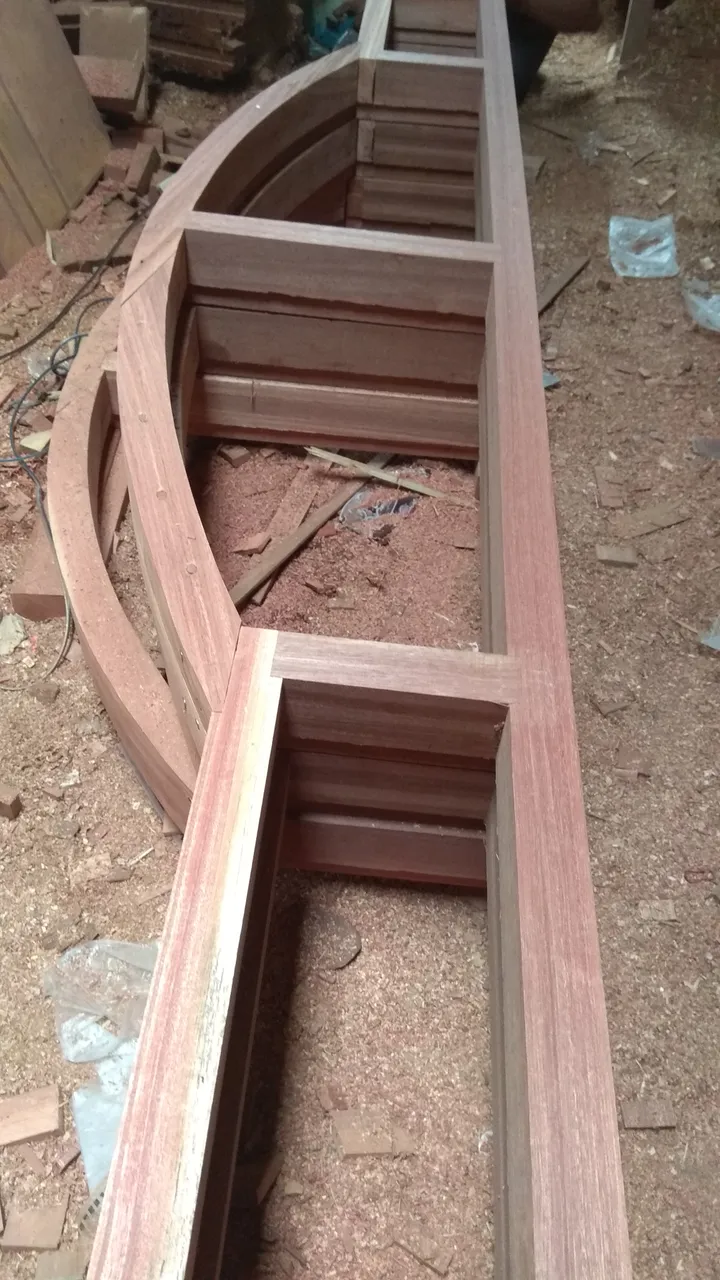
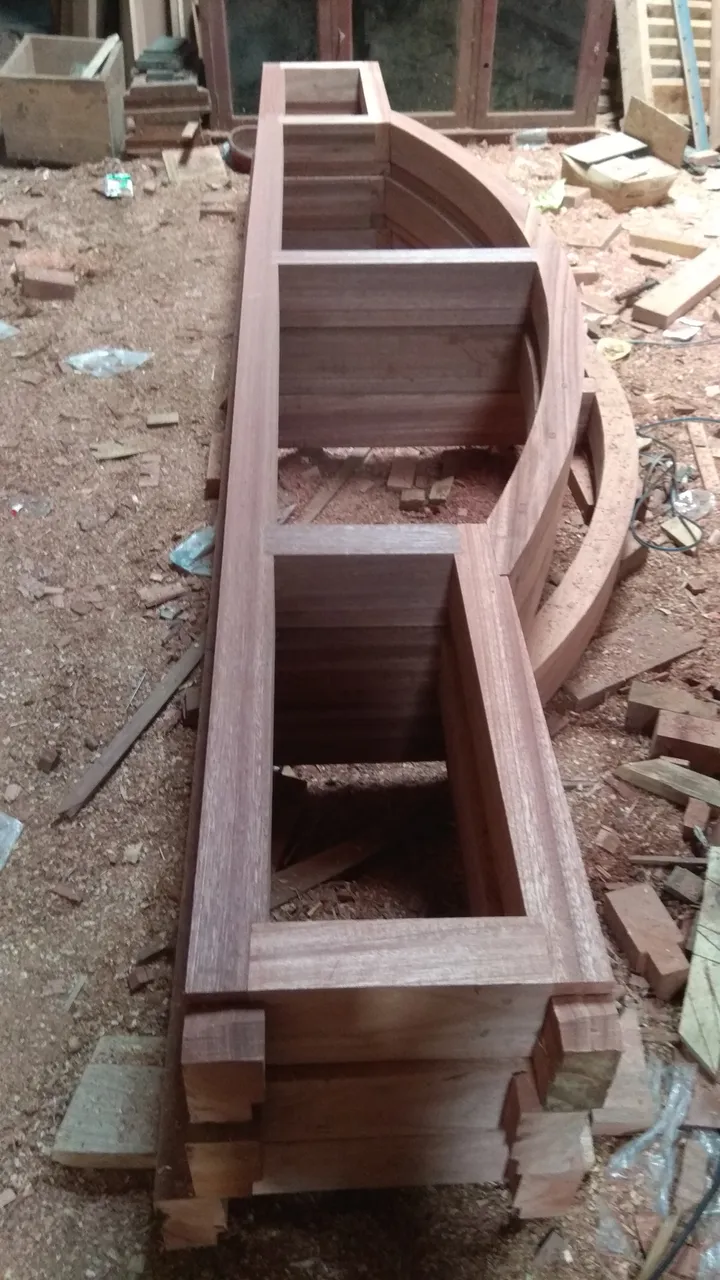
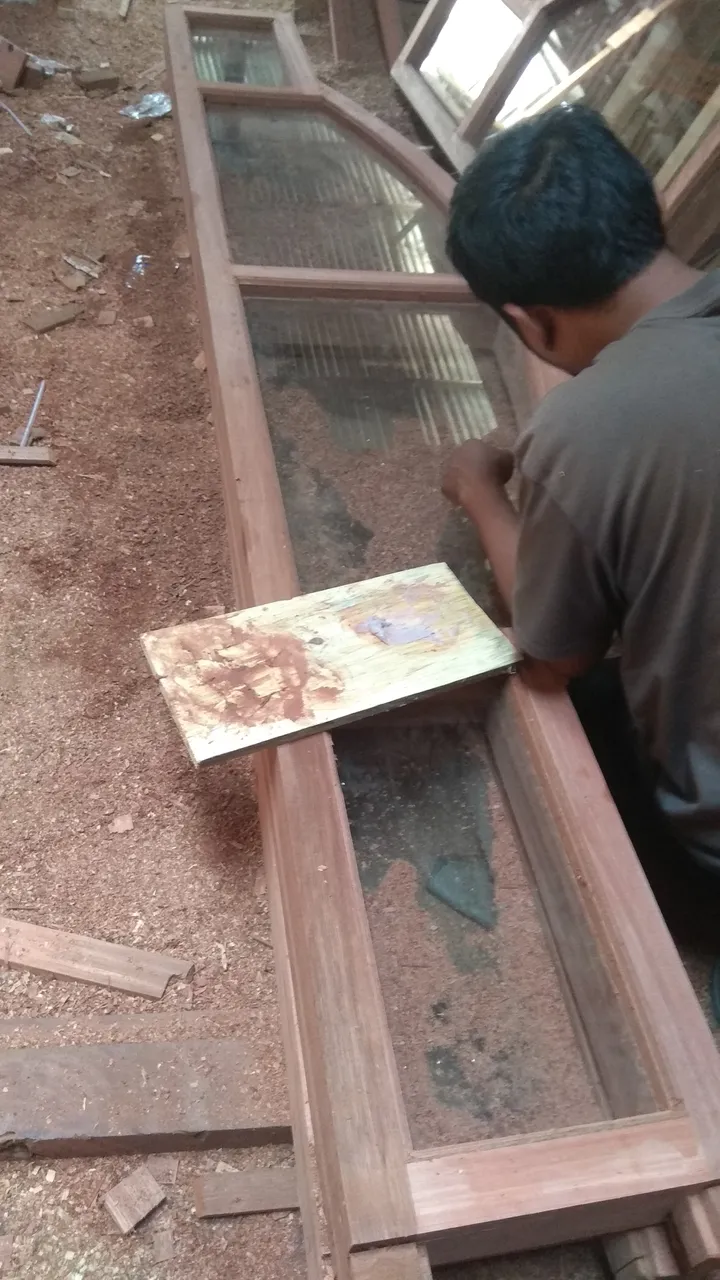
After the process of making the frame cap which I have completed with the corner of the glass holder and the center support pole, then I continue with the process of making the lower frame of the frame which I have completed with a series of pole mounts and glass mounts, the result is like this.


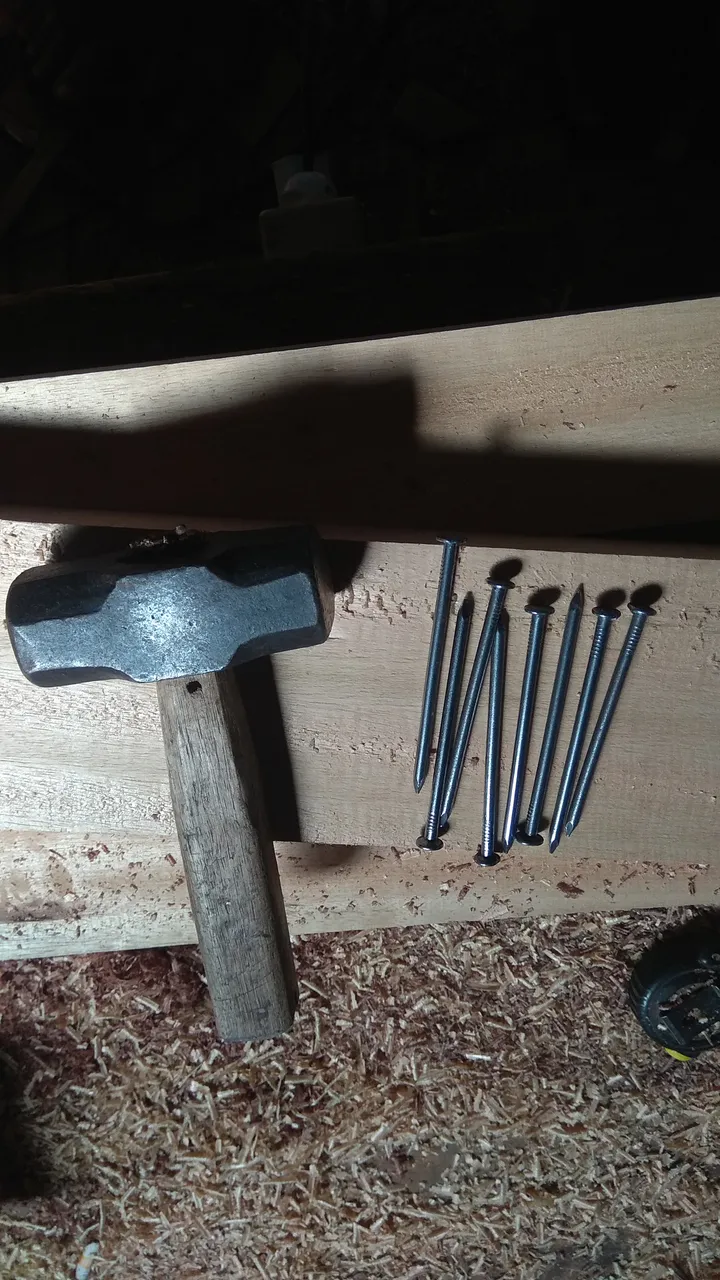
After all the basic sets of materials are complete, I continue by uniting all the parts of the circuit and to attach the whole series I use 4 inch nails and here you have to get a corner so that the frame does not shrivel, after the whole series is complete the result is like this.

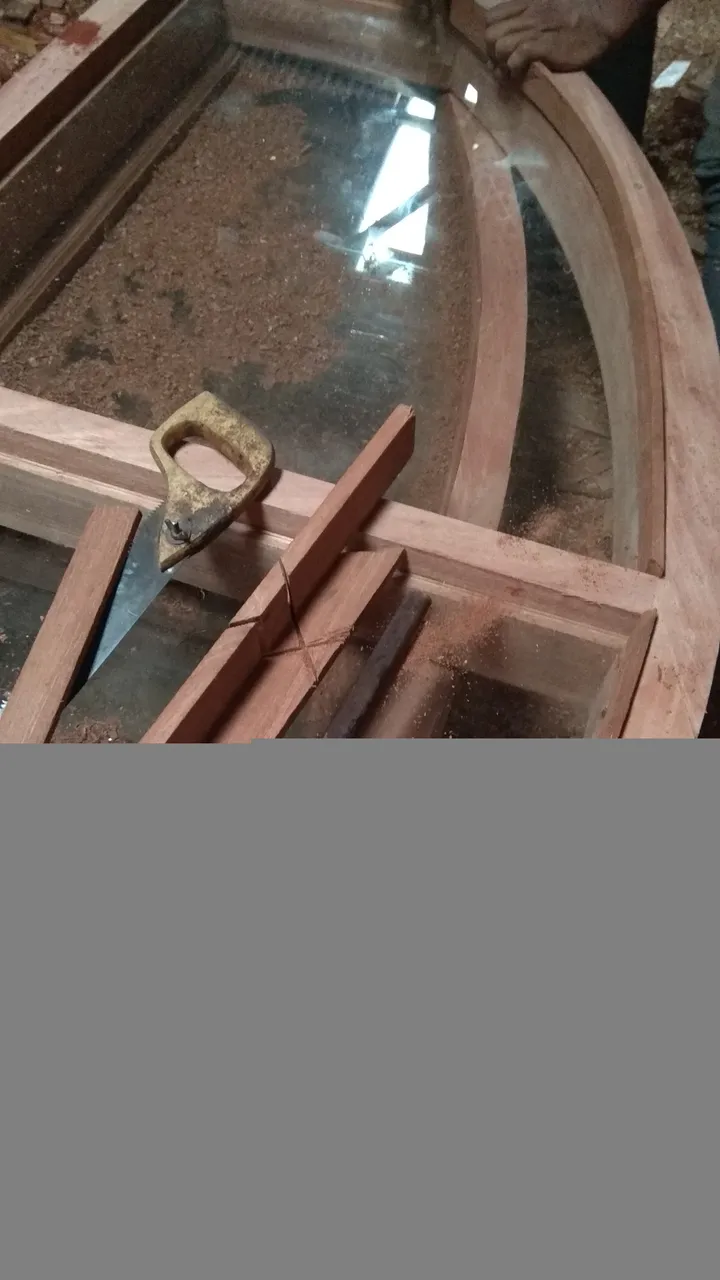
In the process of the circuit I spent several hours and waited for the glue to stick really firmly after everything was finished, then I continued with the installation of 0.5mm transparent glass on the inside of the frame and I placed the glass on the holder that my made around the inside frame and to glue the glass, I used trim. (made of wood) with the help of adhesive glue and nails ..
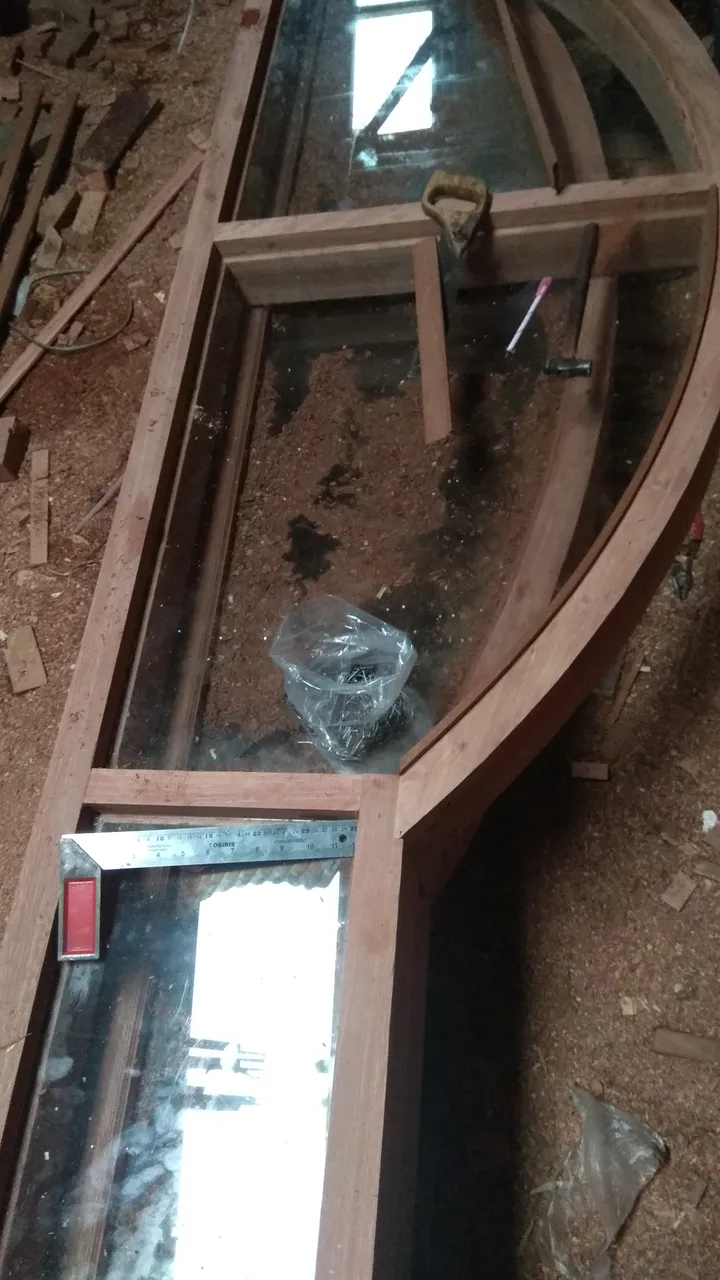


Then after all the parts were finished, then I continued by giving flowers to each inner corner (front and back) of the frame using a router machine so that the wood surface looks more beautiful, not sharp and the frame looks so neat.

Then, after I finished working on all the parts, then I continued the finishing stage, which was to put dumpuls on the wood joints so that the gaps in the connection wood were not visible and the frame would look neater.
And the process of making a shophouse jalousie frame for $90 with a size of 350cm x90x40cmx50cm which is made from meranti wood with a transparent glass middle circuit is complete even though the result looks very simple but in the process of working on this project it is clearly a little complicated and to complete the 3 units of the frames I worked with a friend me and i spent a week.
Those are some of the ways that I work on every wooden architectural design project and these are my daily activities, hopefully the way to make frames that I share today can be useful for all of you and if there is something wrong in writing, please understand.