Architecture + Design: Concrete pouring of foundation columns and installation of monolithic belt formwork.
Greetings friends!
Today I want to show photographs and tell the next two stages of building my house, which took a period of six working days, this is the pouring of the foundation columns with concrete and the installation of the formwork of the monolithic belt.
I decided not to separate them, many works took place at the same time, or with a running start in a couple of days.
If you follow my posts, you know that my previous post in the Architecture + Design community was about installing the corner column formwork of the foundation of my house.
It's time to fill them with concrete.
I ordered ready-made concrete from the factory and delivered it using a mixer equipped with a concrete pump, which made it possible to deliver concrete to different points of the construction site, from one parking space, so to speak.
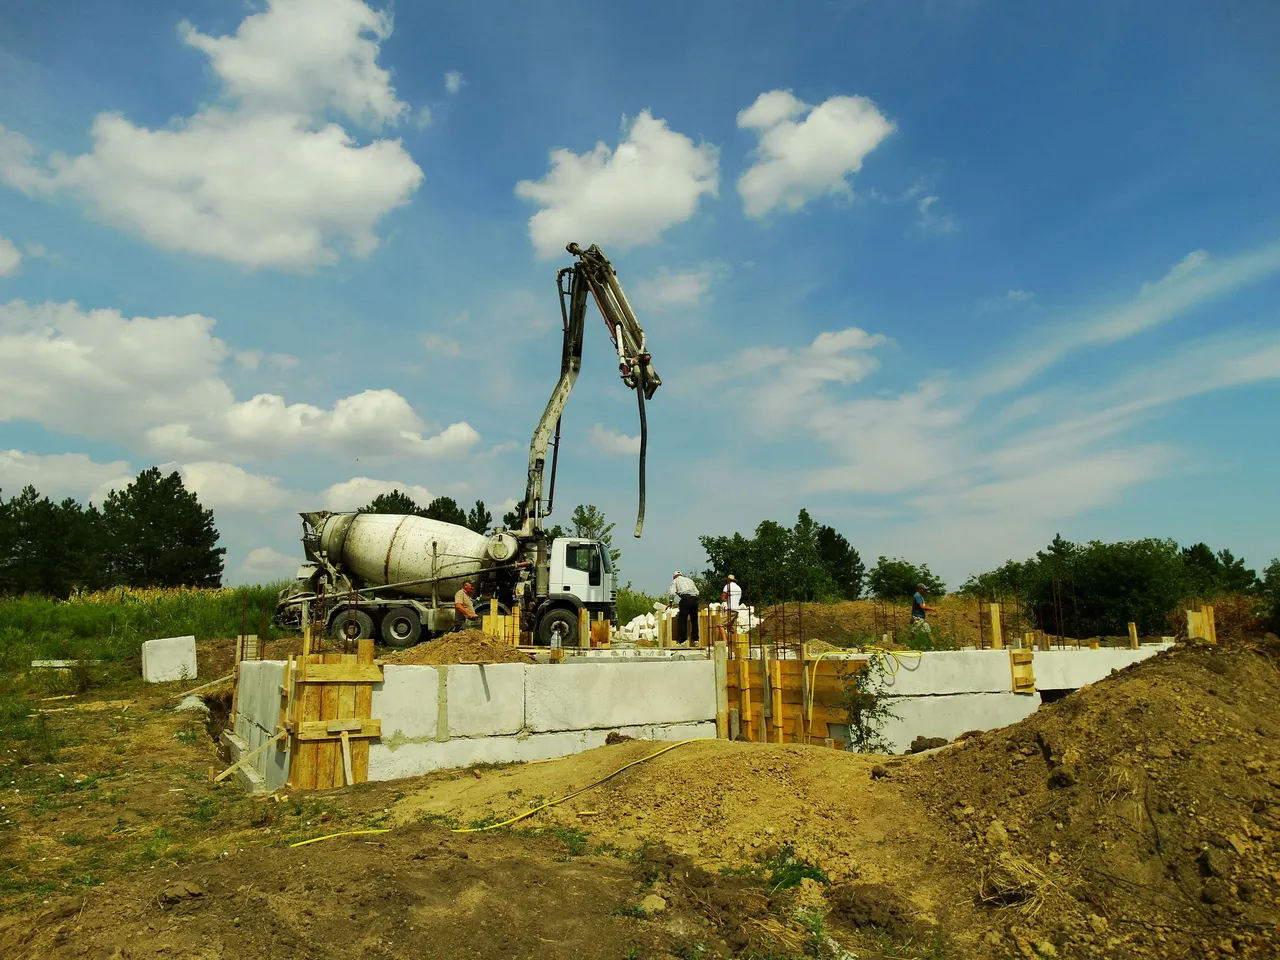
While the concrete was being prepared for us, we were engaged in the manufacture of a reinforced belt from steel reinforcement.
There was a time for the delivery of sand, crushed stone and cement, some moments required manual preparation of concrete.
At the plant, I was offered two options for concrete filler, crushed river pebbles, or rubble rubble. I chose the second one. River pebbles, even crushed ones, will have smooth edges that do not promote hard adhesion with cement-sand mortar, I crushed stone, it is torn into pieces, without roundness, an ideal filler.
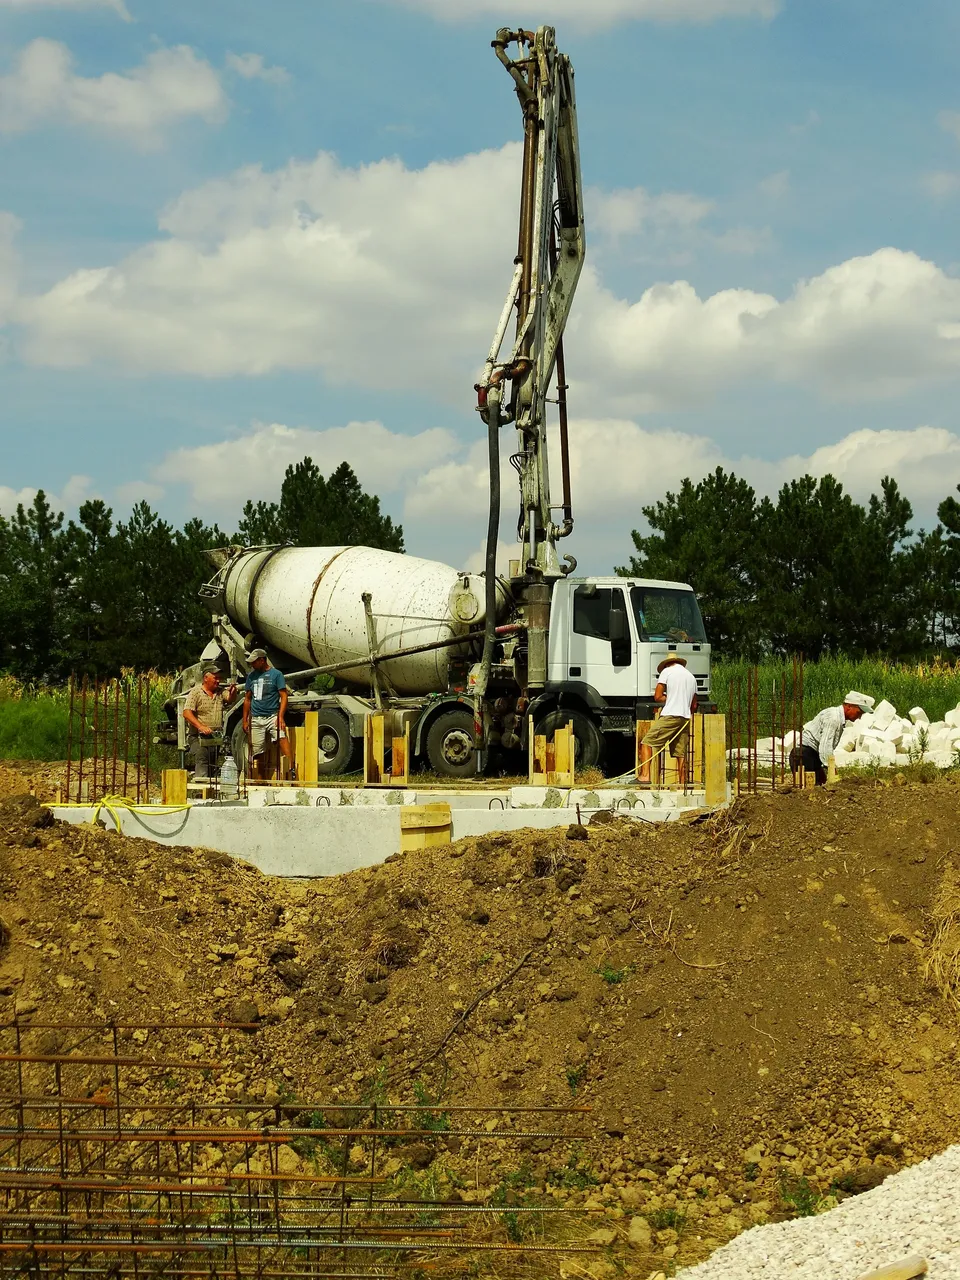
To work, I needed the help of three people. One of them guided the pump hose into the column formwork, the second carried the concrete vibrator housing, and the third guided the vibrator auger and vibrated the concrete.
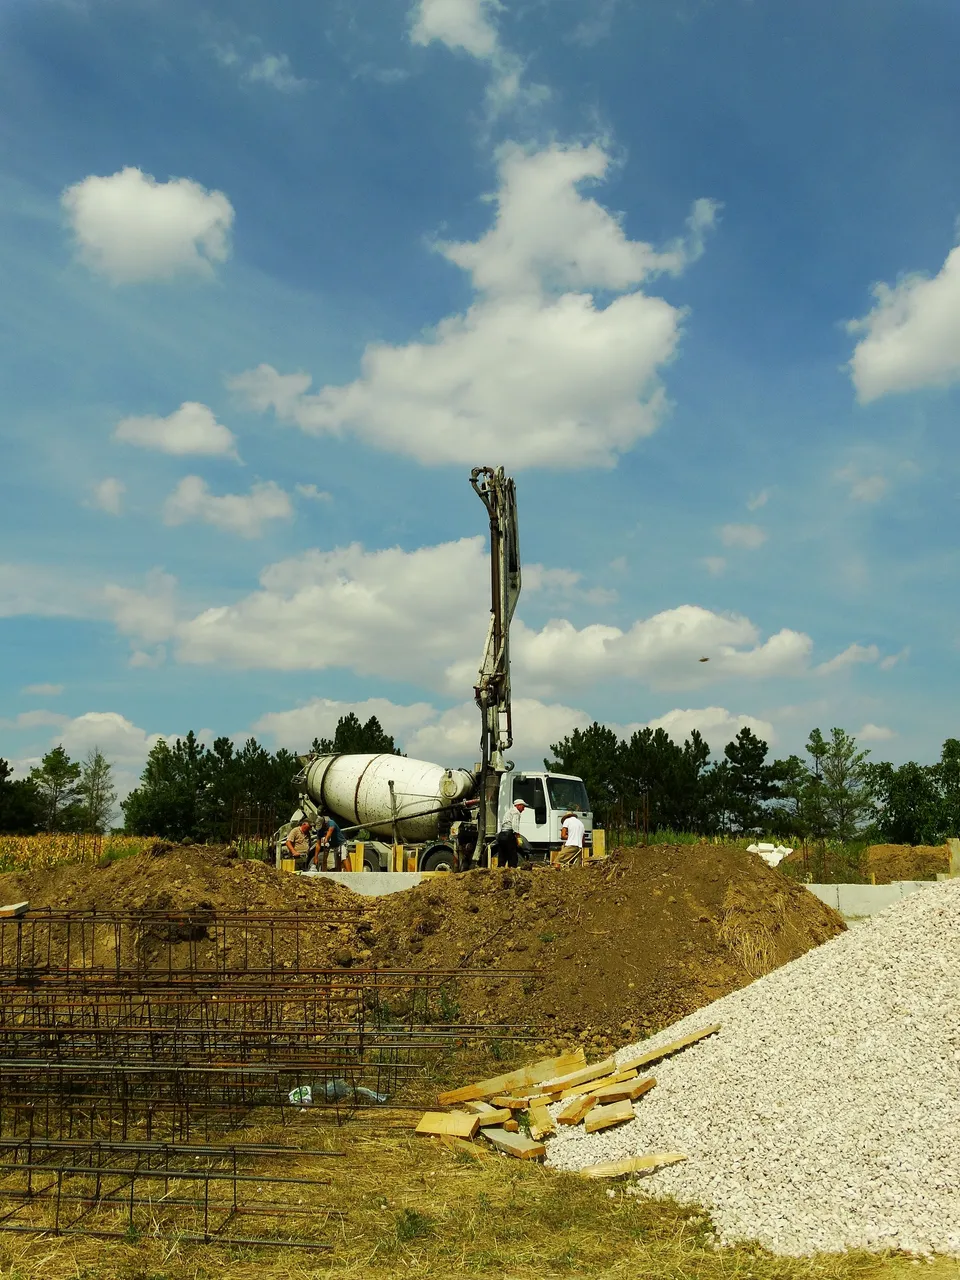
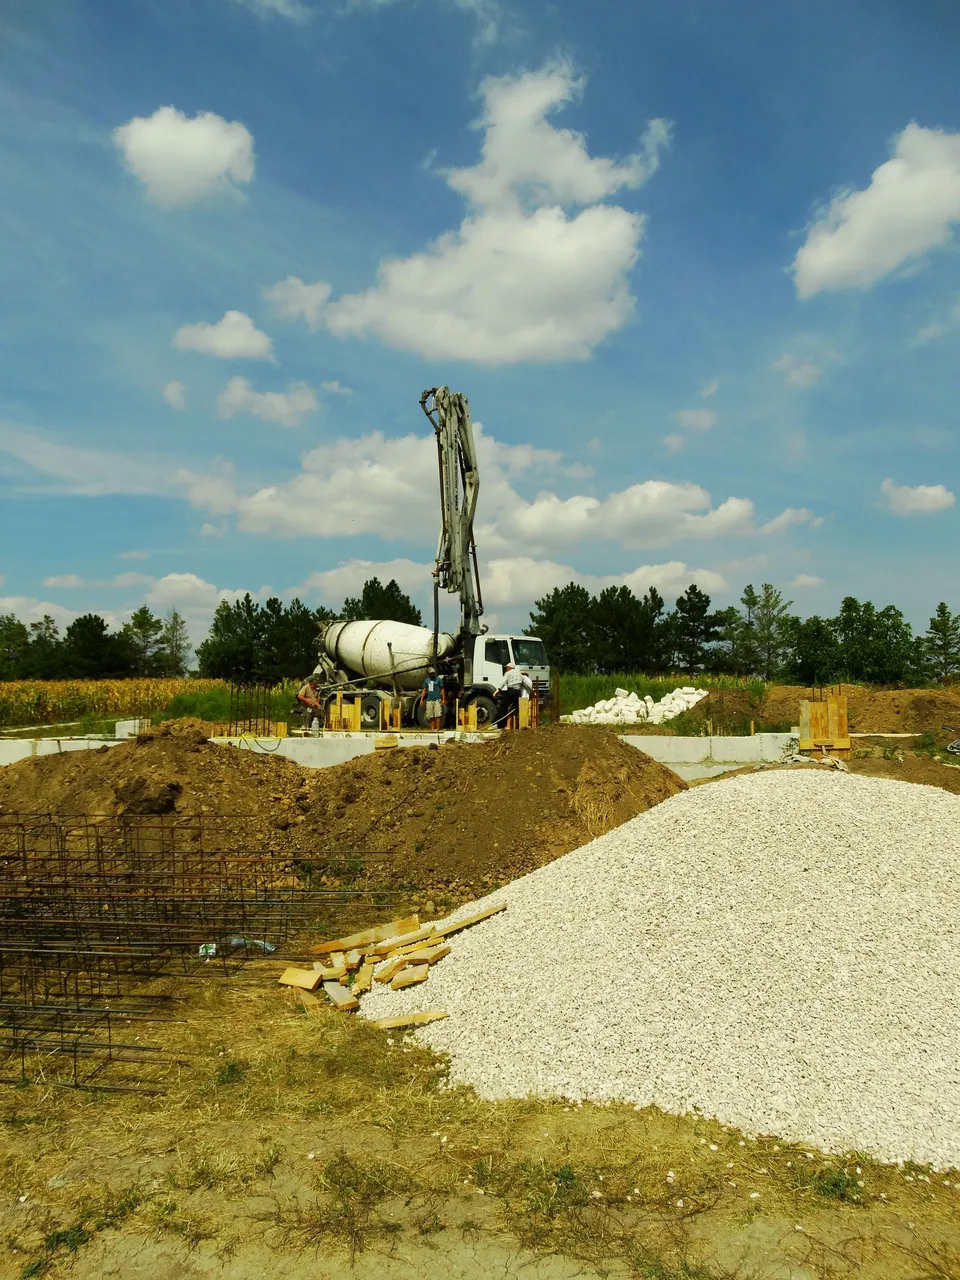
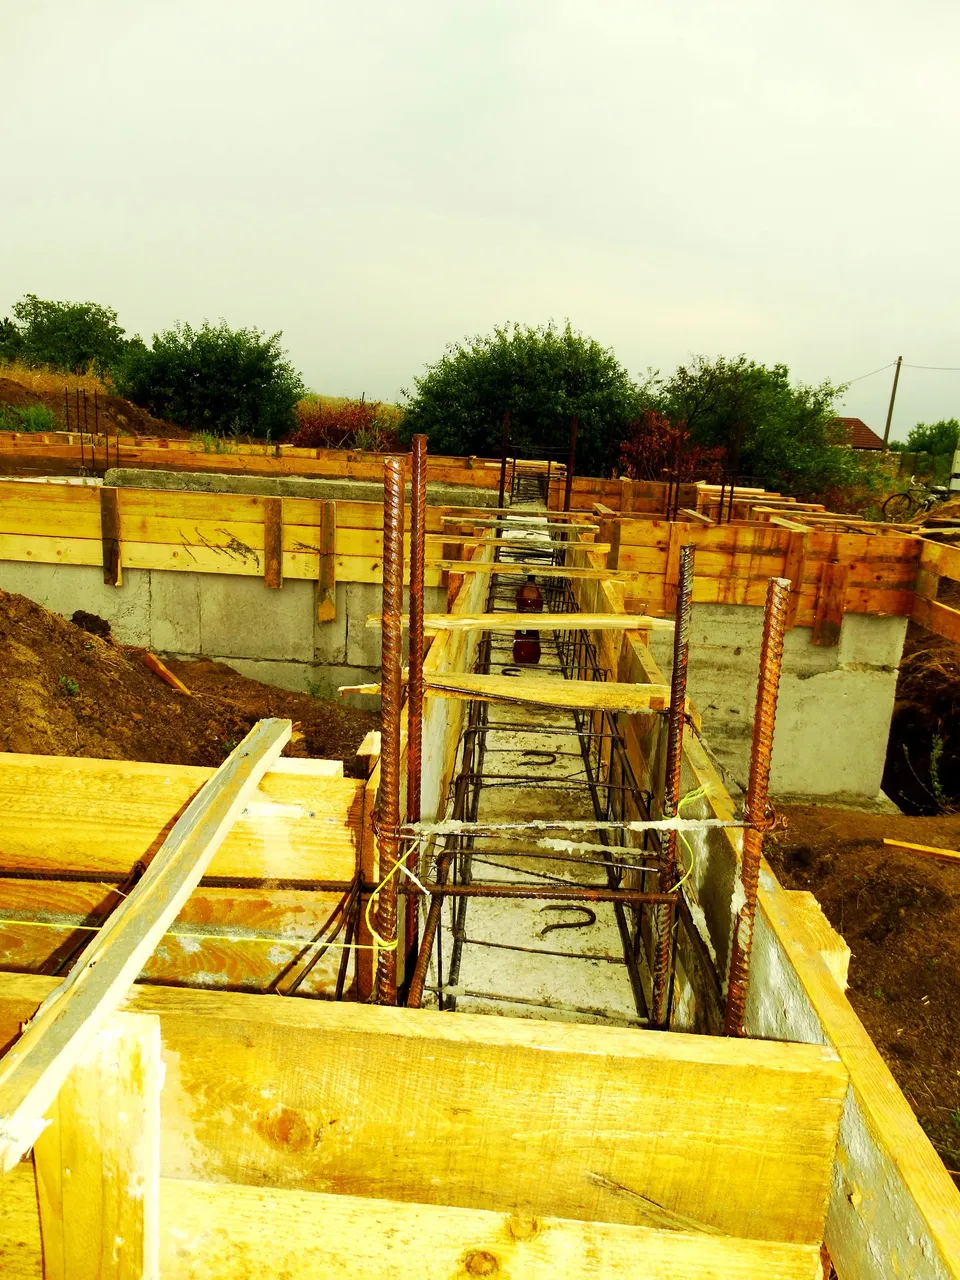
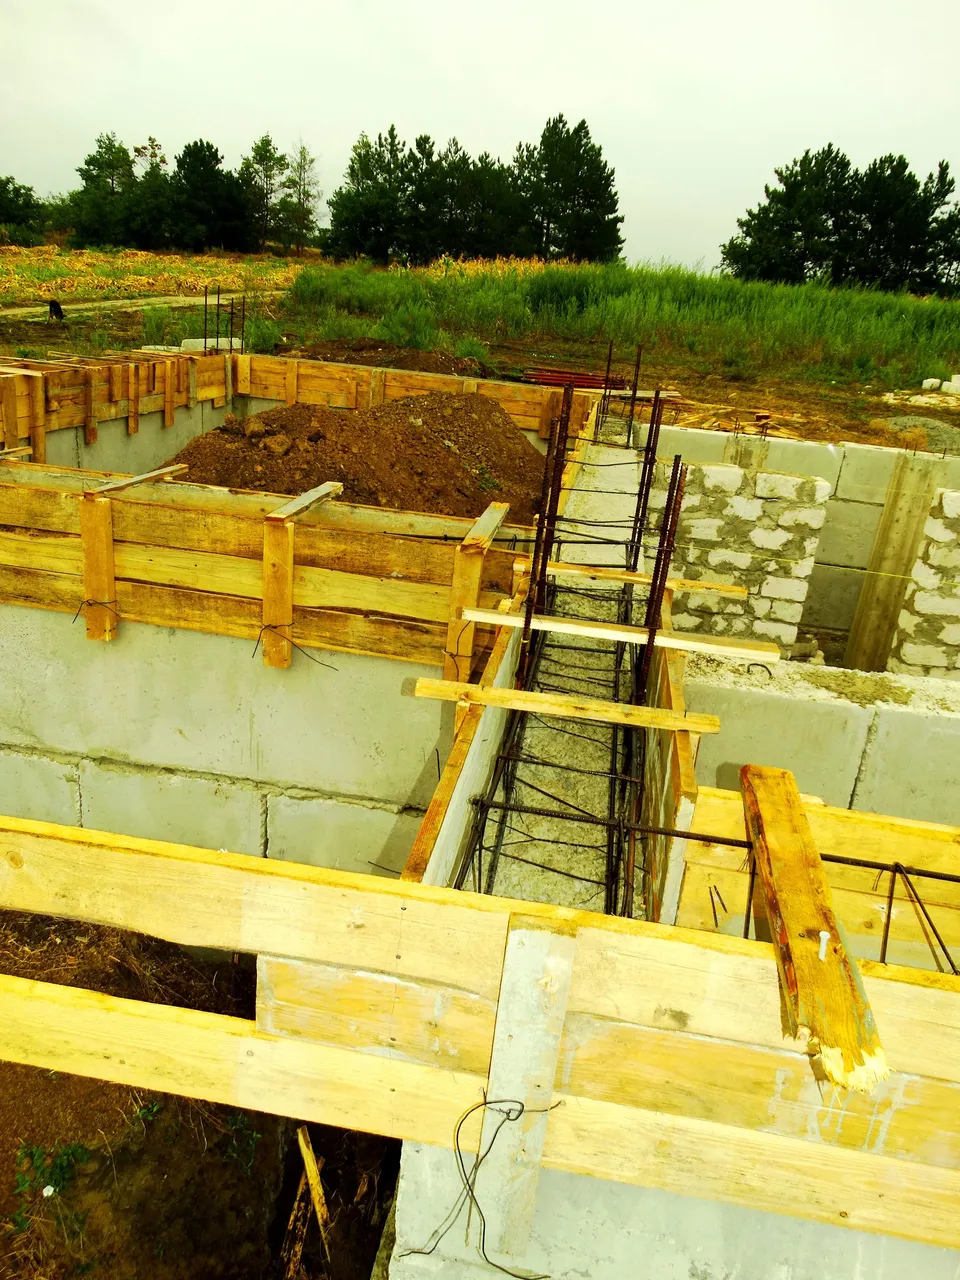
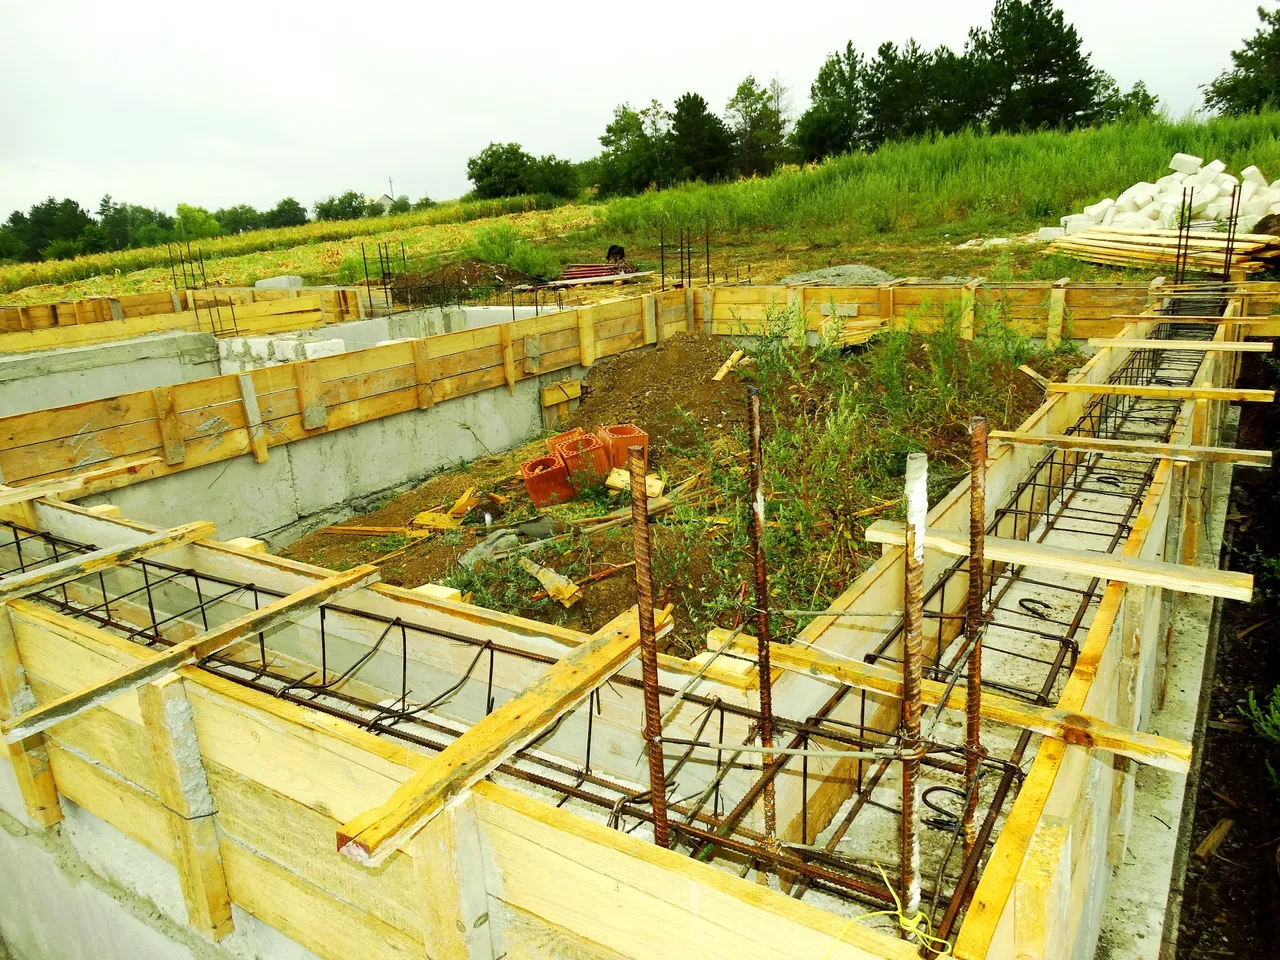
After that, six days passed, during which we covered the basement ceiling with standard floor slabs and began the installation of formwork for pouring a monolithic belt, the purpose of which is to tie together the entire structure of a multi-layer foundation.
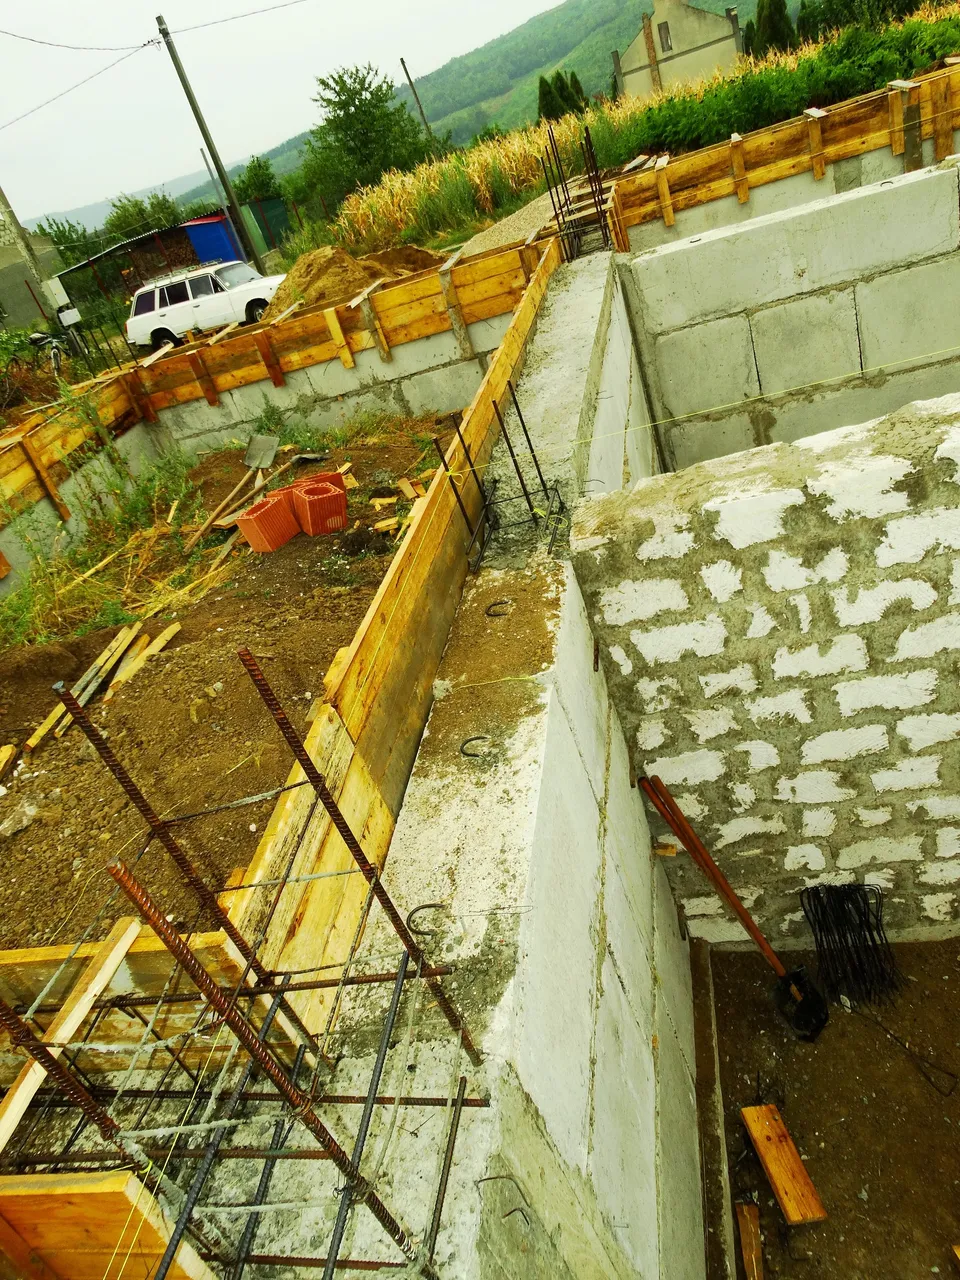
In the foreground, you can see the two columns I mentioned earlier. They were not provided for by the project, but. I made some changes and now, a concrete slab will lie on them, but more on that later.

It's time to think about installing ventilation shafts. You can see in the photo the orange blocks purchased for this purpose; in total, there will be 6 ventilation shafts in my house.
Formwork boards are the most expensive consumable material, which, over time, will become unusable at colossal costs, both for the board itself and for logistics.
It makes no sense to buy boards in excess, it will always attract thieves, but buying a little, it comes out even more expensive, because for every cubic meter of boards there is a delivery cost by a truck.
On the one hand, it was funny, but, on the other, it was sad when, at the most crucial moment, boards of the required size disappeared from sale and it was necessary to urgently look for ways out of the situation.
It seemed that as soon as I start buying some kind of building materials, suddenly, there is a wild demand for it and, either, its price soars, or it disappears from sale, lol.
Knitting wire is another consumable that was constantly in short supply, even when I was trying to get it in reserve.
Mathematical calculation methods didn't work.
From this wire, screeds were made for formwork boards.

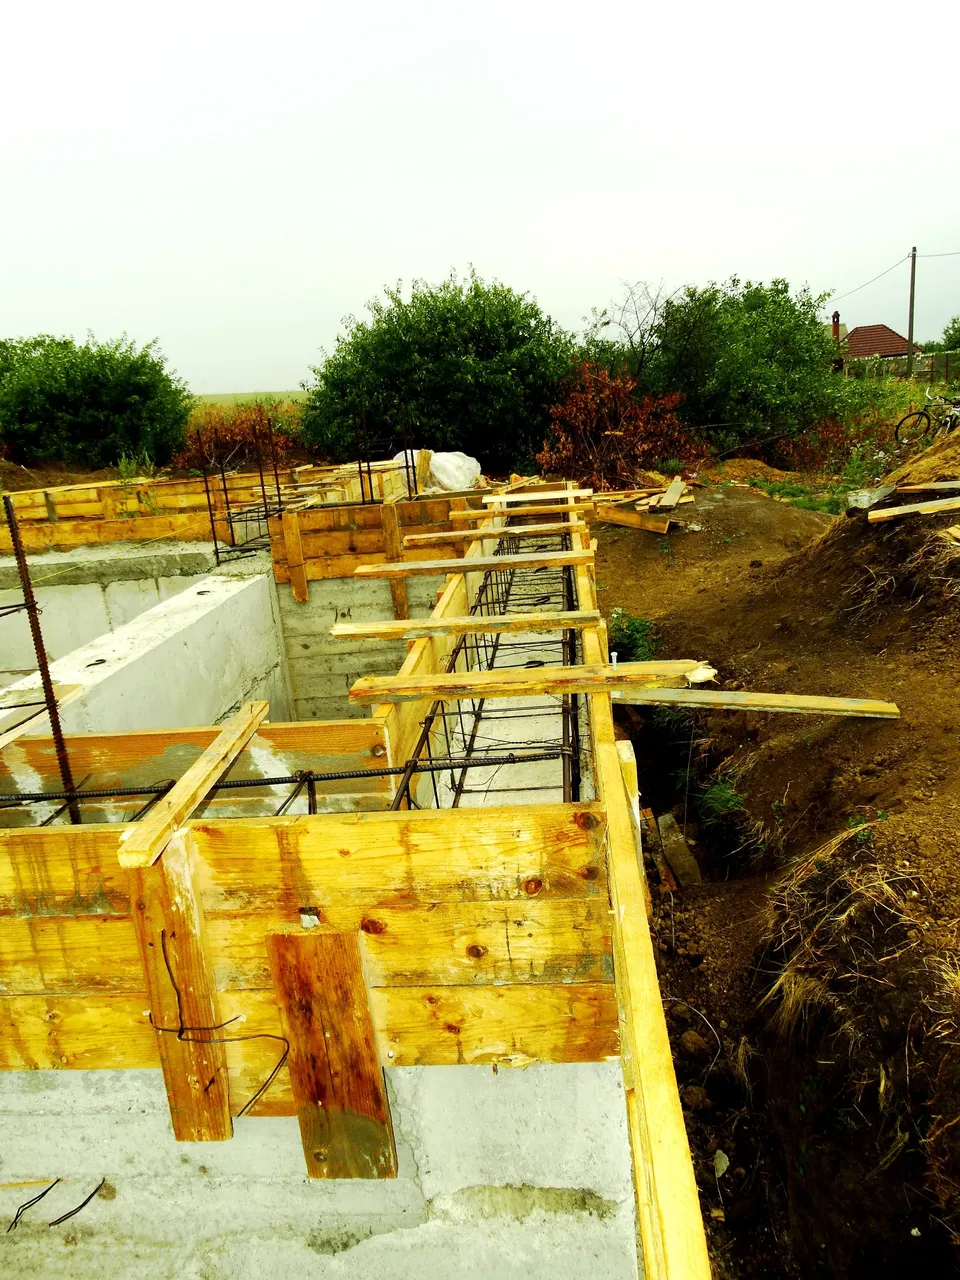
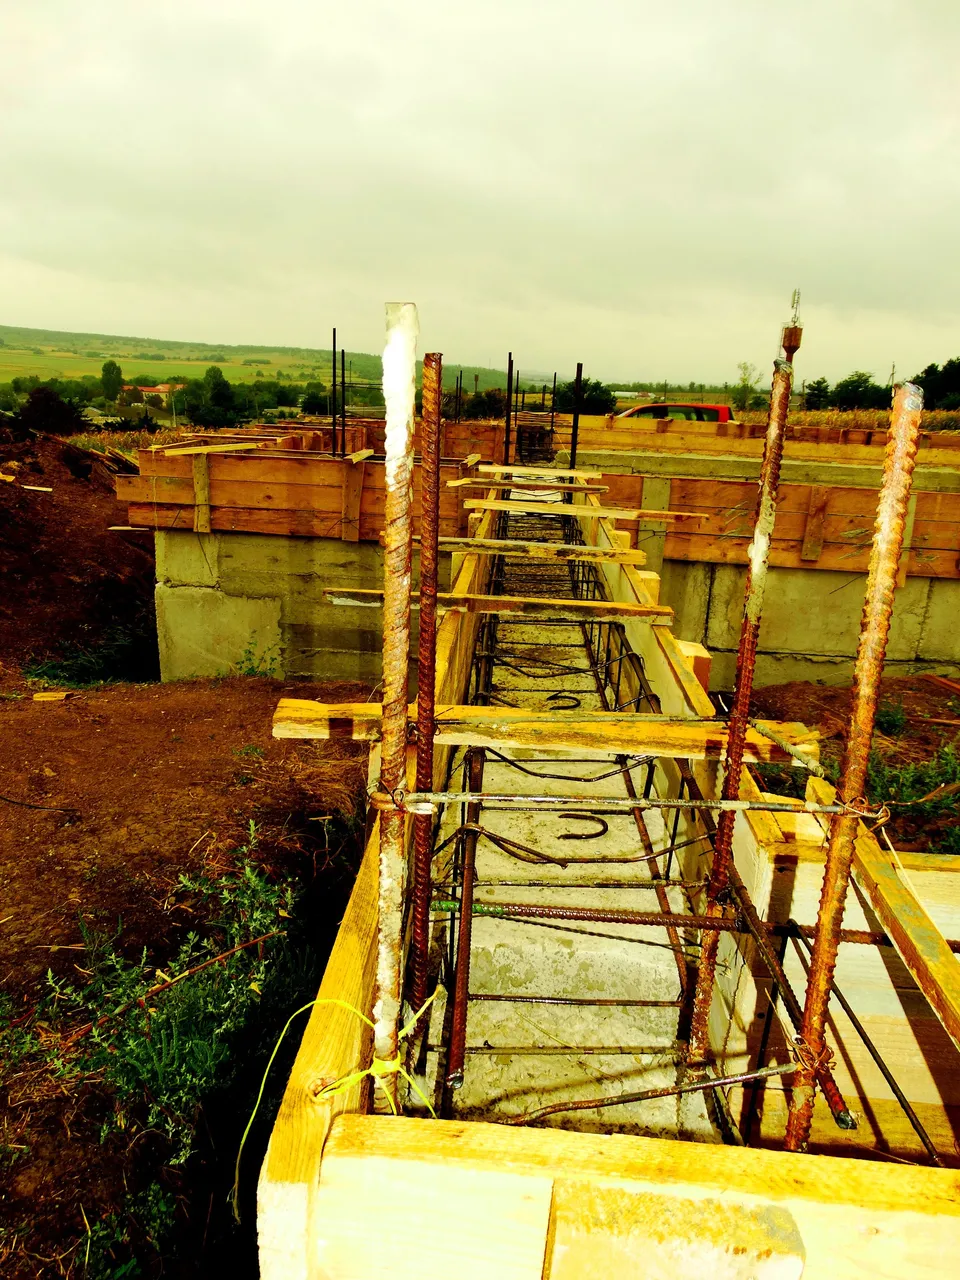
The formwork for the entire perimeter of the house, as I said, was assembled in six working days.
In this photo, you can see a pile of clay. When simple work arose, we began to fill the space with clay, where the floors of the rooms on the first floor should be.
To be precise, one person, using a shovel and a wheelbarrow, moved 120 cubic meters of clay in a week and thumped it.
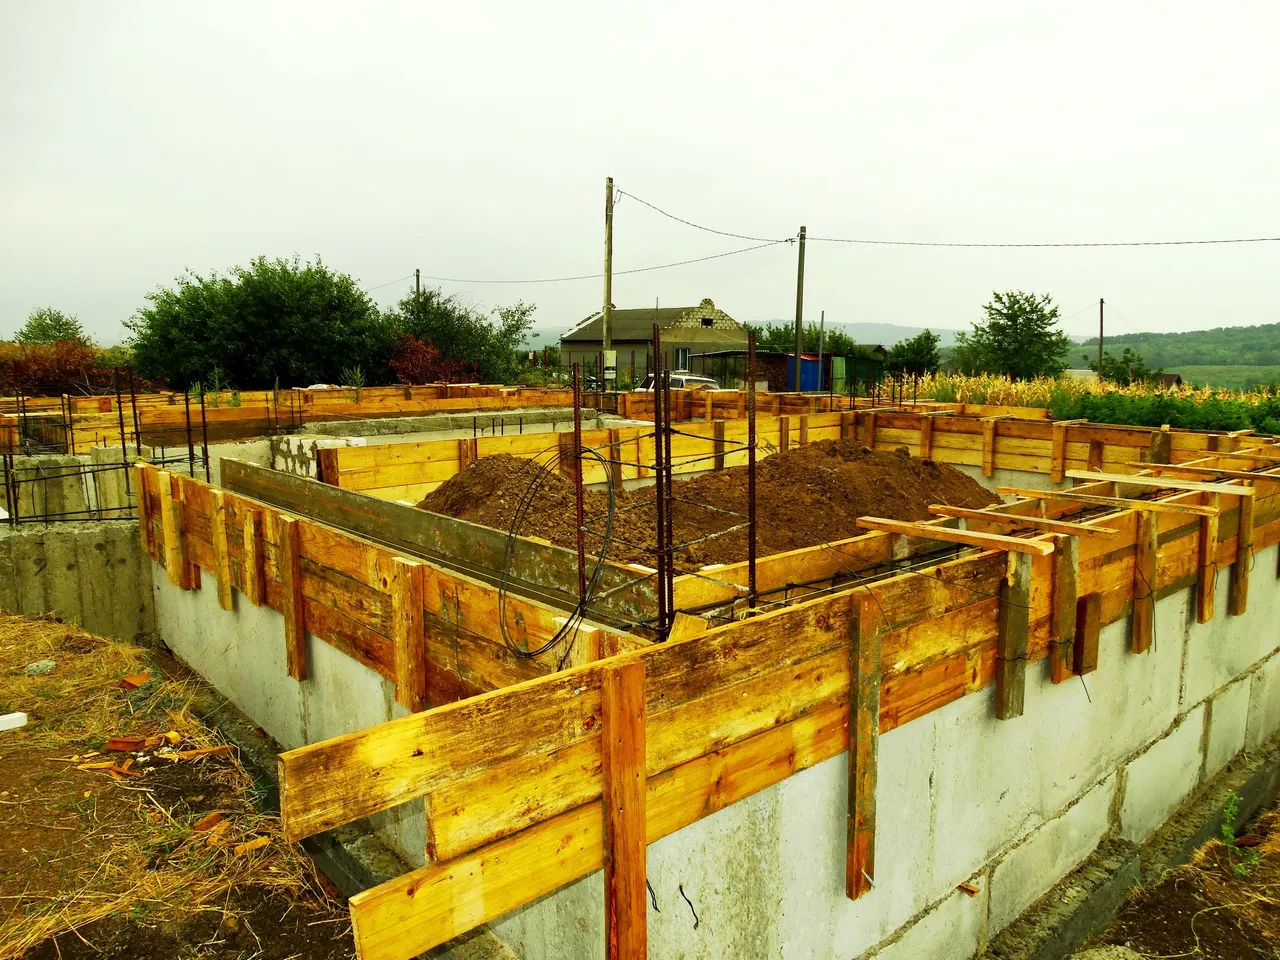
The formwork turned out to be reliable. when we filled it with concrete, there were practically no concrete leaks through the cracks.
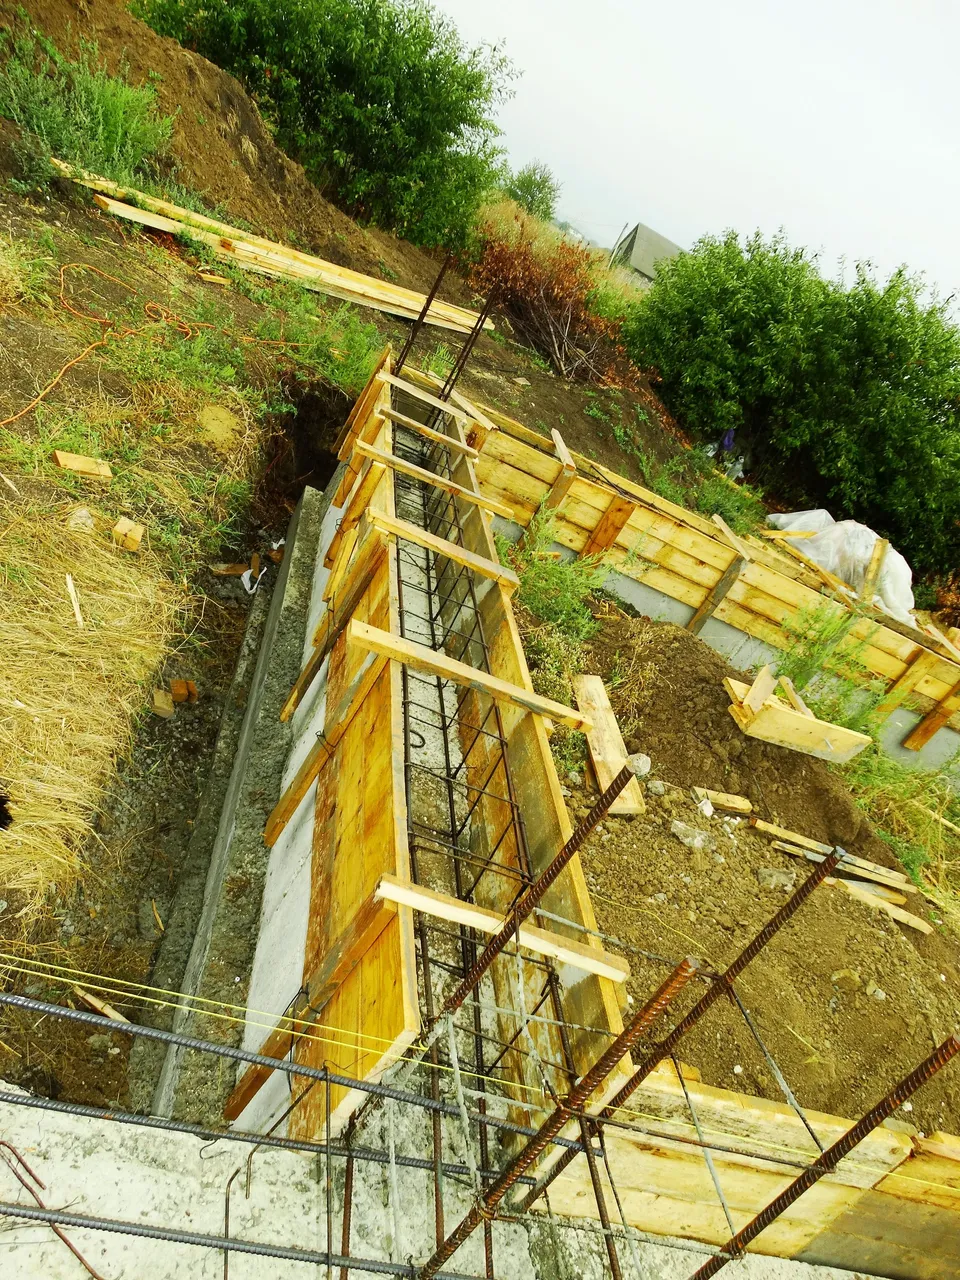
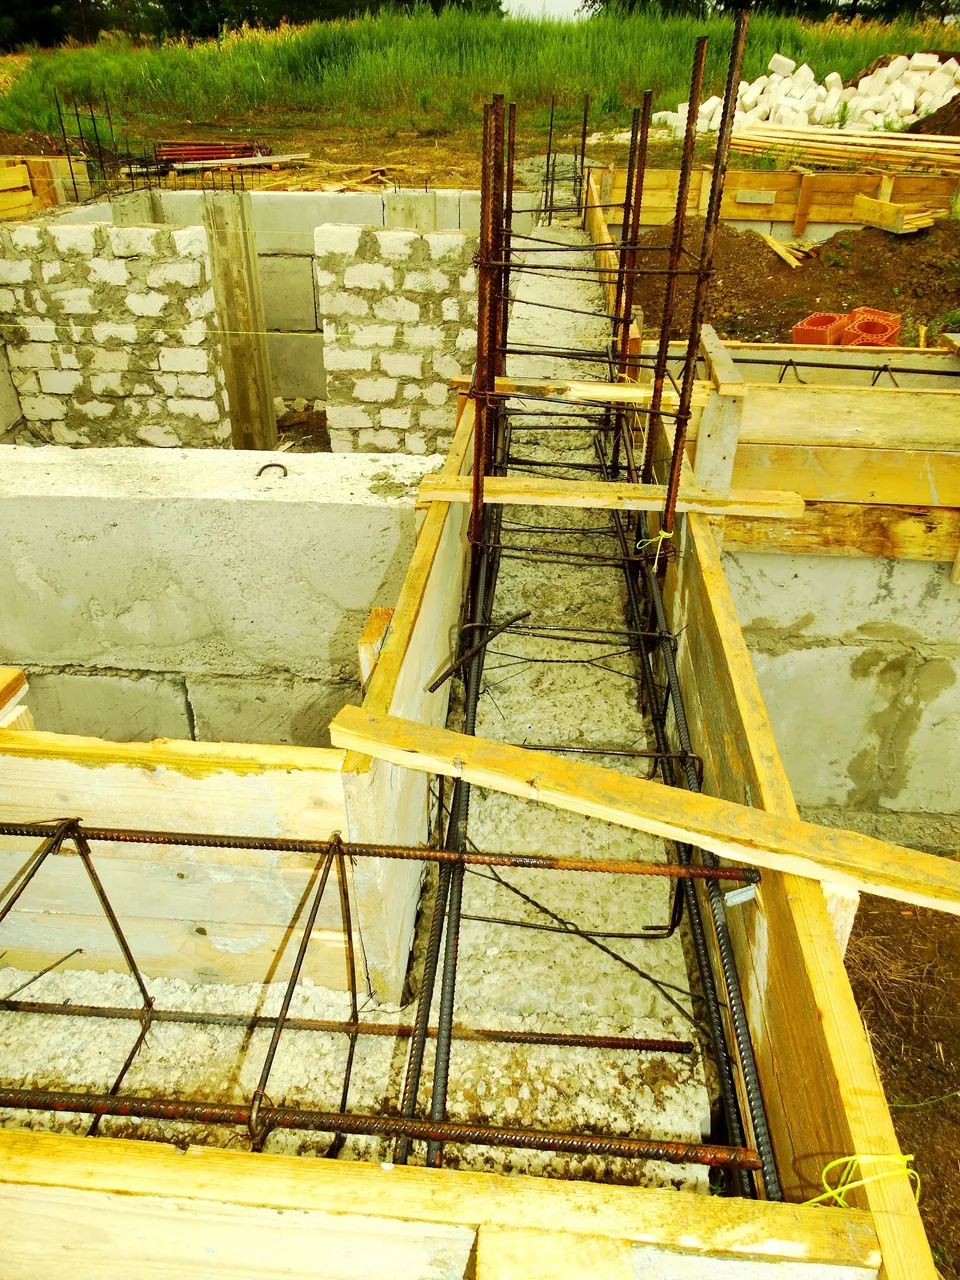
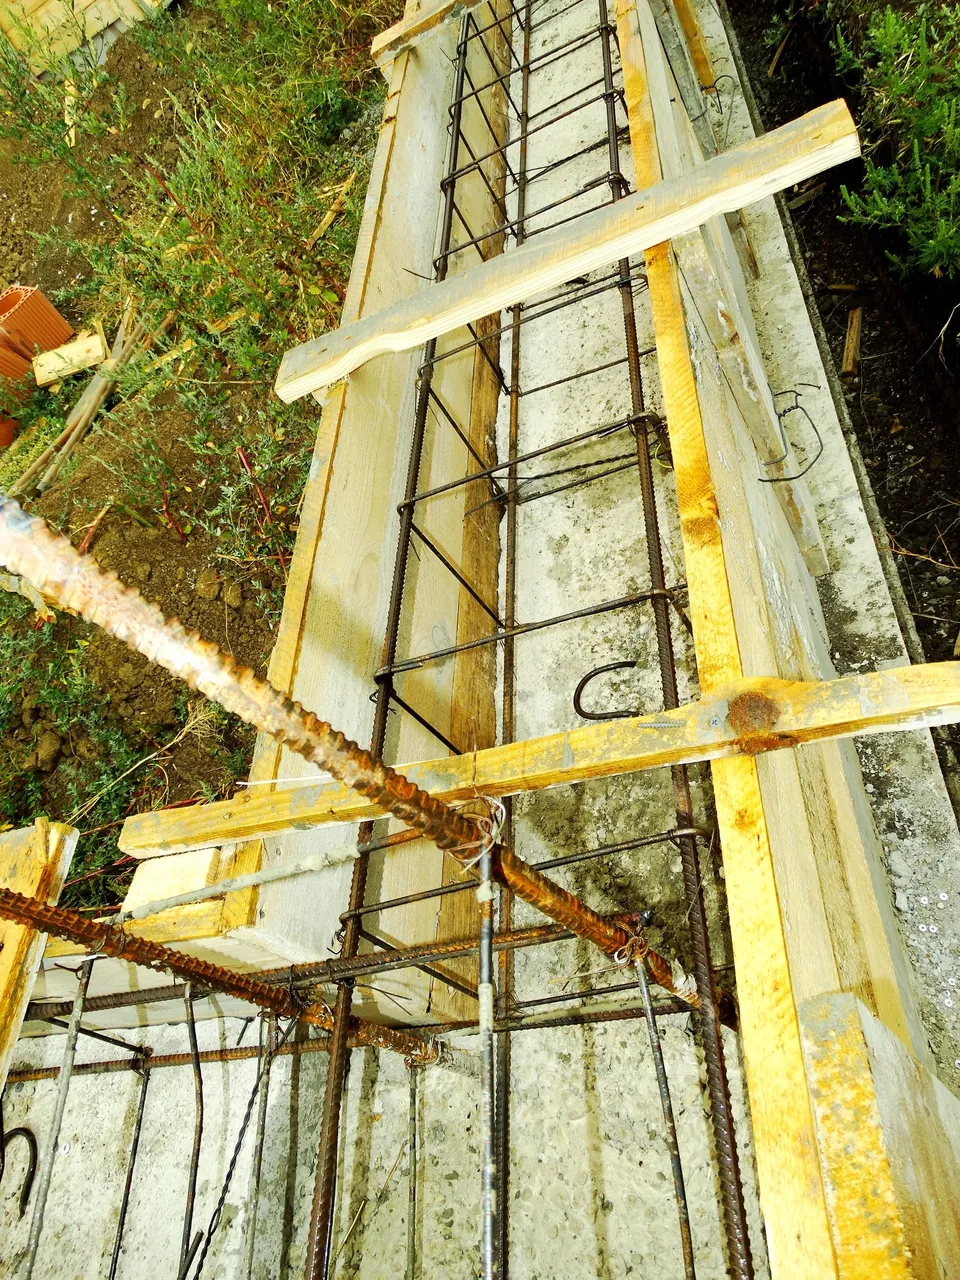
In this photo you can see the construction of the reinforced belt.
Each transverse jumper is located at a distance of 22 centimeters from each other.
It will be a spacious kitchen, but I haven't installed a dining table yet.
The sixth day has come to an end and it's time to rest until the next publication.
To be continued.
Photos taken with a Sony Cyber-shot DSC-HX300 camera
I edited a photo in the program PhotoDirector, which I also installed on my smartphone.
Author @barski
Ukraine
For my publications, I do not use stock photographs, it is fundamentally important for me to use photographs that I have made with my own hands for publication and I can name them - authorial work.
You can go to our blog on the Hive platform by clicking on the bee.