Finally all the parts arrived this weekend, so I could start with my first Raspberry project. As you can read in my first post here I needed some extra parts as a HDMI to micro HDMI cable and a game controller.
I will guide you through all the steps needed to make a game emulator station of your Raspberry.
This is a list of items you will need:
- Raspberry Pi (yeah right)
- Micro SD card
- USB stick
- HDMI to micro HDMI cable
- Screen device (I used my TV)
- USB input device (I used an old keyboard)
- Game controller
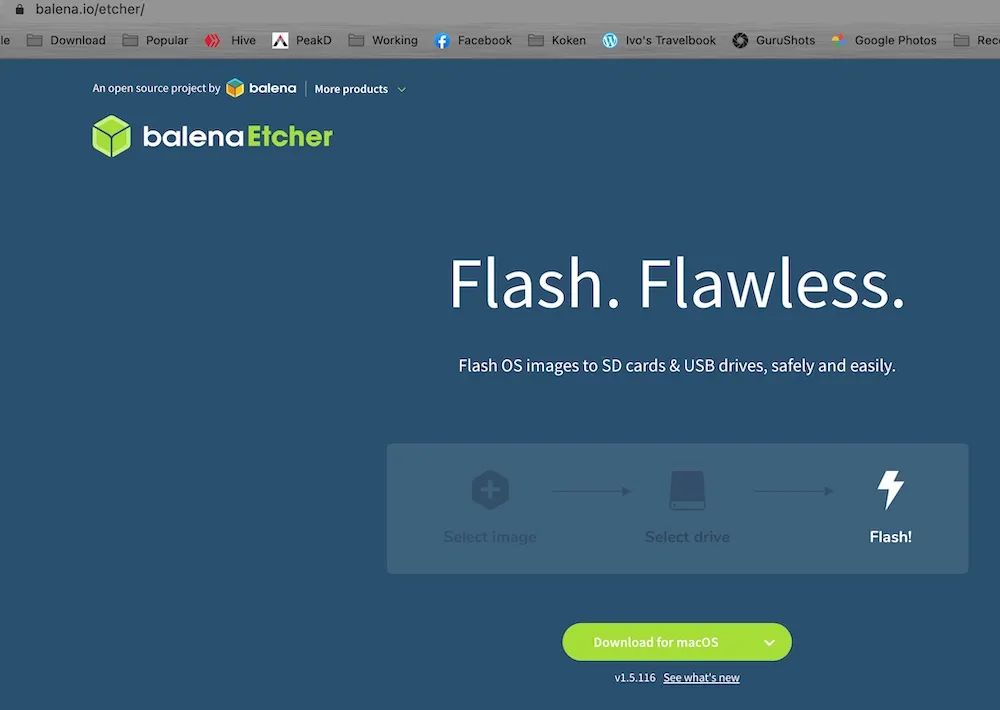
The first step is to put an operating system on the micro SD card. I wanted to install Retropie as an emulator and they have the complete installation file for you. You just need to download it and flash your micro SD card. Here you can find the image: (https://retropie.org.uk/download/)

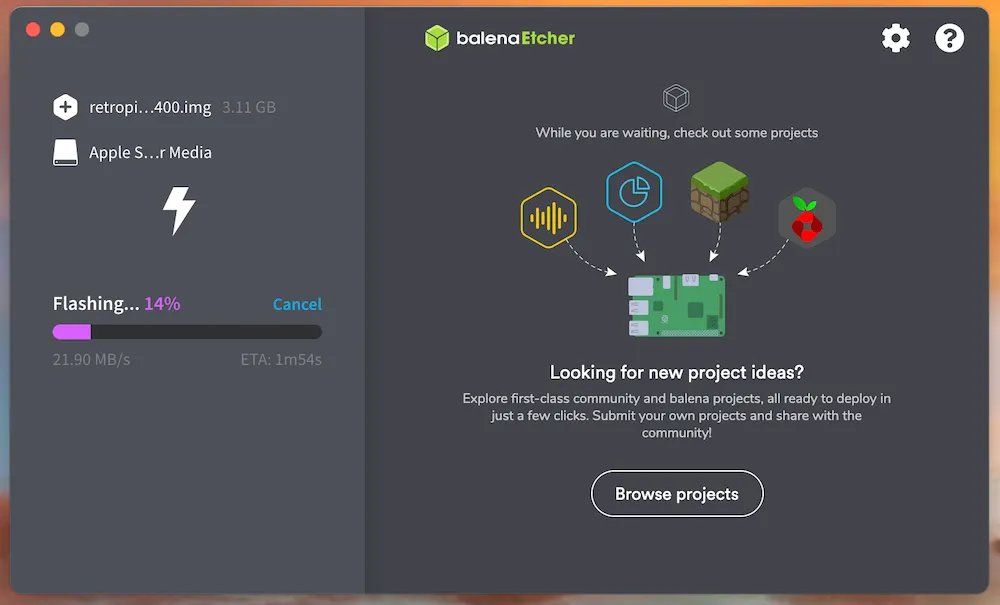
Now you need a little tool that will actually flash your micro SD card. I used Balena Etcher on a Mac. But you can also find a Windows version. It's quite simple .... Just load the image flash and this tool will do the trick.
Now you will have a micro SD with a raspberry OS and RetroPie on it. Windows and Mac will not show you the drive anymore, because they don't recognize a linux based SD card. But no worries. Put the micro SD card in the Raspberry and connect it to your screen device.
This is how your screen will look like after the first boot:
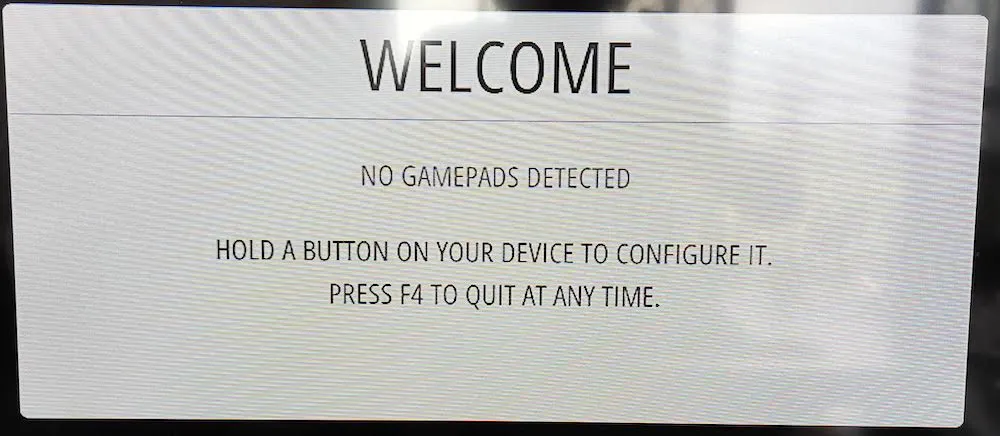
At that moment I didn't had my controller yet, so if this is the case, just connect a keyboard to continue the setup.
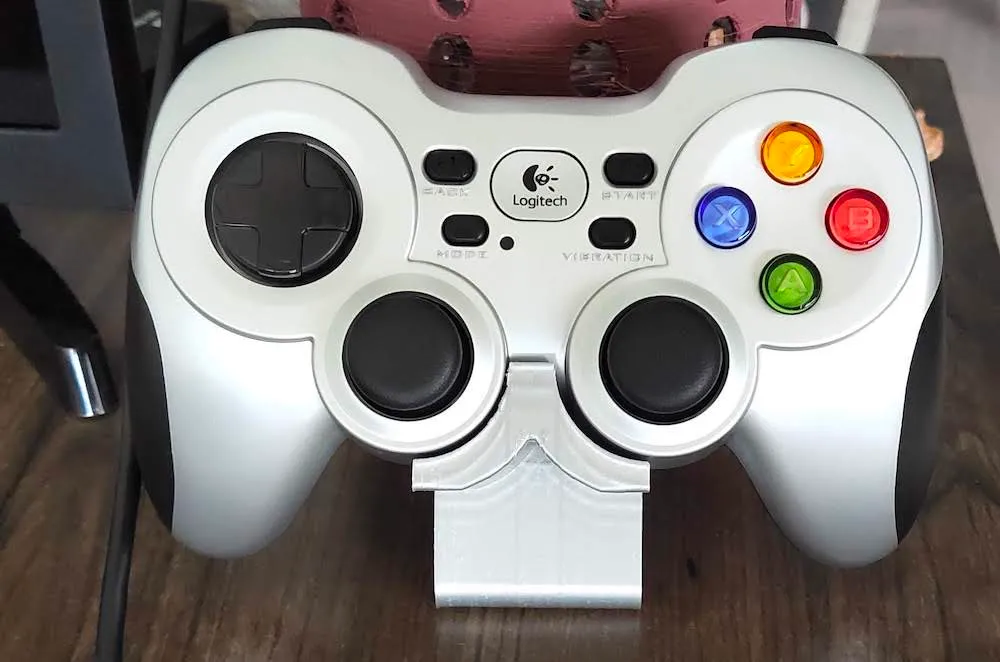
A couple of days later my controller arrived. I wanted to have a game controlled similar to the one I had with my Playstation years ago. Here in the Philippines you find so much fake and Chinese look alikes, so I bought a Logitech F710. This one is a Bluetooth device, so no hassle with cables.
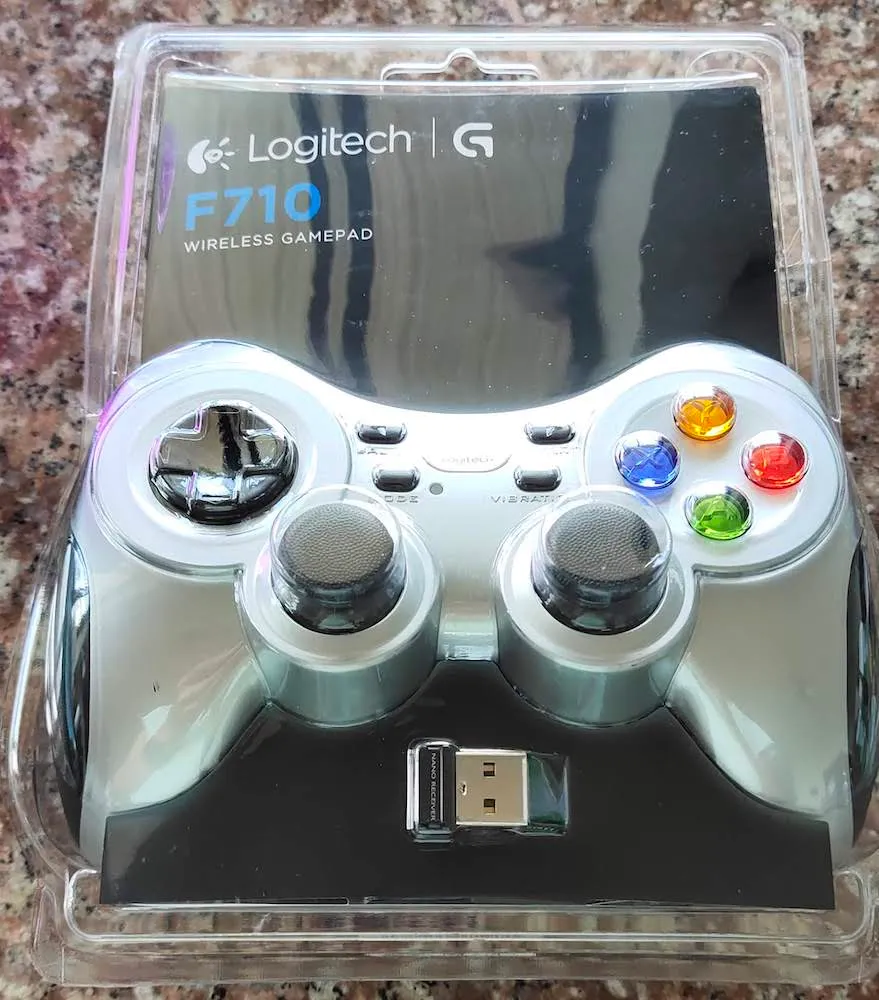
While waiting for the delivery, I had already made a stand with my 3D printer for the controller as well.
The final step is to put the games on a USB stick. On the website of RetroPie you have a very good tutorial on how to transfer the roms: Transfer the games
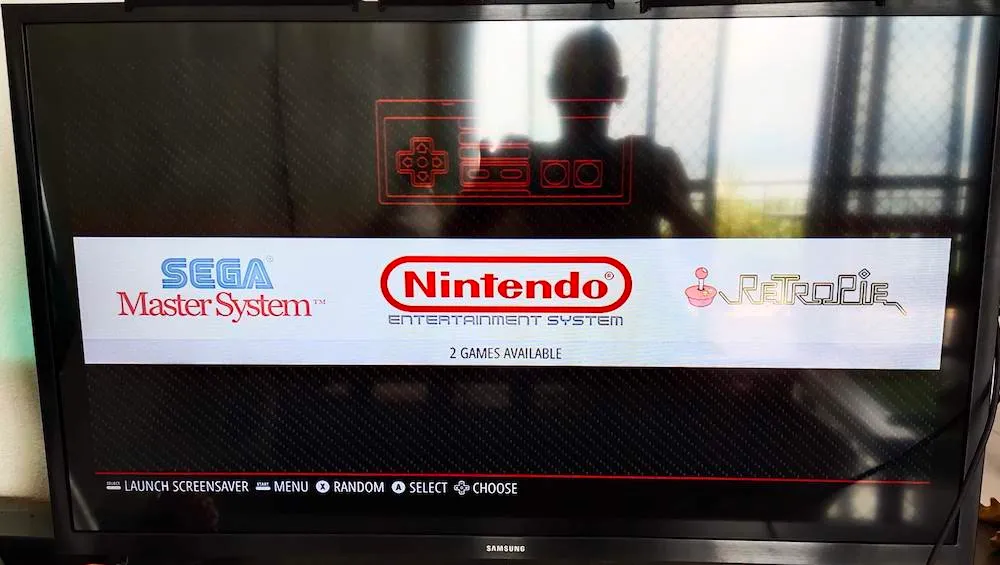
All set ... Now it's GAME TIME ! Main screen of RetroPie: You can go through the menu to see the different emulators and the games. It will only show the systems that has games on it.

I decided to start with an old time classic: Super Mario Bros on the Nintendo Entertainment System (NES)
So that's it ... I'm of now going back in time and enjoy some old games!
