Jack Daniels 3D
The important thing is to enjoy life the way you enjoy a glass of whisky... one sip at a time
This project was carried out for the "Cinema 4D" university exam, for which we were asked to produce three different works, two of which had to be carried out according to the professor's specific requests.
In this case, a series of glass objects were to be produced in an environment suited to their appearance and characteristics.
I chose to create a typical bar environment, putting in the foreground pleasant and attractive elements. The choice to reproduce a bottle of Jack Daniels came not only from my personal taste but also from a question of recognizability and design: the bottle of this whisky is also extremely famous for its particular shape, which has remained unchanged for many years and is still used today.
The project has been realized through two different programs (Cinema 4D and Photoshop) and has been divided into 3 phases:
STEP 1: Image search and modeling
The first thing to do if you want to reproduce an object as faithfully as possible is to carefully study every detail, both structural and aesthetic. To do this there are two different ways: the first is to obtain the object in question so as to have it constantly at hand, the second is to search for as many images as possible so as to have a complete view of the object.
Once I finished the search I started to model the main objects
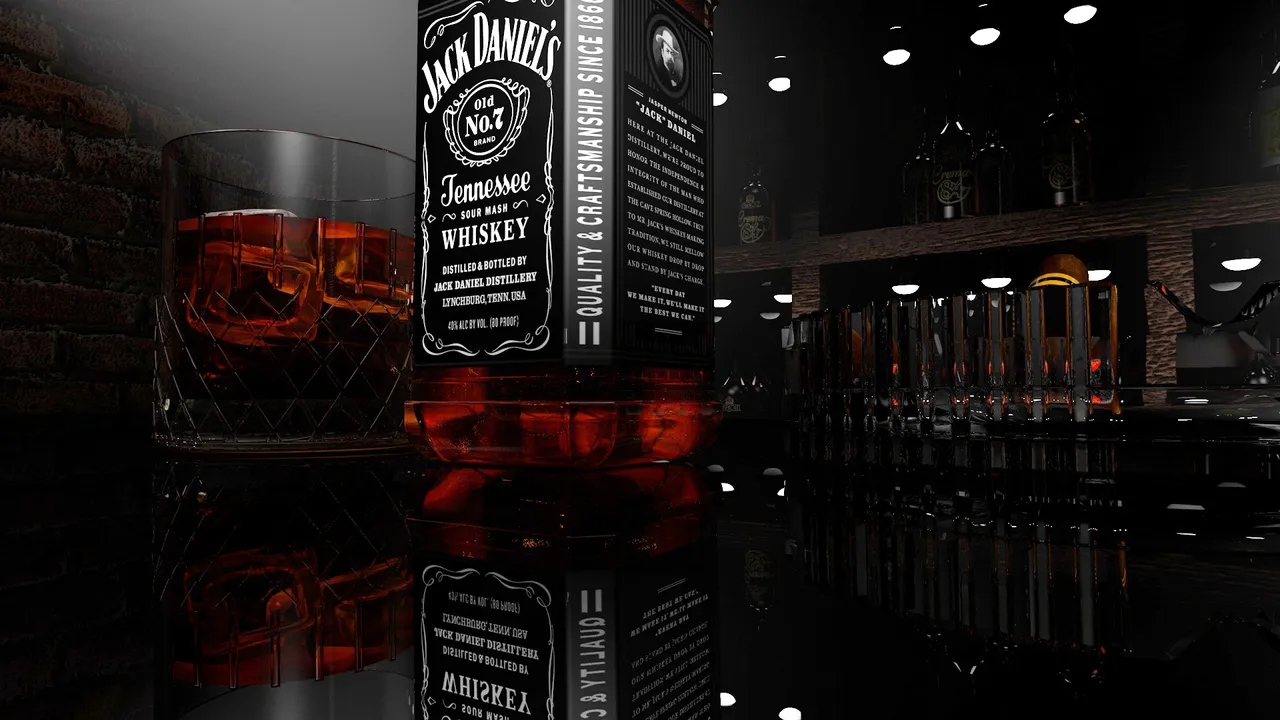
The creation of the bottle was, of course, the most complex because having an extremely specific shape, reproducing it faithfully, also adapting to the limits of the program and avoiding creating incorrect interactions, was a great challenge.
detail 6.png](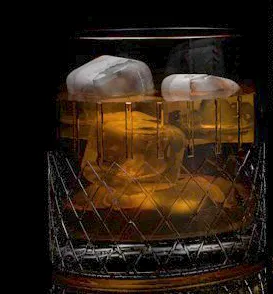
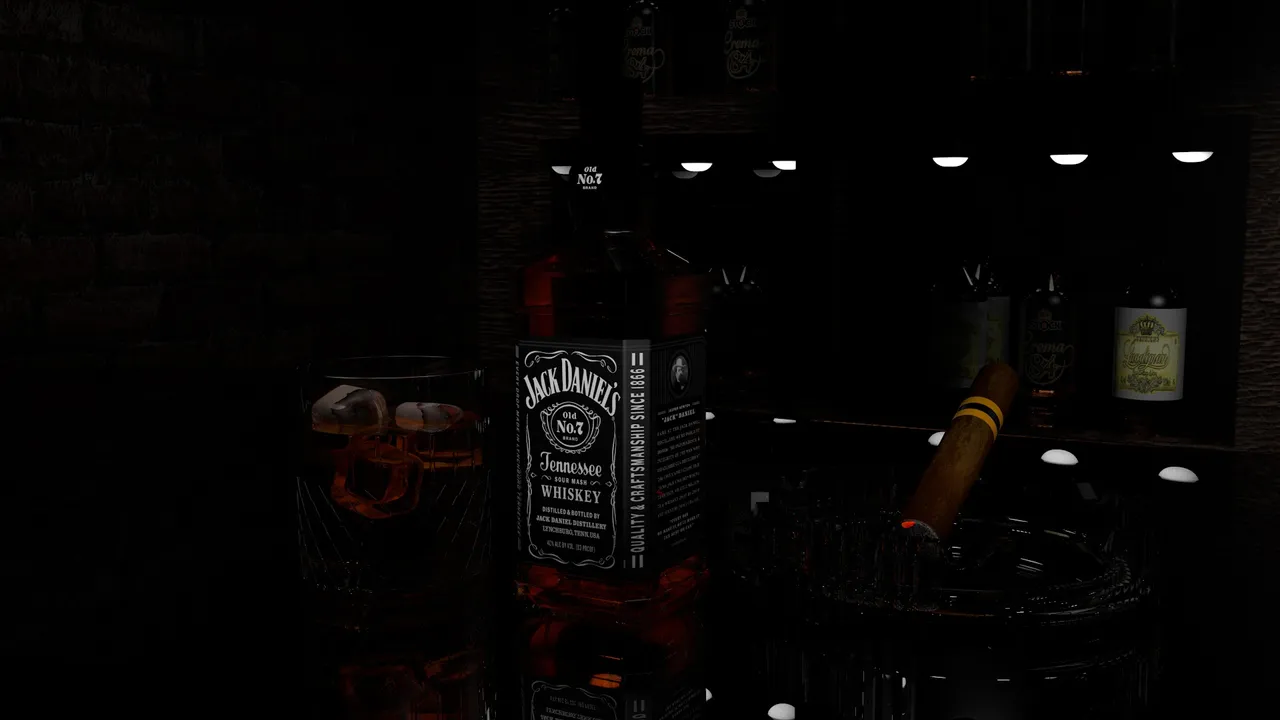
The ice cubes were a very interesting detail to create.
I was able to achieve the above effect through two cubes, both chamfered and reshaped and arranged into each other to give a sense of internal depth.
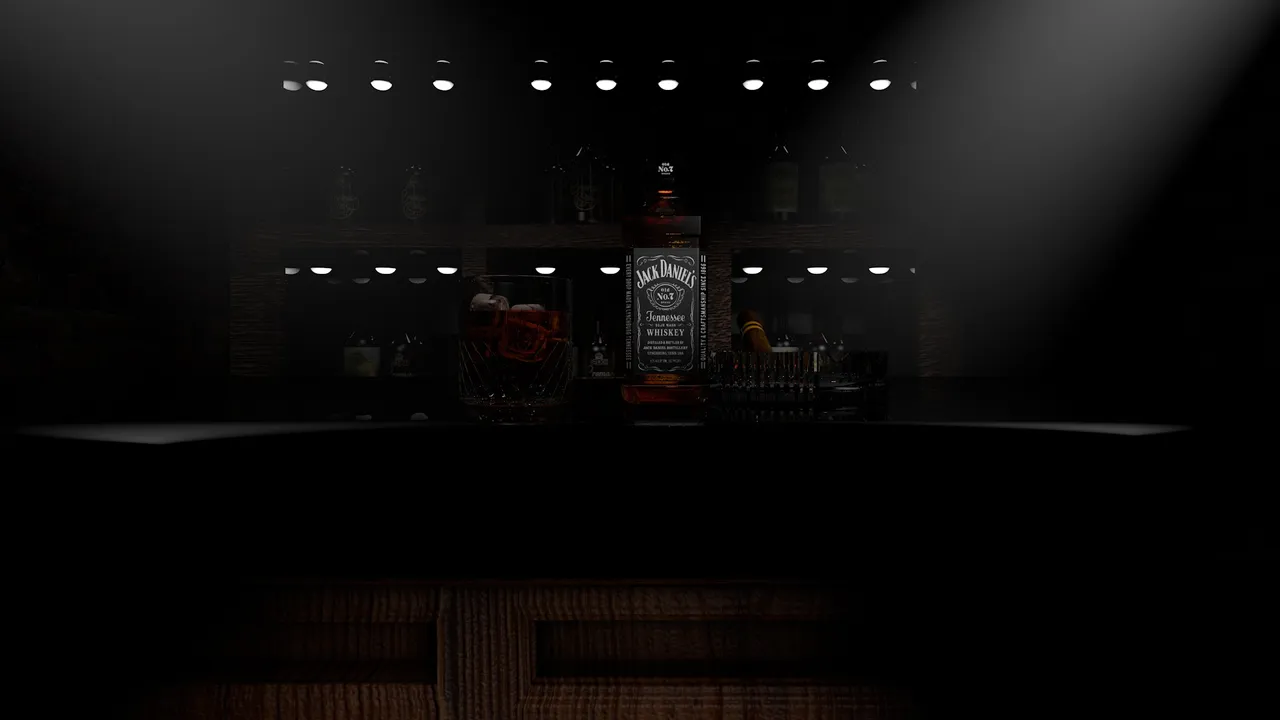
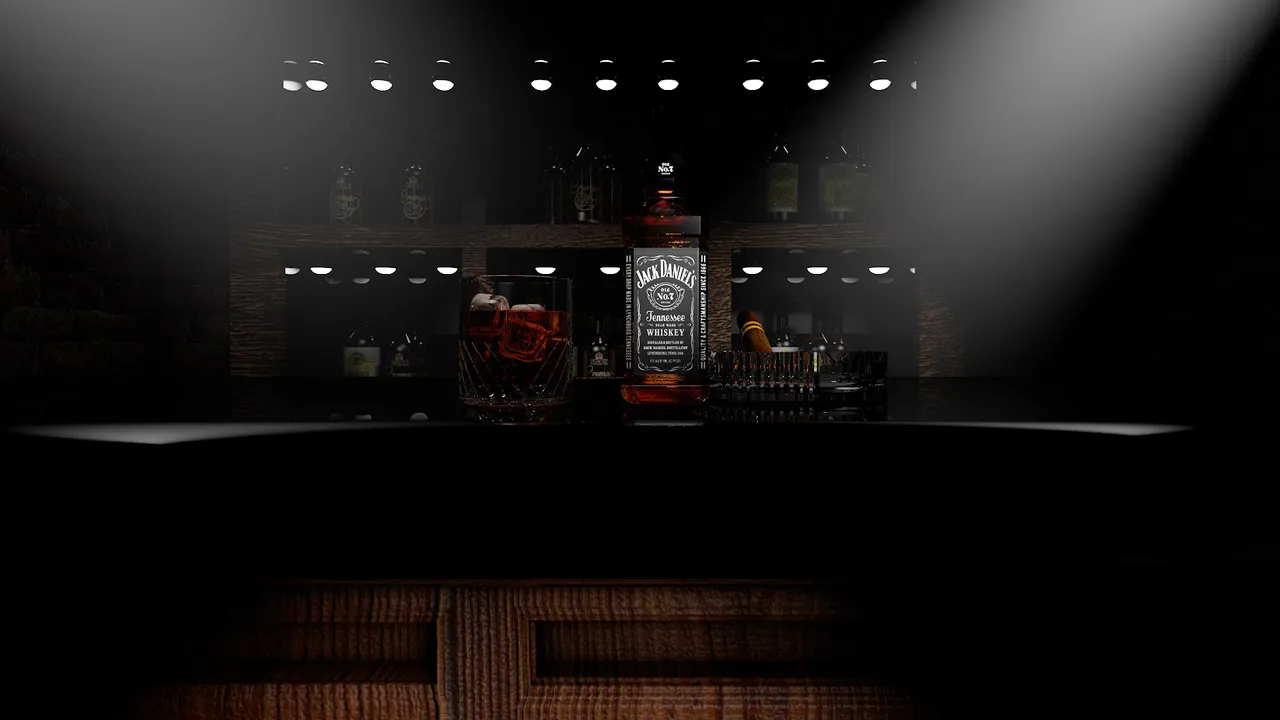
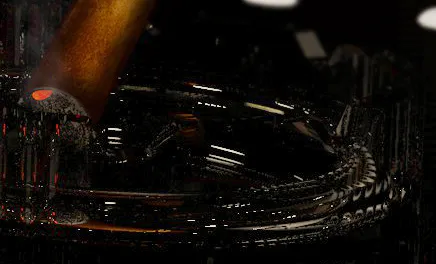
Once I had finished creating the three main elements, I dedicated myself to creating the environment. I tried to reproduce a classic bar counter with a bottle cabinet behind it.
The bottles reproduced in the background are three simple models repeated several times, because the important thing was to create the environment.
STEP 2: Inserting materials and rendering
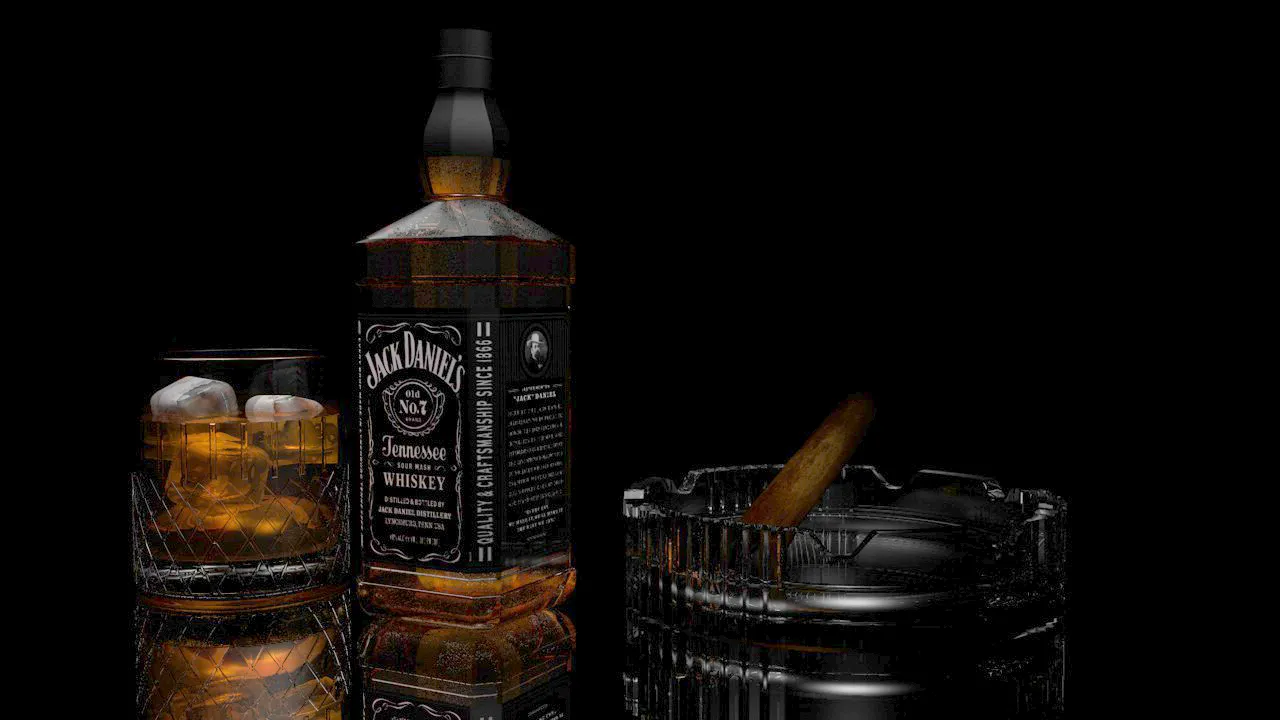
Once the modelling was finished I started to insert the various materials, concentrating on the rendering of the various glass objects and their contents, trying to recreate colours and reflections as faithfully as possible.
Once the insertion of the materials was finished and once all the lights were positioned I started, from different perspectives and angles, to render in high quality, so as to have the best possible rendering.
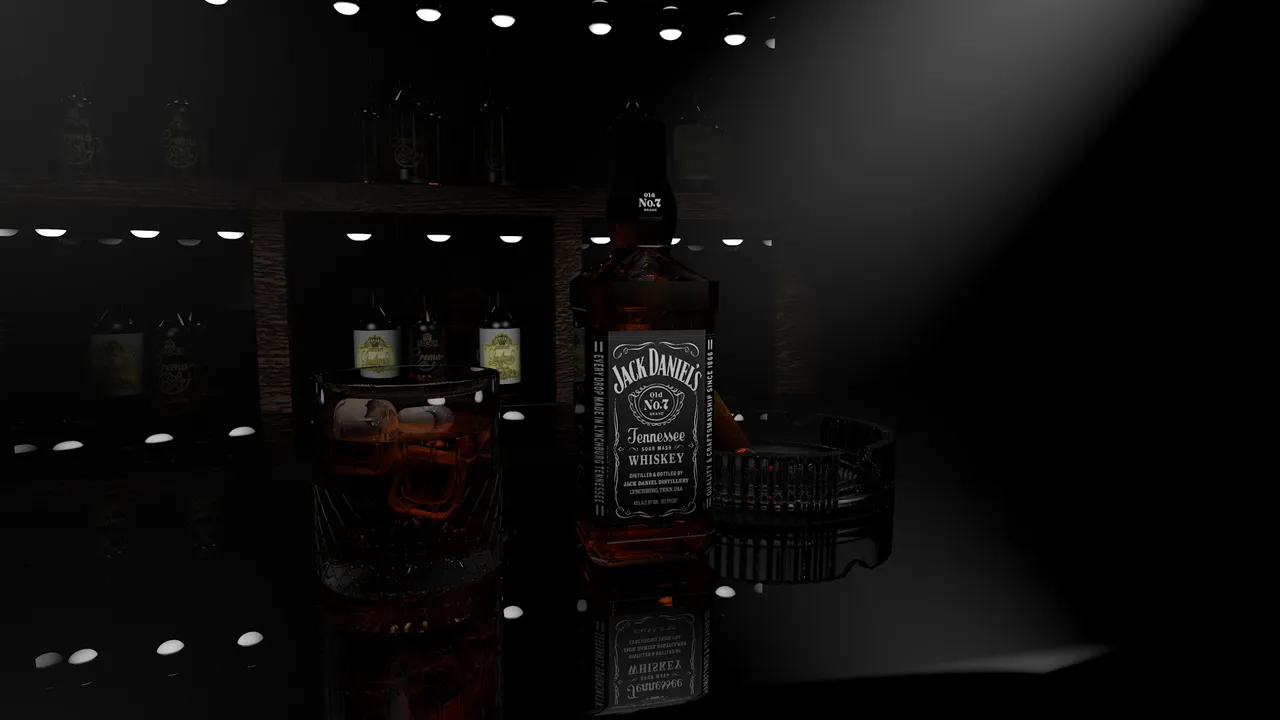
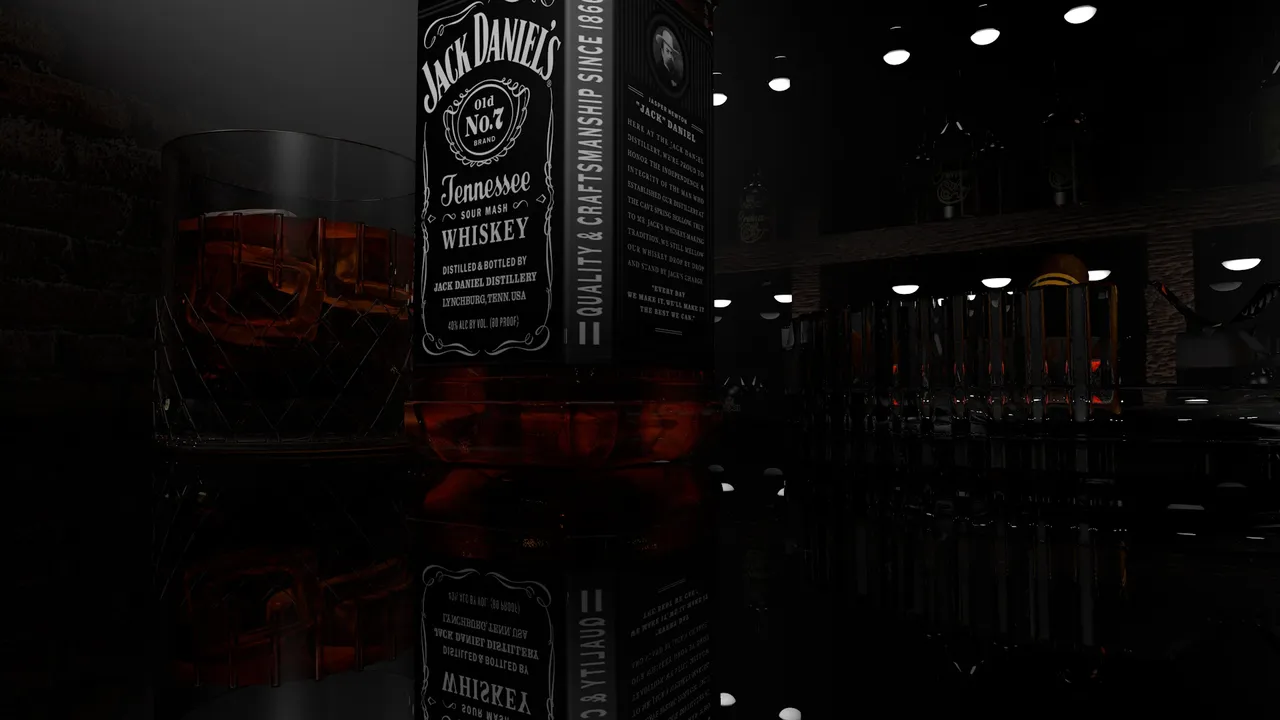
When rendering, the computer no longer retains information about materials and reflections, making it extremely beautiful to the eye and realistic.
STEP 3: Post - production
Obviously, no matter how well the materials are made and the lights are well positioned, it can often happen that the end result is not exactly as expected: too bright, too dark, lacking in reflections or light effects. Obviously one of the choices is to directly modify these errors and start another render, but if, as in my case, each render takes several hours to finish, it is clear that creating another one would become a problem.
And that's where post-production comes in.

With post-production you can manage lights, shadows, reflections, blurs, etc..
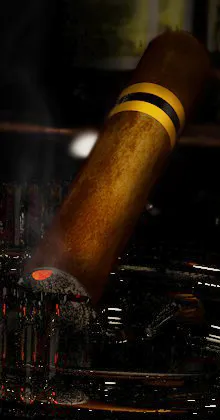
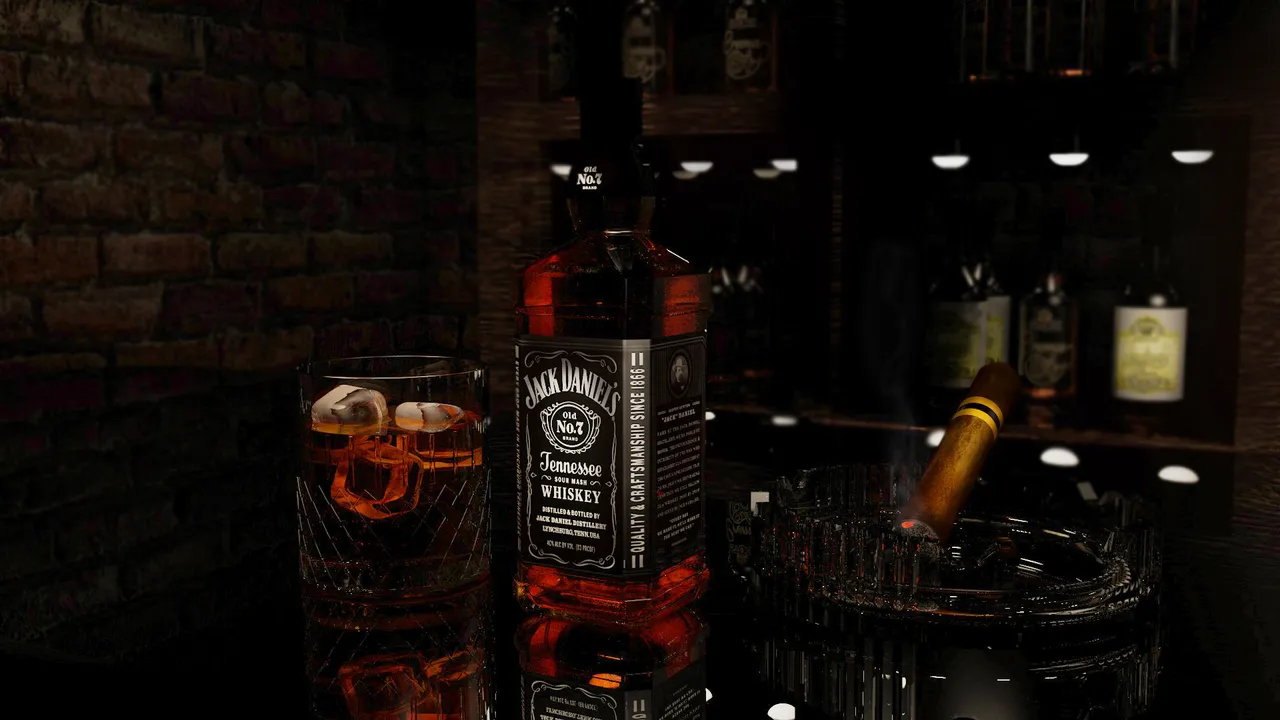
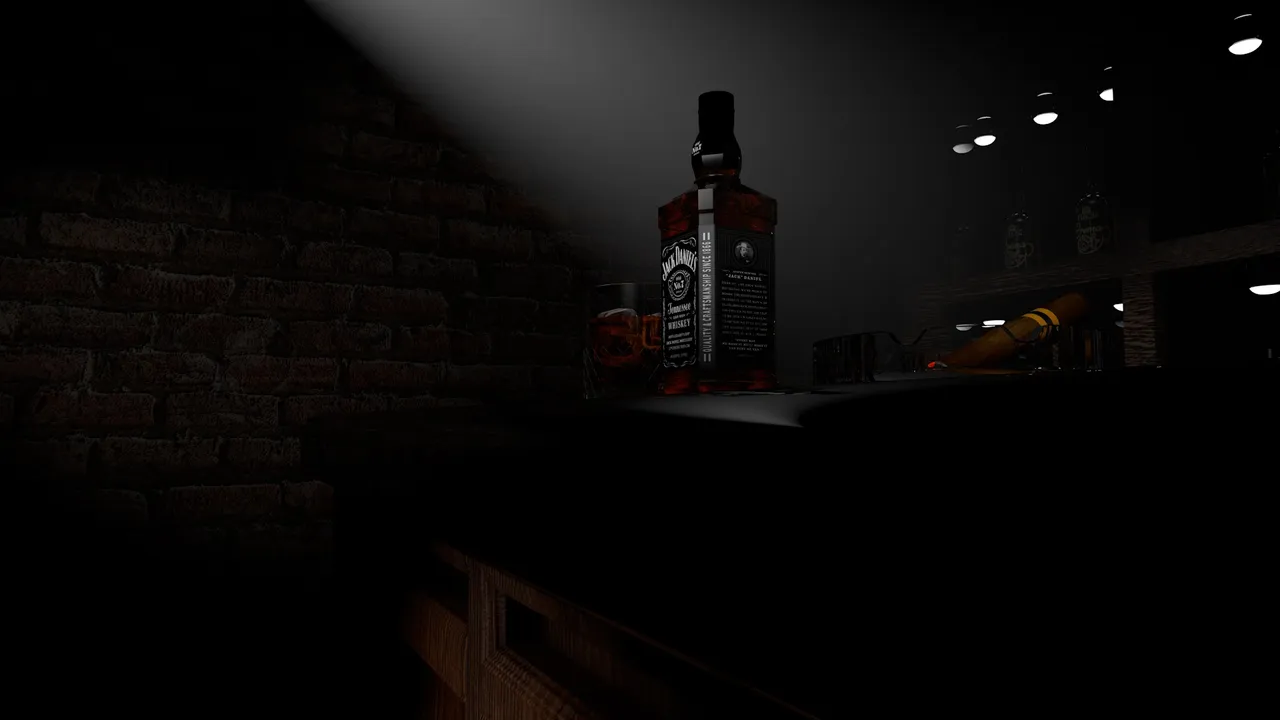
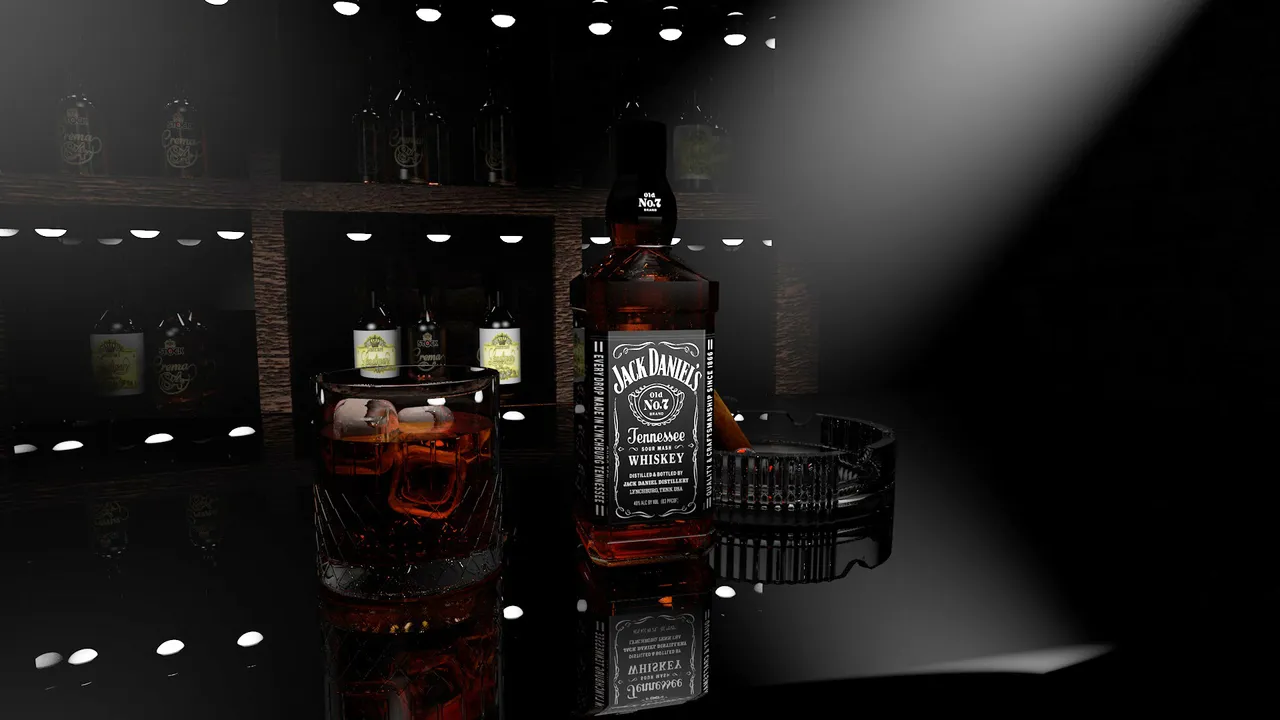
I also added the effect of the smoke coming out of the cigar.
Detail that on cinema was very complicated to obtain
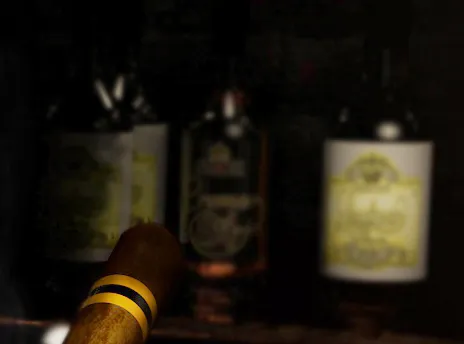
In the image above you can see the blurred effect.
Jack Daniels 3D
L'importante è gustarsi la vita come si gusta un bicchiere di whisky.. un sorso alla volta.
Questo progetto è stato realizzato per l'esame univeristario di "Cinema 4D", per il quale ci era stato richiesto di produrre tre elaborati differenti, due dei quali andavano eseguiti secondo delle specifiche richieste del professore.
In questo caso era prevista la realizzazione di una serie di oggetti in vetro, inseriti in un ambiente adatto al loro aspetto e caratteristiche.
Io ho scelto di creare un tipico ambiente da bar, mettendo in primo piano elementi gradevoli ed accattivanti. La scelta di riprodurre una bottiglia di Jack Daniels è scaturita non solo dal mio gusto personale ma anche per una questione di riconoscibilità e design: la bottiglia di questo whisky è estremamente famosa anche per la sua forma particolare, rimasta invariata per moltissimi anni e tutt'ora utilizzata.
Il progetto è stato realizzando attraverso due programmi differenti (Cinema 4D e Photoshop) ed è stato suddiviso in 3 Fasi:
FASE 1: Ricerca immagini e modellazione
La prima cosa da fare se si vuole riprodurre nel modo più fedele possibile un oggetto è studiare attentamente ogni suo dettaglio, sia strutturale che estetico. Per fare ciò vi sono due vie differenti: la prima è procurarsi l'oggetto in questione così da averlo costantemente a portata di mano, la seconda è ricercare più immagini possibili in modo tale da poter avere una visione completa dell'oggetto.
Una volta terminata la ricerca ho iniziato a modellare gli oggetti principali
La realizzazione della bottiglia è stata, ovviamente, la più complessa poichè avendo una forma estremamente specifica riprodurla fedelmente, adattandosi anche ai limiti del programma ed evitando di creare interazioni errate, è stata una bella sfida.
I cubetti di ghiaccio sono stati un particolare molto interessante da creare.
Sono riuscito ad ottenere l'effetto soprariportato attraverso due cubi, entrambi smussati e rimodellati e disposti l'uno nell'altro per dare un senso di profondità interna.
Una volta terminata la realizzazione dei tre elementi principali mi sono dedicato alla creazione dell'ambiente. Ho cercato di riprodurre un classico bancone da bar con dietro un mobile per le bottiglie.
Le bottiglie riprodotte in secondo piano sono tre semplici modelli ripetuti più volte, poiché l'importante era creare l'ambiente.
FASE 2: Inserimento dei materiali e render
Una volta terminata la modellazione ho iniziato ad inserire i vari materiali, concentrandomi sulla resa dei vari oggetti in vetro e del loro contenuto, cercando di ricreare colori e riflessi il più fedeli possibile.
Terminato l'inserimento dei materiali e una volta posizionate tutte le luci ho avviato, da diverse prospettive ed angolazioni, render in alta qualità, così da avere la resa migliore possibile.
Nei render il computer non trattiene più informazioni riguardanti materiali e riflessi, rendendo il tutto estremamente bello alla vista e realistico.
FASE 3: Post - produzione
Ovviamente, per quanto i materiali siano realizzati correttamente e le luci ben posizionate, può capitare spesso che il risultato finale non sia esattamente come ce lo si aspettava: troppo luminoso, troppo buio, mancano dei riflessi o degli effetti di luce. Ovviamente una delle scelte è modificare in modo diretto questi errori ed avviare un altro render ma se, come nel mio caso, ogni render ci mettesse diverse ore per terminare, è evidente che crearne un altro diventerebbe un problema.
Ed è qui che entra in gioco la post-produzione
Con la post produzione è possibile gestire luci, ombre, riflessi, sfocature ecc..
Ho anche aggiunto l'effetto del fumo che fuoriesce dal sigaro.
Dettaglio che su cinema era molto complicato da ottenere
Nell'immagine sopra è possibile osservare l'effetto sfocato.