Hi hivers - Hola hivers
How are my dear Hive readers? I hope very well, today I want to share with you my new purchase for the home and its assembly process.
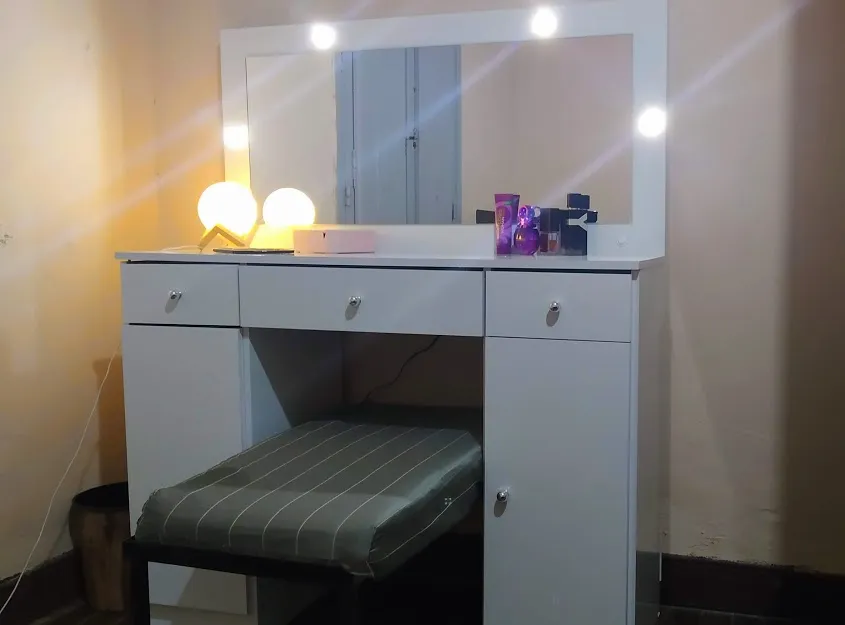
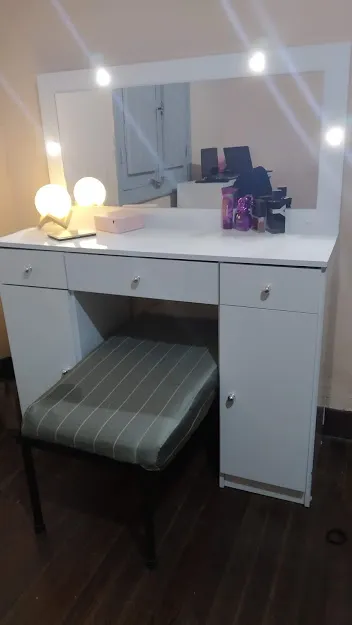
We are talking about a dressing table with a mirror and led lights, in the best style of a dressing room it is very beautiful I had wanted to buy it for months and finally take advantage of the cyber monday discounts here in Uruguay to buy it for only 4500 pesos which would be the equivalent of 100 $.
¿Cómo están mis queridos lectores de Hive? espero que muy bien, hoy quiero compartirles mi nueva compra para el hogar y a su vez su proceso de armado.
Estamos hablando de un tocador con espejo y luces led, al mejor estilo de un camerino es muy bonito tenia meses queriendo comprarlo y por fin aproveche el descuentos del cyber monday aquí en Uruguay para comprarlo por tan solo 4500 pesos que seria el equivalente como a 100$.
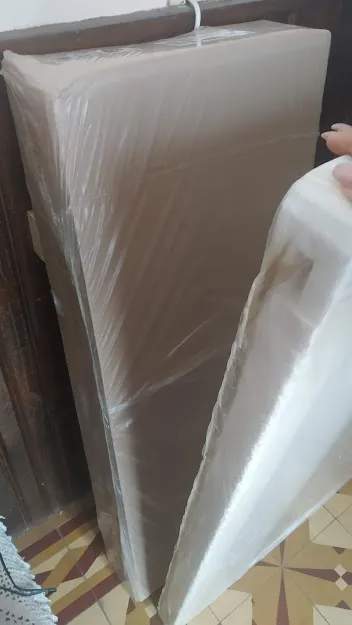
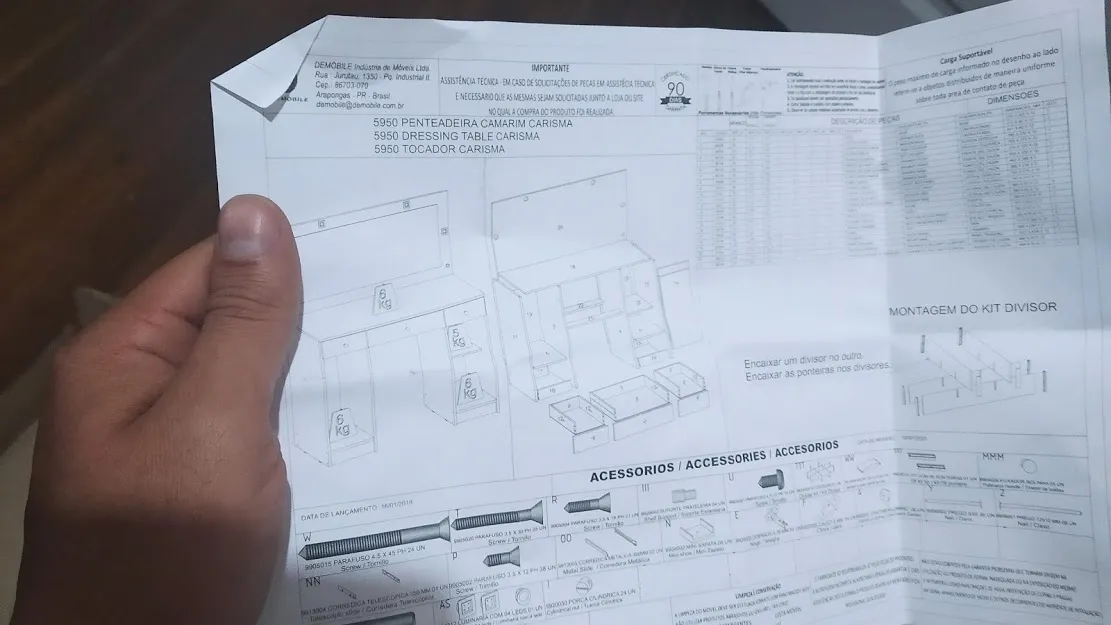
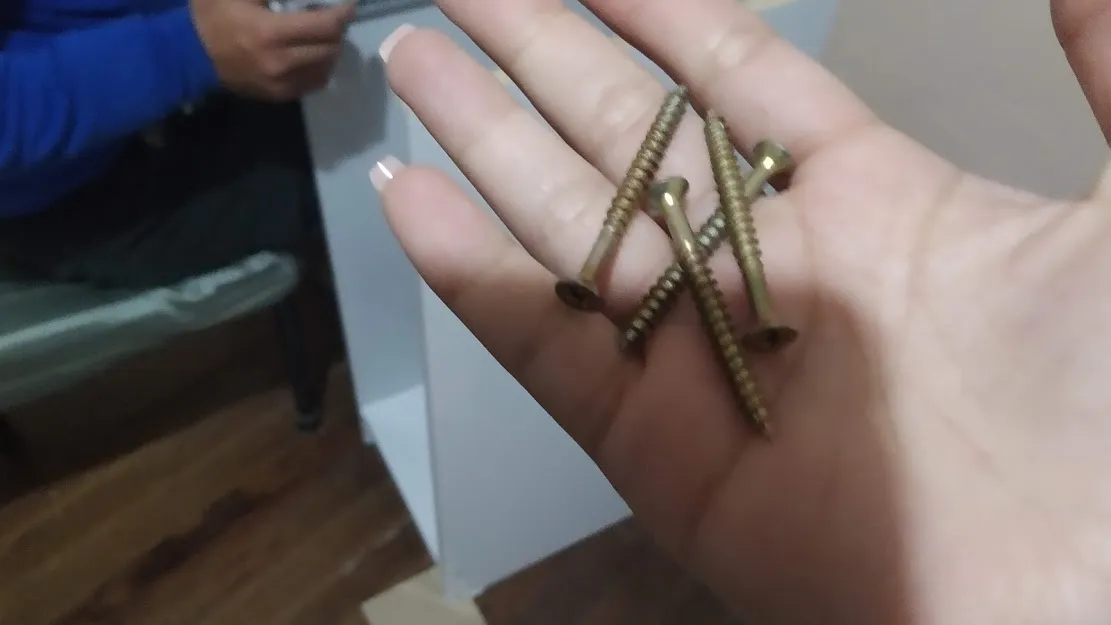
When buying it, bring everything you need to assemble it, you would only need a few tools such as a slotted and flat screwdriver as well as a hammer for the nails.
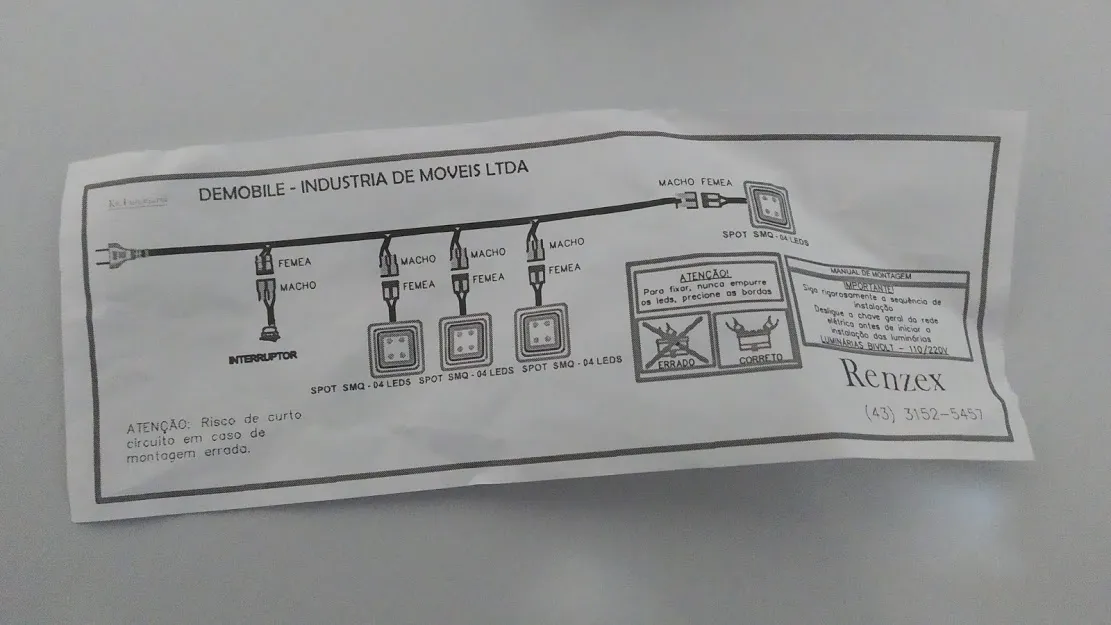
Bring an instruction manual where it helps you identify each piece by numbers and then tells you how to put it together.
.
Al comprarlo trae todo lo necesario para armarlo solo se necesitaría algunas herramientas como destornillador de estría y plano además de un martillo para los clavos.
Trae un manual de instrucciones donde te ayuda a identificar cada pieza por números y luego te va indicando como armarlo.
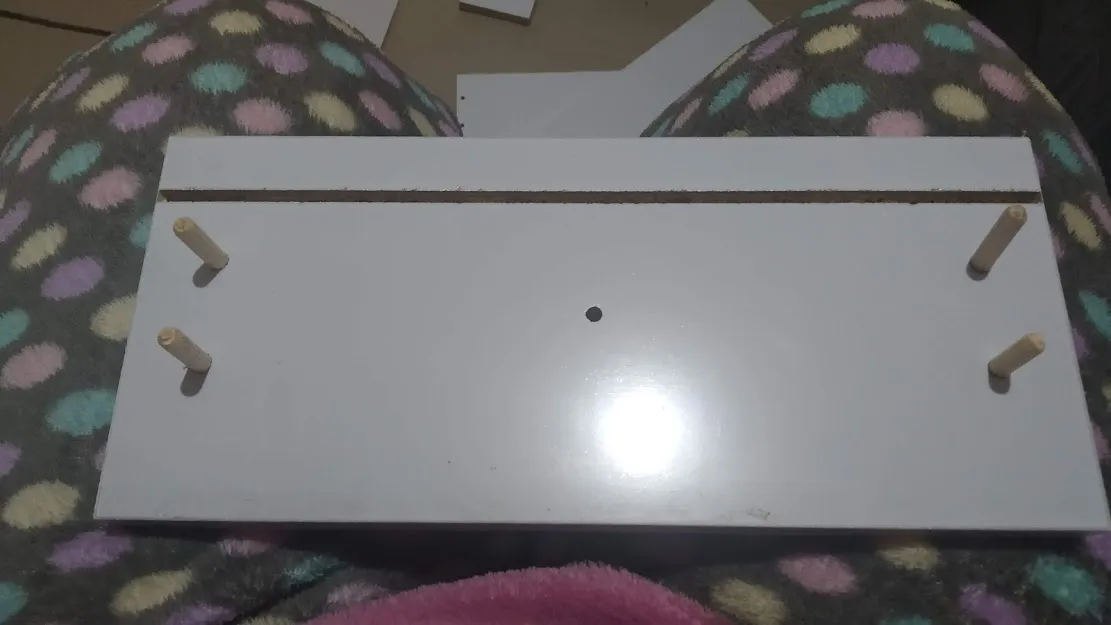
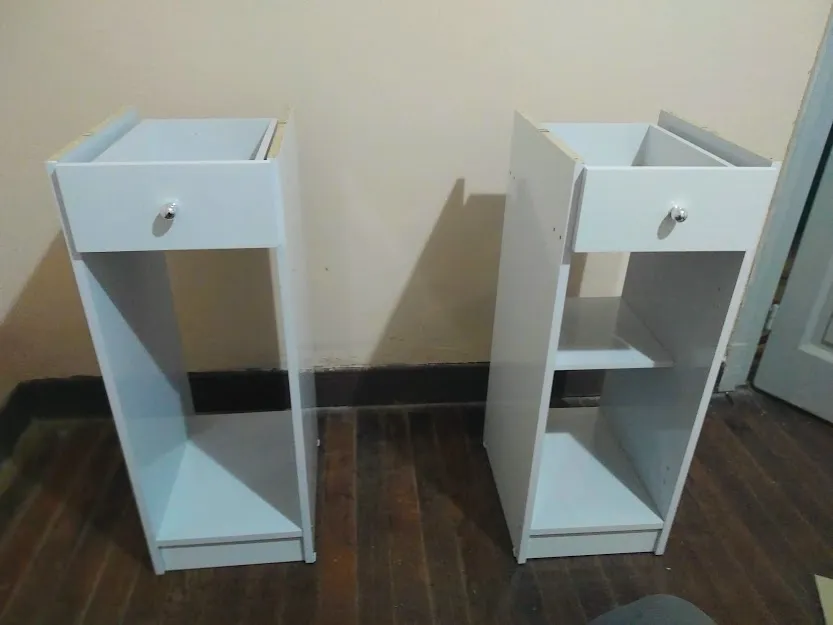
We started with the two small drawers on the sides and the large central one, it basically consisted of joining the four pieces to form a square using the wooden sticks and small screws, fixing each drawer with corners, then fitting the lower part and fixing it with the rails interiors.
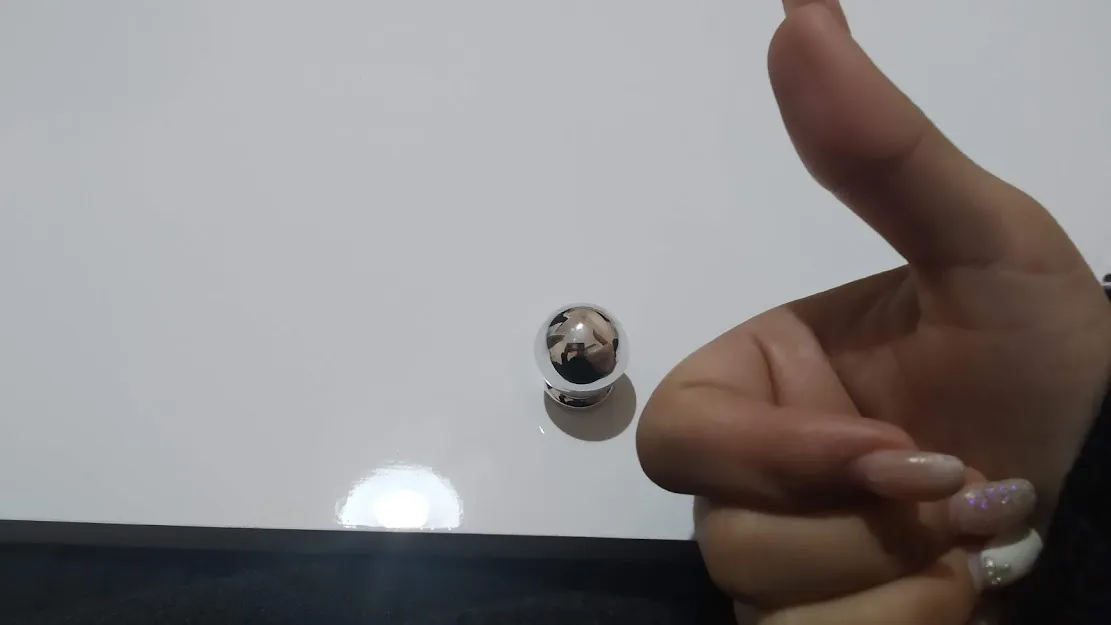
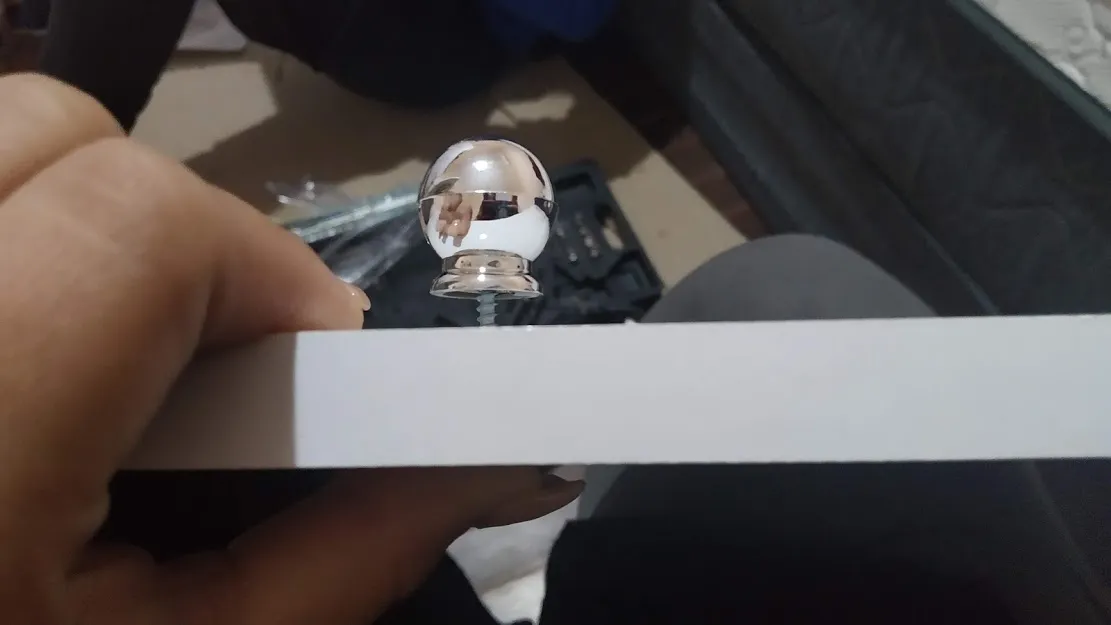
When that is finished, the drawer knob is fixed with a large screw and it is ready to assemble when the rest of the dresser is ready.
The process is exactly the same for each one, so we repeat the process 3 times until the three central drawers are ready.
.
Comenzamos por los cajones dos pequeños de los lados y el central grande, consistía básicamente en unir las cuatro piezas para formar un cuadrado utilizando los palitos de madera y tornillos pequeños, fijando con esquineras cada cajón, luego encajar la parte inferior y fijarla con los rieles interiores.
Cuando eso esta terminado se fija con un tornillo grande el pomo del cajón y ya esta listo para ensamblar cuando el resto del tocador este listo.
El proceso es exactamente el mismo para cada uno así que repetimos el proceso 3 veces hasta conseguir tener listas los tres cajones centrales.
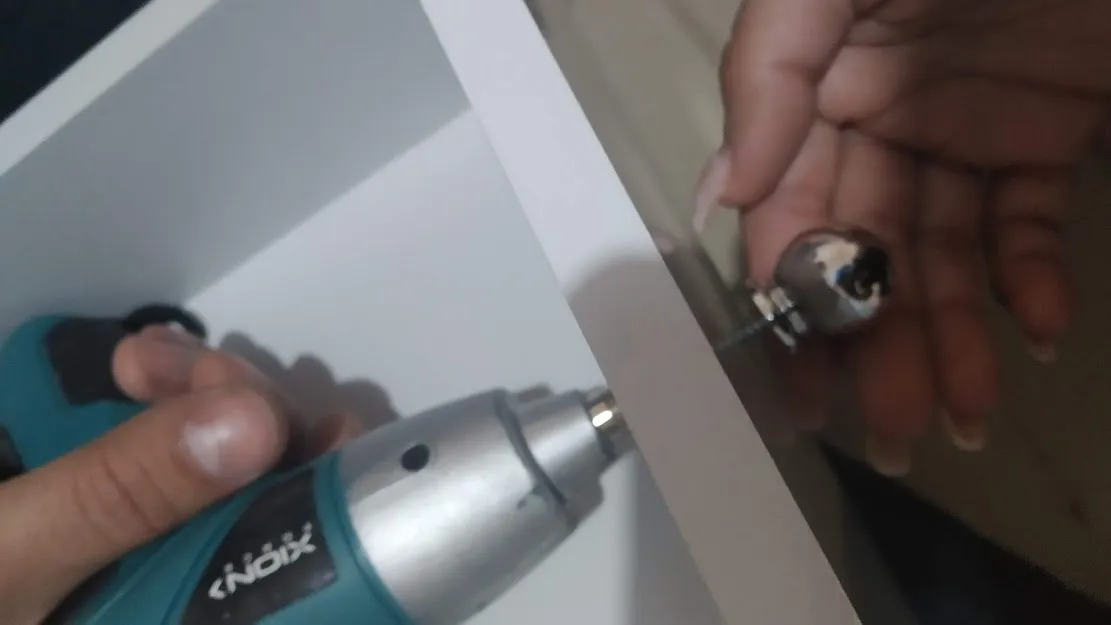
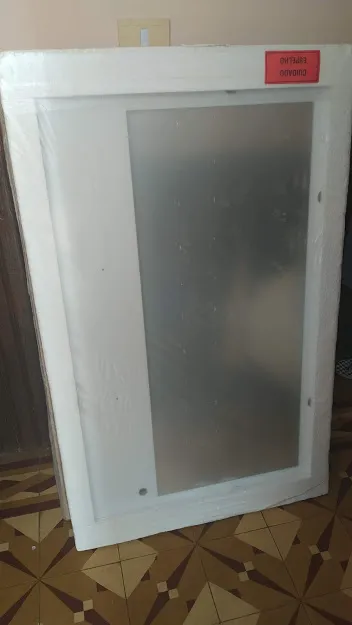
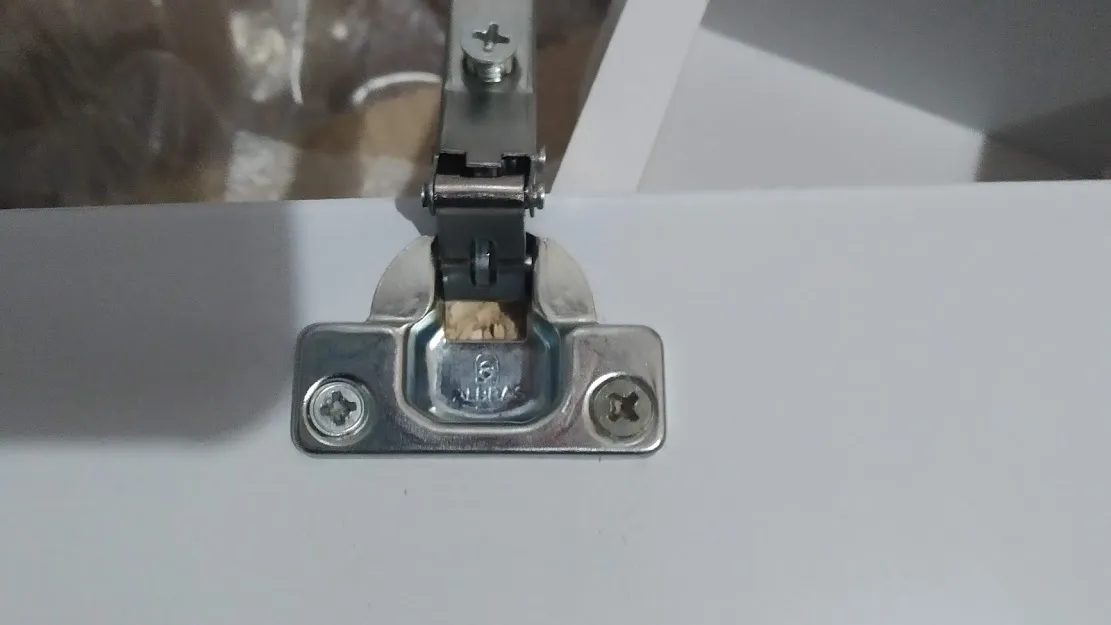
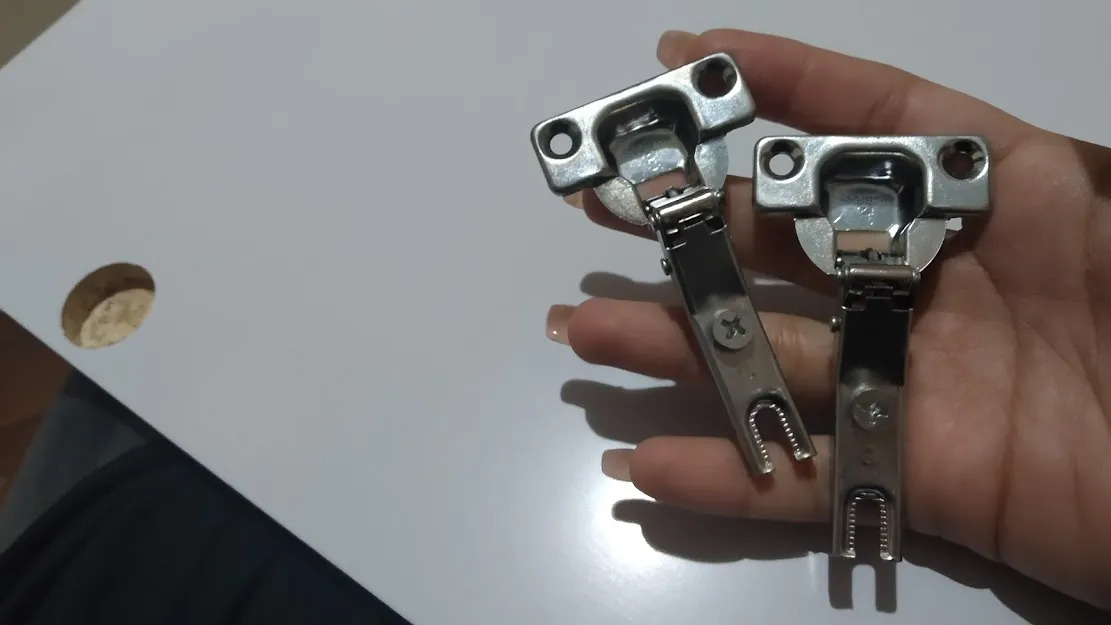
Then we began to assemble the doors of the dressing table, which is one of the simplest steps is based on placing the knobs and fixing the hinges in the two holes that they have for that piece, then the hinge is fixed with two screws and it is ready to go. assemble into the main part.
It is important to be aware that the hinge is straight to avoid that the door is out of square later.
Luego nos pusimos a armar las puertas del tocador, que es uno de los pasos mas simples se basan en colocarle los pomos y fijar las bisagras en los dos huecos que tienen para esa pieza, luego la bisagra de fija con dos tornillos y esta lista para ensamblar en la pieza principal.
Es importante estar pendientes que la bisagra queden derechas para evitar que luego la puerta quede descuadrada.
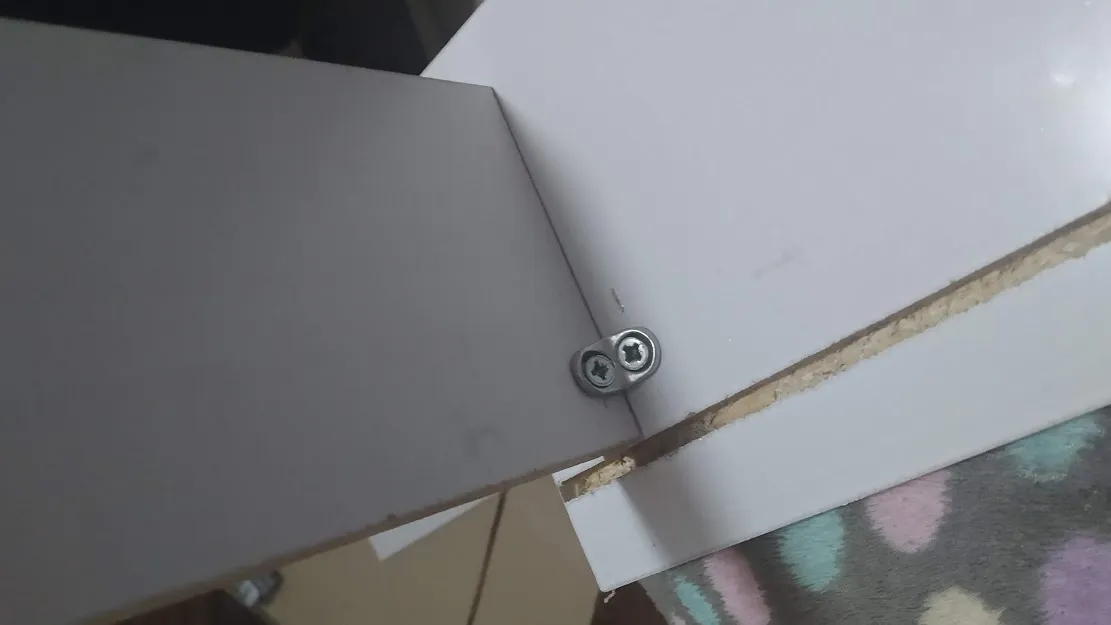
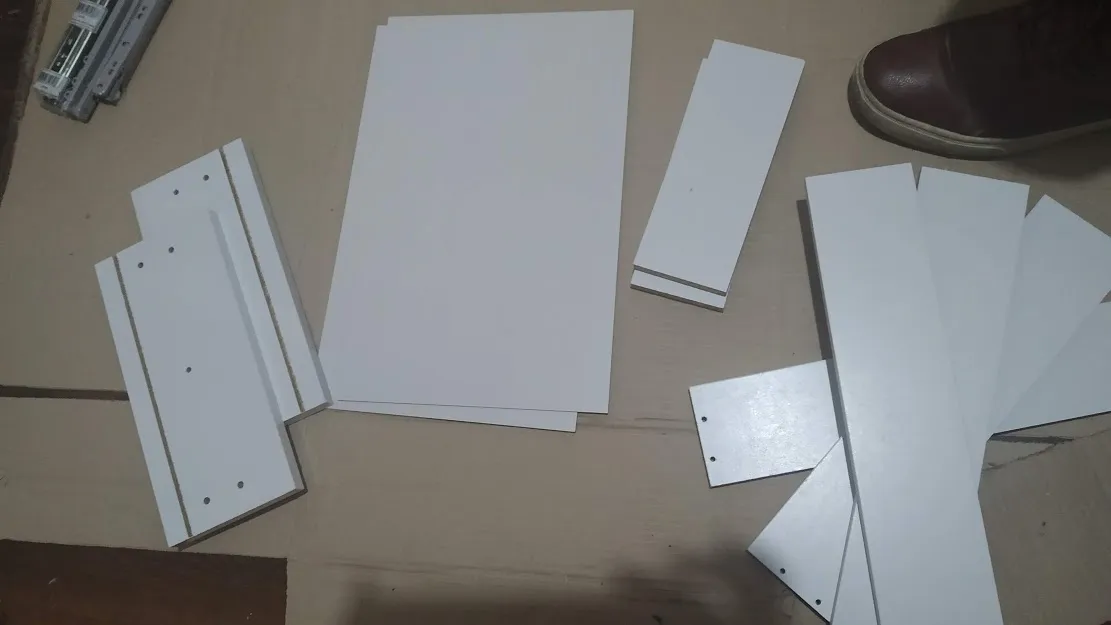
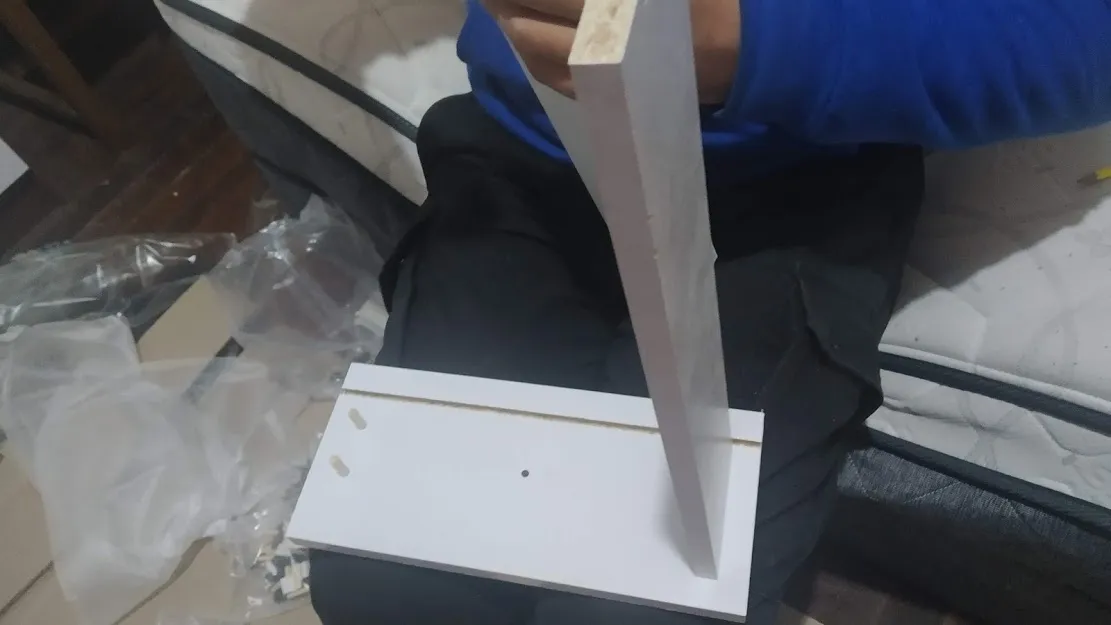
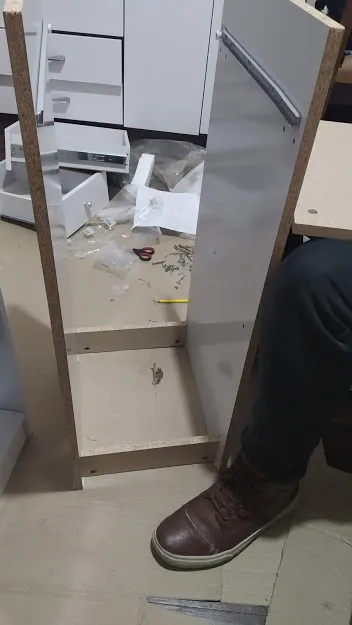
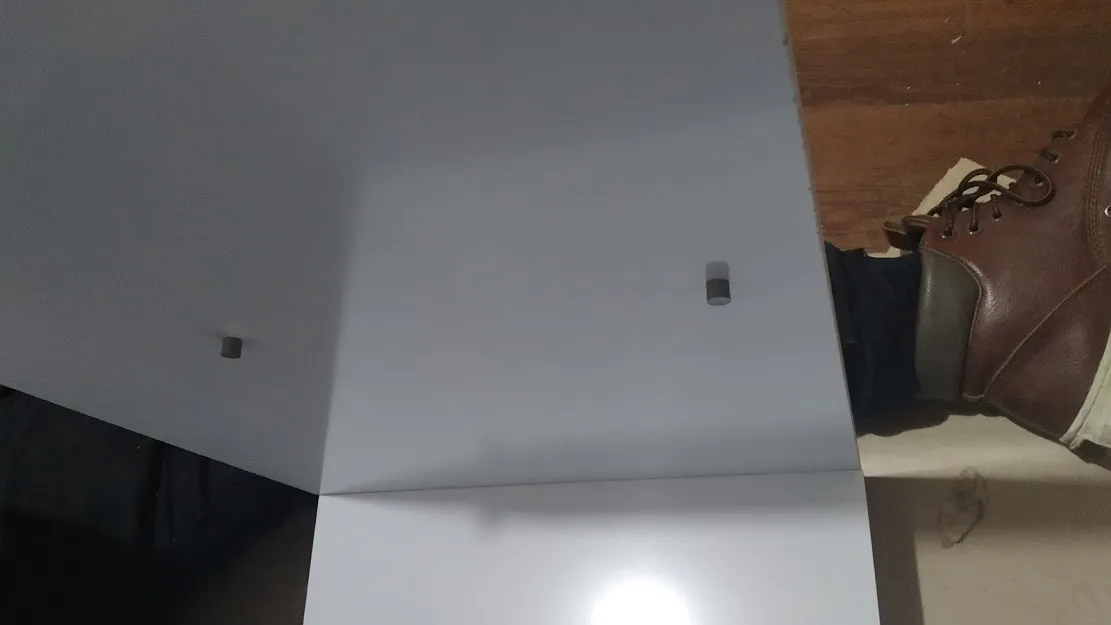
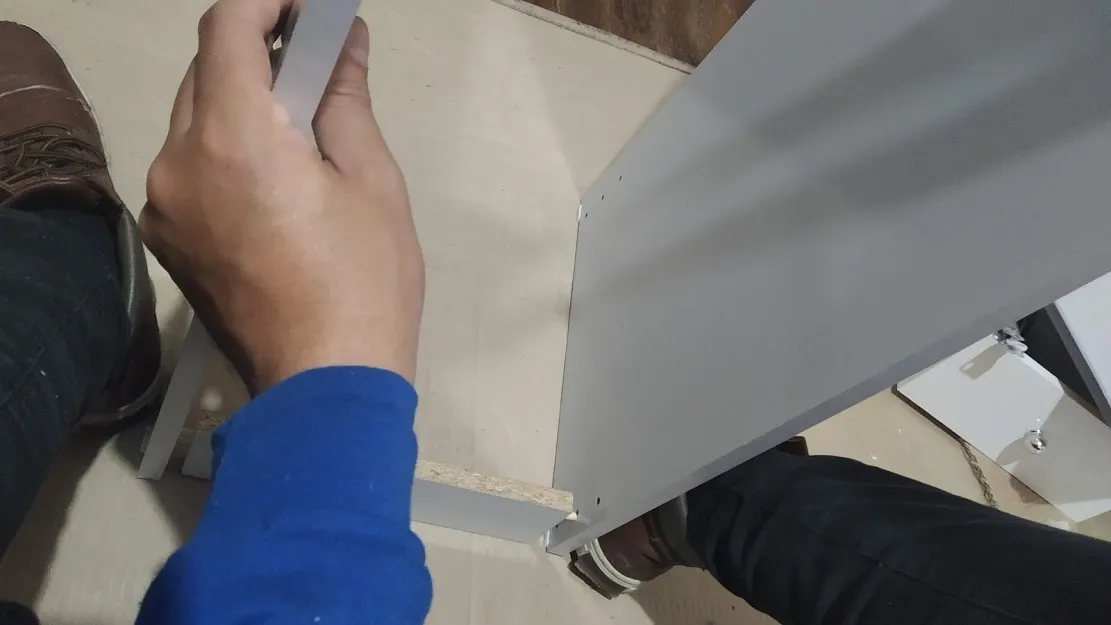
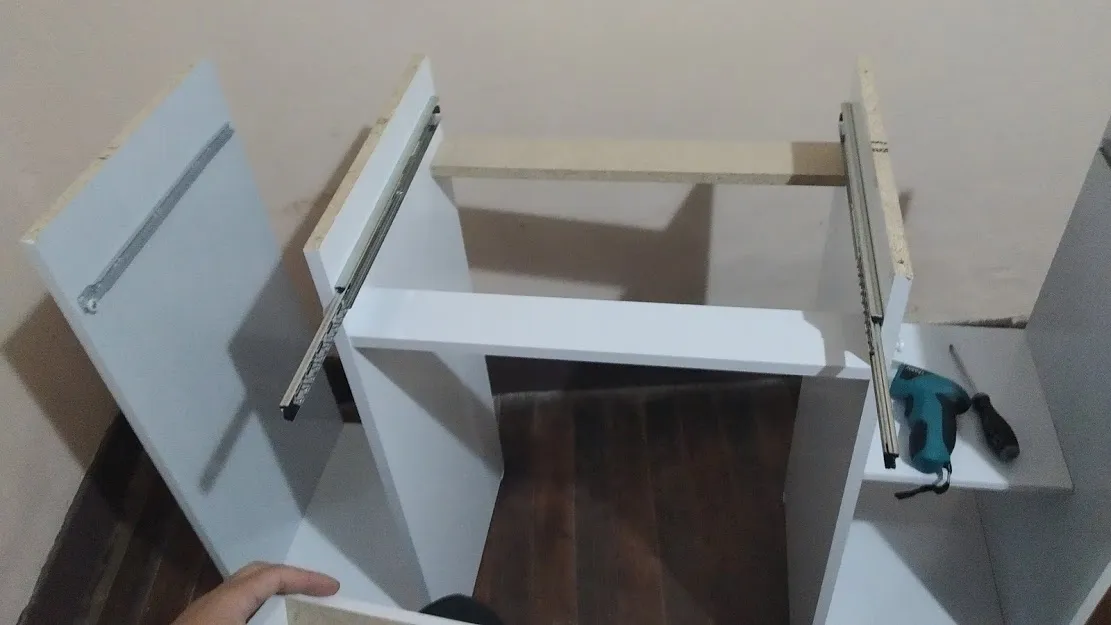
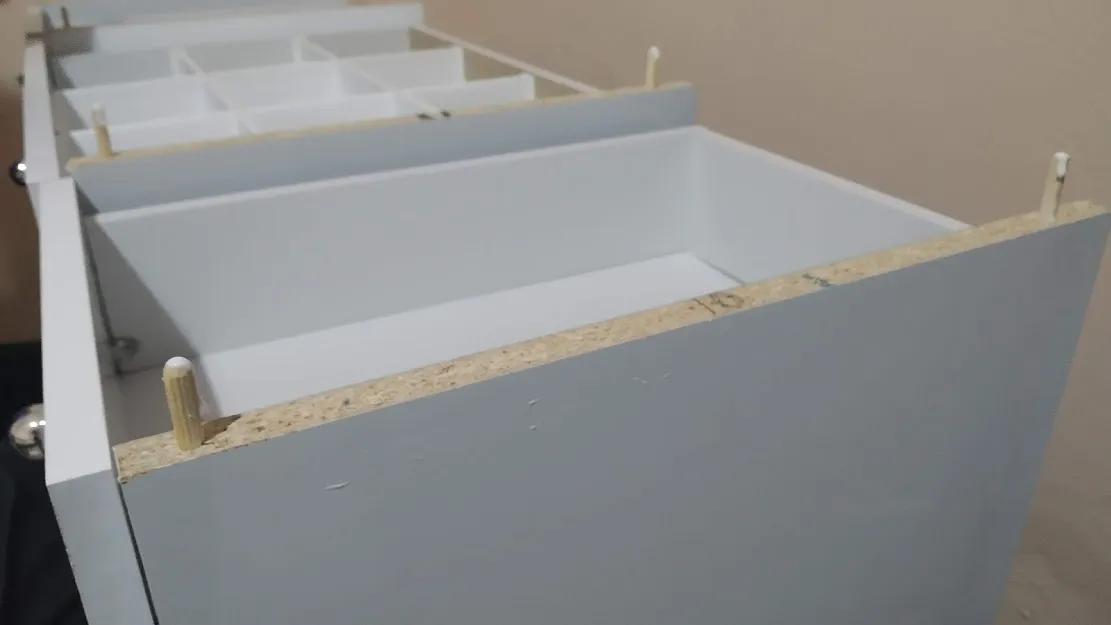
The next step consisted of assembling the two feet of the furniture, which in turn is the place where two of the drawers that we assembled in step one would go, the 4 large pieces are divided into two parts and two of them are fixed with two small dowels made of wood, it is important to take into account that the smooth side is the one that would be outside the dresser and be clear when separating the pieces.
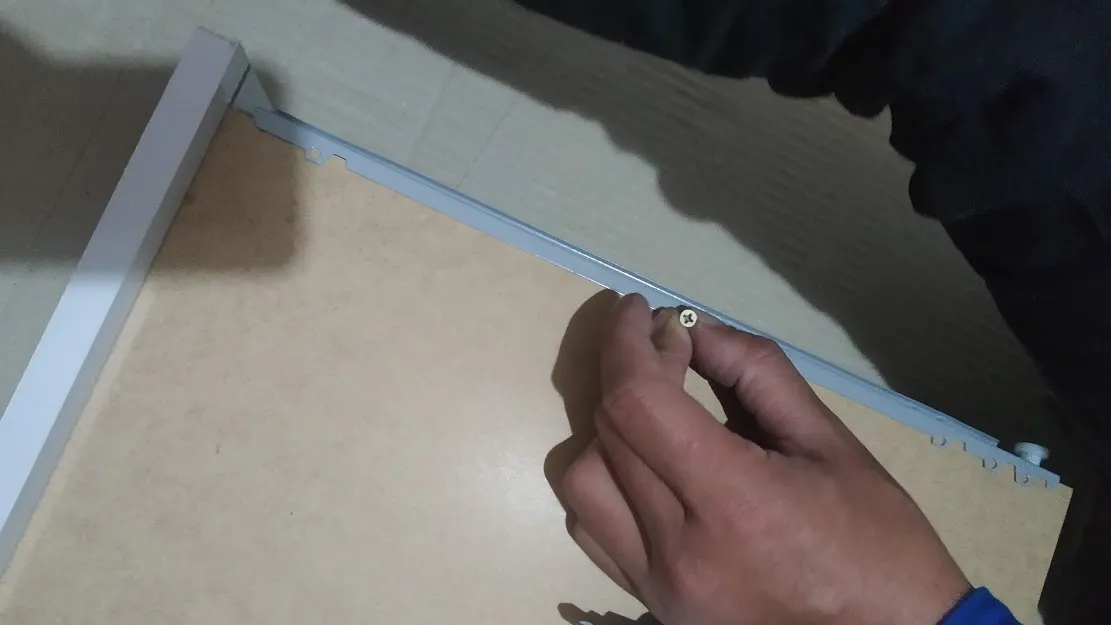
The left side is empty with the drawer at the top, on the other hand the inquiring side has a small stop that is folded with rubber bands, we must also remember to fix the rails at a height that works with the rails of the drawers.
As the material of the dresser is MDF, we must be careful to follow all the steps to the letter so as not to damage it.
El siguiente paso consistía en armar los dos pies del mueble que a su vez es el lugar donde irían dos de los cajones que armamos en el paso uno, las 4 piezas grandes se dividen en dos partes y se fijan dos de ellas con dos pequeños tacos de madera, es importante tener en cuenta que el lado liso es el que seria exterior de la cómoda y tener claro al momento de separar las piezas.
El lado izquierdo es vacío con el cajón en la parte superior, en cambio el lado inquiero tiene un pequeño tope que se foja con gomas, también debemos recordar fijar los rieles a una altura que funcione con los rieles de los cajones.
Como el material de la cómoda es MDF debemos tener cuidado de seguir todos los pasos al pie de la letra para no dañarlo.
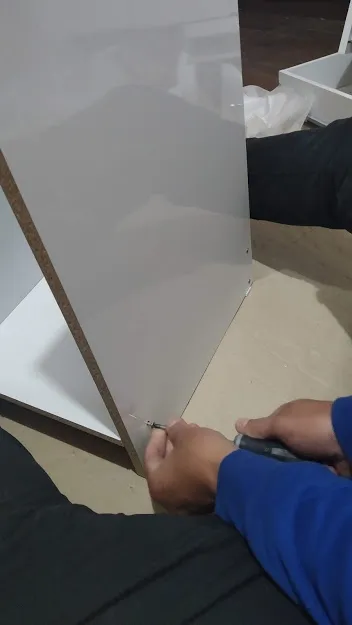
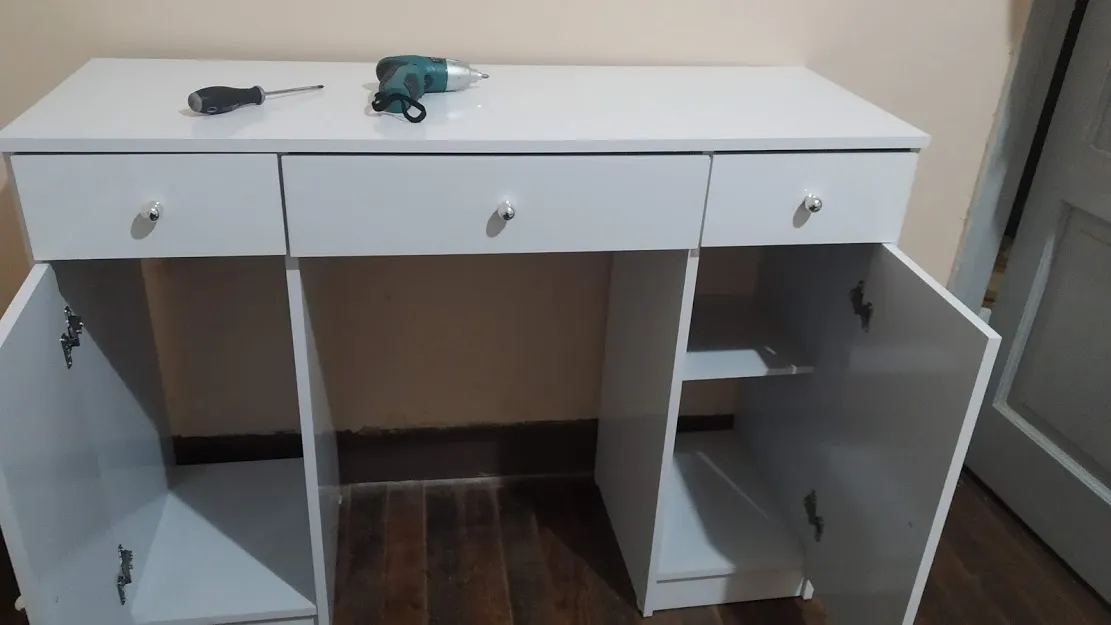
With the most cumbersome part ready, we finished installing the central rail for the largest drawer and the four hinges where the ones we installed in step two leverage them.
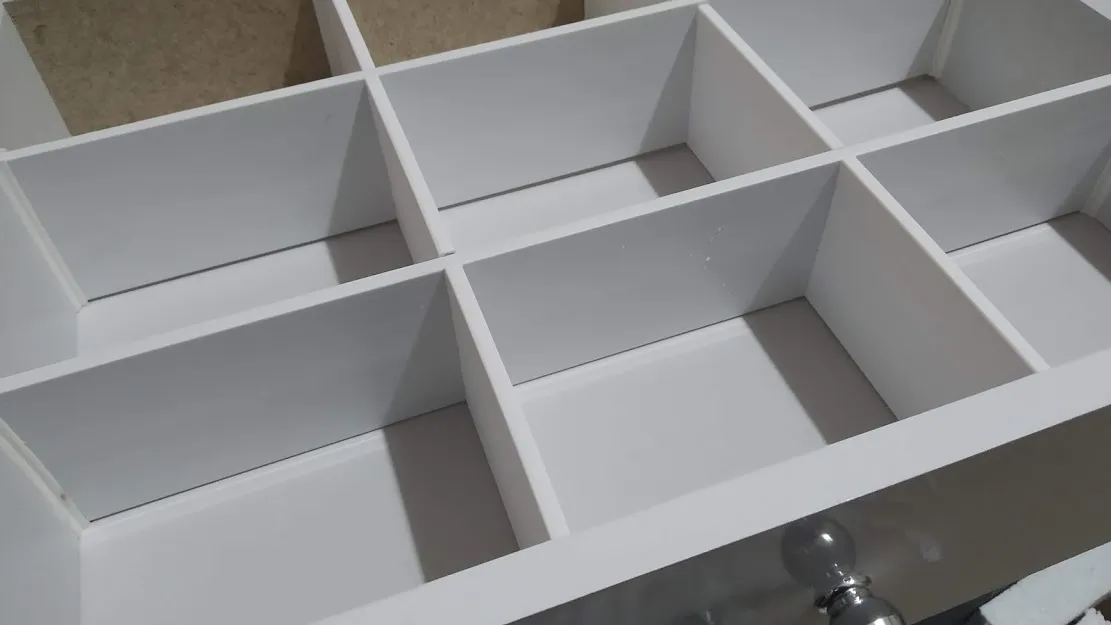
Then we assemble the separator into squares and put it on the central drawer, between the two legs that we assembled in the previous step there are two guides under the central drawer that serve to prevent the piece from sagging, we place them with long screws and finish putting the piece larger than the wooden top.
Con la parte mas engorrosa lista terminamos de instalarle el riel central para el cajón mas grande y las cuatro bisagras donde las a hacen palanca las que instalamos en el paso dos.
Luego armamos el separador en cuadriculas y se lo ponemos a el cajón central, entre las dos patas que armamos en el paso anterior van dos guías debajo del cajón central que sirven para evitar que la pieza de pandee, esas las colocamos con tornillos largos y culminamos poniendo la pieza las grande que el tope de madera.
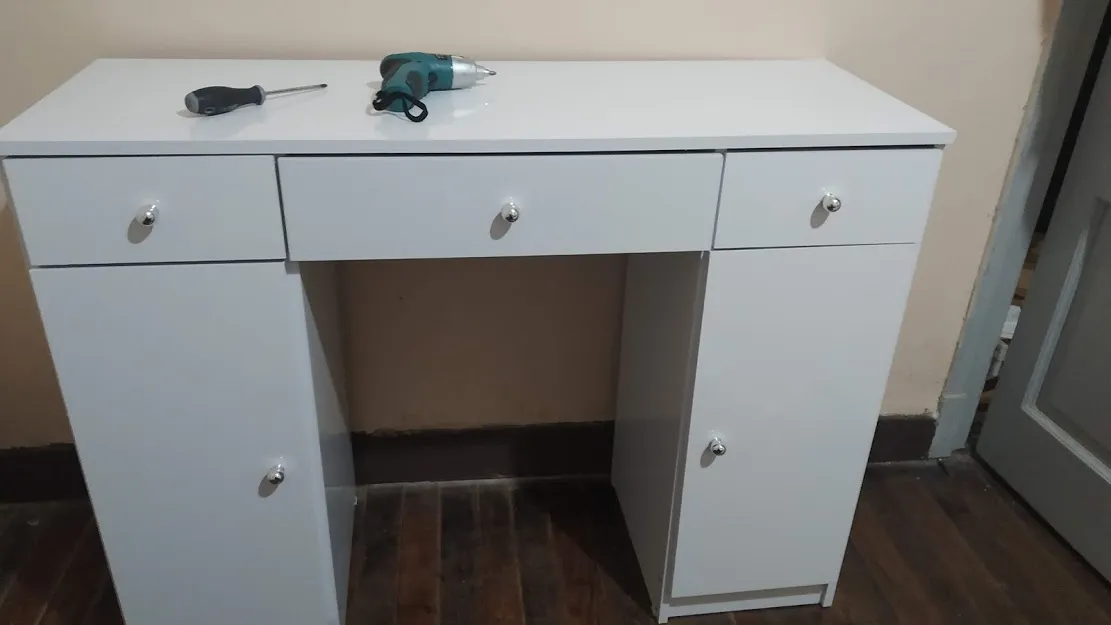

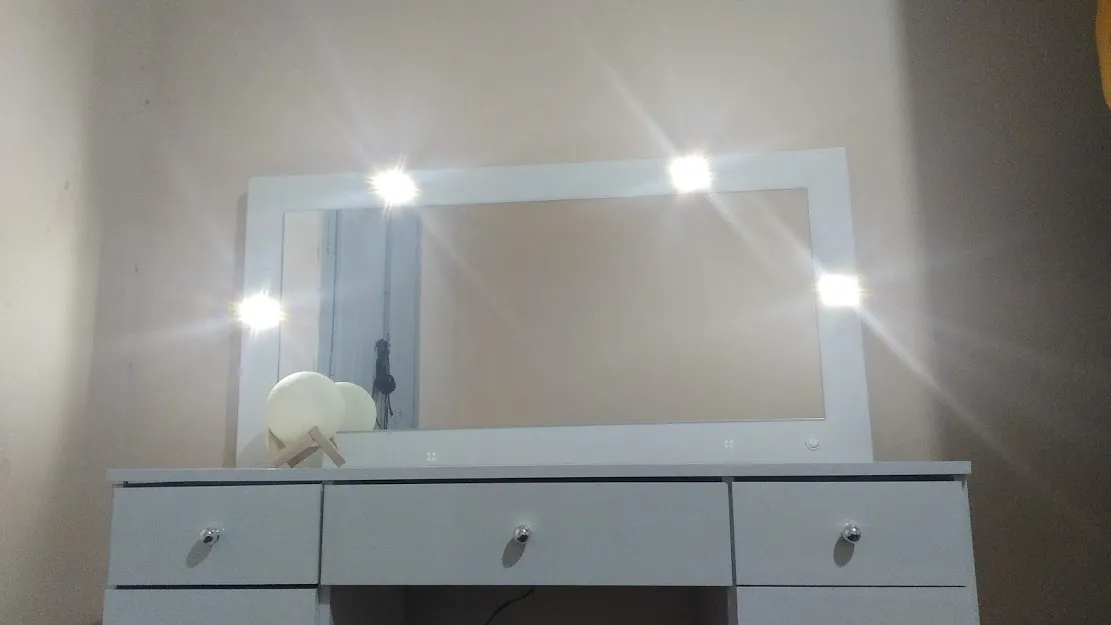
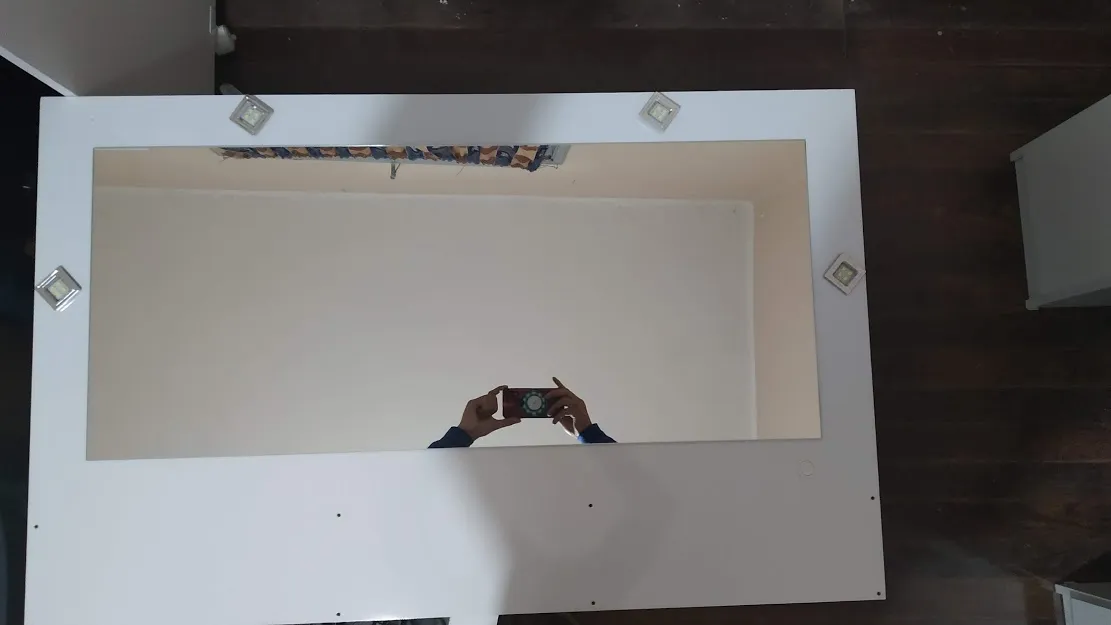
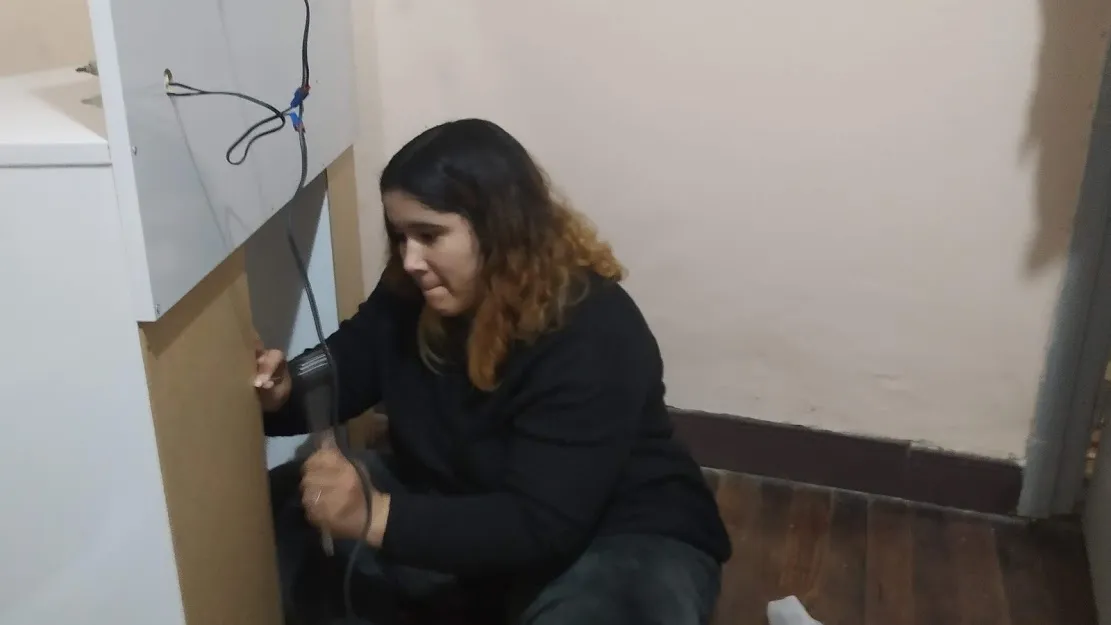
To finish, we unpack the mirror and fix it to the piece that we finished in the previous step, then we do the electrical installation that basically consists of joining the red parts with the blue ones and square them in the holes that the mirror piece brings, these being 4 lights led and a button.
Finishing nailing the back covers of the two lower parts, after this you connect it to the electricity and the dresser is ready!
.
Para culminar desembalamos en espejo y lo fijamos a la pieza que culminamos en el paso anterior, luego hacemos la instalación eléctrica que consiste básicamente en unir las partes rojas con las azules y cuadrarlas en los huecos que trae la pieza del espejo, siendo estas 4 focos led y un botón.
Culminando el clavar las tapas traseras de las dos partes inferiores, luego de esto lo conectas a la electricidad y el tocador esta listo!

I can only say thank you! I was waiting for many months to buy it as it is not something essential for my life, I decided to save in Hive to buy it and currently although I buy it with my money because it was taking advantage of the Cyber Monday offer, in a couple of days when the price improves I will change to replace the money on the card that I use for it.
Beyond the beauty of the furniture, it is a perfect place to store and organize the pieces of my business, as well as a place to make the garments that I love making so much.
Solo puedo decir ¡gracias! estuve esperando por muchos meses para comprarlo como no es algo indispensable para mi vida, decidí ahorrar en Hive para comprarlo y actualmente aunque lo compre con mi dinero porque fue aprovechando la oferta de Cyber Monday, en un par de días cuando el precio mejore voy a cambiar para reponer el dinero de la tarjeta que utilice para ello.
Mas allá de lindo del mueble es un perfecto lugar para almacenar y organizar las piezas de mi emprendimiento, así como un lugar para realizar las prendas que tanto amo hacer.


Esto ha sido todo por hoy, si te gusta lo que hago, siente libertad de ayudarme a seguir
This has been all for today, if you like what I do, feel free to help me continue
Δ
https://www.paypal.me/carlagonz
Δ
El ingles no es mi idioma natal, me ayudo de traductores para realizar estos post
Todas las fotos son de mi propiedad tomadas con Xiaomi redmi 7
English it is not my native language, I help myself with translators to make these posts
All photos are my property taken with Xiaomi redmi 7

Muchas gracias por leer
Ten un bonito y feliz día
Con amor Carla Gonzalez Venezolana en Uruguay
Thanks so much for reading
Have a nice and happy day
With love Carla Gonzalez Venezolana in Uruguay
 ❤️
❤️ ❤️
❤️ ❤️
❤️ ❤️
❤️
