Saludos querida comunidad hoy les voy a presentar mi segunda práctica decorando mi casa con el programa Sweet Home 3D. En esta ocasión logre colocar textura y color a las paredes, además de pintar cada una de las puertas y ventanas, al final inserte los mobiliarios dentro de cada una de las habitaciones, cocina y baño. Vamos a comenzar para que puedan ver como lo hice.
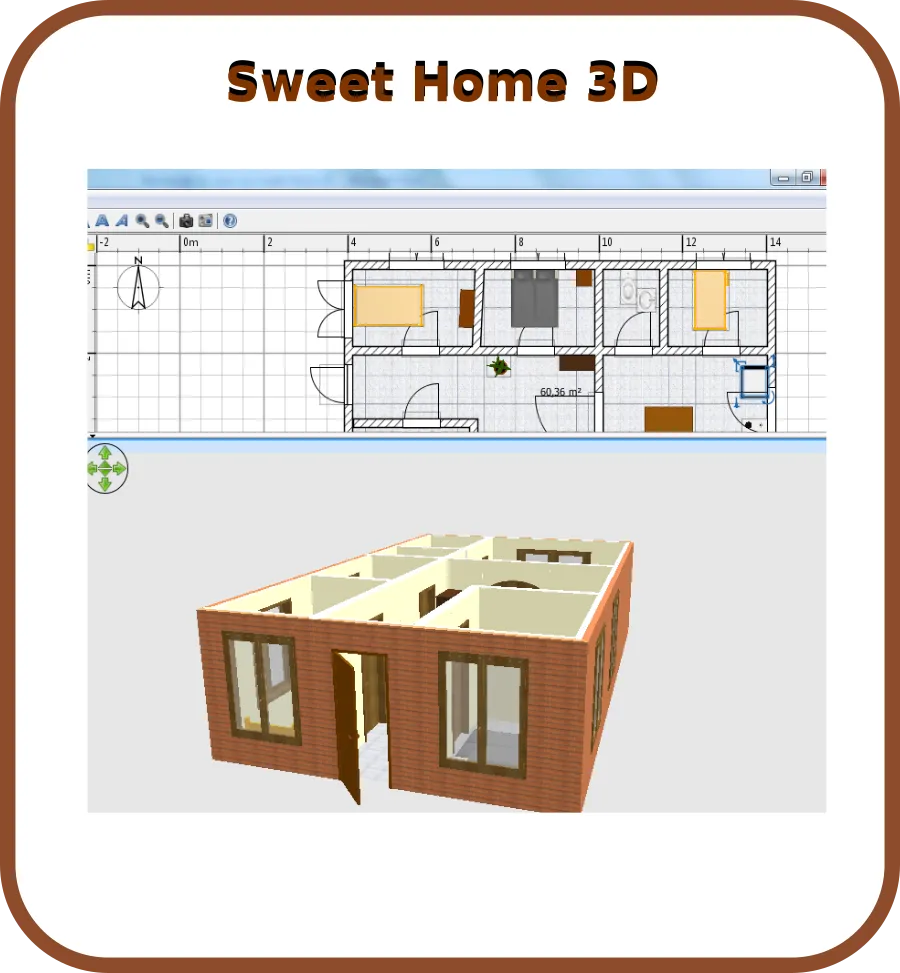
Decorating my house with Sweet Home 3D - Practice 2 /Decorando mi casa con Sweet Home 3D – Practica 2
Remembering as a first step that it is:
Recordando como primer paso que es:
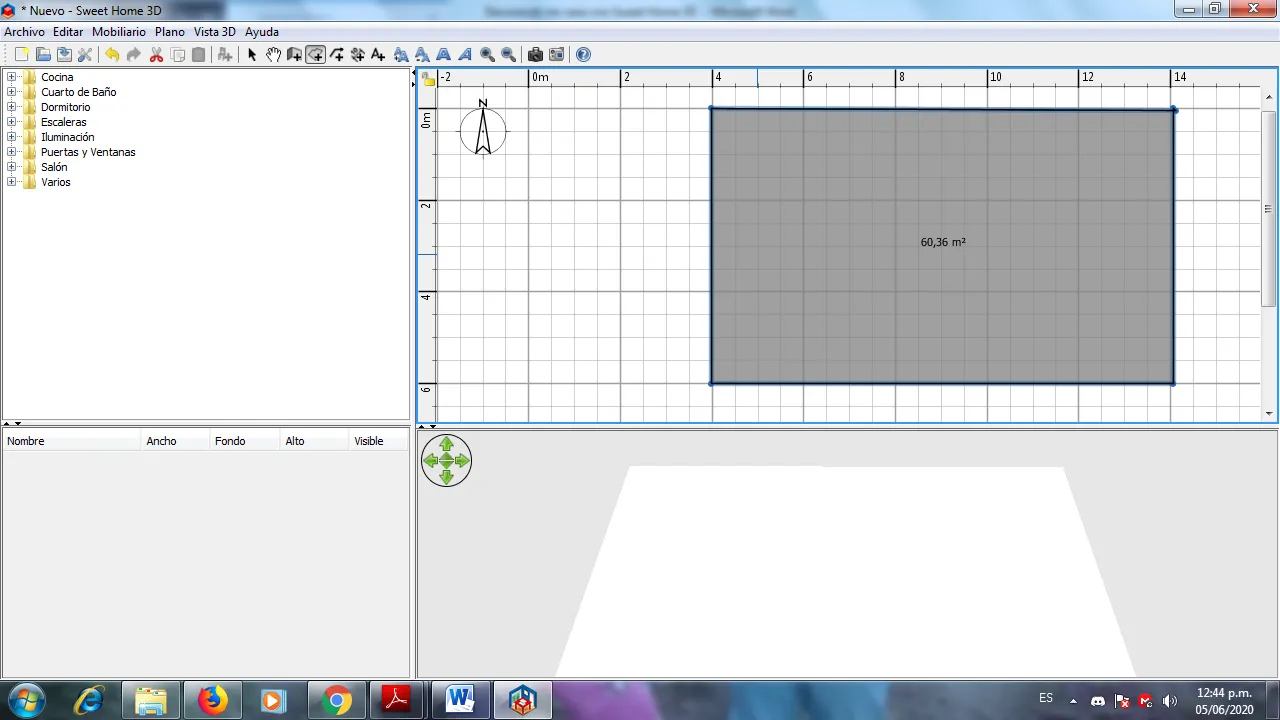
We click create room to draw our plan.
Hacemos clic en crear habitación para trazar nuestro plano.
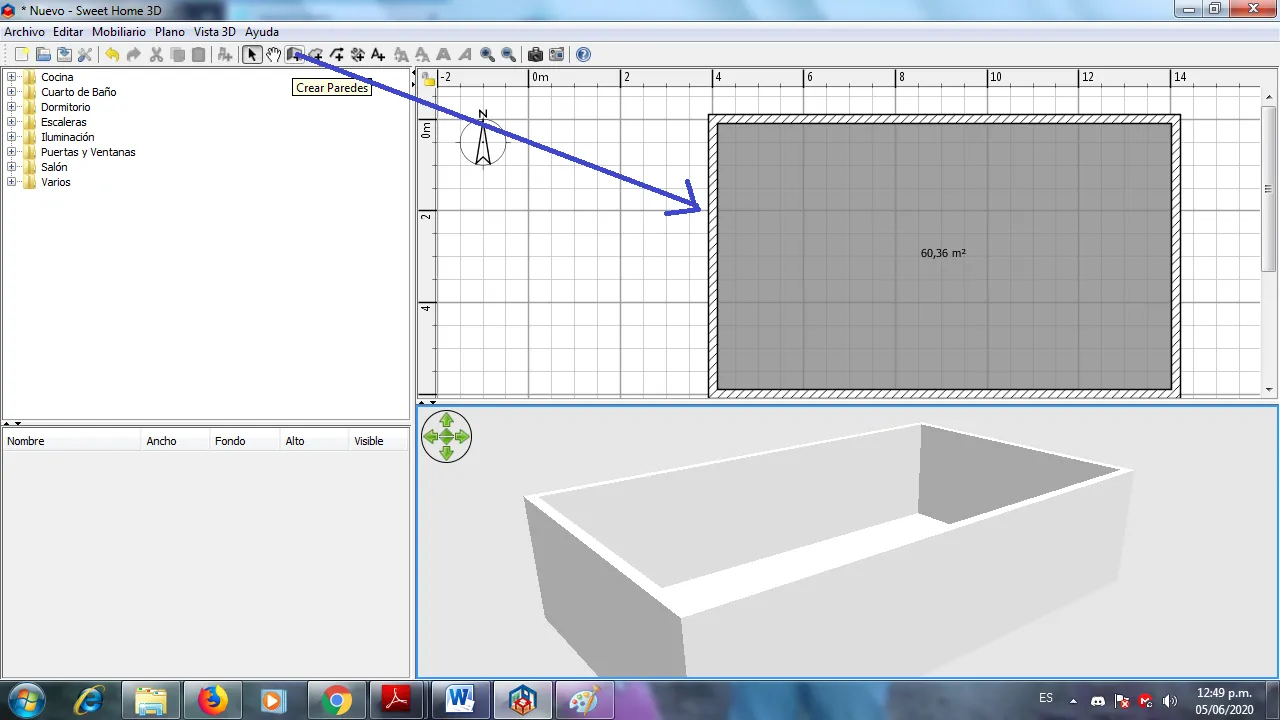
We insert the walls in the option to create walls
Insertamos las paredes en la opción de crear paredes
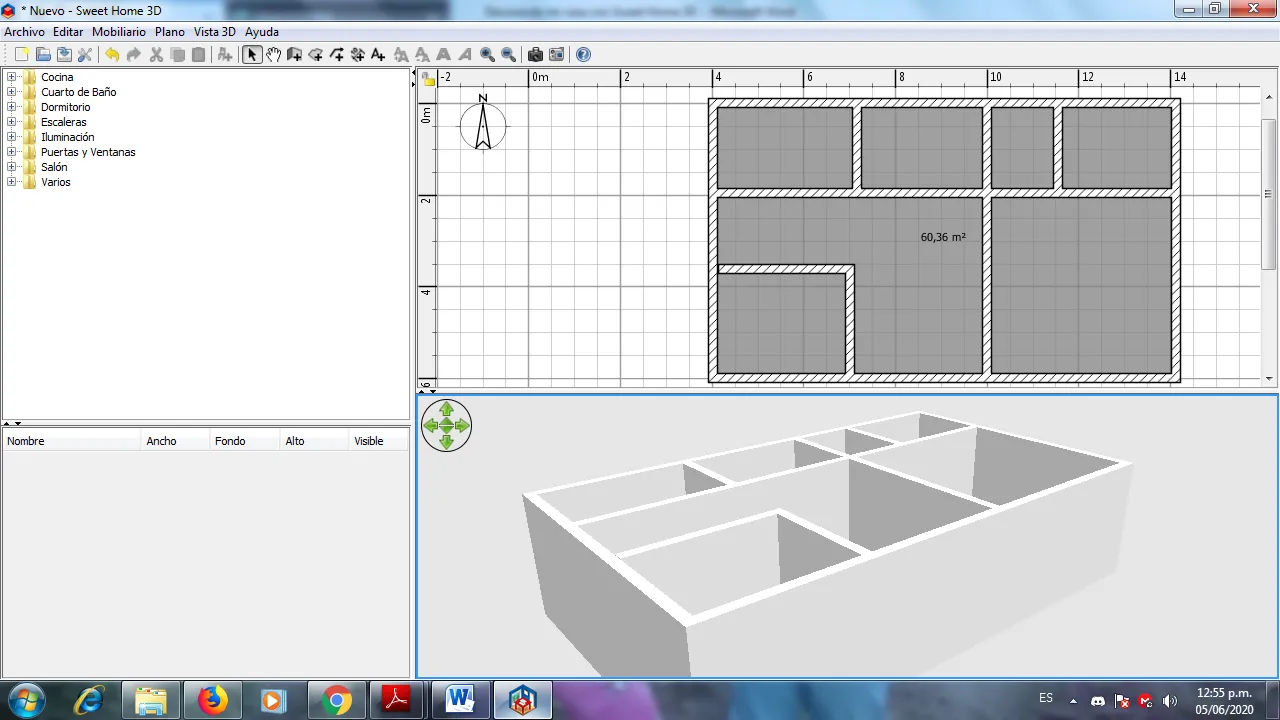
We make the divisions with the previous option
Realizamos las divisiones con la opción anterior
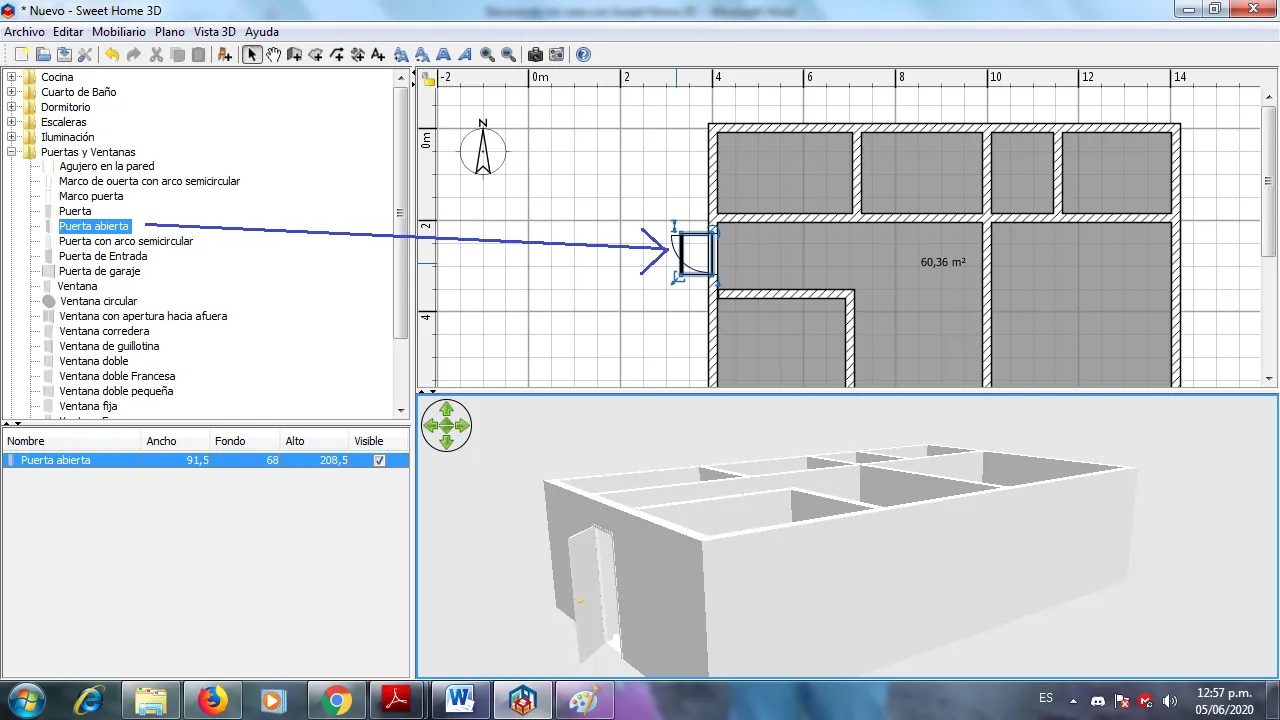
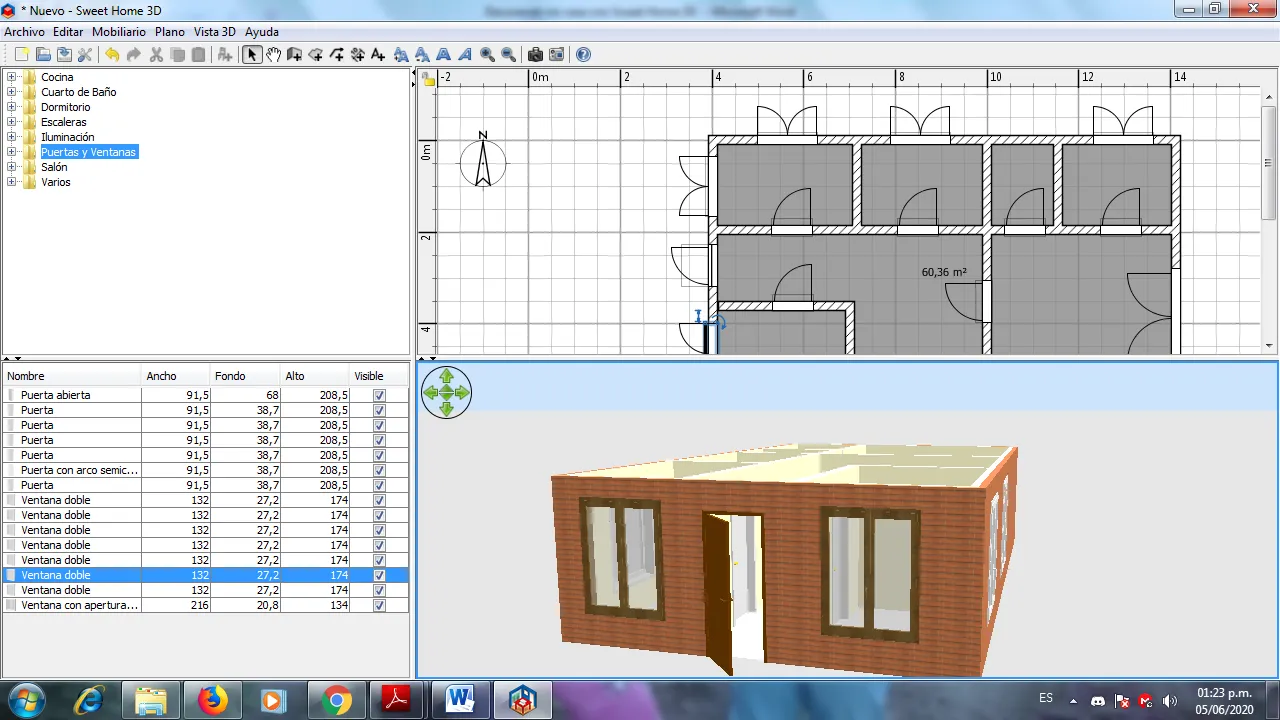
Now we proceed to insert each the doors and windows that it will have, we click on Doors and Windows and move it to the place where it goes. At the bottom we can see the 3d view
Ahora procedemos a insertar cada las puertas y ventanas que tendrá, le damos clic en Puertas y Ventanas y la desplazamos al lugar donde va. En la parte de abajo podemos visualizar la vista 3d
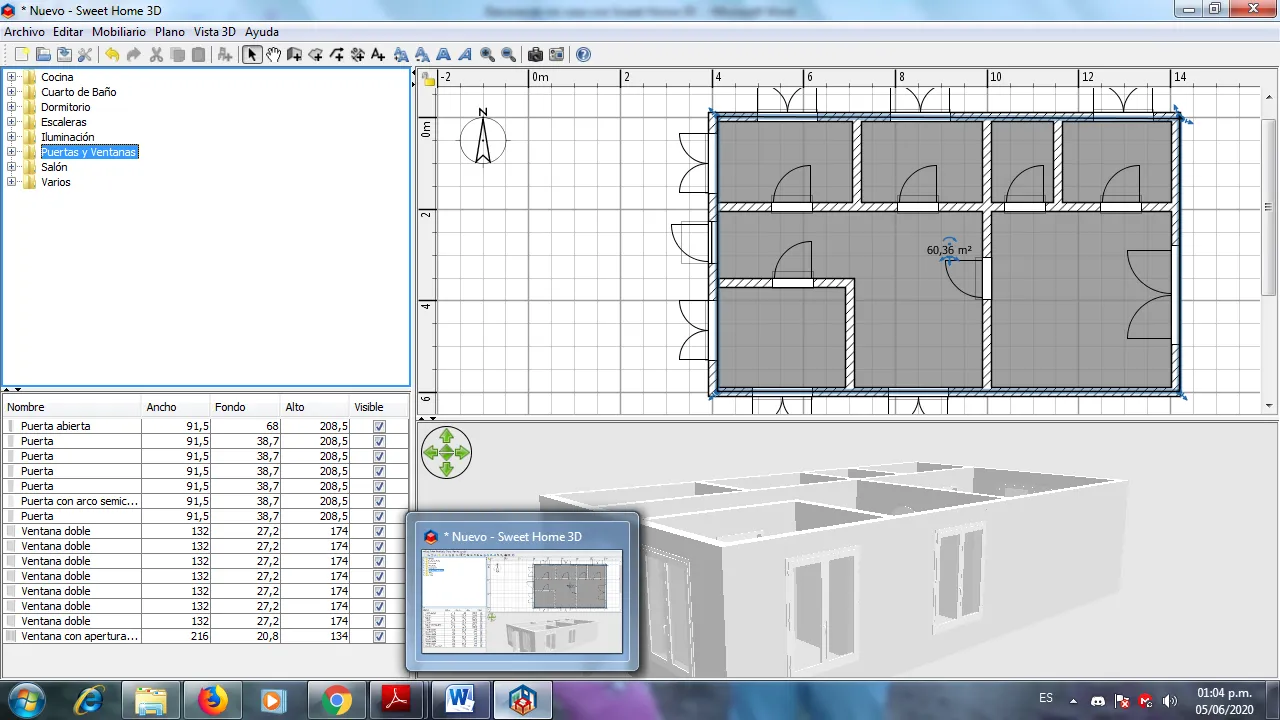
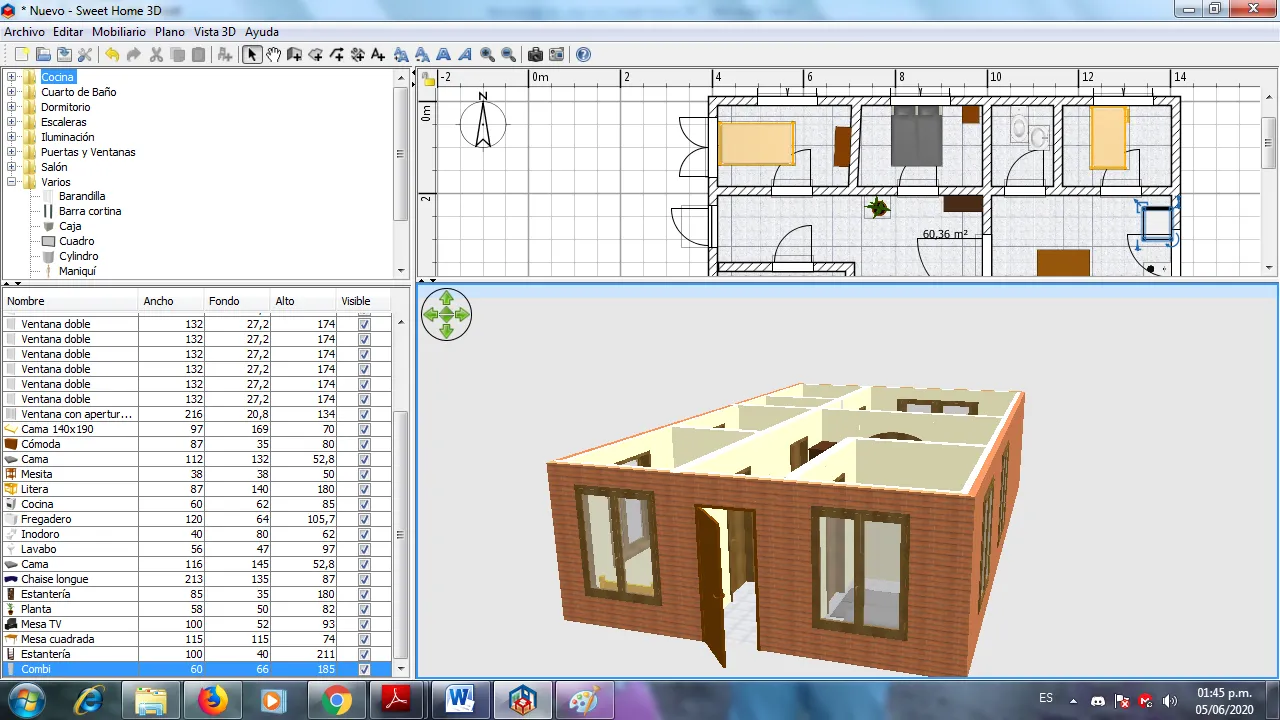
Here we already have the house with doors and windows
Here we already have the house with doors and windows
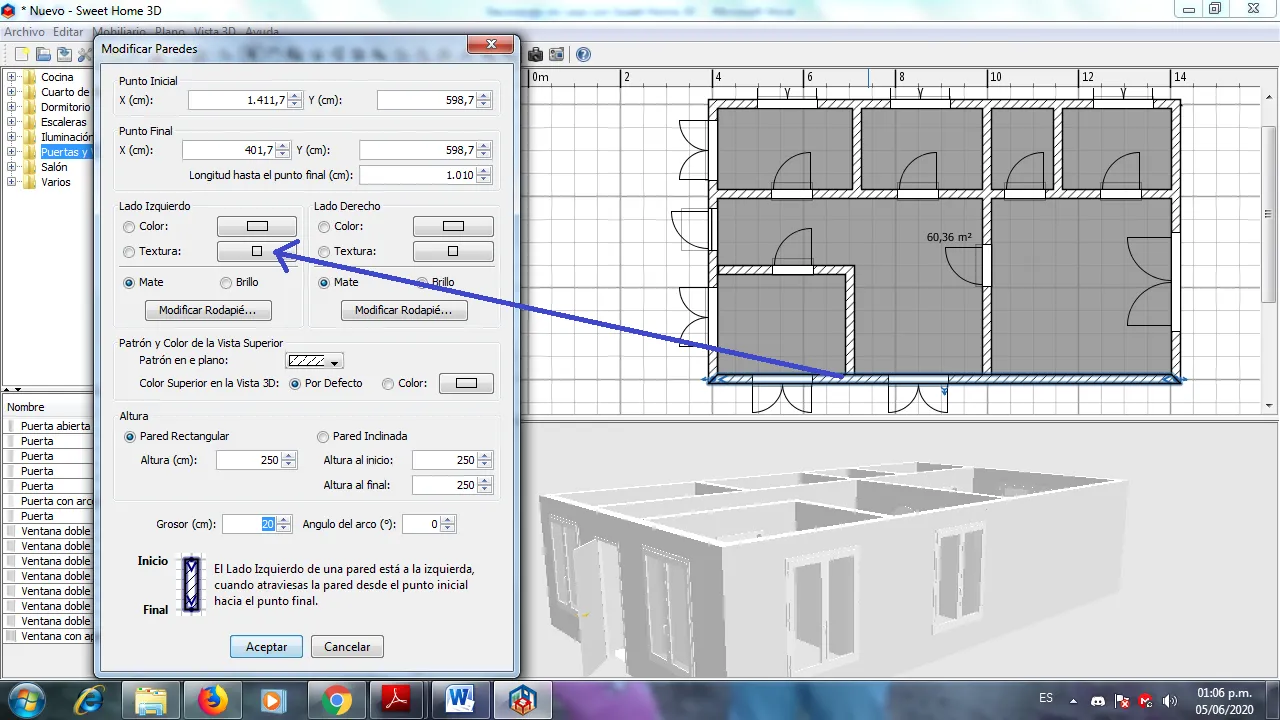
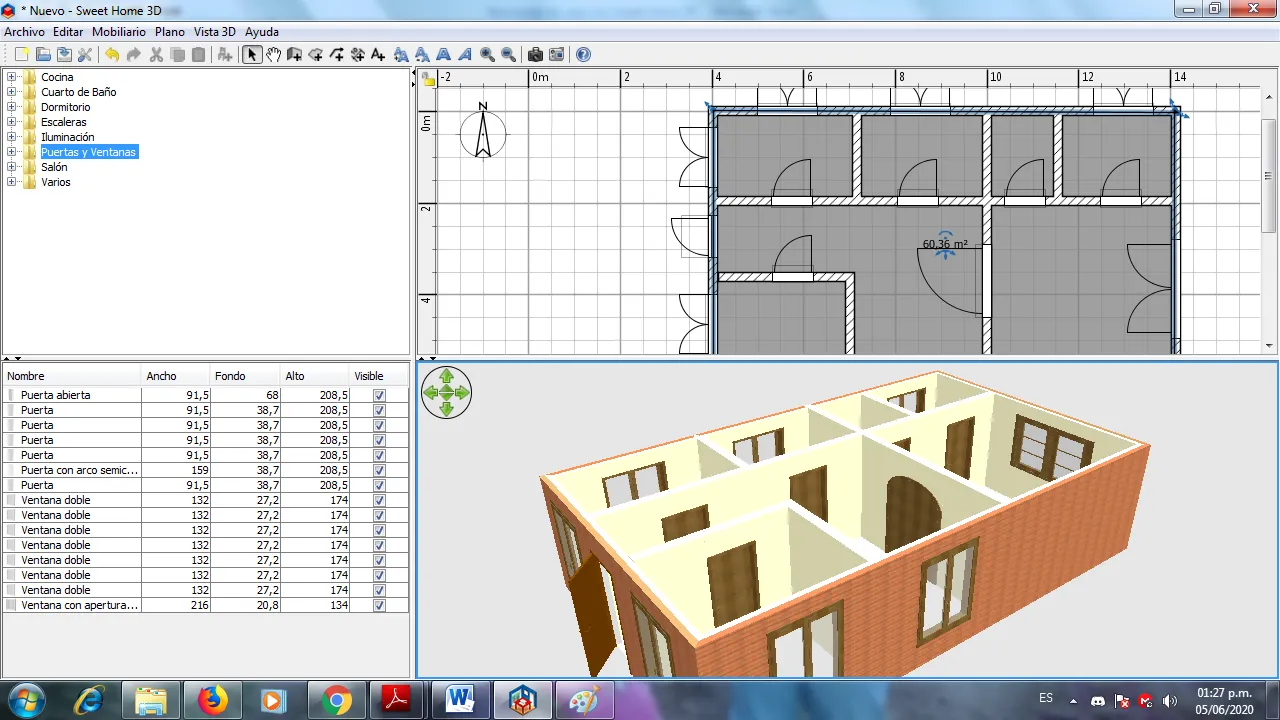
Now if we start decorating our house, we double click on the wall and select the texture
Ahora si comenzamos a decorar nuestra casa, le damos doble clic en la pared y se selecciona la textura
So it goes
Así va quedando

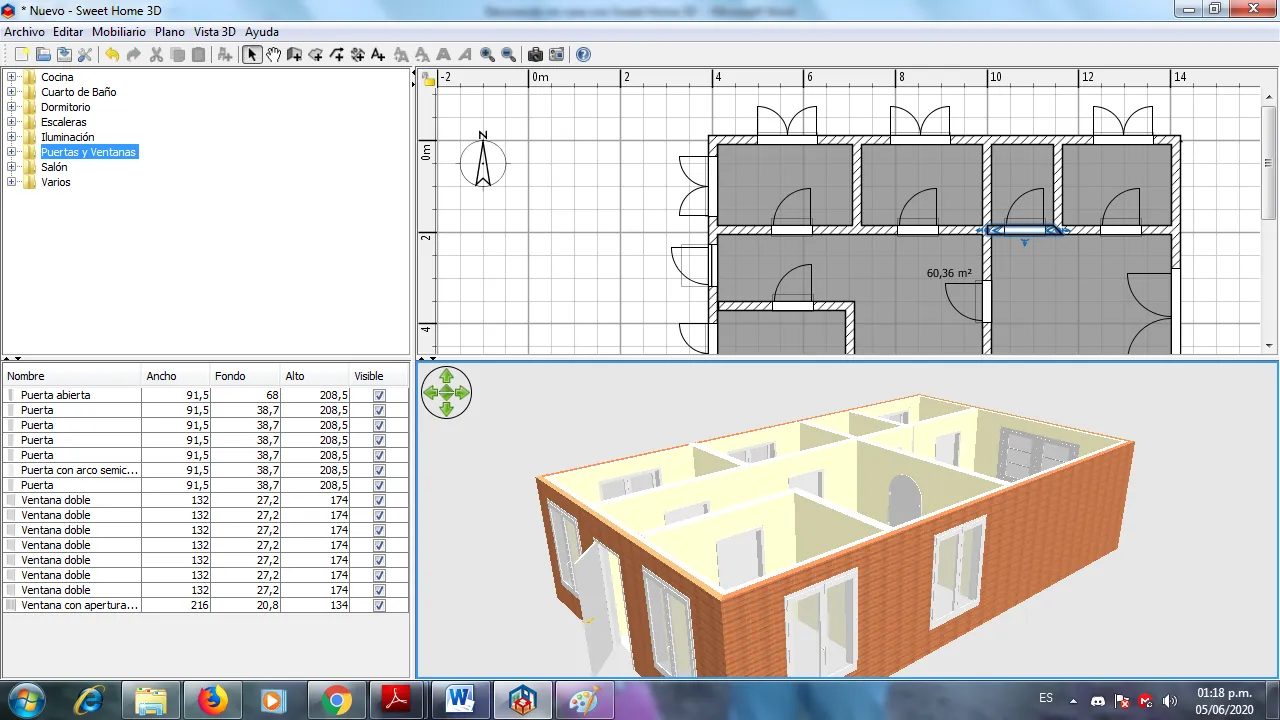
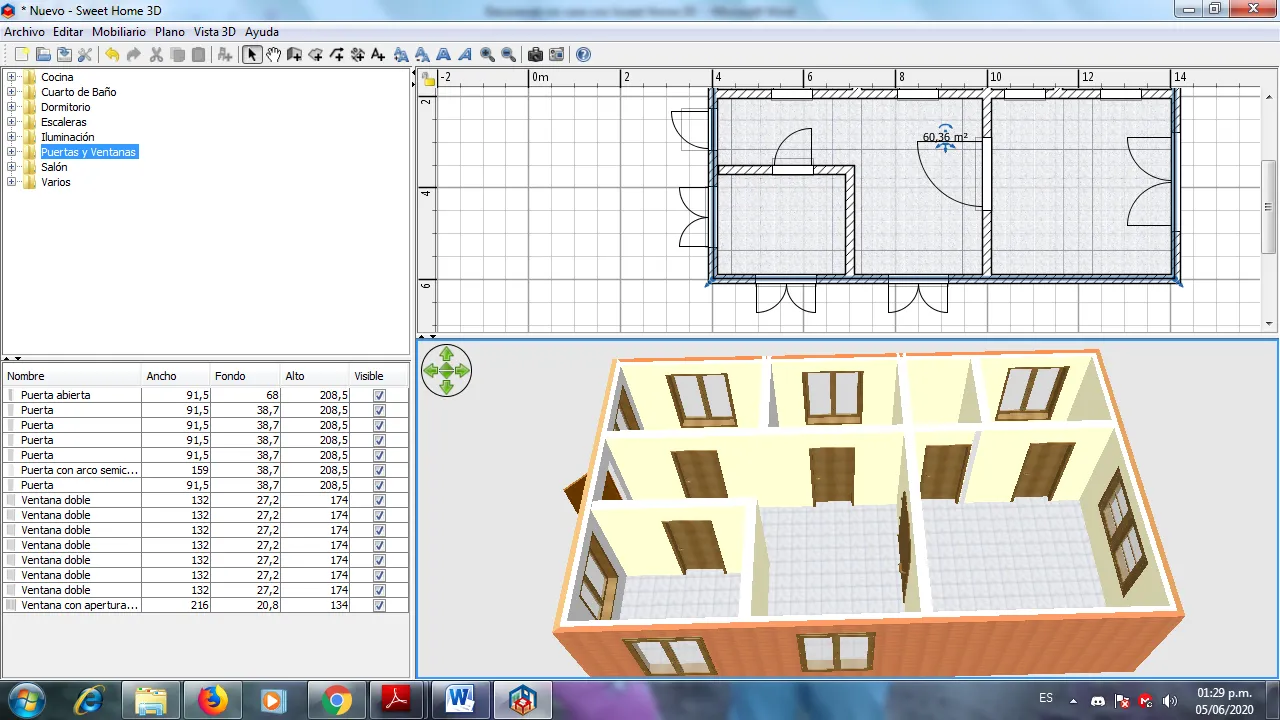
Applying the previous step, the painted house would look like this
Aplicando el paso anterior la casa pintada quedaría así
Now we are going to paint the doors and windows
Ahora vamos a pintar las puertas y ventanas
We continue and the bottom is placed on the floor
Seguimos y se le coloca el fondo al piso
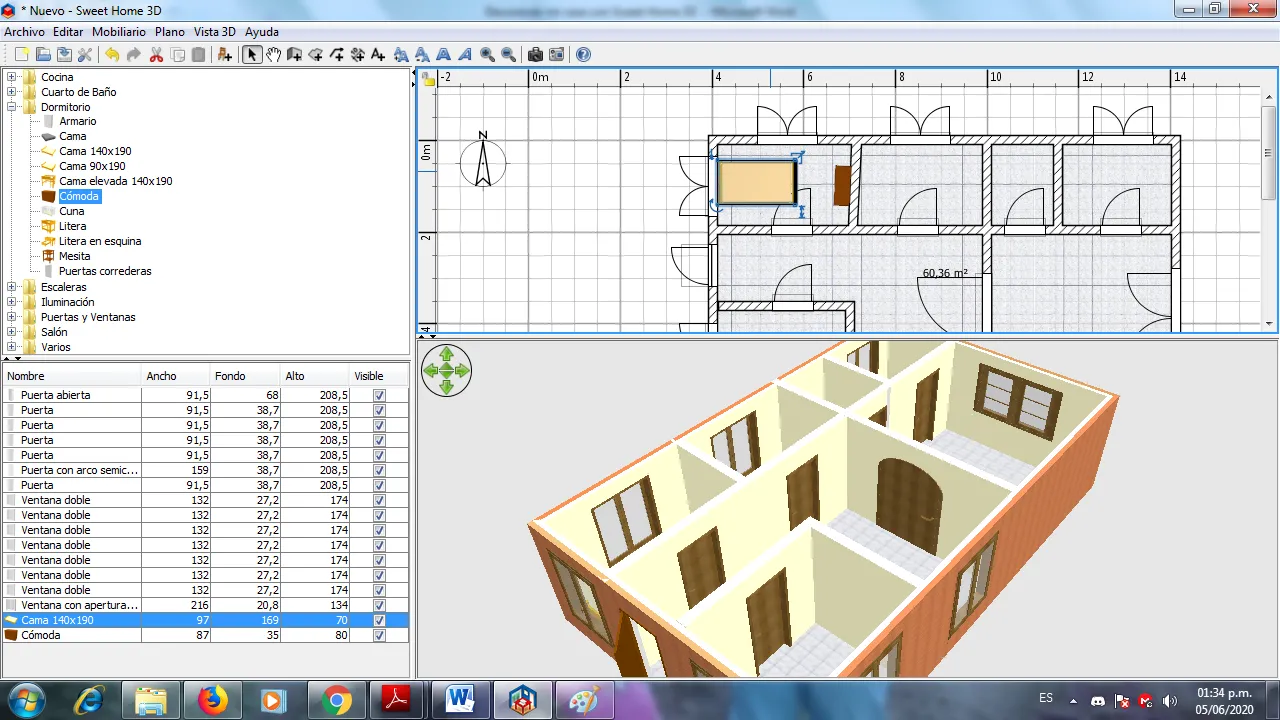
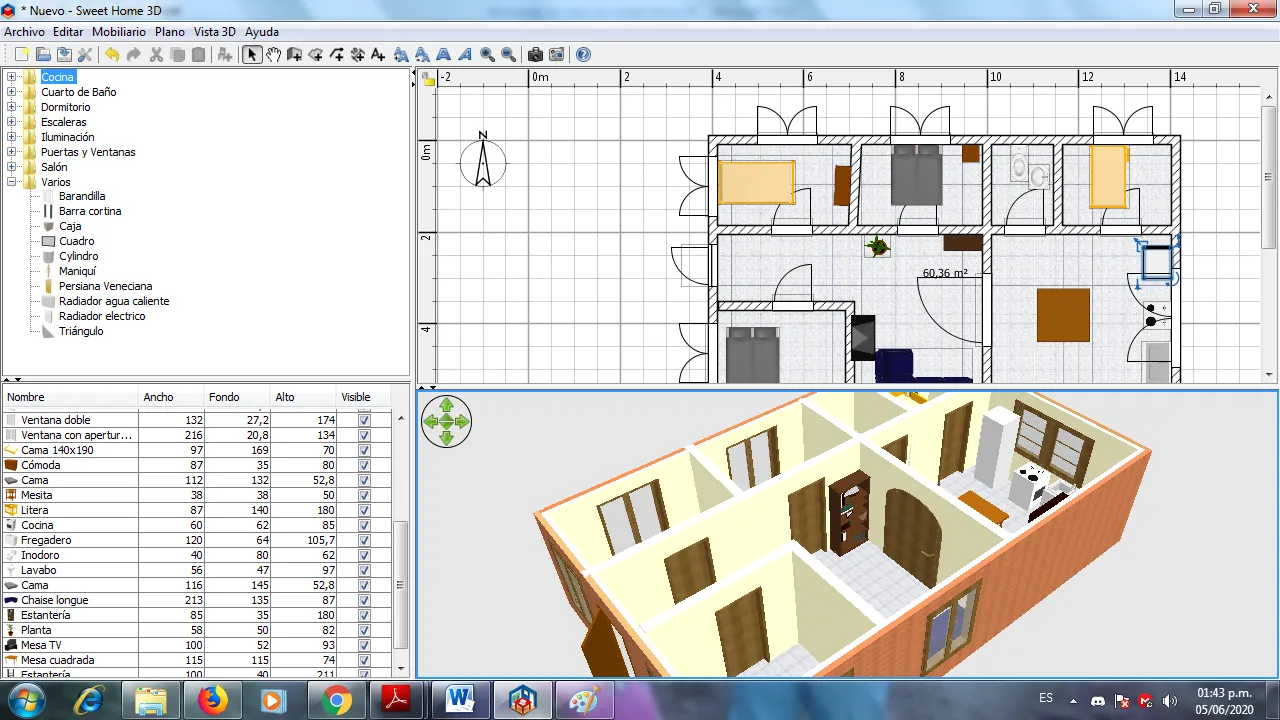
We begin to insert the furniture and accessories inside the house, for this we click on the bedroom and drag the bed that the room will have
Comenzamos a insertar el mobiliario y accesorio dentro de la casa, para ello le damos clic en dormitorio y arrastramos la cama que tendrá la habitación
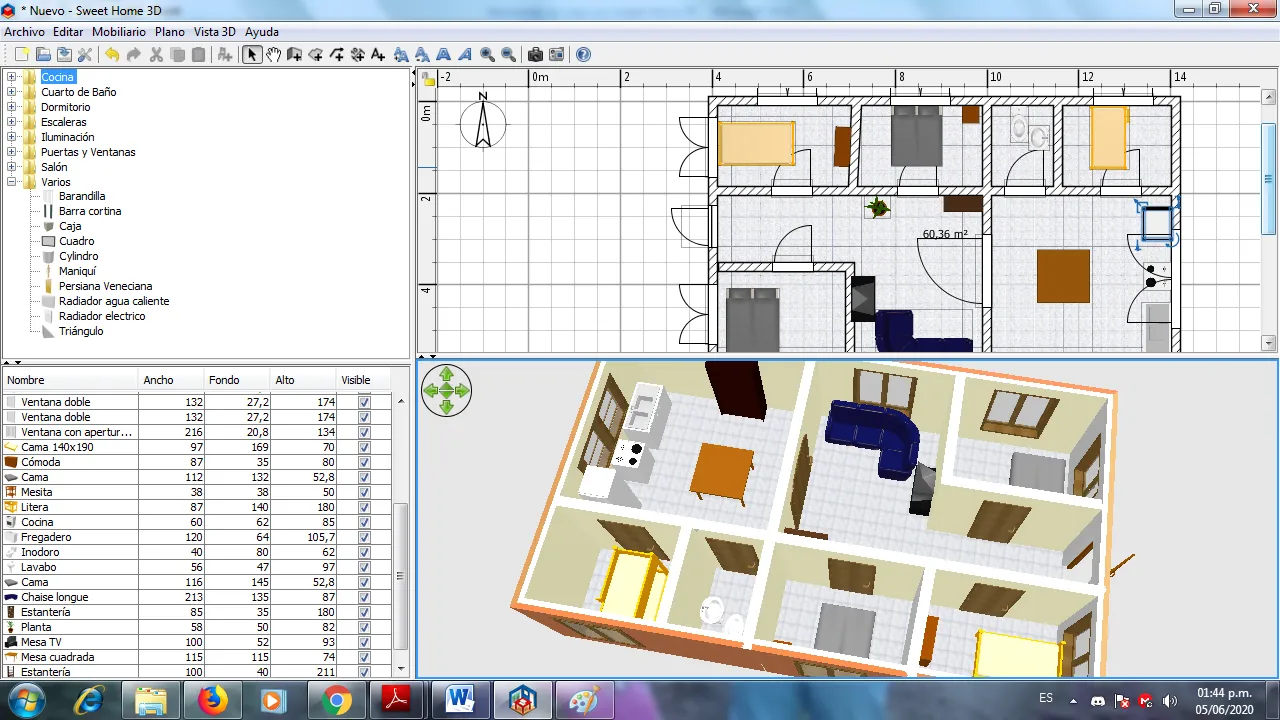
Applying the previous steps we can see the house furnished
Aplicando los pasos anteriores podemos ver la casa amueblada
Thanks for reading my post, see you in the next post
Gracias por leer mi publicación, nos vemos en el próximo post