Another weekend means more opportunity to ponder on how to get my crating skills up.
I have this thing about going into rabbit holes for quite some time. This week's idea has been tool set up. Keeping the tools sharp is just one step into using them correctly; proper technique plays an important role too. However, tool set up is one of this things you can't miss or results won't just show.

But what tools need this set up? All tools fixed to a bench do. You know them: saws, drills, routers, planers. This is obvious as they are big and need some finesse to get them working properly in the desired angles. Nonetheless, I don't have any nor the space to set them up.
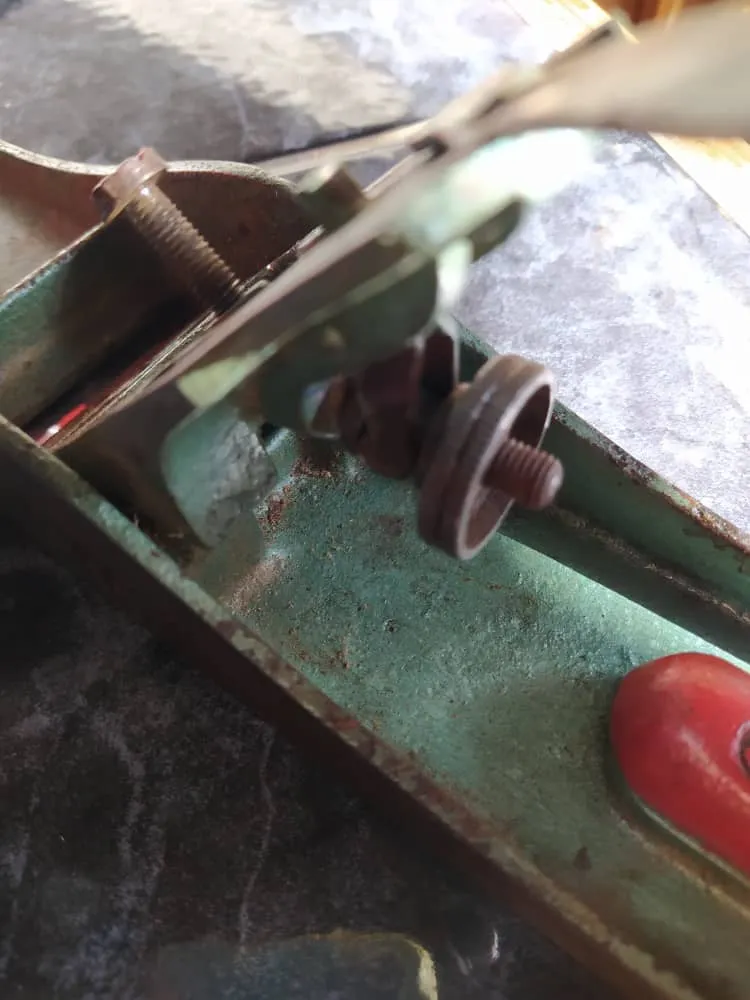
My set up journey is about hand planes. And, I have learned quite a bit about them this last week. For example, after a lot of research, I know my N°5 Stanley plane isn't an original Stanley. Well, this isn't my tool, it is heritage, but I'm the one using it. This plane has given me some troubles in the past. I've never been able to get anything squared from it. Why? Well, there's a problem with it.

The frog is offset. This is the part where the blade rests. By itself, something like it wouldn't be a problem. But there's not way of fixing it. Two screws should hold it in place. There's only one in this plane. The other is missing. What's more, the screw is fixed. Years of rust have welded it.
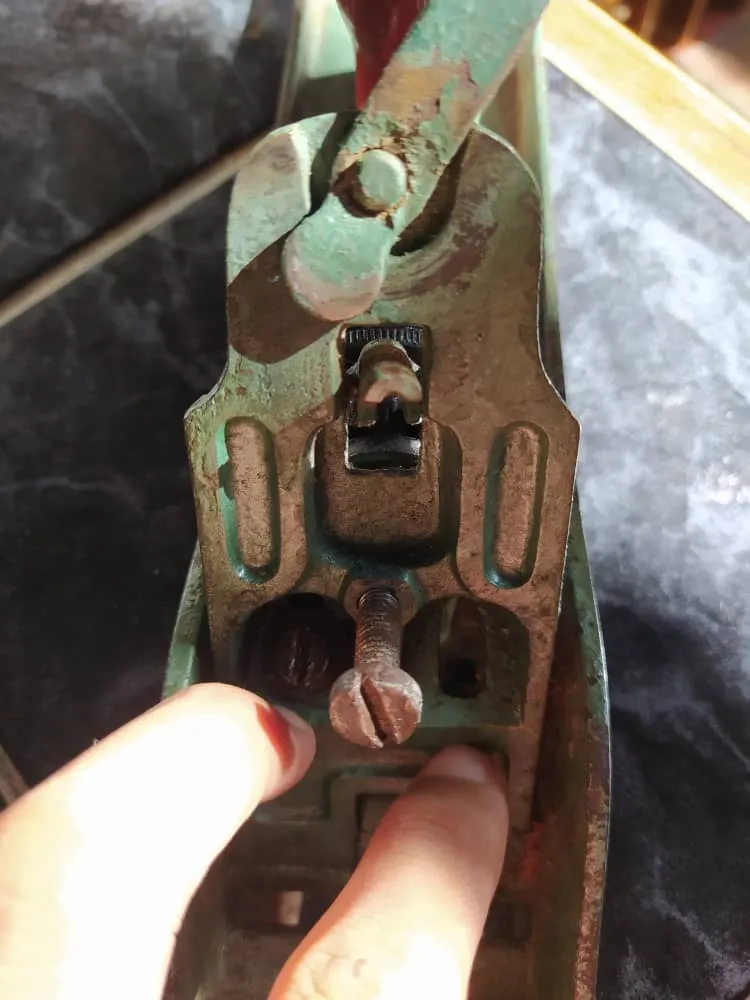
And that is not the only issue here. On the back there's no adjusting screw, so I don't really know if the frog can be fixed. I guess this plane is for a specific setting and that's it. I tried to get the screw unstuck, but to no avail. And I won't be hitting this more than needed because I might screw up something else. And that wouldn't be good.
My solution for the moment is buying a new plane. I have saved up some money for this and it will give me a chance of setting up a new tool from scratch. I might take this opportunity to buy a smaller one, maybe a N° 4 or 3. And do all the work with it. My old plane will be kept in storage and it's parts could see use in a future project: making a wood hand plane. You know for flex and elegance. Also to test skills in the future.
What's the rest of the set up for a plane? Well, first a flat sole. If the sole of the plane isn't square, you won't get a flat surface. When you get your hands on one, you need to flatten it on sandpaper. The interesting thing about it is that you must not remove the blade for this step. The pressure of the blade gives tension to the whole object. If you remove it and attempt to flatten the sole, you'll end up with curved spots.
There's the sharpening step. Without it, you can't cut anything. Planes are set of with a 25° bevel and a 30° micro bevel on top of it. This makes it easier to re-sharpen afterwards. Also, when doing this you need to keep the back of the blade flat so it is has the right angle with the bevel. There's plenty of tricks to do this and you don't need to flatten the whole back of the blade, just the tip will be enough.
Other pieces of set up are the chip breaker and the lever cap. The former goes on top of the blade and helps run the wood shavings out of the plane. It needs to be located 2mm from the tip of the blade. this ensures it does it job correctly. The latter need to be adjusted to the correct tension. This caps makes it easier or harder to use the adjusting wheel on the back of the plane. This is used to increase or decreasing the cutting. It basically moves the blade forward or backwards.
The last piece is the horizontal set up. There's a lever on top that changes the angle of the blade. This is used to set it square, but moving it basically makes the blade go out or back on one side. And if you think this could help me with my plane, I have to inform you it doesn't work if the frog is offset.
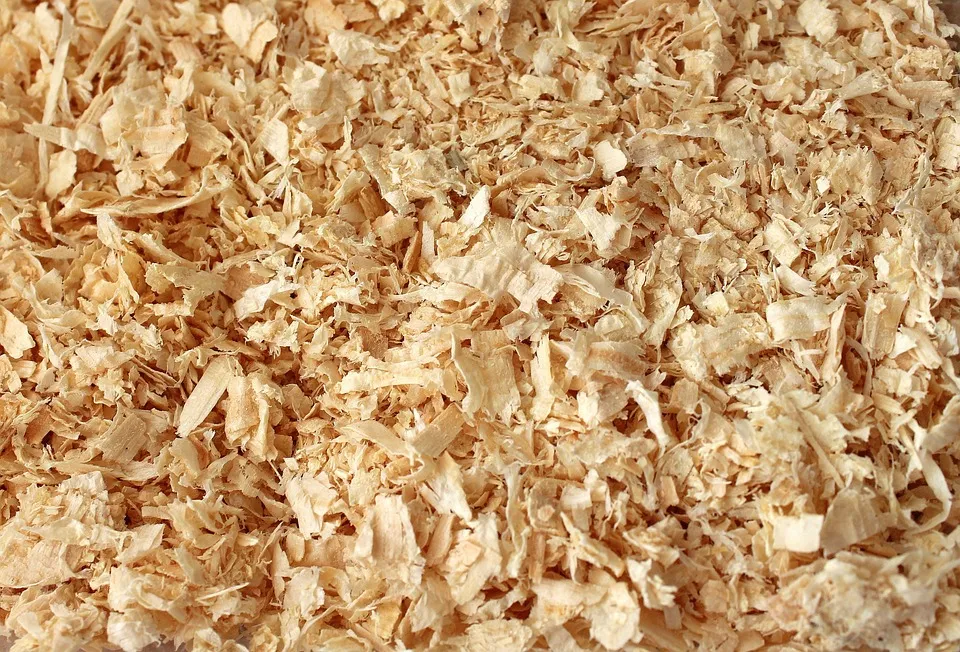
Of course, after you check all this steps you need to test your plane. Getting a few shavings will give you the information you need to either cut less, cut more, correct the angles and more.