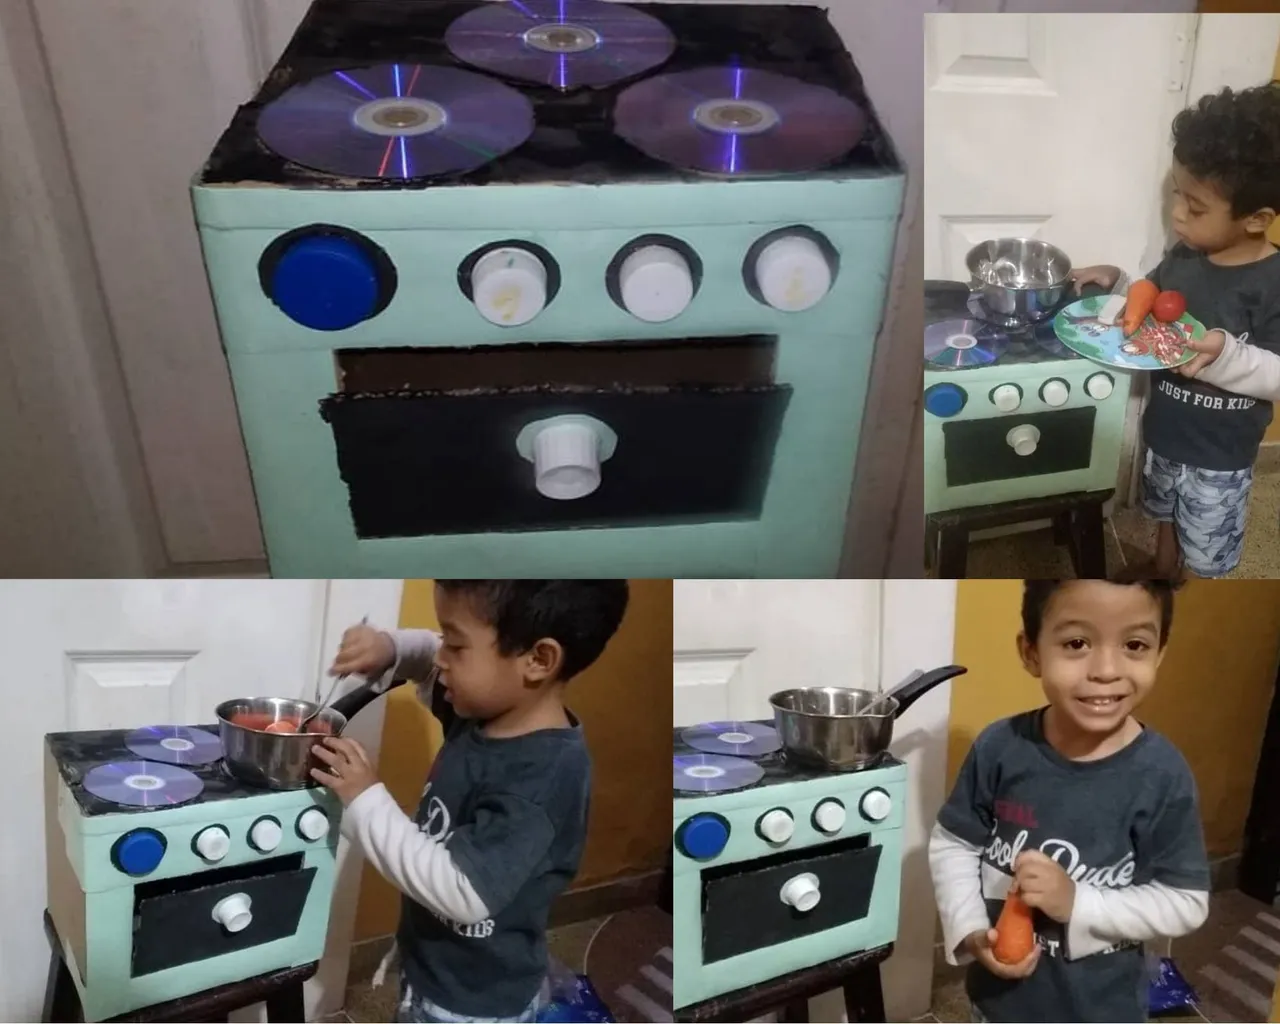
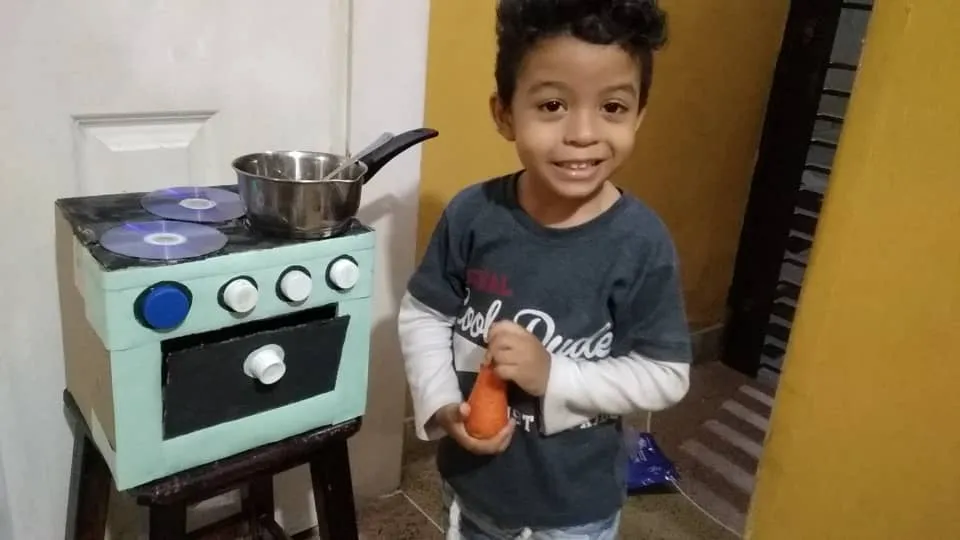
Hello Community of Mothers, today I will present to you, a beautiful Kitchenette Made with Recyclable Material, for it we use a cardboard box that will make our children make their imaginations fly, by observing how we can transform the boxes, into costumes, cars , stoves, rockets, etc. That is to say, it is a potential element to develop in the child his creative capacity and her imagination. It is important to take advantage of cardboard boxes, which are materials with a high educational value, due to the amount of things that we can create with our children.
The little kitchen, a three-year-old niece liked it a lot. When she showed them the photos, she wanted it for herself, but a conflict was created, because my 4-year-old grandson plays chef and says that the kitchen is his, so I will have to make another, to give it to the niece.
Hola Comunidad de Madres, el día de hoy les presentaré, una hermosa Cocinita Elaborada con Material Reciclable, para la misma utilizamos una caja de cartón que hará que nuestros niños hagan volar su imaginación, al observar cómo podemos transformar las cajas, en disfraces, carros, cocinas, cohetes, etc. Es decir, es un elemento potencial para desarrollar en el niño su capacidad creativa y su imaginación. Resulta importante, aprovechar las cajas de cartón, los cuales son materiales con un alto valor educativo, por la cantidad de cosas, que podemos crear con nuestros niños.
La cocinita, le gustó mucho a una sobrinita de tres años que al enseñarles las fotos la quería para ella, pero se creó un conflicto, porque mi nieto de 4 años juega a chef y dice que la cocina es de él, por lo que tendré que elaborar otra, para regalársela a la sobrinita.

Next, I will present the materials and steps for its elaboration:
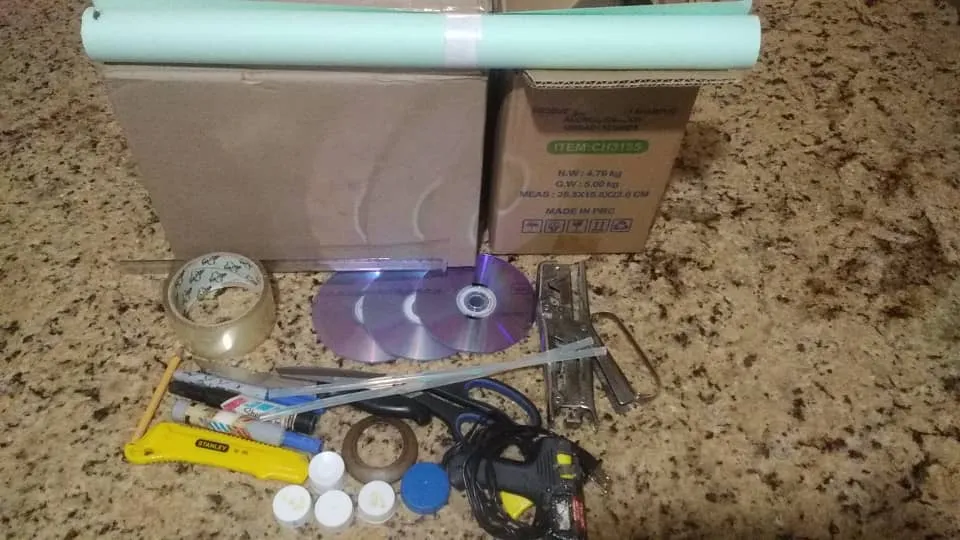
Materials:
• 2 cardboard box (only one was used)
• 3 CDs
• Scissor
• Knife
• Exactly
• Silicone
•Stapler
• Bottlecaps
• Markers
• Pencil
• Rule
• A card
• Black tempera
• Brush
A continuación, les presentaré los materiales y pasos para su elaboración:
Materiales:
• 2 caja de cartón ( solo se utilizó una)
• 3 CD
• Tijera
• Cuchillo
• Exacto
• Silicón
• Engrapadora
• Tapas de botellas
• Marcadores
• Lápiz
• Regla
• Una cartulina
• Tempera negra
• Pincel
Steps for its elaboration:
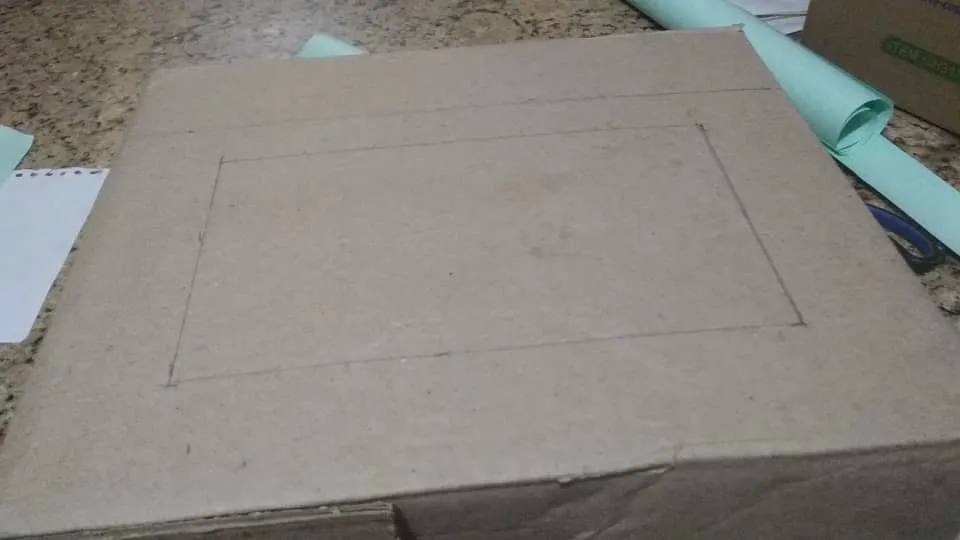
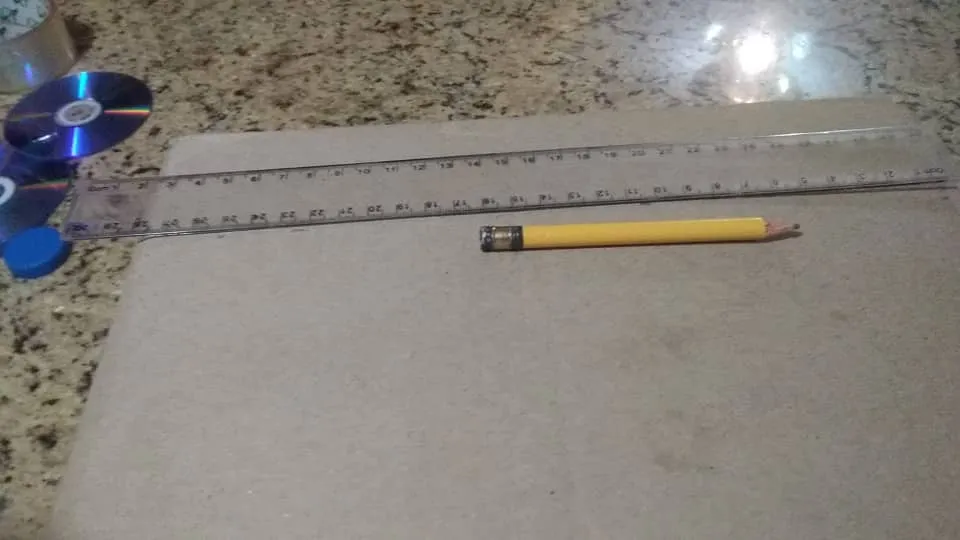
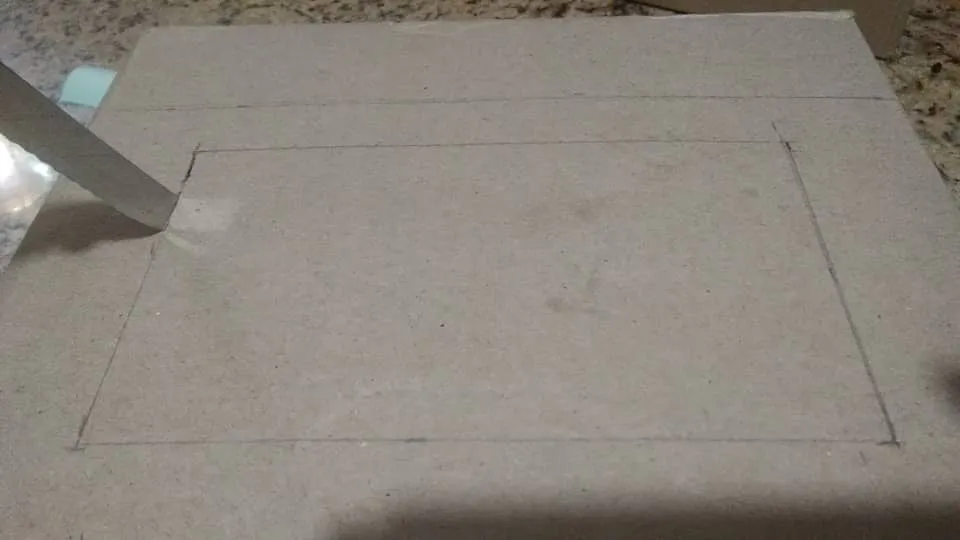
Step 1:
Measure in the box, spaces for the placement of the handles, to light the burners and centralize the space for the oven in the box (it depends on the space of your box).
Pasos para su elaboración:
Paso 1:
Medir en la caja, espacios para la colocación de las manillas, para encender las hornillas y centralizar en la caja el espacio para el horno (depende del espacio de su caja).
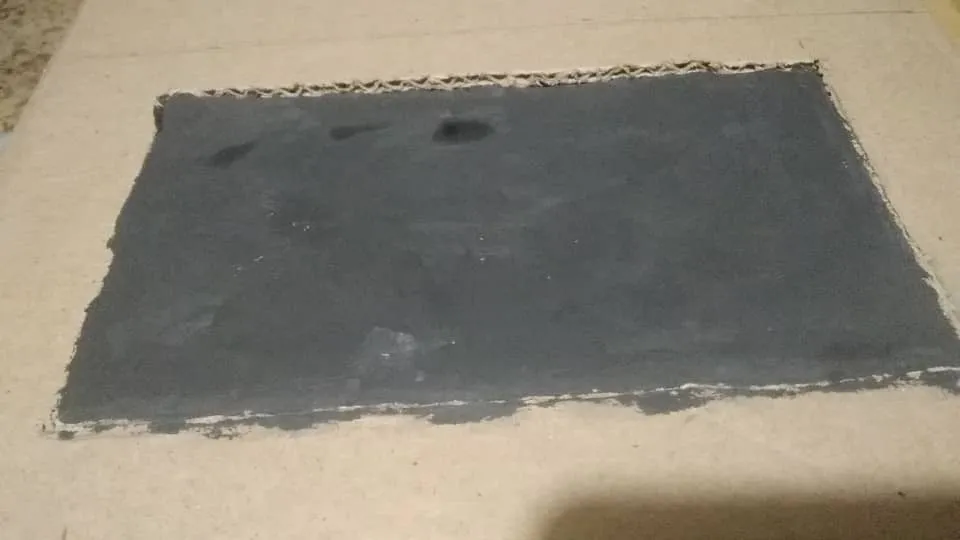
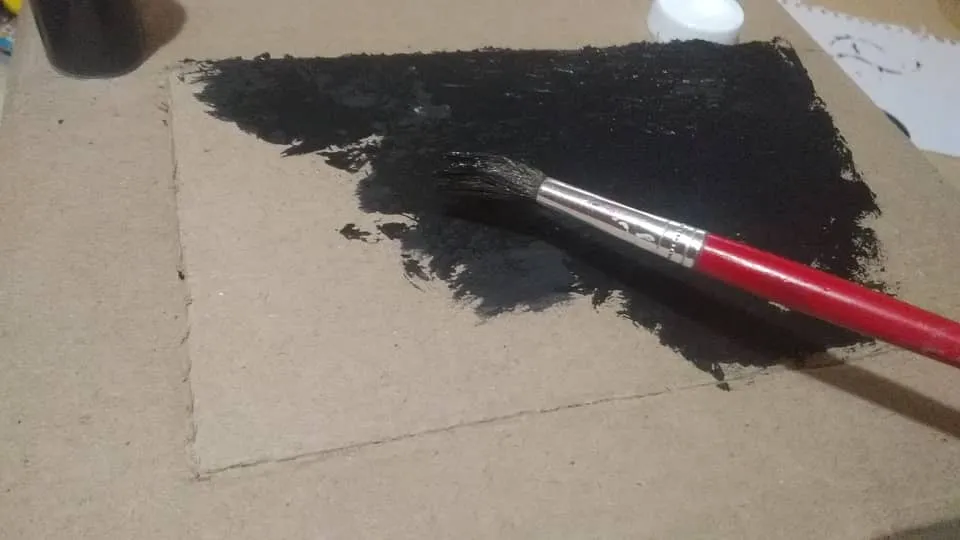
Step 2:
Cut out the oven door in the central part of the box, according to the measurements taken and paint it black with tempera.
Paso 2:
Recortar en la parte central de la caja, de acuerdo a las medidas tomadas, la puerta del horno y pintarla de negro con tempera.

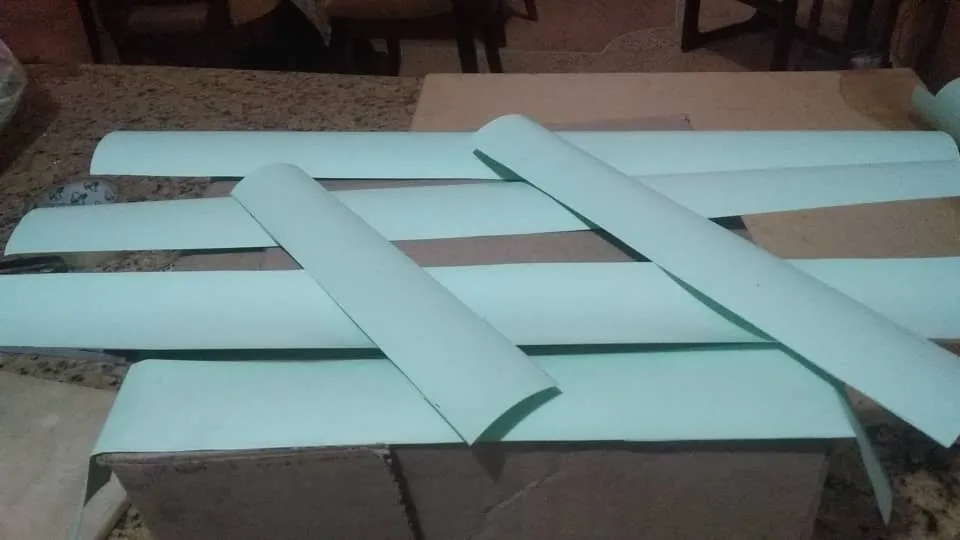
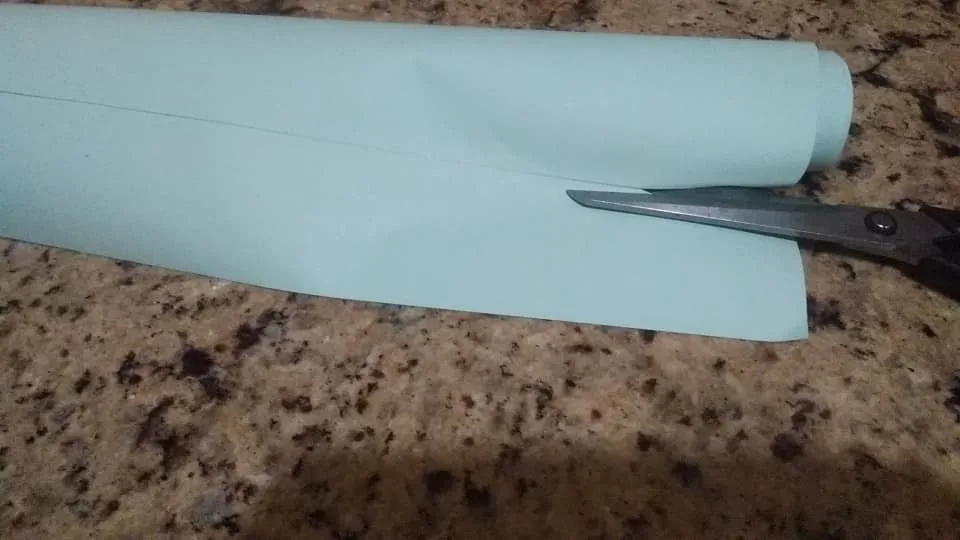
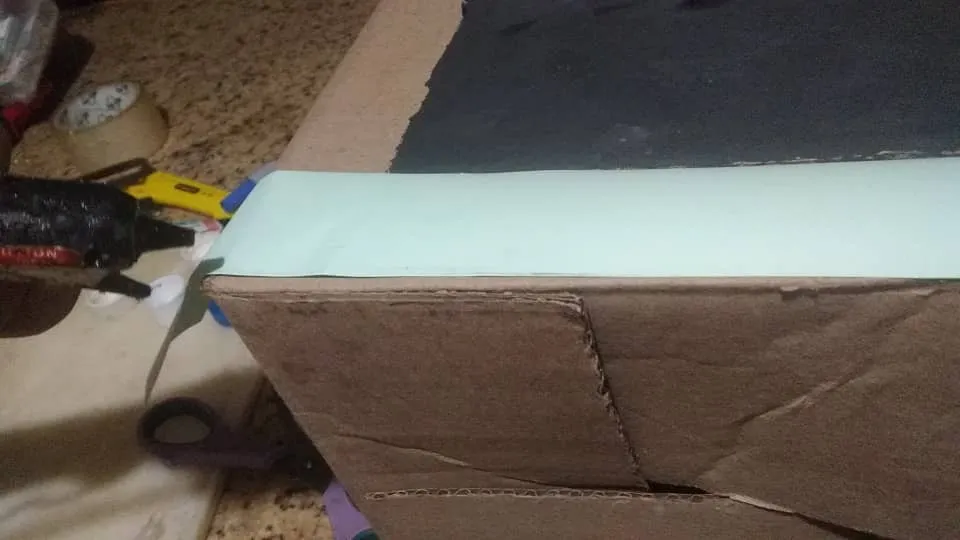
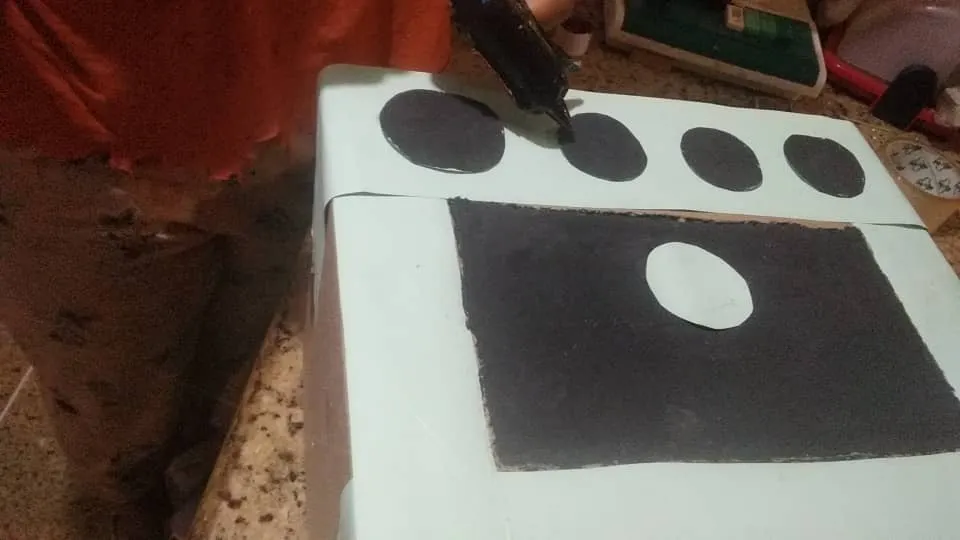
Step 3:
Cut out of the cardboard, ribbons with measures of 7 cm and 4 cm to decorate the walls of the kitchen and glue them with silicone.
Paso 3:
Recortar de la cartulina, cintas con medidas de 7 cm y de 4 cm para decorar las paredes de la cocina y pegarlas con silicón.
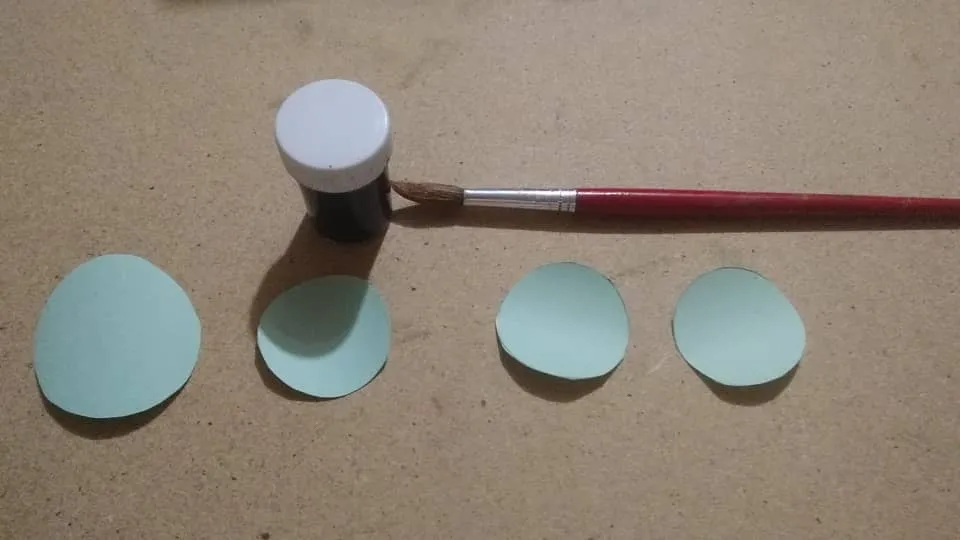
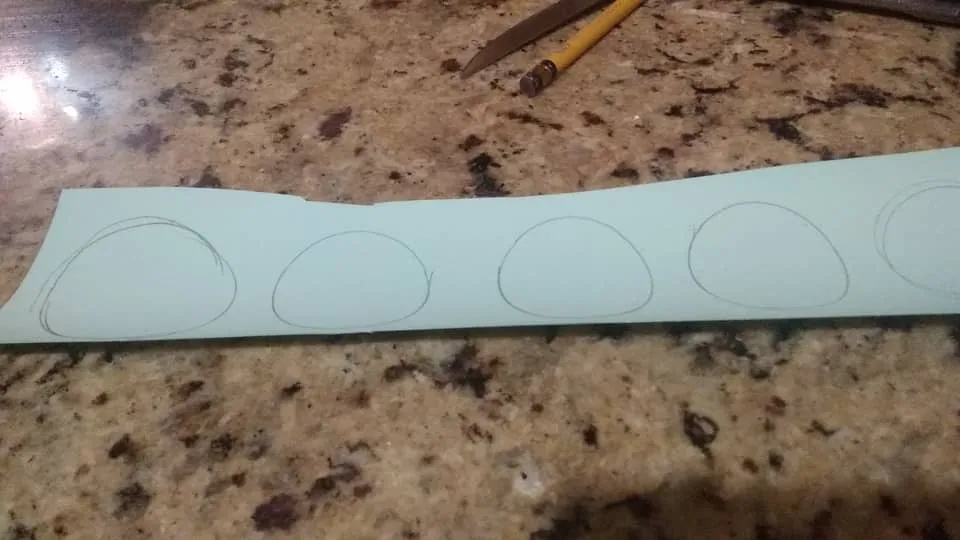
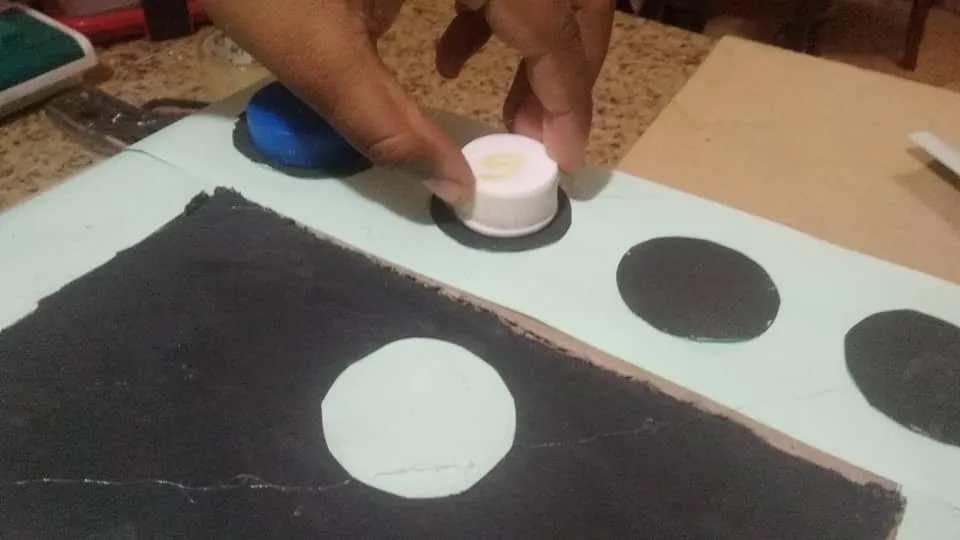
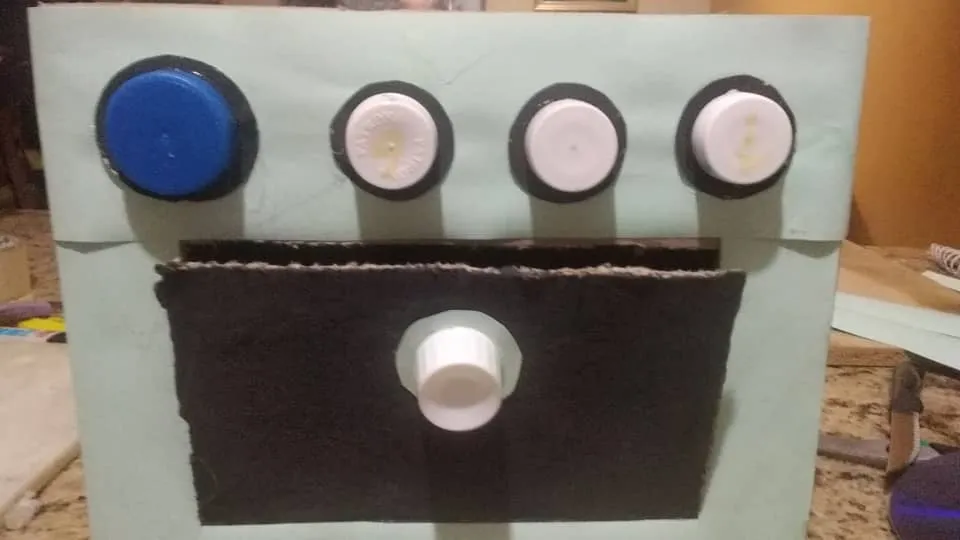
Step 4:
Cut 4 large circles from the cardboard and paint them black and a circle that would remain green, stick them as follows: the black ones on the top of the box and the green one on the oven door. And then, on these circles, glue the covers with silicone, in order to simulate the handles of the burners and that of the oven lid.
Paso 4:
Cortar de la cartulina 4 círculos grandes y pintarlos de negro y un círculo que quedaría verde, las mismas pegarlas de la siguiente manera: las negras en la parte alta de la caja y la verde en la puerta del horno. Y luego, sobre estos círculos, pegar las tapas con silicón, para así simular las manillas de las hornillas y la de la tapa del horno.
Step 5:
Glue the CDs to the top of the box, which will simulate the burners and paint the empty parts black.
Paso 5:
Pegar en la parte superior de la caja los CD, que simularán las hornillas y pintar de negro, las partes vacías.
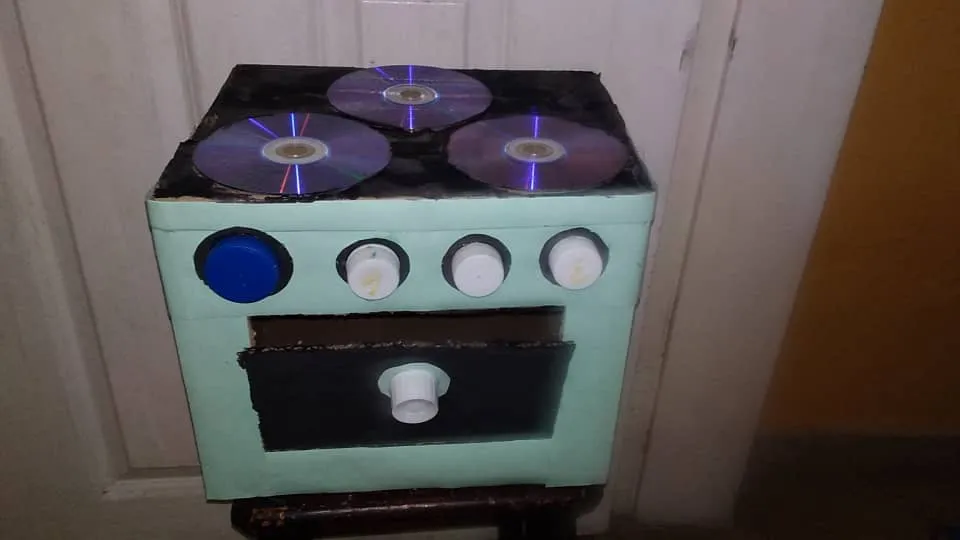
Hoping that this wonderful Recyclable Material Kitchenette pleases you and is motivated to make it for your little ones, to play and create awareness of how important cooking is, for the well-being of the family. Until next.
Thank you for taking the time to read my article. Greetings
Esperando, que esta maravillosa Cocinita de Material Reciclable, le agrade y se motive para elaborarla a sus pequeños (as), para jugar y crearle la conciencia, de lo importante que es la cocina, para el bienestar de la familia. Hasta l Próxima.
Gracias, por tomar de su tiempo en leer mi artículo. Saludos

he photos are of my property taken with my Redmi go cell phone
All separators are my property, free to use
❤️❤️❤️❤️❤️❤️❤️❤️❤️
Todas las fotos son de mi propiedad tomadas con mi celular Redmi go
Todos los separadores son de mi propiedad, libres de uso