Turn the world upside down, widen your view and expand your mind inside the painting, let yourself be trapped by the color and live a rewarding surreal experience, let each brushstroke be a new emotion inside you.
As the description says, this piece is to take you to a surreal world through brushstrokes full of texture and color, a piece that I made with the intention that the viewer draws his own meaning from the painting.
- Name : Rejection of Reality
- Marketplace: Ghostmarket
- Price: 350 SOUL
- Pieces: 2/3
- Direct Link: https://v2.ghostmarket.io/asset/pha/GHOST/78424301699874947550320644061217007901688740654551421487090468512953485772660/

Tools:
- Gaomon S620
- Photoshop
- Brushes courtesy of Imad Awan: Download here
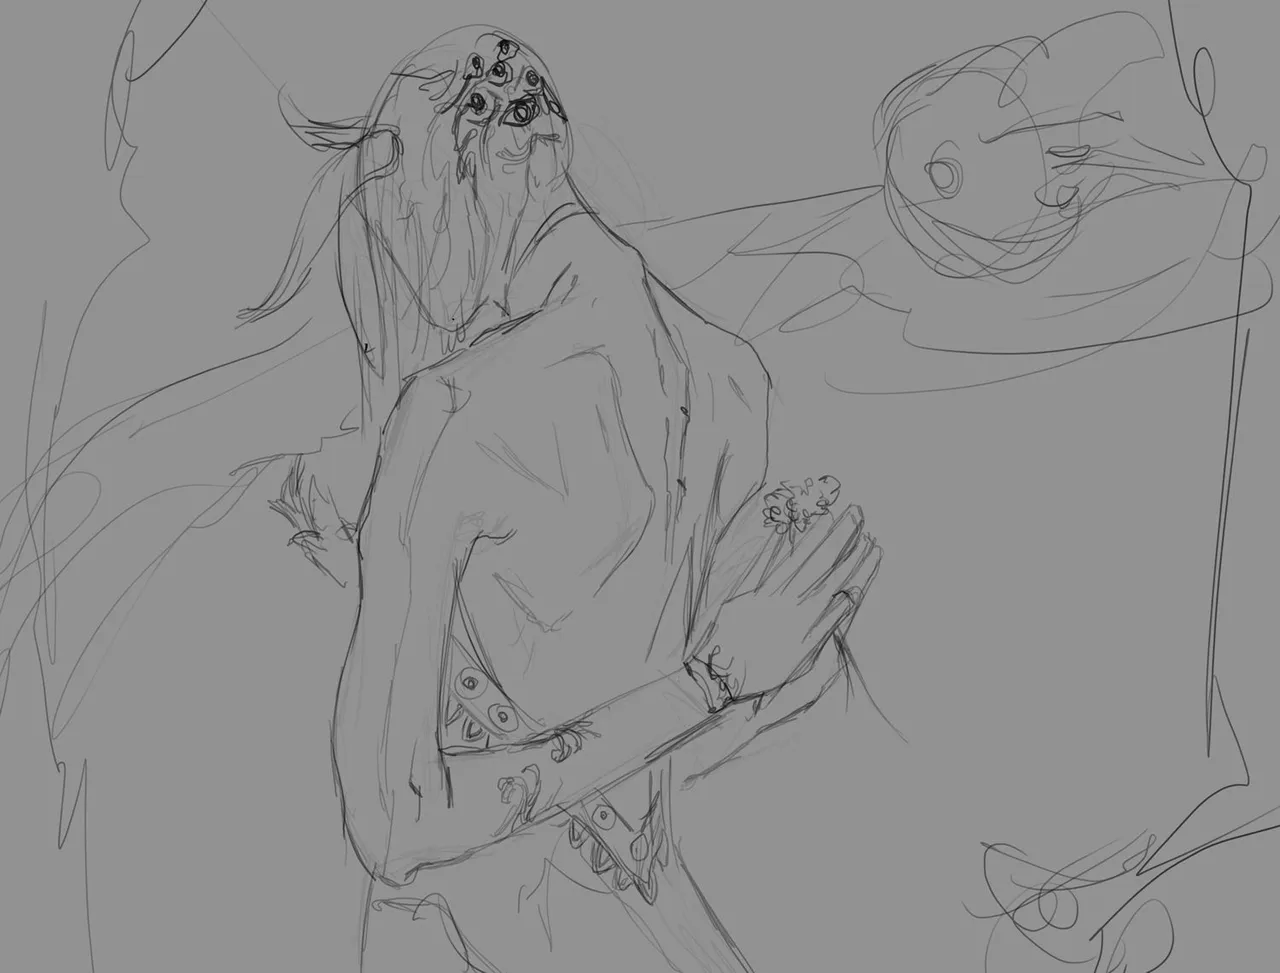
-Step 1:
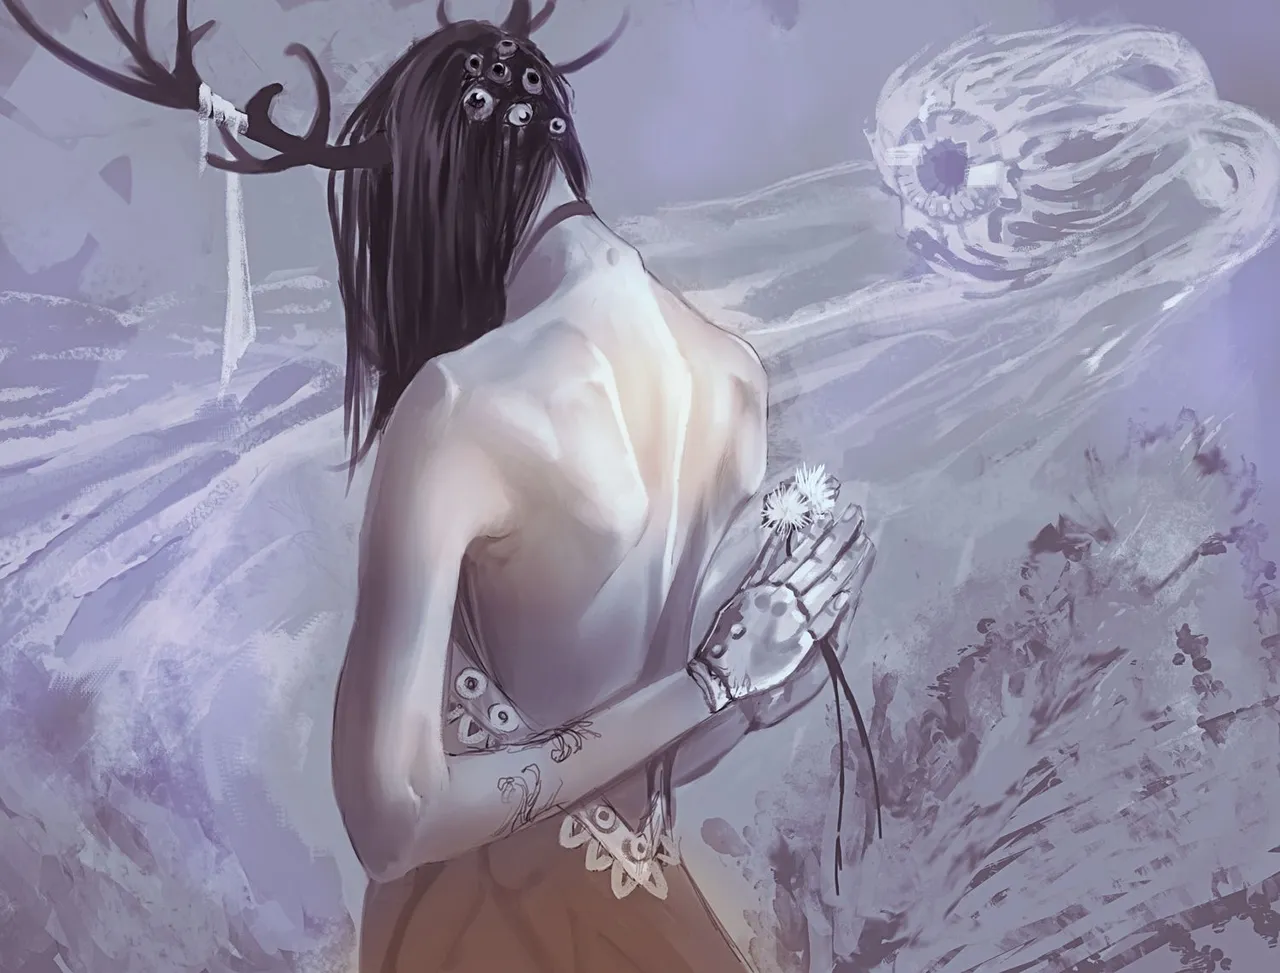
As usual, I started the piece by sketching my idea, trying to respect the anatomical proportions in spite of the character's posture.
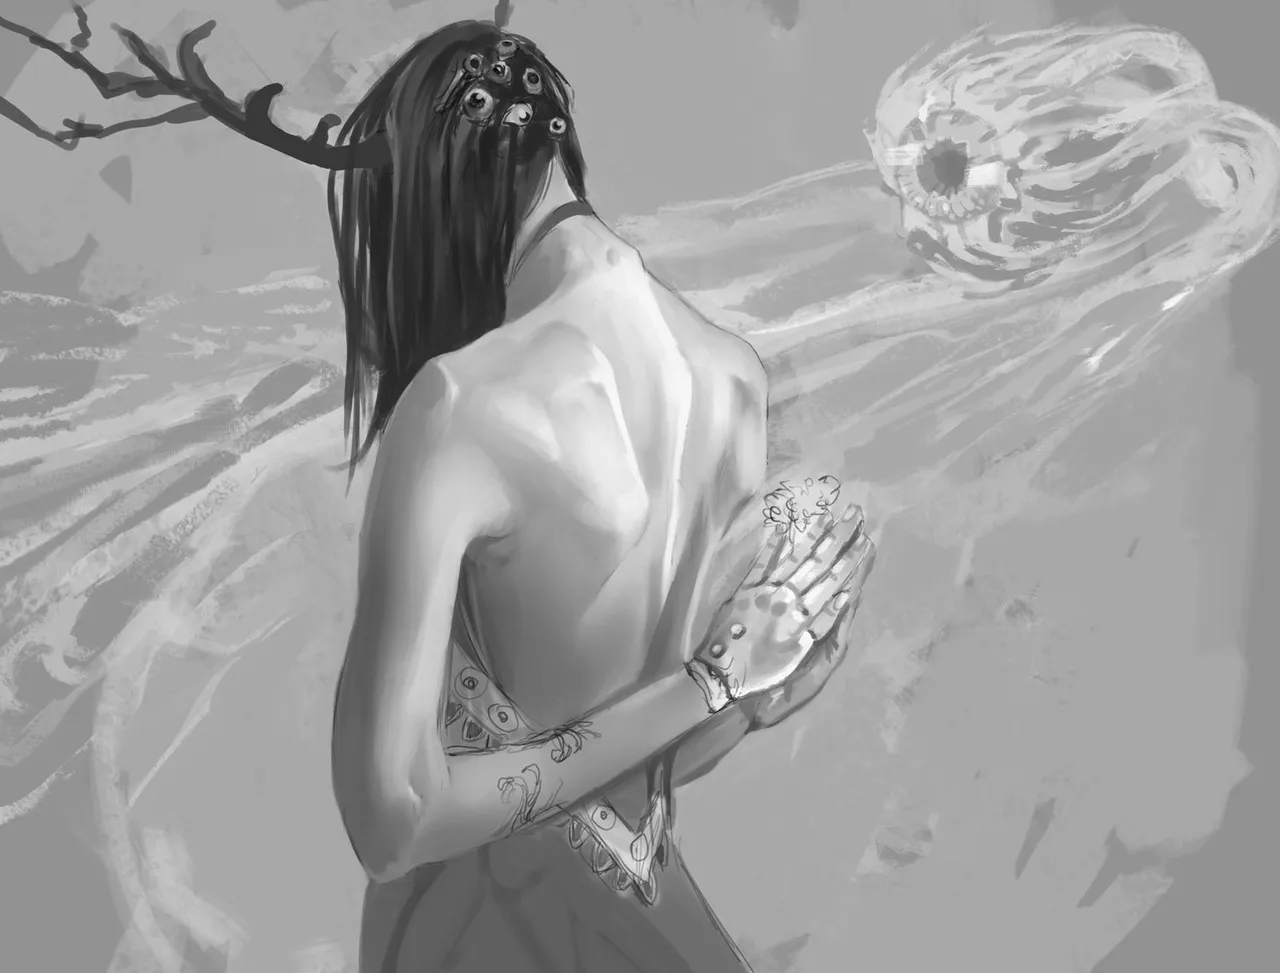
-Step 2:
For some time now, I have been trying the technique of coloring from gray tones, the great artists usually do it and with it they get very good volume, so I don't lose anything practicing it.
Therefore, from the sketch I was modeling my character in grayscale to achieve some volume through the lights and shadows.
 |  |
|---|
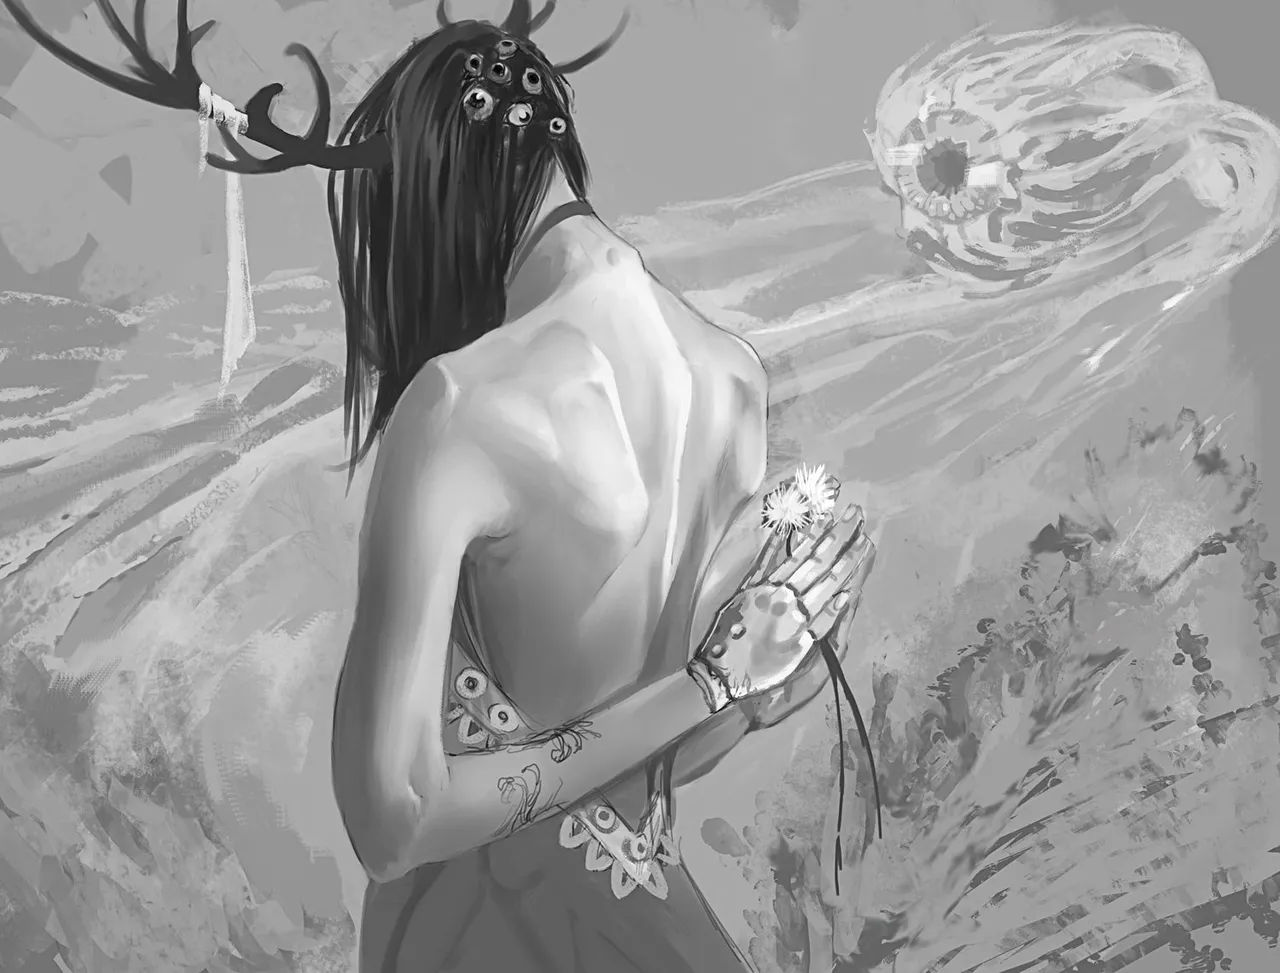
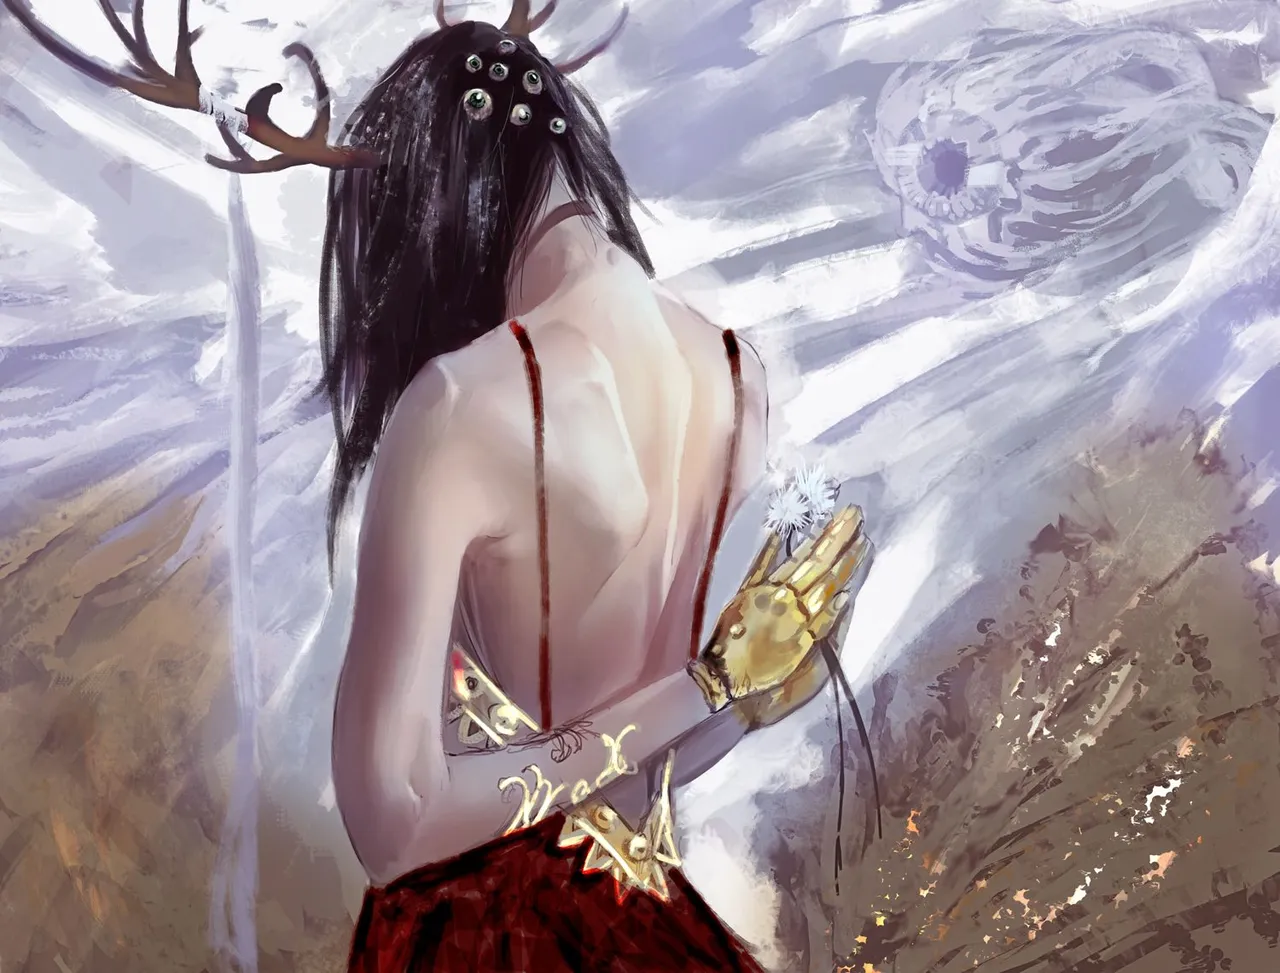
-Step 3:
In order to give color to the grays, I have set a layer in the "lighten" blend mode to give more saturated tones to the illustration without losing the volume achieved with the grays.
It is important to use layer masks for this, as you can easily make and undo each layer of color you add, as sometimes the piece looks ugly with only one color all over the place.
 |  |
|---|
-Step 4:
For the metals I have used two blend modes, hard light and dodge color, but not on the layers, no, in photoshop you can set them directly on the brush on a normal layer, this gives a different result than the one generated by setting the layer in one of these blend modes.
With textured brushes, continue painting normally on the previous layers, using from time to time the finger tool to stretch some strokes and colors, to achieve something more visually striking. As a final touch up, I blended the whole illustration in one layer with the commands ctrl+shift+alt+e, then went to filters>others>high pass, and set the parameters to number 10, and finally set this layer in the "soft light" blending mode. If you test this trick, you will get a result with more enhanced textures.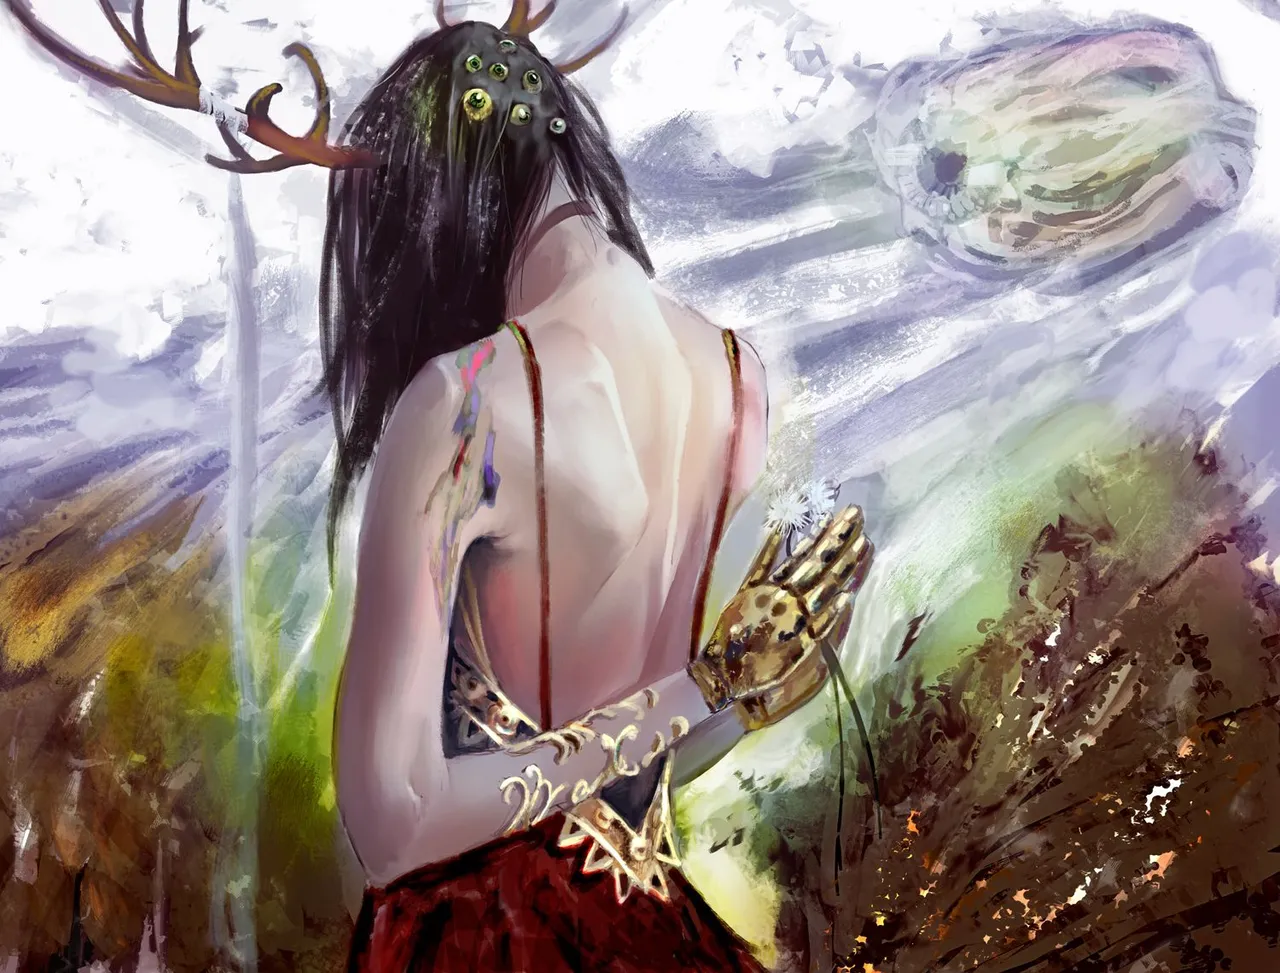 | 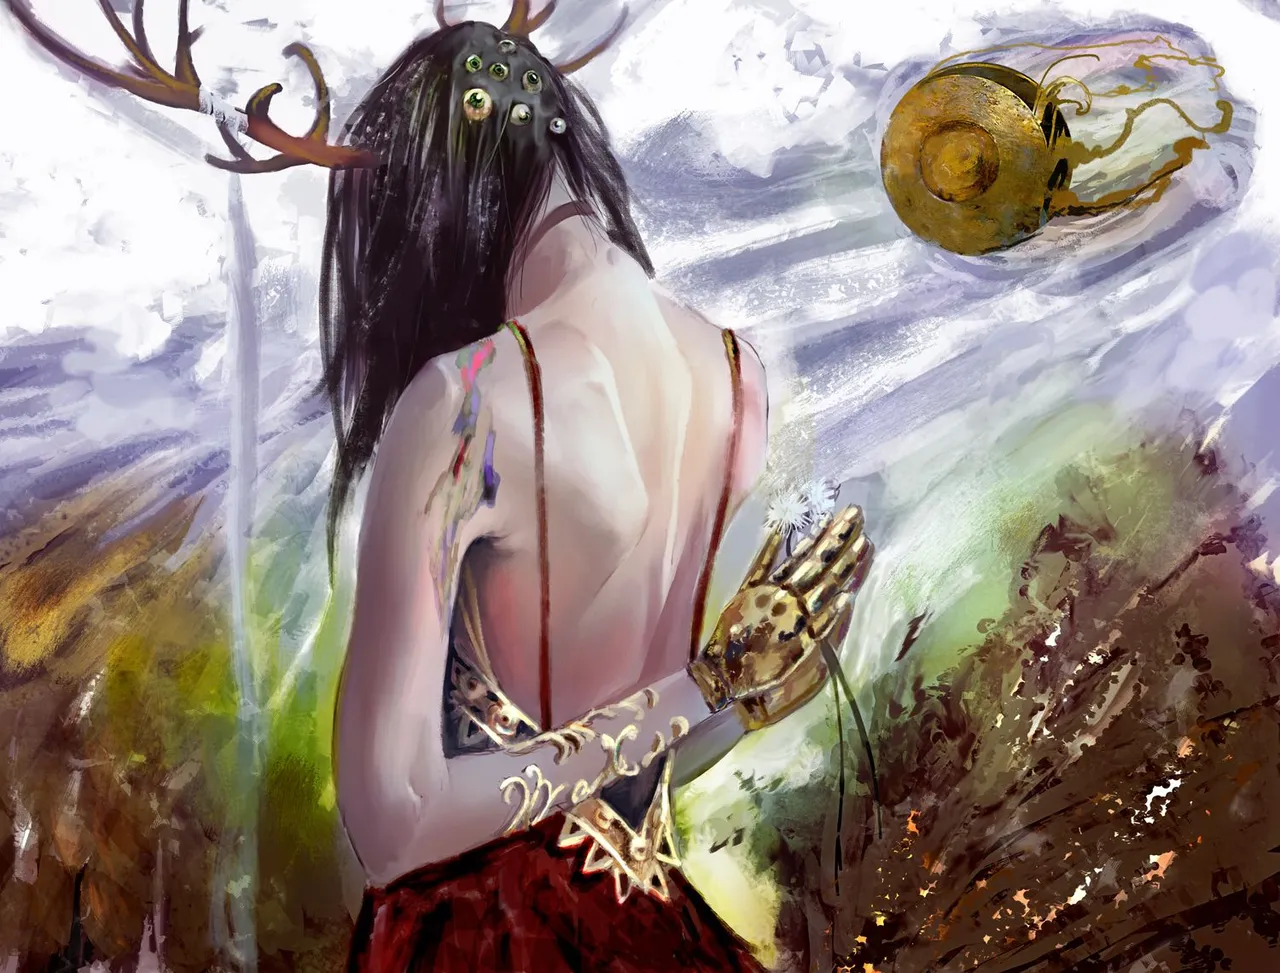 |
|---|
Tell me in the comments that you imagine when you see this illustration.

See you in a future post!
Thank You for Supporting My Artwork
▶️  |
| |
| |
| |
| |
| |
| |
| ◀️
◀️
TWITTER | RARIBLE | GHOSTMARKET | FOUNDATION |TERRA VIRTUA |NFT SHOWROOM | INSTAGRAM | FACEBOOK
⬆️ Follow ⬆️