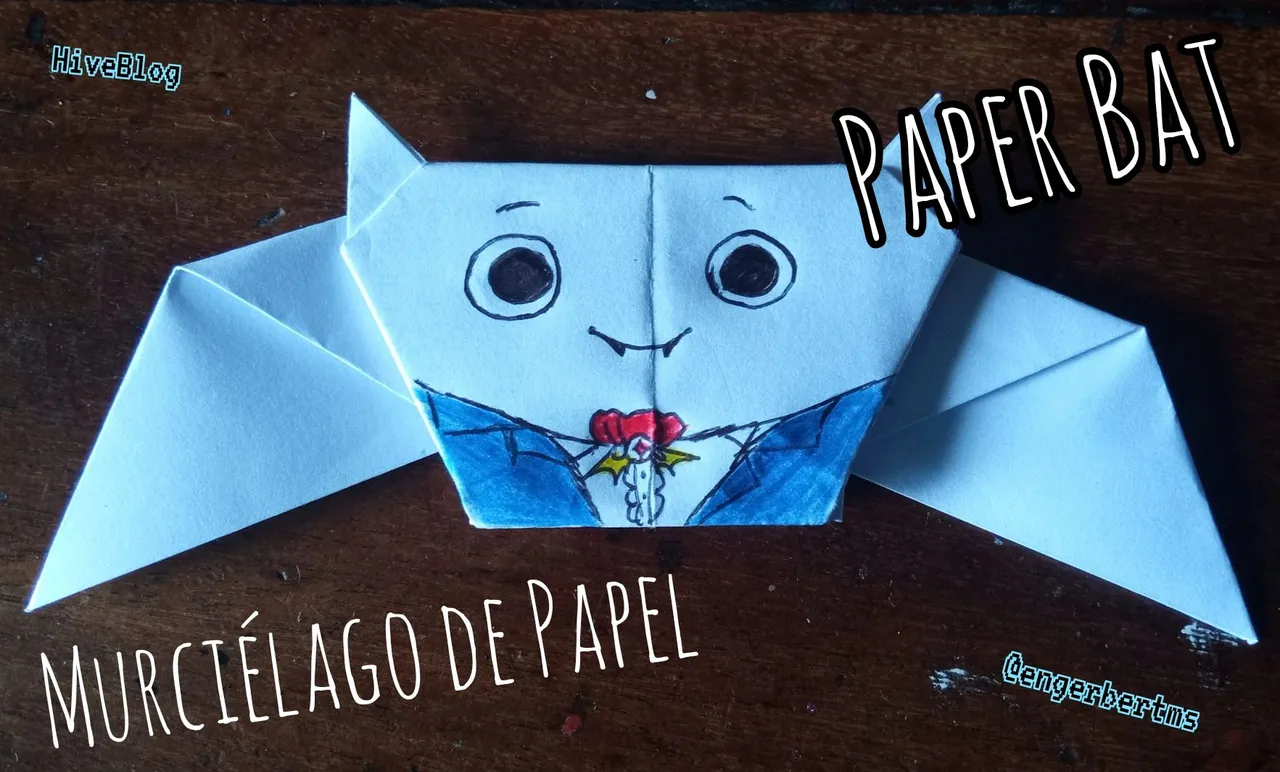
Hola que tal queridos amigos espero que se encuentren muy pero muy bien. El día de hoy les traigo otra creación (Murciélago de Papel), una manualidad que para ser sinceros me costó un poco hacer pero al final salí muy satisfecho con el resultado. Lo mejor de todo es que solo se necesitan dos materiales y unos cuantos colores para darle vida a la creación, sin mas nada que decir vamos a ello.
Hello dear friends, I hope you are very, very well. Today I bring you another creation (Paper Bat), a craft that to be honest cost me a little to do but in the end I was very satisfied with the result. The best of all is that you only need two materials and a few colors to give life to the creation, without further ado, let's get to it.
Murciélago de Papel - Materiales
Paper Bat - Materials
- Hoja de papel
- Tijera
- Colores (opcional)
- Sheet of paper
- Scissors
- Colors (optional)

Murciélago de Papel - Procedimiento
Paper Bat - Procedure
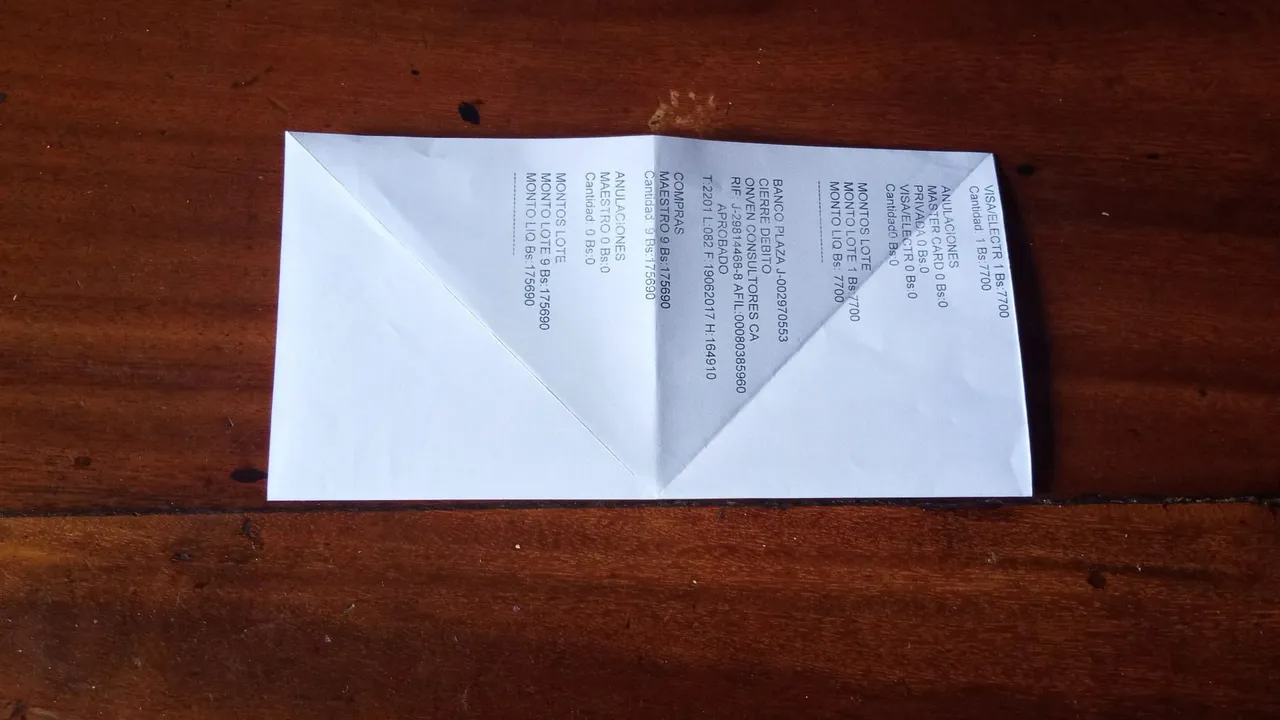
1
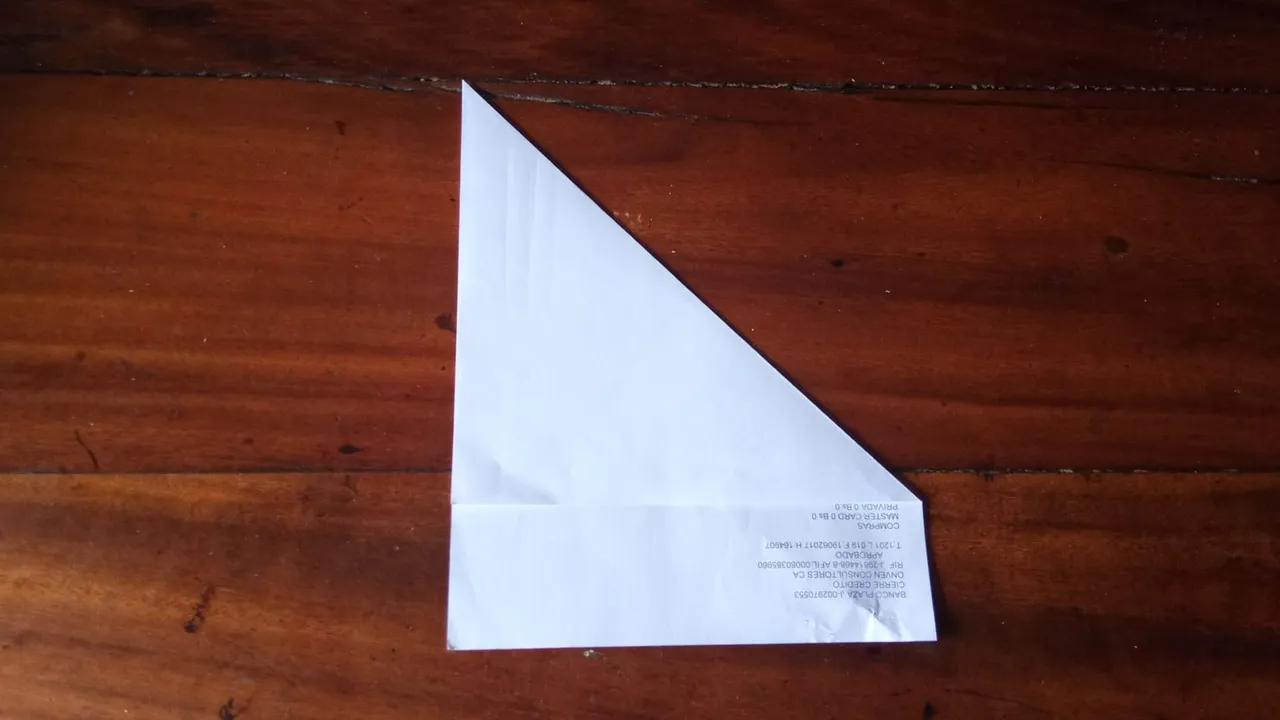
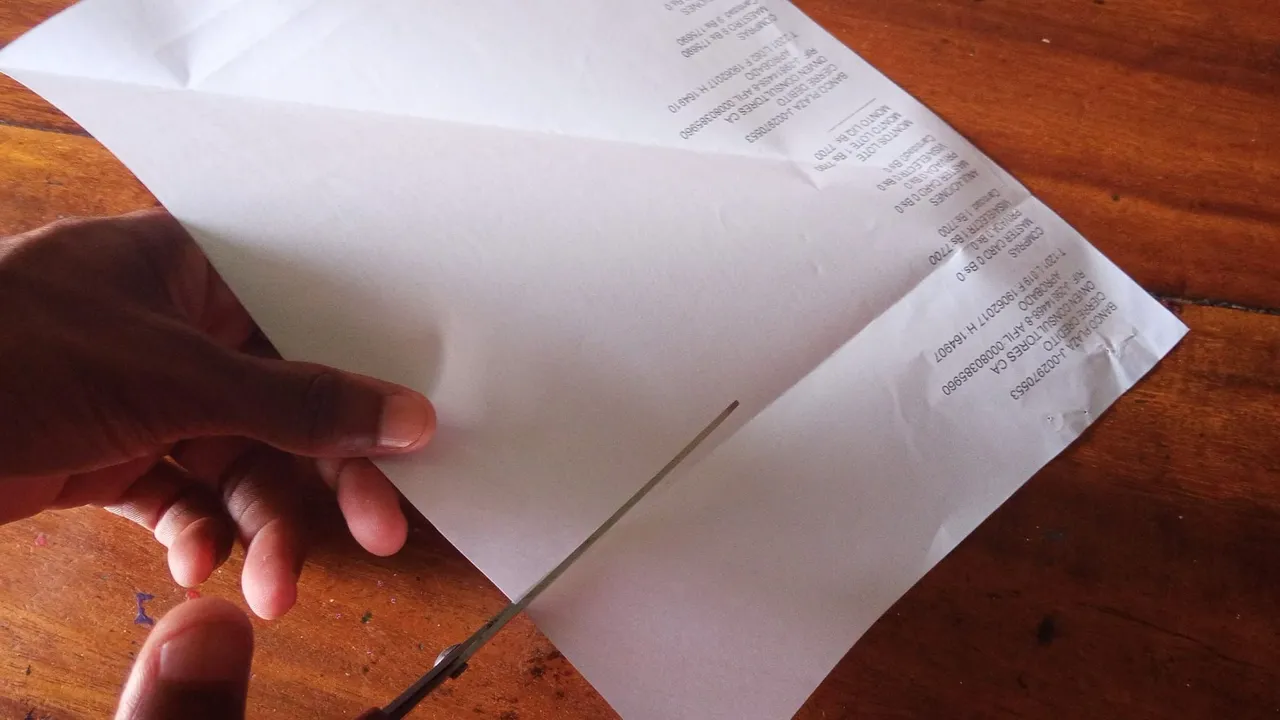
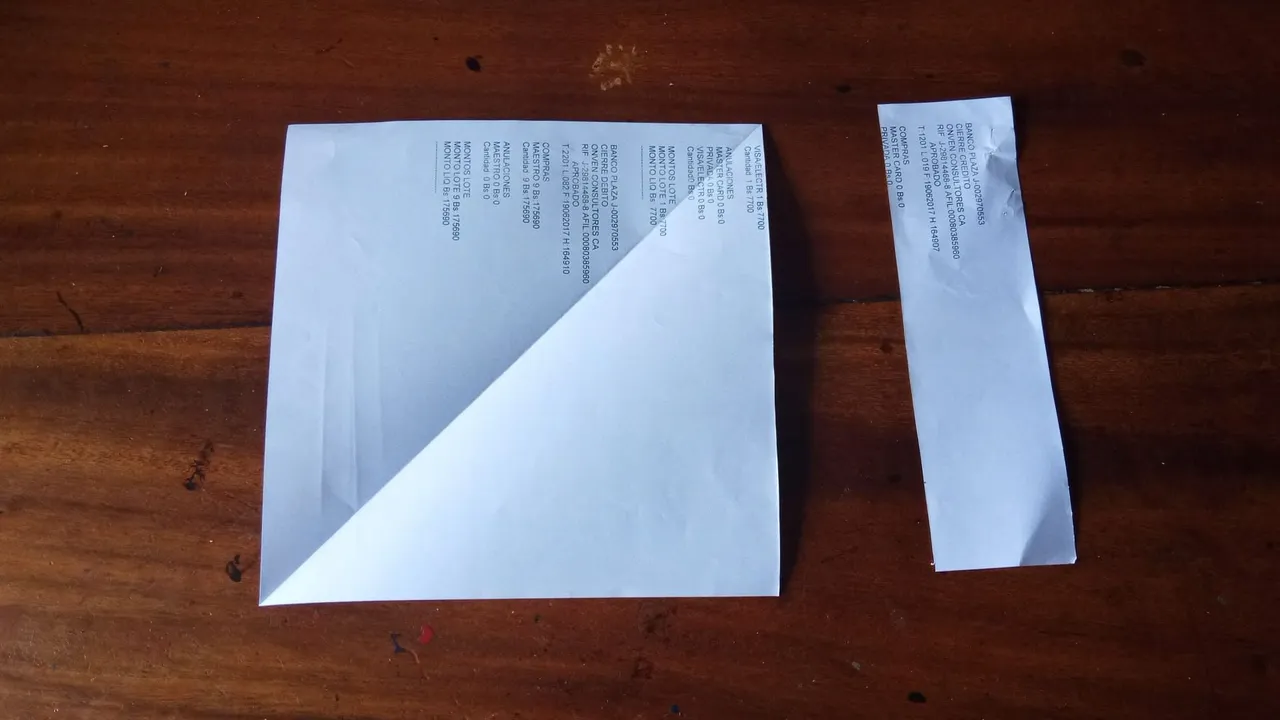
Lo primero que vamos hacer es buscar un cuadrado perfecto en nuestra hoja, es por ello la doblaremos en forma de rombo y cortaremos el sobrante, el cual posteriormente vamos a poder desechar ya que no lo utilizaremos más.
The first thing we are going to do is to look for a perfect square on our sheet, that is why we will fold it in the shape of a rhombus and cut the excess, which later we will be able to discard since we will not use it anymore.
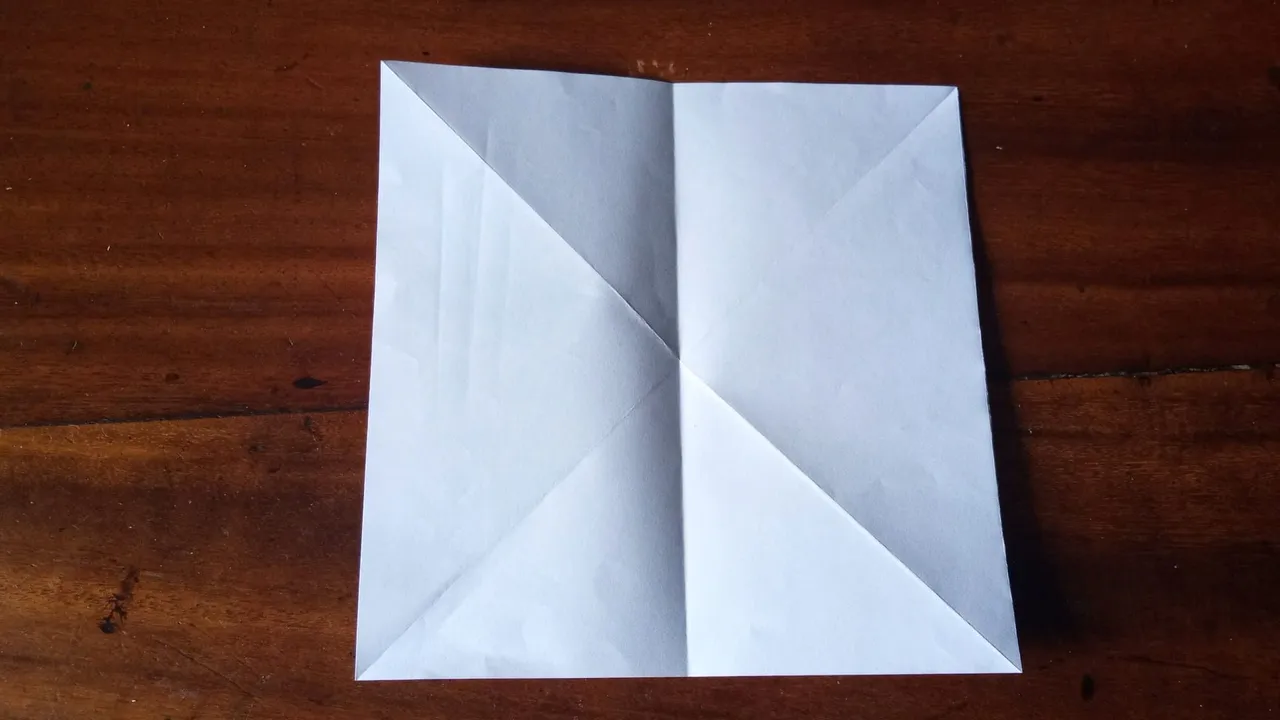
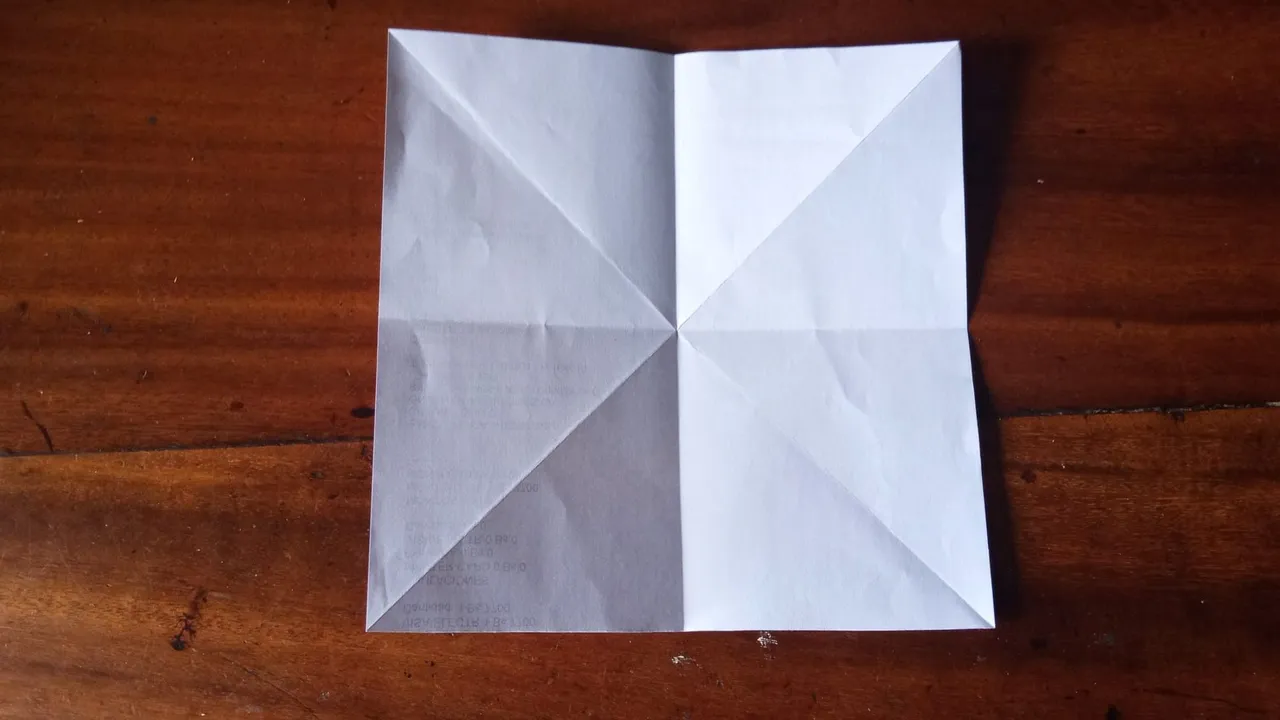
2
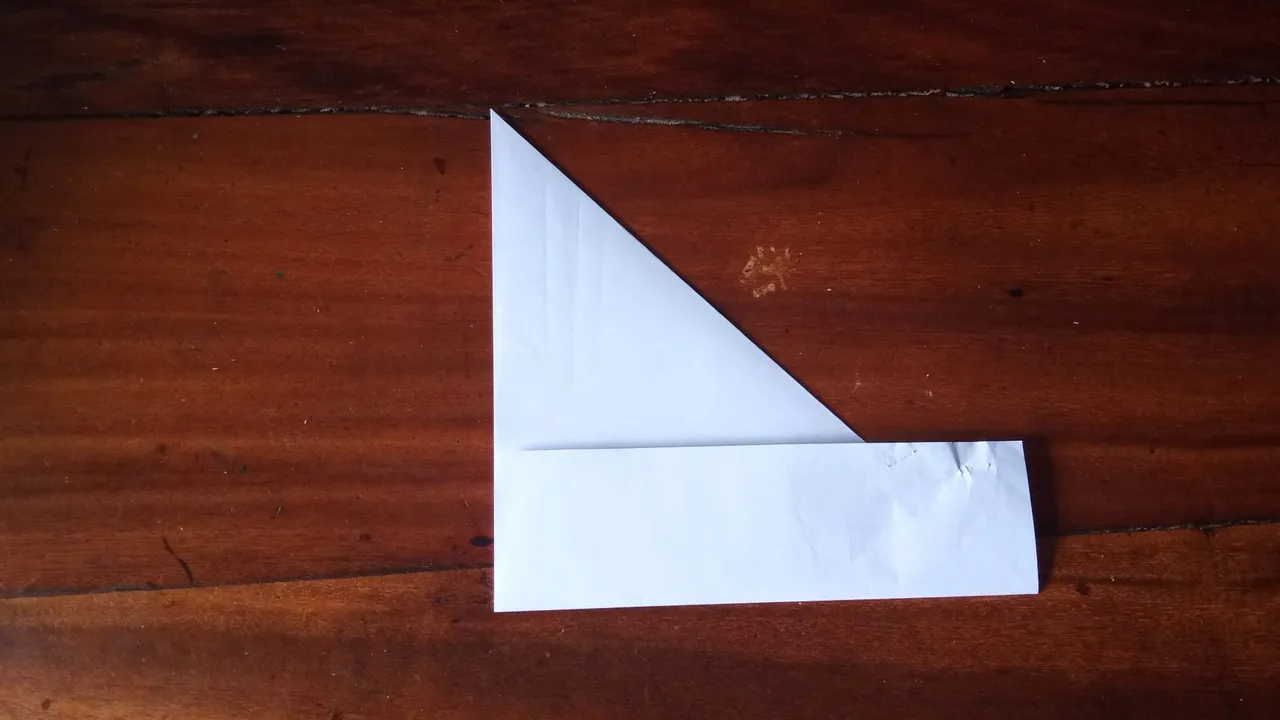
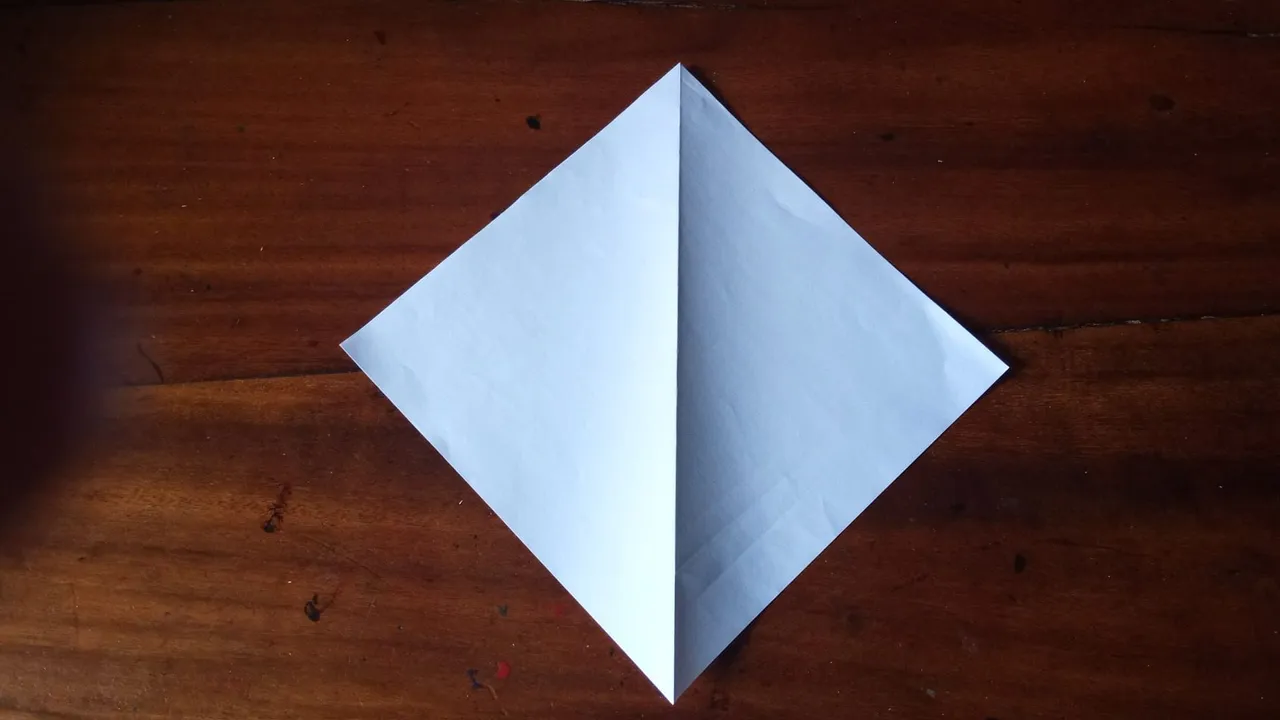
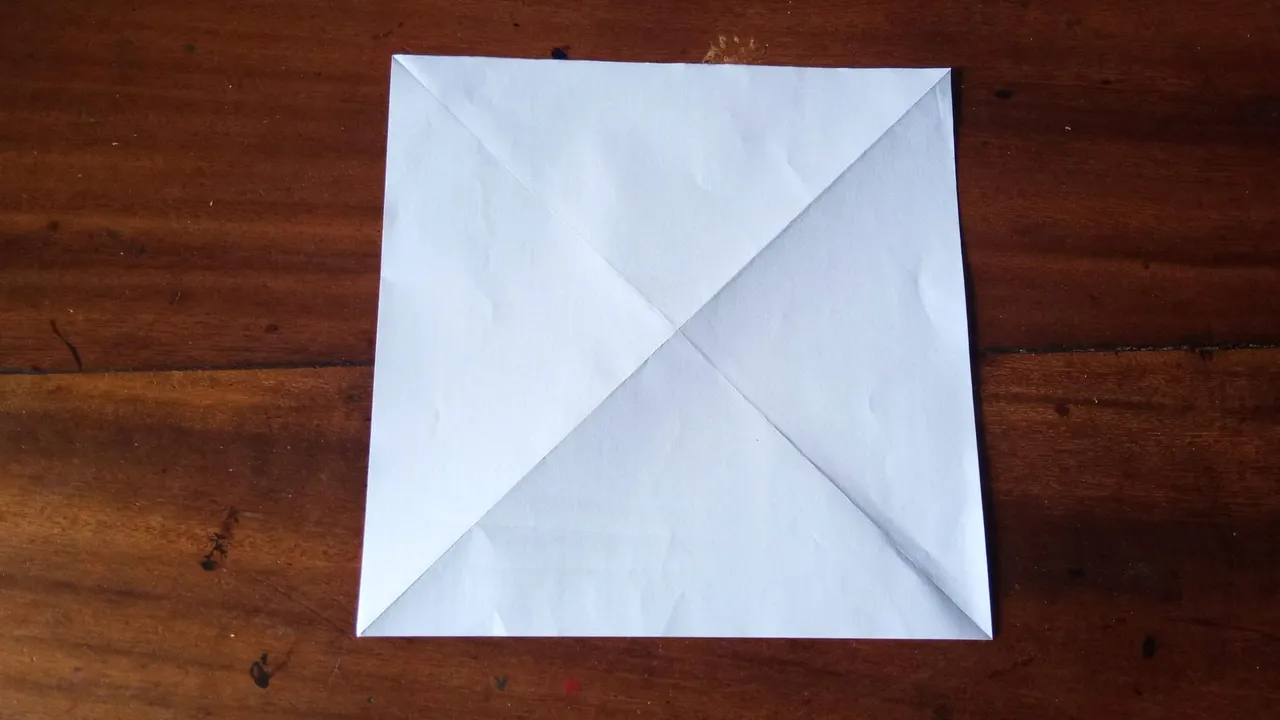
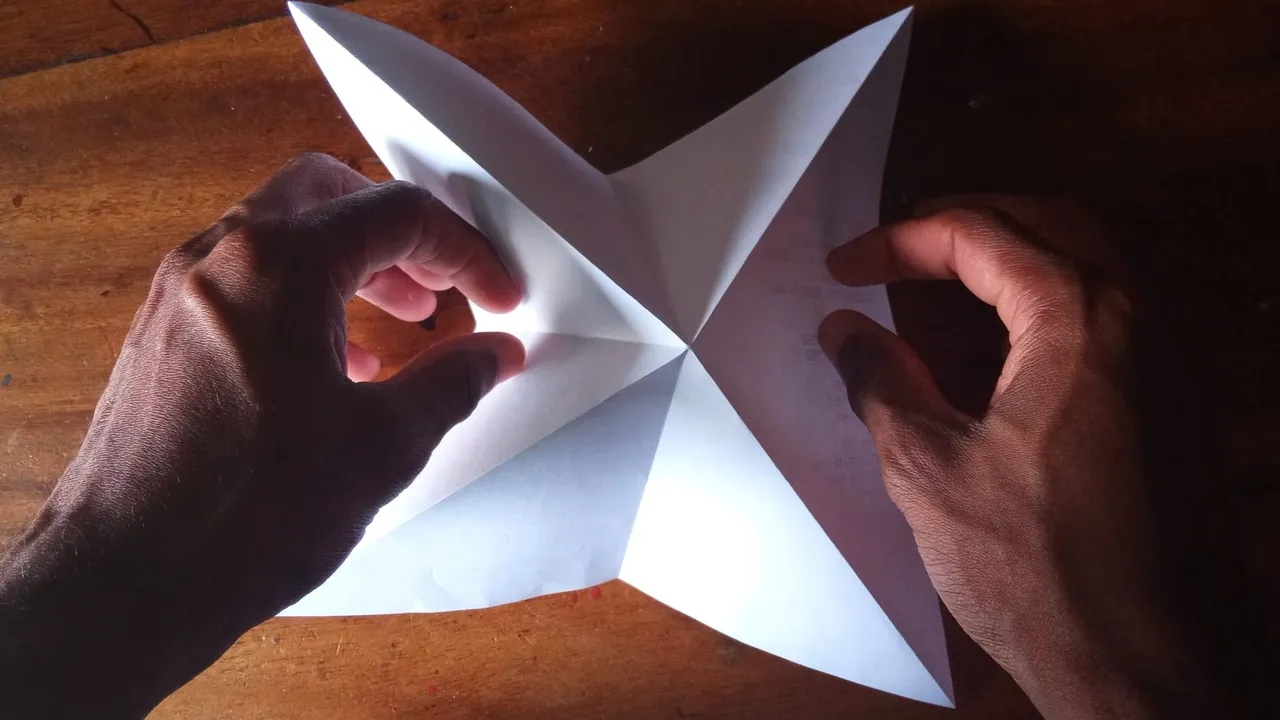
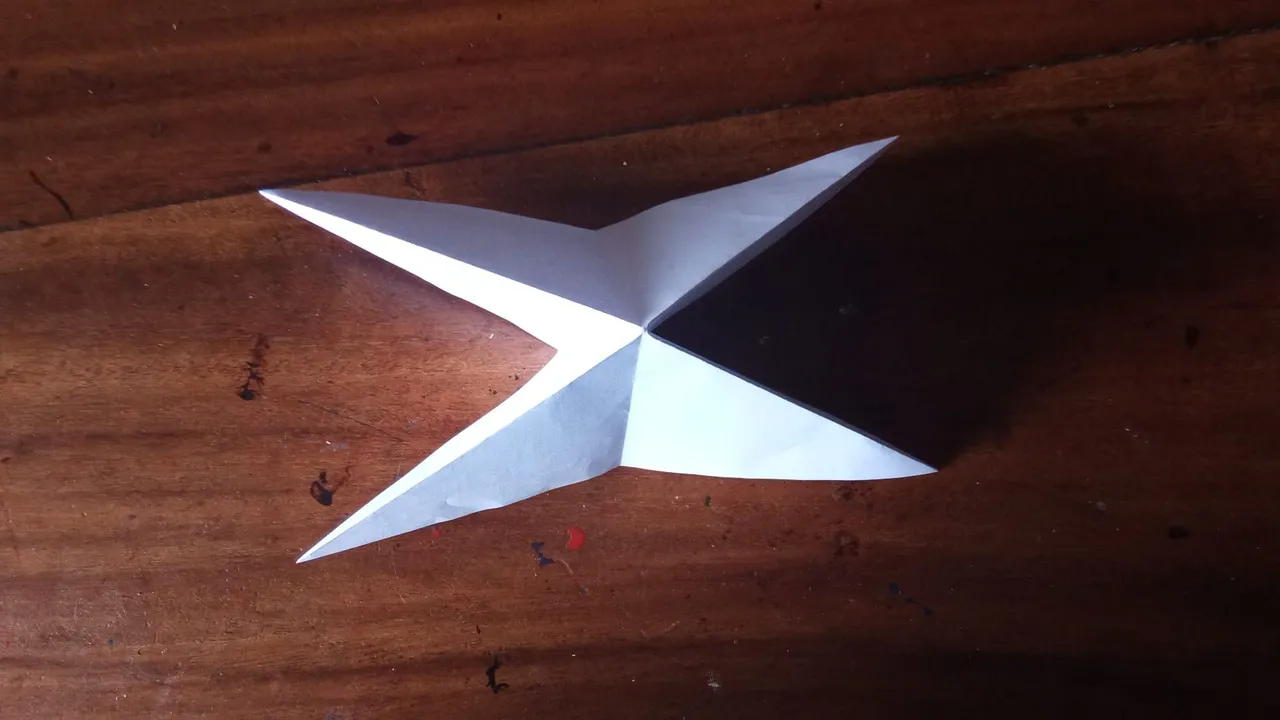
Posteriormente tenemos que buscar marcar la hoja por la mitad y diagonal para obtener las guías que necesitamos. Para ello vamos a realizar los siguientes pasos mostrados en las imágenes.
Then we have to mark the sheet in half and diagonally to obtain the guides we need. To do this we will perform the following steps shown in the images.
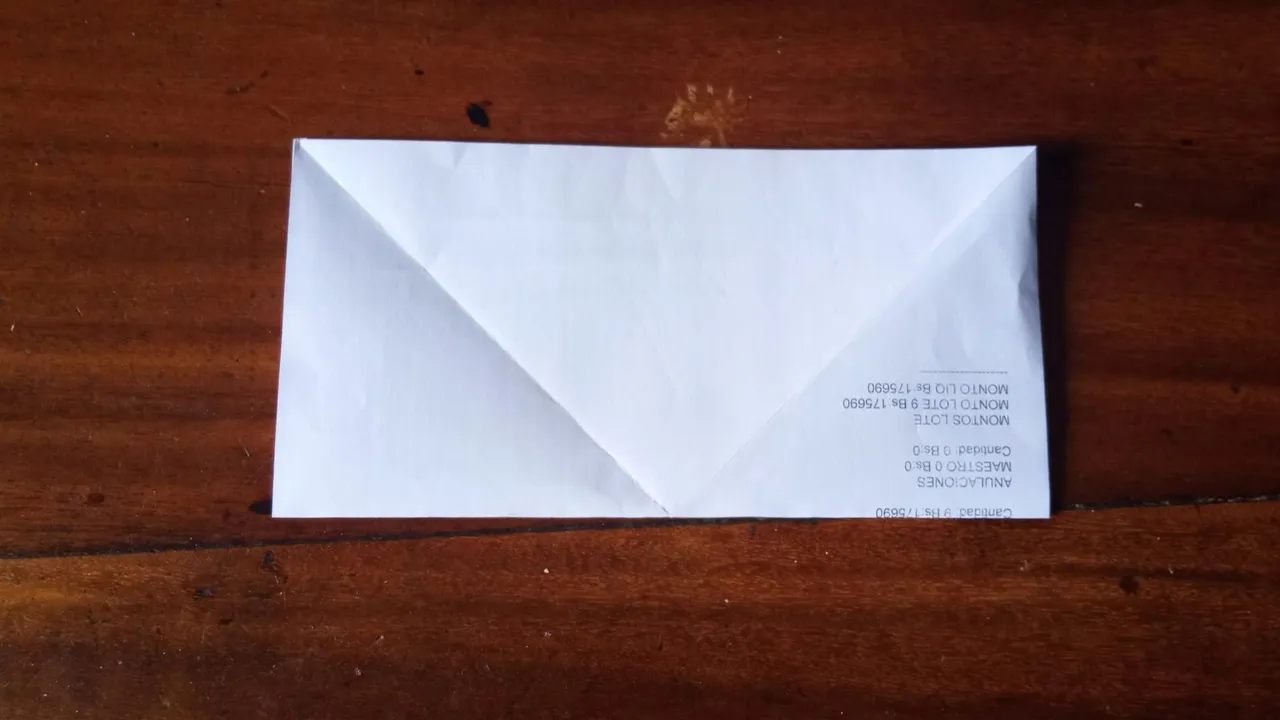
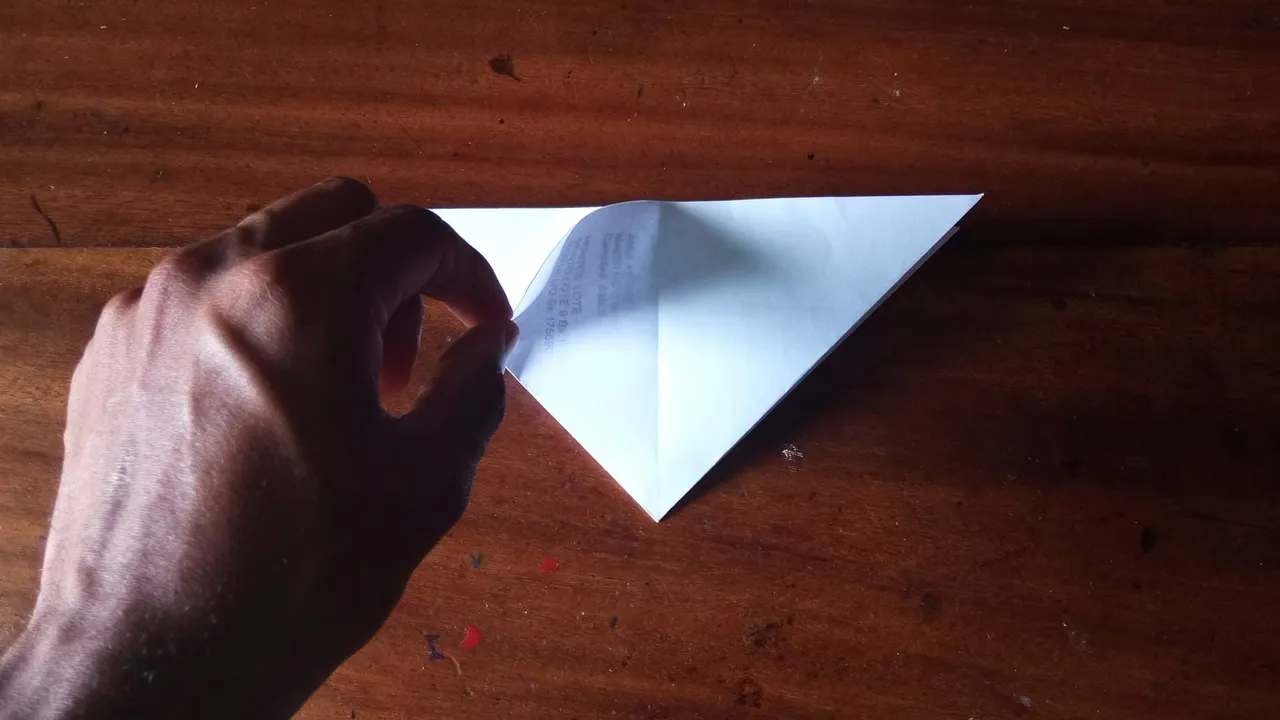
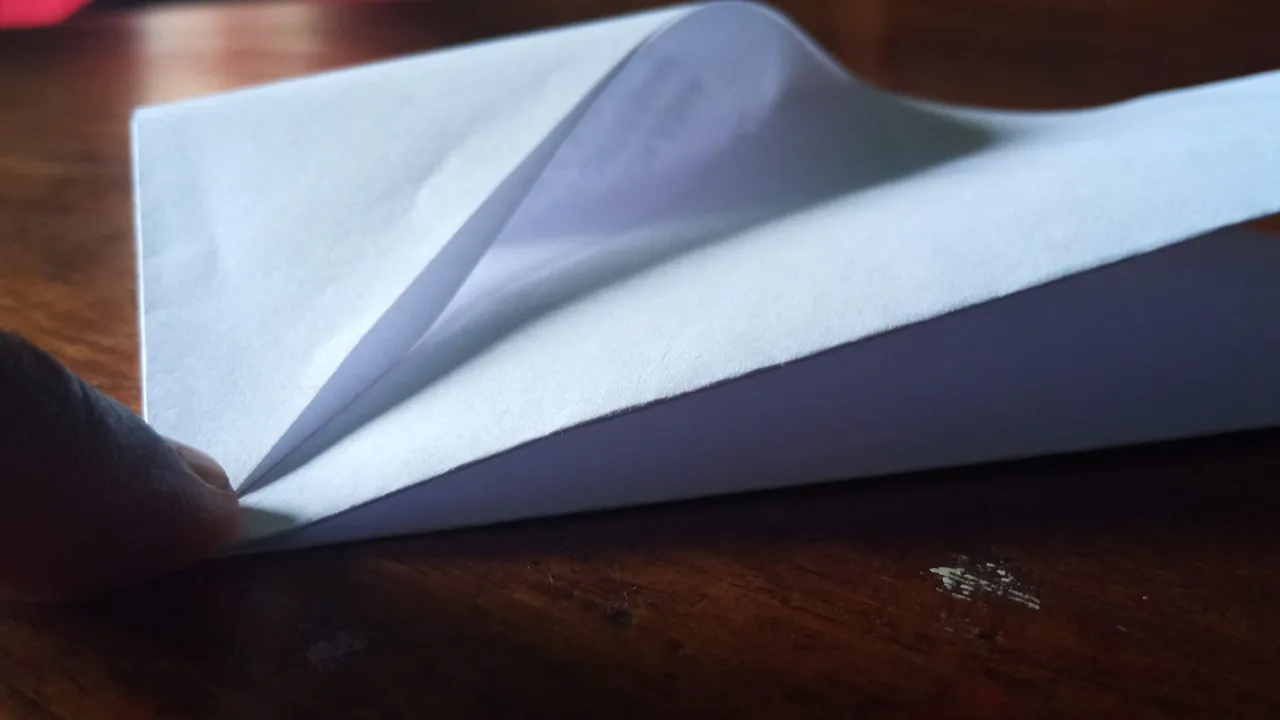
3
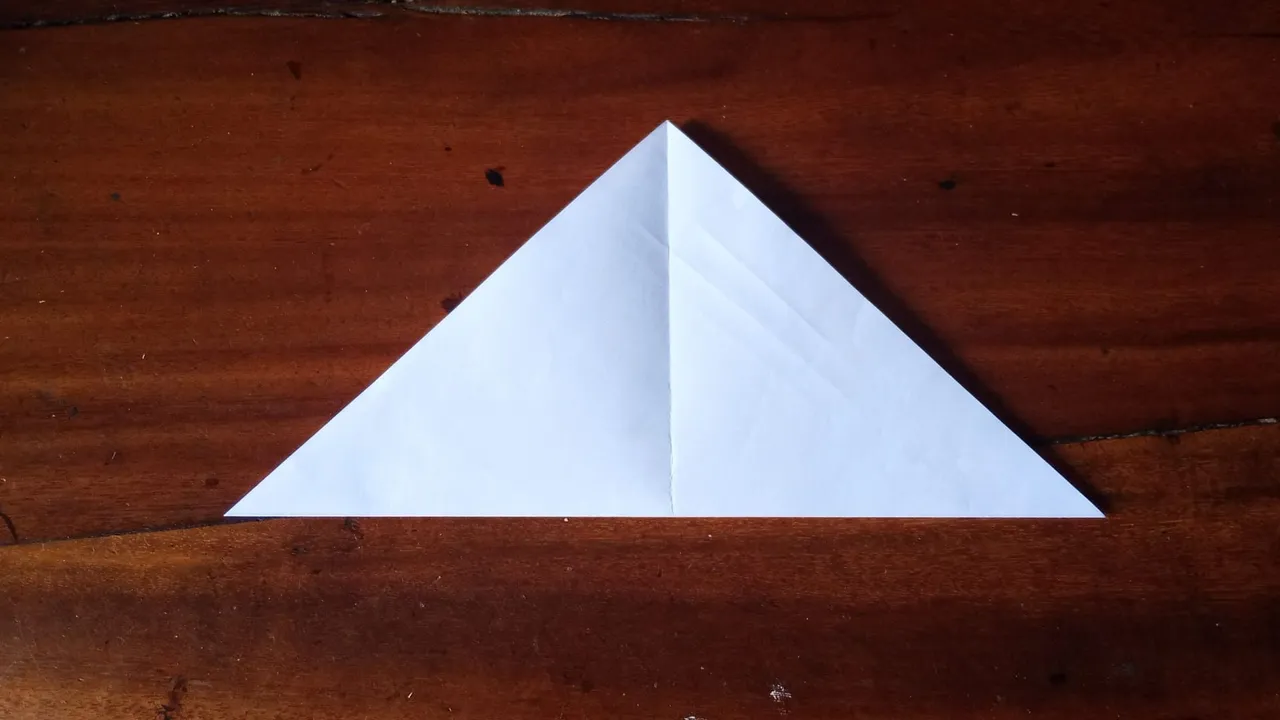
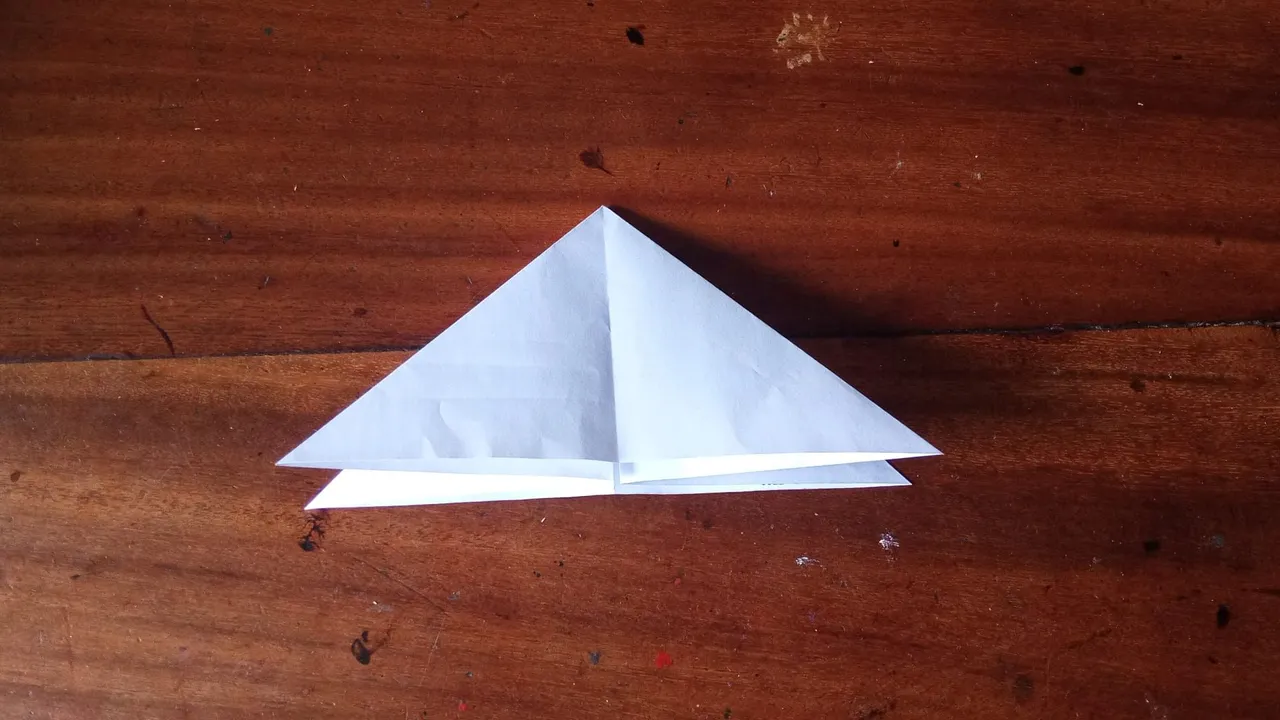
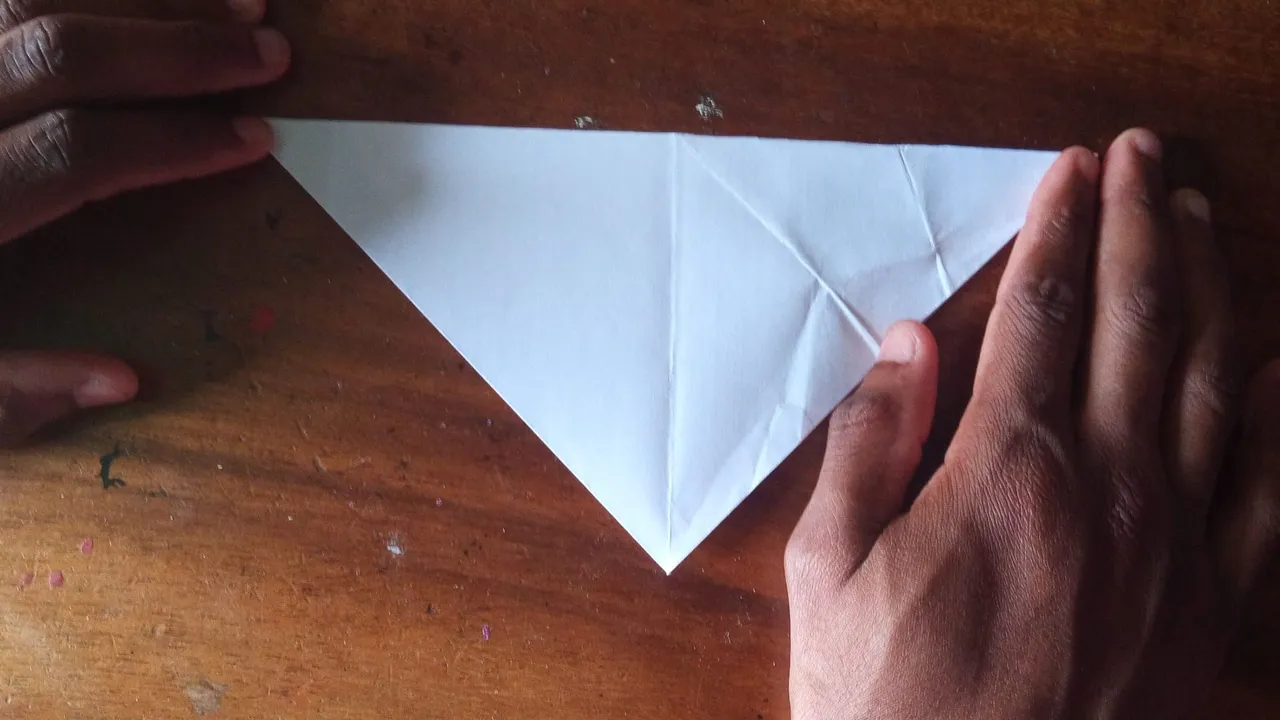
Ya realizadas las mar vamos a procesar a realizar una figura de triángulo con nuestra hoja, la cual conseguiremos metiendo cuatro de las ocho caras que tenemos en nuestra forma.
Now that we have made the seas we are going to process to make a triangle shape with our leaf, which we will get by putting four of the eight faces that we have in our shape.
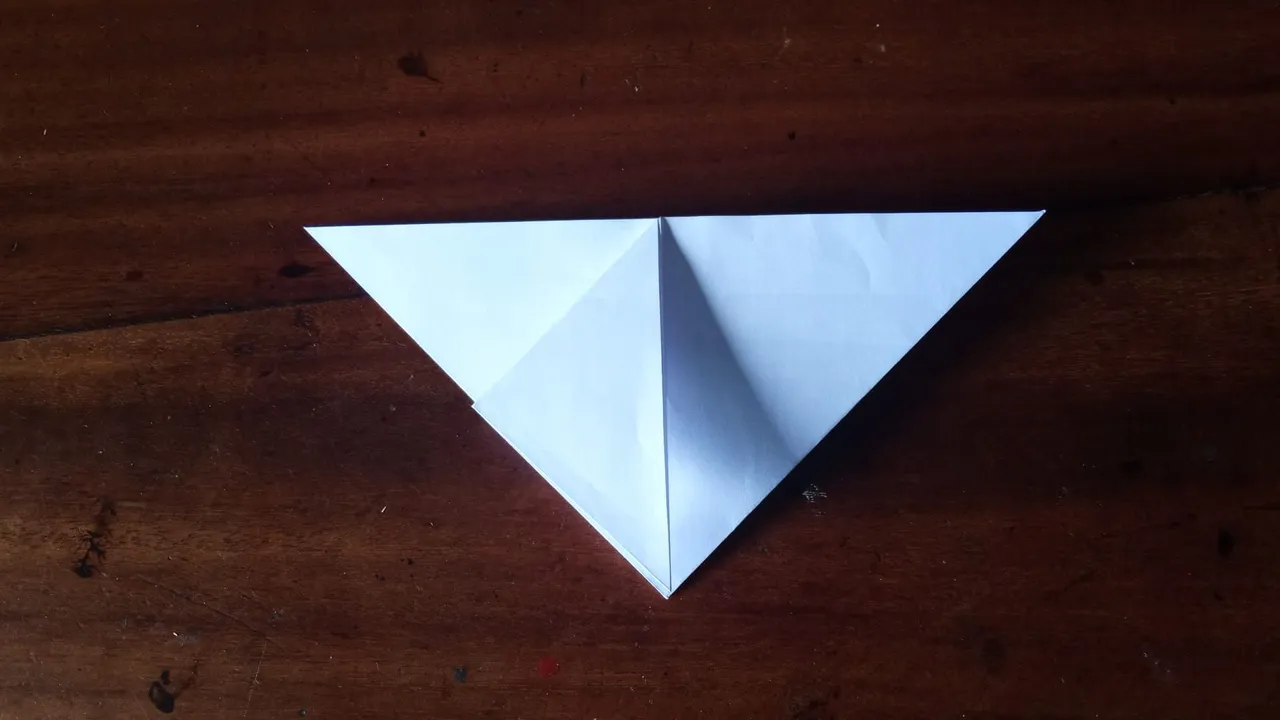
4
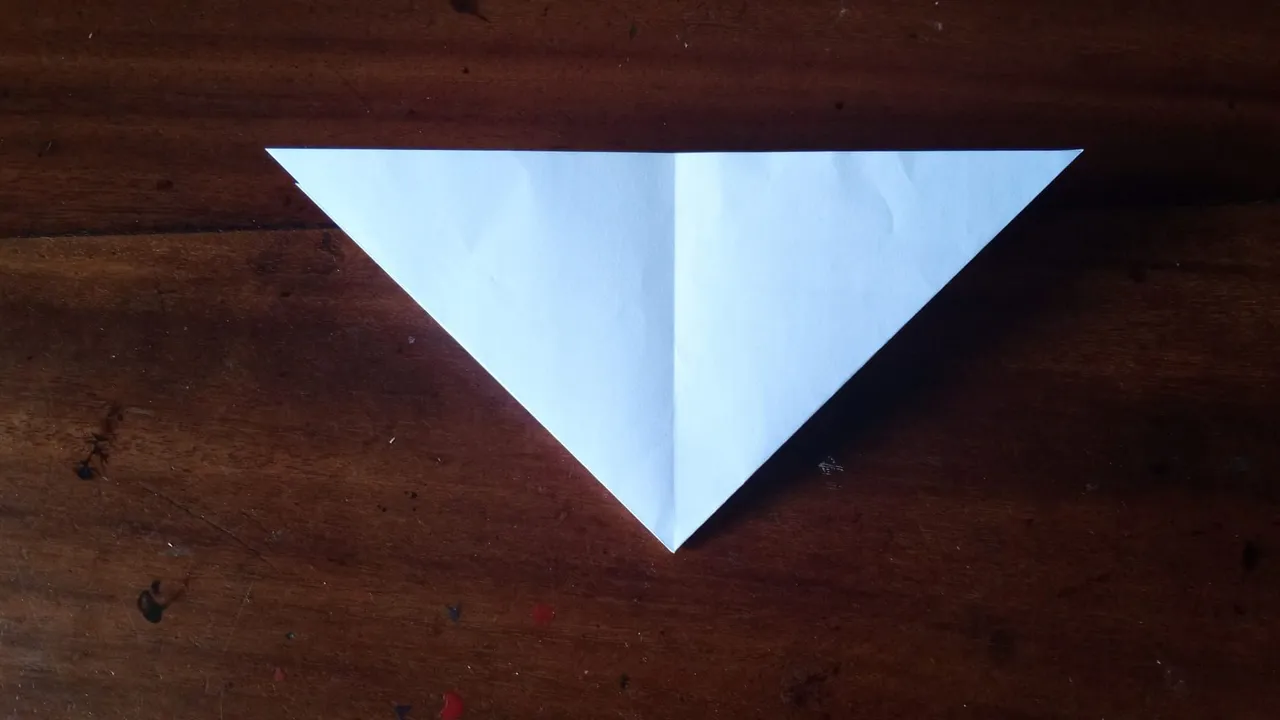
Ya obtenida está forma vamos a colocar el triángulo con la punta hacia abajo para comenzar a moldear nuestro murciélago.
Once this shape is obtained, we are going to place the triangle with the tip down to start shaping our bat.
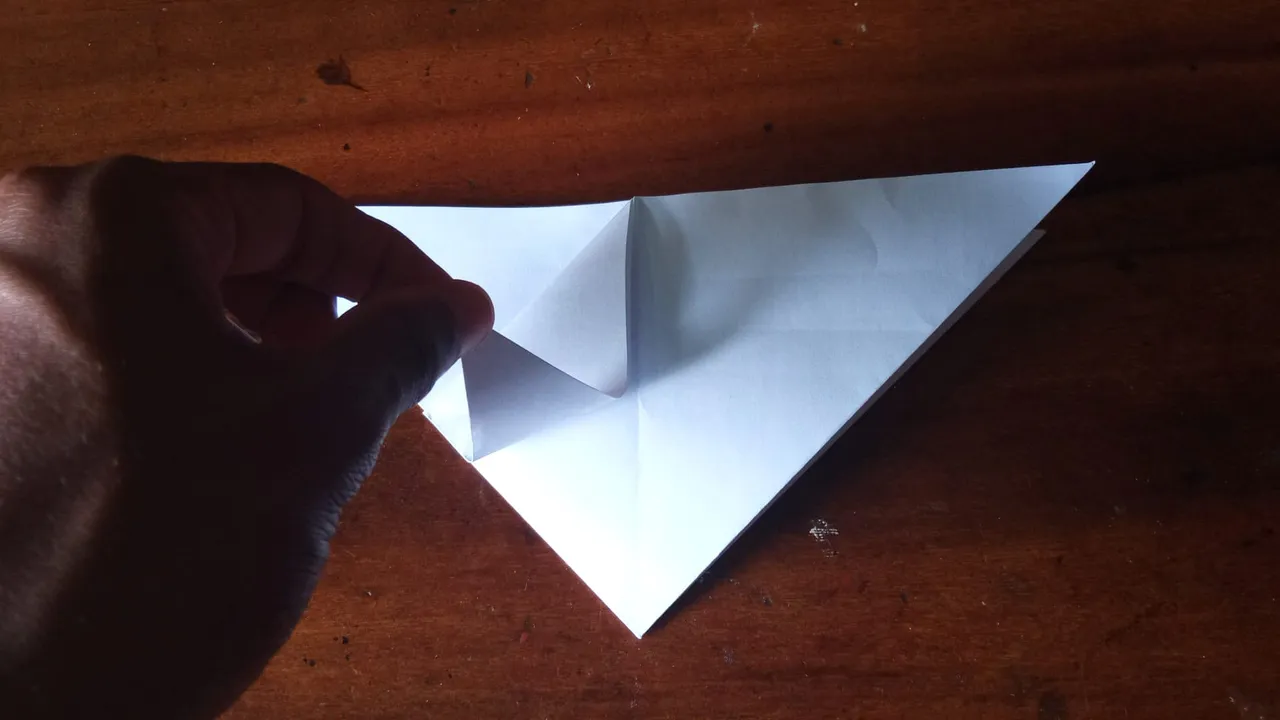
5
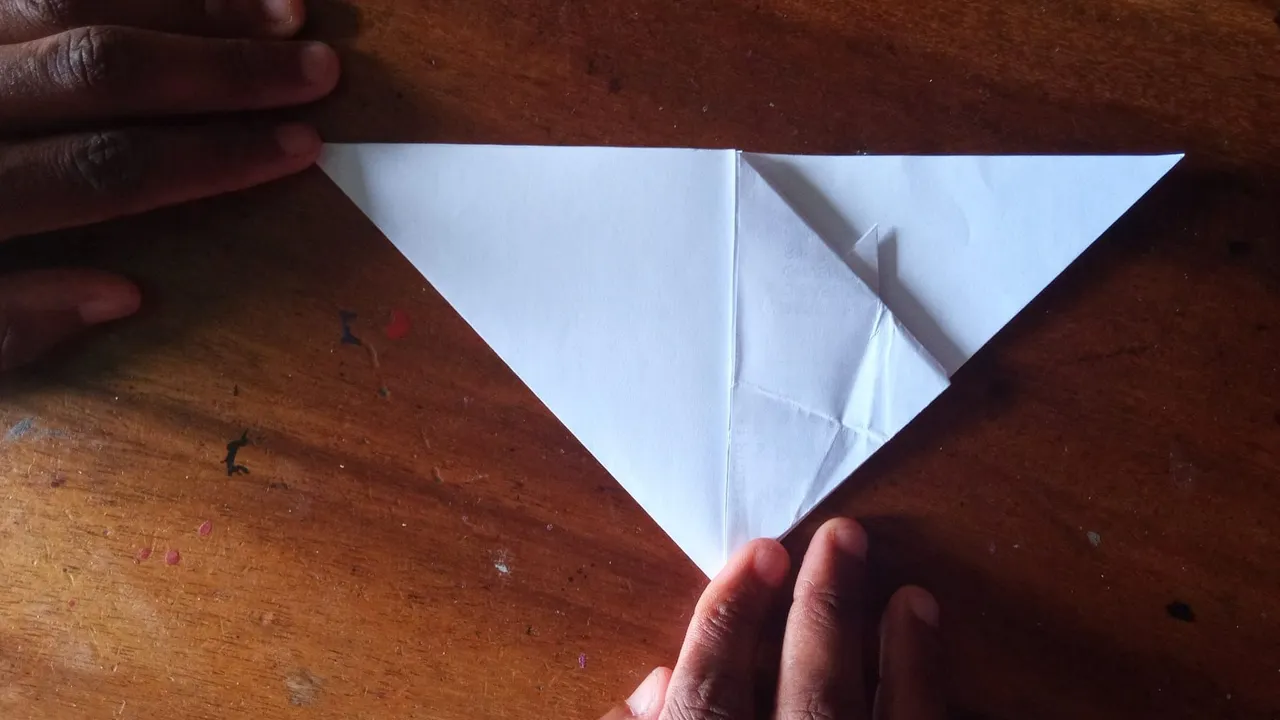
Lo primero que debemos hacer es agarrar unas de las orejitas de la hija y traerla a la línea de la mitad marcada anteriormente.
The first thing to do is to grab one of the daughter's ears and bring it to the middle line marked above.
6
Doblamos fuertemente y luego la misma orejita la llevaremos hasta mitad hacia la parte superior.
We fold tightly and then the same ear we will bring it halfway to the top.
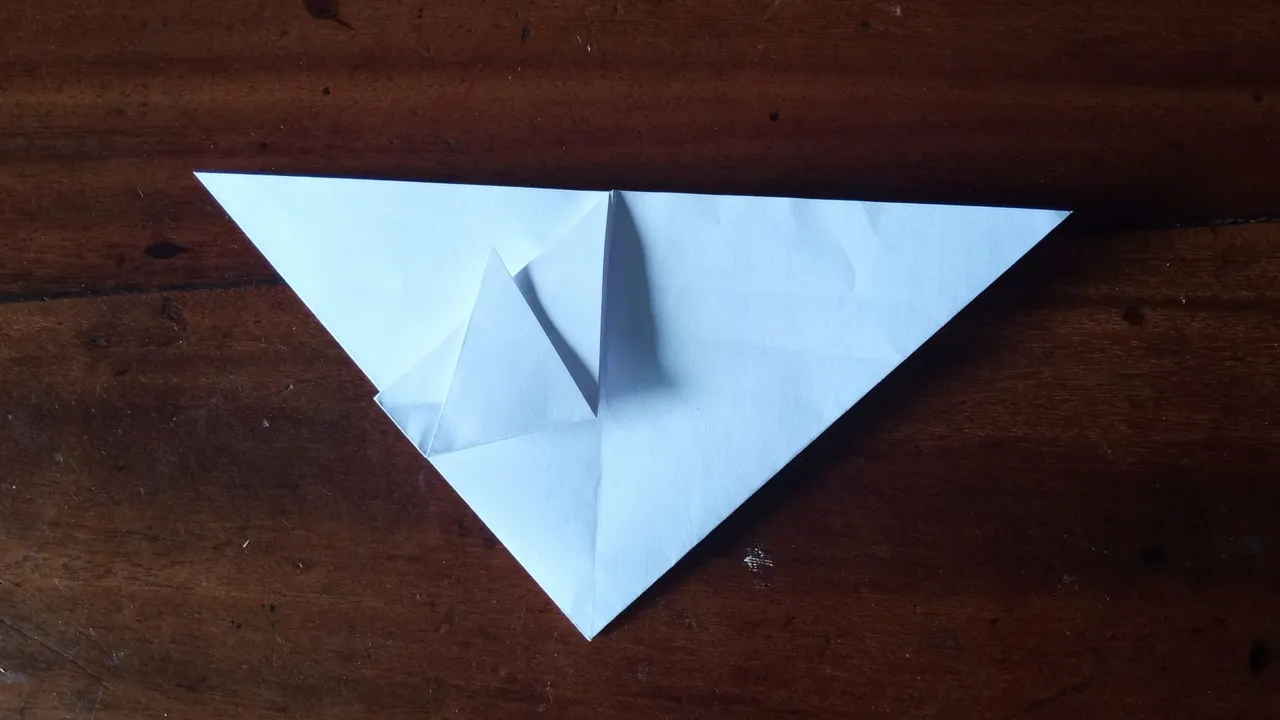
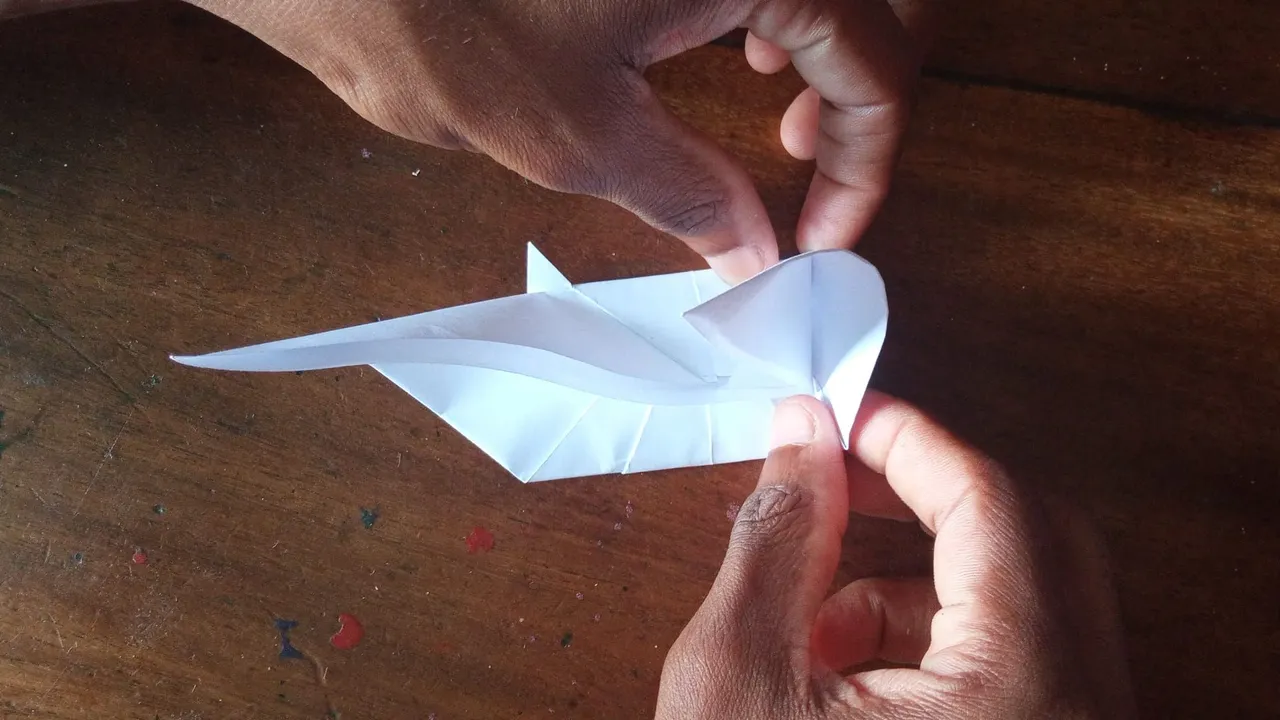
7
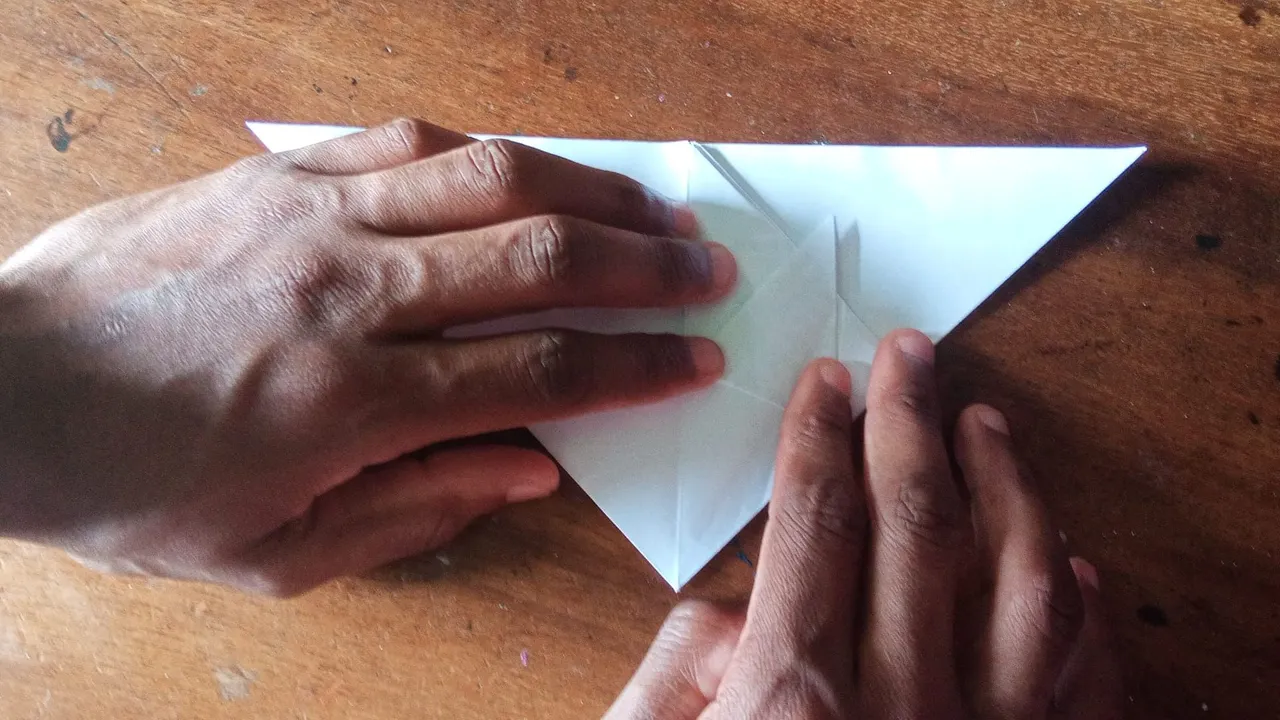
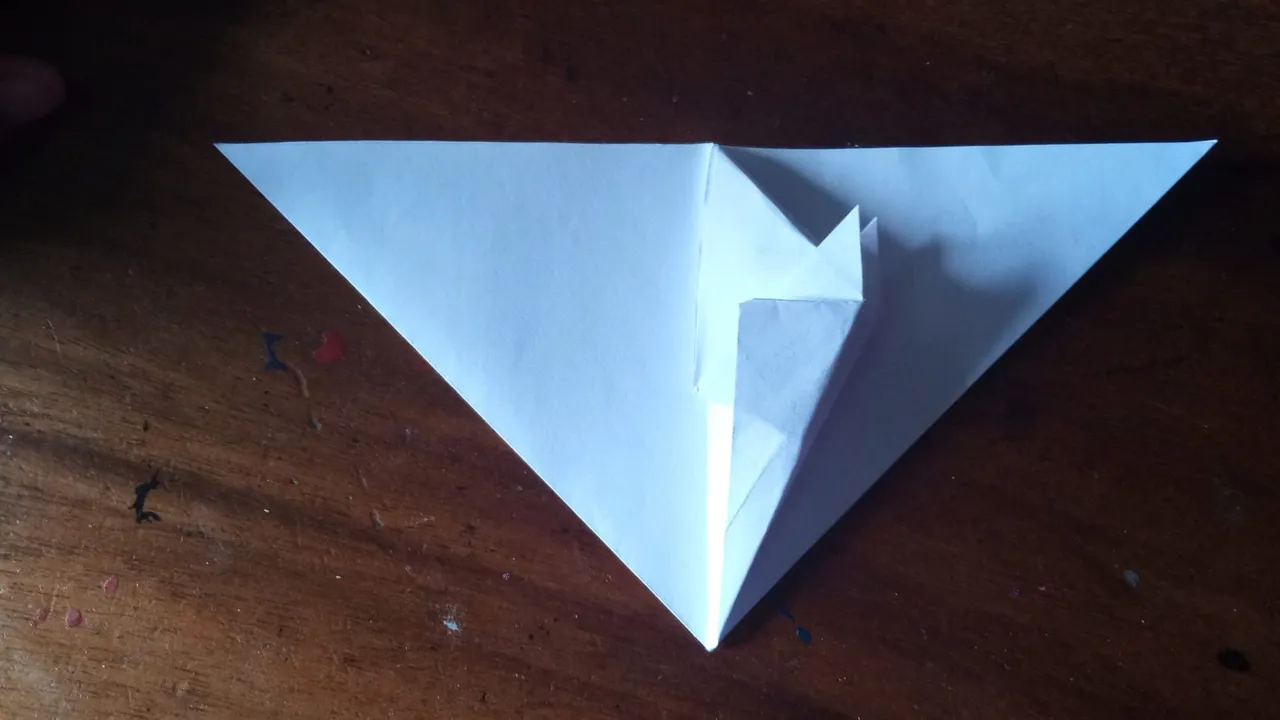
Ya en este punto vamos a buscar triangular la parte inferior de la siguiente manera. Doblamos la parte externa del ala izquierda que en este caso es la que estamos utilizando, hacia adentro. Posteriormente volvemos a doblar toda el ala y nos daremos cuenta que ya tenemos una de las orejas de nuestro murciélago de papel.
At this point we are going to try to triangulate the lower part in the following way. We fold the outer part of the left wing, which in this case is the one we are using, inwards. Then we fold again the whole wing and we will realize that we already have one of the ears of our paper bat.
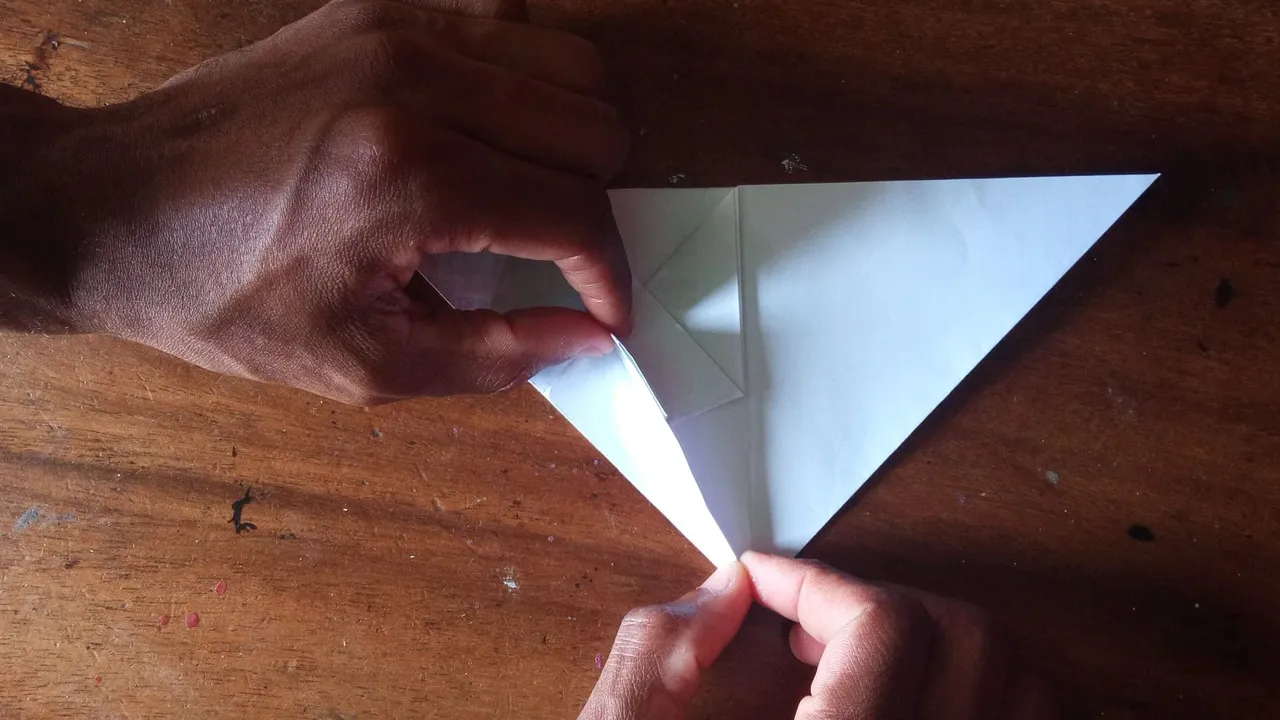
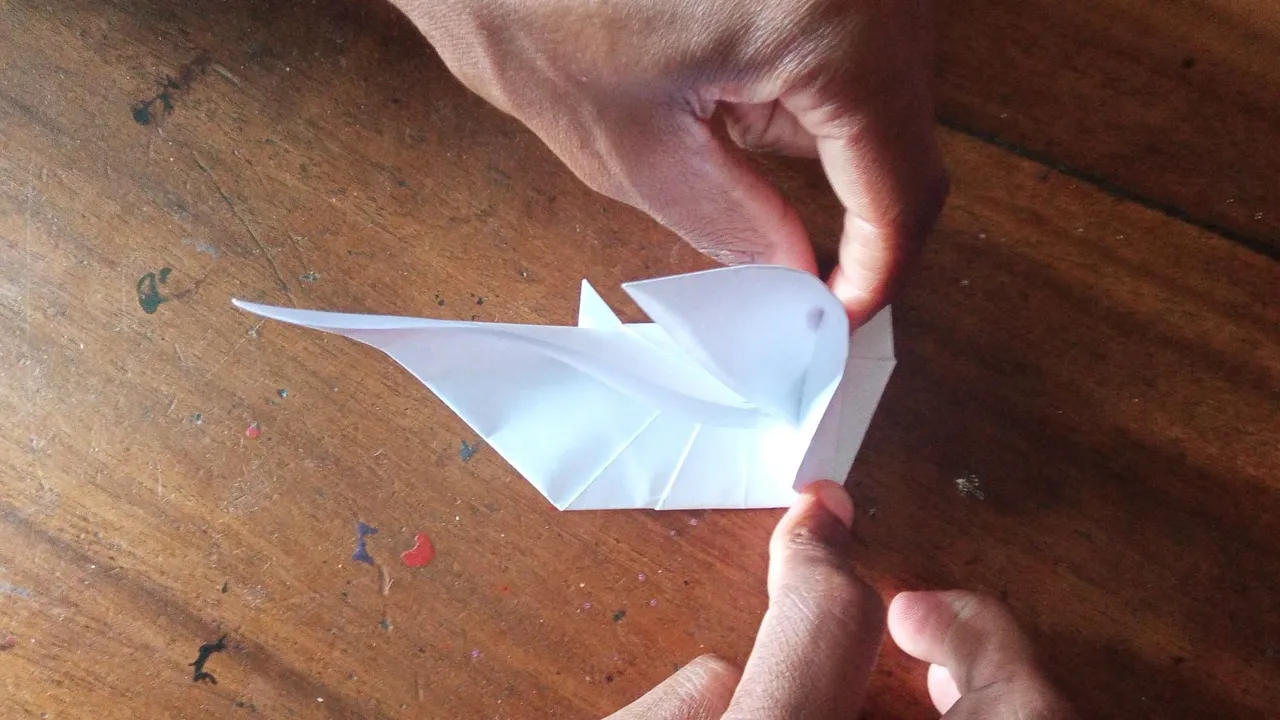
8
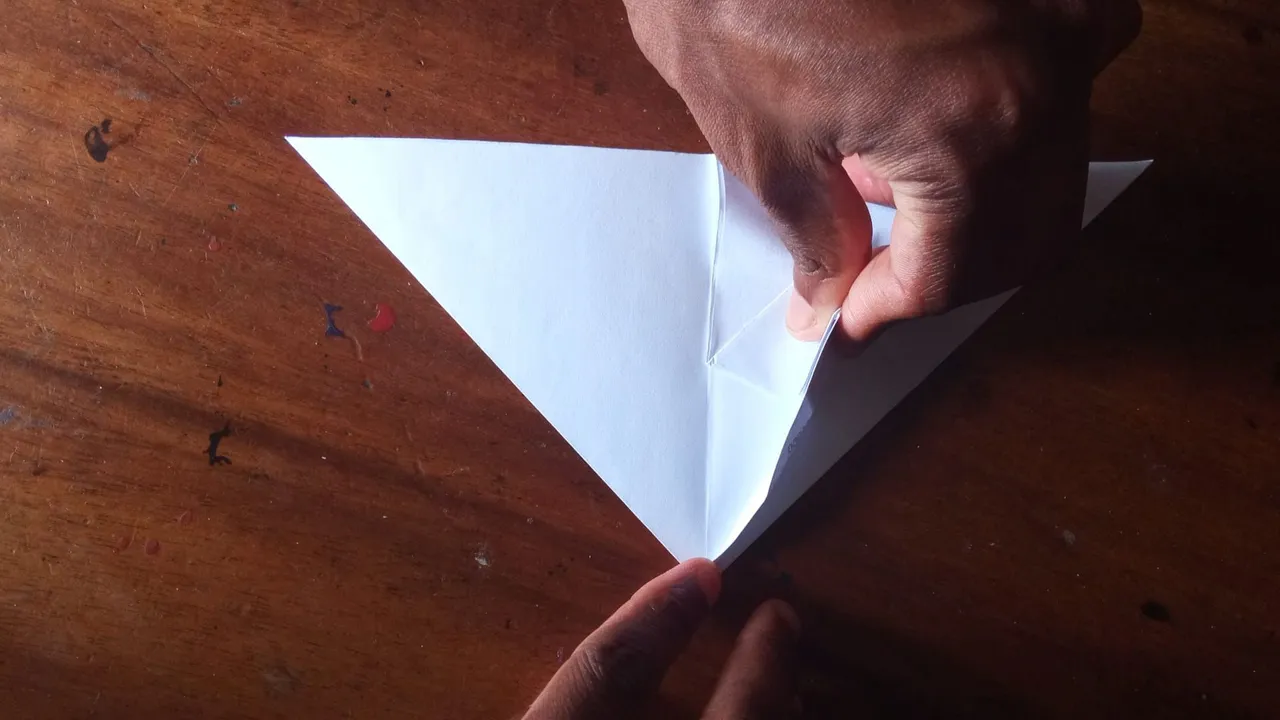
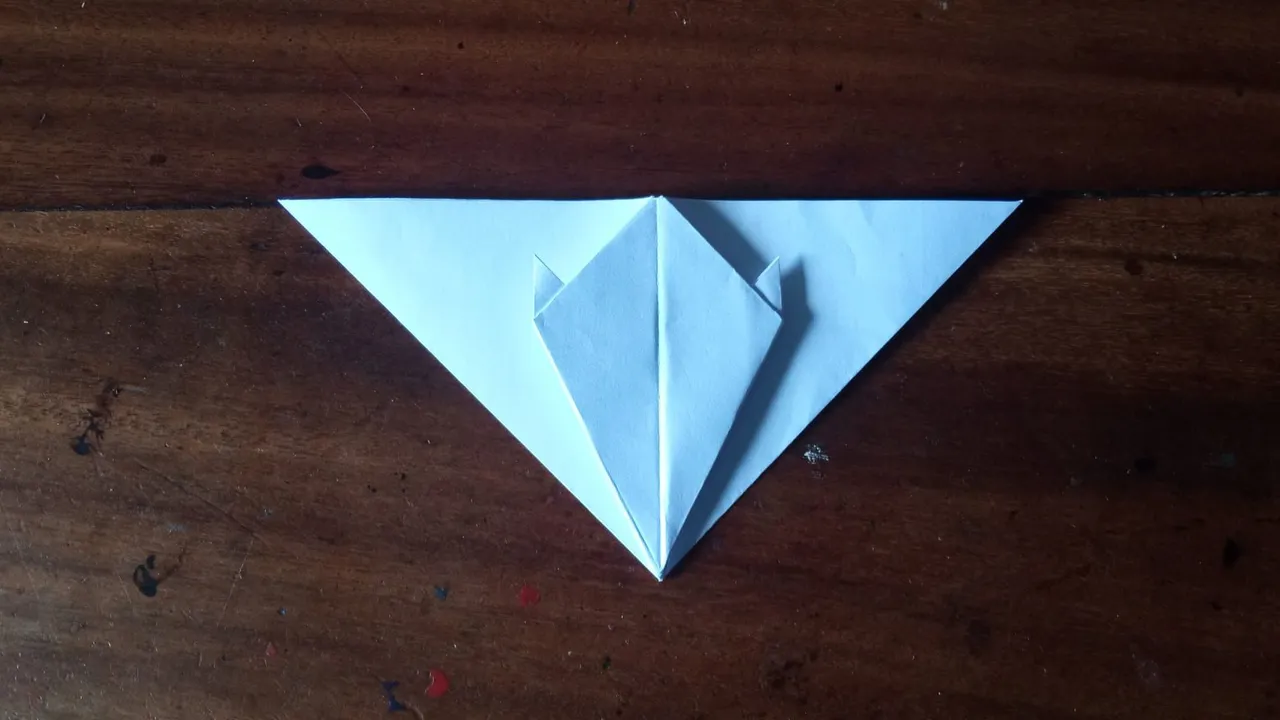
Vamos a repetir el mismo procedimiento que la siguiente ala que está al lado izquierda de la que ya hemos trabajado para sacar la otra oreja del murciélago tal cual como lo vemos en las imágenes.
We are going to repeat the same procedure as the next wing that is on the left side of the one we have already worked on to remove the other ear of the bat as shown in the images.
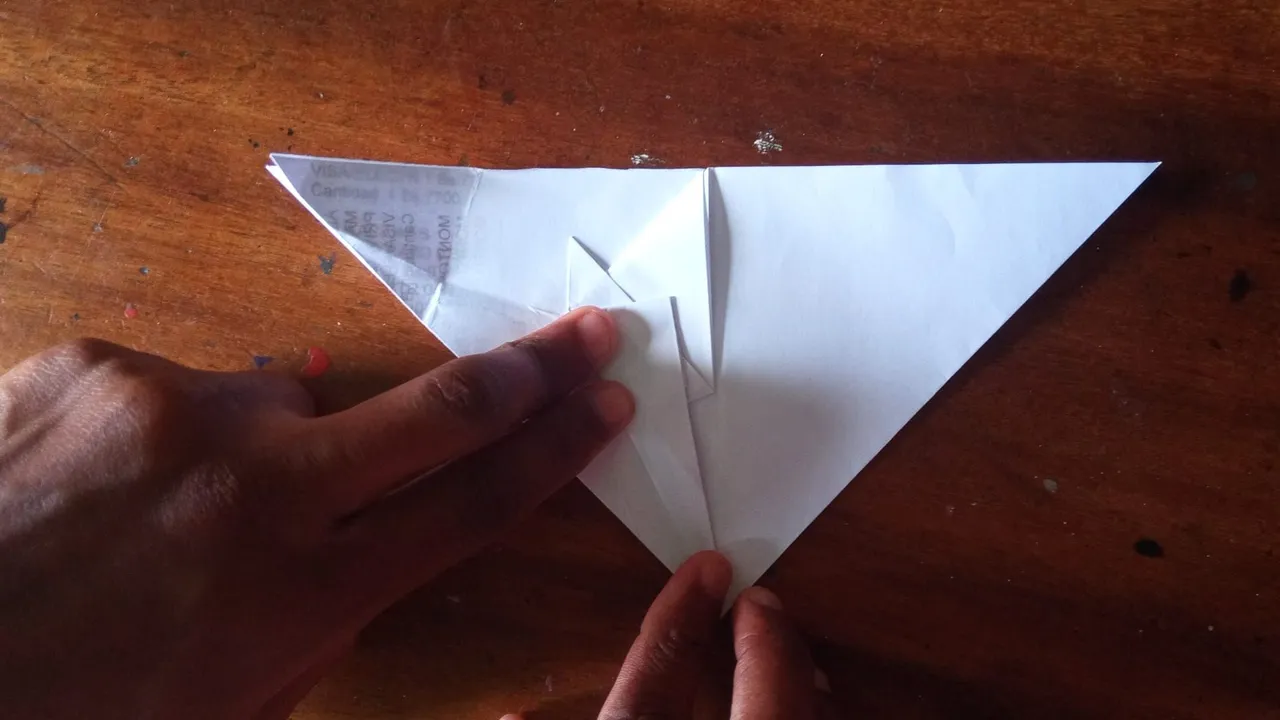
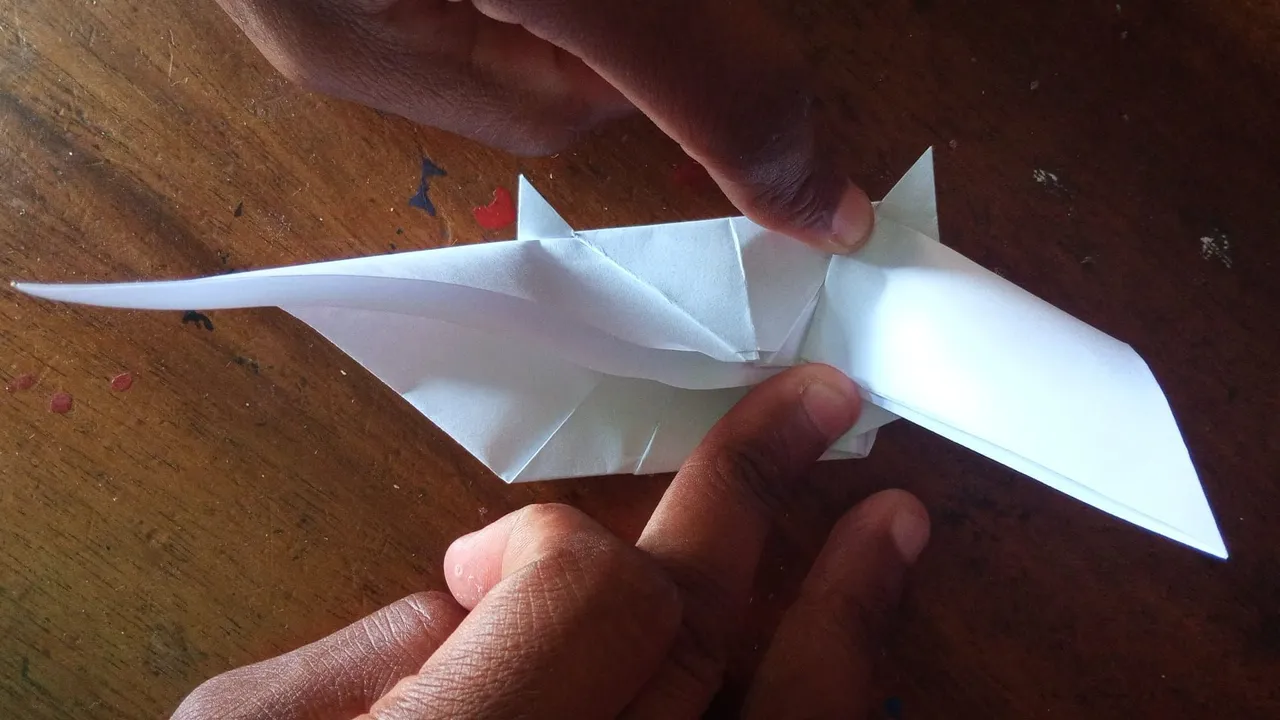
9
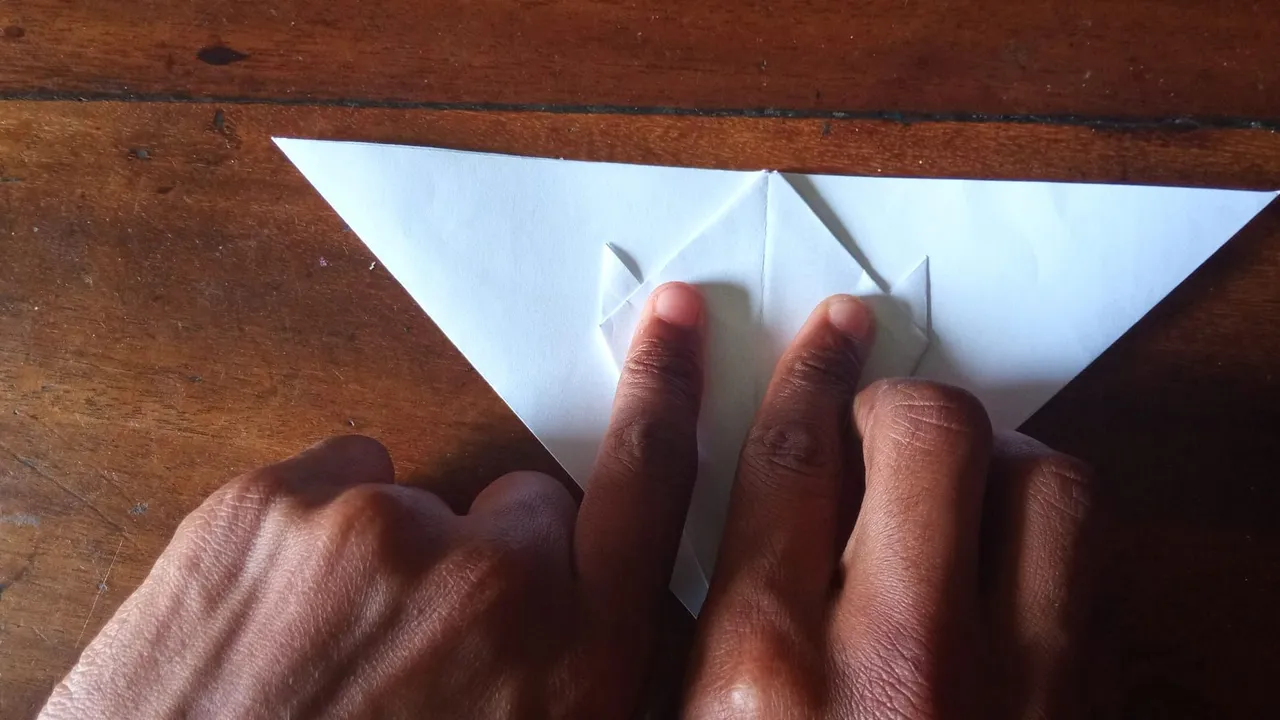
Ya en este punto nuestra creación va agarrando la forma que queremos. El siguiente paso a realizar es marcar una línea imaginaria entre el límite de las dos orejas.
Already at this point our creation is taking the shape we want. The next step is to mark an imaginary line between the boundary of the two ears.
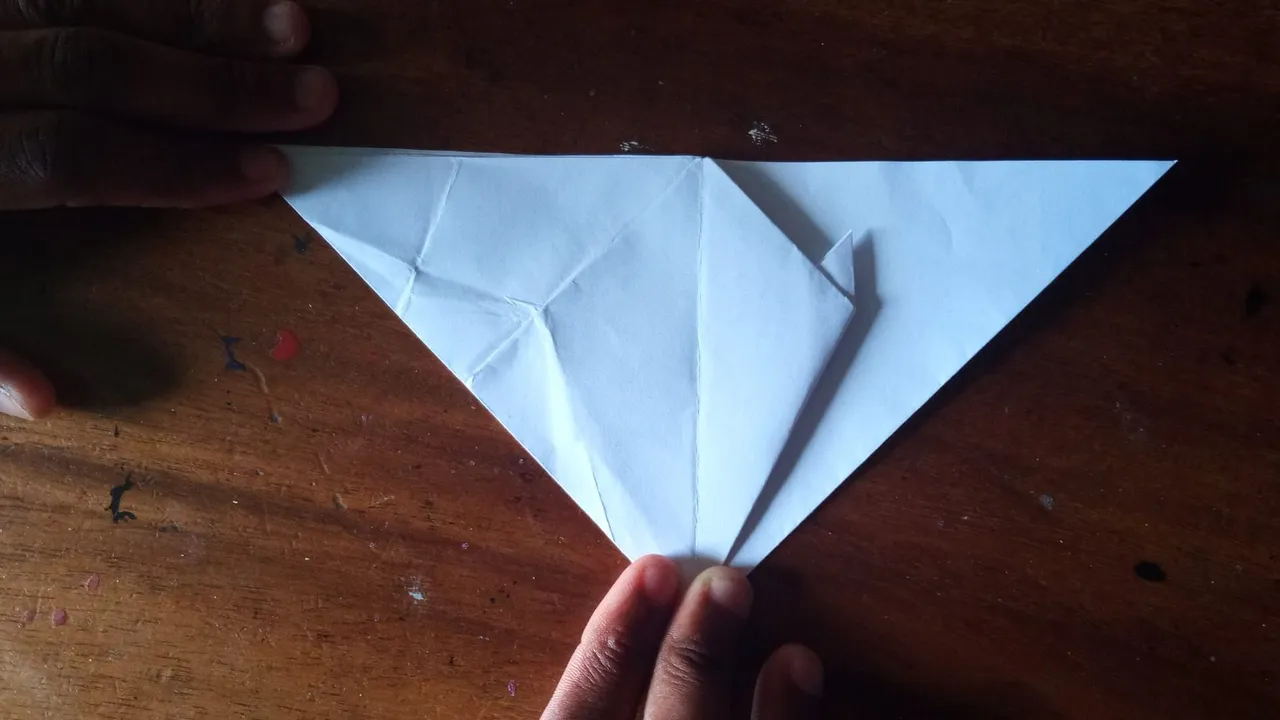
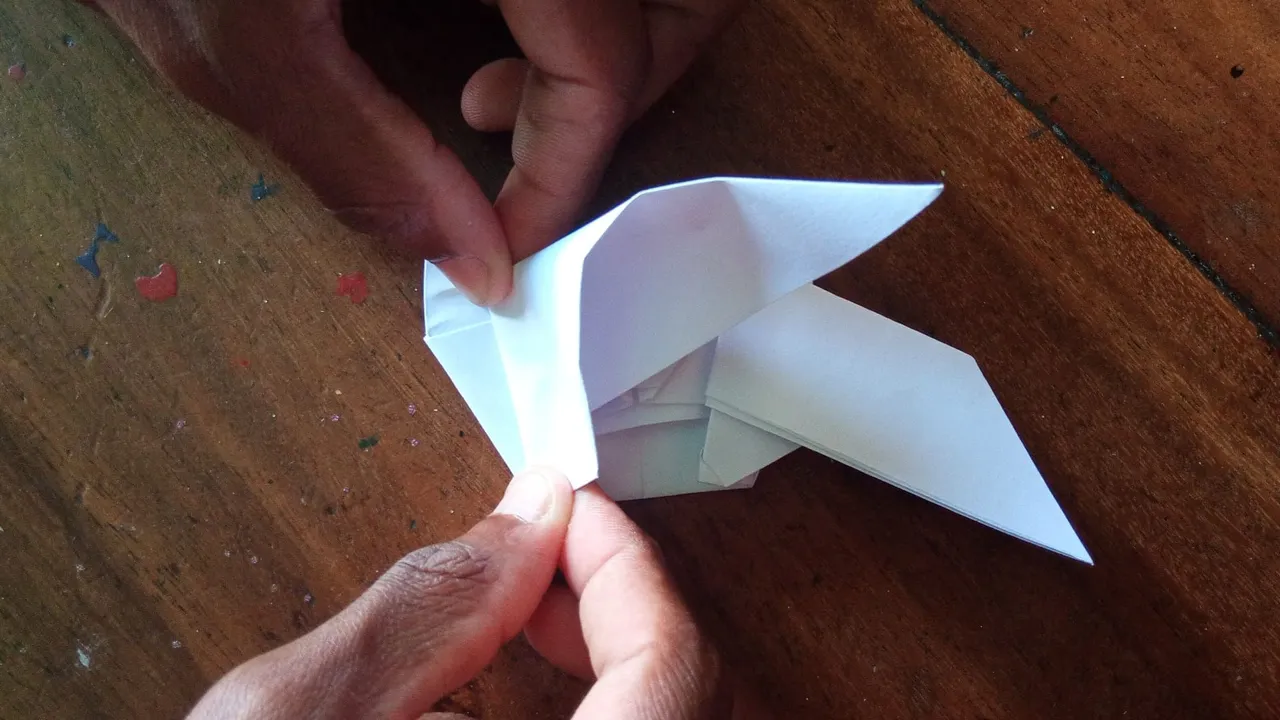
10
Ya realizado esto vamos a doblar hacia atrás sin apretar los extremos de las alas.
Once this is done, we are going to bend backwards without tightening the ends of the wings.
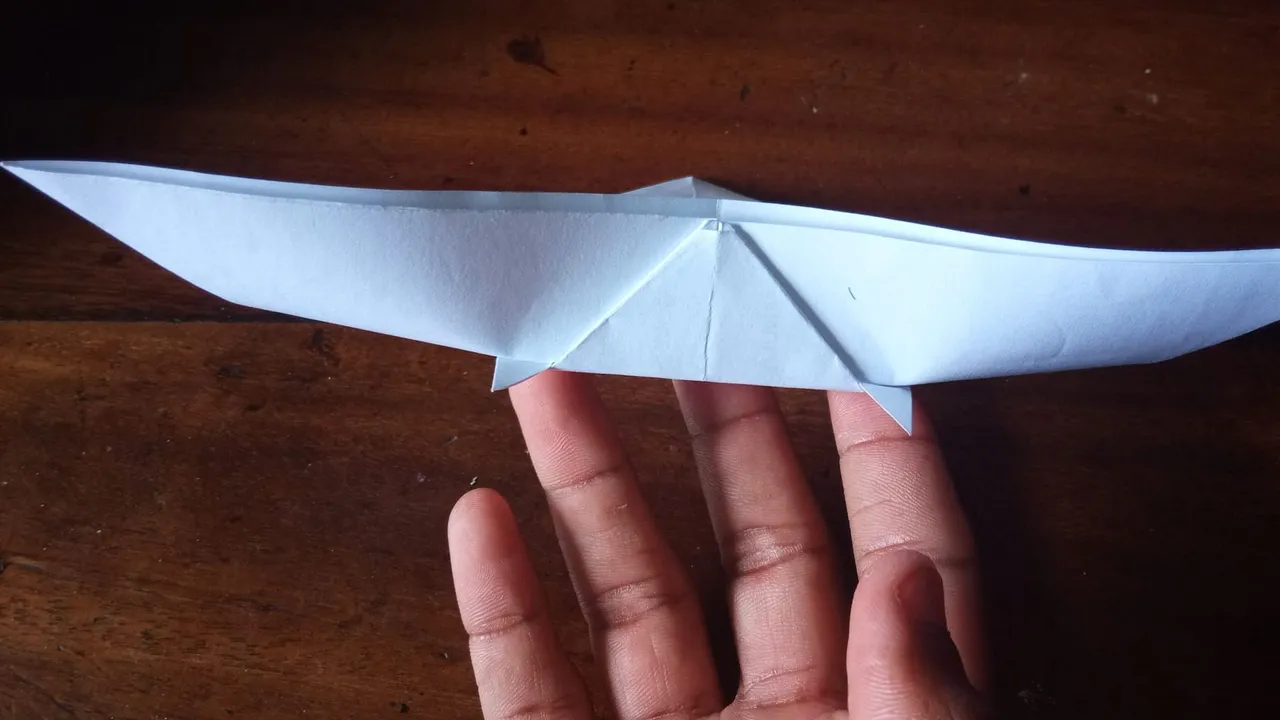
11
Ahora vamos a voltear nuestro murciélago y vamos a doblar la parte inferior hasta la mitad. Debe llegar al límite de la parte superior.
Now we are going to turn our bat over and we are going to fold the bottom part halfway. It should reach the edge of the top.
12
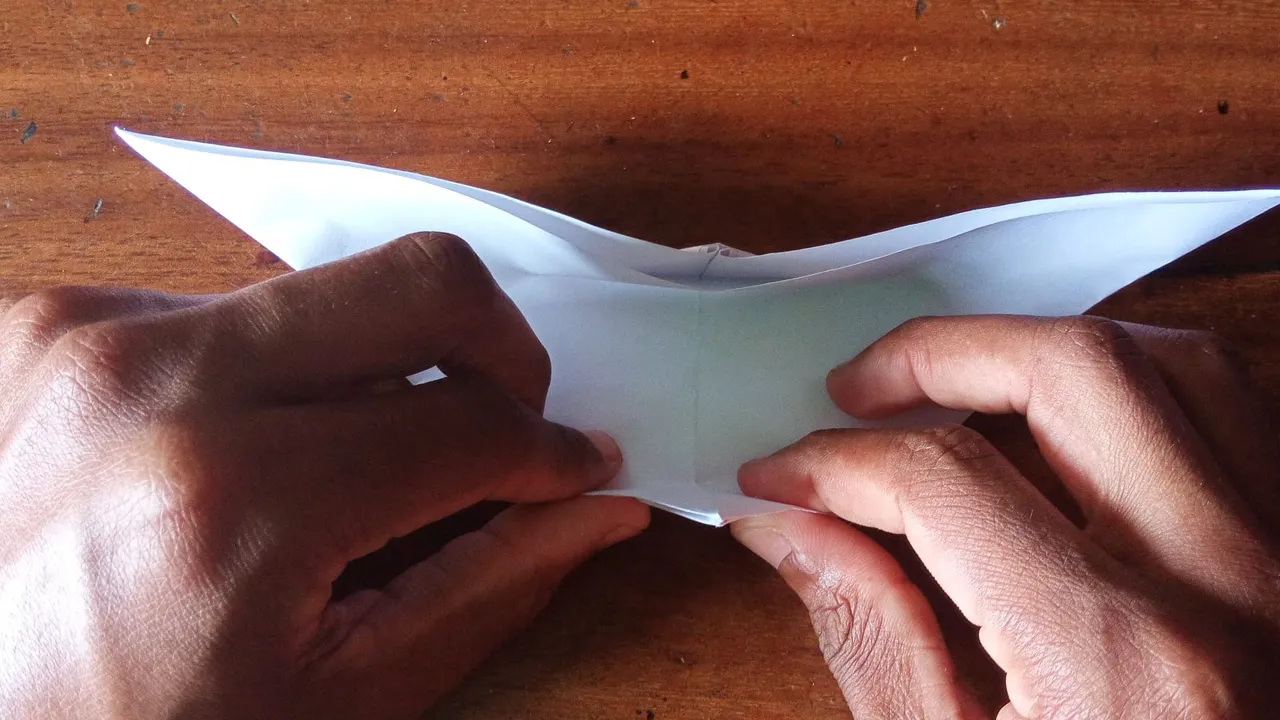
Estando acá vamos a presionar con la parte superior para tratar de fijar lo más posible.
Here we will press with the upper part to try to fix as much as possible.
13
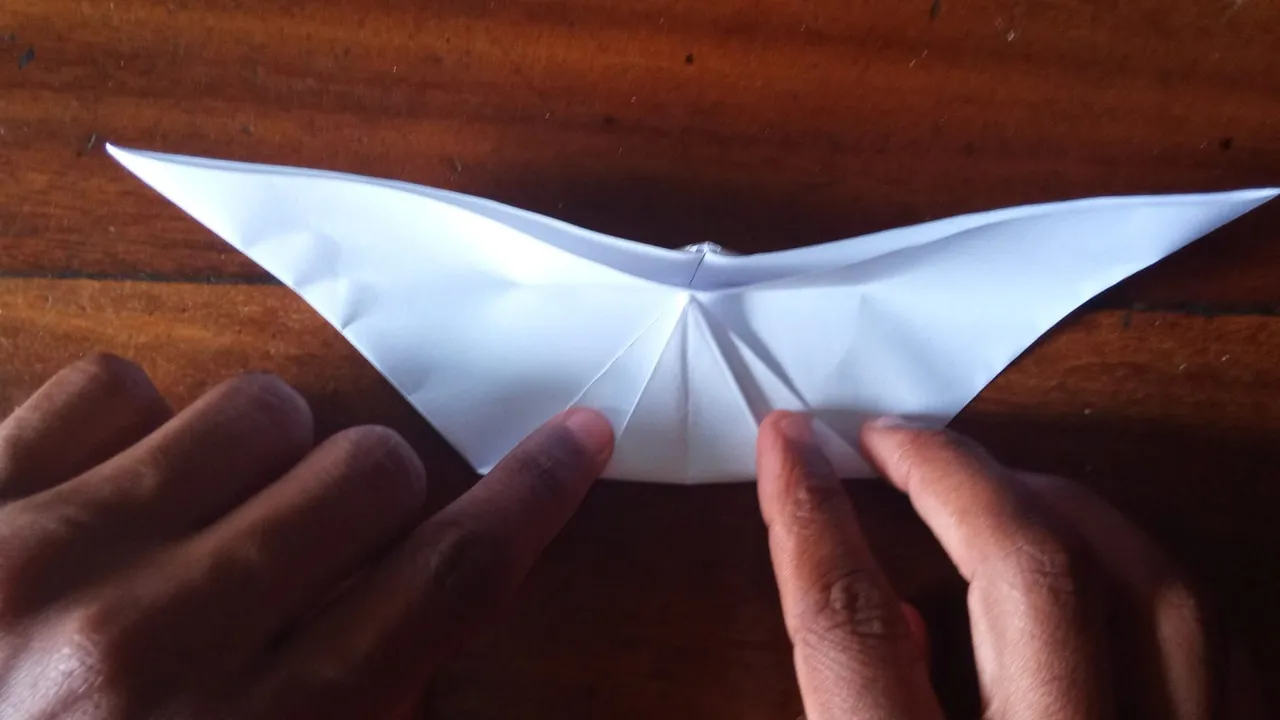
Procedemos a darle la forma adecuadas a nuestras alas. Lo primero en hacer es llevar hacia adentro todo el ala y marcar al límite tanto de las orejas como de la parte inferior del rostro de nuestro murciélago.
We proceed to give the right shape to our wings. The first thing to do is to bring the entire wing inward and mark the edge of both the ears and the lower part of the face of our bat.
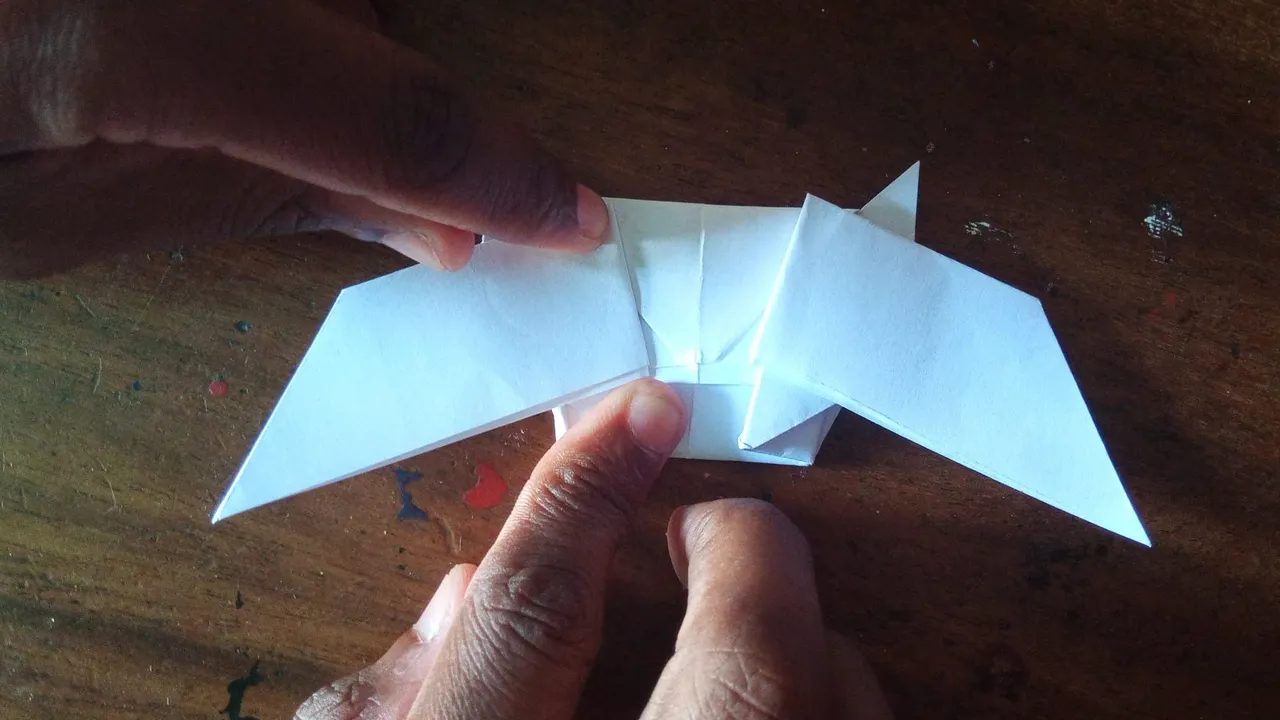
14
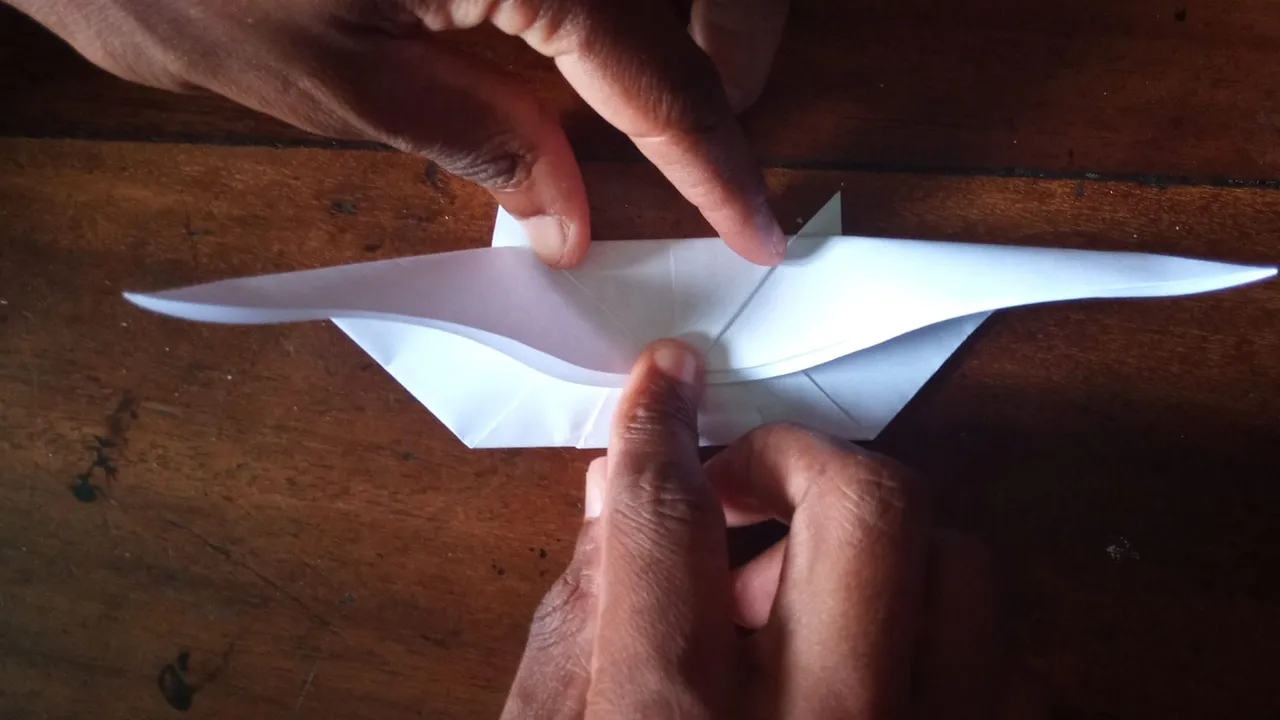
Hecho esto vamos doblar 1.5 mm hacia atrás y luego nueva mente hacia adelante y fijamos completamente.
Once this is done, bend 1.5 mm backwards and then forwards again and fix completely.
15
Repetimos el mismo procedimiento con el ala que nos queda pendiente.
Repeat the same procedure with the remaining wing.
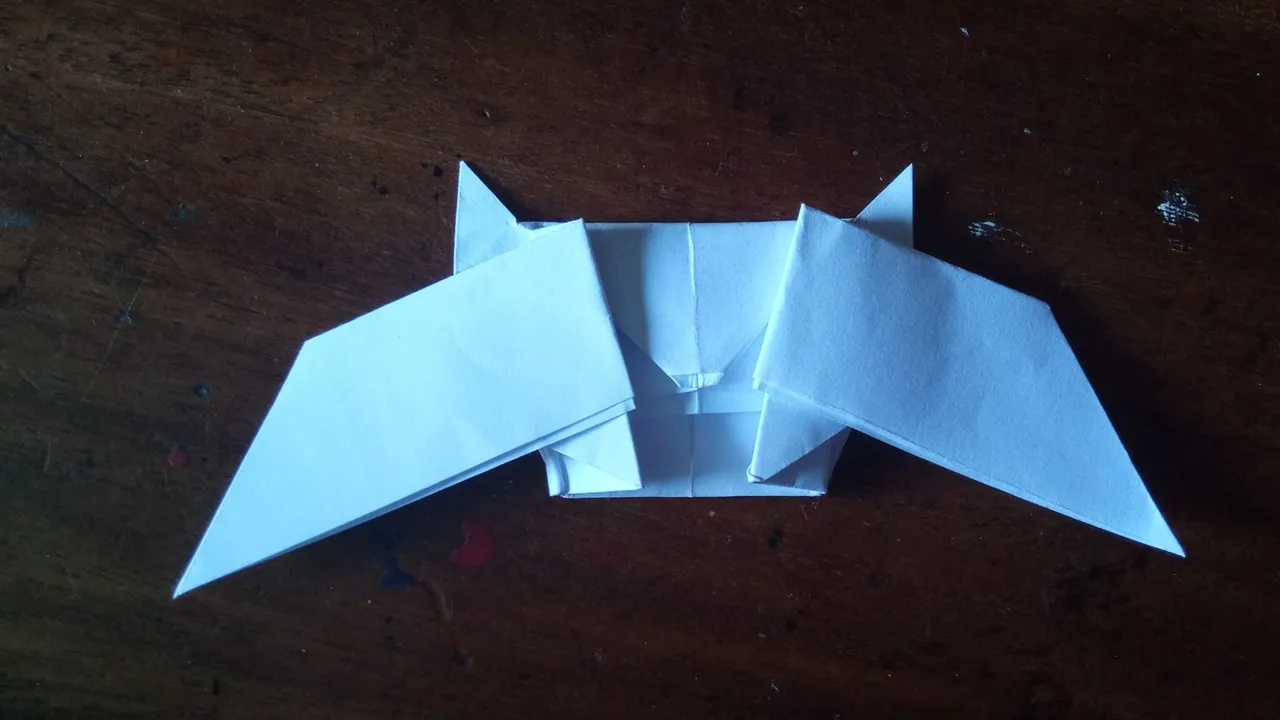
16
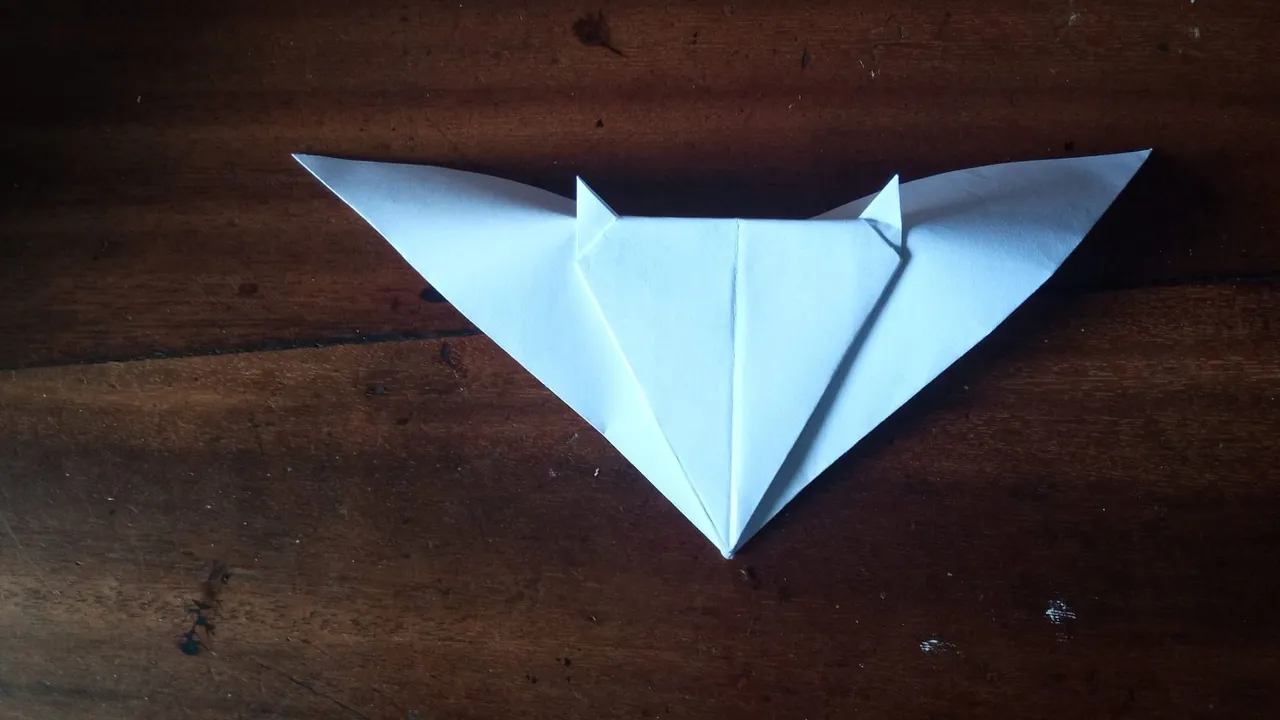
Luego de haber realizado todos esos pasos deberíamos obtener el siguiente resultado. Se debe tratar de fijar lo mejor posible en todas las líneas para que no se nos deforme nuestra manualidad.
After having done all these steps we should get the following result. We should try to fix as well as possible all the lines so that our handicraft is not deformed.
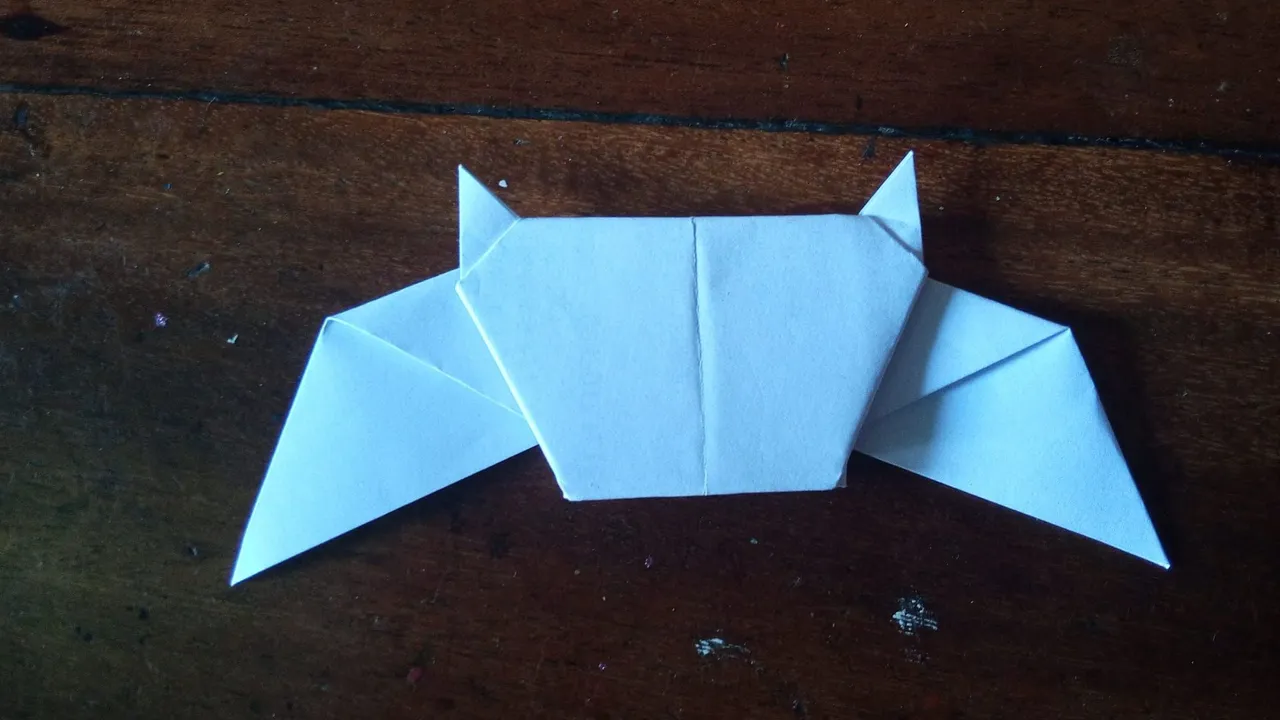
17
Al voltearon debe quedarnos así.
When flipped it should look like this.
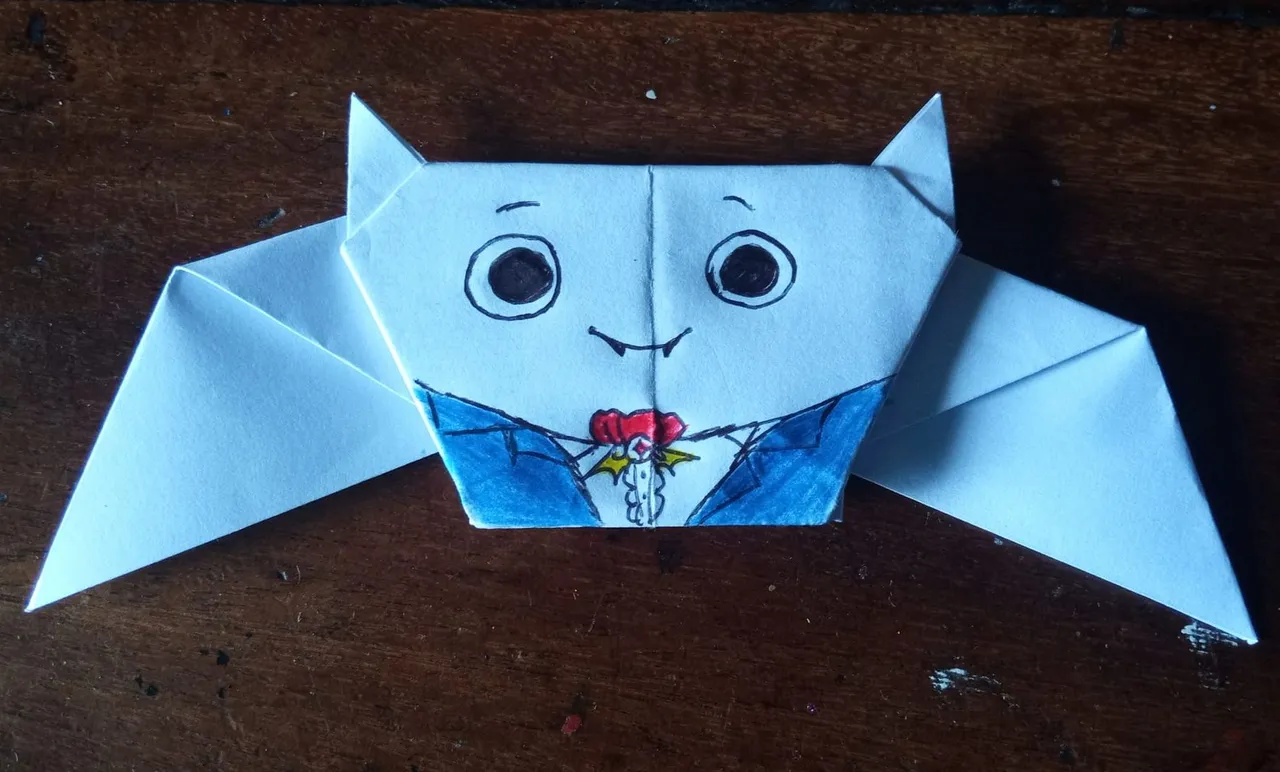
Como pueden ver es muy sencillo y fácil de hacer. Sin embargo se ve muy simple, así que le pedí a @norokochan que le diera un poco de vida al murciélago y así quedó.
As you can see it is very simple and easy to do. However it looks very simple, so I asked @norokochan to give a little life to the bat and this is how it turned out.
¿Les gustó? Déjamelo saber en los comentarios.
Did you like it? Let me know in the comments.
Si llegaste hasta acá muchas gracias por ver todo mi post, quiero invitarte hacerlo y compartas conmigo tus resultados.
If you made it this far, thank you very much for seeing all my post, I want to invite you to do so and share with me your results.
Sigue aportando tu granito de arena para que sigamos creciendo como comunidad y haciendo cosas muy interesantes. Que Dios me los bendiga siempre Hivers, hasta un próximo post.
Keep doing your bit for us to keep growing as a community and doing very interesting things. God bless you always Hivers, see you in the next post.
