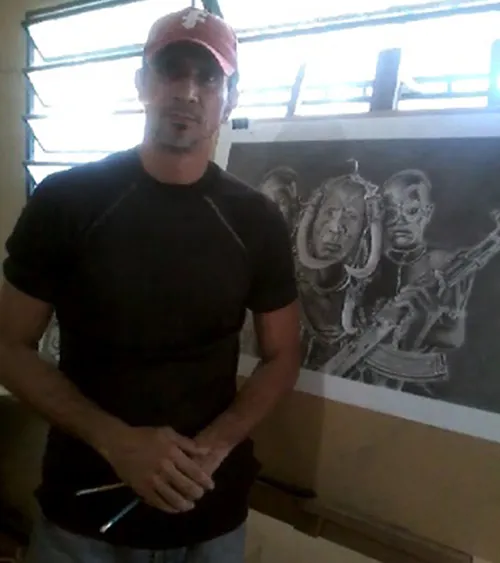

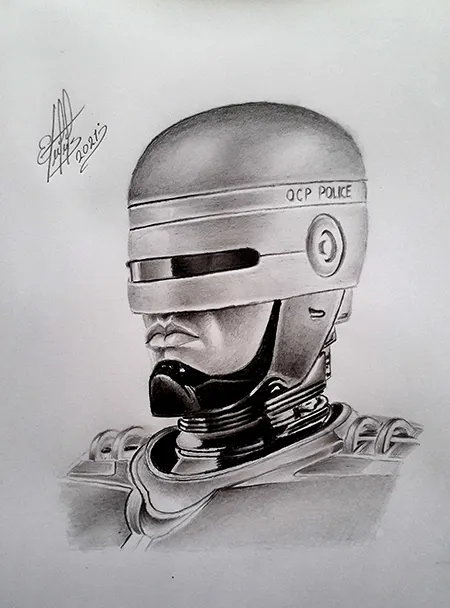
Hello friends of the community and lovers of drawing, today I want to present a new portrait in realistic drawing and it is one of a policeman who was destroyed by criminals and as an experiment and to save his life, high technology had to be implanted, turning him into a super machine robotics that fights crime and terrorists and his name is ... RoboCop.

Hola amigos de la comunidad y amantes al dibujo hoy les quiero presentar un nuevo retrato en dibujo realista y se trata de uno de un policía que fue destrozado por criminales y como experimento y para salvarle la vida se debió implantarle alta tecnología convirtiéndolo en una super maquina robótica que lucha contra el crimen y contra terroristas y su nombre es... RoboCop.
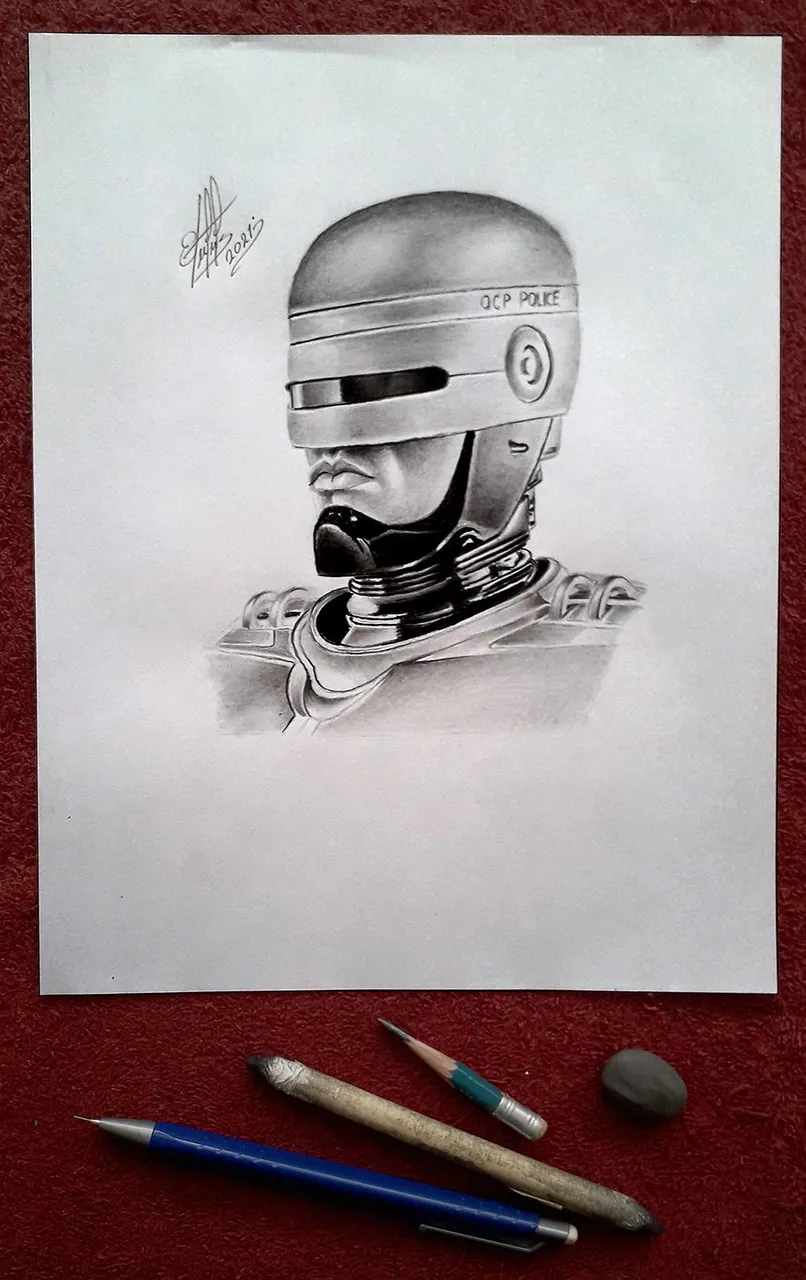
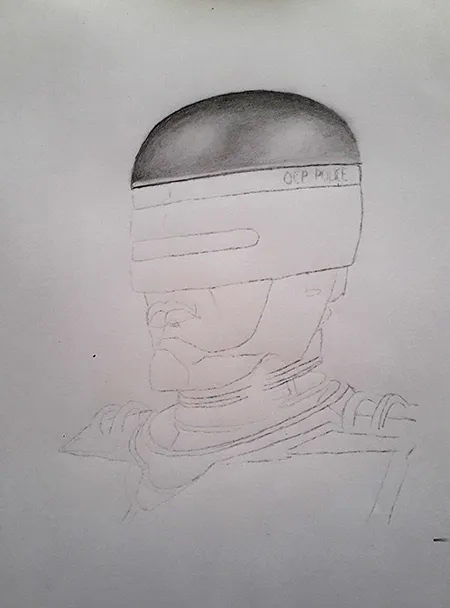
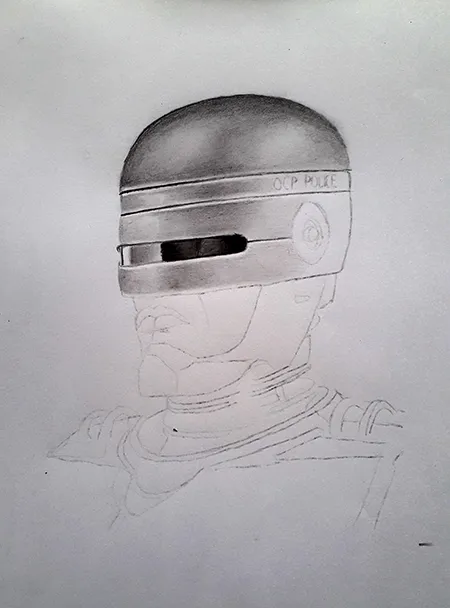
To start drawing this fantastic character, I take as a reference a photo I start to create his helmet using a mechanical pencil with 2B leads. Then I start to fill and create a very smooth texture with the same pencil as stroking the paper and then use the smudger to gently expand the graphite. Then, continuing with the 6B tone graphite pencil, I begin to create the different dark shadows, revealing the lights and the brightness that is located in the center of the helmet to highlight the volume. Then with the 6B graphite pencil and a little pressure we make the shadows deeper so that the drawing stands out more.
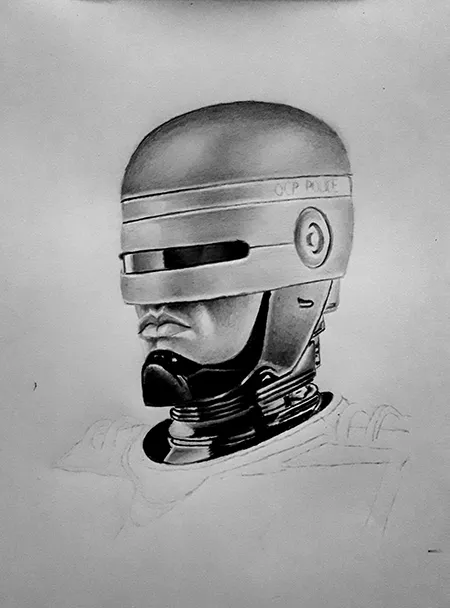
Then we continue part of his face and with the mechanical pencil we make the lips and part of his cheeks creating a soft layer of graphite and then blur it a little with the 6B pencil. Once this is done we create part of his suit or armor. Creating layers of very soft graphite I have with the mechanical pencil I have been identifying the lighter and darker areas looking for the volume to give it a metallic appearance and realism.
Para comenzar a dibujar este fantástico personaje tomo como referencia una foto comienzo a crear su casco usando un portamina con minas 2B. Luego comienzo a rellenar y crear una textura muy suave con el mismo portamina como acariciando el papel para después usar el difumino para expandir suavemente el grafito. Luego continuando con el lápiz de grafito de tono 6B empiezo a crear las distintas sombras oscuras dejando a la vistas las luces y el brillo que se ubica en el centro del casco para que resalte el volumen. Luego con el lápiz de grafito 6B y un poco de presión hacemos las sombras mas profundas para que así resalte mas el dibujo.
Después continuamos parte de su rostro y con el portaminas hacemos los labios y parte de sus mejillas creando una suave capa de grafito para luego difuminar luego sombreamos un poco con el lápiz 6B. Ya hecho esto creamos parte de su traje o armadura. Creando capas de grafito muy suave he con el portaminas he ir identificando las zonas mas claras y oscuras buscando el volumen para darle un aspecto metálico y realismo.

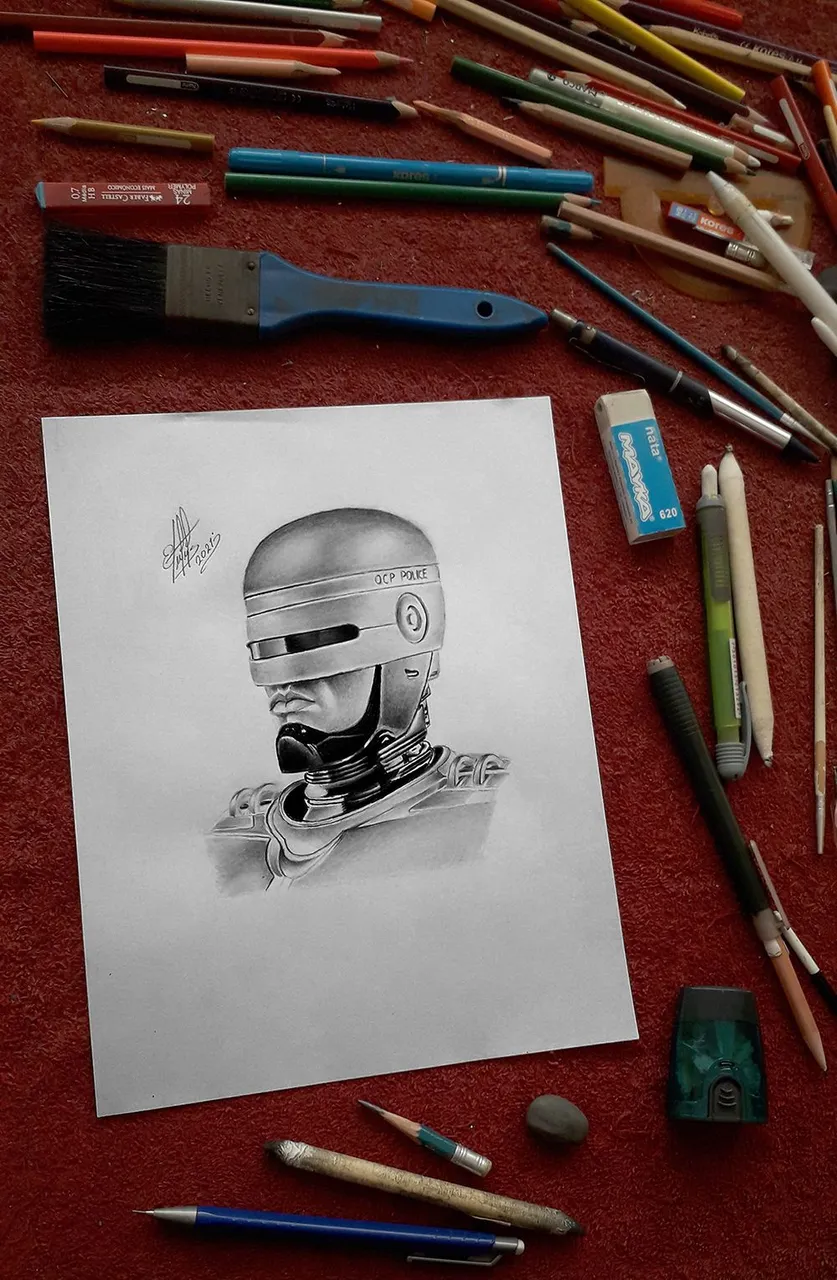
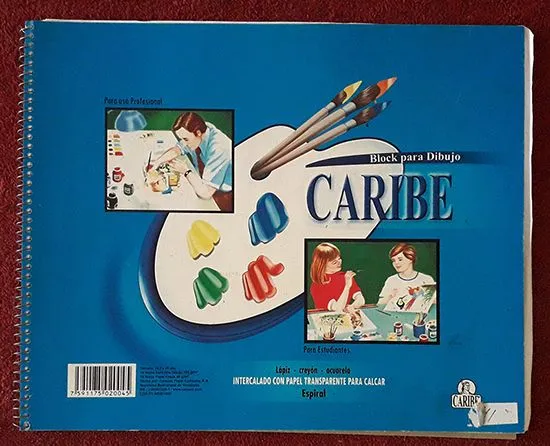
School drawing notebook 34.3 x 28 centimeters. With leaves of 135 g / m. Trimmed at 22 x 28 centimeters.
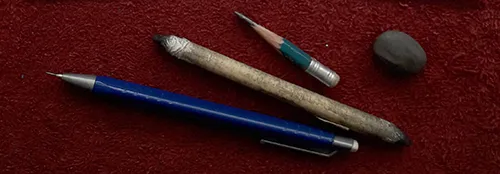
2B mines frame.
Graphite Lapiz 6b.
Moldable eraser.
Different.
Cuaderno de dibujo escolar de tamaño 34.3 x 28 centímetros. con hojas de 135 g/m. Recortado a 22 x 28 centímetros.
Portaminas de minas 2B.
Lapiz de grafito 6B.
Borrador Moldeable.
Difumino.
I hope you have enjoyed this work and awaiting your comments. Also thank you for taking the time to visit this Post. I wish you blessings and successes in each of your projects. My name is Elvis Sanchez and I am at your service and you can find me here or on my social networks. We will see each other again in the next project. See you soon.
Espero que hayan disfrutado de este trabajo y en la espera de sus comentarios. También darle gracias por tomar su tiempo en visitar este Post. Les deseo bendiciones y éxitos en cada uno de sus proyectos. Mi nombre es Elvis Sanchez y estoy a la orden y me pueden ubicar por aquí o en mis redes sociales. Nos volveremos a ver en el próximo proyecto. Hasta pronto.