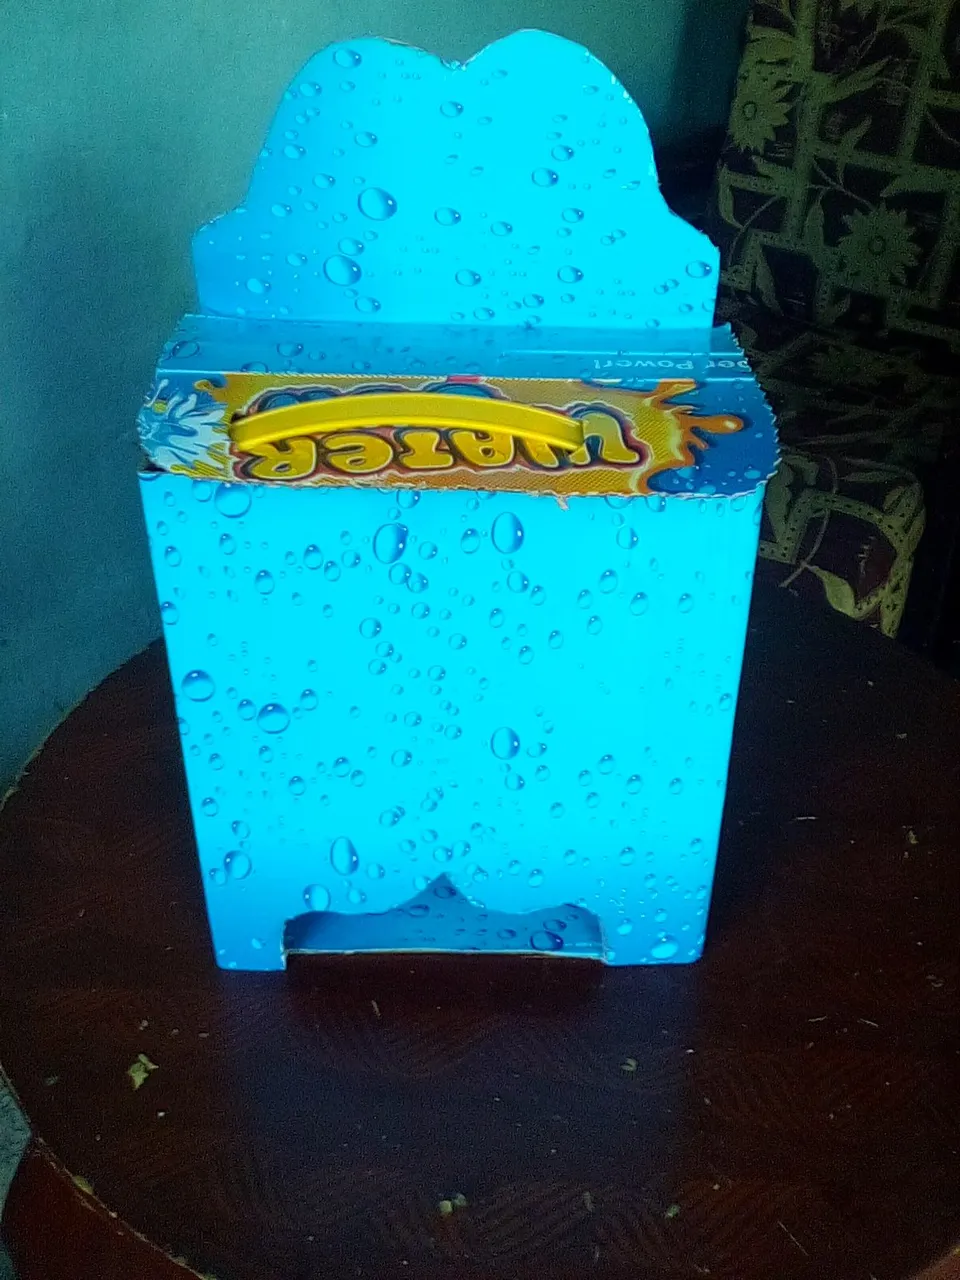
Hola comunidad hiver ,espero se encuentre bien , Dios les bendiga a todos ,hoy les quiero enseñar algo que surgió en una conversación con mi esposa y decidimos construirlo juntos , se trata de un porta mode
Hello hiver community, I hope you are well, God bless you all, today I want to show you something that came up in a conversation with my wife and we decided to build it together, it is a porta mode
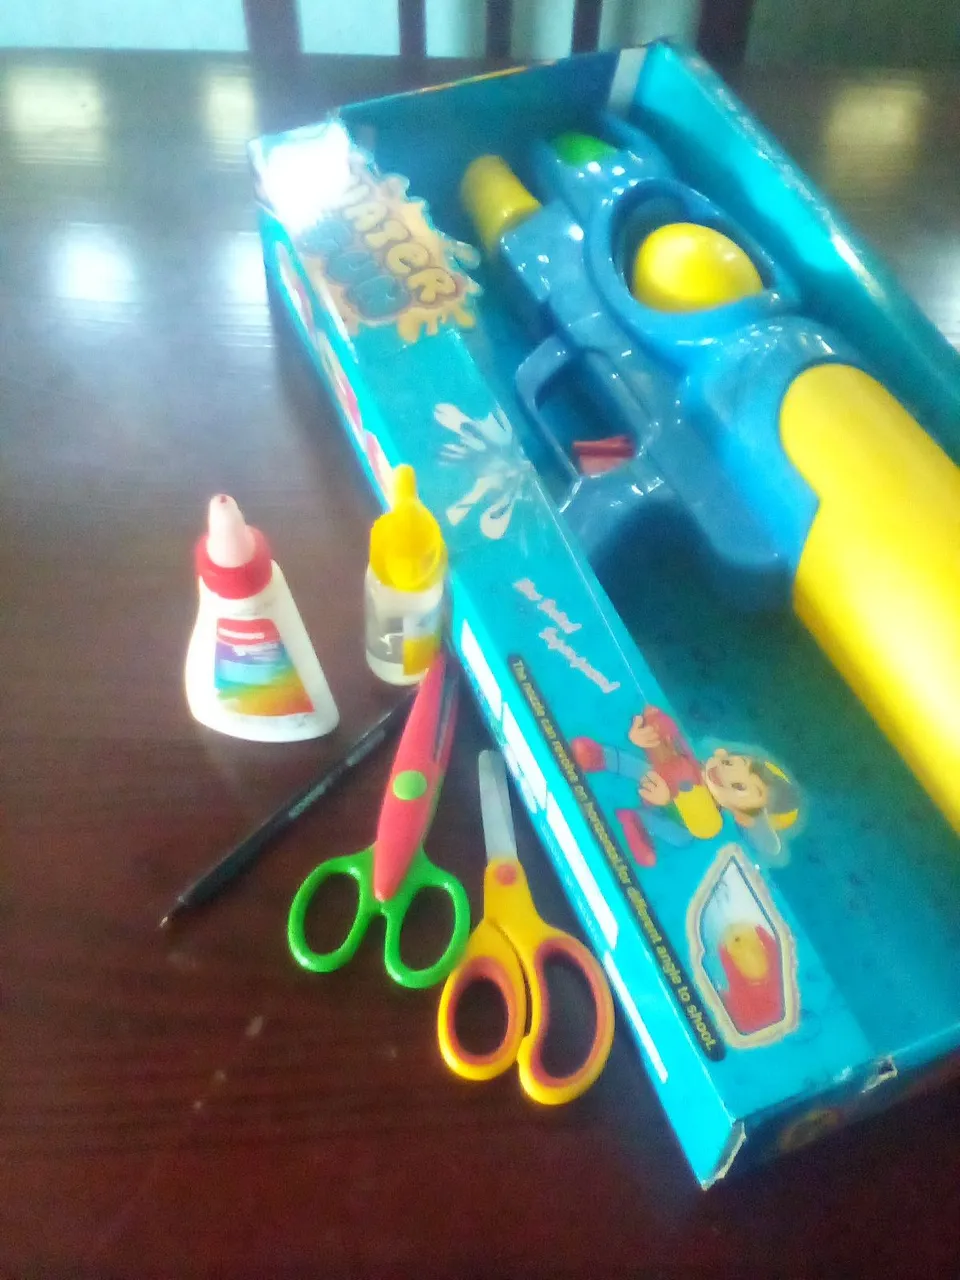
Materiales
Tijera
Pega
Silicon
Cartón
Lapiz
Materials
Scissor Job Silicon Paperboard Pencil
Pasos:
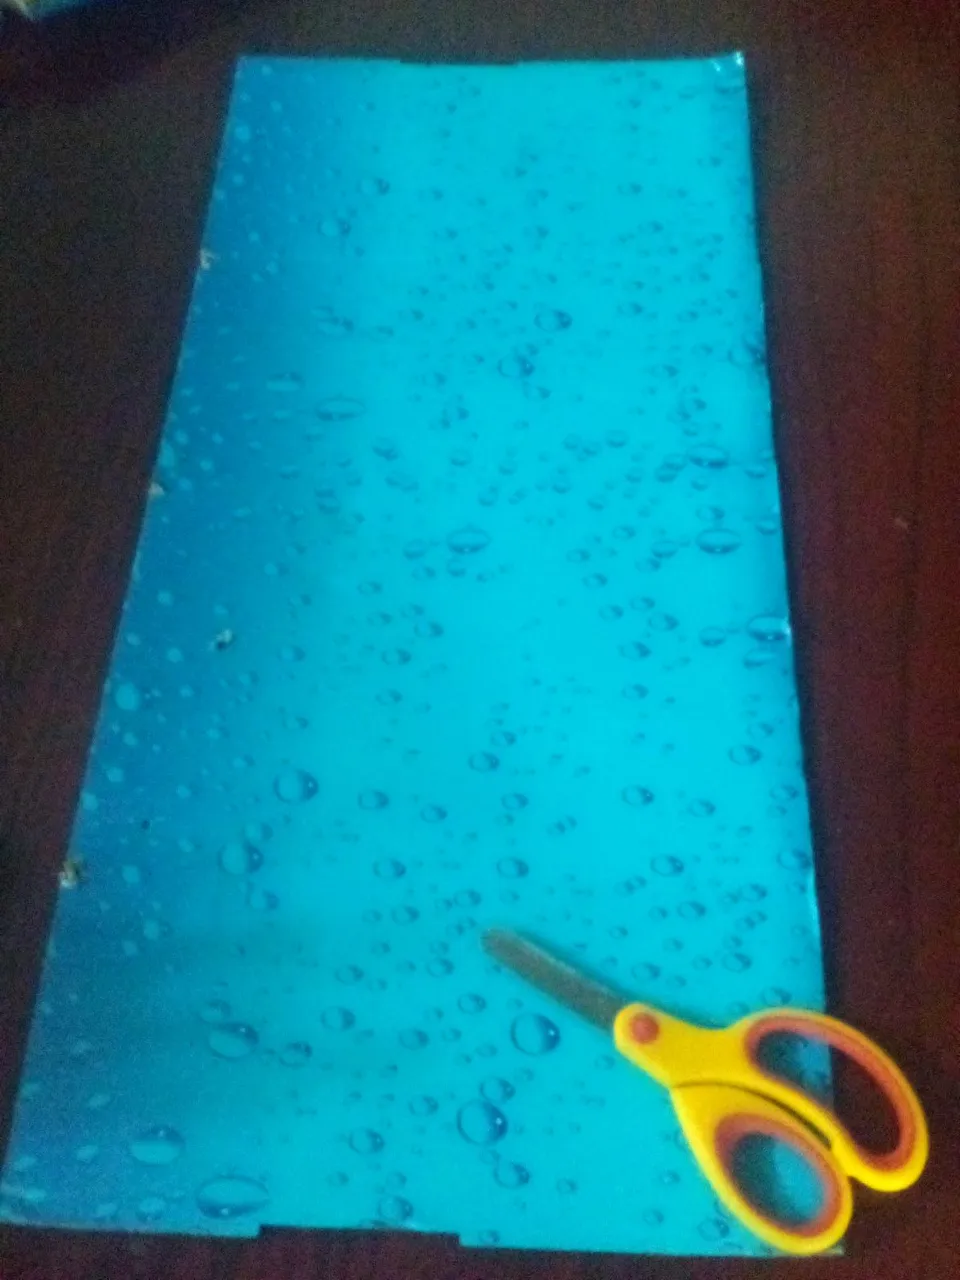
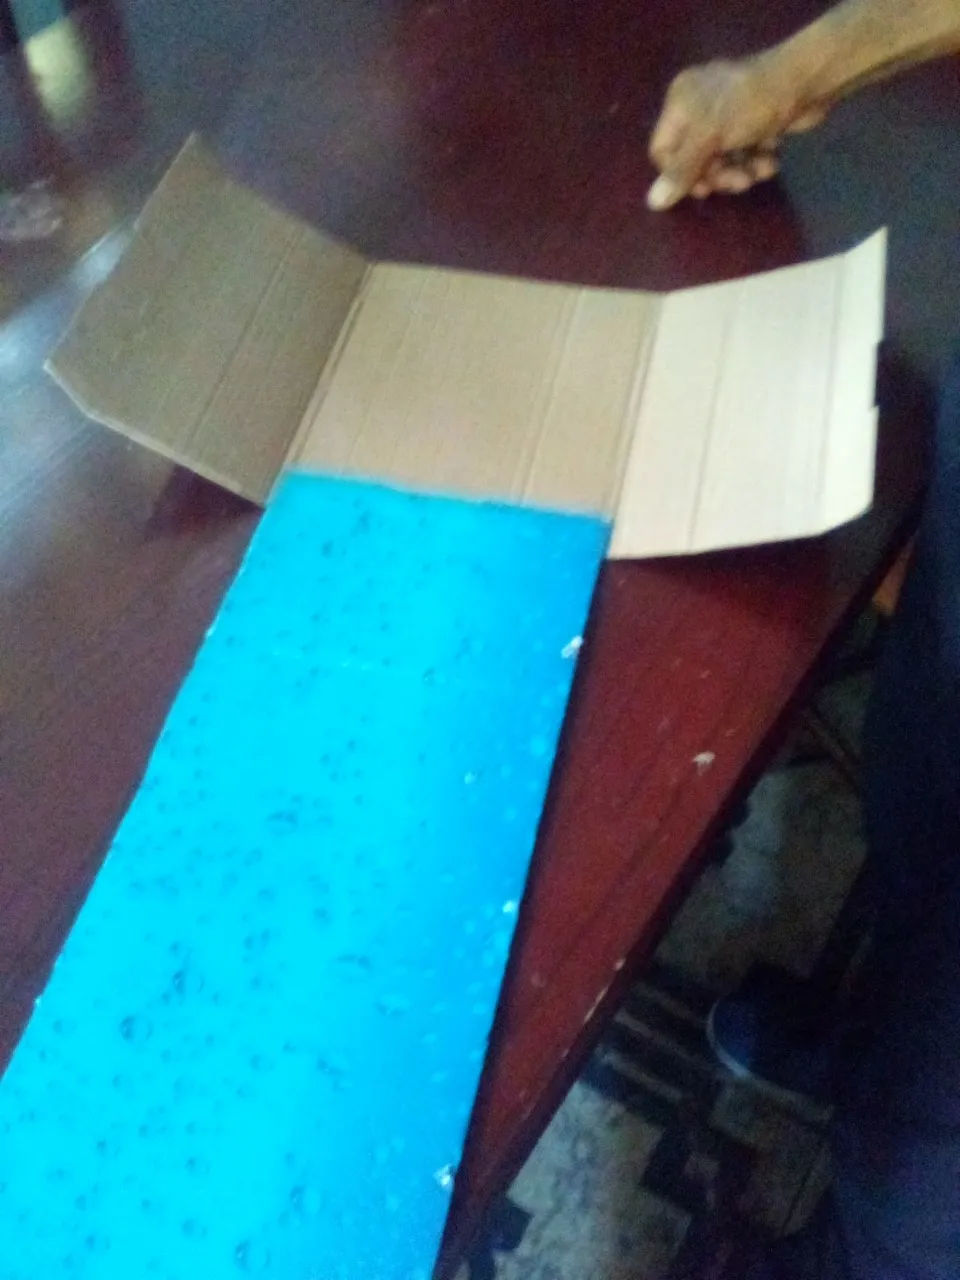
Se cortan dos pedazos de cartón a la medida que la persona desde,en este caso nosotros lo cortamos a 60cm de largo y 25 de ancho ,luego se doblan las puntas de 12cm cada lado
Steps: Two pieces of cardboard are cut to the size of the person from, in this case we cut it to 60cm long and 25 wide, then the ends are bent 12cm each side
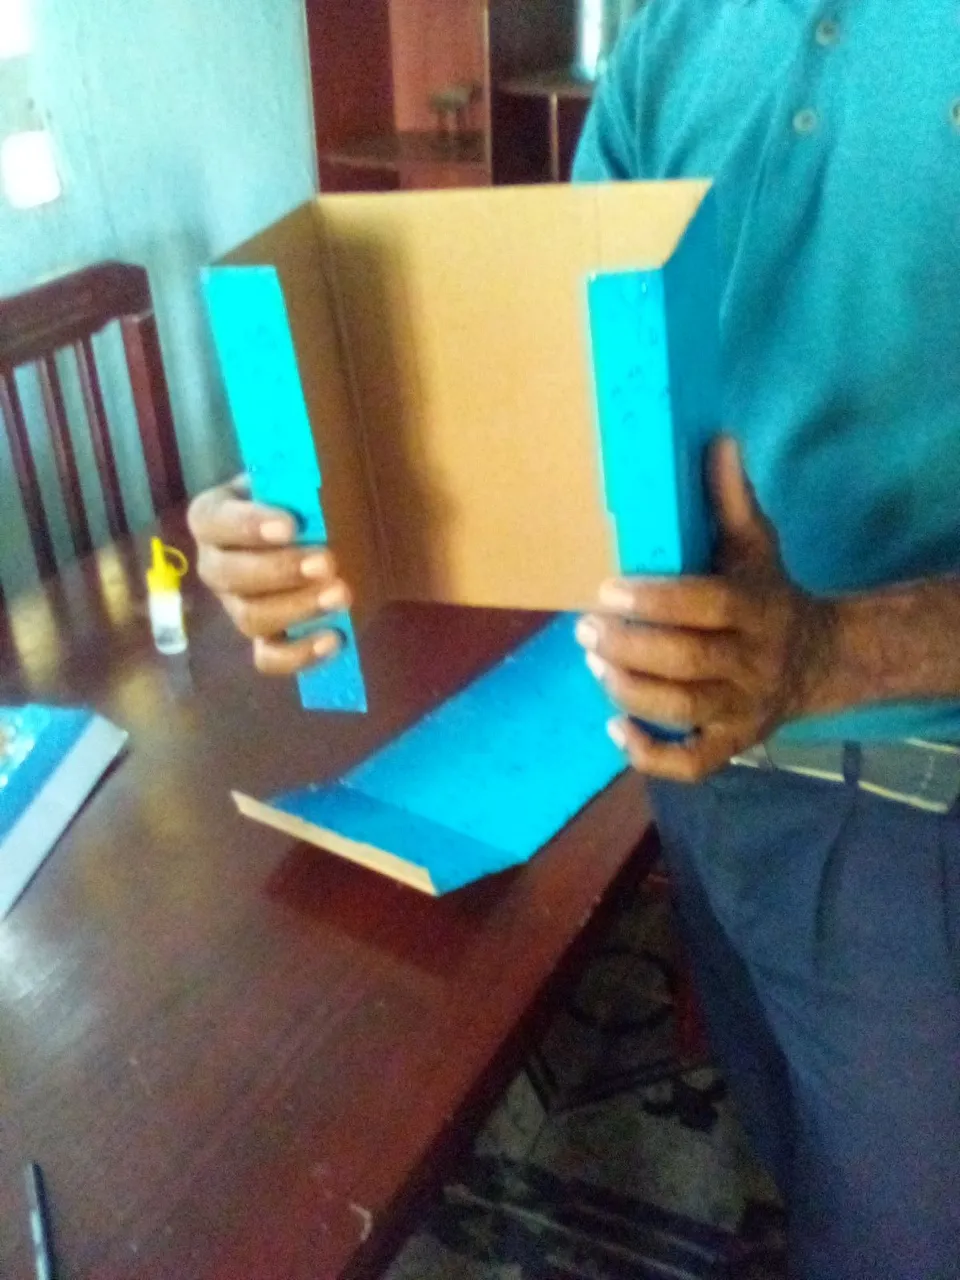
Se utiliza unos dé los dos pedazos y se doblan en una esquina de 12cm luego lo pegamos, una vez pegada las dos puntas procedimos hacer la cajita
One of the two pieces is used and they are folded in a 12cm corner then we glue it, once the two ends are glued we proceeded to make the box

Una vez echa la cajita le hacemos unos dibujos
Once you put the box, we make some drawings
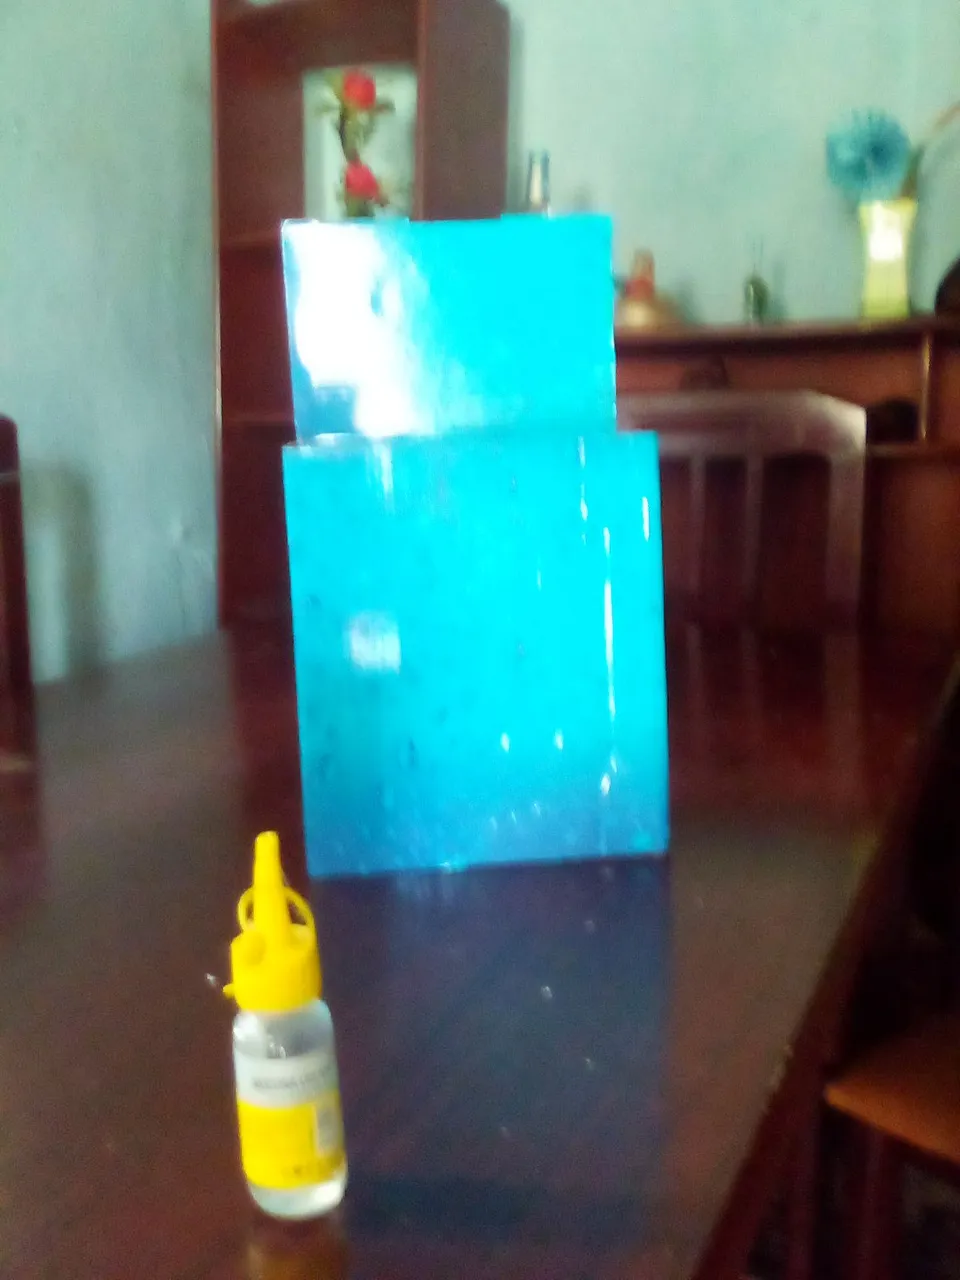
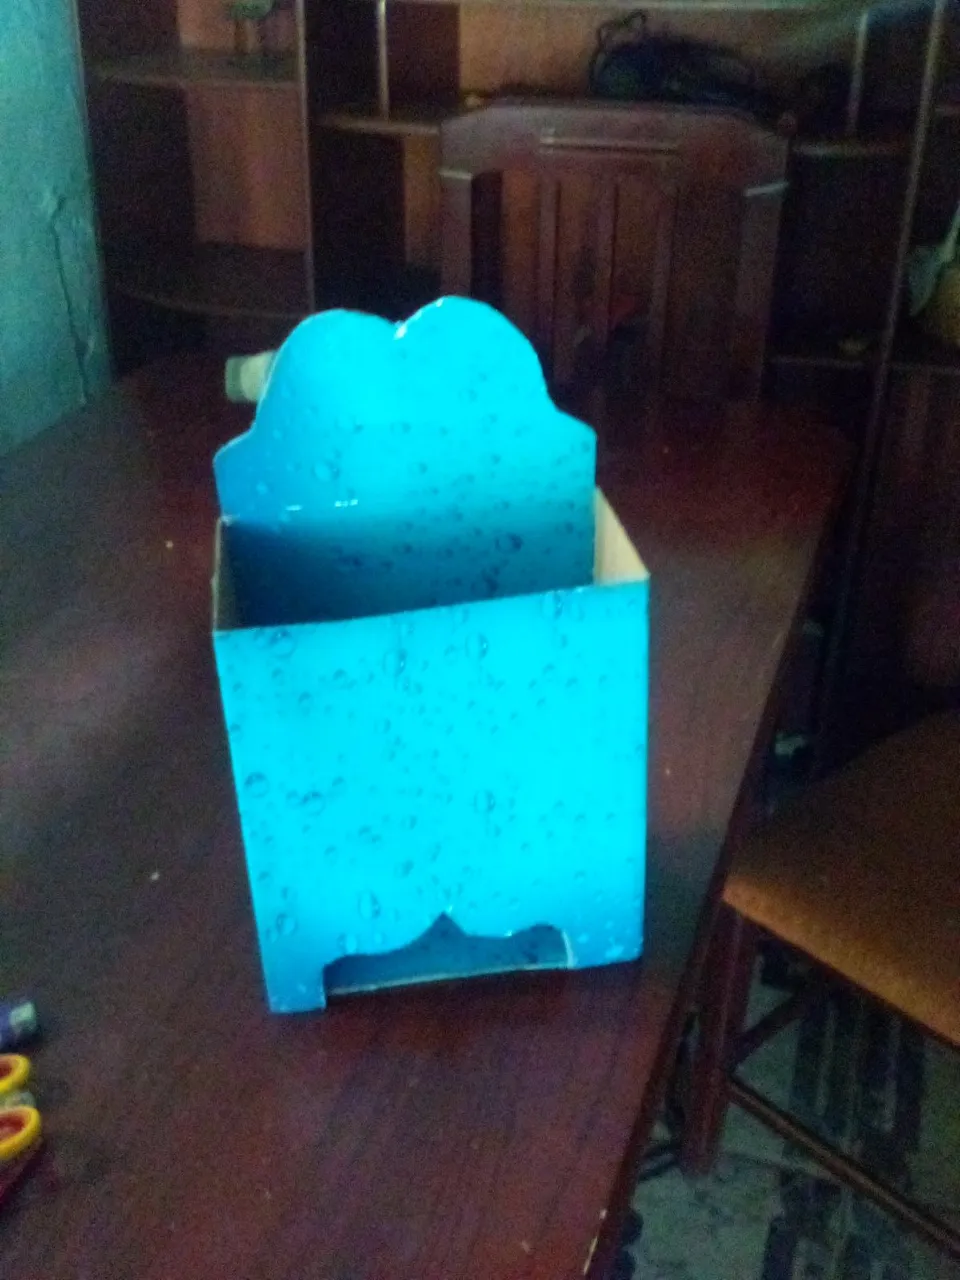
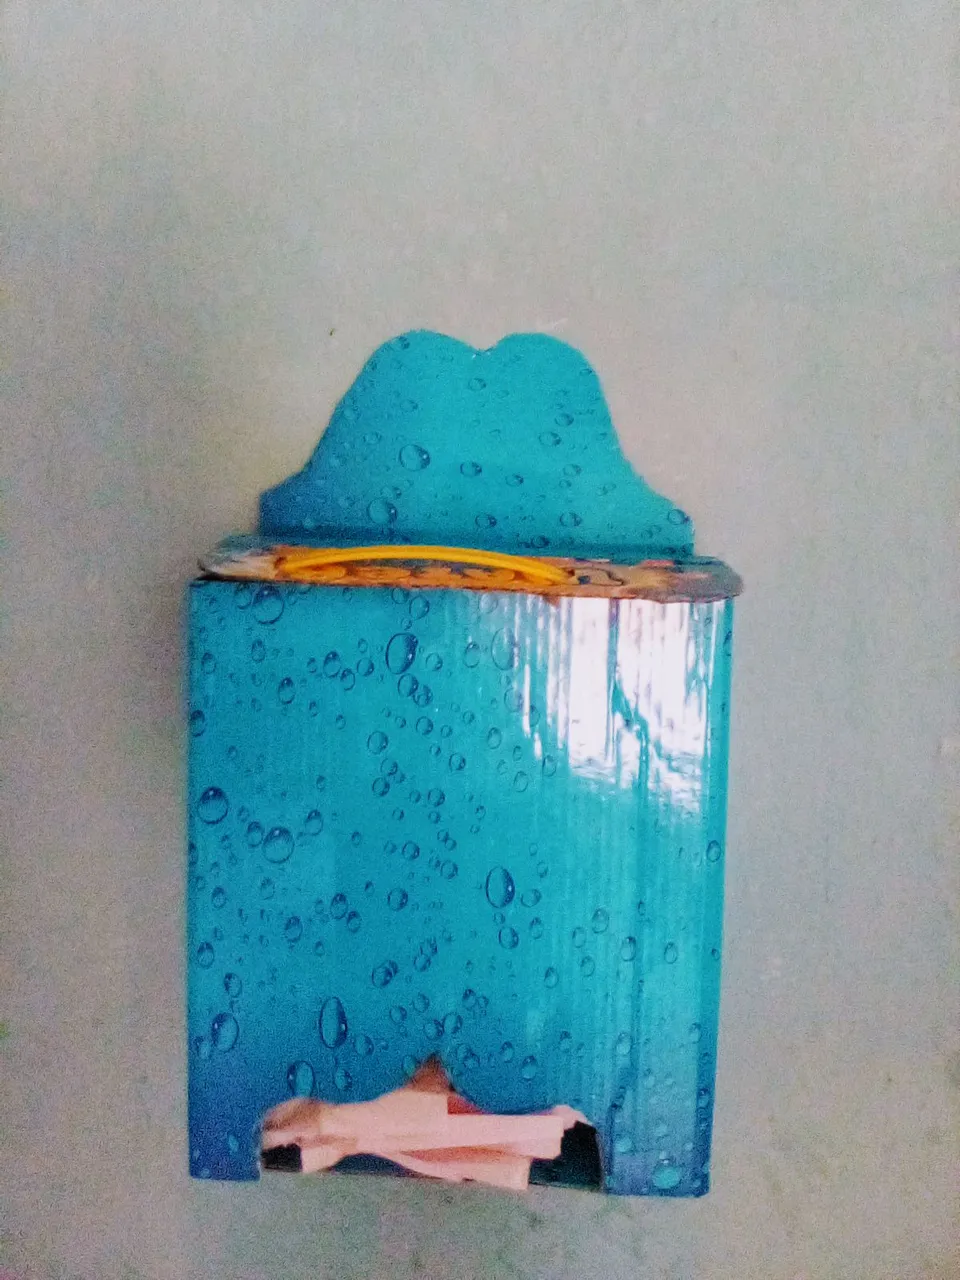
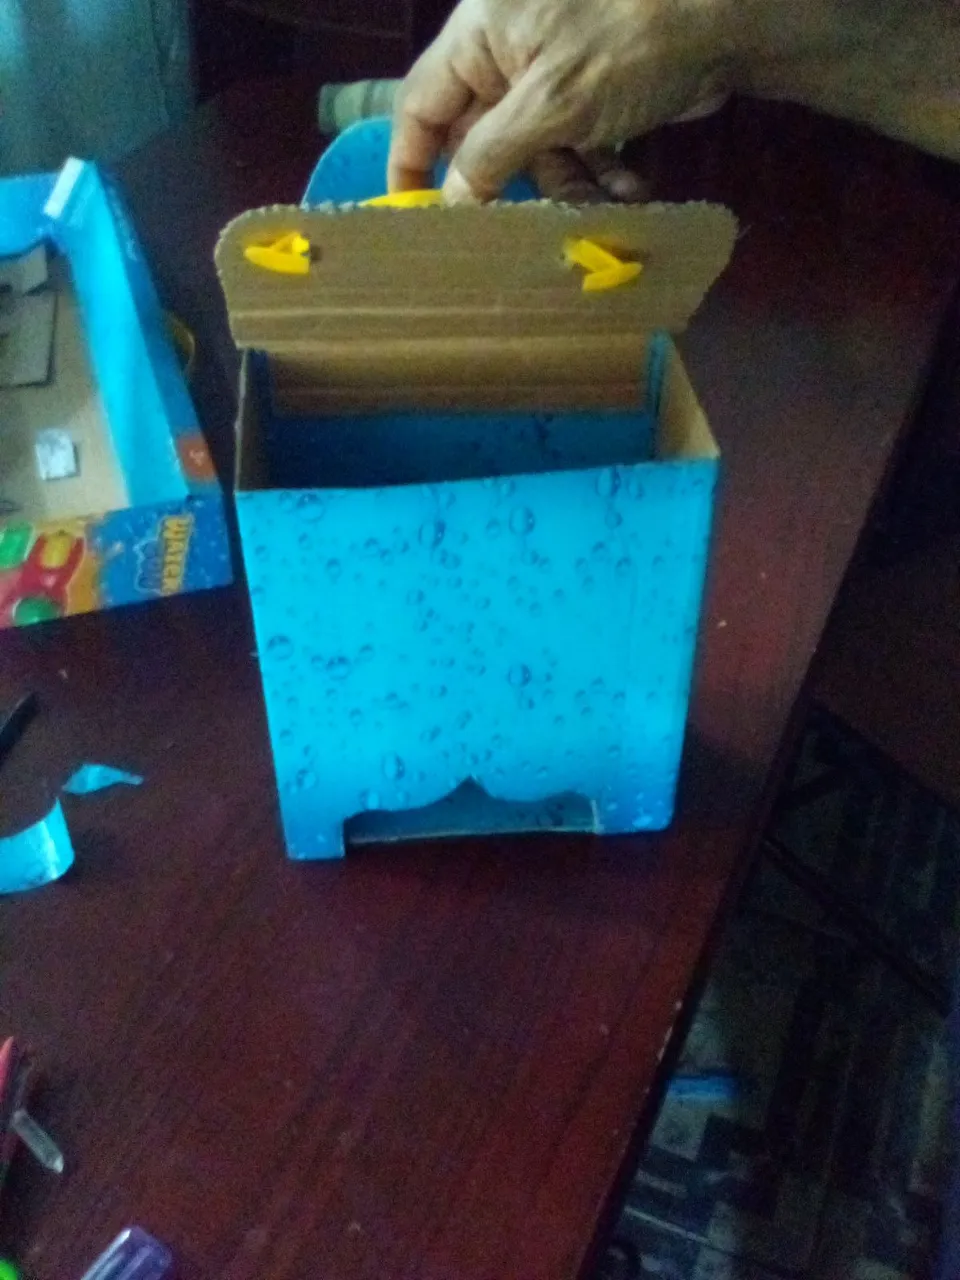
Proseguimos con la tapa, cortamos el cartón de 26cm de largo y 12 de ancho y doblamos una orilla de 2cm luego pegamos y así terminamos el porta mode
We continue with the cover, cut the cardboard 26cm long and 12 wide and fold a 2cm edge then glue and thus finish the porta mode

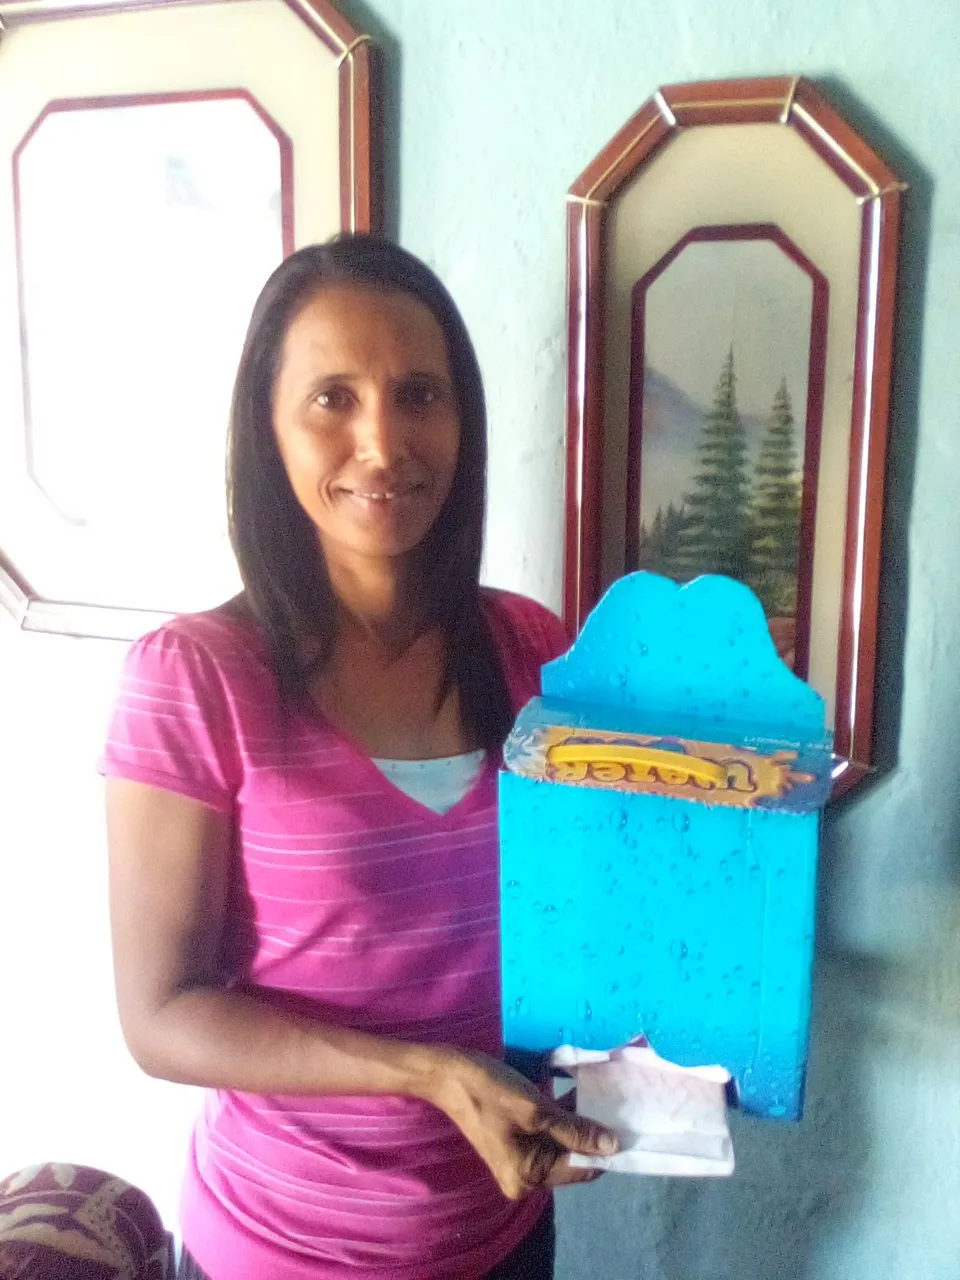
Espero les guste
I hope you like it