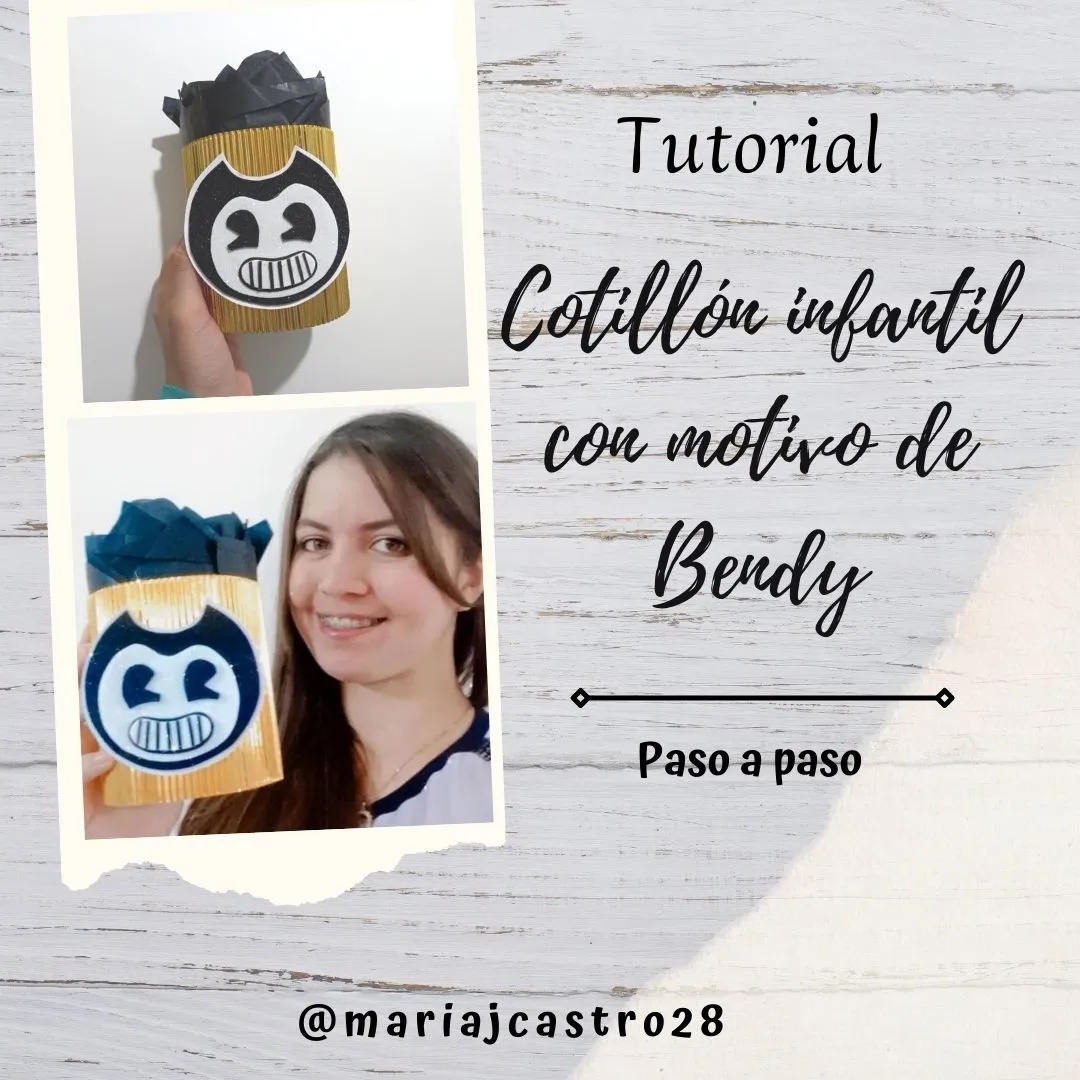
Septiembre es el mes de cumpleaños de mi 2 ahijados y por tal motivo he estado trabajando en unos lindos cotillones para esta gran celebración de ambos y el día de hoy les quiero compartir un tutorial paso a paso para elaborar uno de estos cotillones con el motivo de Bendy el personaje que eligió el niño para la temática de su fiesta de cumpleaños, espero que les guste.
September is the birthday month of my 2 godchildren and for this reason I have been working on some beautiful party favors for this great celebration for both of them and today I want to share a step-by-step tutorial to make one of these party favors on the occasion of Bendy the character that the boy chose for the theme of his birthday party, I hope you like it.

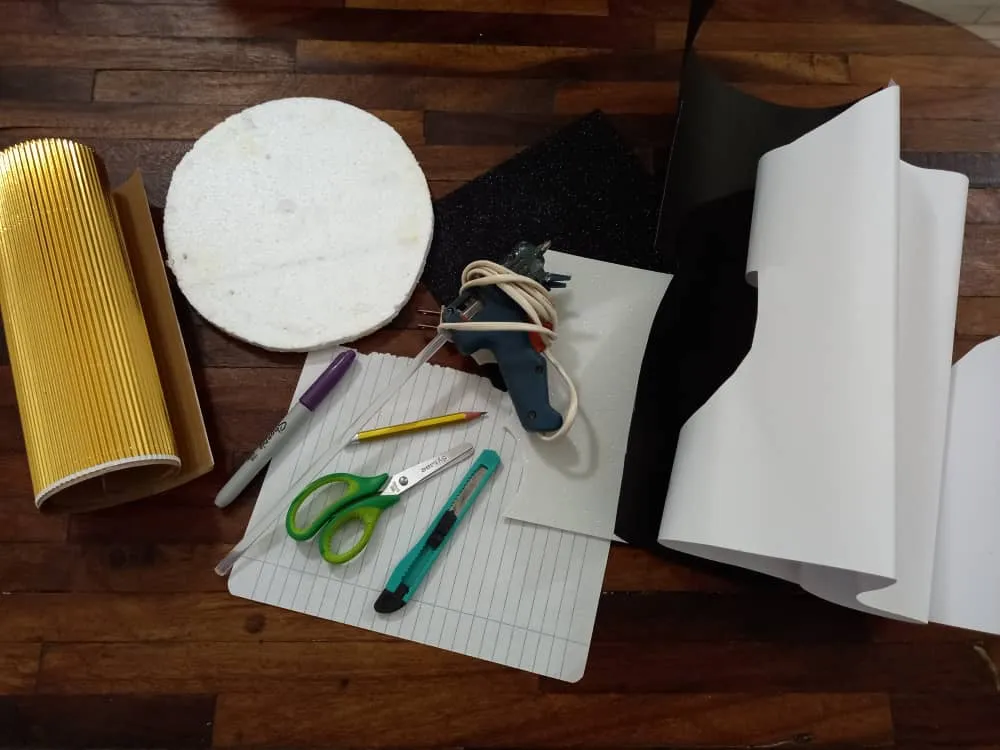
Materiales | Materials
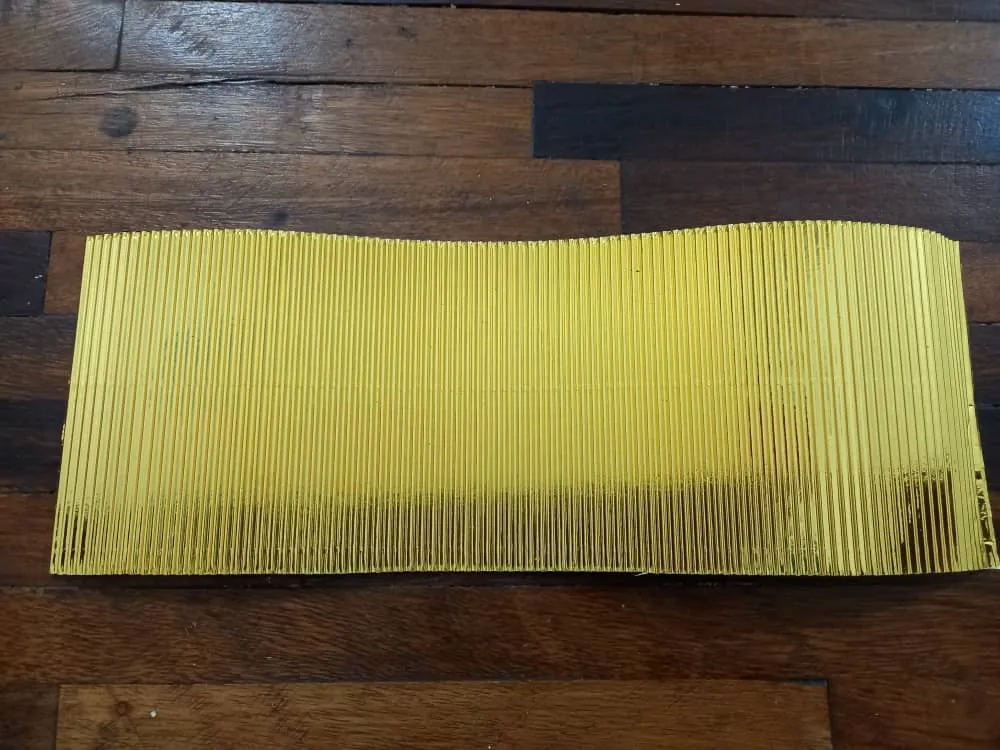
- Cartulina corrugada dorada.
- Foami escarchado negro.
- Foami escarchado blanco.
- Cartulina escolar blanca.
- Cartulina escolar negra.
- Papel de seda negro.
- Lápiz.
- Cutter.
- Tijeras.
- Hoja de papel.
- Anime.
- Silicón.
- Pistola de silicón.
- Gold corrugated cardboard.
- Black frosted foam.
- White frosted foam.
- White school cardboard.
- Black school cardboard.
- Black tissue paper.
- Pencil.
- Cutter.
- Pair of scissors.
- Paper sheet.
- Anime.
- Silicone.
- Silicone gun.
Materiales ✂ | Materials ✂
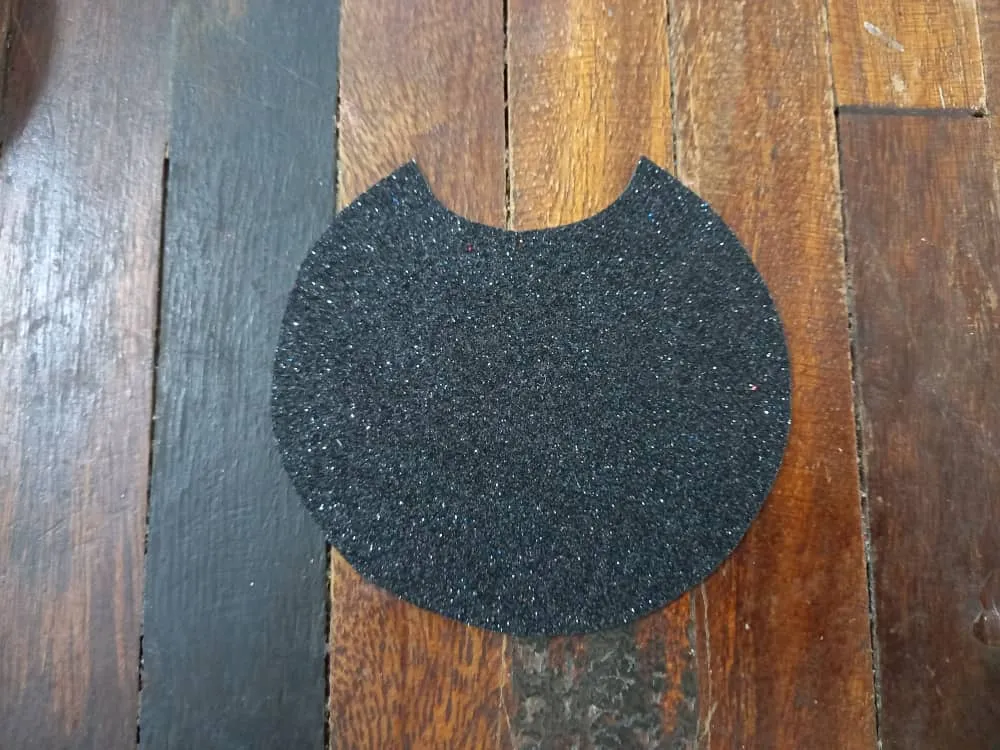
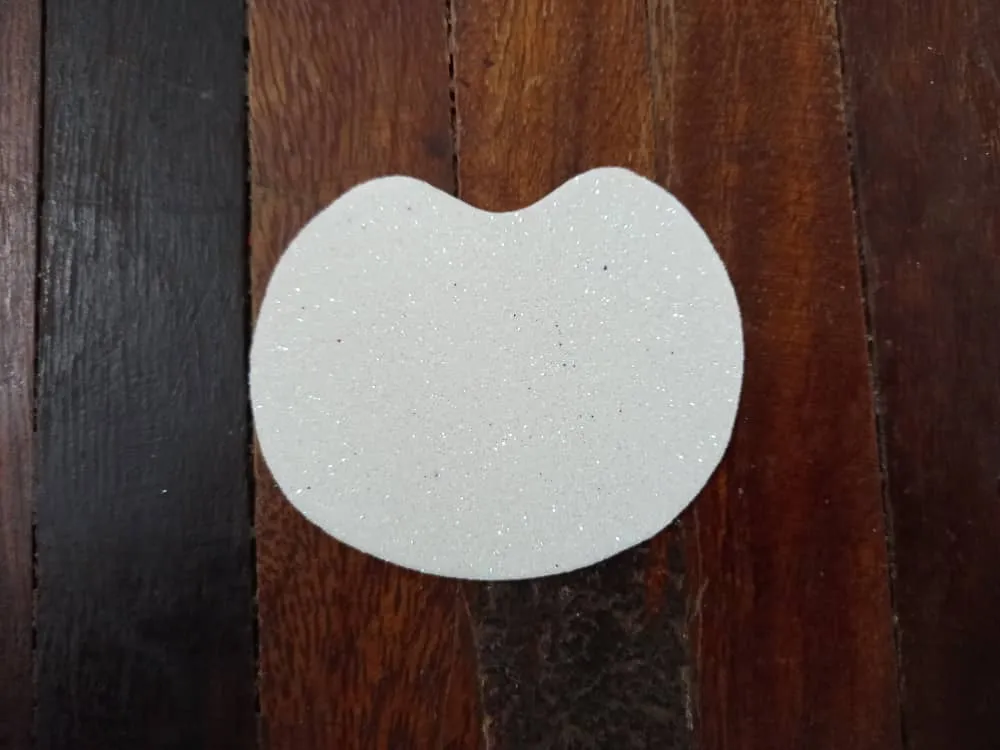
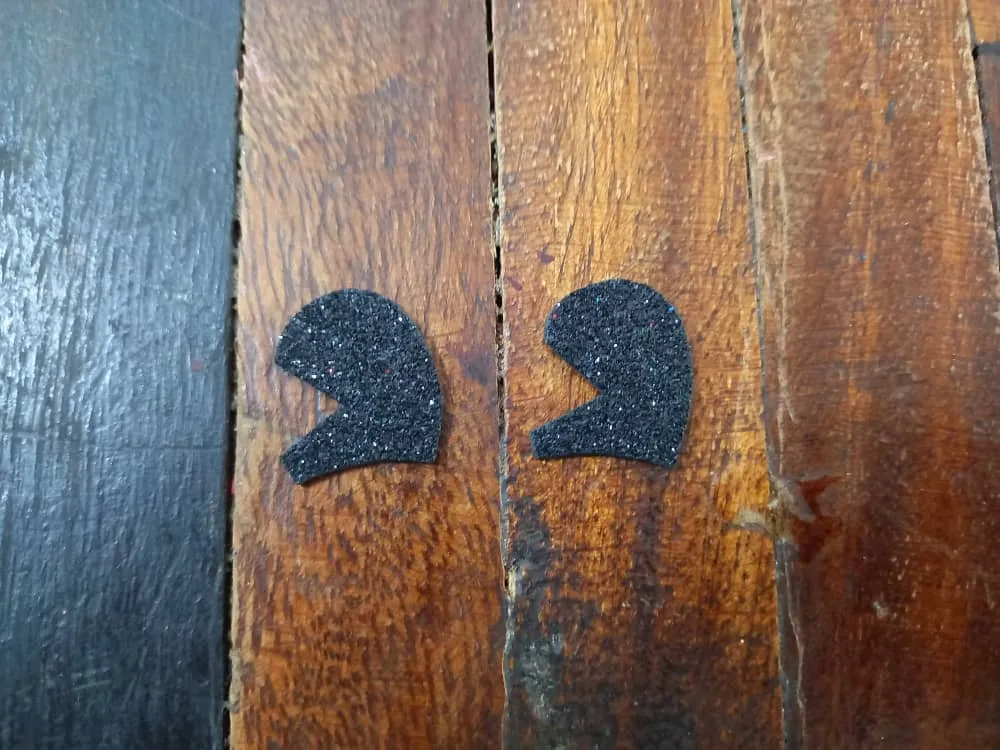
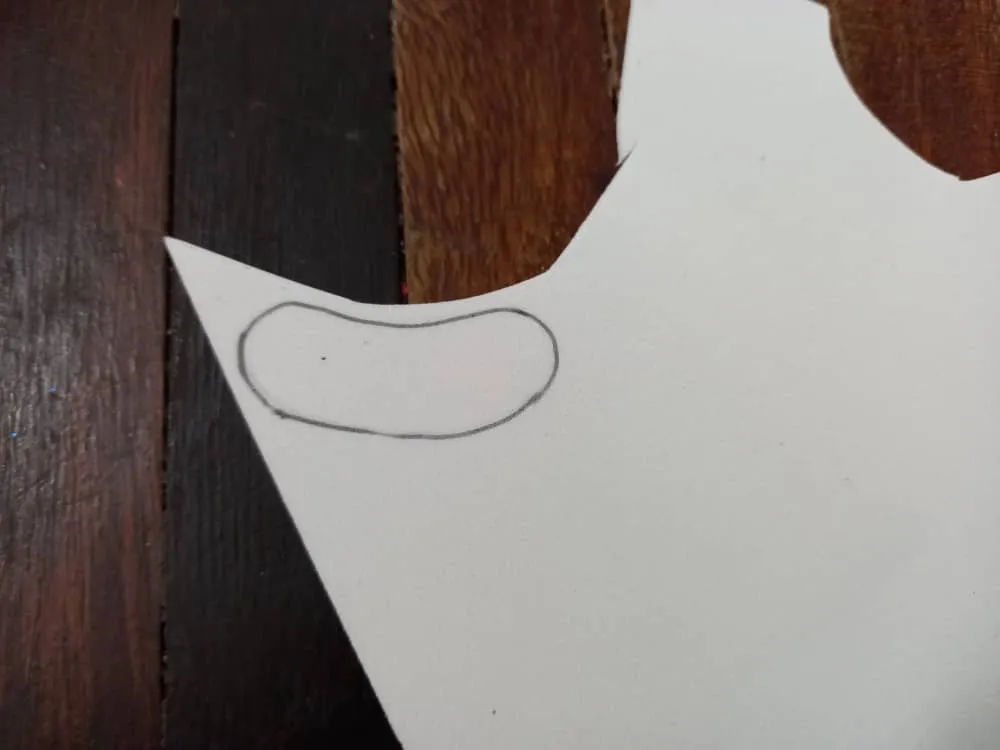
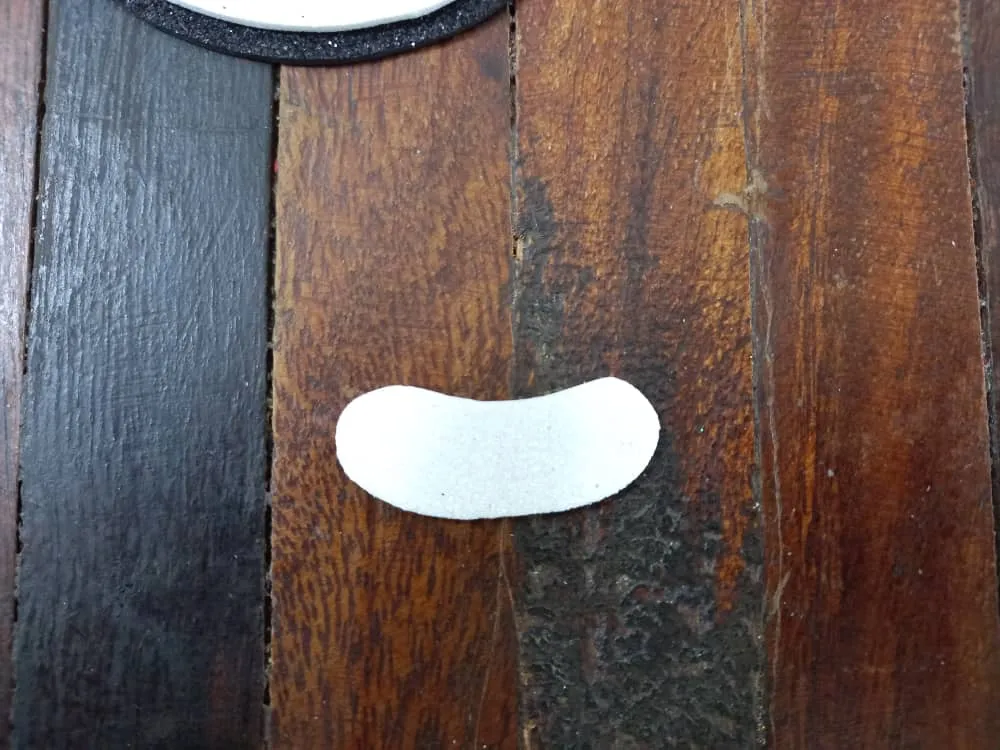
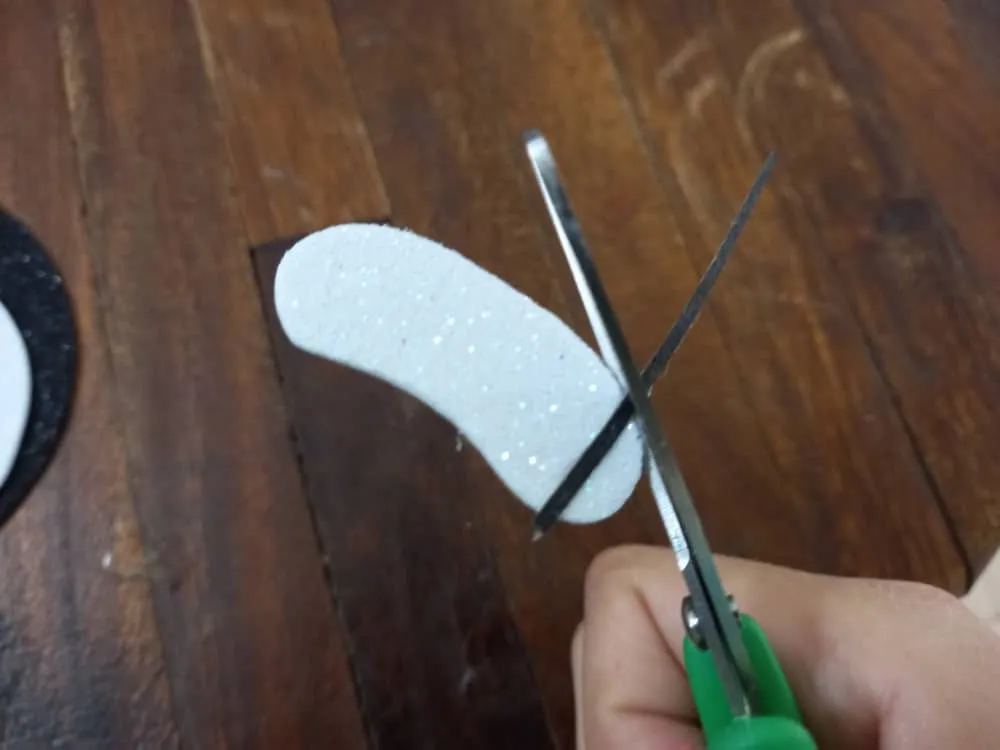
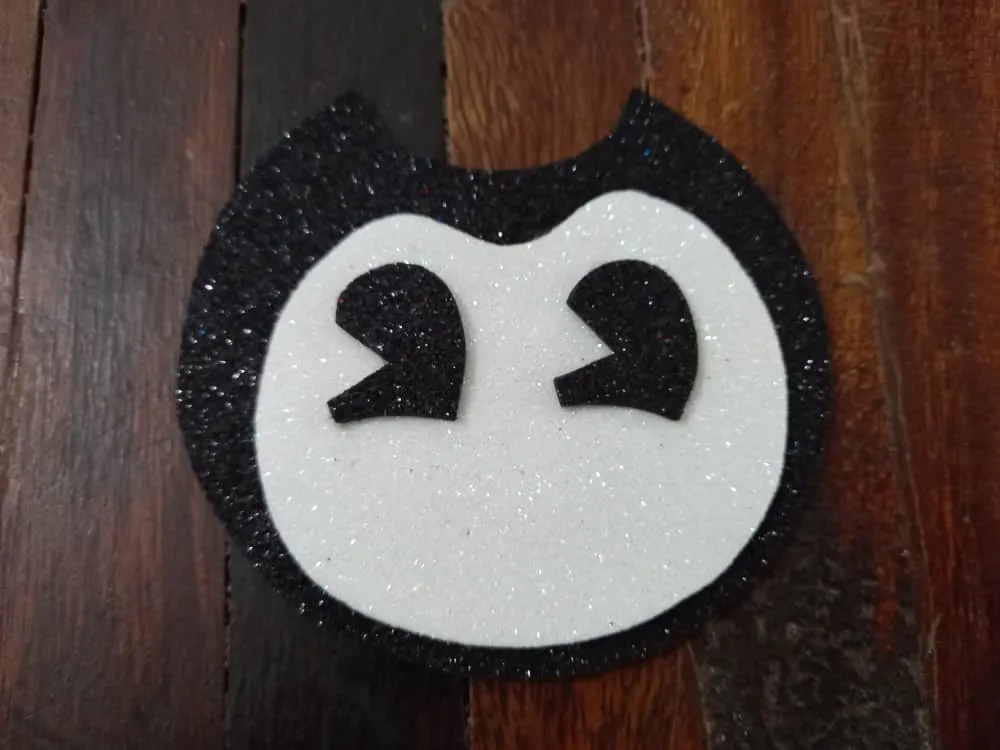
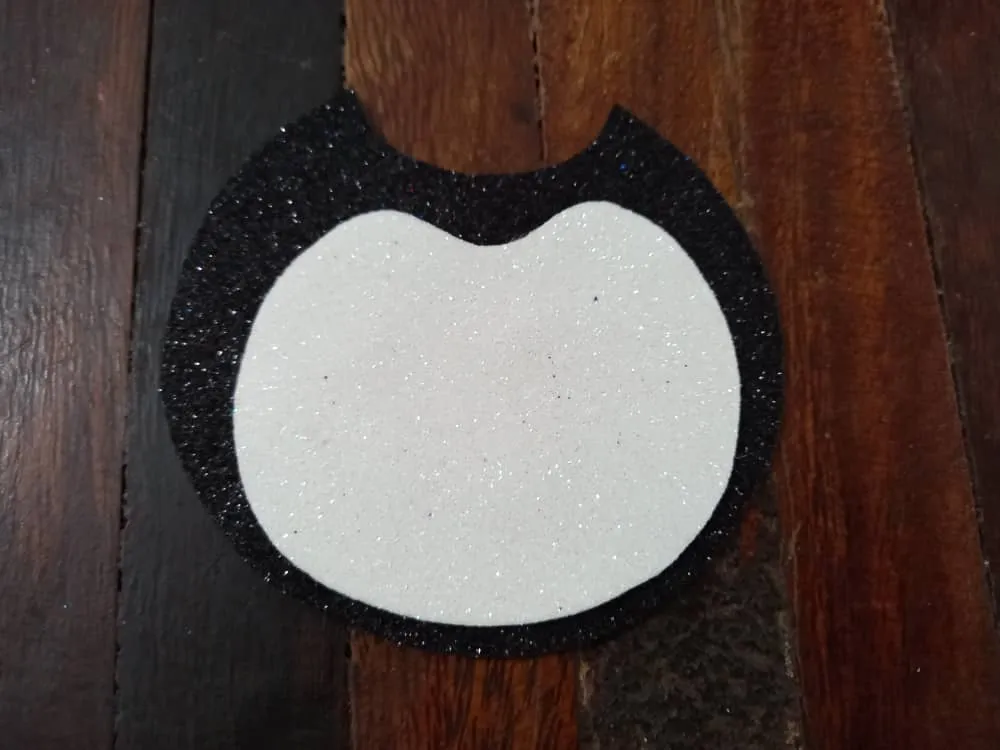
◉PASO 1. Lo primero es hacer la forma del personaje en la hoja de papel, a mí me gusta hacerlo por piezas para luego juntarlas, luego de hacer cada pieza las recortamos y procedemos a hacer cada una del color que corresponde, la primera y cuarta pieza las hacemos en foami negro escarchado (cabeza y ojo respectivamente) y la segunda y tercera pieza en foami blanco escarchado (rostro y boca respectivamente), la última pieza deben ser 2 ya que esos son los ojos del personajes, luego recortamos todas.
◉STEP 1. The first thing is to make the shape of the character on the sheet of paper, I like to do it in pieces and then put them together, after making each piece we cut them out and proceed to make each one of the corresponding color, The first and fourth pieces are made in frosted black foami (head and eye respectively) and the second and third pieces in frosted white foami (face and mouth respectively), the last piece must be 2 since those are the eyes of the characters, then we cut all of them.

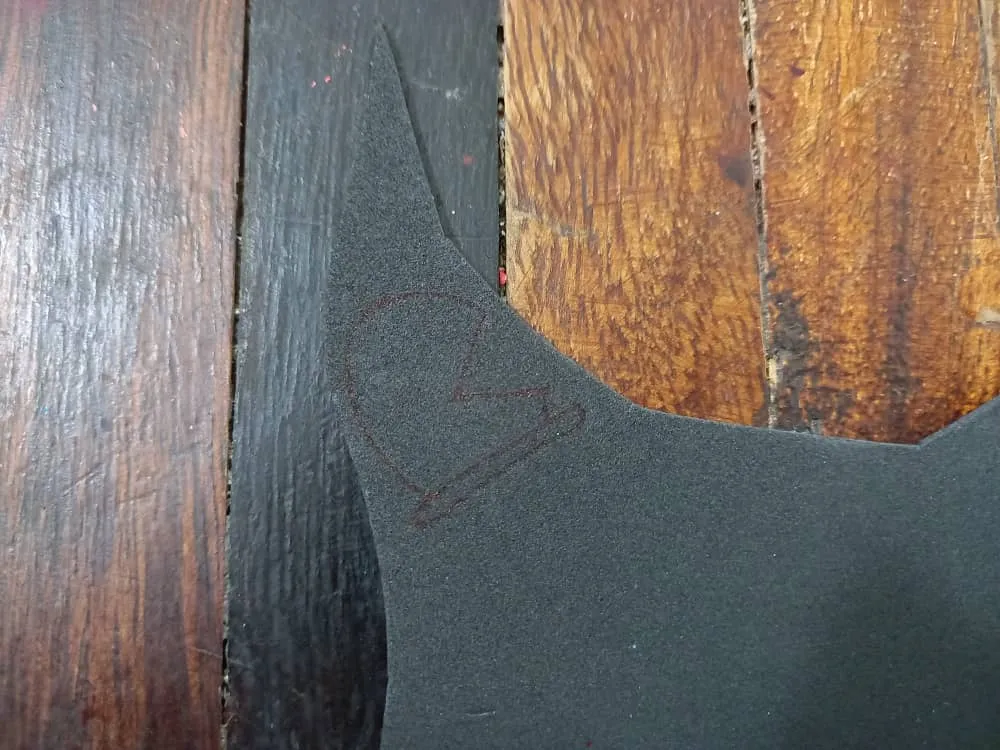
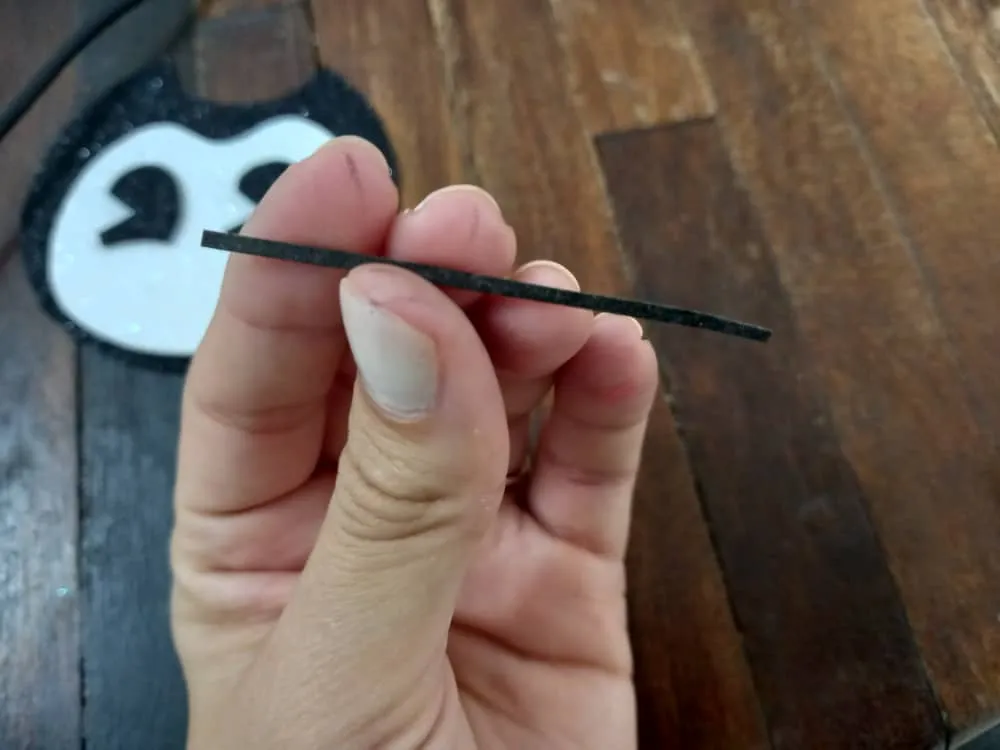
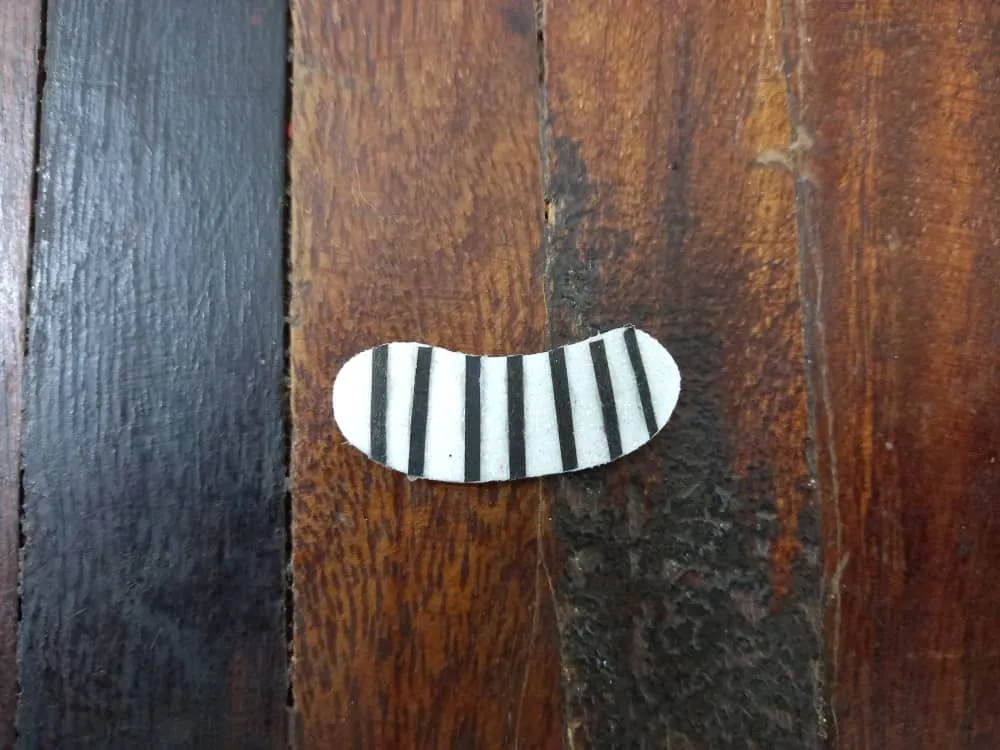
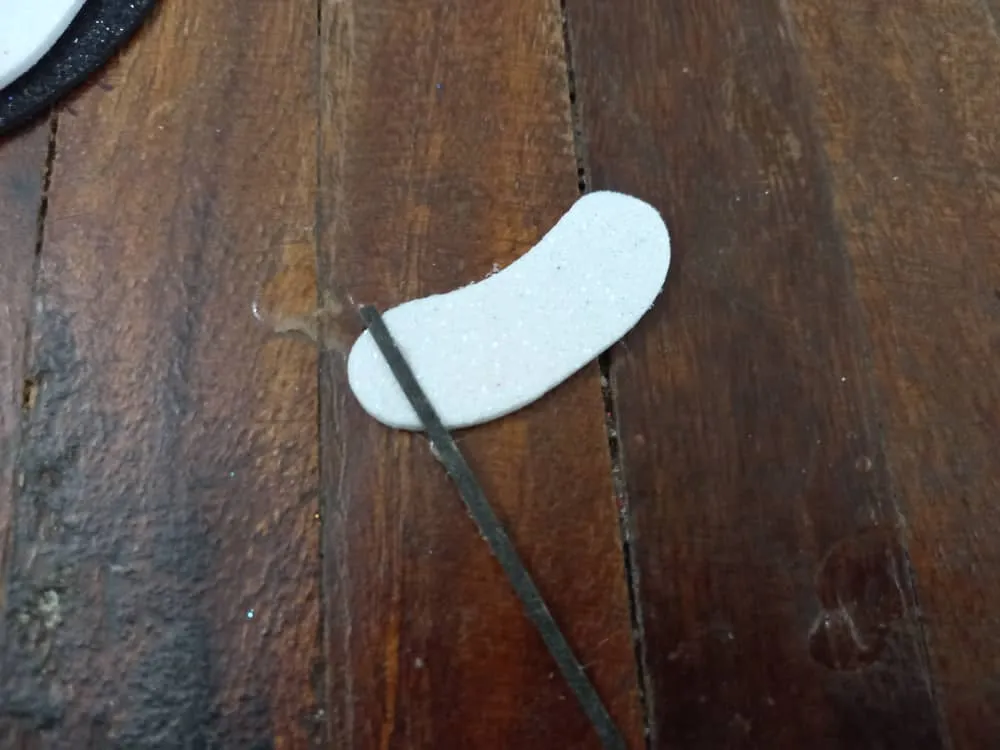
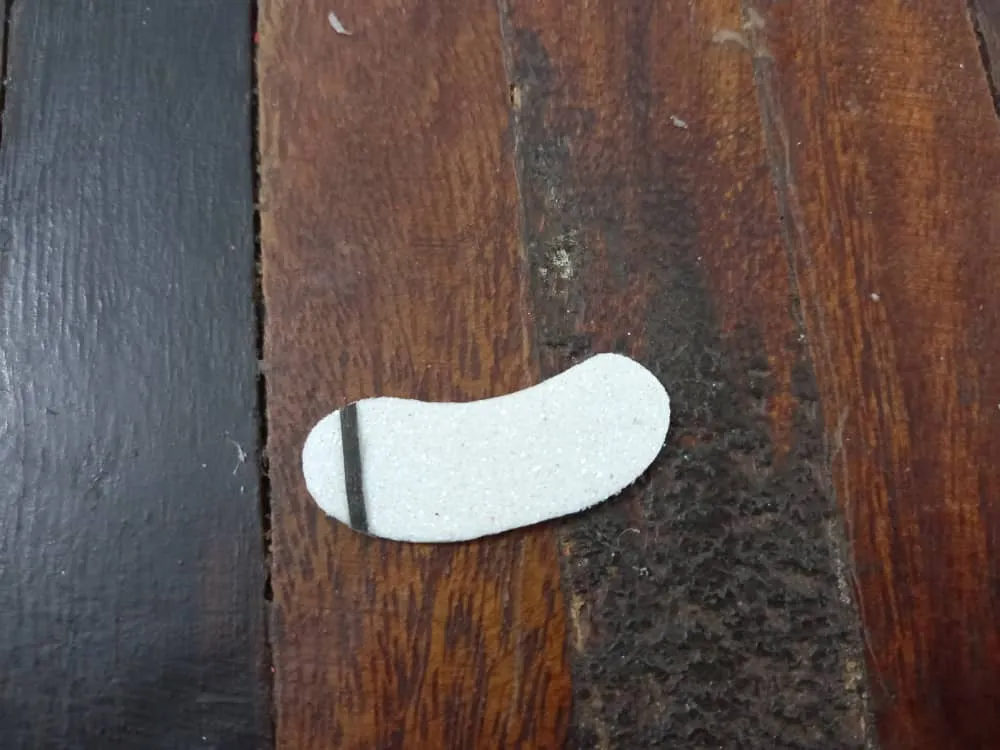
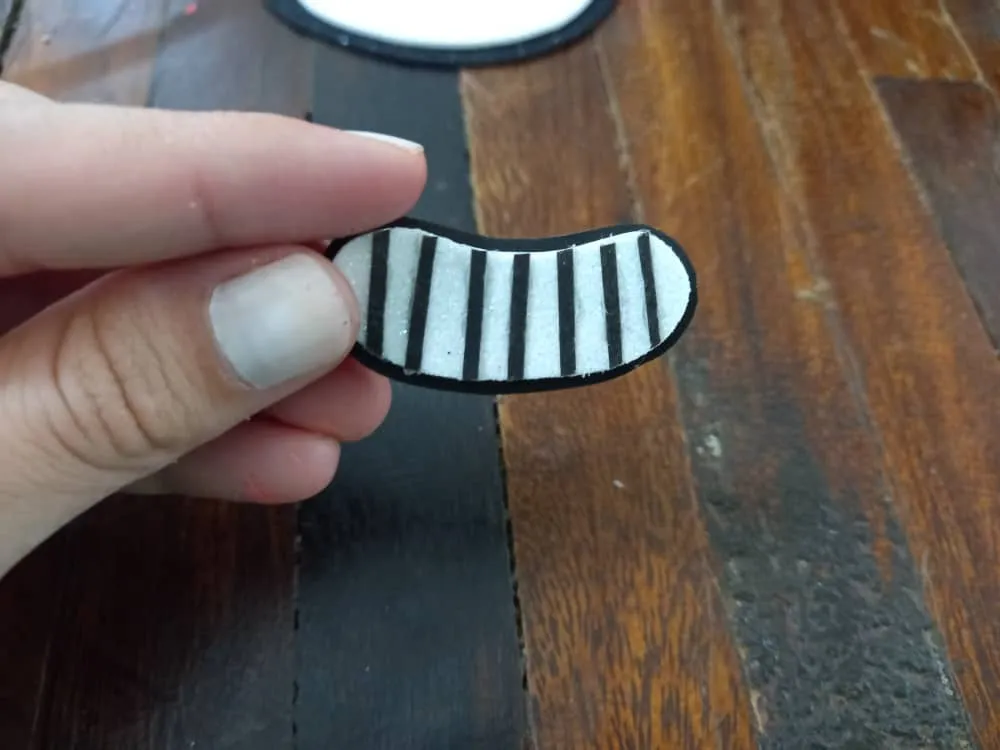
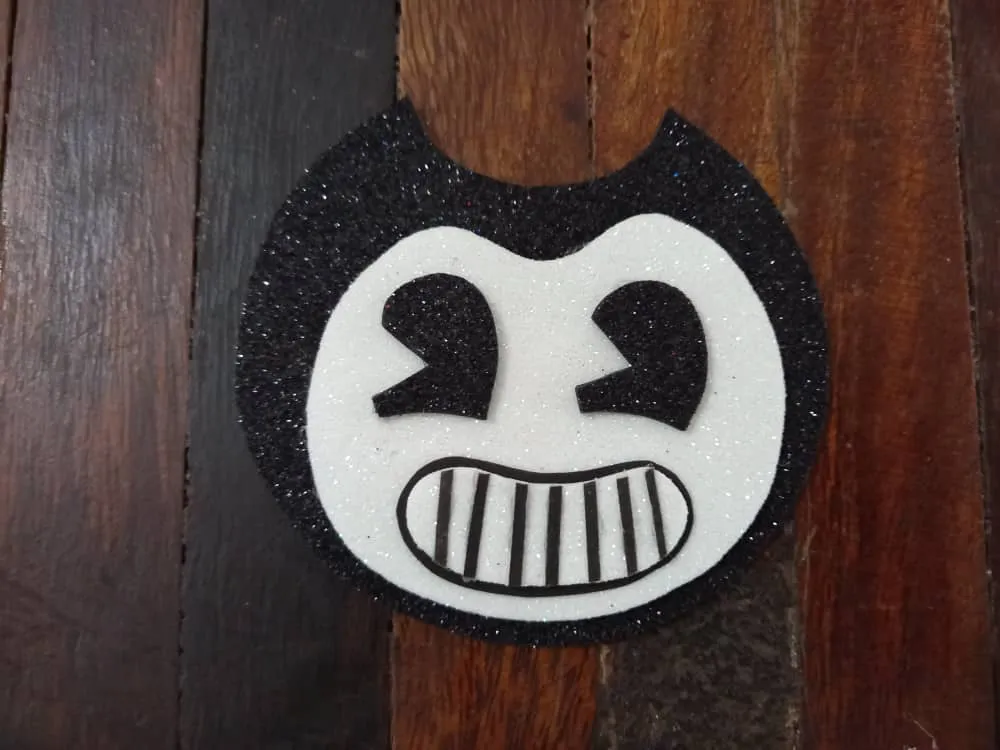
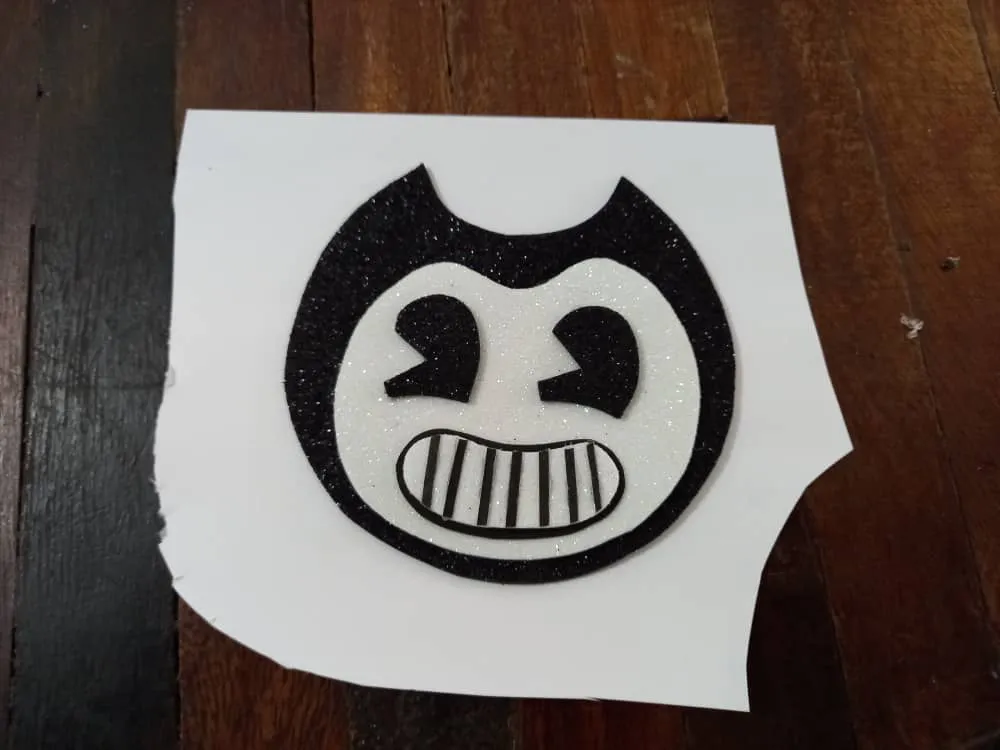
◉PASO 2. Recortamos unas tiritas delgadas de cartulina escolar negra y las pegamos de manera vertical sobre la boca con una pequeña separación entre ellas y así formando los dientes del personaje. Luego pegamos la boca sobre cartulina escolar negra y recortamos alrededor dejando un delgado borde en la orilla.
◉ STEP 2. Cut some thin strips of black school cardboard and stick them vertically on the mouth with a small gap between them and thus forming the teeth of the character. Then we glue the mouth onto black school cardboard and cut around it leaving a thin edge on the edge.

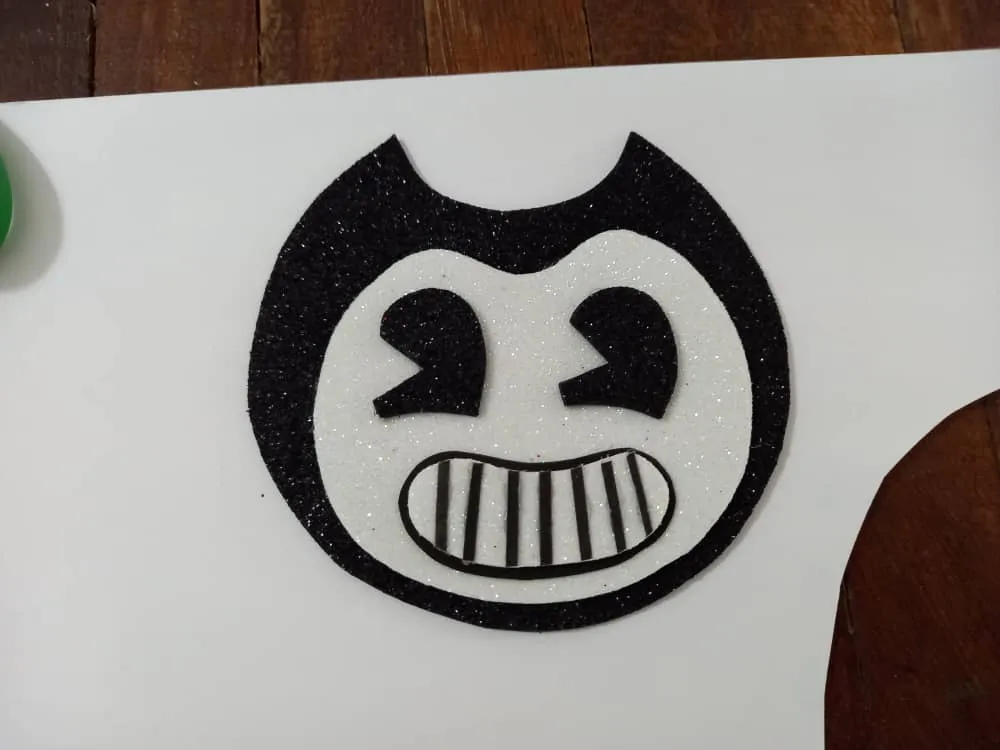
◉PASO 3. Aplicamos silicón en la parte trasera del rostro y lo pegamos sobre la cabeza, luego pegamos los ojos y finalmente la boca, de esta manera ya tenemos formado nuestro personaje de Bendy.
◉ STEP 3. We apply silicone to the back of the face and glue it on the head, then we glue the eyes and finally the mouth, in this way we have already formed our Bendy character.
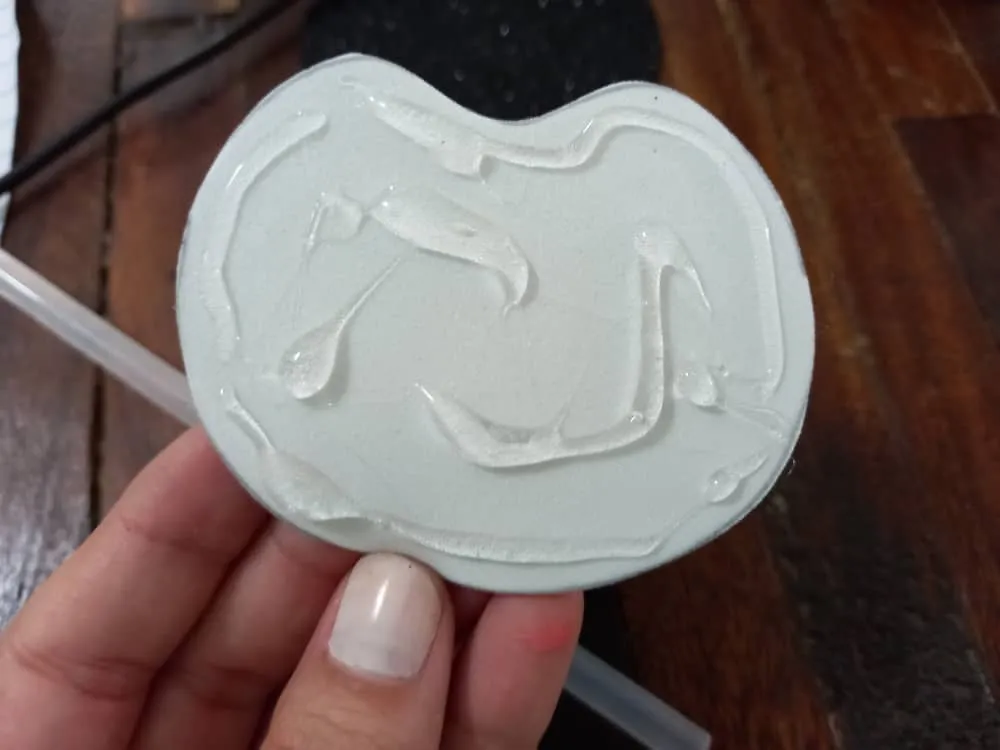
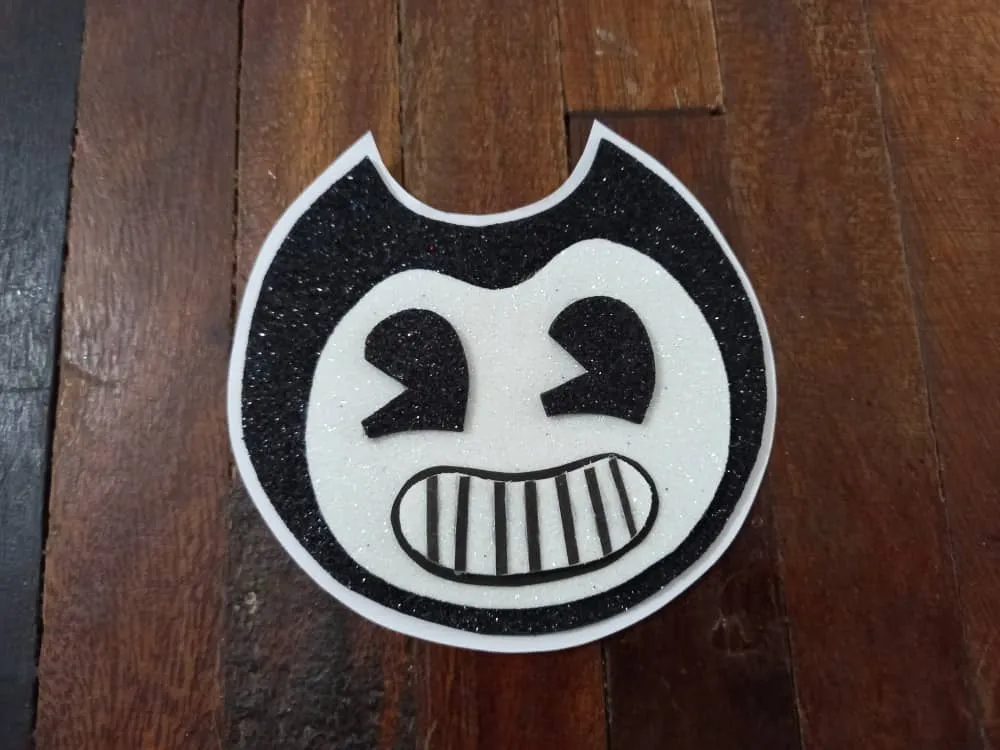
◉ PASO 4. Aplicamos silicón en la parte trasera de la figura y la pegamos sobre cartulina escolar blanca y luego recortamos el borde dejando una orilla delgada de esta, así como hicimos con la boca.
◉ STEP 4. We apply silicone to the back of the figure and glue it on white school cardboard and then cut the edge leaving a thin edge of it, as we did with the mouth.
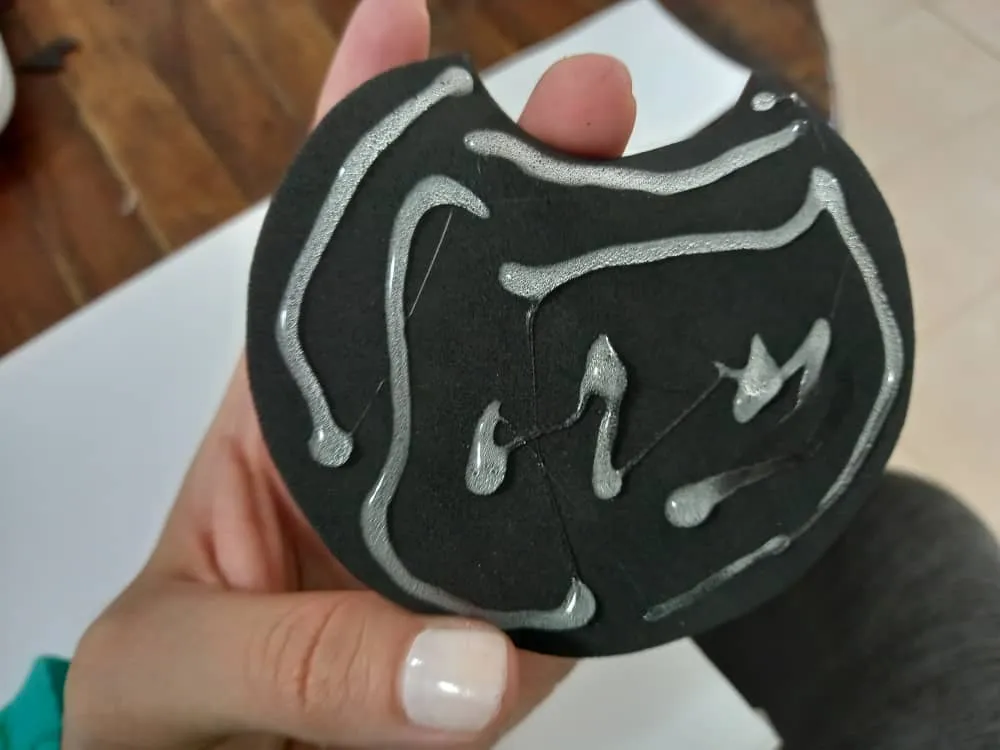
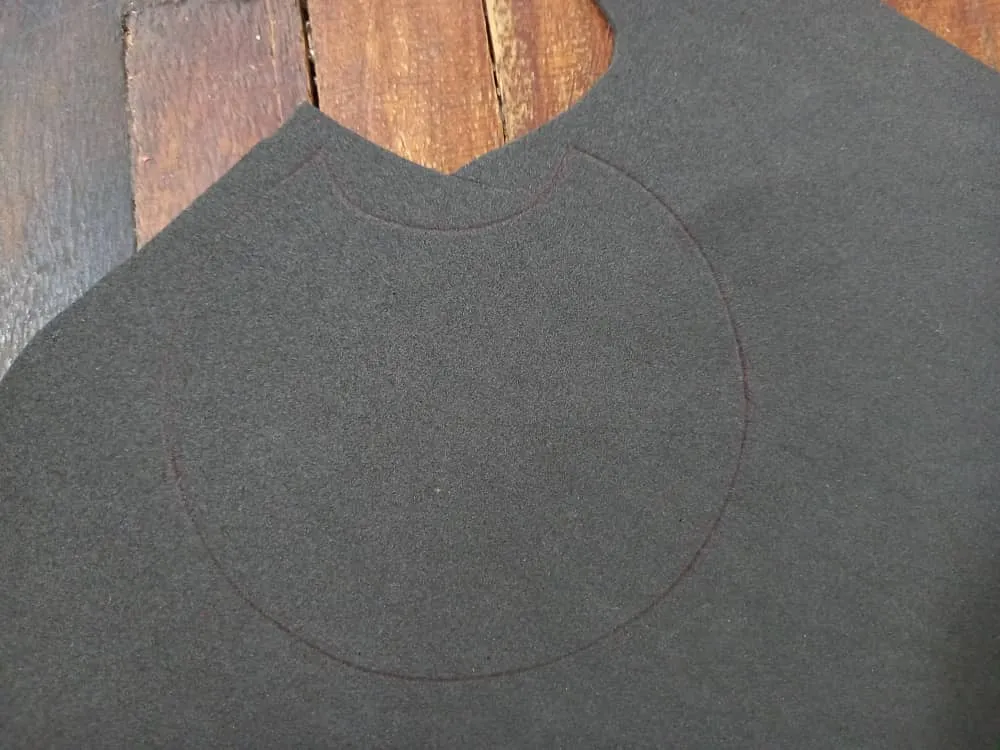
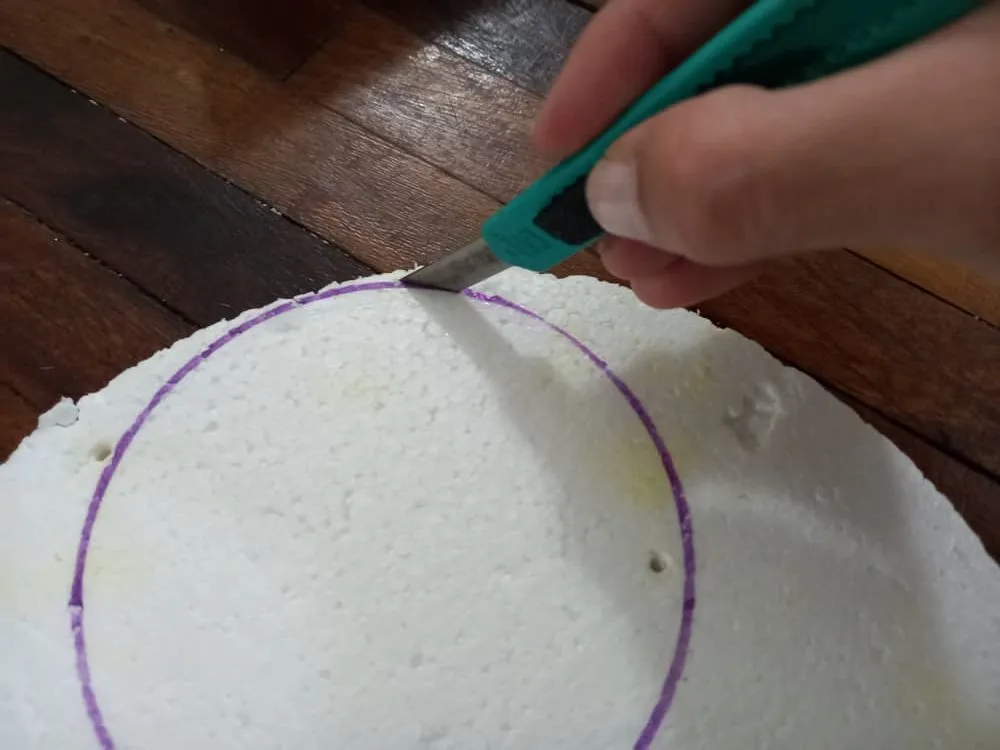
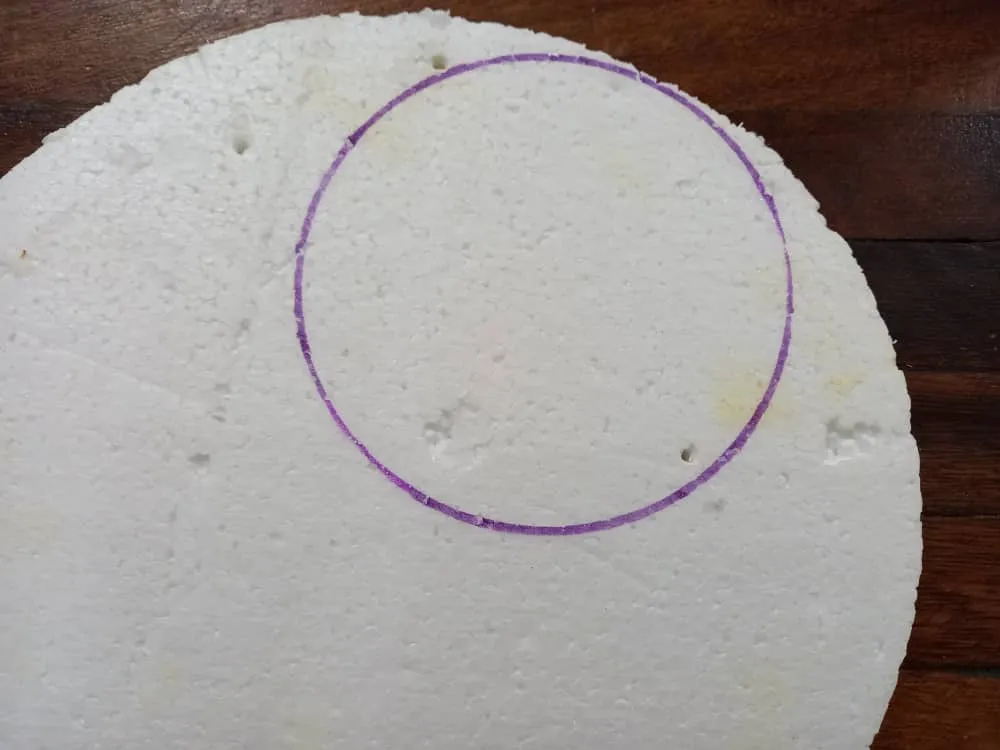
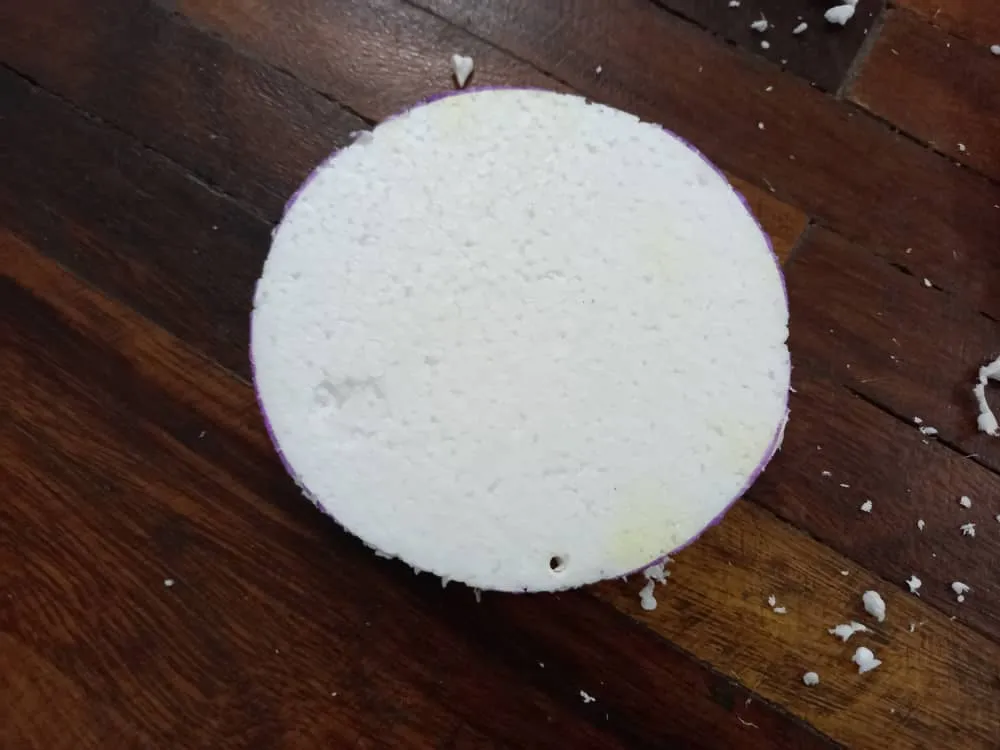
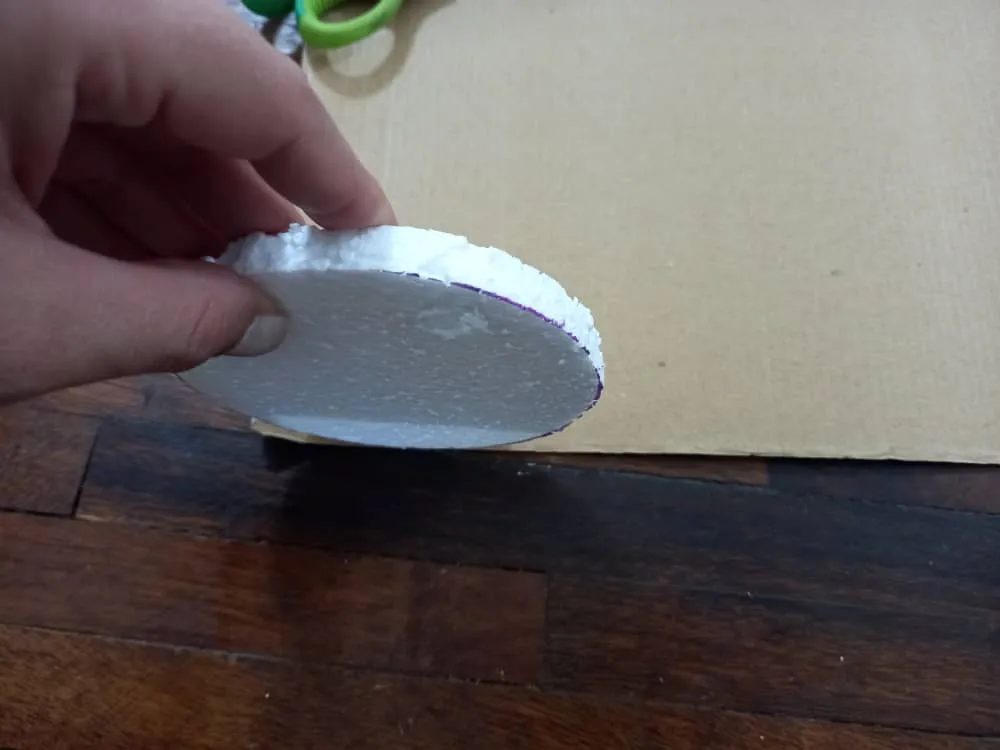
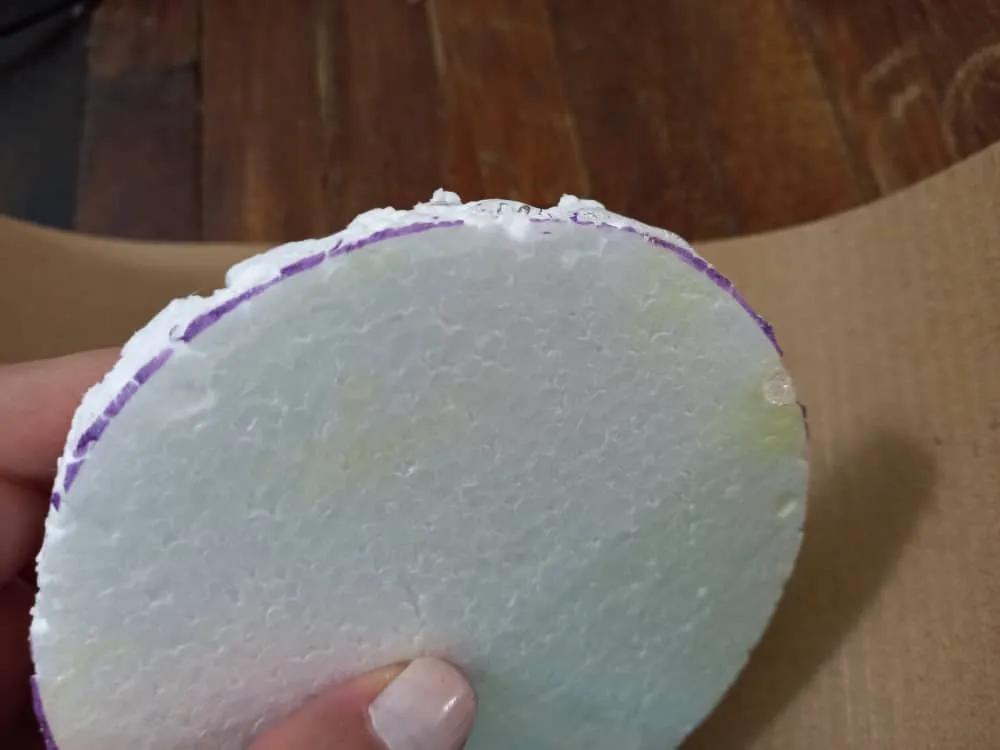
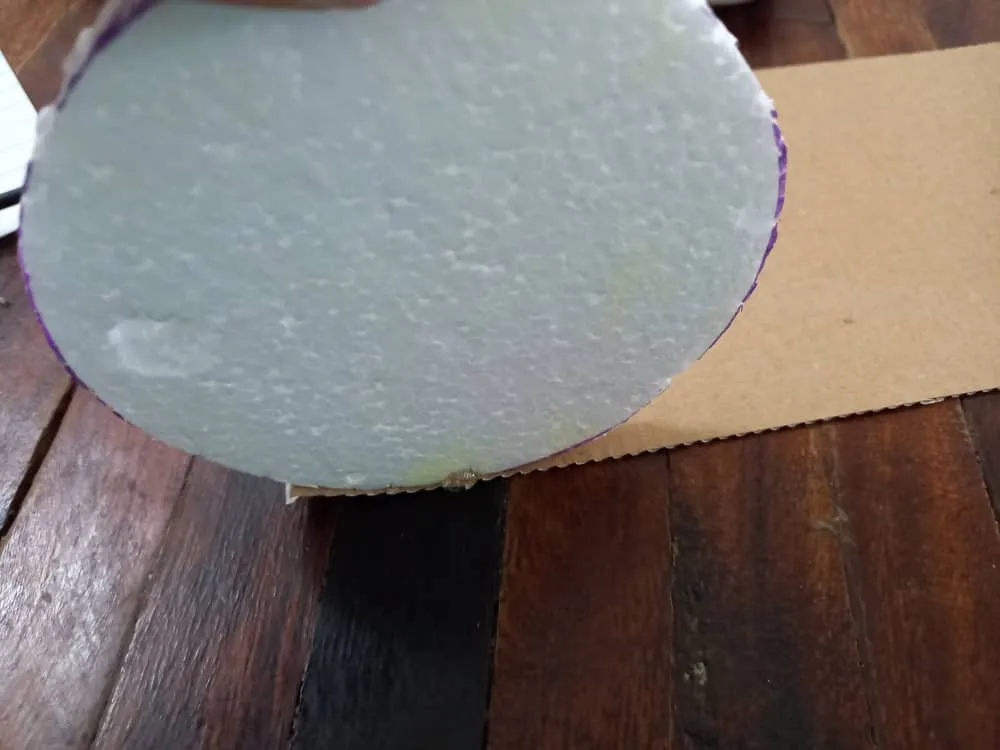
◉ PASO 5. Llegó el momento de hacer el cotillón, para ello tomaremos algún objeto circular del tamaño de nuestra preferencia y vamos a marcar el circulo sobre el anime con ayuda de un marcador, luego con el cutter recortamos cuidadosamente.
◉ STEP 5. The time has come to make the party favors, for this we will take a circular object of the size of our preference and we will mark the circle on the anime with the help of a marker, then with the cutter we cut carefully.

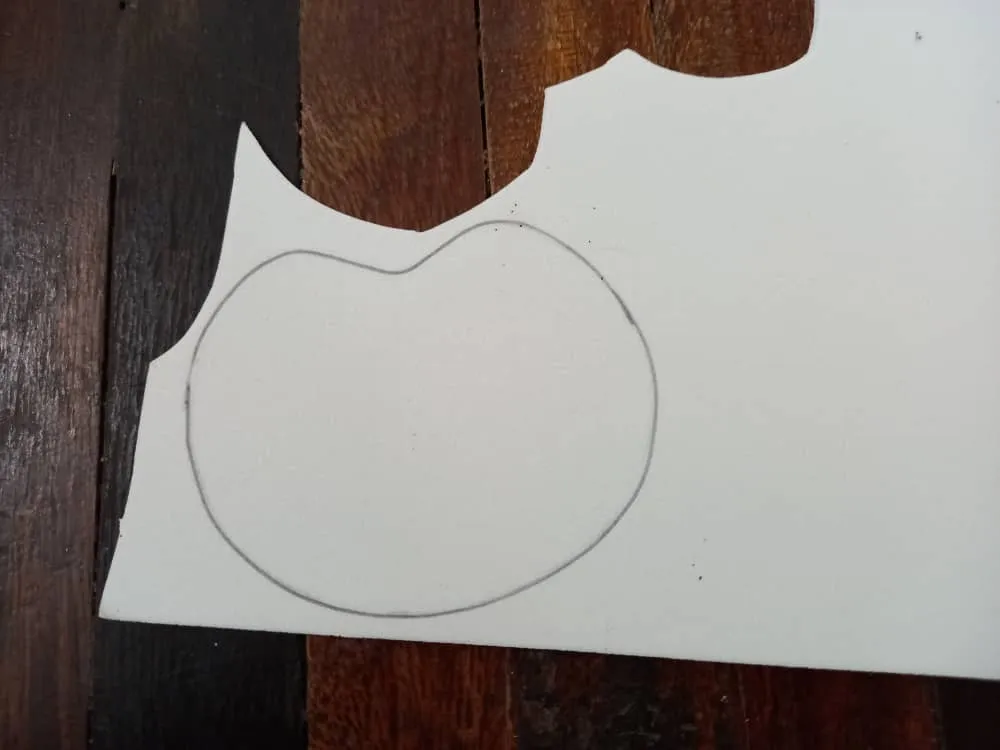
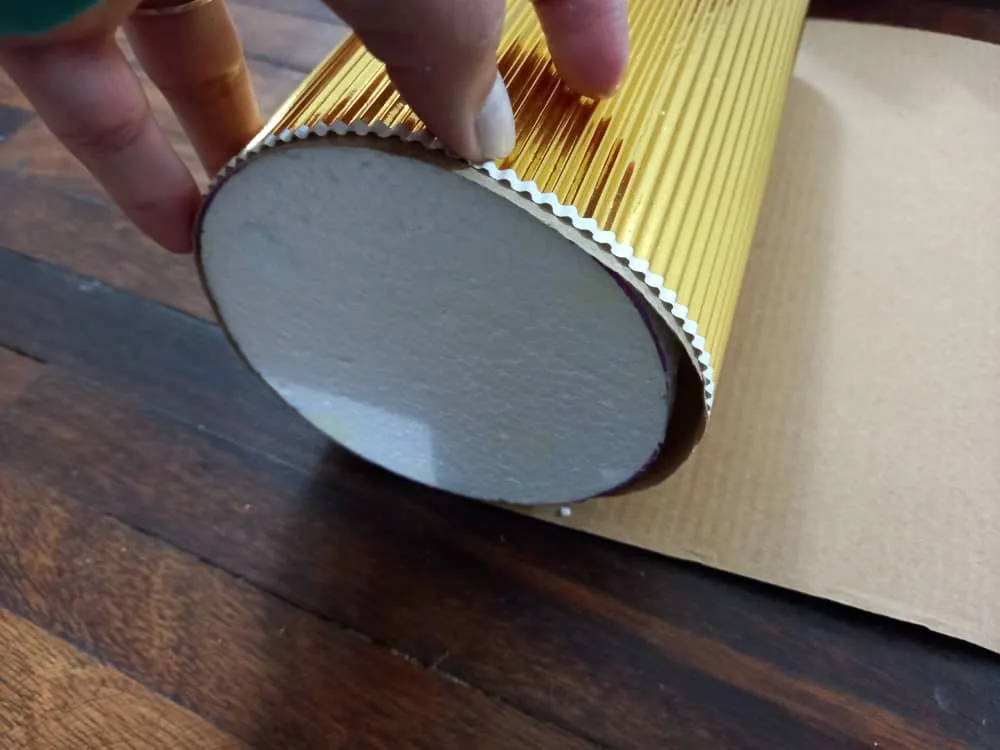
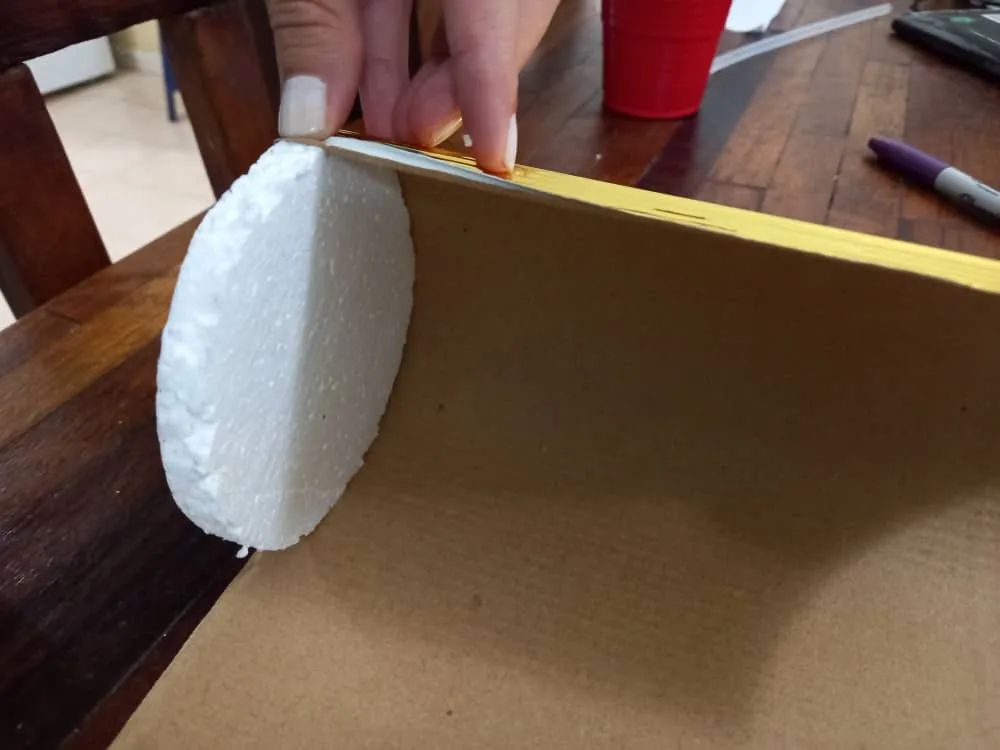
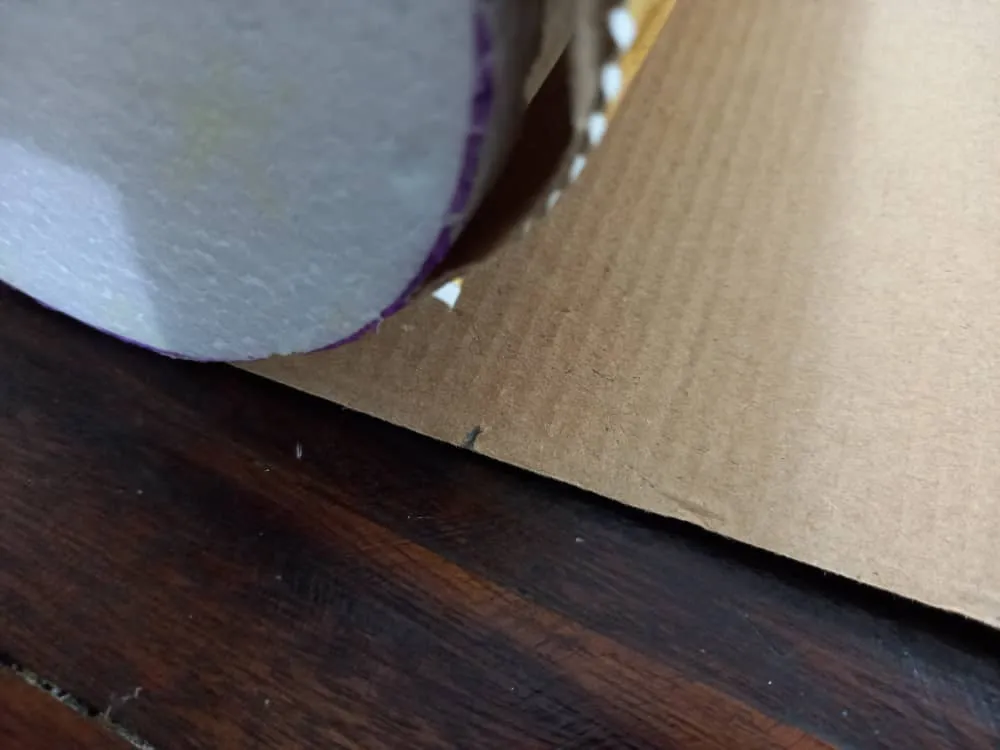
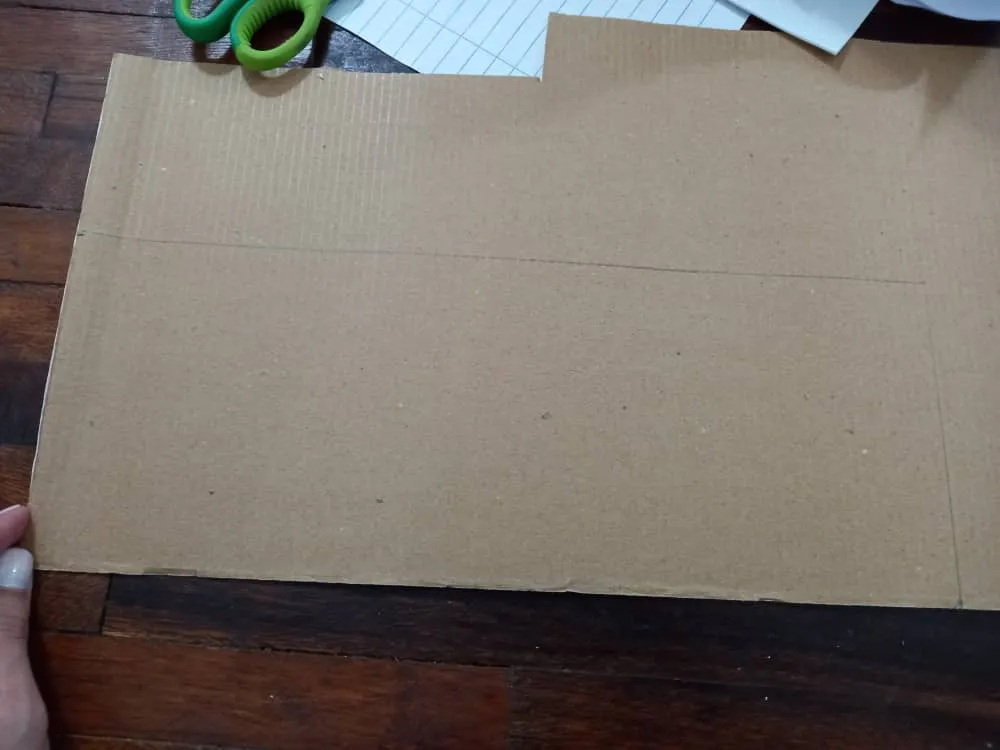
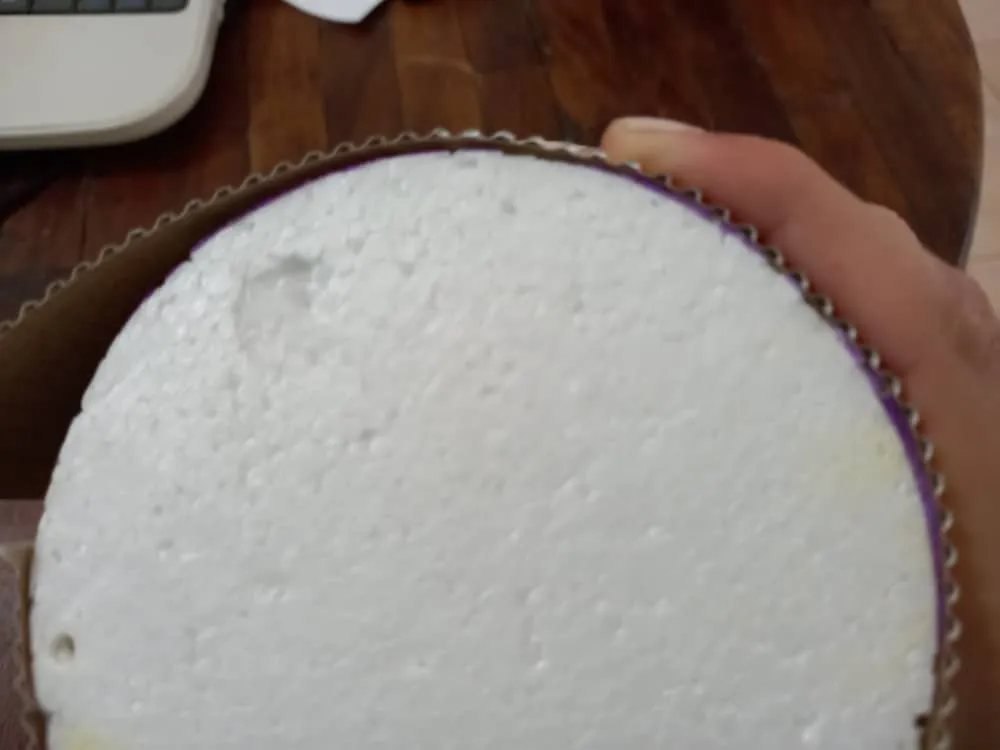
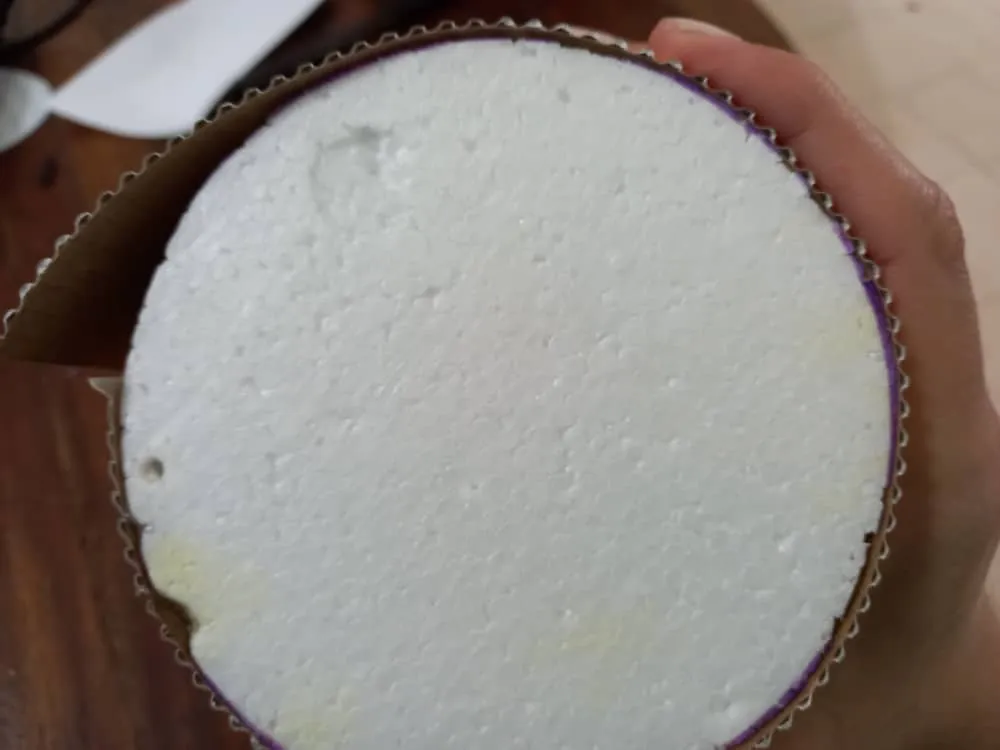
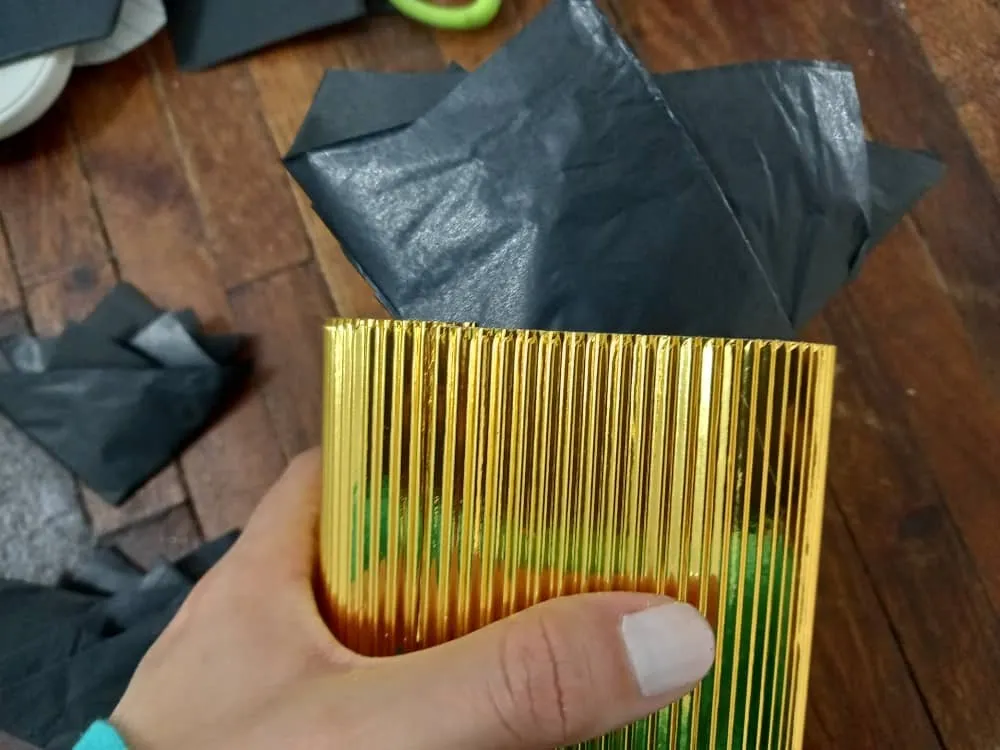
◉ PASO 6. Tomamos el circulo de anime y lo colocamos en la orilla de la cartulina metalizada dorada, damos la vuelta hasta cubrir todo el circulo y luego marcamos con un lápiz la medida para recortar, luego con ayuda de una regla medimos y marcamos la altura que queremos que tenga el cotillón y recortamos la pieza de cartulina.
◉ STEP 6. Take the anime circle and place it on the edge of the gold metallic cardboard, turn it over to cover the entire circle and then mark the measurement to cut with a pencil, then with the help of a ruler We measure and mark the height that we want the party to have and cut the piece of cardboard.

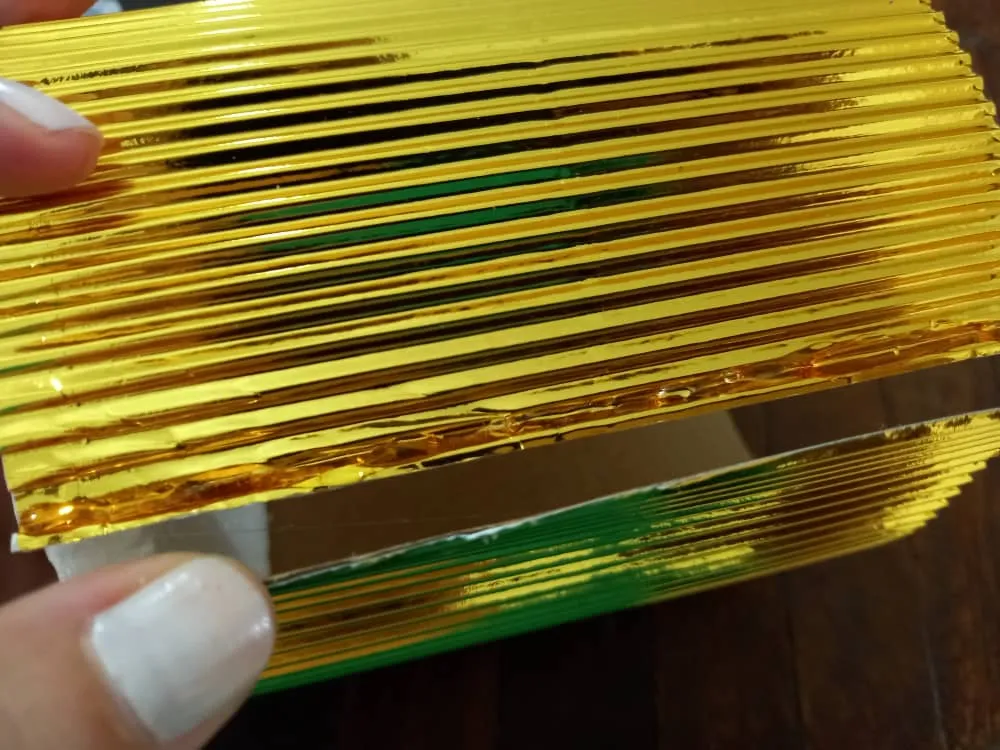
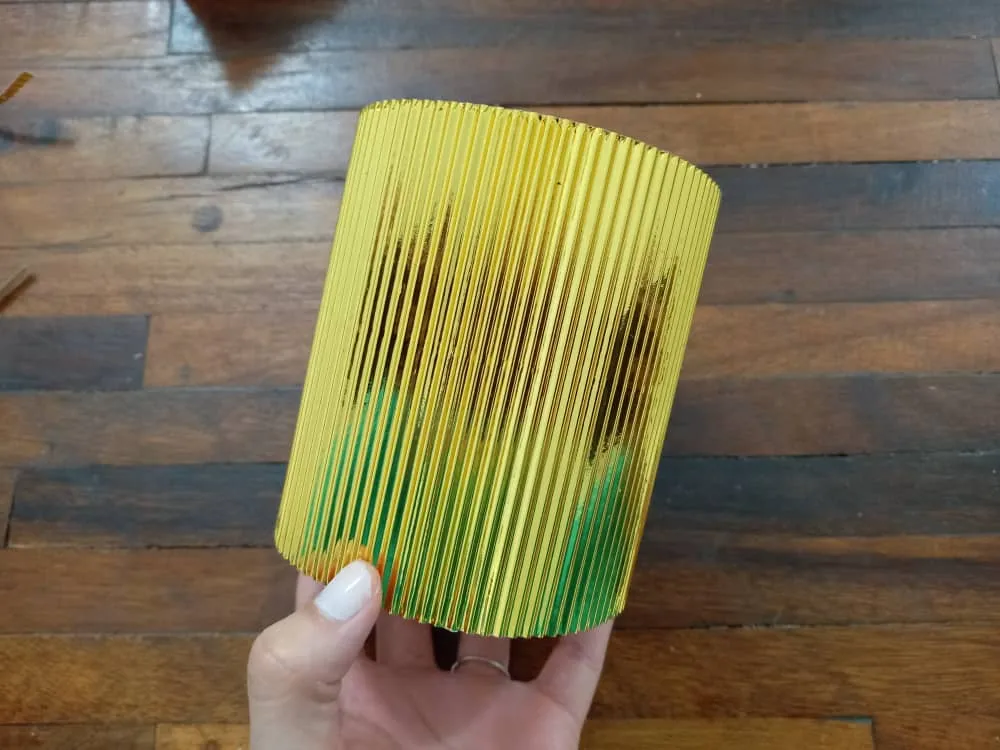
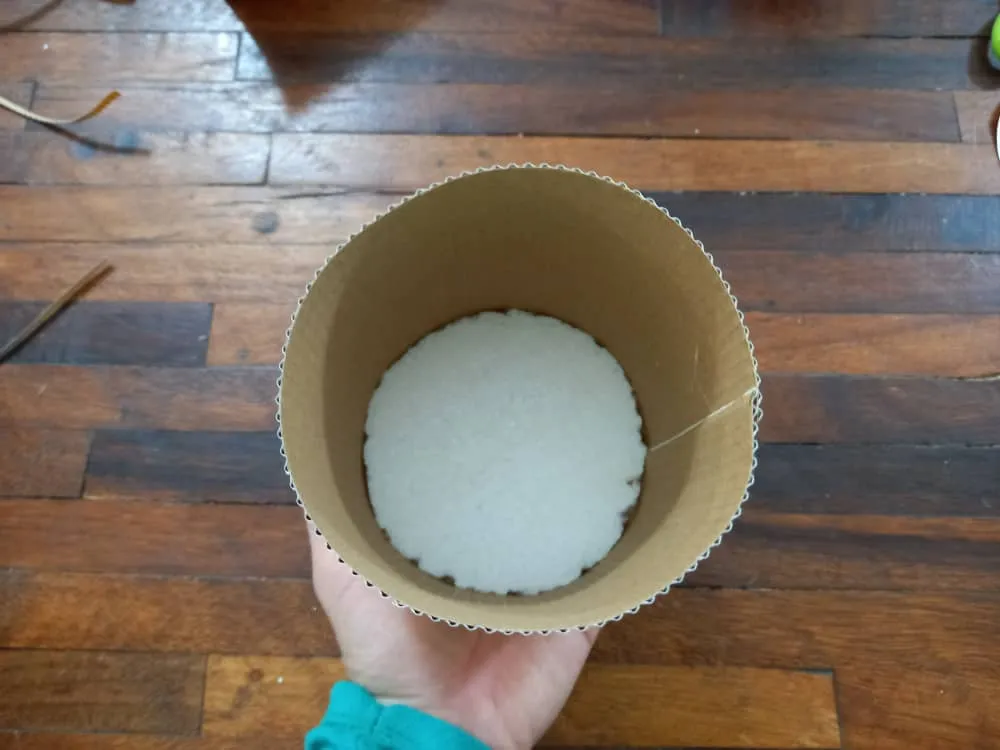
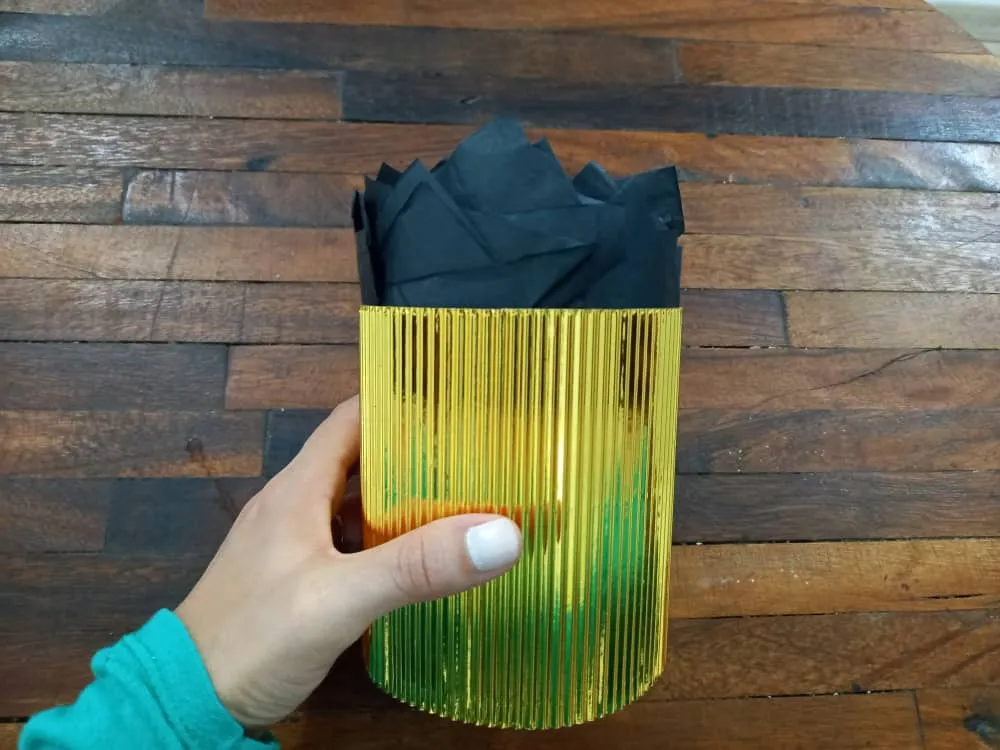
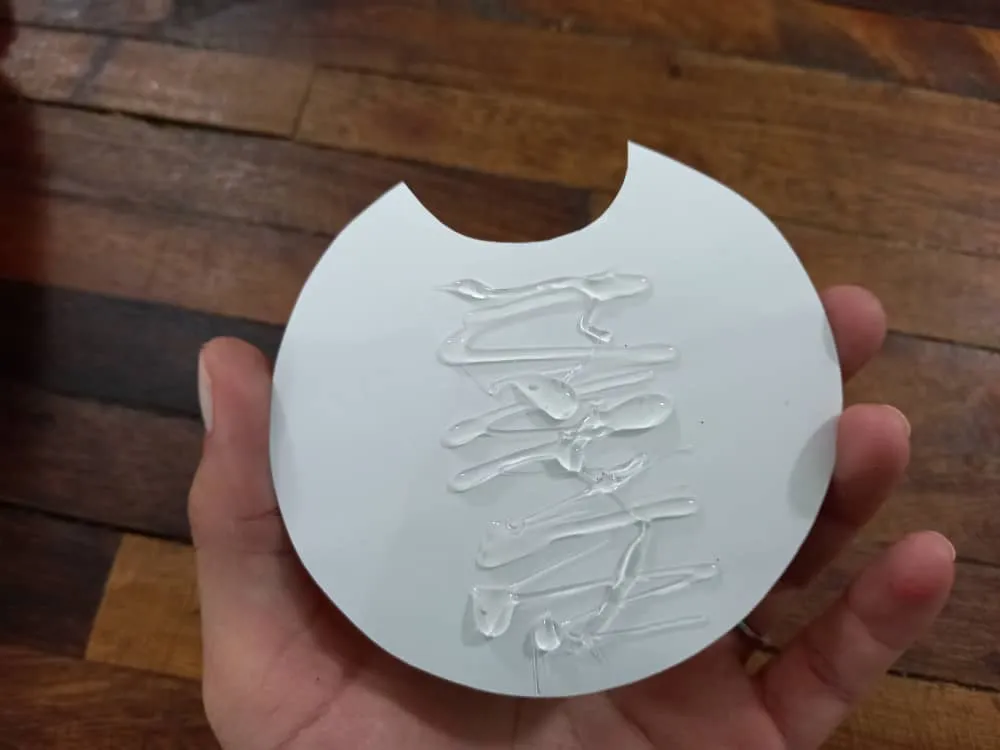
◉ PASO 7. Tomamos el círculo de anime y le aplicamos silicón en la orilla y lo pegamos a la parte interna de la pieza de cartulina hasta cerrar por completo, luego aplicamos silicón en uno de los extremos de la cartulina y unimos ambos haciendo presión hasta que el resultado final tenga la forma como de un cilindro, allí tendremos lista nuestra base para el cotillón.
◉ STEP 7. We take the anime circle and apply silicone to the edge and stick it to the inside of the piece of cardboard until it is completely closed, then we apply silicone to one of the ends of the cardboard and join both pressing until the final result has the shape of a cylinder, there we will have our base for the party favors ready.
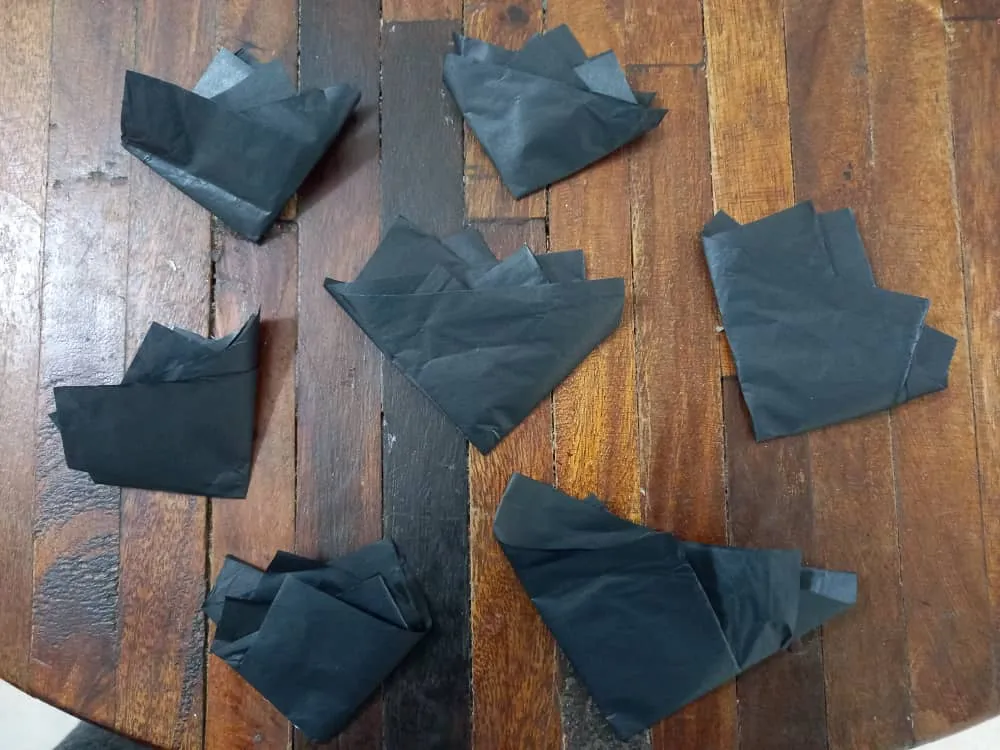
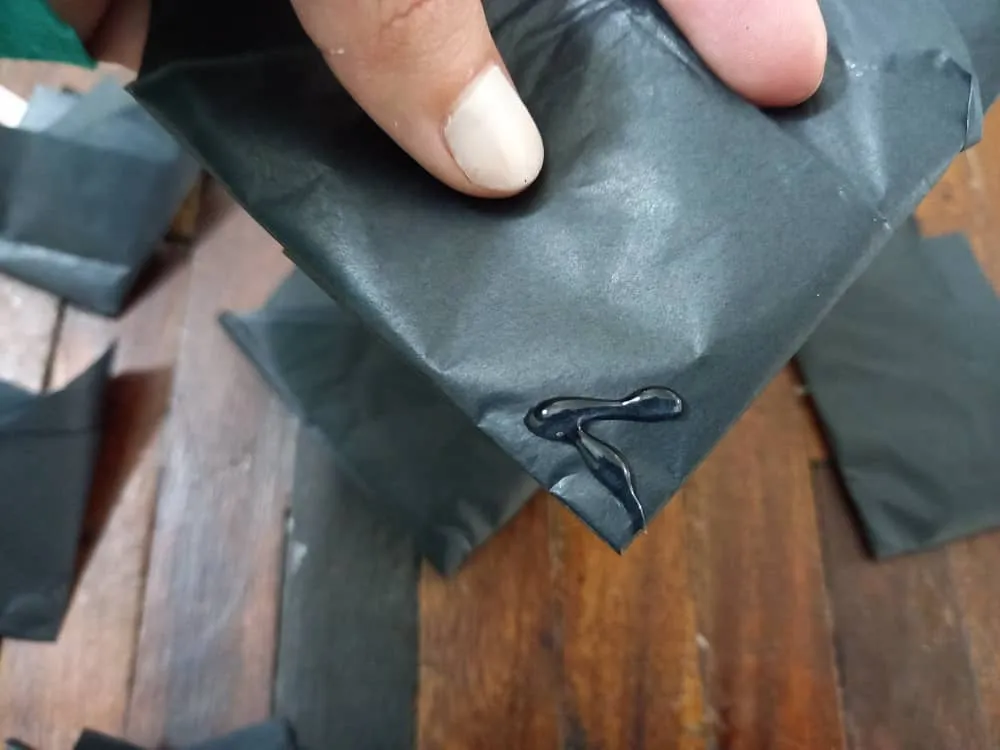
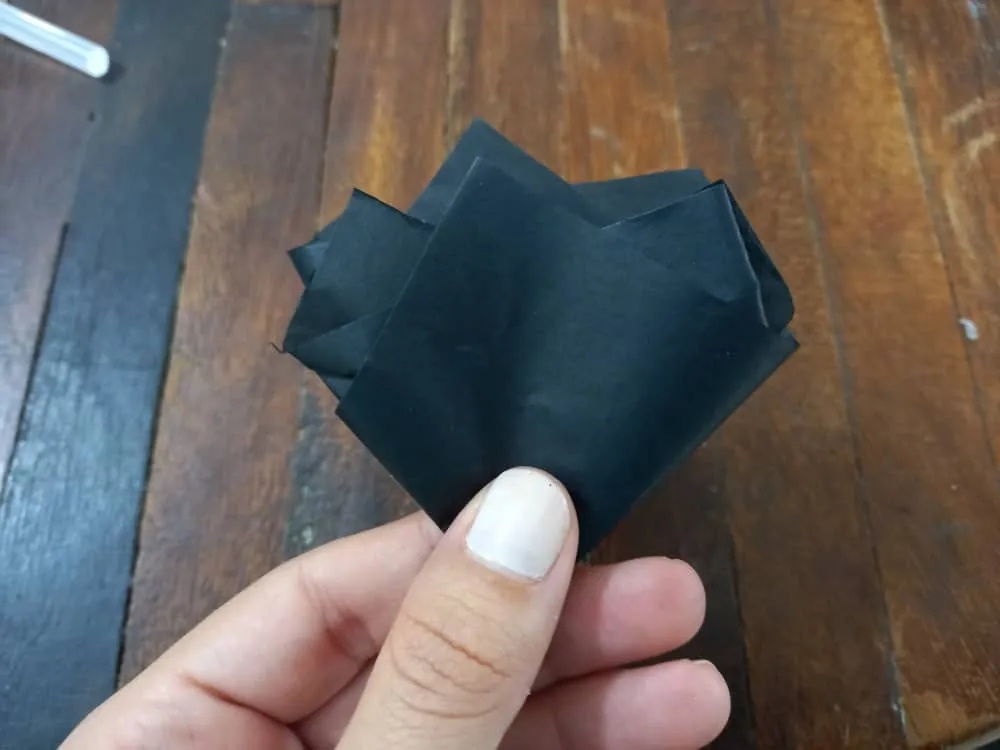
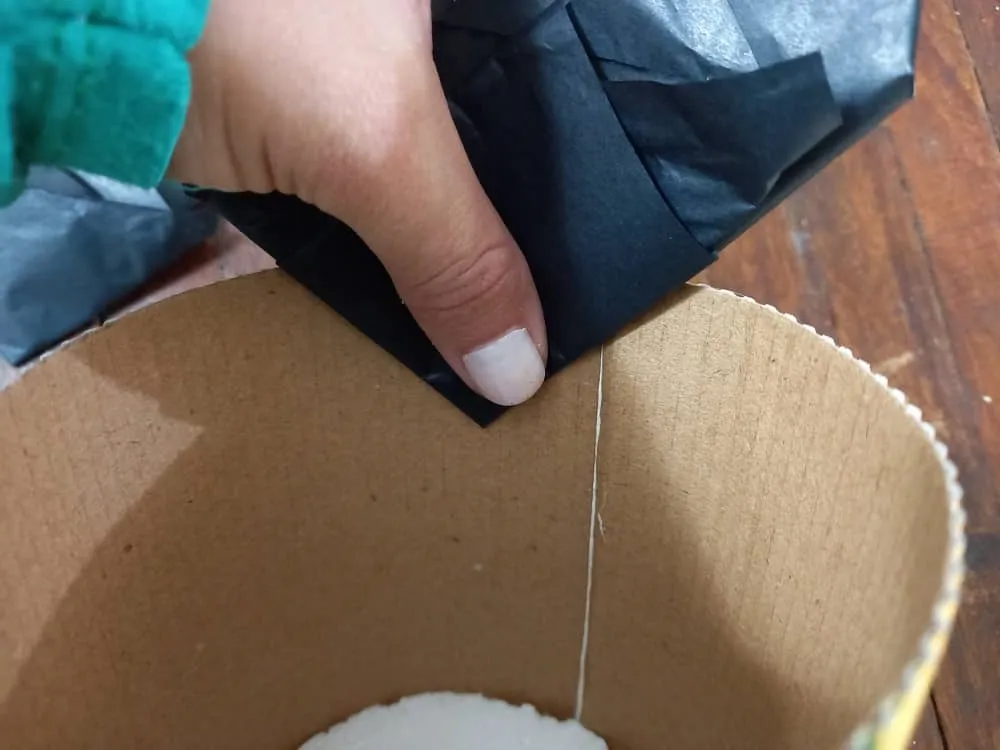
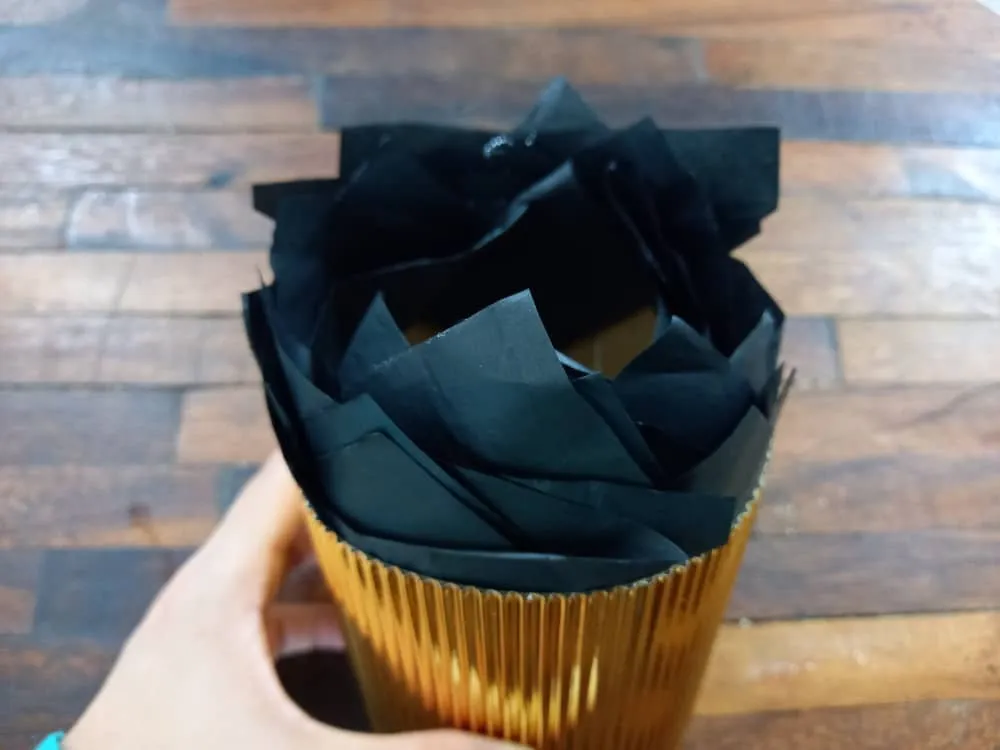
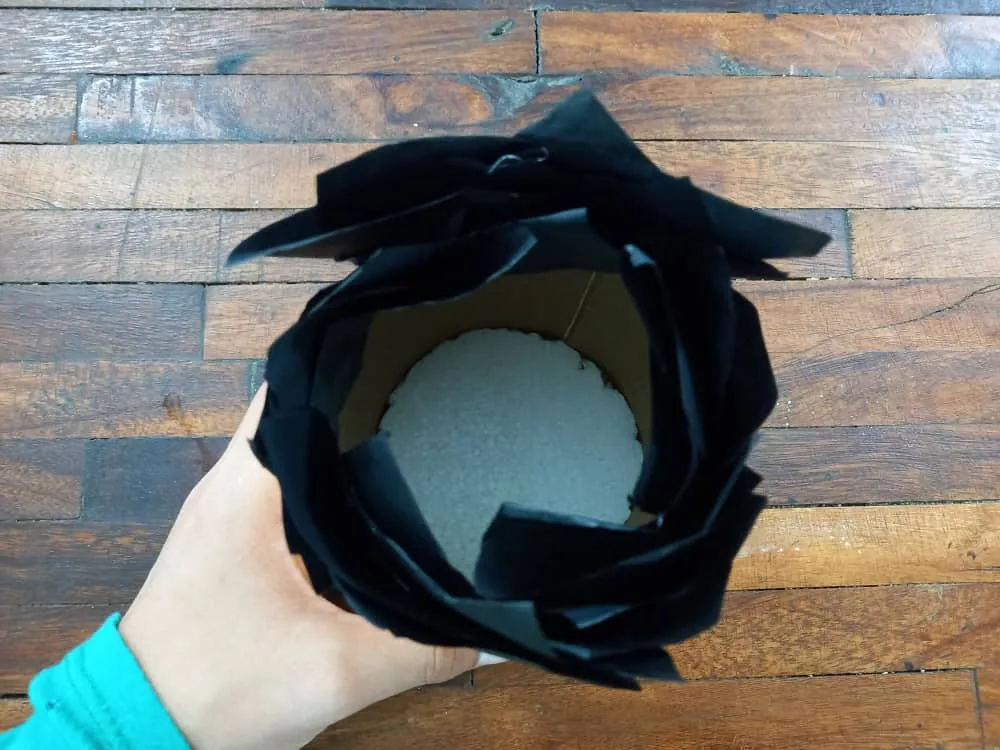
◉ PASO 8. Comenzamos a decorar el cotillón colocándole conitos de papel de seda negro en la parte interna del borde superior, le aplicamos silicón en la punta y haciendo presión los pegamos hasta cubrir por completo la orilla del cotillón, en este post te enseño paso a paso a elaborar estos conitos de papel en caso de que no sepas como hacerlos.
◉ ** STEP 8. ** _We begin to decorate the party favors by placing cones of black tissue paper on the inside of the upper edge, we apply silicone to the tip and press down on them until we completely cover the edge of the party favors, in this post I show you step by step how to make these paper cones in case you don't know how to make them.

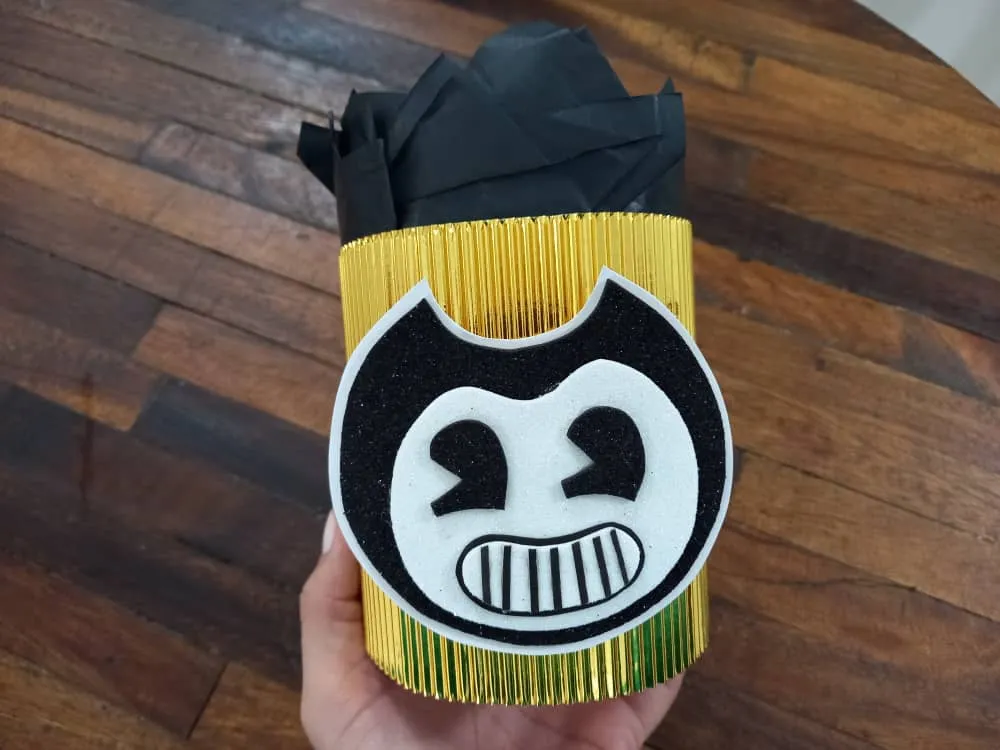
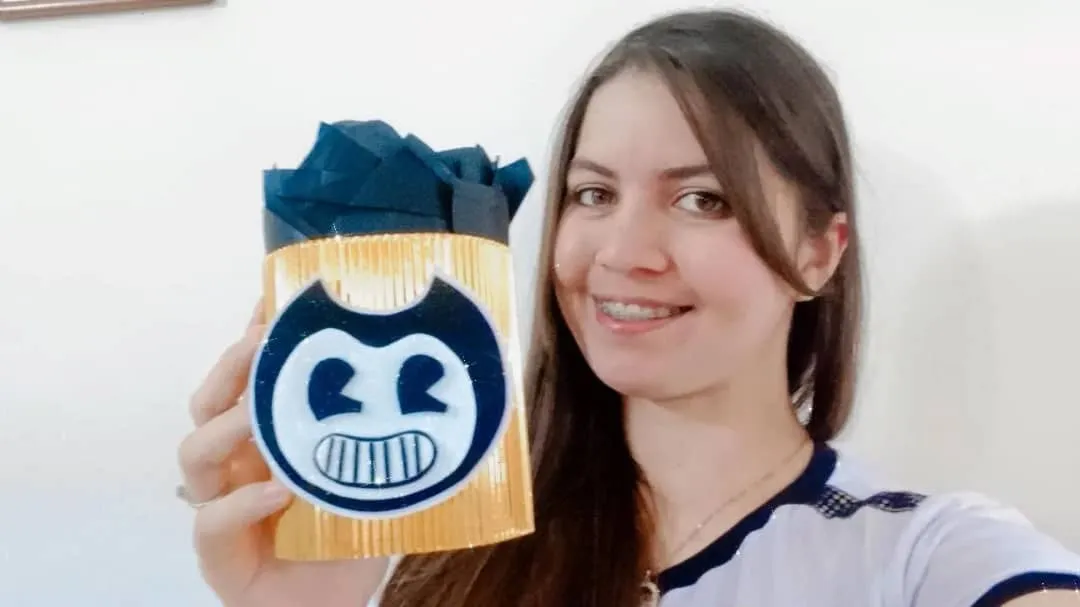
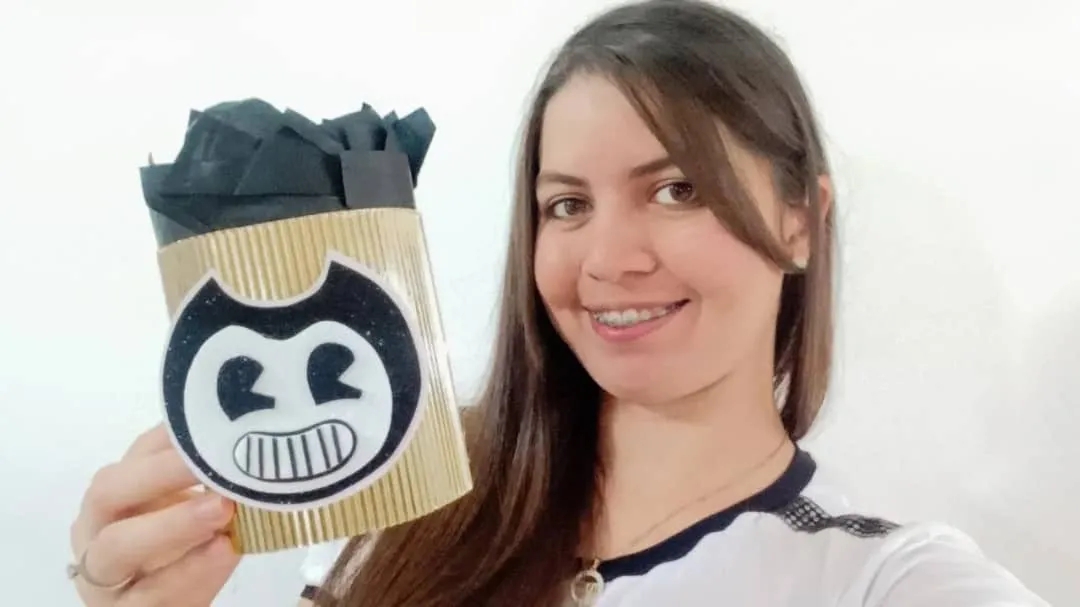
◉PASO 9. Para finalizar aplicamos silicón en la parte trasera de la figura de Bendy y la pegamos en el centro del cotillón siendo este el frente, de esta manera hemos finalizado con nuestro lindo cotillón.
◉ STEP 9. To finish we apply silicone on the back of the Bendy figure and stick it in the center of the party favors, this being the front, in this way we have finished with our cute party favors.
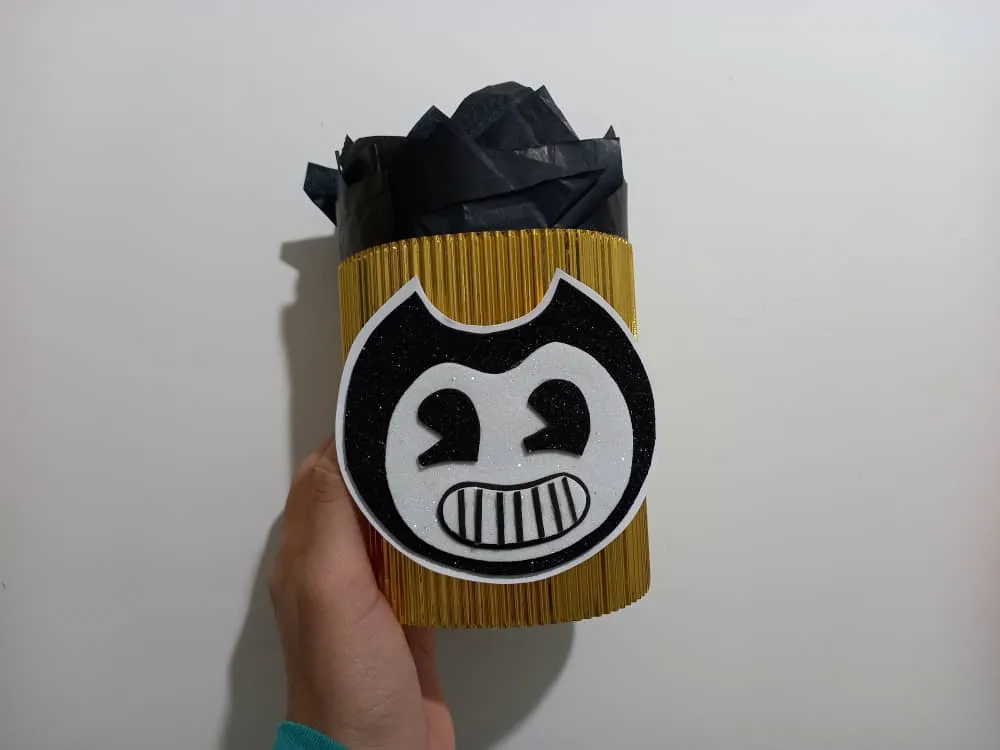
Y así de esta manera tan fácil tenemos un hermoso cotillón para una fiesta infantil, solo resta agregarle las golosinas y listo, podemos variar los colores, la decoración y el motivo pero de cualquier forma quedará muy lindo y seguro a los niños les gustará, espero que este tutorial haya sido de su agrado y de utilidad para que puedan tomarlo de guía a la hora de planear una fiesta infantil, gracias por llegar hasta el final.
And so in this easy way we have a beautiful party favors for a children's party, it only remains to add the goodies and voila, we can vary the colors, the decoration and the motive but in any case it will be very cute and sure the children will like it, I hope That this tutorial has been to your liking and useful so that you can take it as a guide when planning a children's party, thank you for going all the way.

Todas las fotografías son de mi propiedad.
Fotografías capturadas con mi Samsung Galaxy A12
Nos vemos en mi próxima publicación.
¡Tengan un feliz día!
All photographs are my property.
Photos captured with my Samsung Galaxy A12
See you in my next post.
¡Have a happy day!