El día de hoy les traigo un tutorial muy fácil para hacer una linda bolsa de dulces para halloween hecha con una simple hoja de papel y mucha creatividad.
Today I bring you a very easy tutorial to make a cute bag of candy for Halloween made with a simple sheet of paper and a lot of creativity.
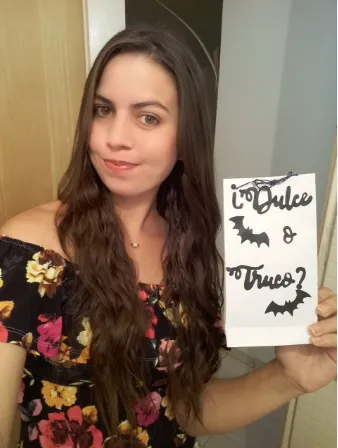
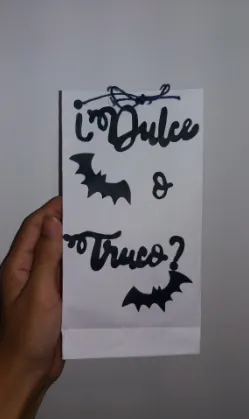
Yo decoré mi bolsa a mi gusto, elegí la frase ¿Dulce o truco?" en color negro y adicionalmente dos murciélagos miniatura en color negro también pero tu puedes agregar tantos detalles y colores como gustes.
I decorated my bag to my liking, I chose the phrase ¿Sweet or trick?" in black and additionally two miniature bats in black as well, but you can add as many details and colors as you like.
La clave de este tutorial es doblar el papel correctamente en cada paso para darle la forma adecuada a nuestra bolsita, admito que fue un poco difícil para mi documentar este tutorial ya que no sabía de que manera explicar cada uno de esos pasos para que se entienda bien el proceso, así que lo hice de una manera muy fácil y simplificada y espero que les funcione y puedan hacer su propia bolsa de dulces en casa.
The key to this tutorial is to fold the paper correctly in each step to give the proper shape to our bag, I admit that it was a bit difficult for me to document this tutorial since I did not know how to explain each of these steps so that it is understood Well the process so I did it in a very easy and simplified way and I hope it works for you and you can make your own bag of candy at home.
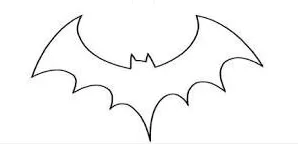
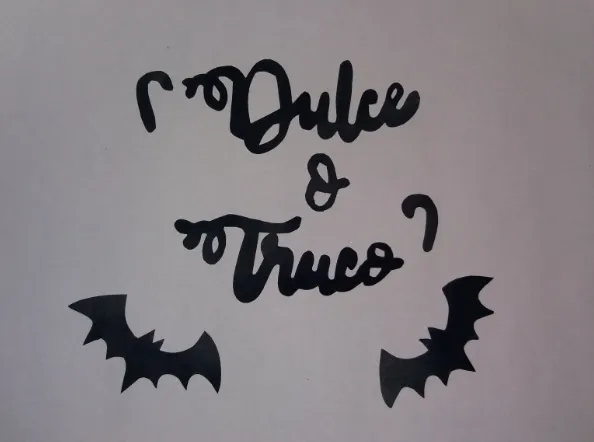
Acá te dejo el molde de la frase que utilicé para decorar mi bolsa de dulces y también te dejaré el molde del murciélago.
Here I leave you the mold of the phrase that I used to decorate my bag of sweets and I will also leave you the mold of the bat.

◉Materiales:
• 1 Hoja de papel tamaño carta.
• Cartulina negra.
• Pegamento.
• Lápiz.
• Tijeras.
• Cinta delgada.
• Sacabocados.
◉ Materials:
• 1 sheet of letter size paper.
• Black cardboard.
• Glue.
• Pencil.
• Scissors.
• Thin tape.
• Punches.
◉PASO 1. Hacer la frase y dos murciélagos en cartulina negra y recortar.
◉ STEP 1. Make the phrase and two bats on black cardboard and cut out.
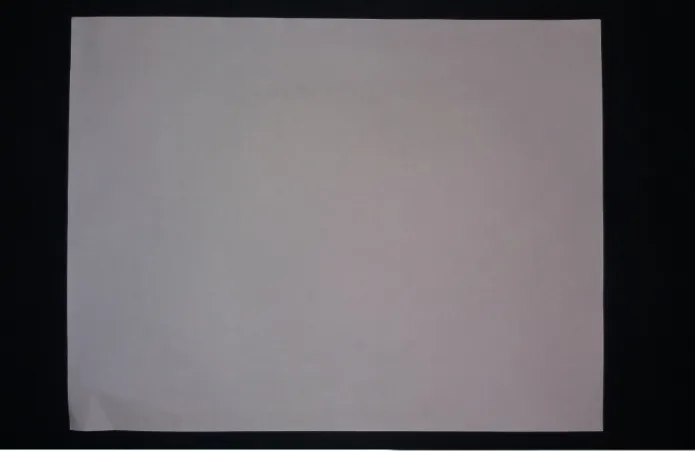
◉PASO 2. Colocar la hoja de papel en forma horizontal.
◉ STEP 2. Lay the sheet of paper horizontally.
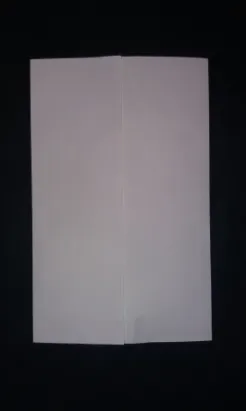
◉PASO 3. Doblar los extremos laterales de la hoja hacia el centro hasta que se toquen las orillas. Uno de los lados debe quedar sobre el otro y agregar pegamento para unir ambas partes.
◉ STEP 3. Fold the side ends of the sheet toward the center until the edges touch. One of the sides should be on the other and add glue to join both parts.
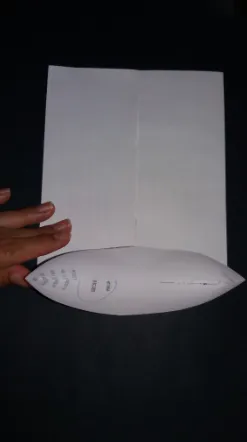
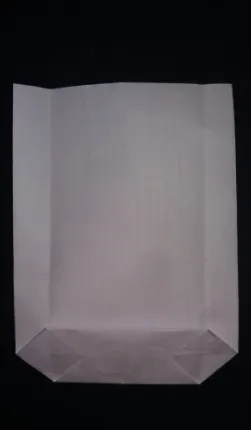
◉PASO 4. Medimos 4cm de la parte inferior y doblamos hacia adentro. Como muestro en la foto.
◉ STEP 4. We measure 4cm from the bottom and fold inward. As I show in the photo.
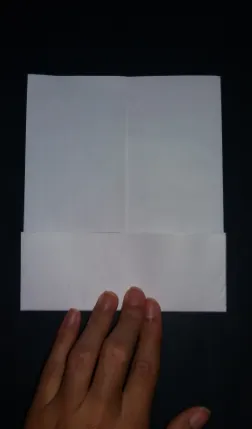
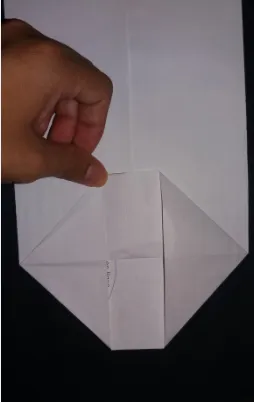
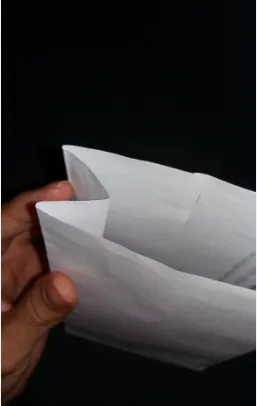
◉PASO 5. Luego de doblar se abre esa parte pero sin recortar, solo la abrimos como se muestra en la foto.
◉ STEP 5. After folding that part is opened but without cutting, we only open it as shown in the photo.
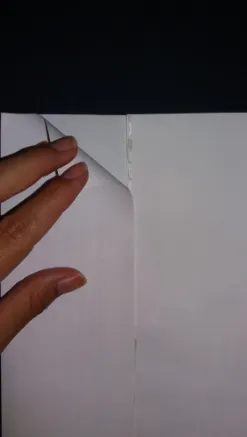
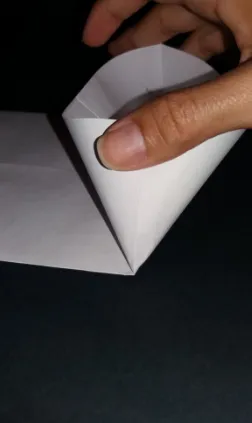
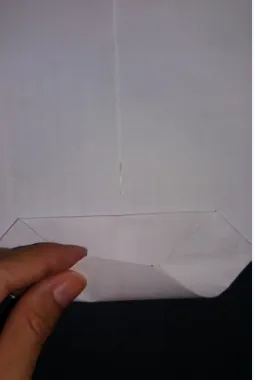
◉PASO 6. A los lados de esa parte inferior podrás notar una línea que es el doblez que se hizo cuando la hoja estaba recta antes de doblar en la parte inferior, coloca un dedo sobre esa línea y presiona con mucho cuidado.
◉ STEP 6. On the sides of that lower part you will notice a line that is the fold that was made when the sheet was straight before folding in the lower part, place a finger on that line and press very carefully .
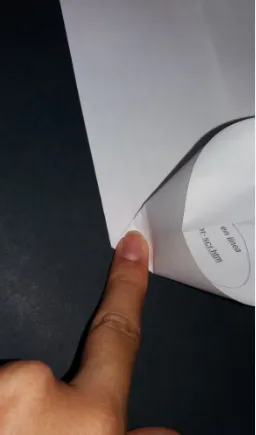
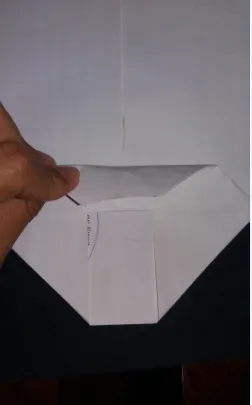
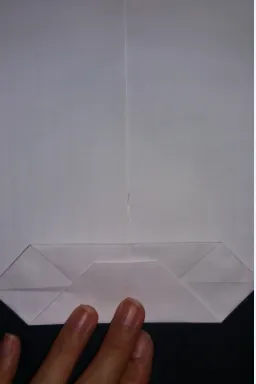
◉PASO 7. Dobla los extremos de esa parte, uno por uno y presionas hasta que quede plano, luego lo haces del otro lado.
◉ STEP 7. Fold the ends of that part, one by one and press until it is flat, then you do it on the other side.
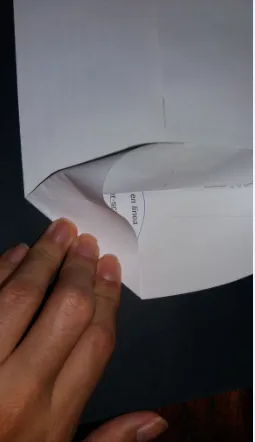
Debe quedar de la misma forma en la siguiente foto:
It should look the same in the following photo:
◉PASO 8. Ahora tomas la parte de arriba de ese doblez y se dobla hacia abajo pero solo la mitad, no se dobla completo. Presionas hasta que quede plano y agregas pegamento para unir esa mitad que doblamos.
◉ STEP 8. Now you take the top part of that fold and it folds down but only half, it doesn't fold completely. Press until it is flat and add glue to join that half that we folded.
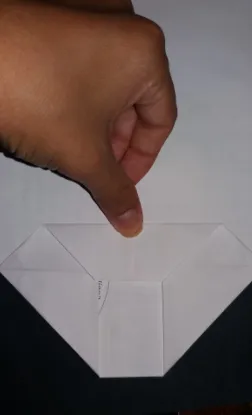
◉PASO 9. Repite el paso anterior con el extremo de abajo y lo pegas sobre el de arriba. Presiona para que quede bien plano.
◉ STEP 9. Repeat the previous step with the bottom end and paste it over the top one. Press to make it flat.
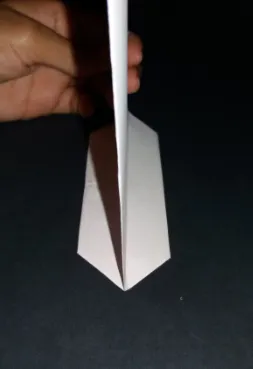
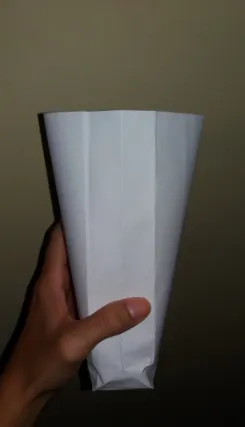
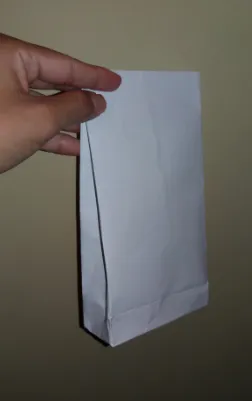
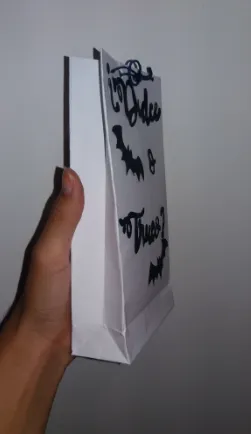
Si lo colocamos de pie se debe ver así:
If we place it standing it should look like this:
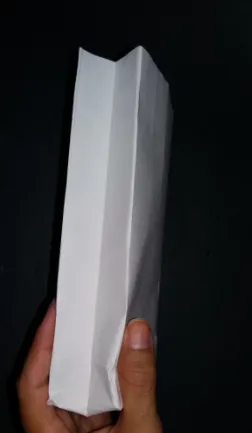
◉PASO 10. Ahora medimos 2 cm de cada lado y doblamos hacia adentro, así:
◉ STEP 10. Now we measure 2 cm from each side and fold inward, like this:
◉PASO 11. Regresamos cada lado a su lugar.
◉ STEP 11. We return each side to its place.
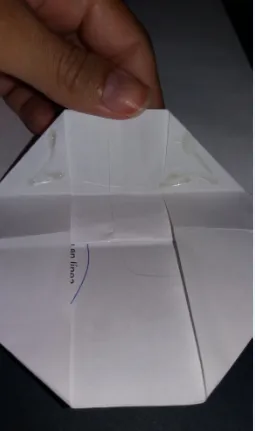
◉PASO 12. Ahora abrimos la bolsa y a los lados se pueden notar 3 líneas de manera vertical.
◉ STEP 12. Now we open the bag and on the sides you can see 3 lines vertically.
◉PASO 13. Con tu dedo indice presiona completa la línea del centro hacia adentro.
◉ STEP 13. With your index finger, press the center line all the way in.
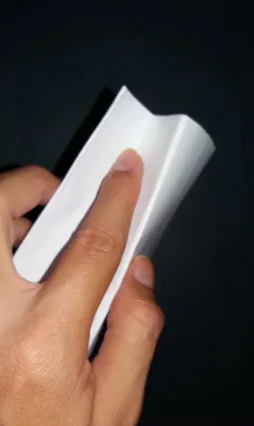
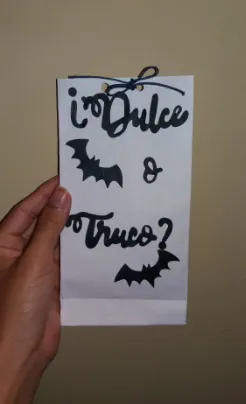
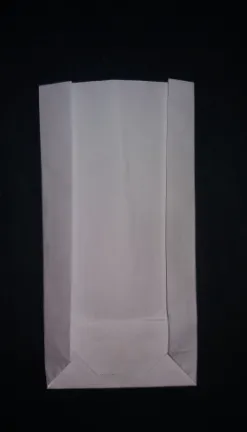
La bolsa debe lucir como la siguiente foto y ya está lista.
The bag should look like the next photo and it is ready.
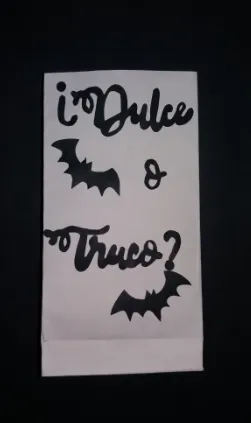
◉PASO 14. Decoramos la bolsa con la frase y los murciélagos que recortamos al principio y los pegamos sobre la parte delantera de nuestra bolsa como mas nos guste. Yo decoré la mía así:
◉ STEP 14. We decorate the bag with the phrase and the bats that we cut out at the beginning and stick them on the front of our bag as we like. I decorated mine like this:
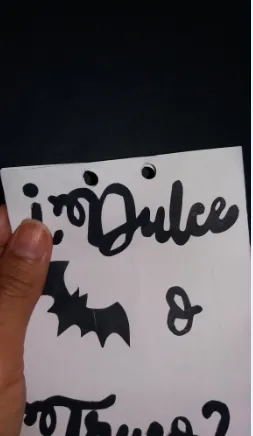
◉PASO 15. Con un sacabocados abrimos dos agujeros en el centro de la parte superior de la bolsa y colocamos una cinta y hacemos un nudo en la parte delantera.
◉ STEP 15. With a punch we open two holes in the center of the upper part of the bag and put a ribbon and tie a knot in the front.
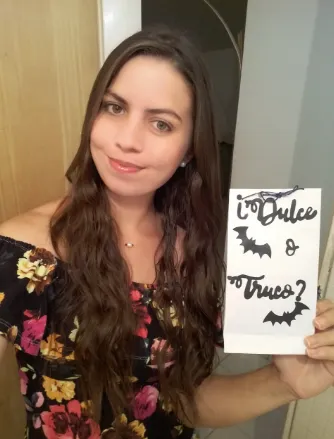
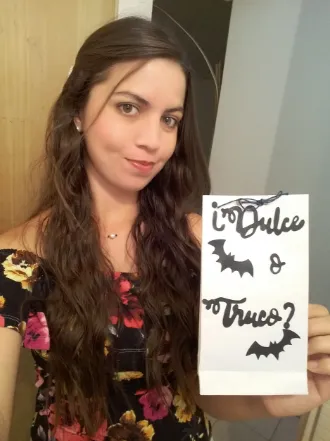
Ahora si ya tenemos lista nuestra linda bolsita para halloween, solo nos queda llenarla de dulces, es perfecta para los niños y la puedes hacer con una simple hoja de papel, la puedes decorar como más te guste y agregar cuantos detalles quieras, esta bolsita además de dulces puedes usarla para dar un obsequio muy único y original, solo usa mucho tu imaginación.
Now if we have our cute bag for Halloween ready, we only have to fill it with sweets, it is perfect for children and you can make it with a simple sheet of paper, you can decorate it as you like and add as many details as you want, this bag also you can use it to give a very unique and original gift, just use your imagination a lot.
Todas las fotografías son de mi propiedad.
Nos vemos en mi próxima publicación.
Tengan un feliz día.
All photographs are my property.
See you in my next post.
Have a happy day.