Greetings friends of this great community I hope you are very well today I bring you in my blog Origami paper crafts of a hummingbird, which today I will show the digitization of a paper process. Origami is a technique that definitely helps develop the creativity of the little ones and those who are not too.
Los materailes que necesiatmos son:
The materials we need are:
Materiales
- Hoja Blanca
- Regla
- Lápiz
Materials**
- White Sheet
- Rule
- Pencil
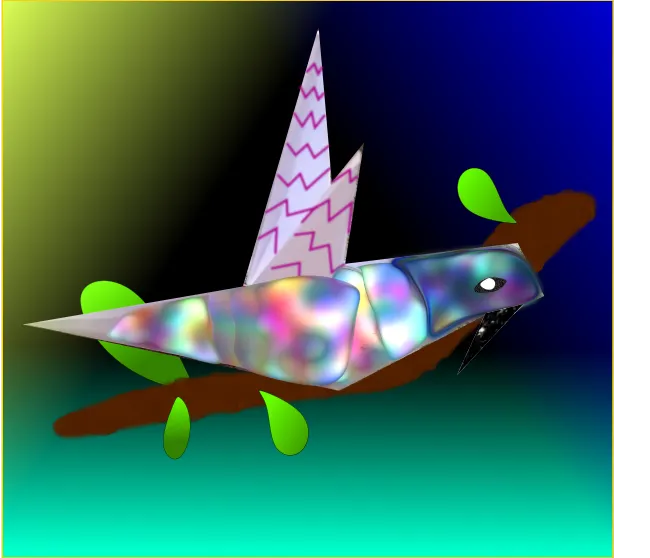
Colibri de Origami Digitalizado
Digitized Origami Hummingbird
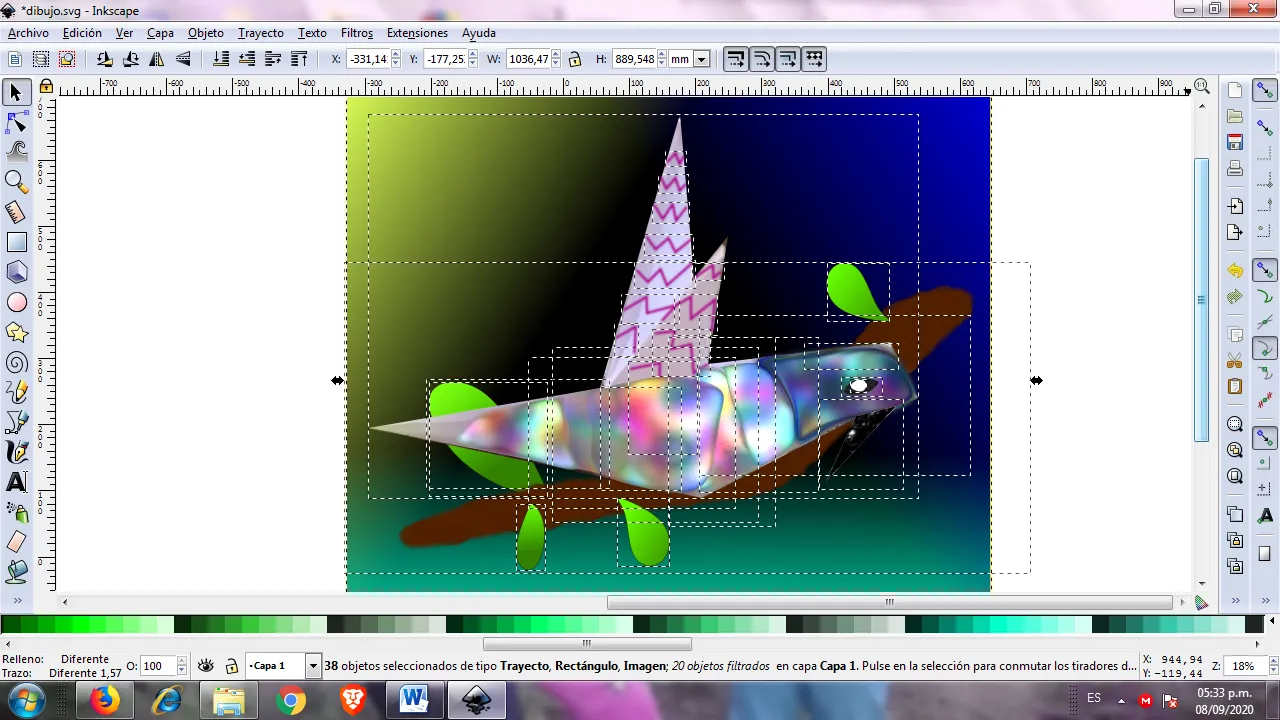
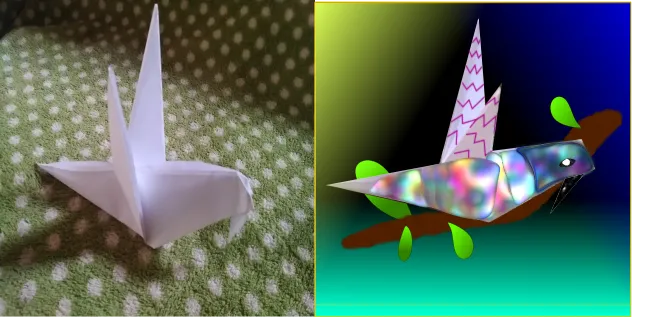
La digitalización se llevo a acabo con el programa Inkscape, donde realice primero un recorte del origami hecgo en papel, y luego realice trazos para incorporar colores llamtivos al colibri.
The digitization was carried out with the Inkscape program, where I first made a cut out of the origami made on paper, and then made lines to incorporate striking colors to the hummingbird.
Aquí les muestro el paso a paso
Here I show you the step by step
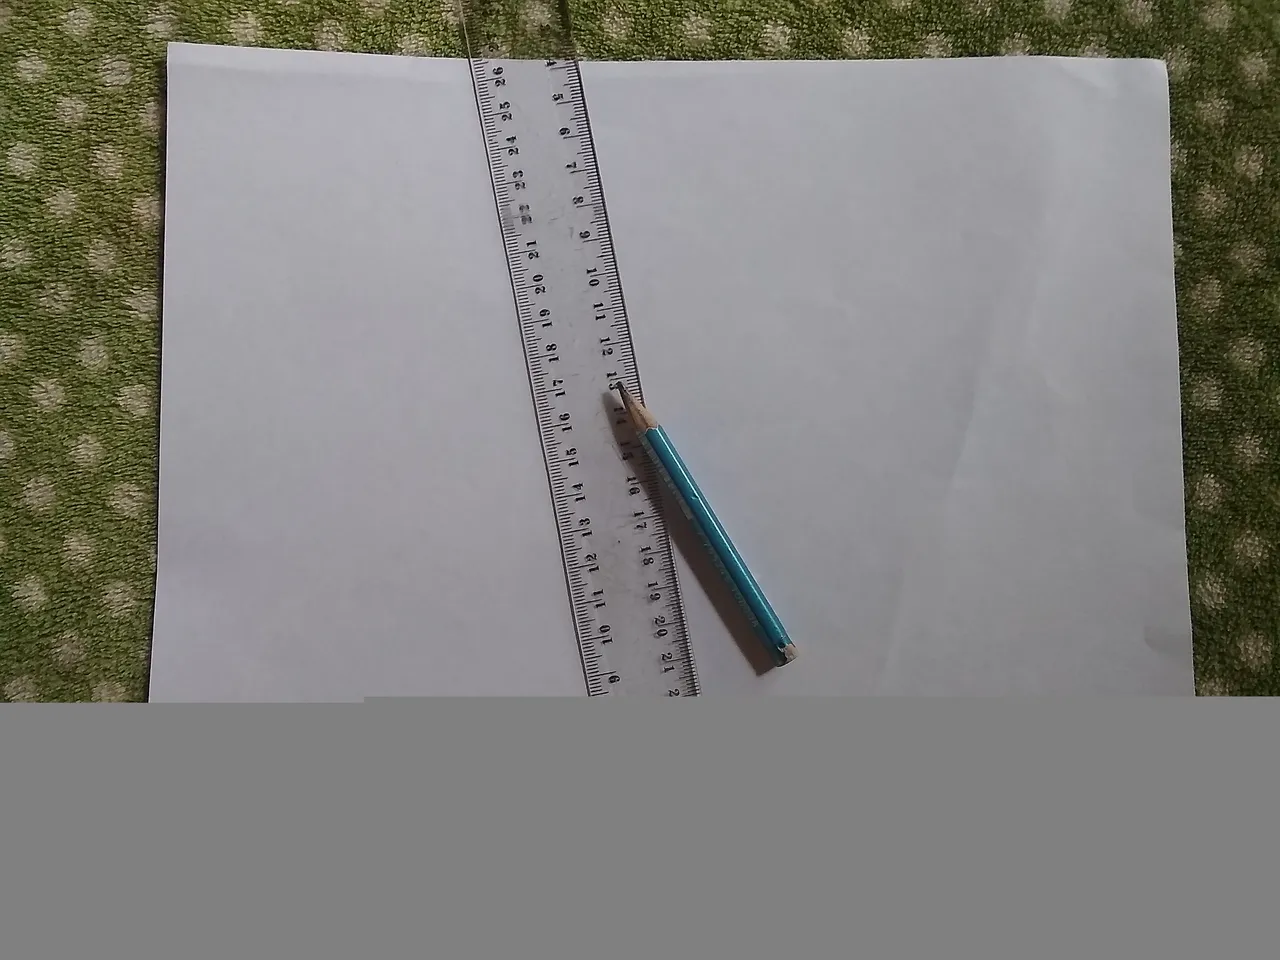
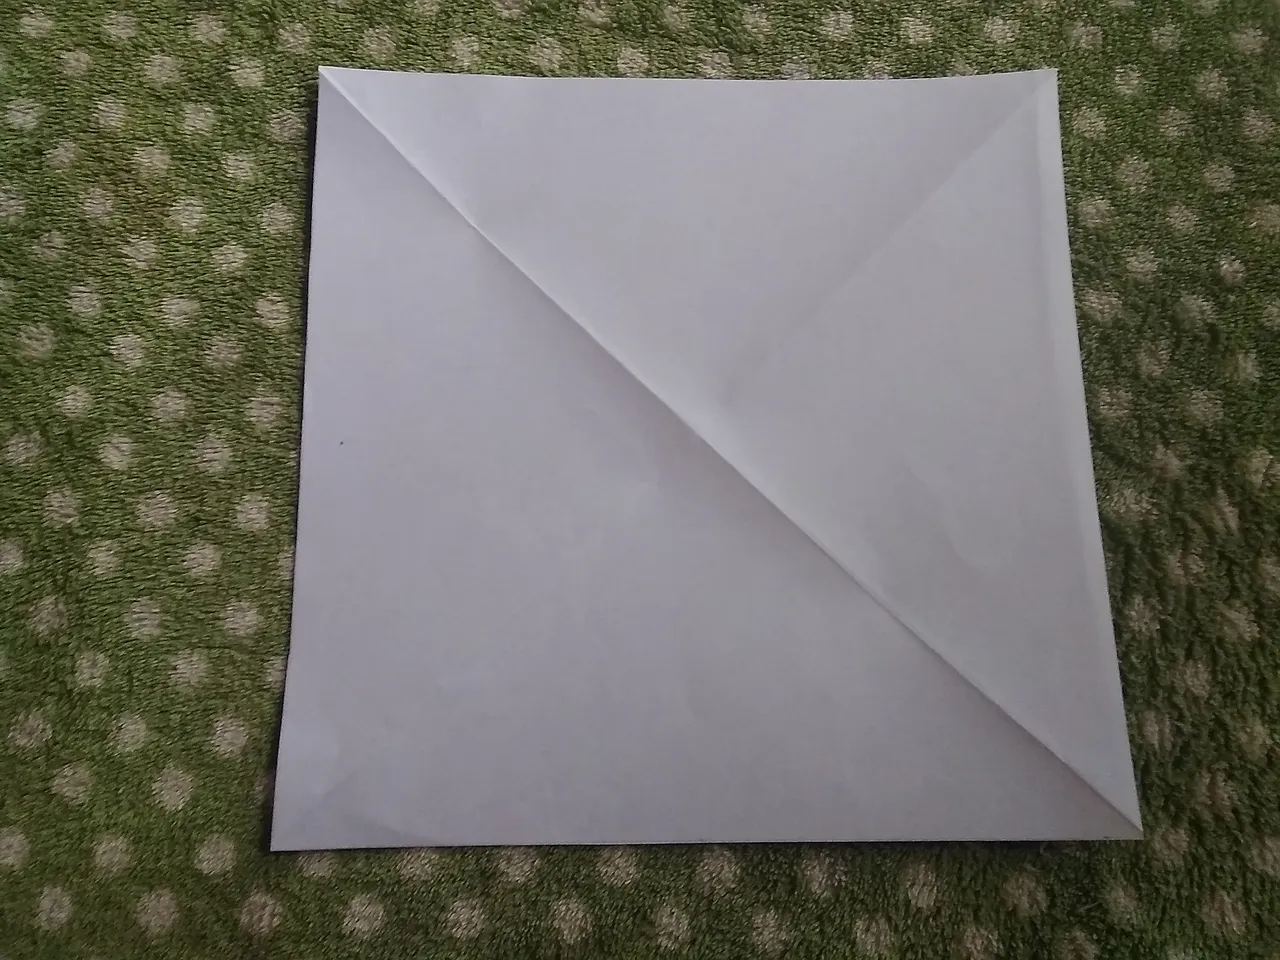
- Primero tomamos la hoja blanca tamaño carta y medimos un cuadrado de 20cm por cada lado.
First we take the letter-size white sheet and measure a 20cm square on each side.

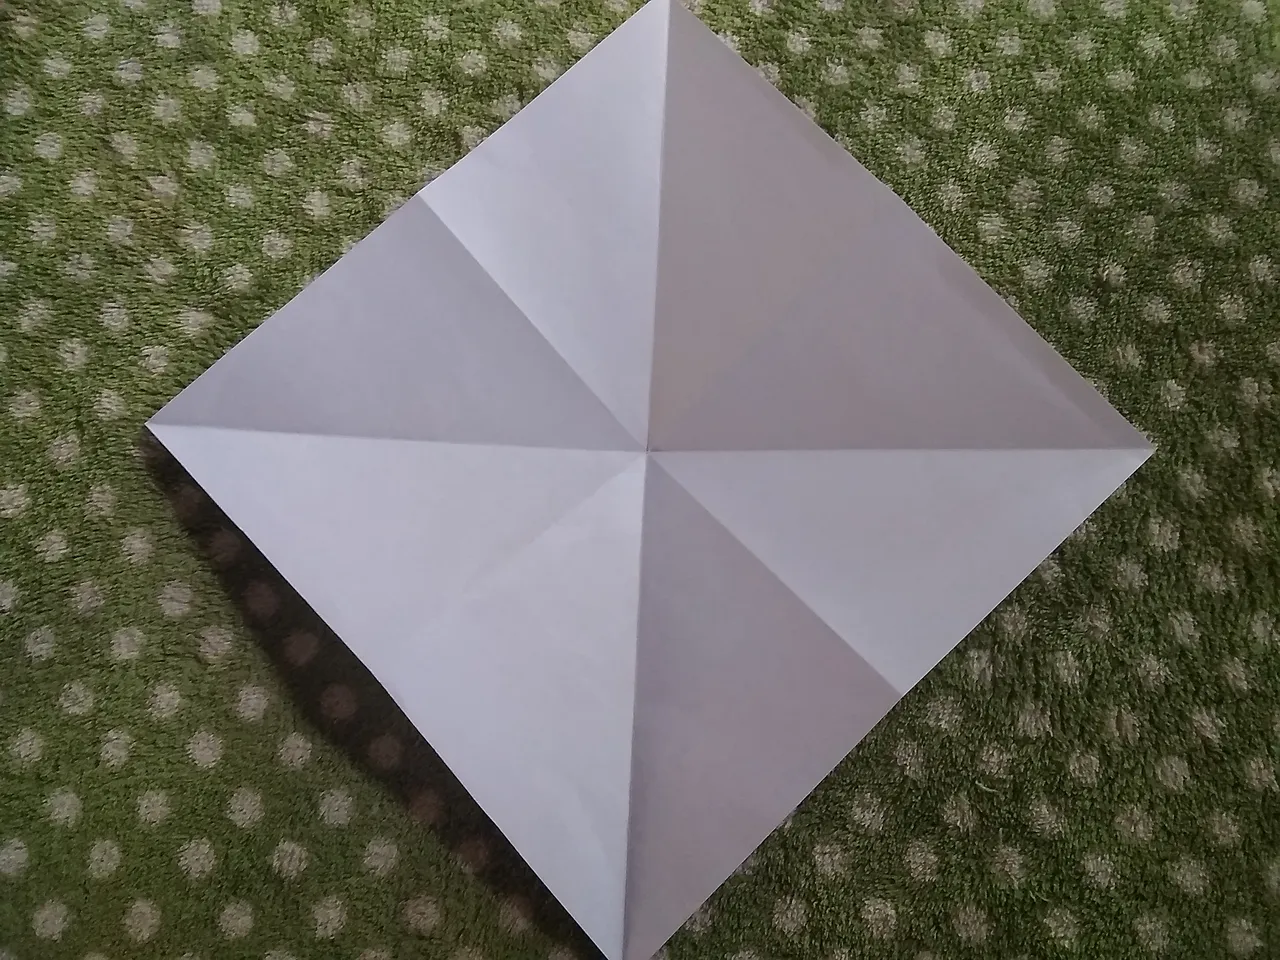
- Luego debemos doblar para obtener las diagonales, que formaran una cruz.
Then we must fold to obtain the diagonals, which will form a cross.
*Después doblamos de manera vertical y horizontal.
Then we fold vertically and horizontally.
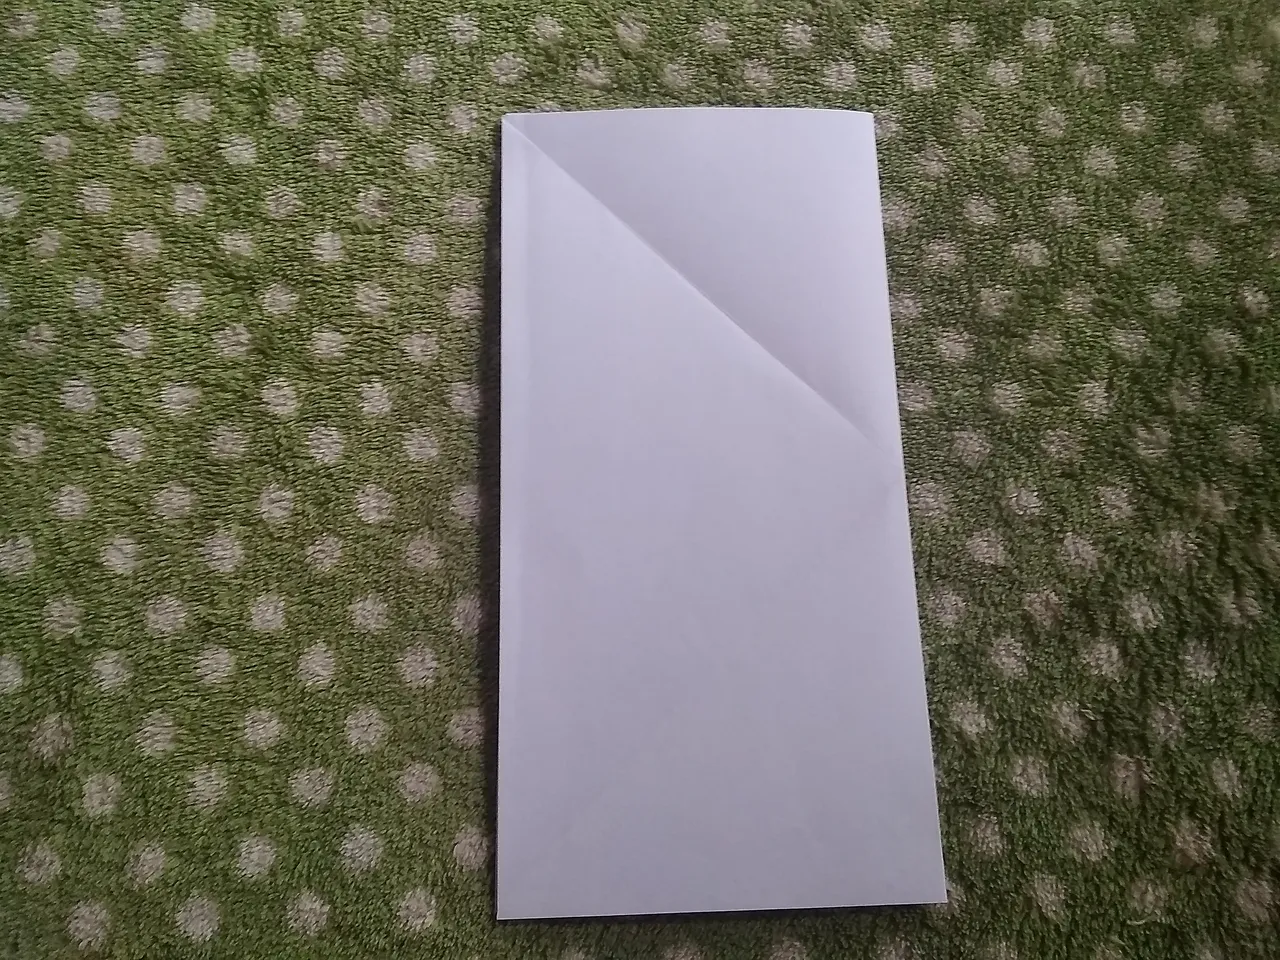
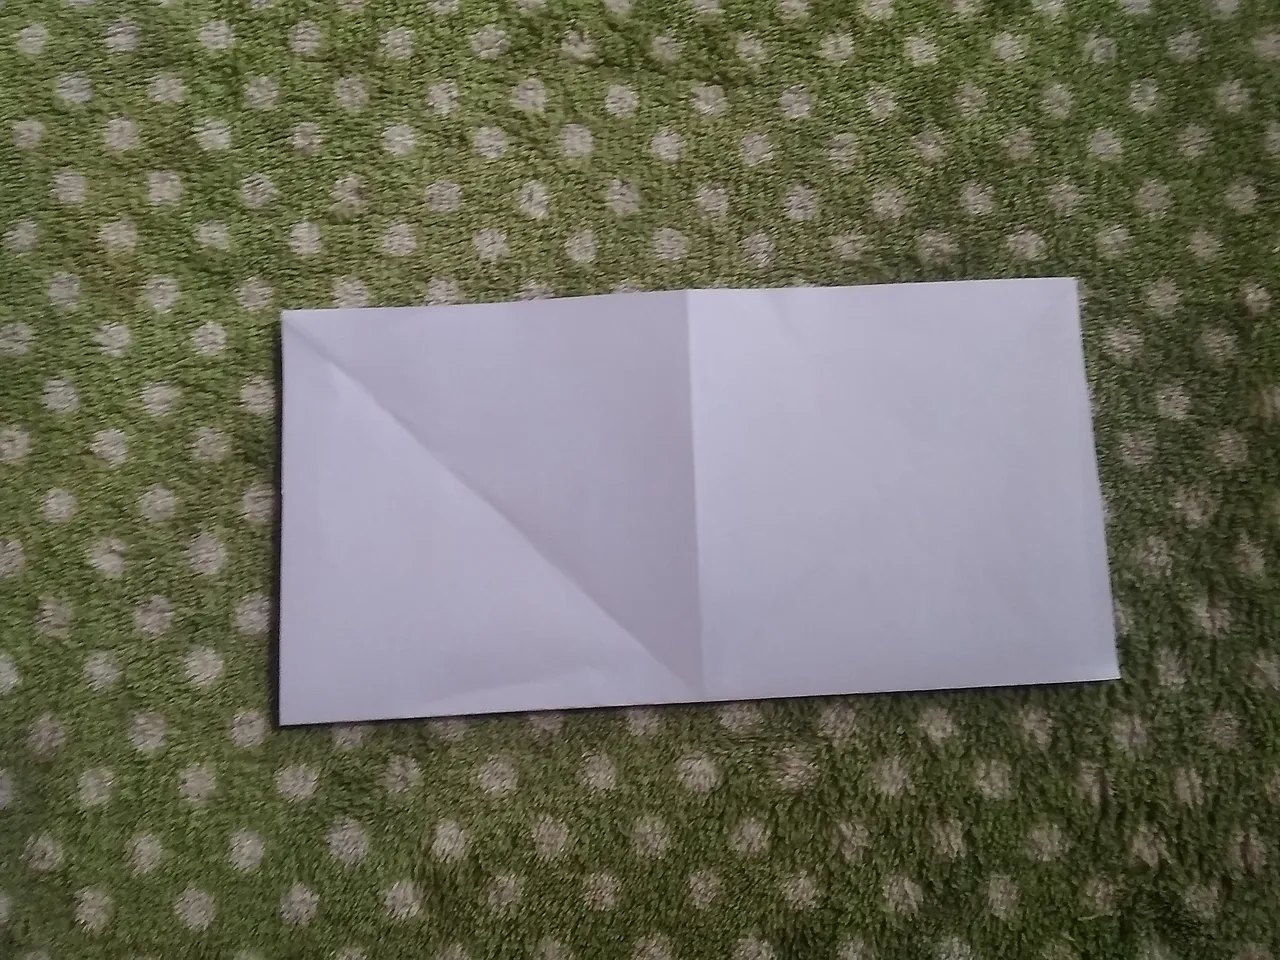
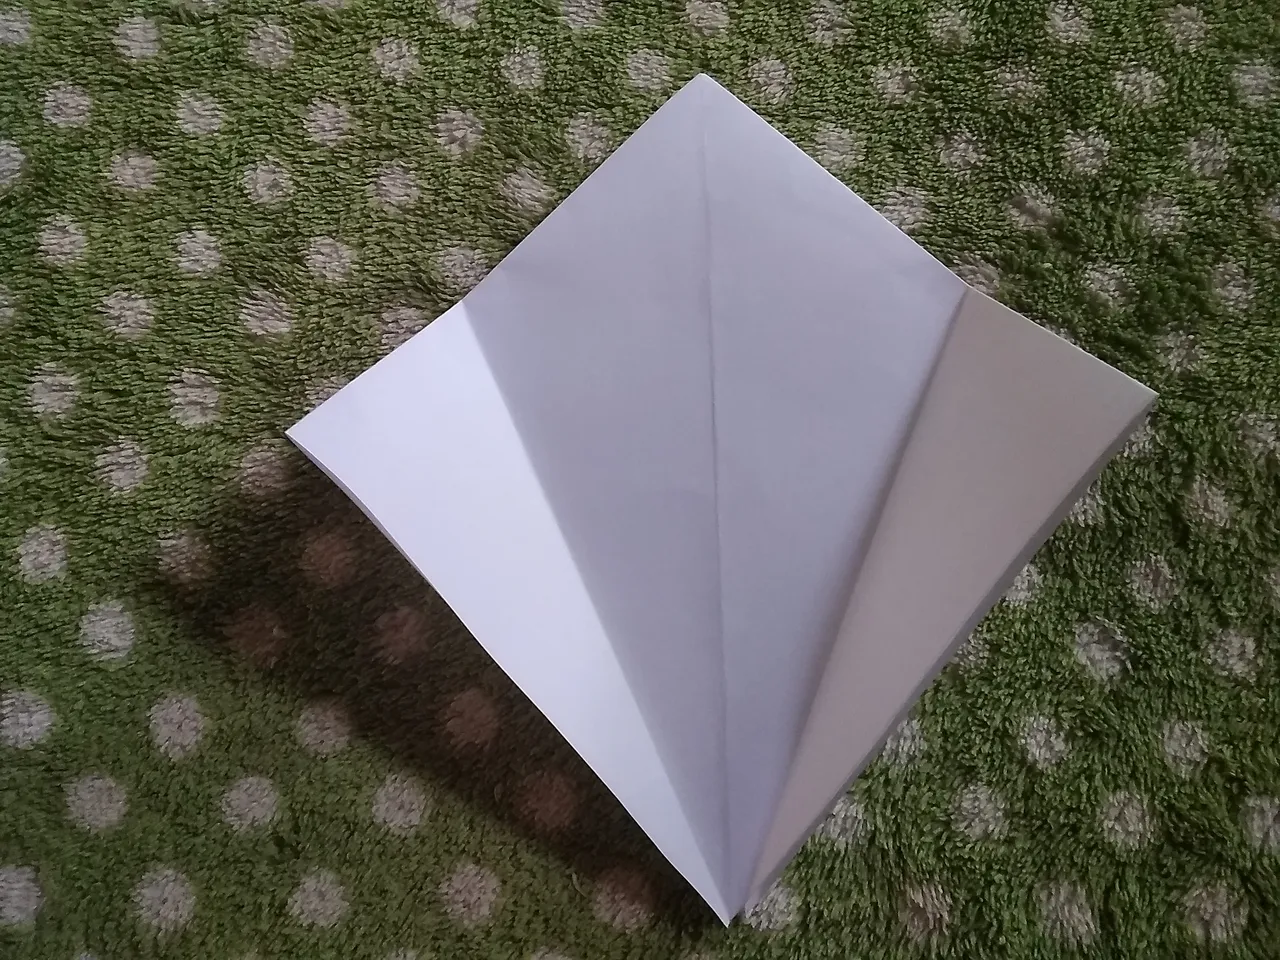
- Tenemos ya los dobles necesarios para realizar el colibrí.
We already have the necessary doubles to make the hummingbird.
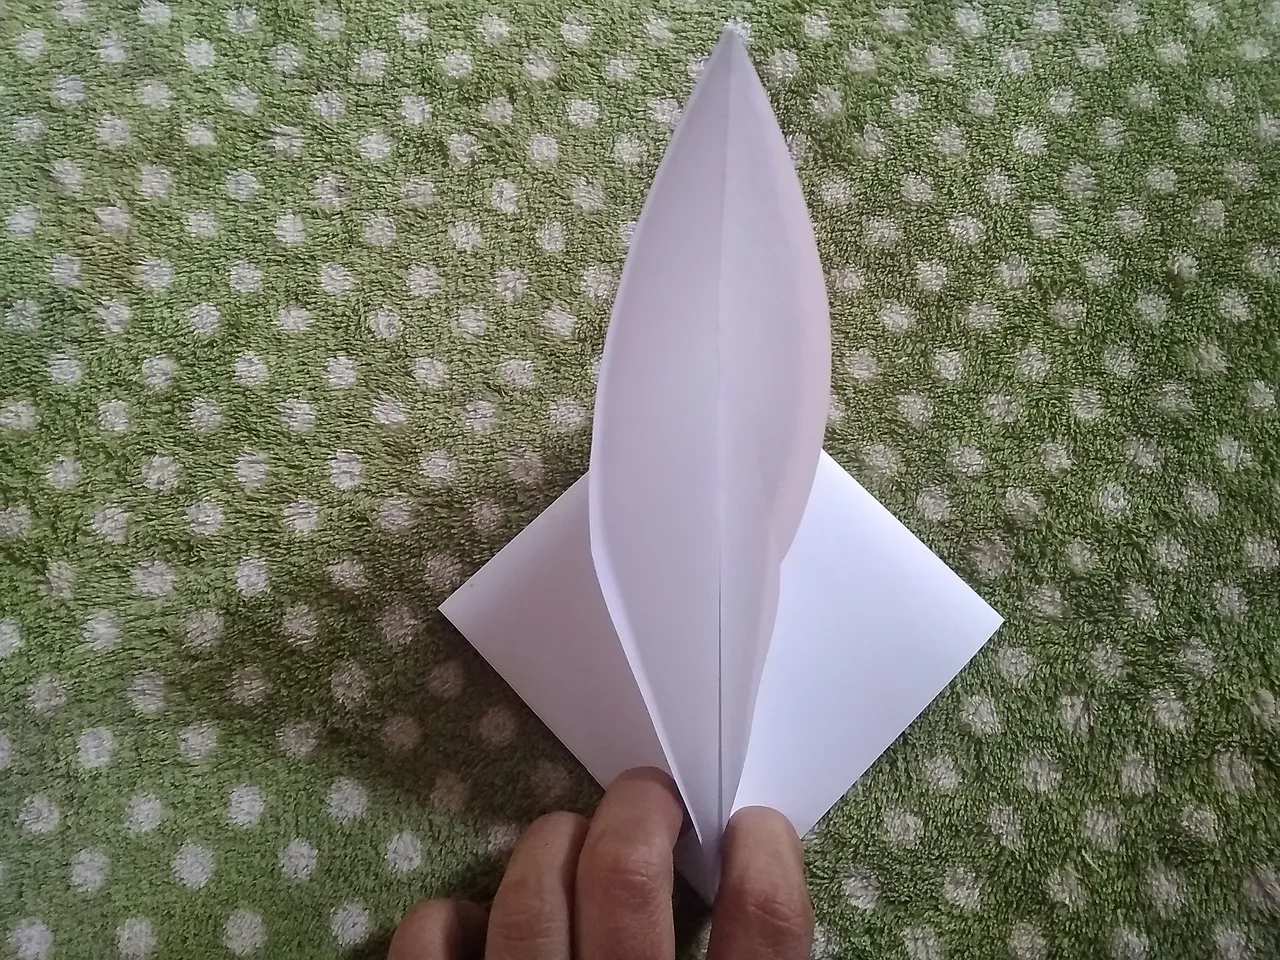
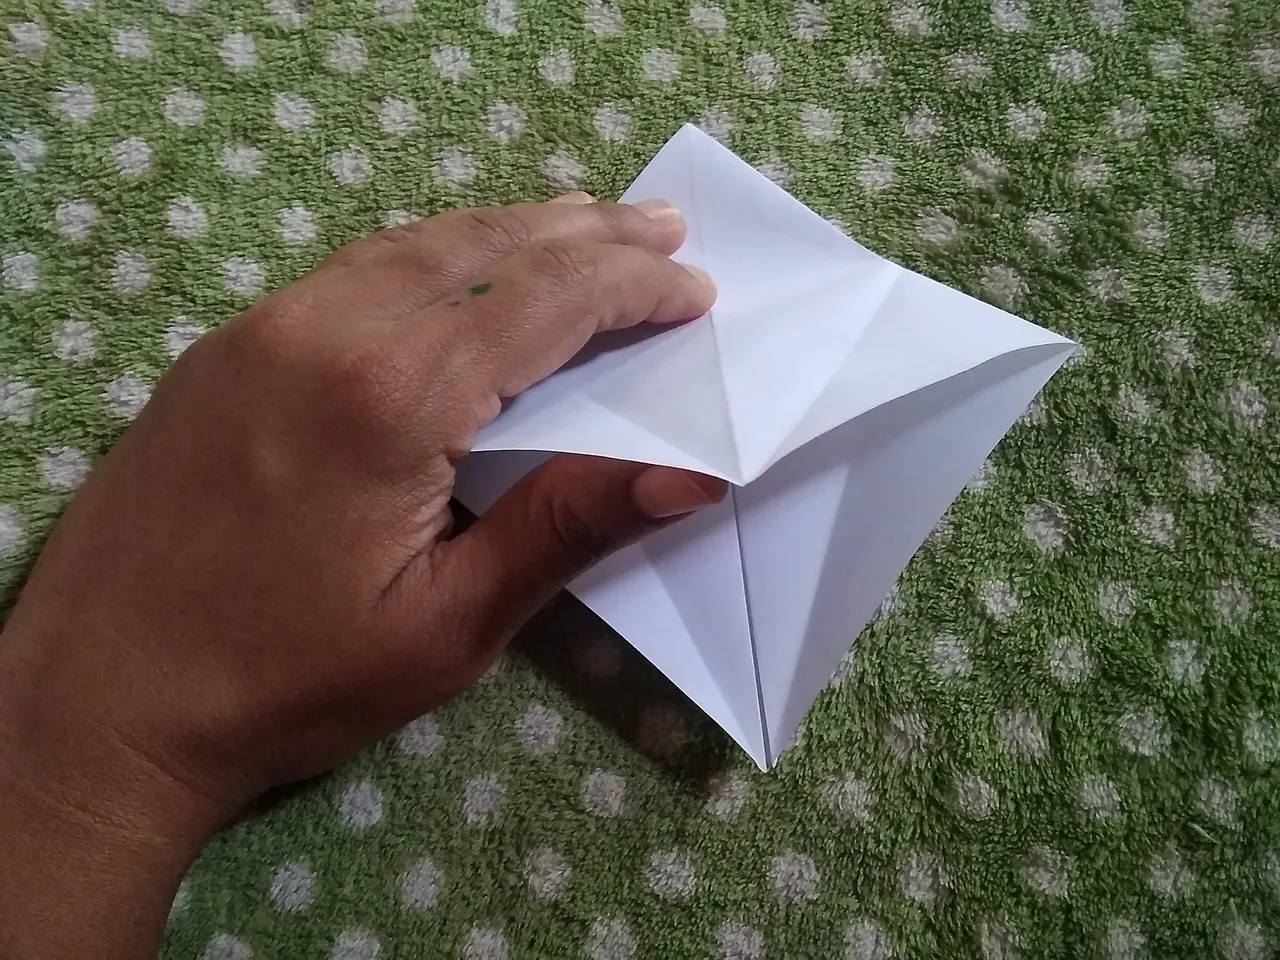
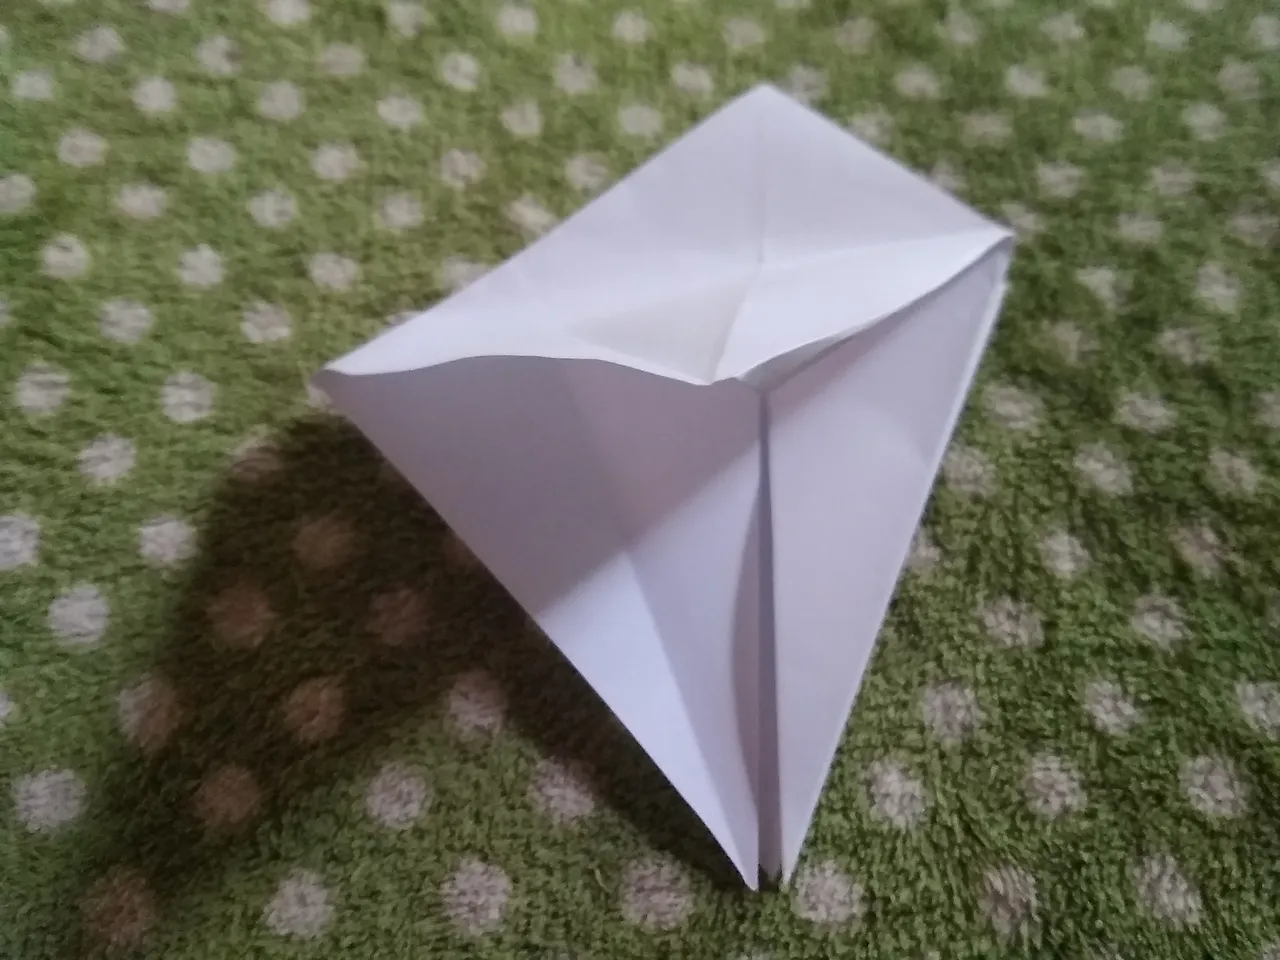
- Tomando como referencia el rombo que se forma abajo con nuestra mano llevamos las puntas hacia adentro como muestra la fotografía .
Taking as a reference the rhombus that is formed below with our hand, we bring the tips inwards as shown in the photograph.
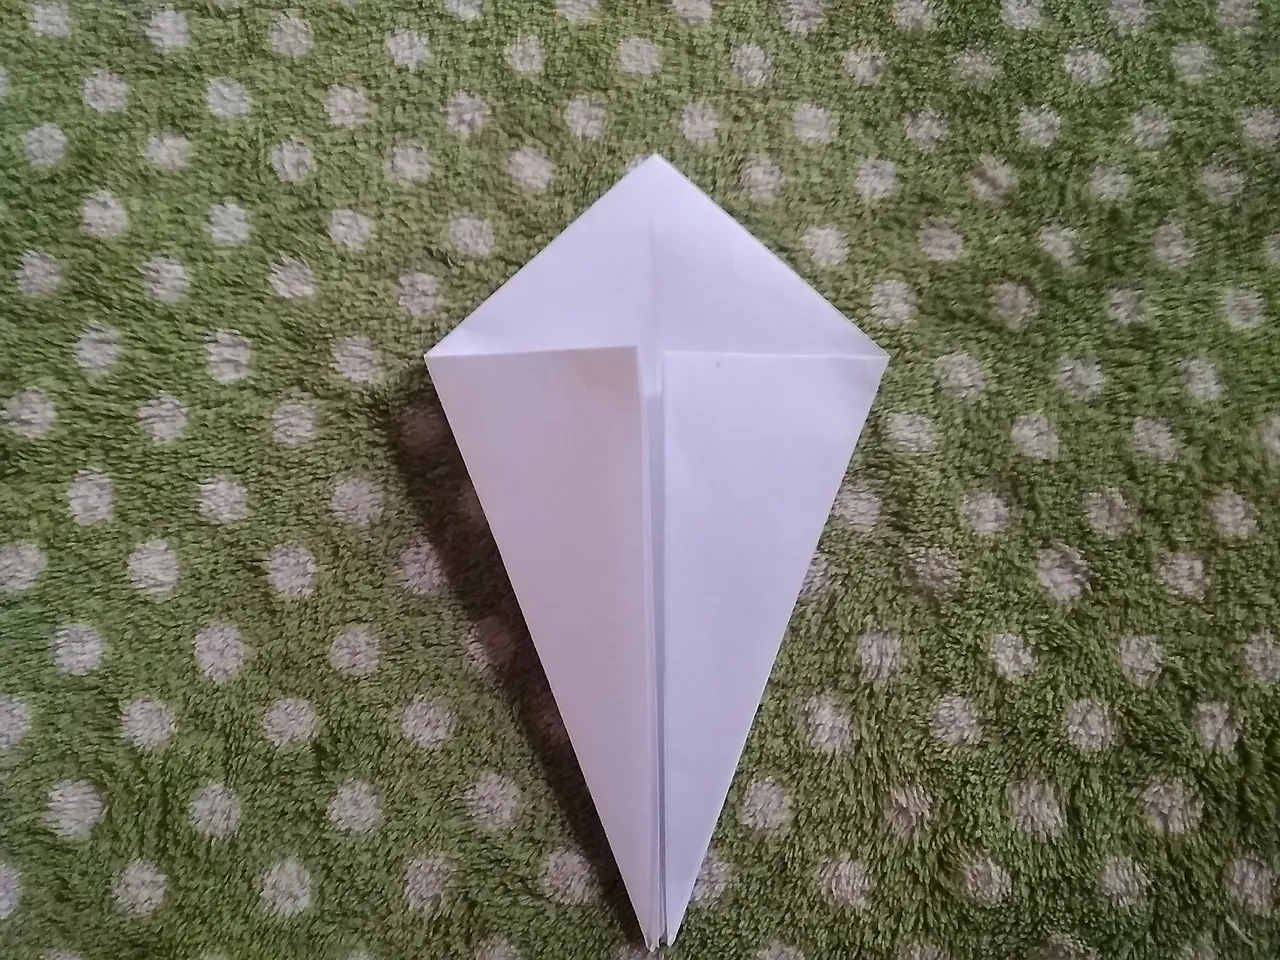
- luego bajamos la otra punta, quedando así
then we lower the other end, thus
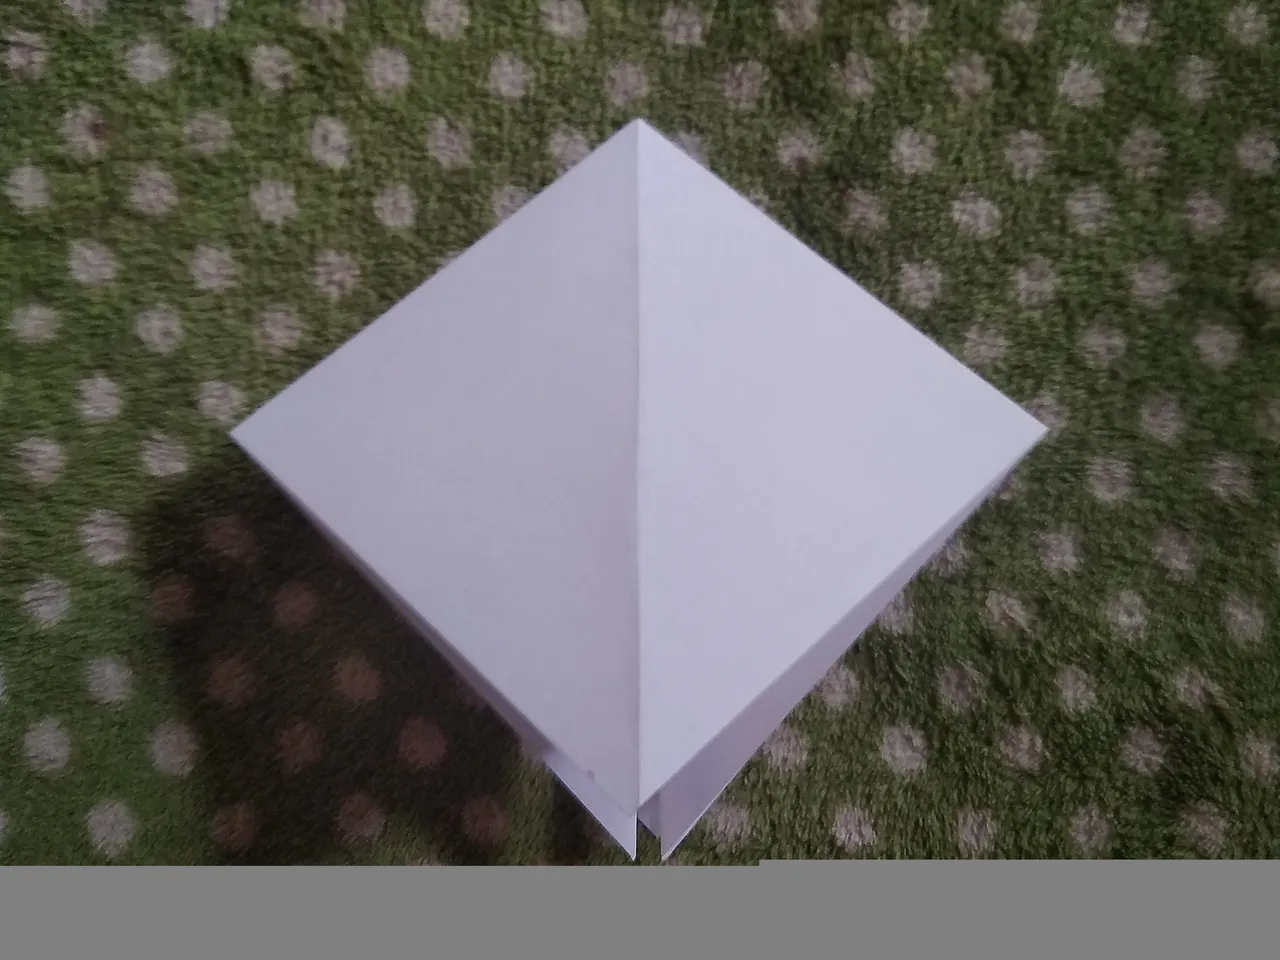
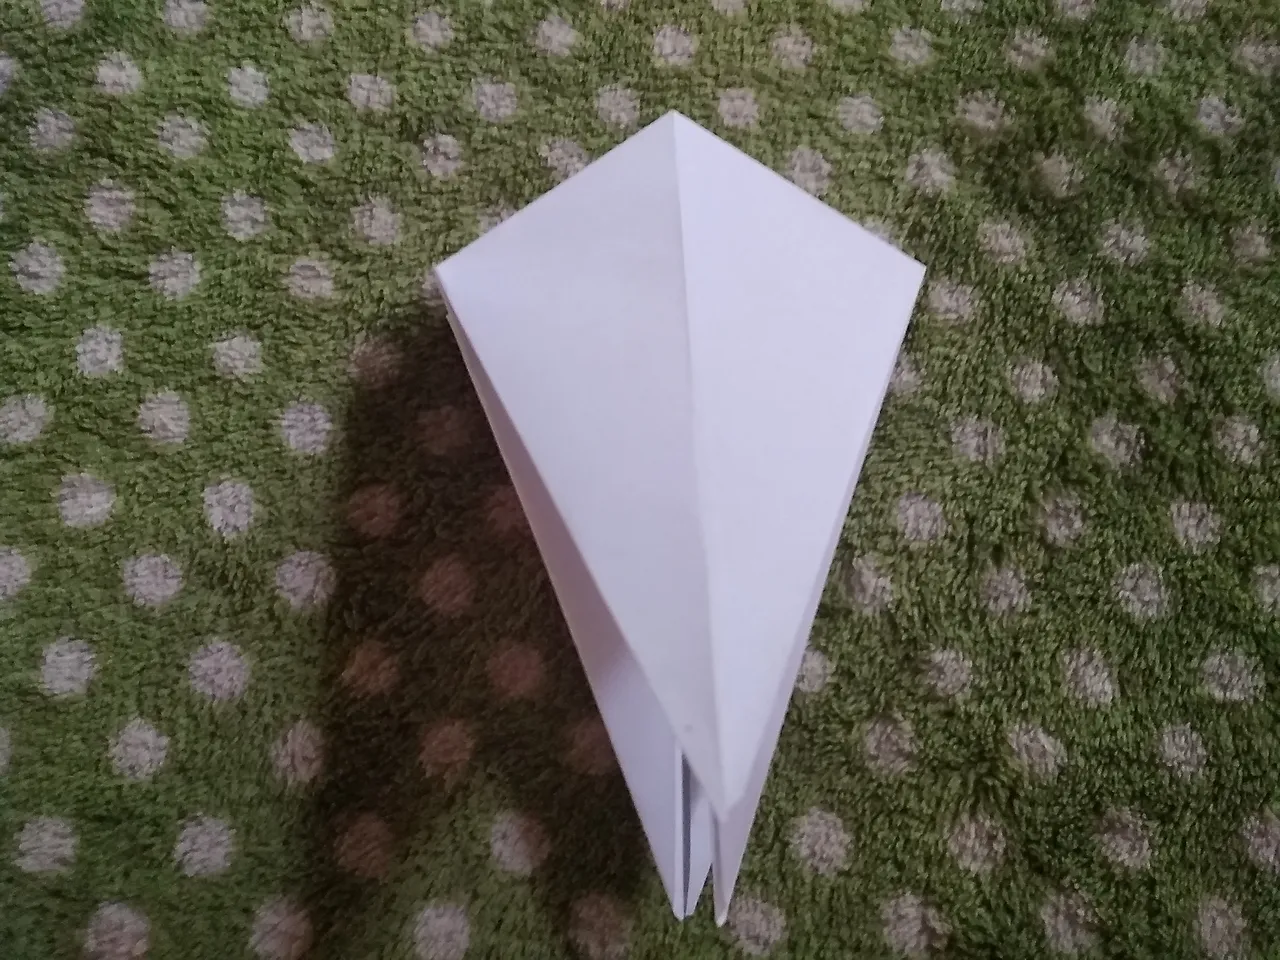
- Tomamos las puntas de la derecha y de la izquierda y doblamos como muestra la figura.
We take the tips on the right and left and bend as shown in the figure.
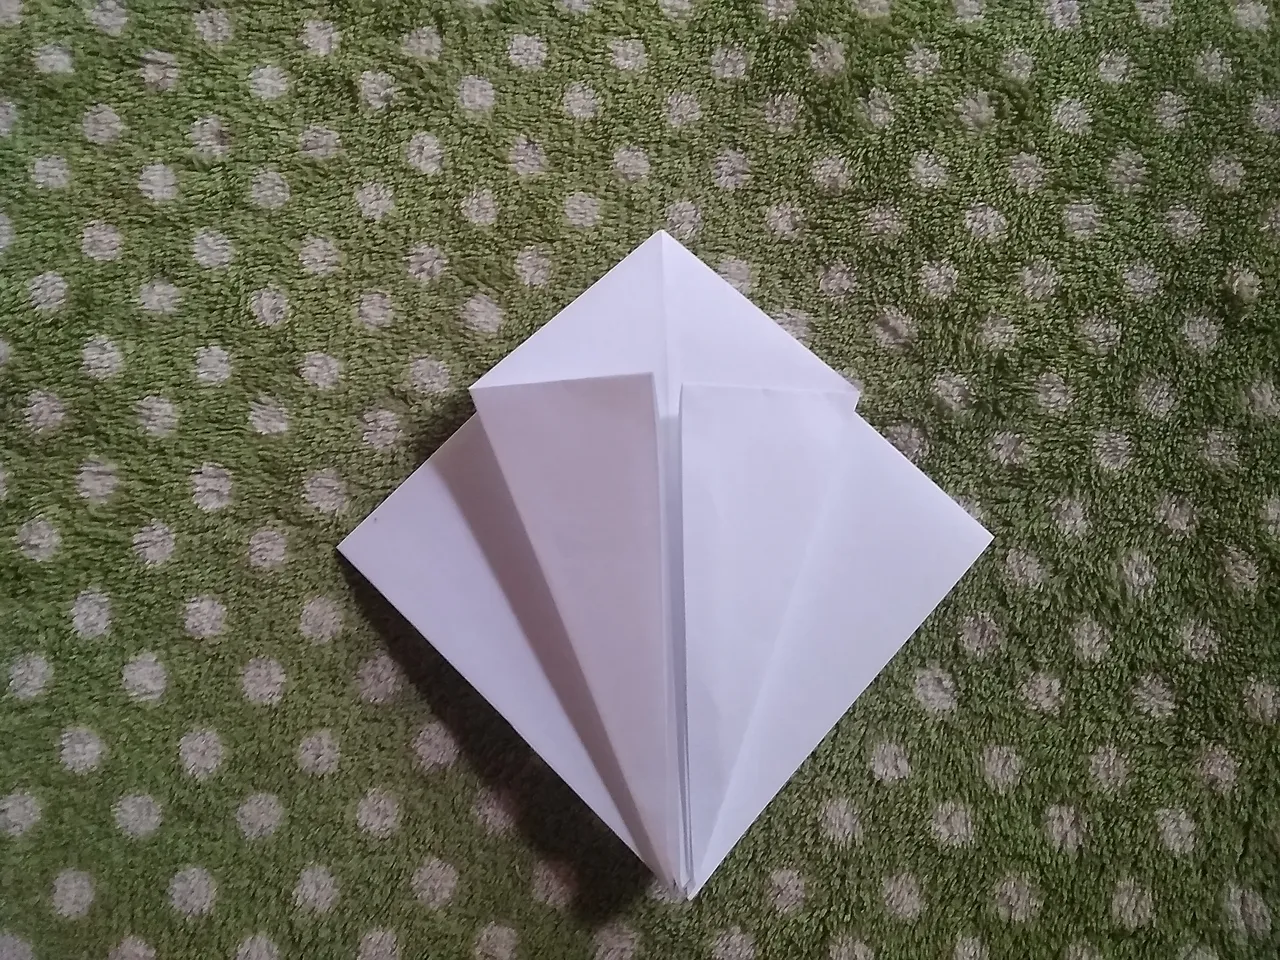
- Volteamos la hoja y realizamos el mismo procedimiento. Quedando asi
We turn the sheet over and do the same procedure. Being that way
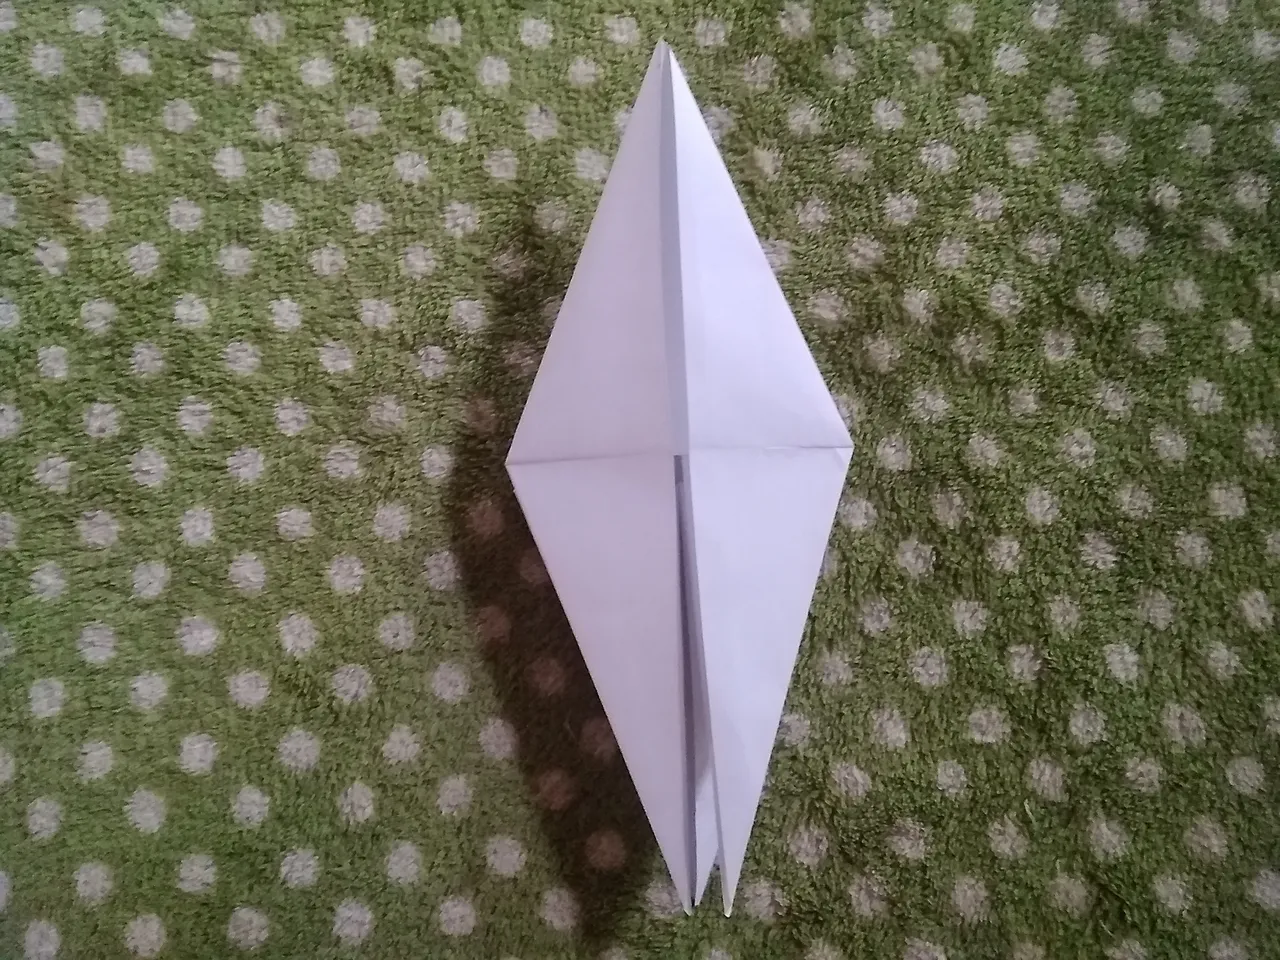
- Ahora abrimos y levantamos la primera tapa de la hoja.
Now we open and lift the first cover of the sheet.
- Debemos meter las aristas hacia adentro. En ambos lados quedando así
We must put the edges inwards. On both sides staying like this
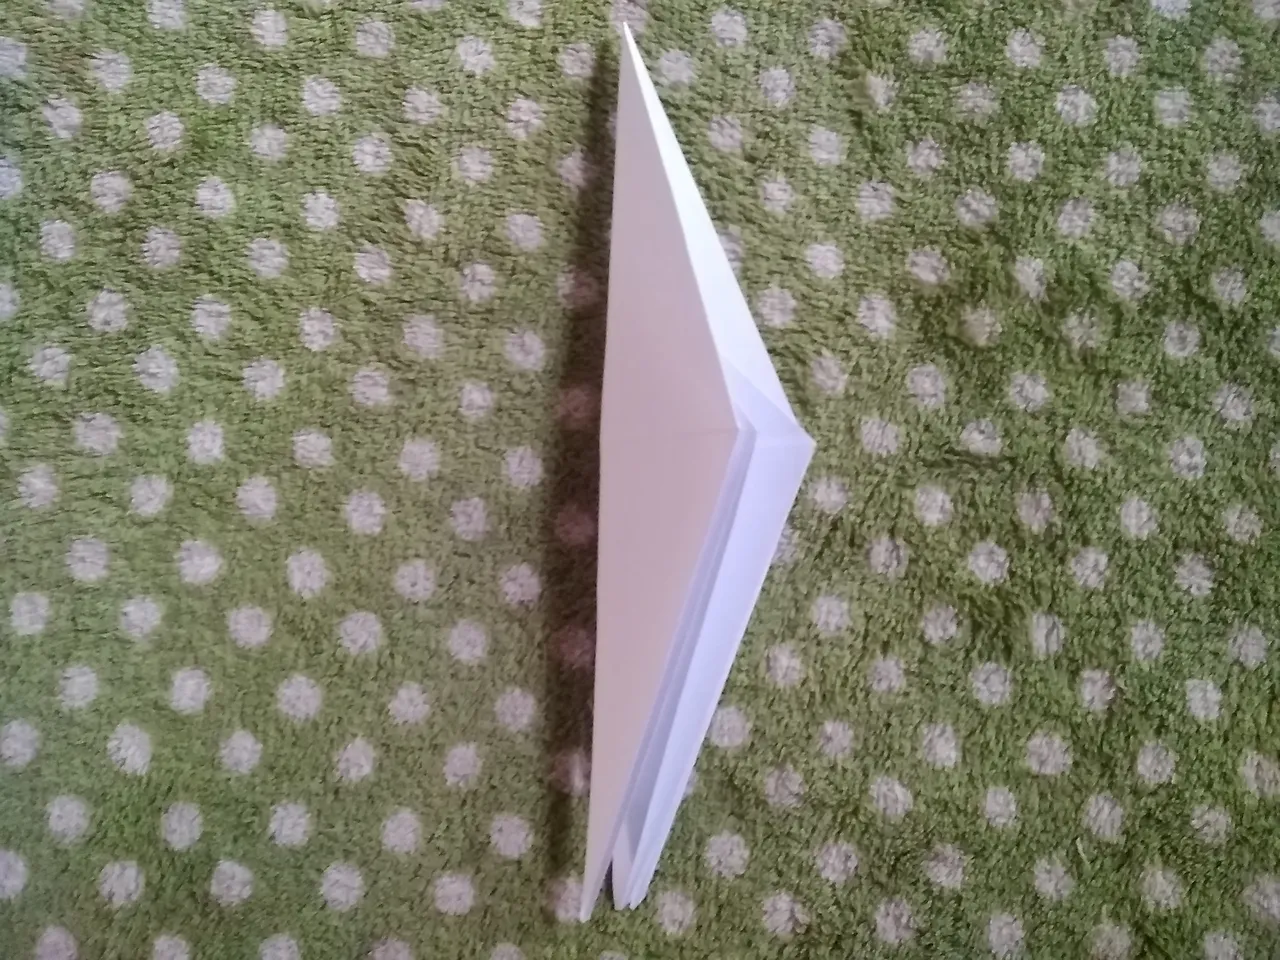
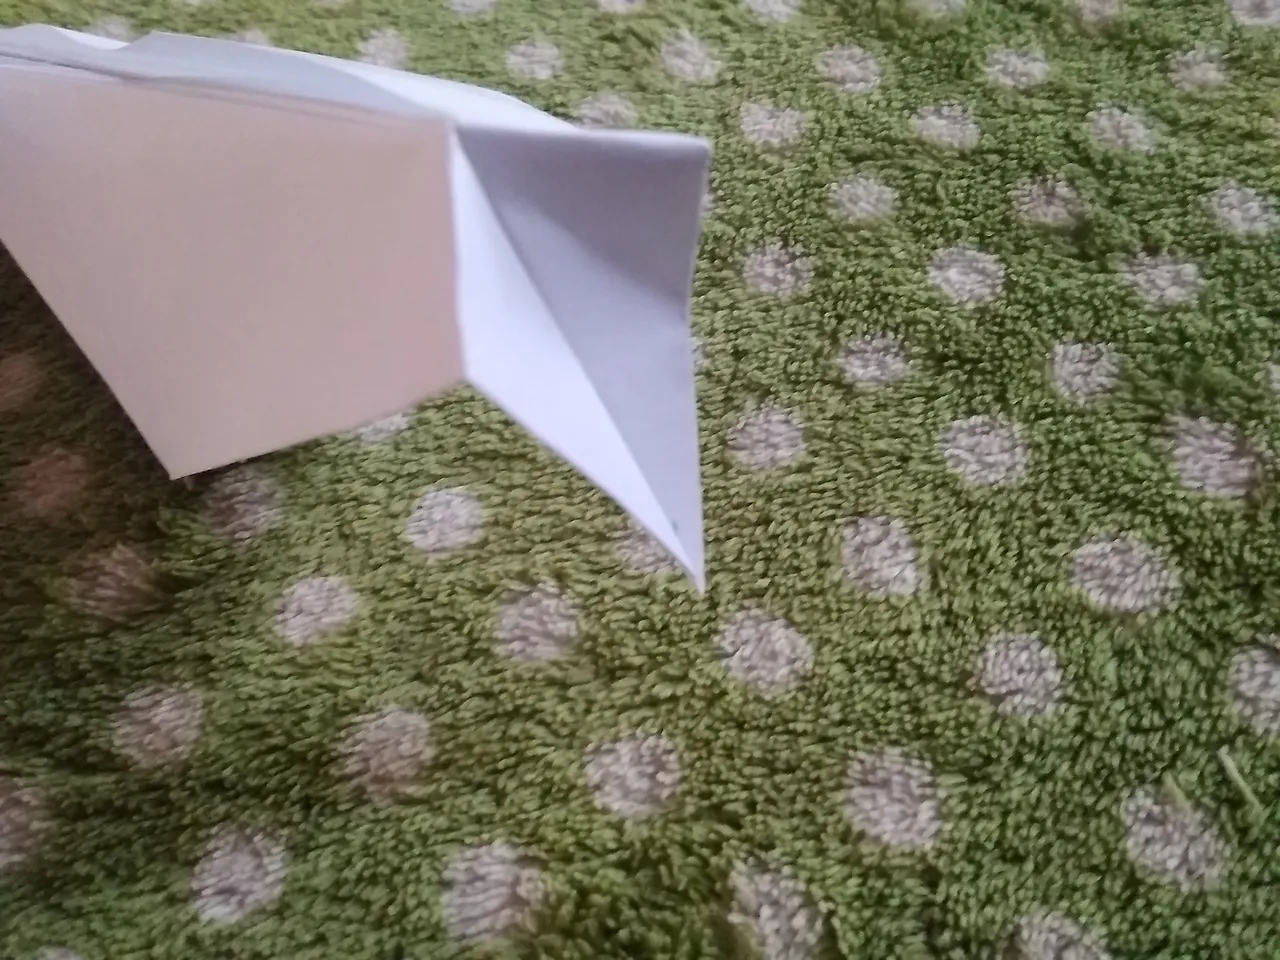
- Ahora levantamos la punta de abajo hacia arriba
Now we lift the tip from the bottom up
- Doblamos por la mitad.
We fold in half.
- Ahora vamos a realizar el pico del colibrí.
Now we are going to make the hummingbird beak.
- Realizamos este dobles para obtener el pico y luego se introduce hacia adentro.
We do this double to obtain the peak and then it is introduced inwards.
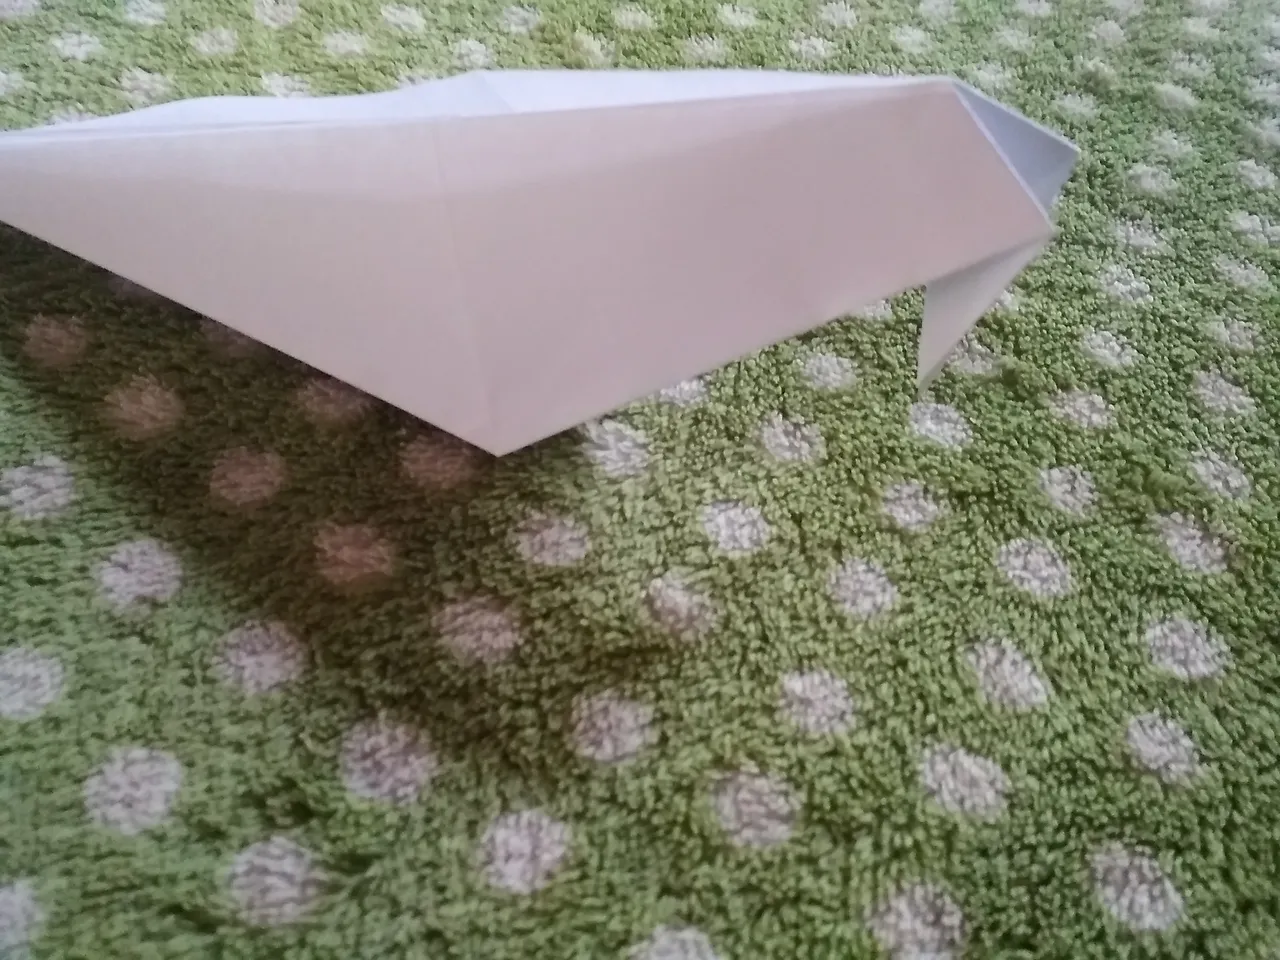
- Para realizar las alas subimos en ambos lados para que queden alineadas.
To make the wings we go up on both sides so that they are aligned.

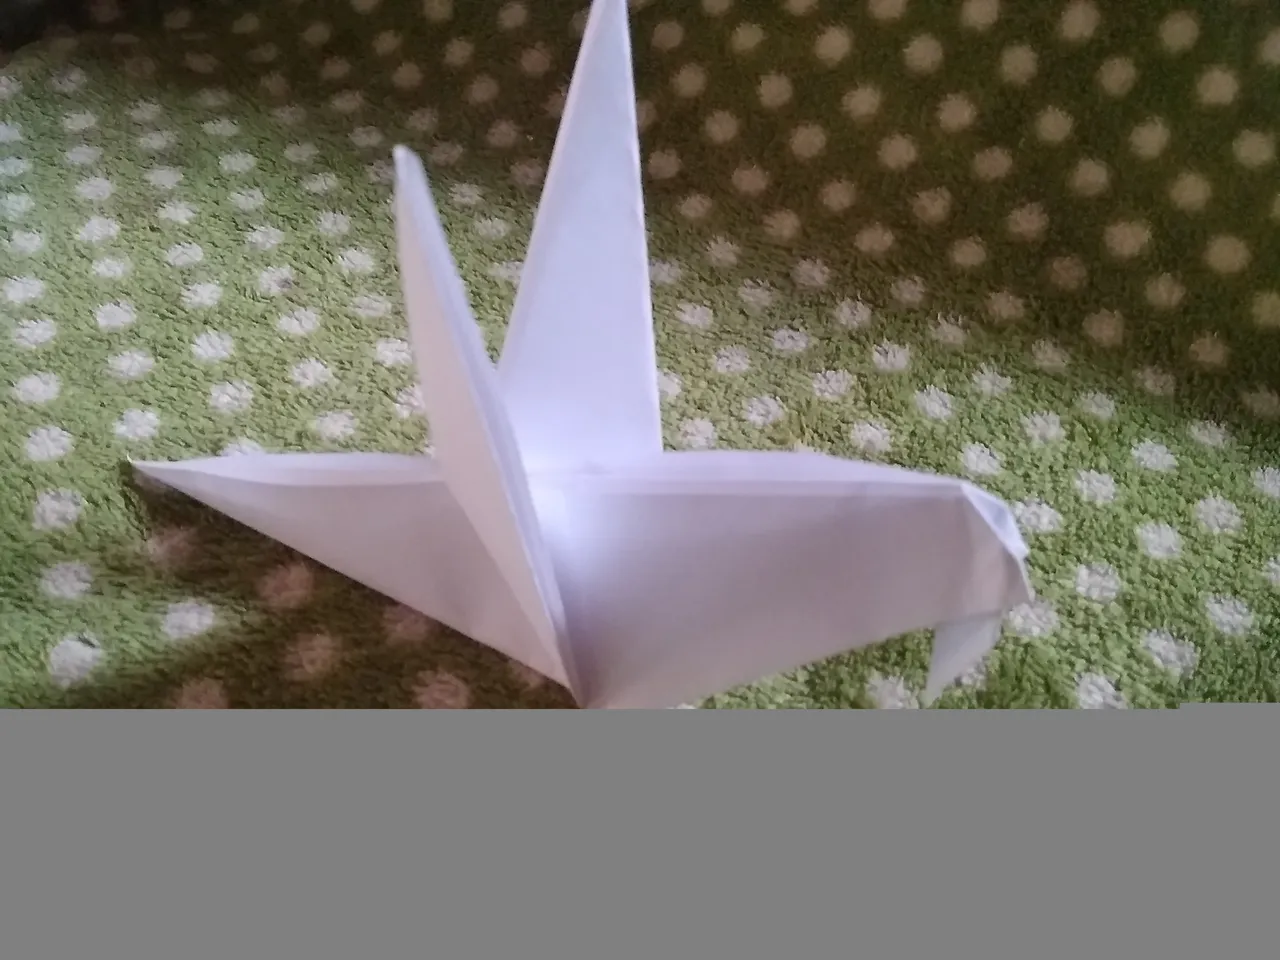
Espero les guste
Fotografias tomadas desde mi Teléfono RedmiGo Xiaomi
Gracias por Leerme
I hope you like it
Photographs taken from my RedmiGo Xiaomi Phone
Thanks for reading me