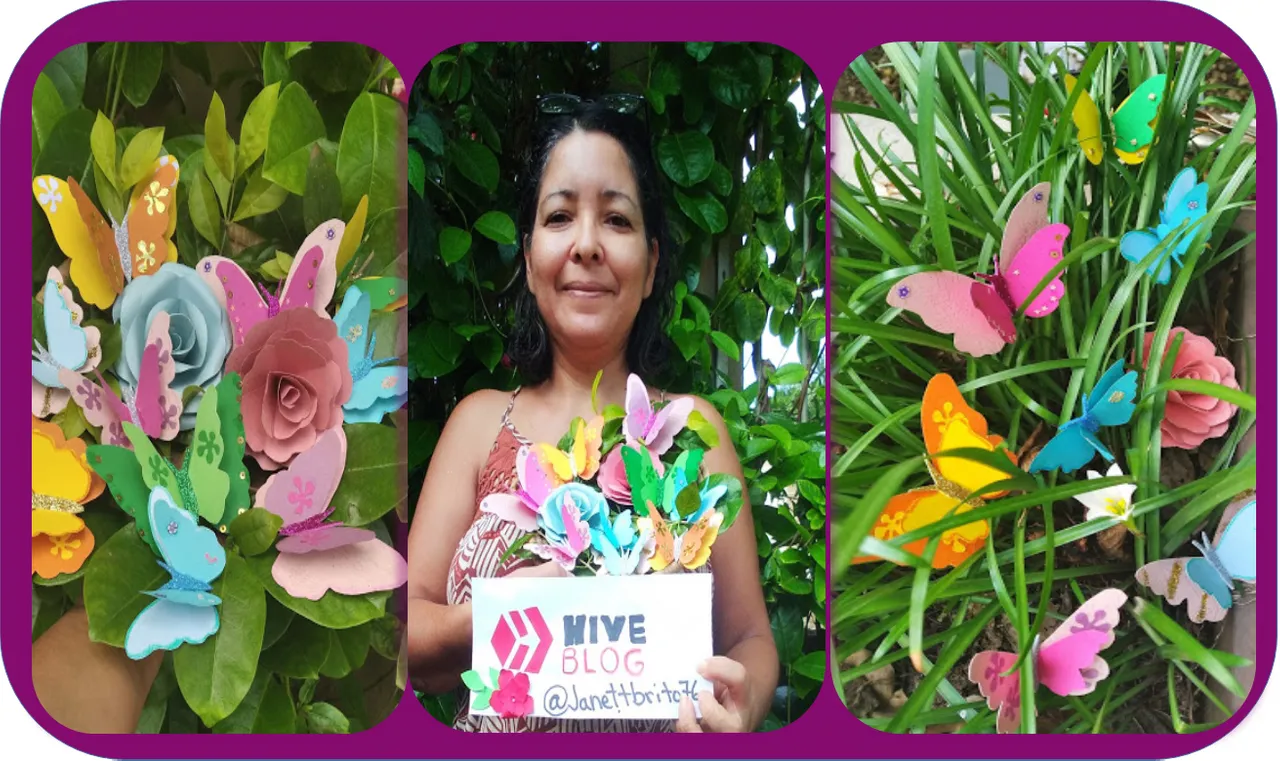
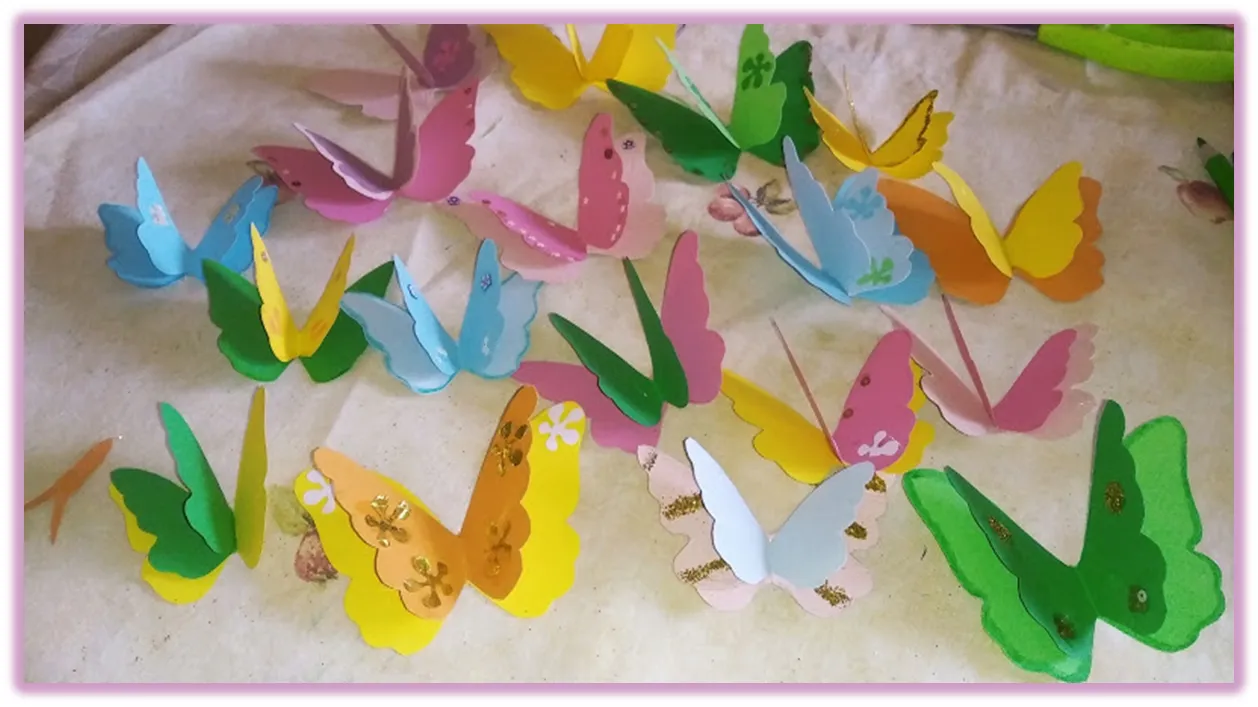
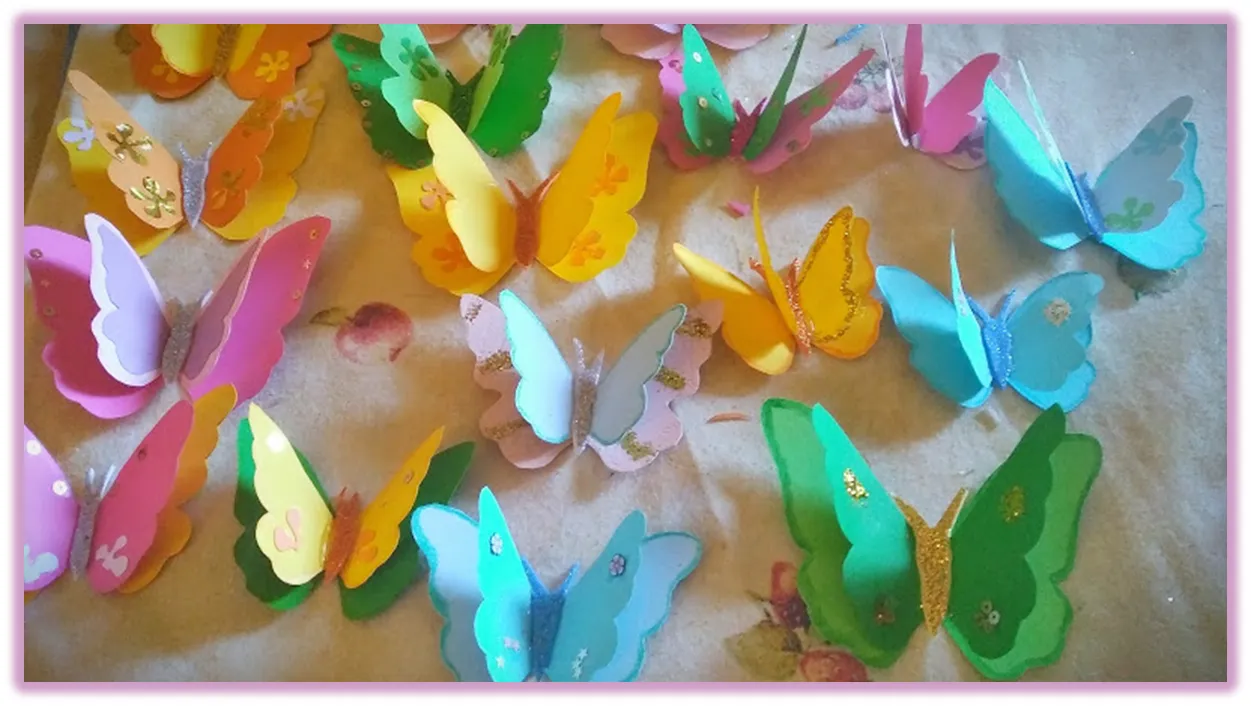
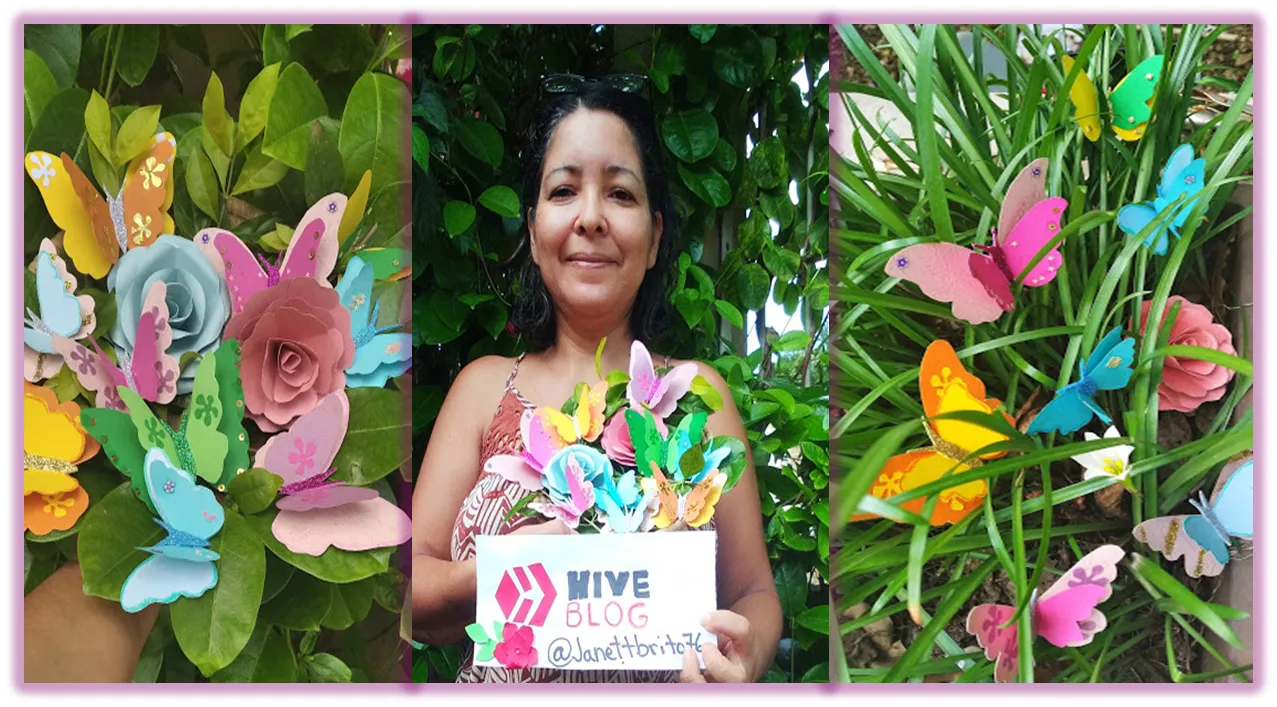
Hello #hive family, I hope you are well. This time I want to share with you all some beautiful 3D Butterflies made on cardboard. Here is the step by step, I hope you like it.
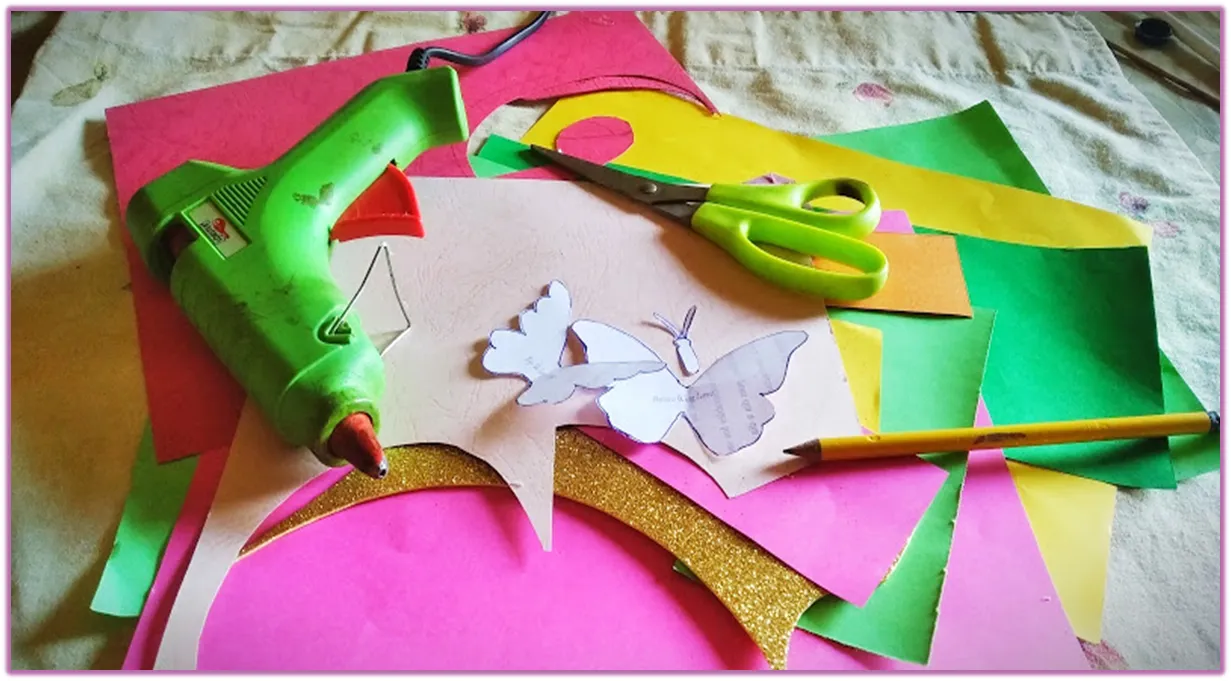
Lista de materiales
Cartulinas de colores
Molde de mariposa
Tijera
Silicón
lápiz
Material's list
Colored cards
Butterfly mold
Scissors
Silicone
Pencil
Paso a Paso
Step by Step
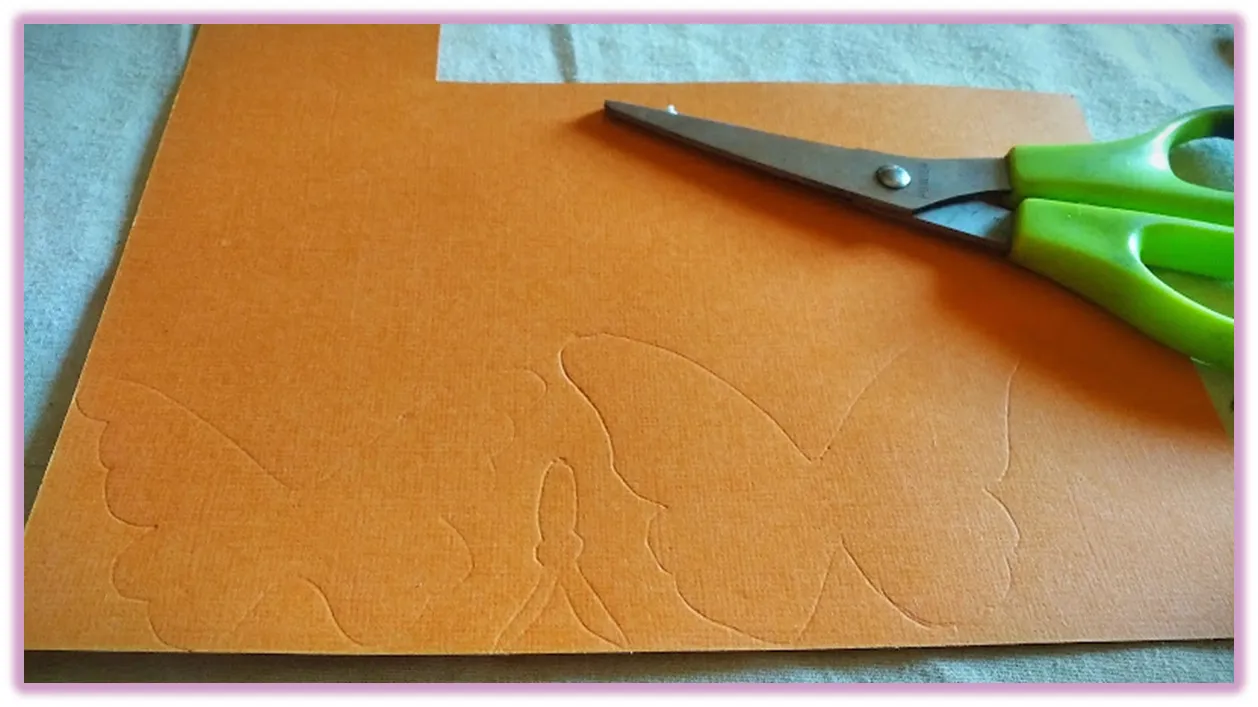
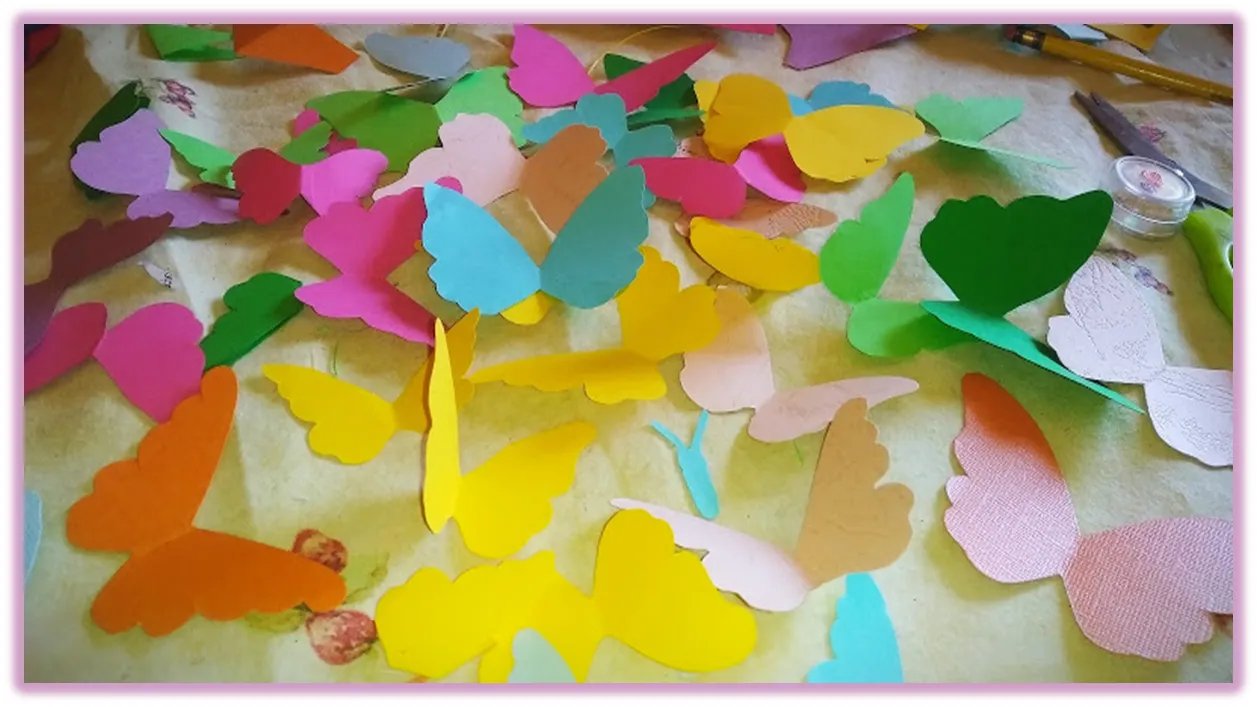
1 comenzamos marcando los moldes de nuestras mariposas en cada una de las cartulinas que vamos a utilizar. Si deseas crear tu mariposa con un diseño personalizado también puedes hacerlo. Es muy fácil. Solo tendrás que dibujar dos diseños de alas, una más grande y otra más pequeña.
1 We start by marking the molds of our butterflies on each of the cards that we are going to use. If you want to create your butterfly with a custom design you can also do it. Too easy. You will only have to draw two wing designs, one larger and one smaller.
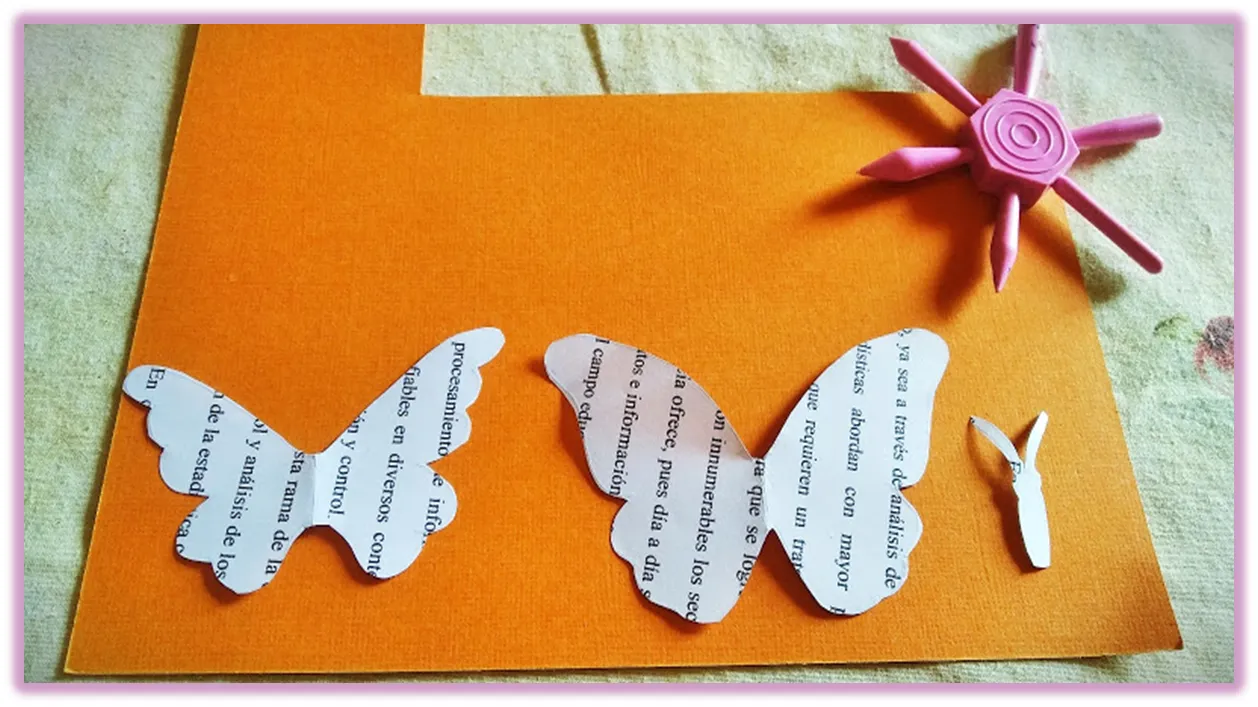
2.Ahora recorta siguiendo la línea trazada. Hazlo con cuidado para no deformar las figuras.
2.Now cut out following the drawn line. Do it carefully so as not to deform the figures.
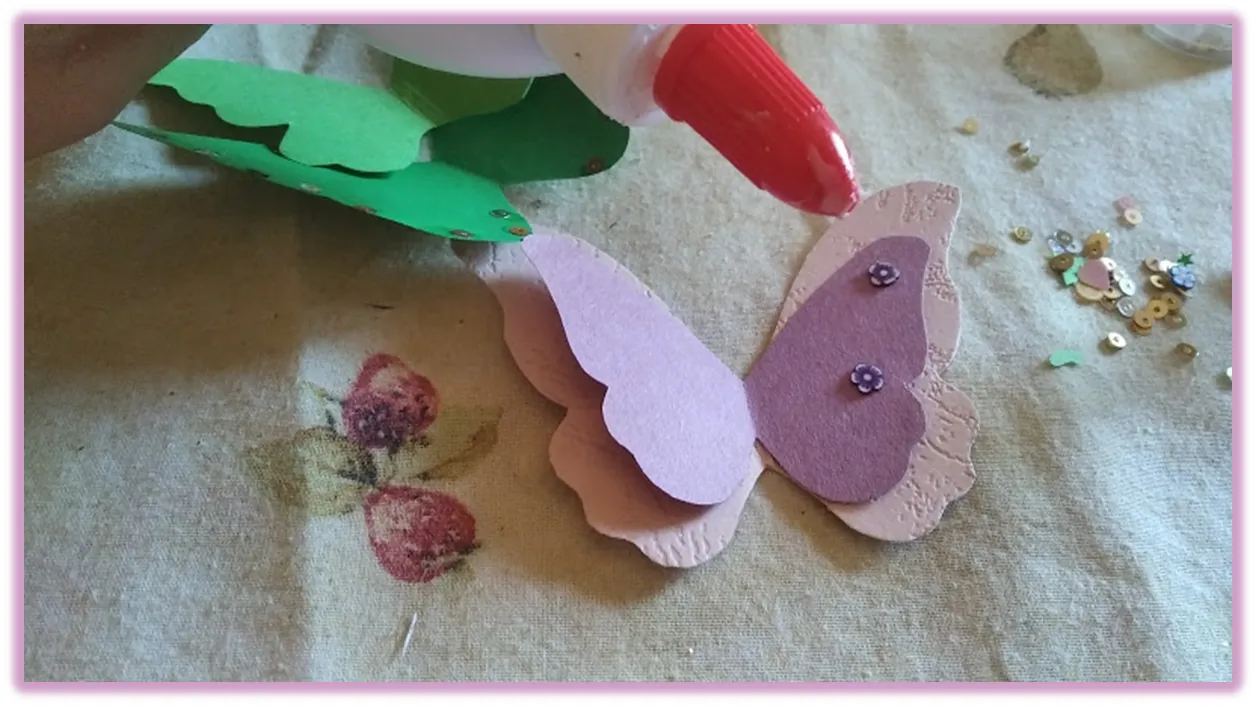
3.Decora las piezas de la mariposa pintando o pegando brillos. Todo queda a tu gusto así que tienes la libertad de decorarlas como prefieras.
3.Decorate the butterfly pieces by painting or gluing glitter. Everything is to your liking so you have the freedom to decorate them as you prefer.
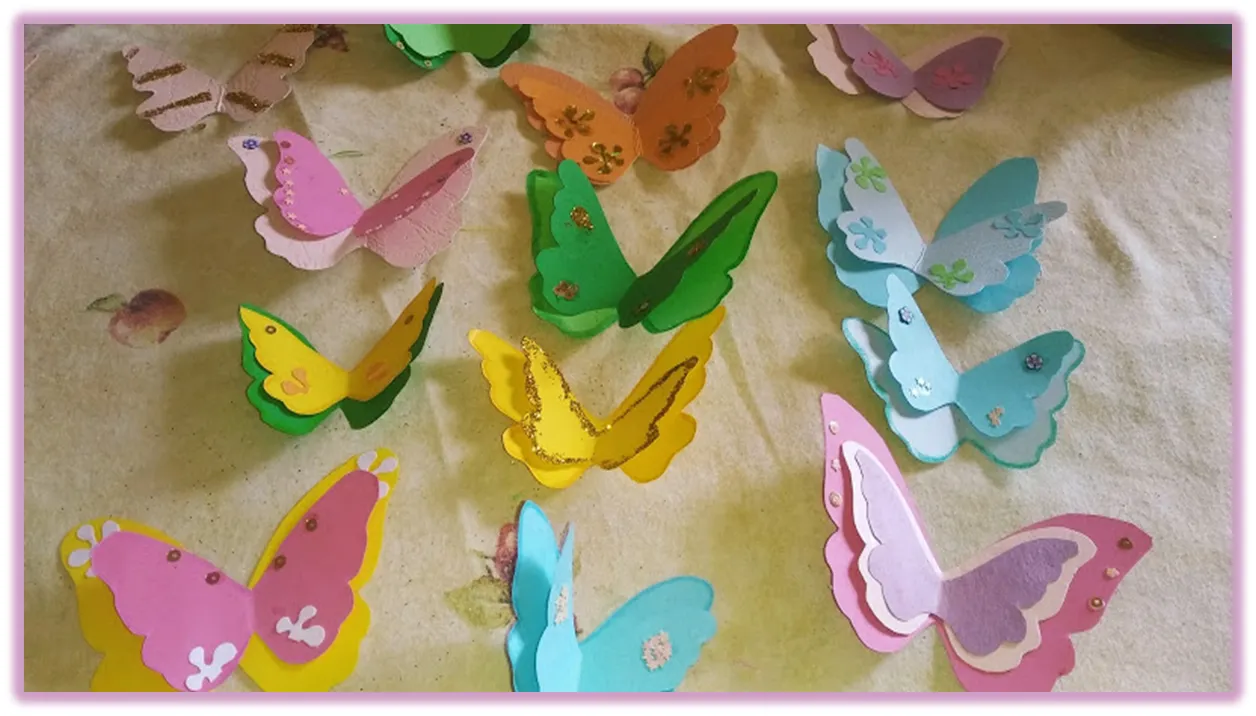
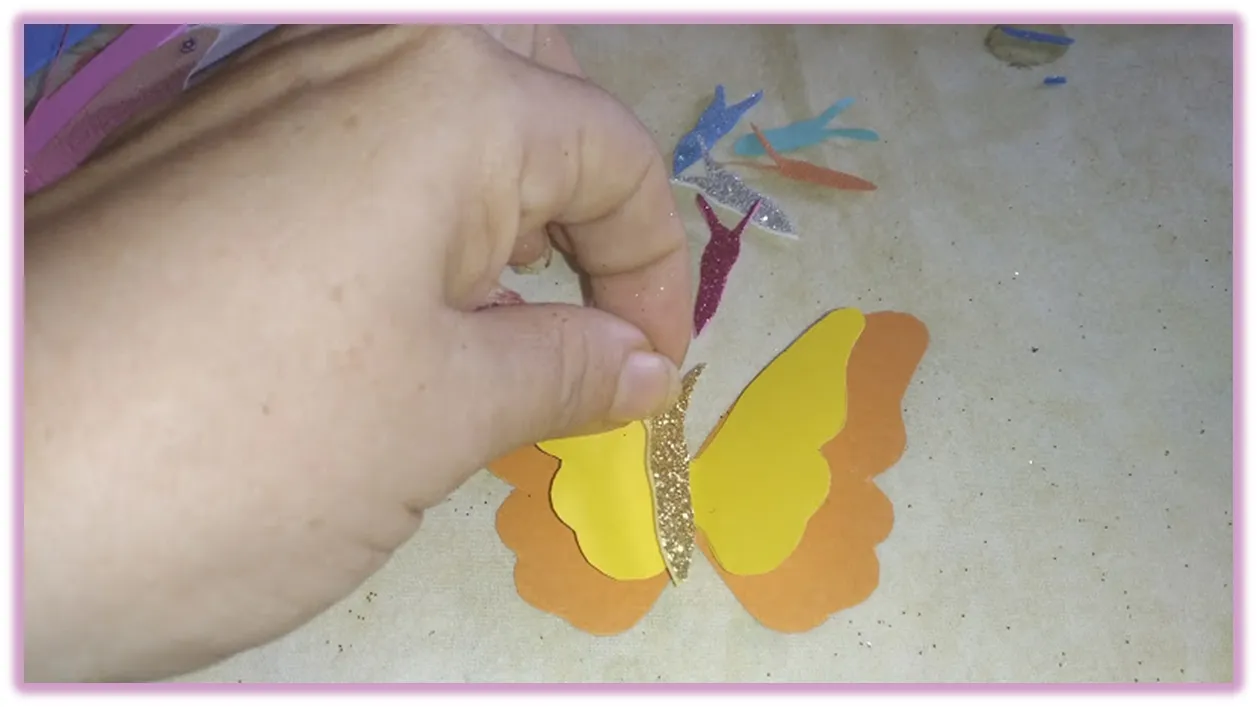
4.Ahora sí, ya podemos comenzar a armar las mariposas en 3D, para eso tomaremos el ala de tamaño más pequeño y la doblaremos al medio.Coloca una tira de silicón en el pliegue y ubícala en el centro del ala más grande.
4.Now, we can start to assemble the butterflies in 3D, for that we will take the smallest size wing and fold it in the middle. Place a strip of silicone in the crease and place it in the center of the largest wing.
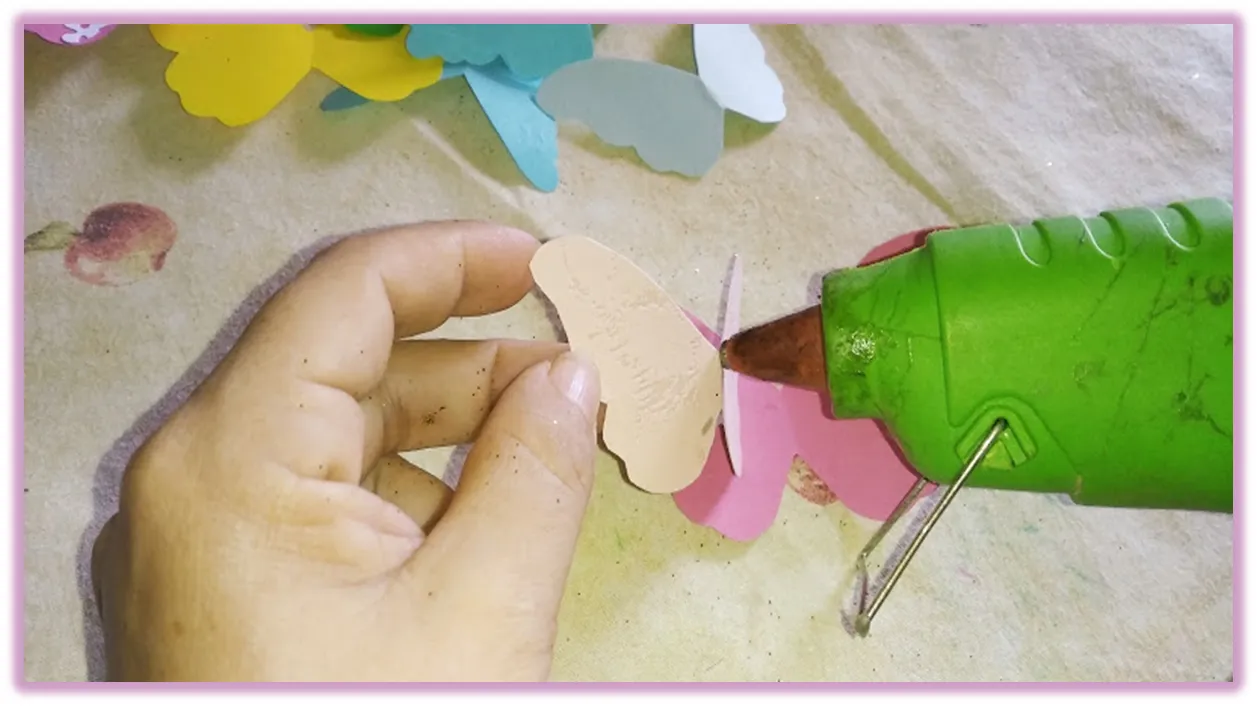
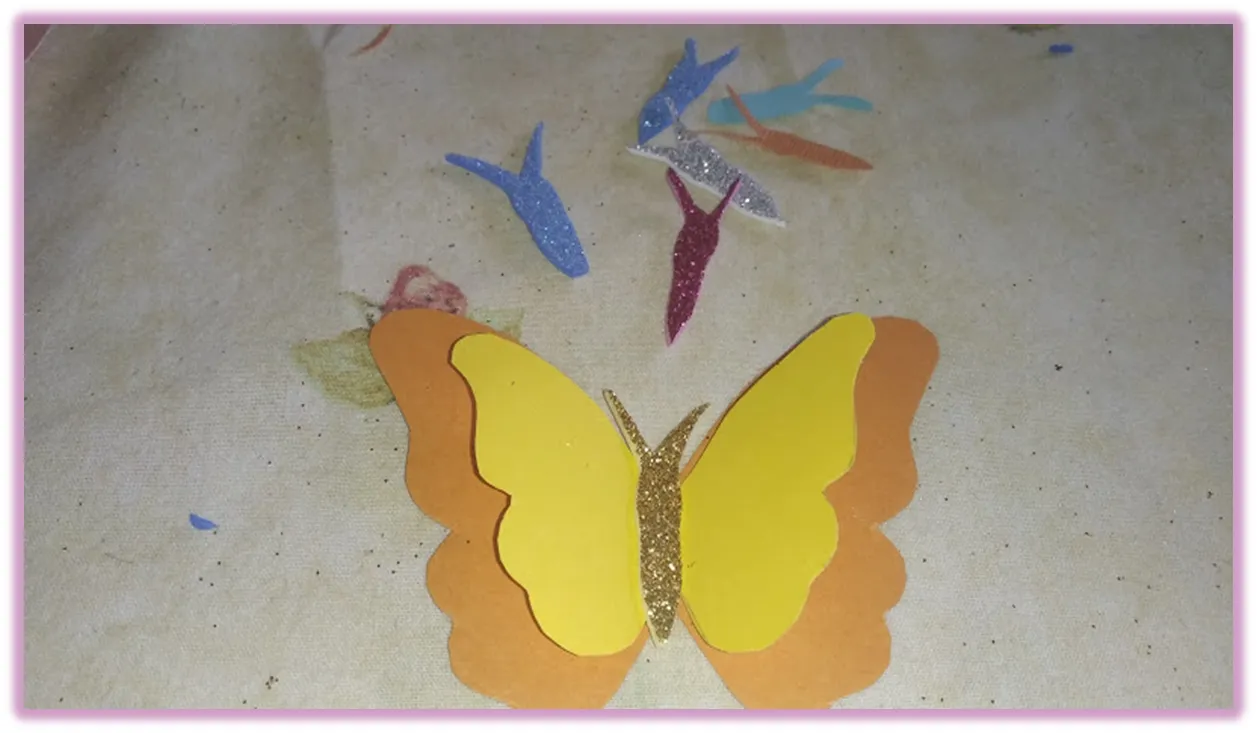
5.Por último, pega la figura del cuerpo en el centro del ala pequeña. Así tu mariposa 3D quedara terminada.
5.Lastly, glue the body shape to the center of the small wing. So your 3D butterfly will be finished.
Las fotografías fueron tomadas con un teléfono inteligente Xiaomi Redmi 7A, el texto fue traducido al ingles con el traductor de Google.
The photographs were taken with a Xiaomi Redmi 7A smartphone, the text was translated into English with the Google translator.
