Beautiful bird feeding (AUTOMATIC)
Bella ave alimentándose (AUTÓMATA)
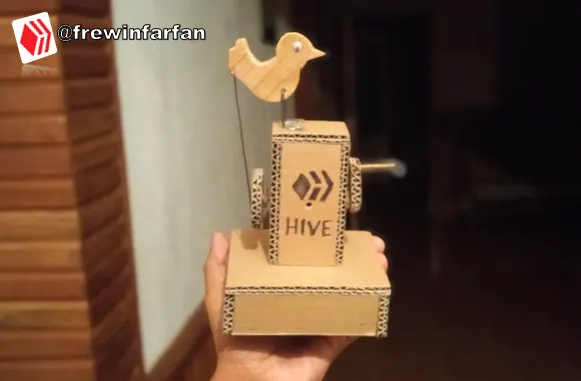
Good #Hive community, I hope you are having a great night, creating an invention that mimics the movements of an animal or thing in the world is a genius of the human being, with the simple use of basic or simple mechanisms, which is why this time I bring you the development of a beautiful and incredible automaton of a bird eating made from recycled materials ideal for entertaining young and old. I hope you like the material and without further ado, let's get started.
Buenas comunidad de #Hive, espero este pasando una excelente noche, el crear un invento que imite los movimientos de un animal o cosa en el mundo es una genialidad del ser humano, con el simple uso de mecanismos básicos o simples, es por ello que en esta oportunidad les traigo la elaboración de un bello e increíble autómata de un ave comiendo hecho de materiales reciclados ideal para entretener a grandes y chicos. Espero el material sea de su agrado y sin mas que decir comencemos.
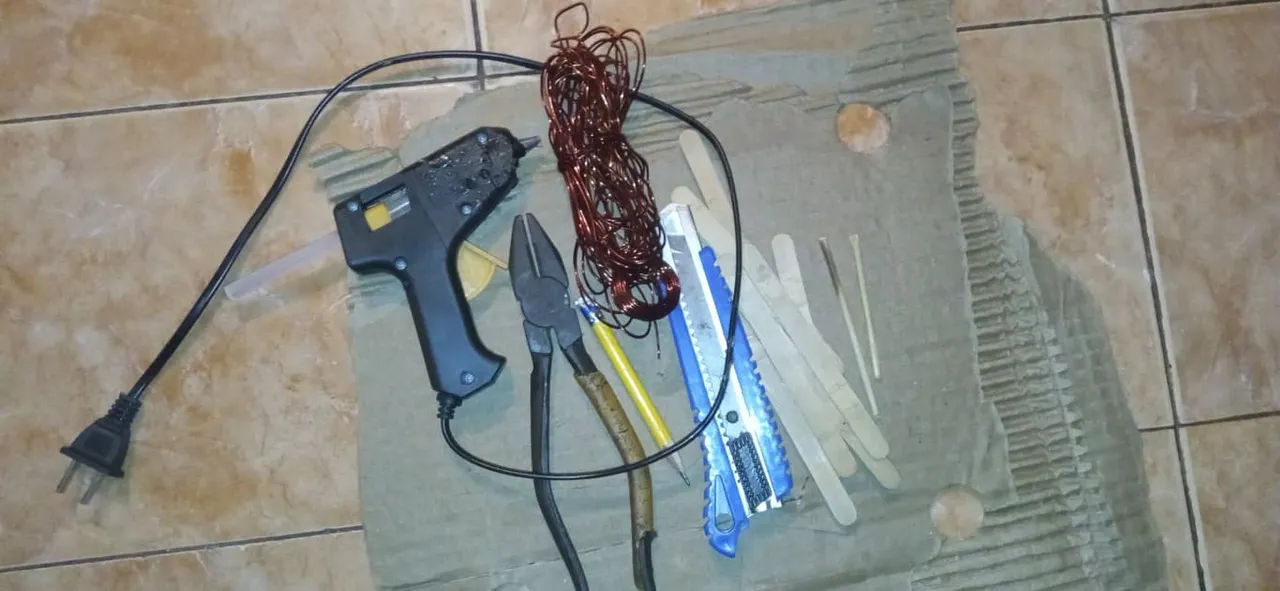
The following materials will be needed for the elaboration:
Para la elaboración necesitaremos los siguientes materiales:
- Carton box
- Popsicle sticks
- Hot Silicon
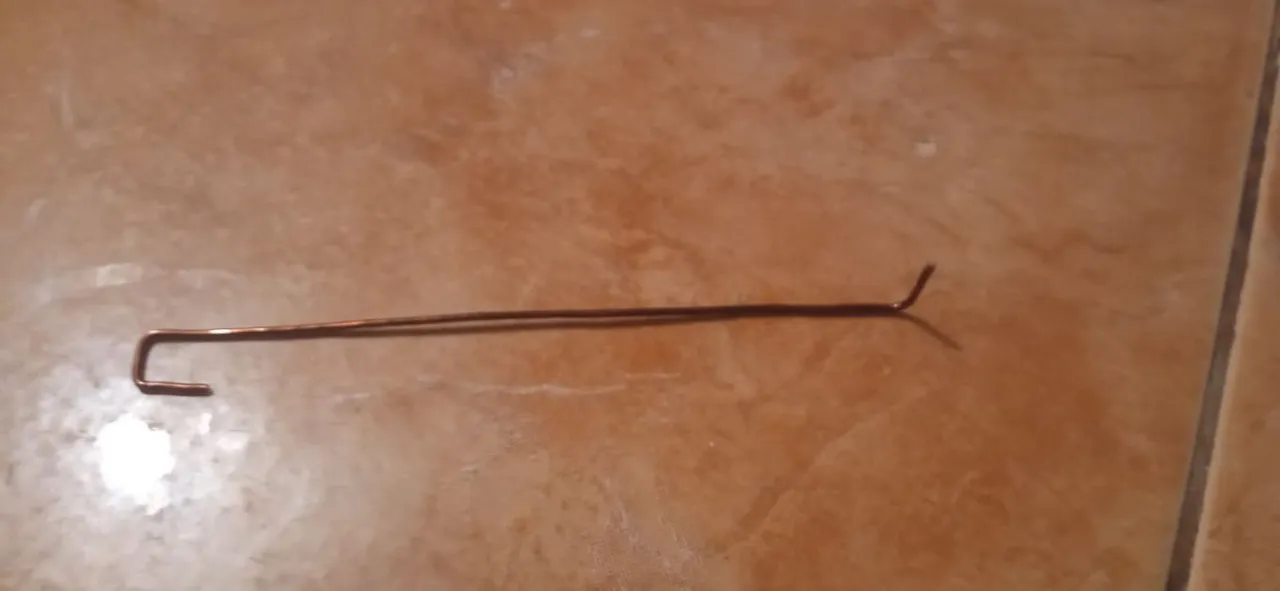
- Wire
- Pliers
- Cutter
- Height sticks
- Pencil
- Sandpaper
- Carton de caja
- Paletas de helado
- Silicon Caliente
- Alambre
- Alicate
- Cutter
- Palos de altura
- Lápiz
- Lija
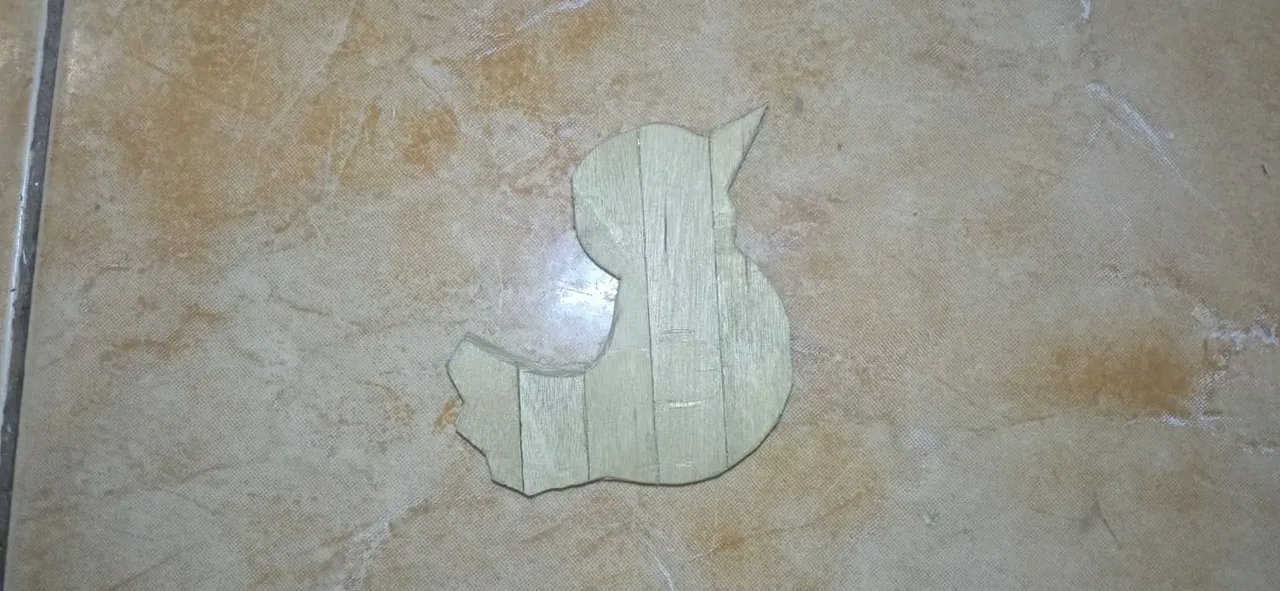
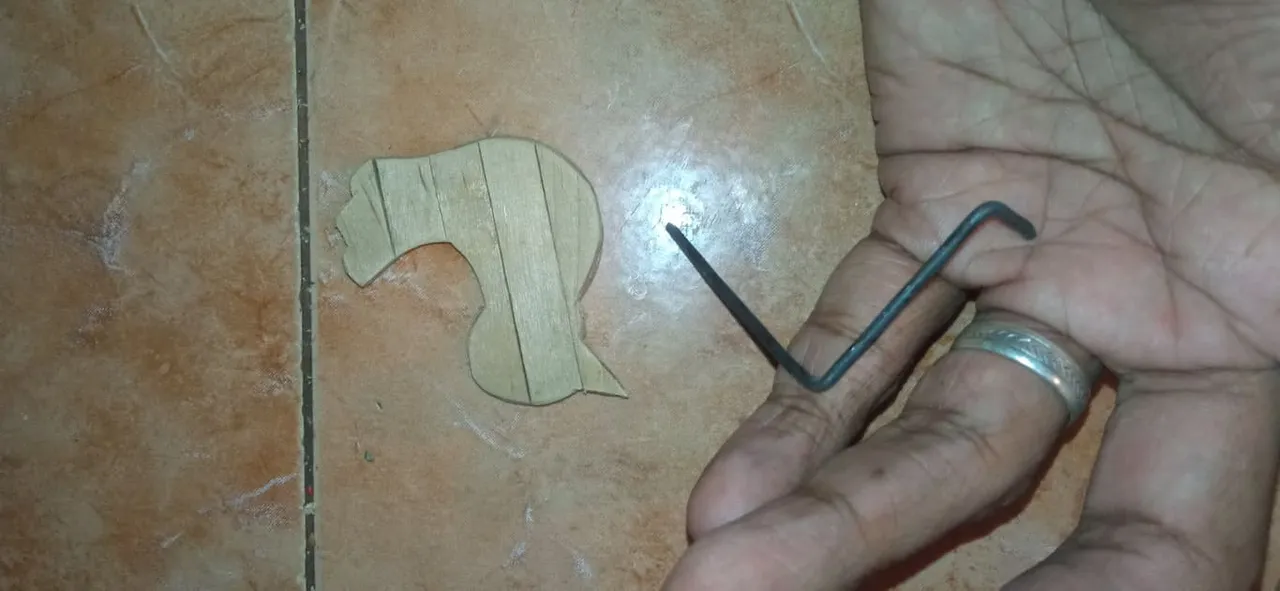
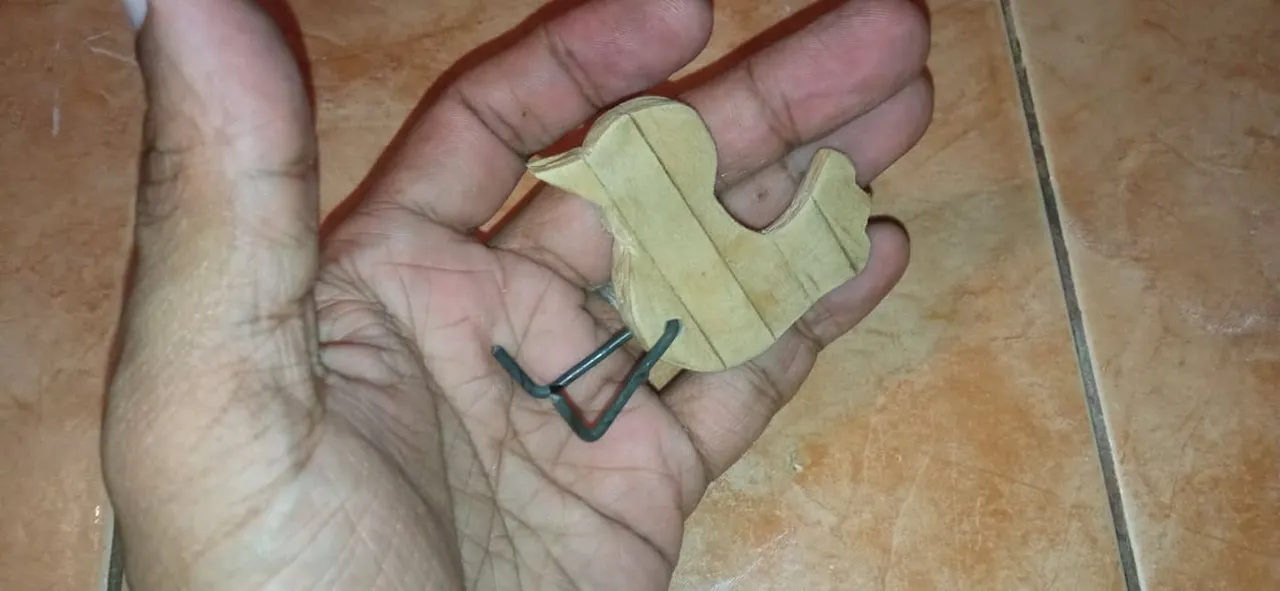
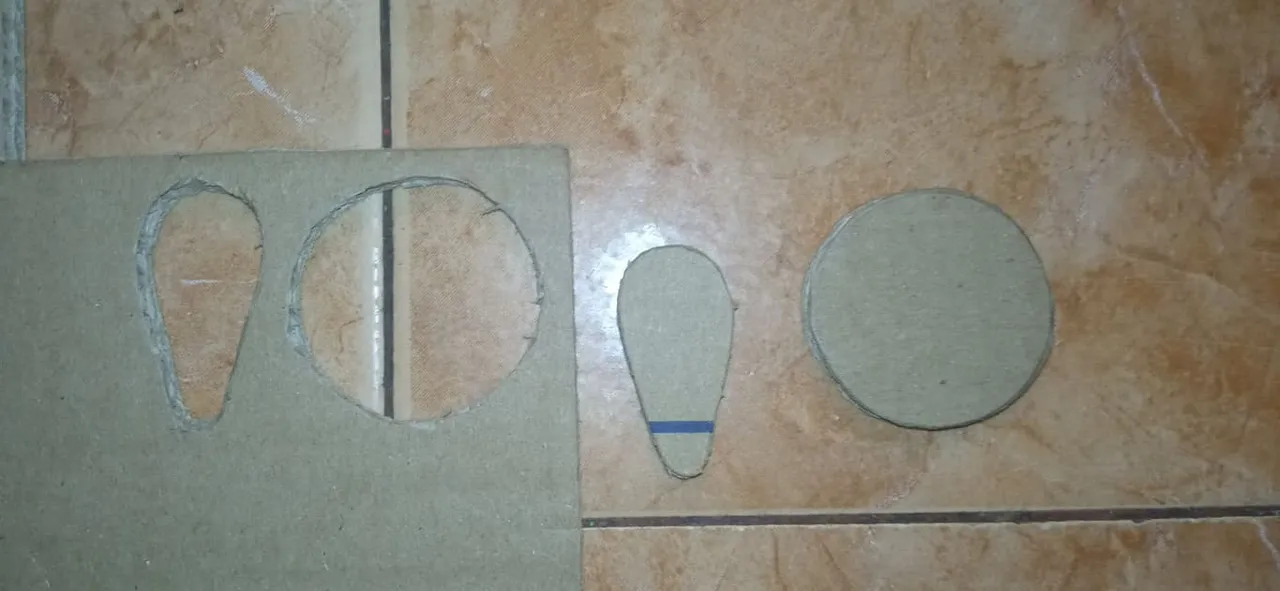
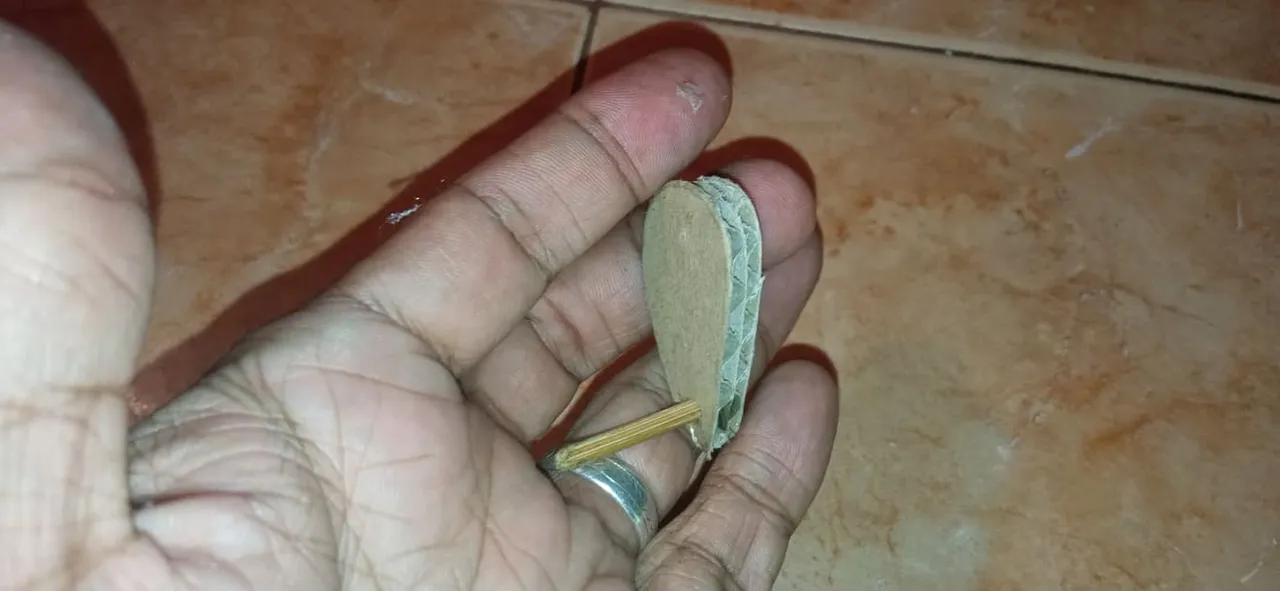
Step #1: First we make our bird, gluing some popsicle sticks and with the help of the cutter and sandpaper we make the bird, to which we will make a hole to make the legs or support with a thick wire.
Paso #1: Primero elaboramos nuestro pájaro,Pegando unas paletas de helado y con ayuda del cutter y una lija hacemos el pajarito, al cuales le haremos un hueco para hacerles las patas o soporte con u alambre grueso.


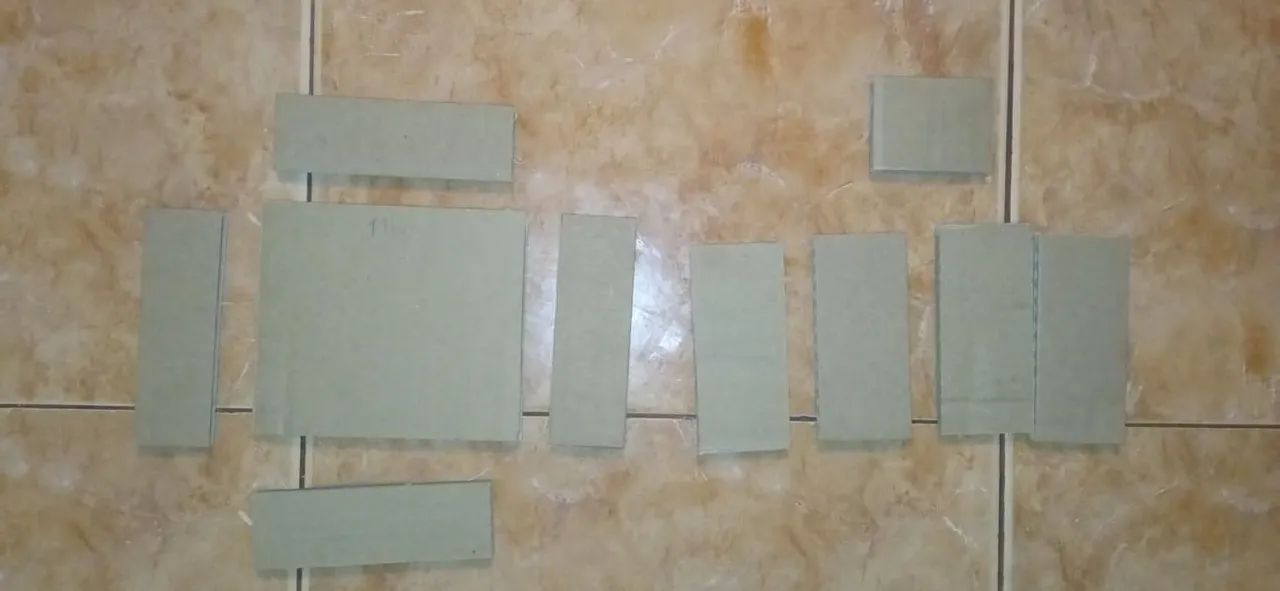
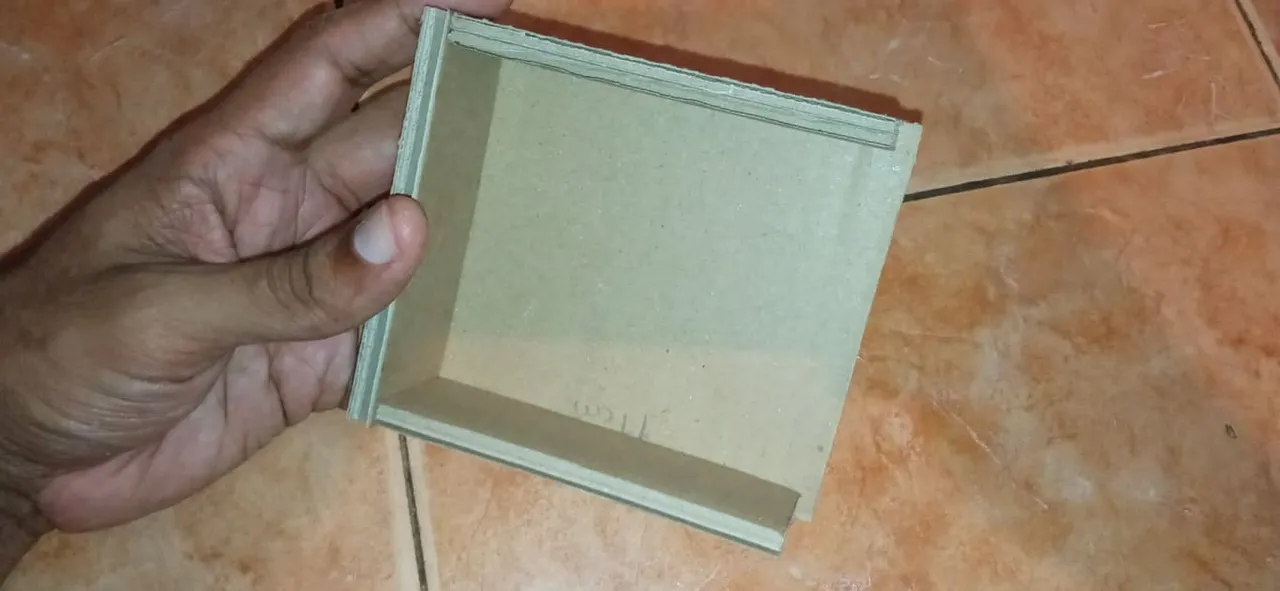
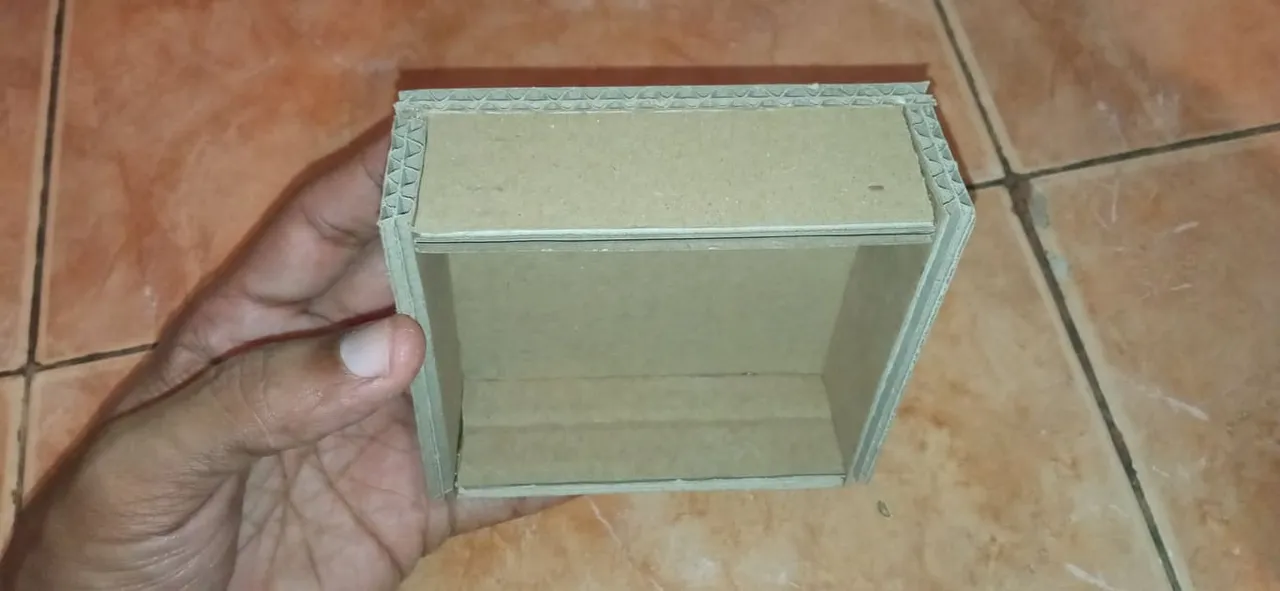
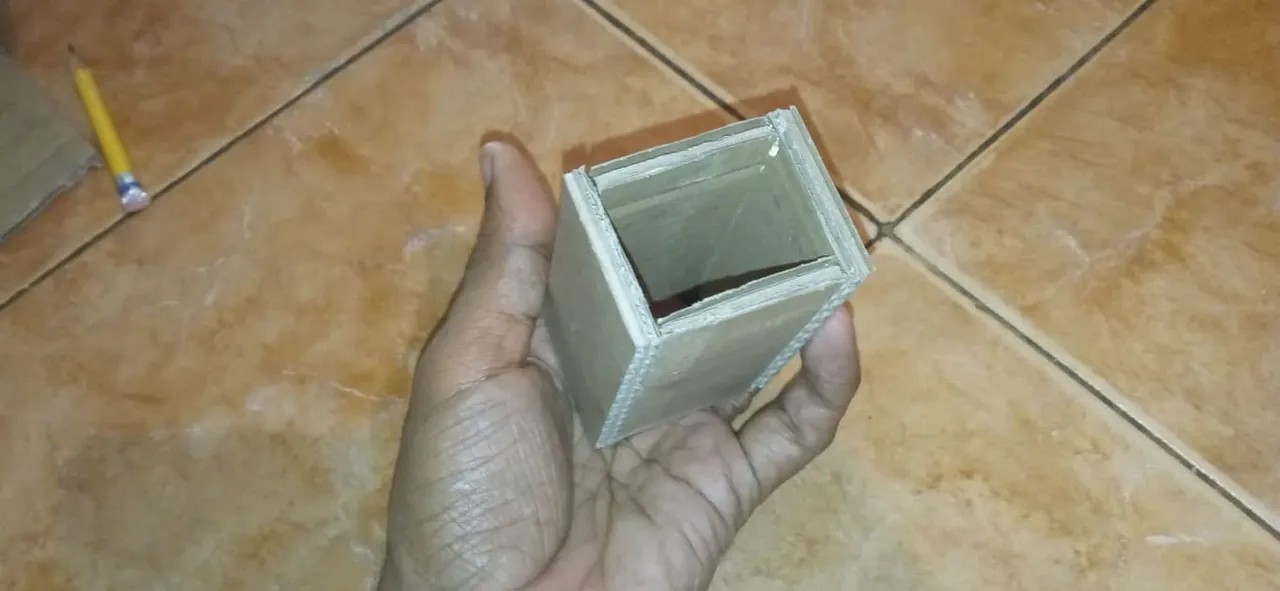
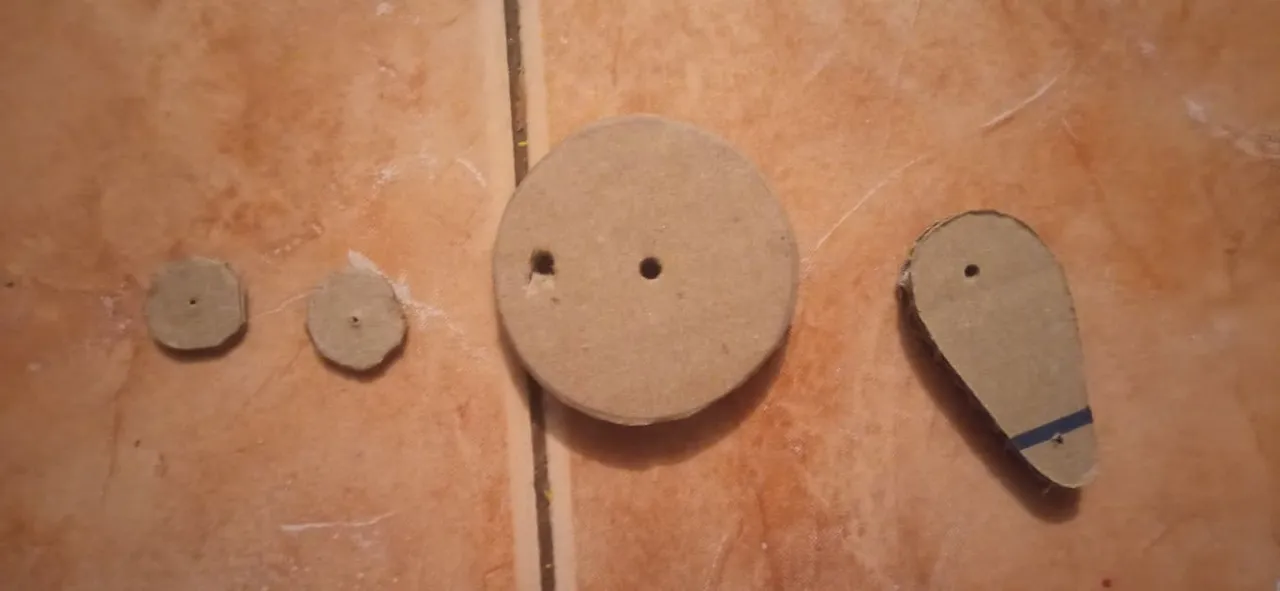
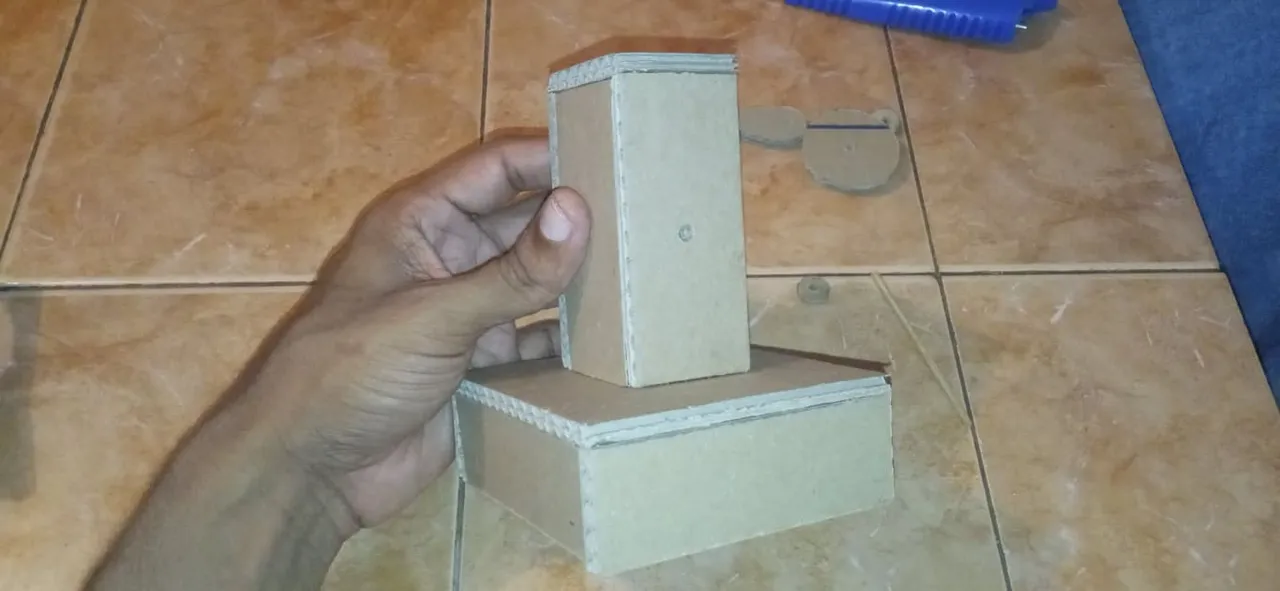
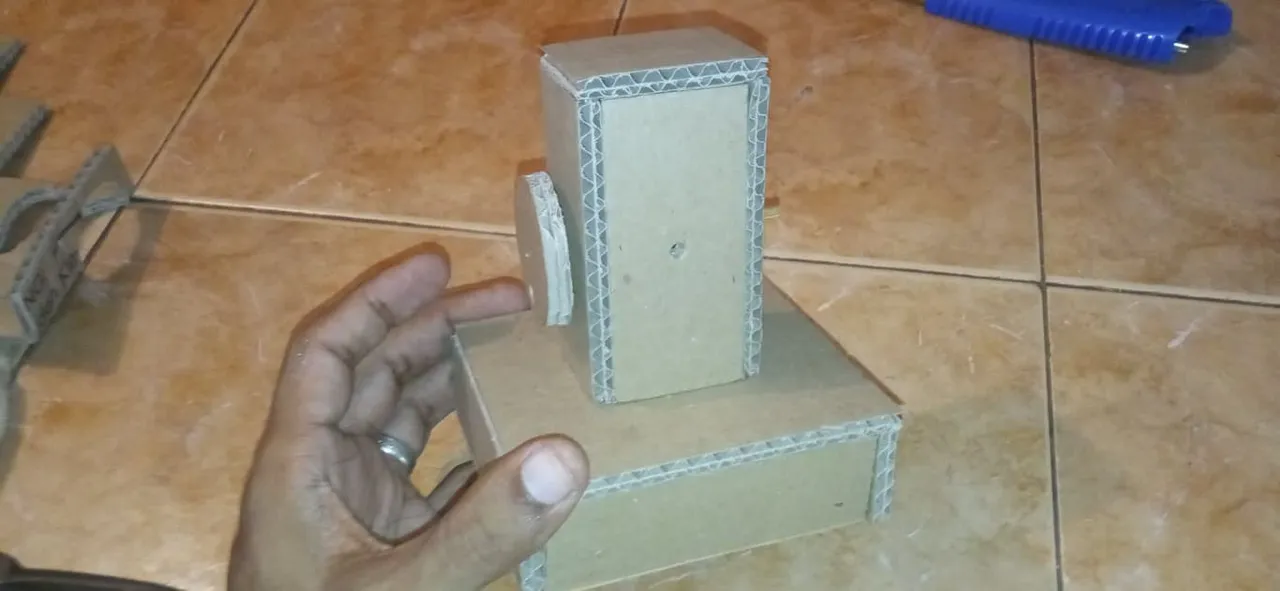
Step #2: Now we will elaborate the base where the mechanism and our automaton will be supported. With the use of cardboard to measures
- 1 Caron 11cm x 10cm
- 4 cartons of 4cm x 10cm
- 4 cartons of 8cm x 4cm
- 1 cardboard of 5cm x 4cm
Paso #2: Ahora elaboraremos la base donde ira apoyado el mecanismo y nuestro autómata. Con el uso de carton a medidas- 1 Caron 11cm x 10cm
- 4 cartones de 4cm x 10cm
- 4 Cartones de 8cm x 4cm
- 1 carton de 5cm x 4cm


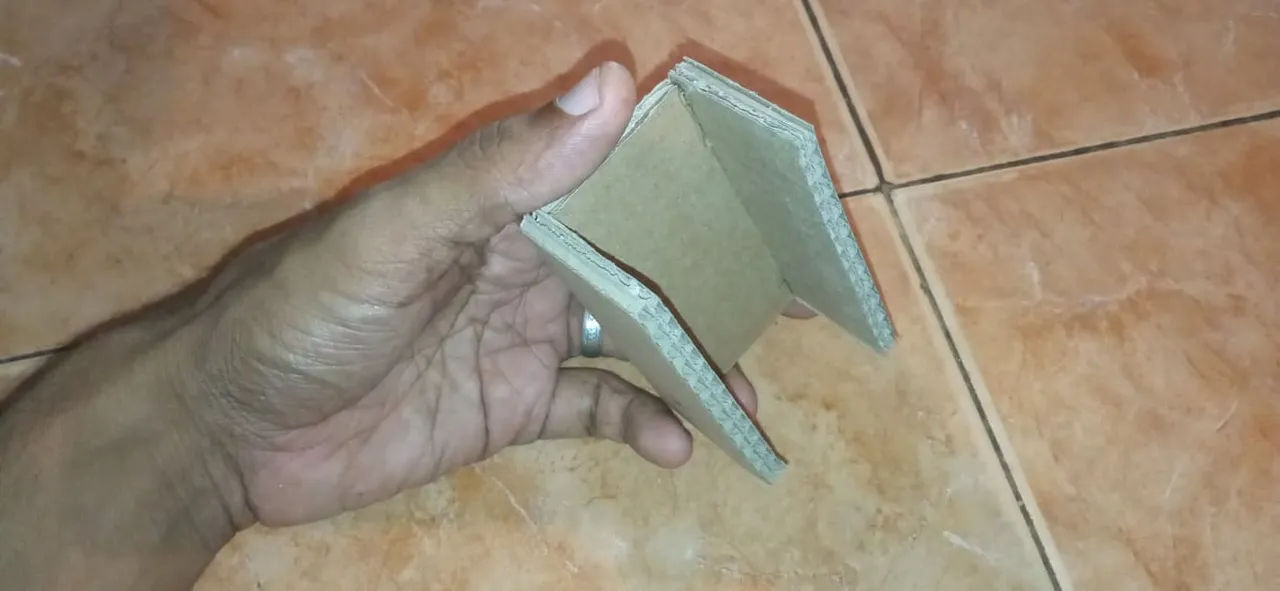


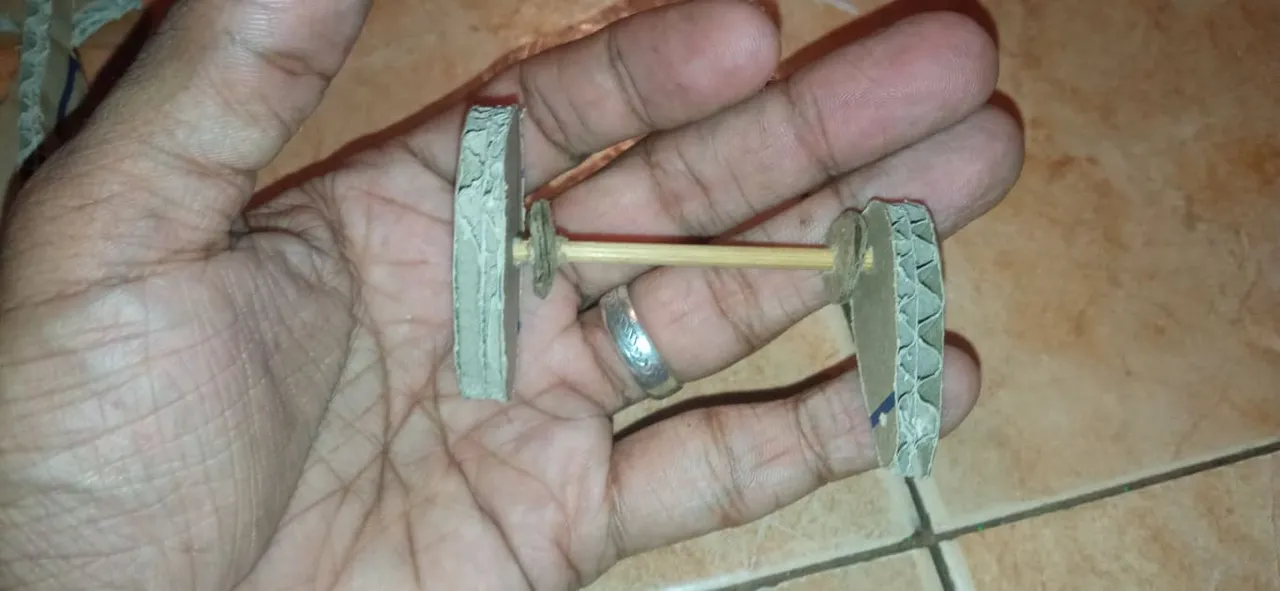
Step #3: Now we build the system that will move our mechanism
Paso #3: Ahora construimos el sistema que moverá nuestro mecanismo
Step #4:Assemble the mechanism in the support by making a hole in the middle and glue the bird with hot silicon.
Paso #4: Armamos el mecanismo en el soporte haciéndole un hueco en medio y Pegamos el pájaro con silicon caliente
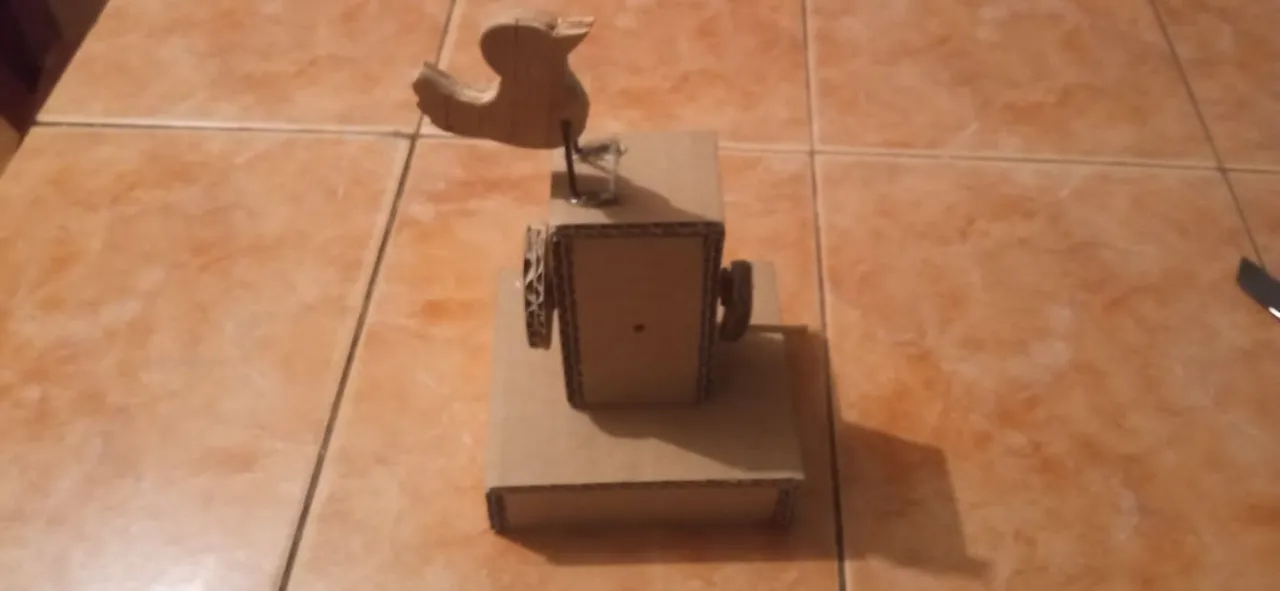
Step #5:We attach the pulley system to the bird by means of a wire, making a hole in the back of the bird.
Paso #5: Unimos el sistema de polea al pájaro mediante un alambre , haciéndole un hueco al pájaro en la parte de atrás.
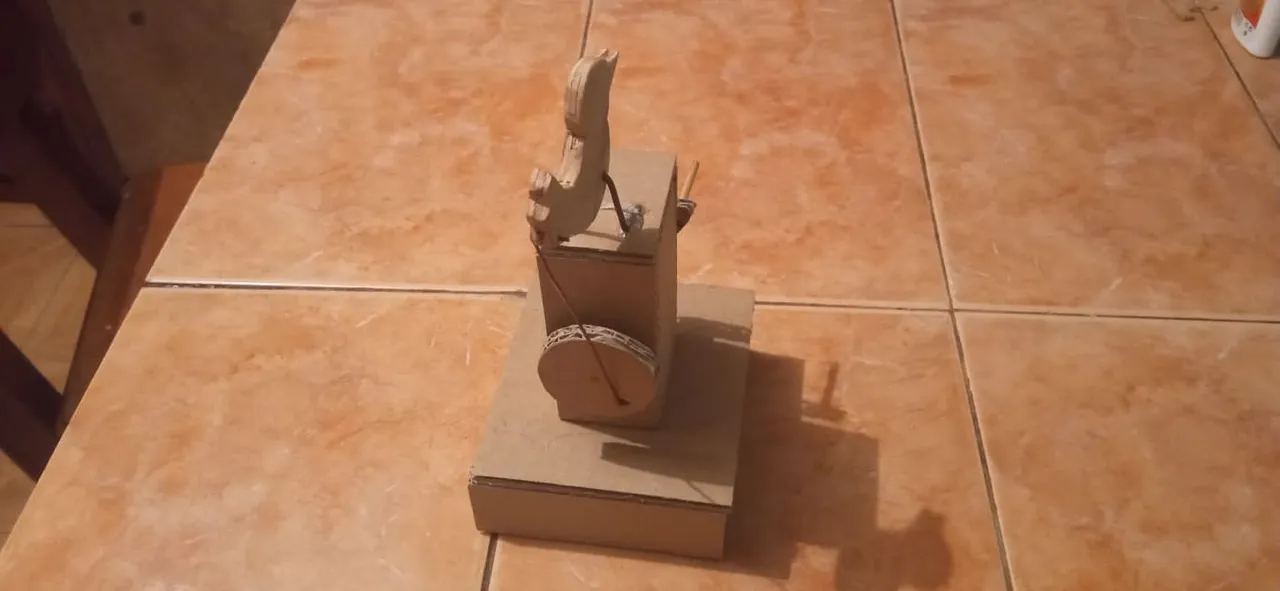
Step #6:Finally we add the eyes and ready, we have our automaton ready to eat.
Paso #6: Finalmente le agregamos los ojos y listo, ya tenemos nuestro autómata preparado para comer
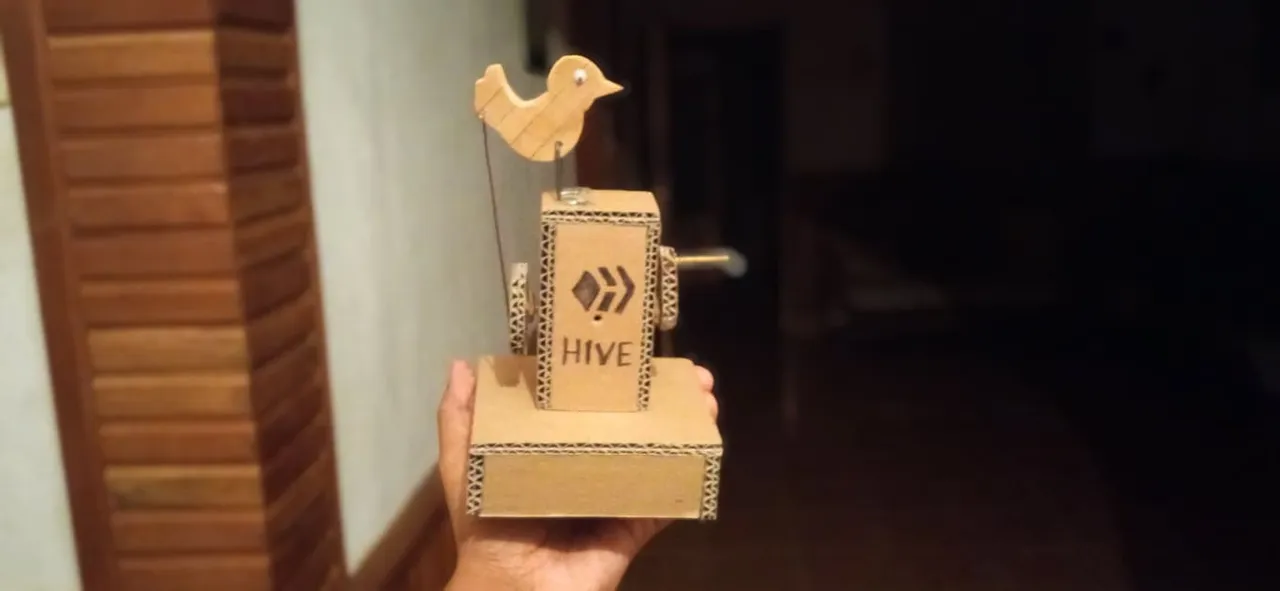

Thus we finish our beautiful automaton, with a simple pulley system, I hope you liked it and try to do it at home.
Así damos por terminado nuestro bello autómata , con un simple sistema de polea, espero que le haya gustado e intente hacerlo en su casa.
Thank you for visiting my blog and I will see you in my next post.
Gracias por visitar mi blog y nos vemos en mi próxima publicación.