¡Bienvenidos a mi blog!
Welcome to my blog!
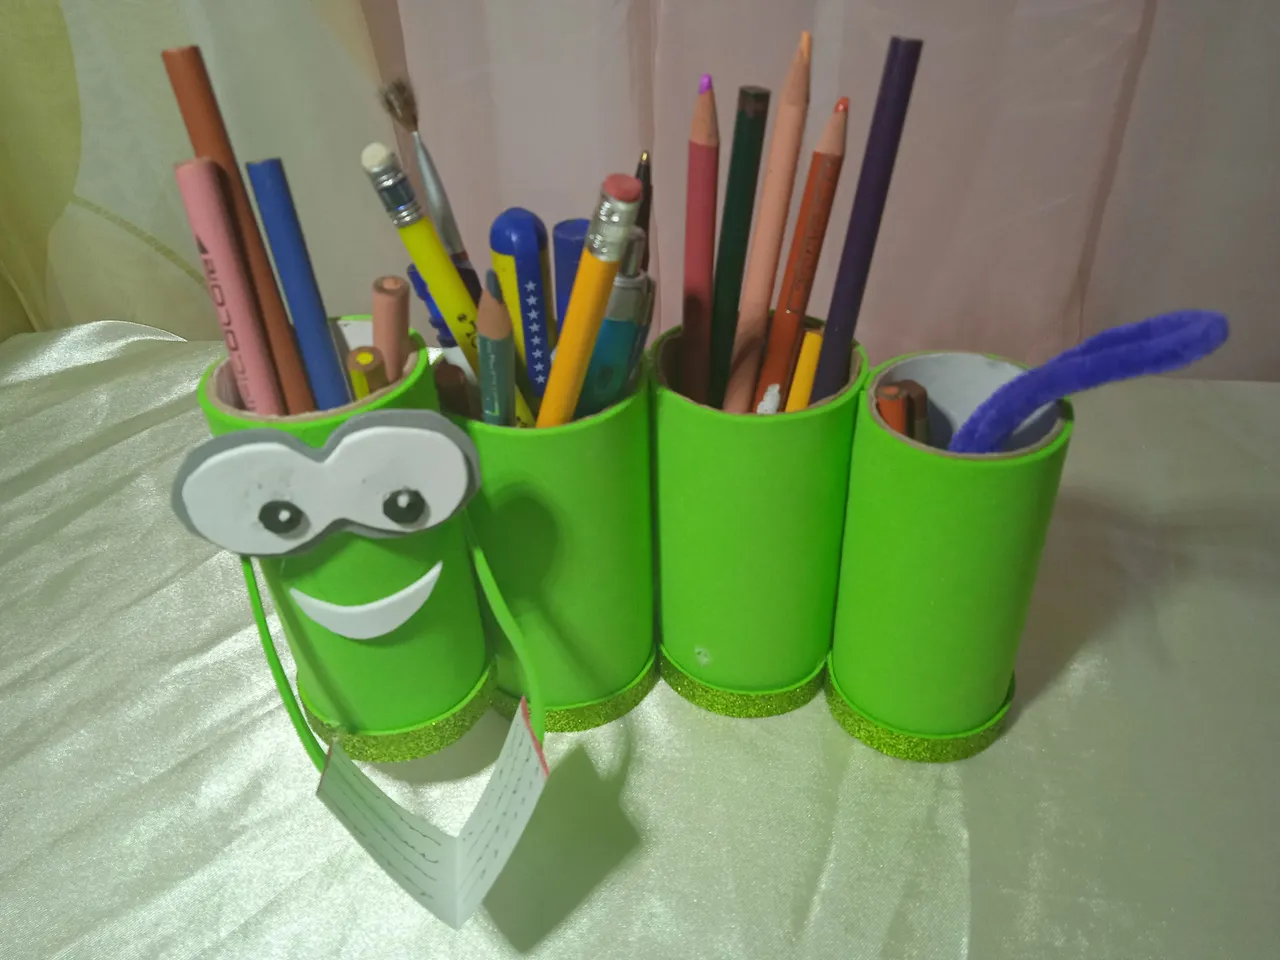
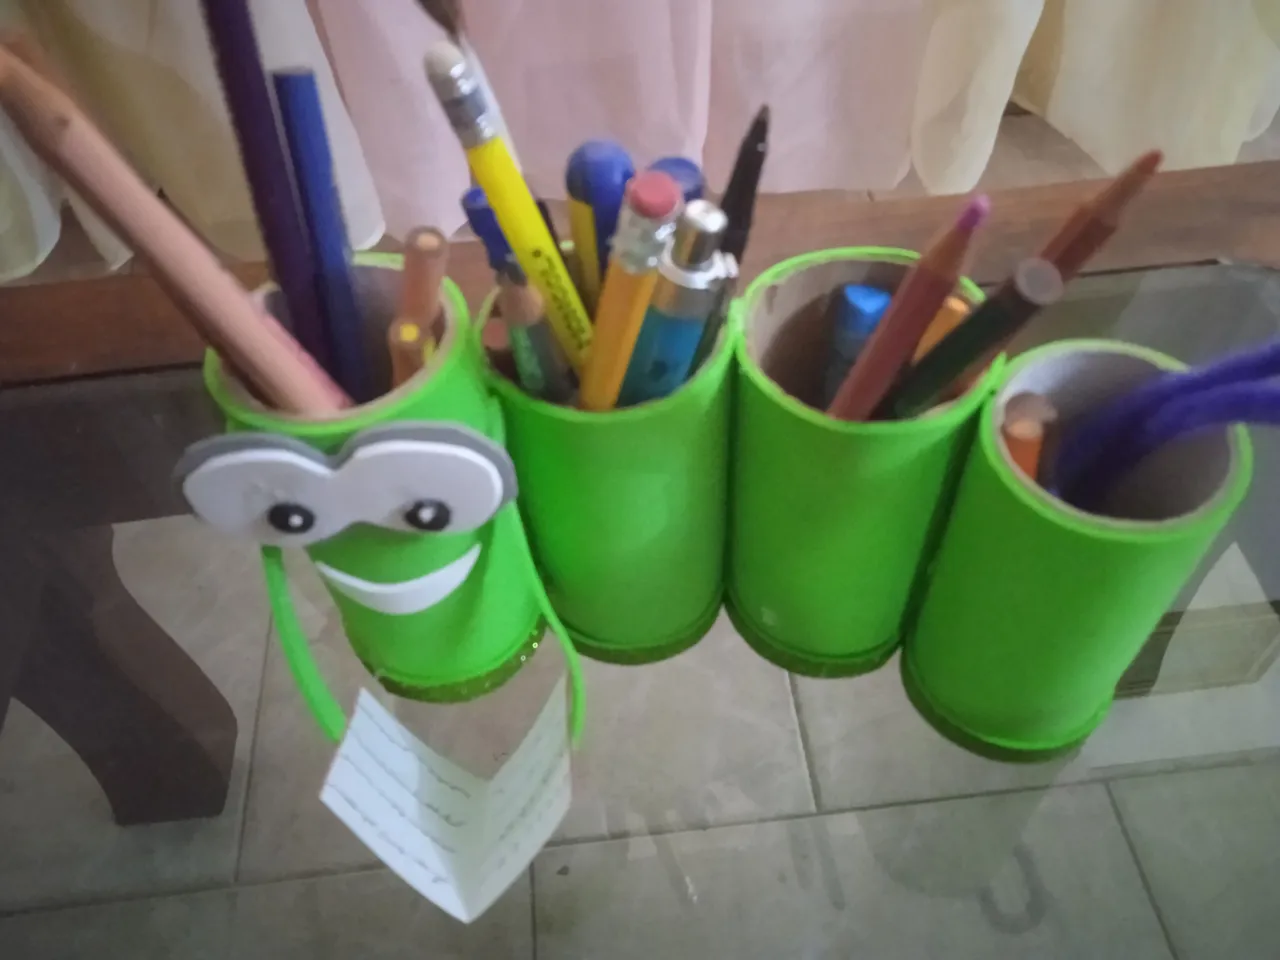
Hoy traigo algo divertido es un porta lápices con figura de gusano realizado con rollos de papel higiénico, cartón y foami, es muy practico y fácil de hacer. Este portalápices es ideal para los niños para que guarden sus lápices y también para adornar en su habitación.
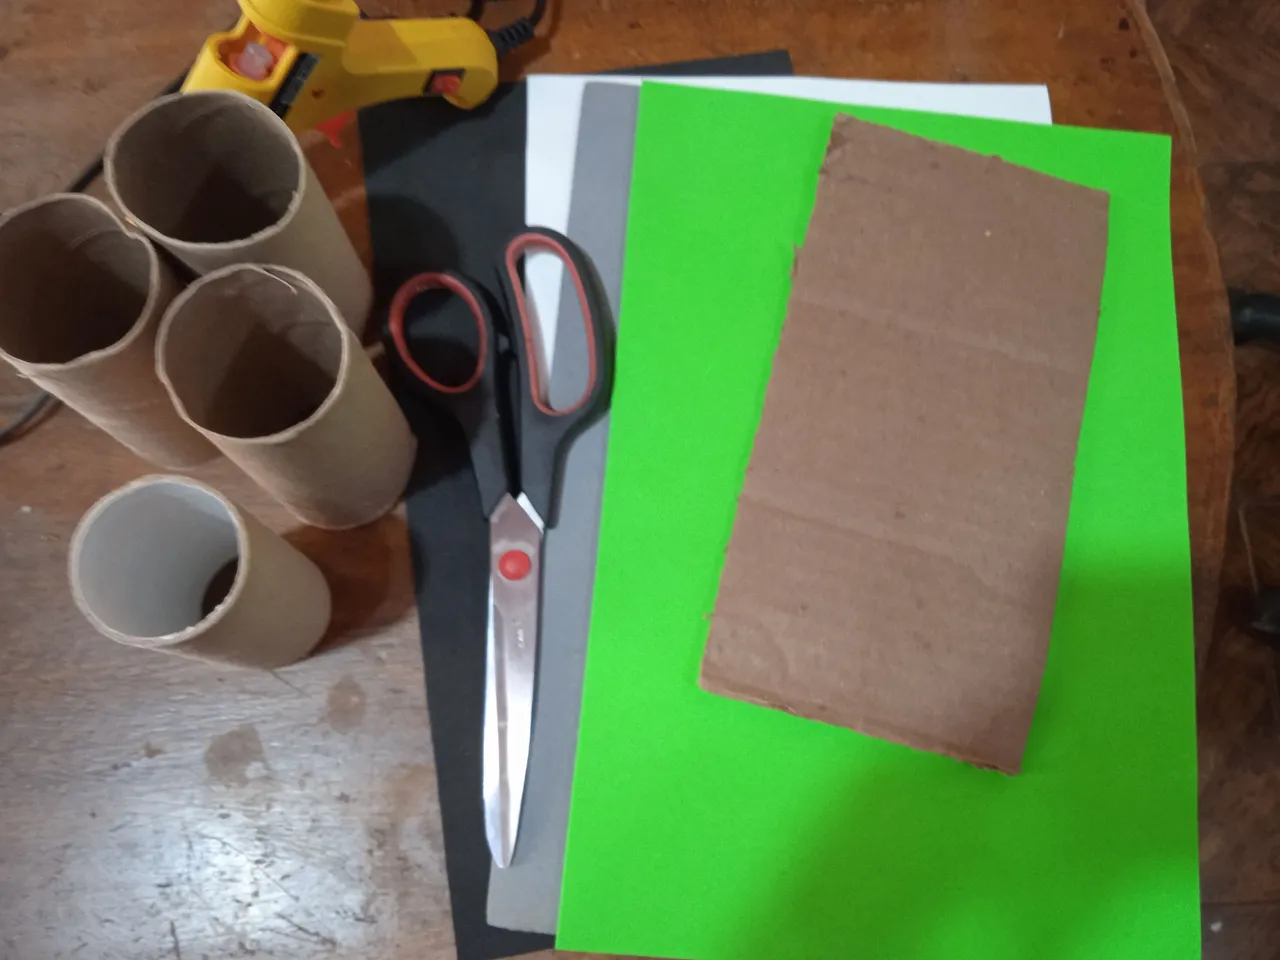
Materiales || Materials
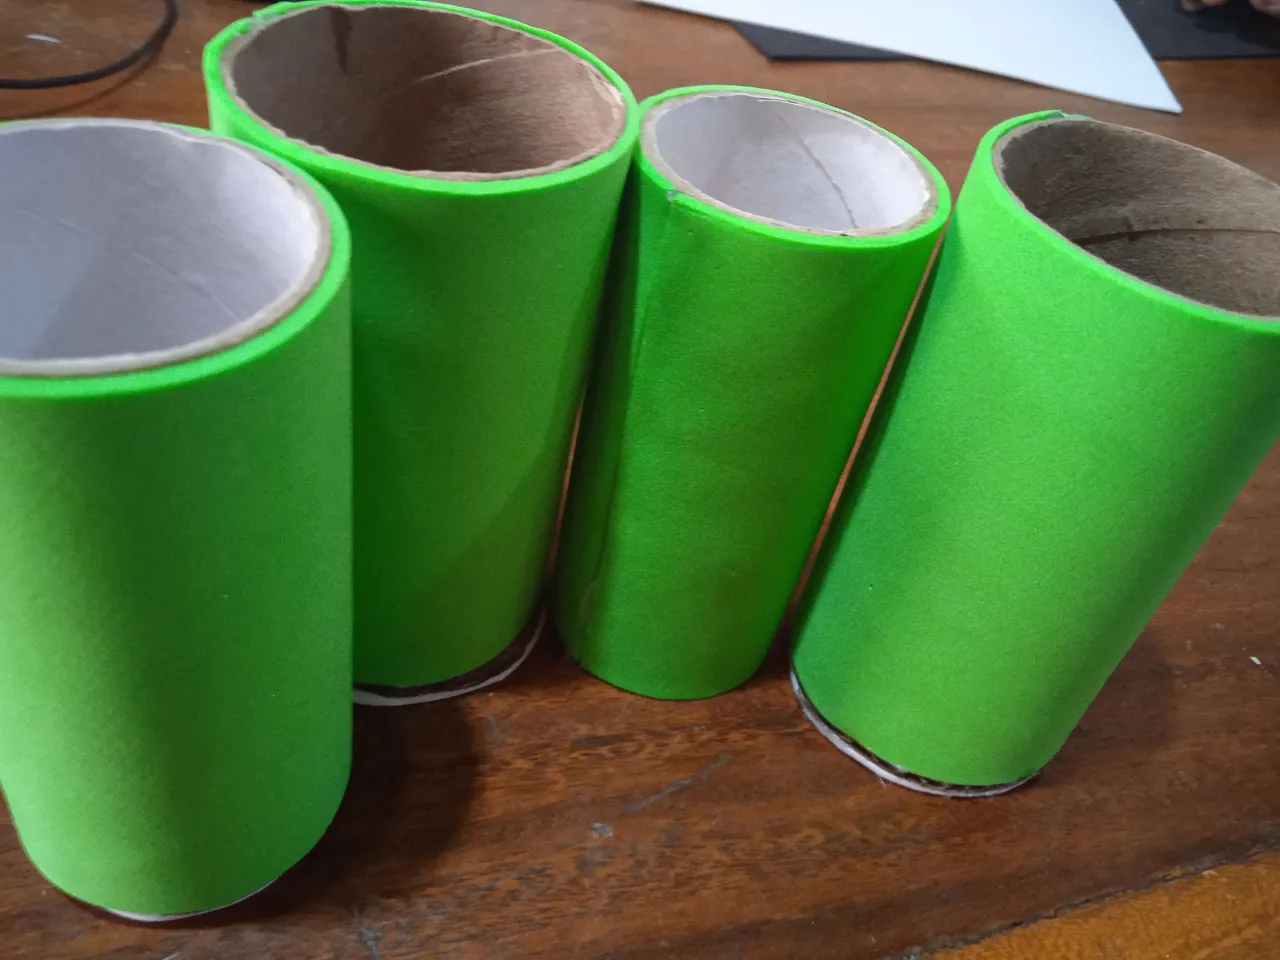
- 4 tubos de papel higiénicos
- Cartón
- Foami
- Tijera
- Pistola de silicón
Paso a paso de este porta lápices
- 4 tubes of toilet paper
- Cardboard
- Foami
- Scissors
- Silicone gun
Step by step of this pencil holder
Paso a paso|| Step by step
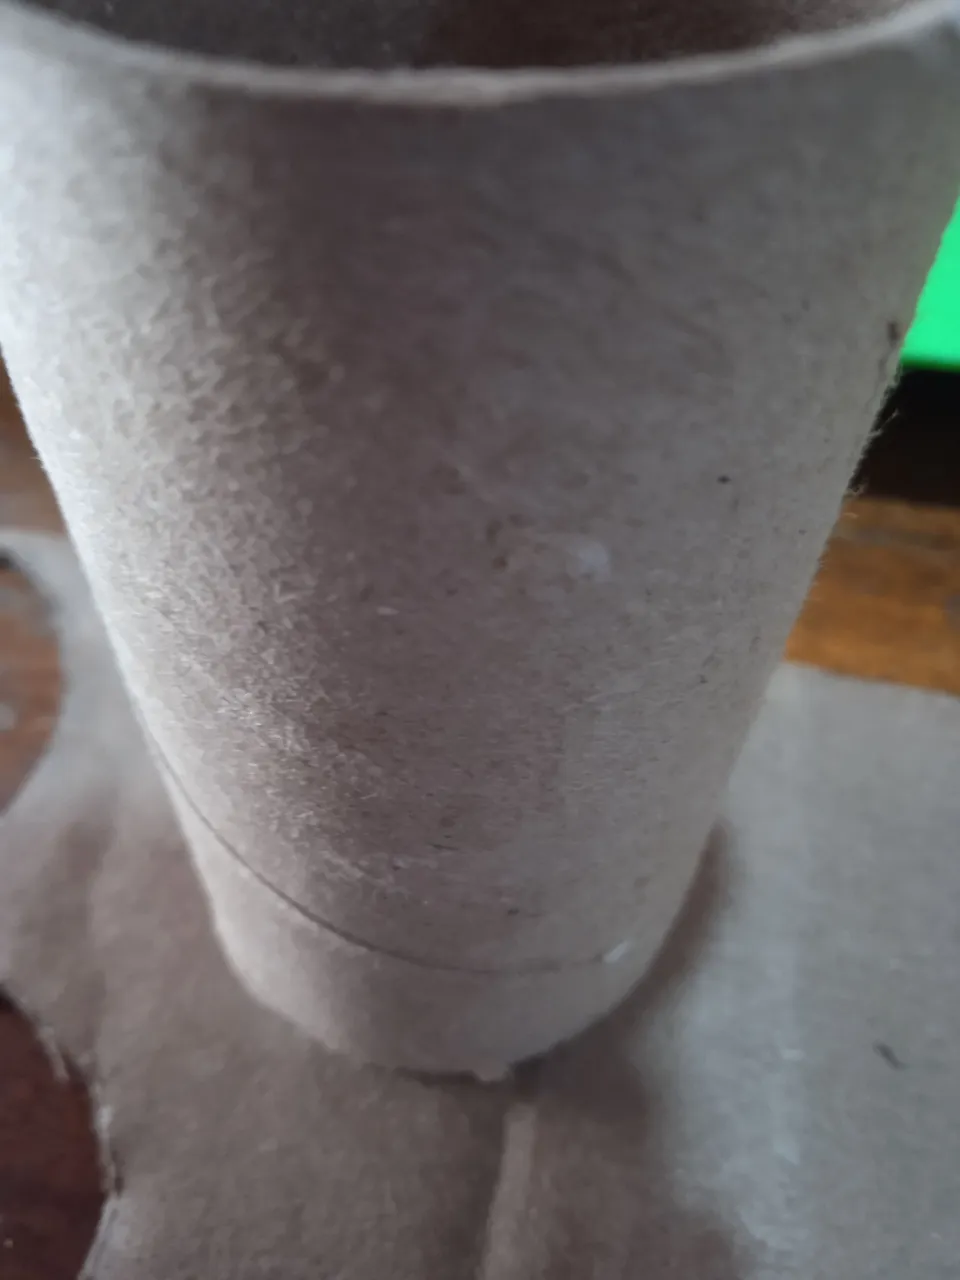
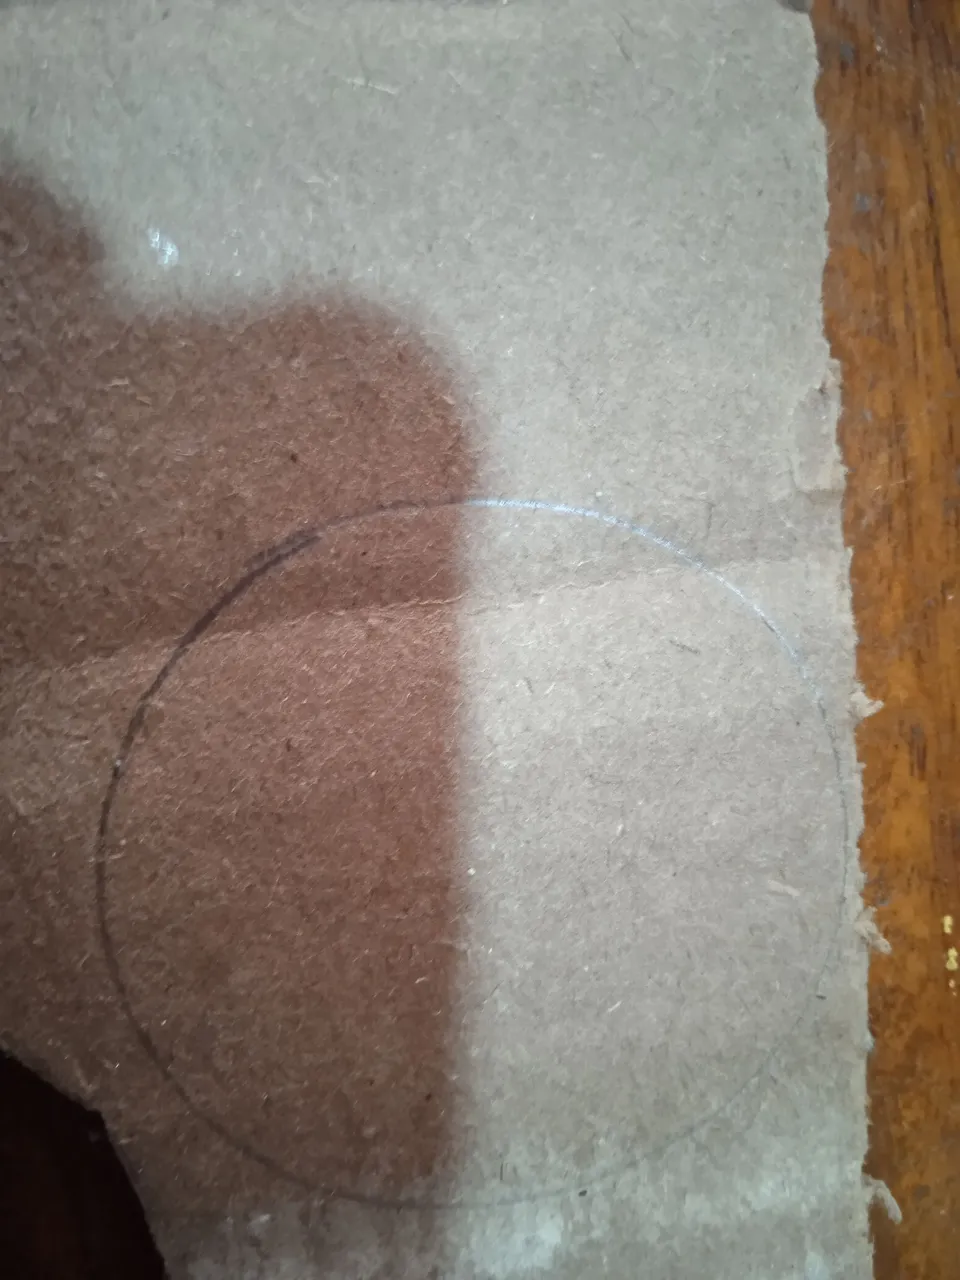
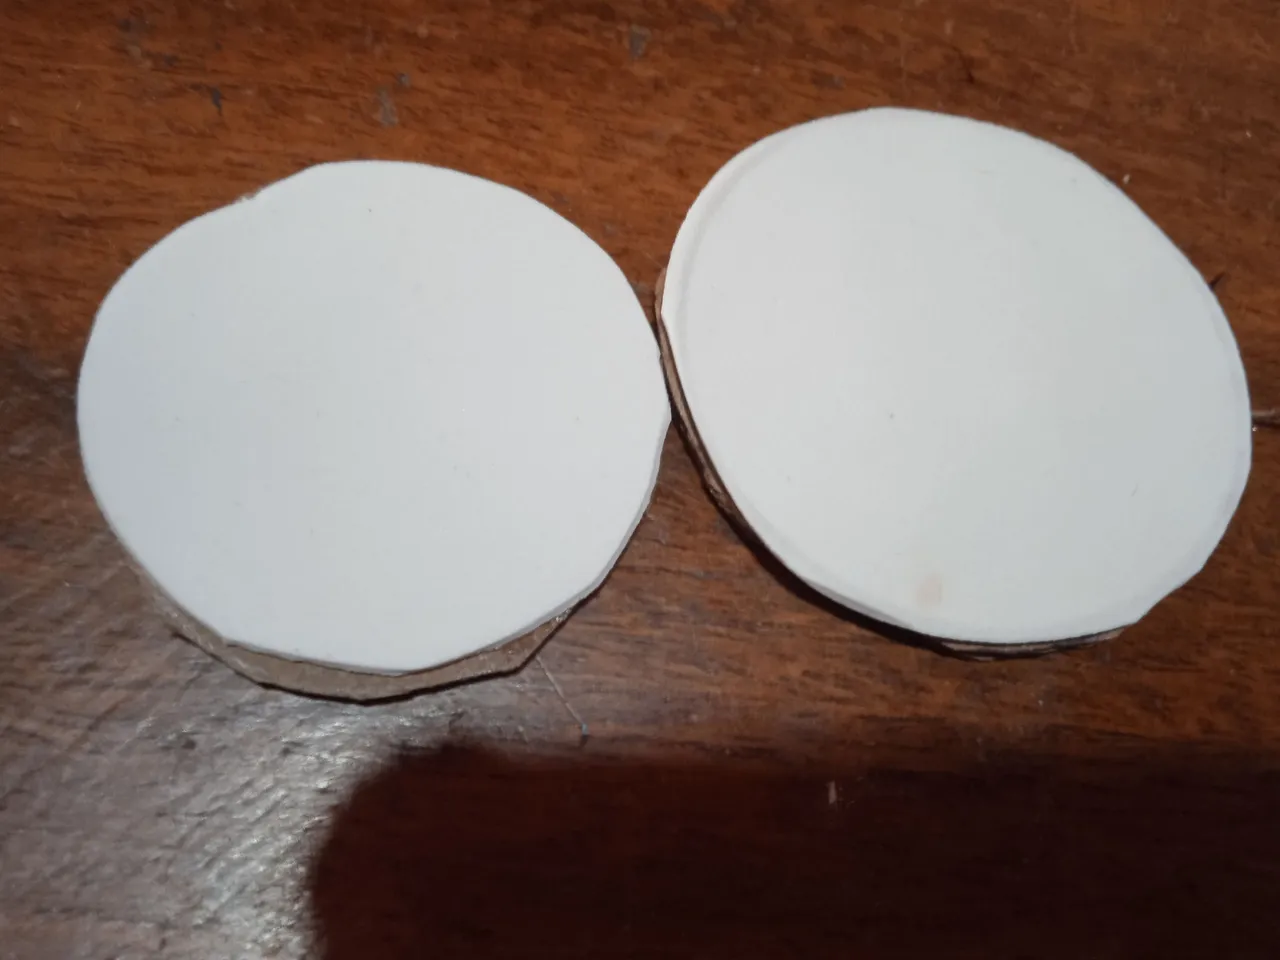
- Primero trazamos un circulo en el cartón con el tubo del papel para hacer la base.
First we trace a circle on the cardboard with the paper tube to make the base.
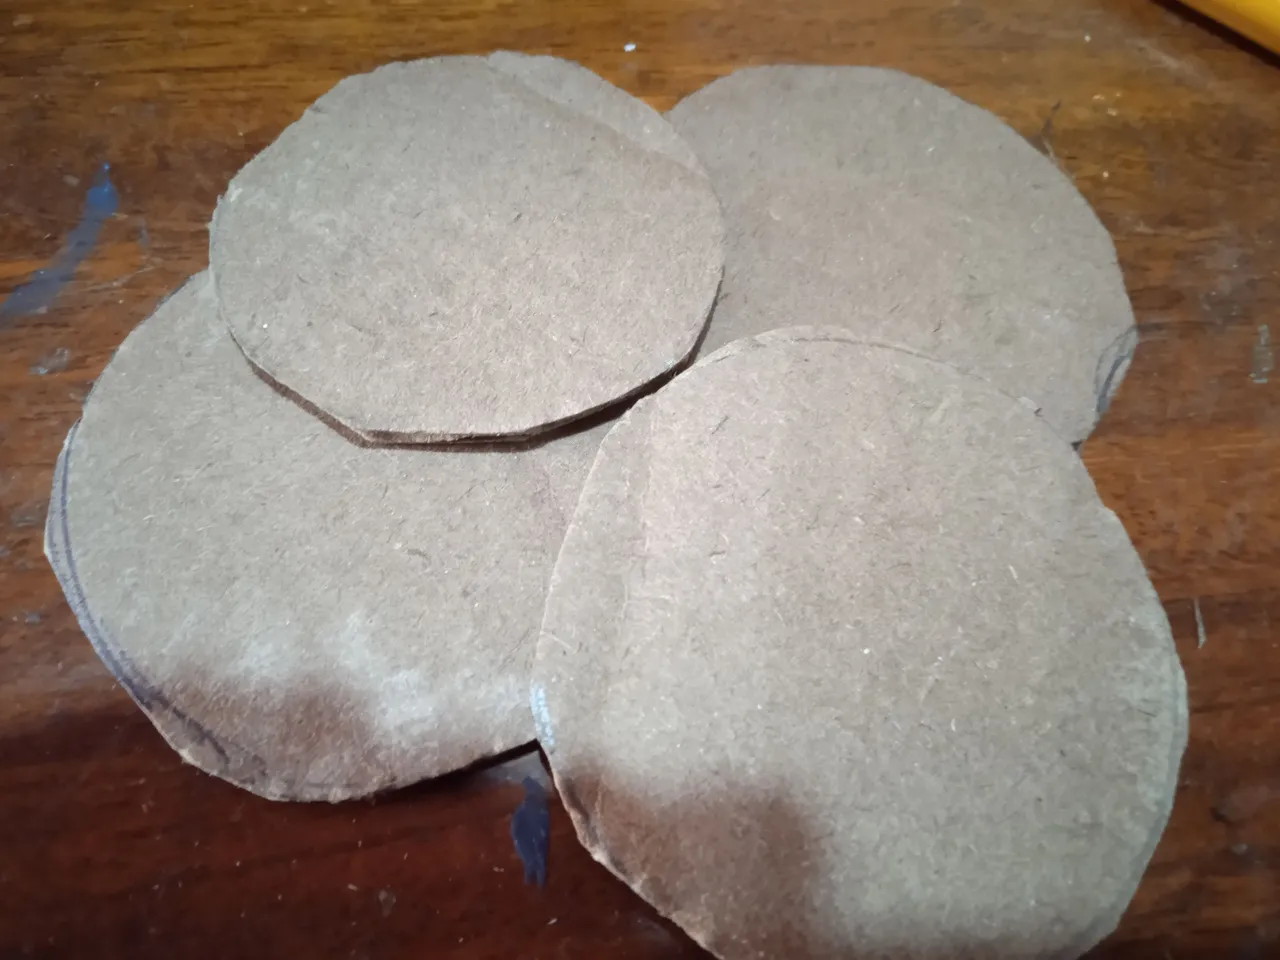
- Con una tijera se recortan los círculos.
The circles are cut out with scissors.
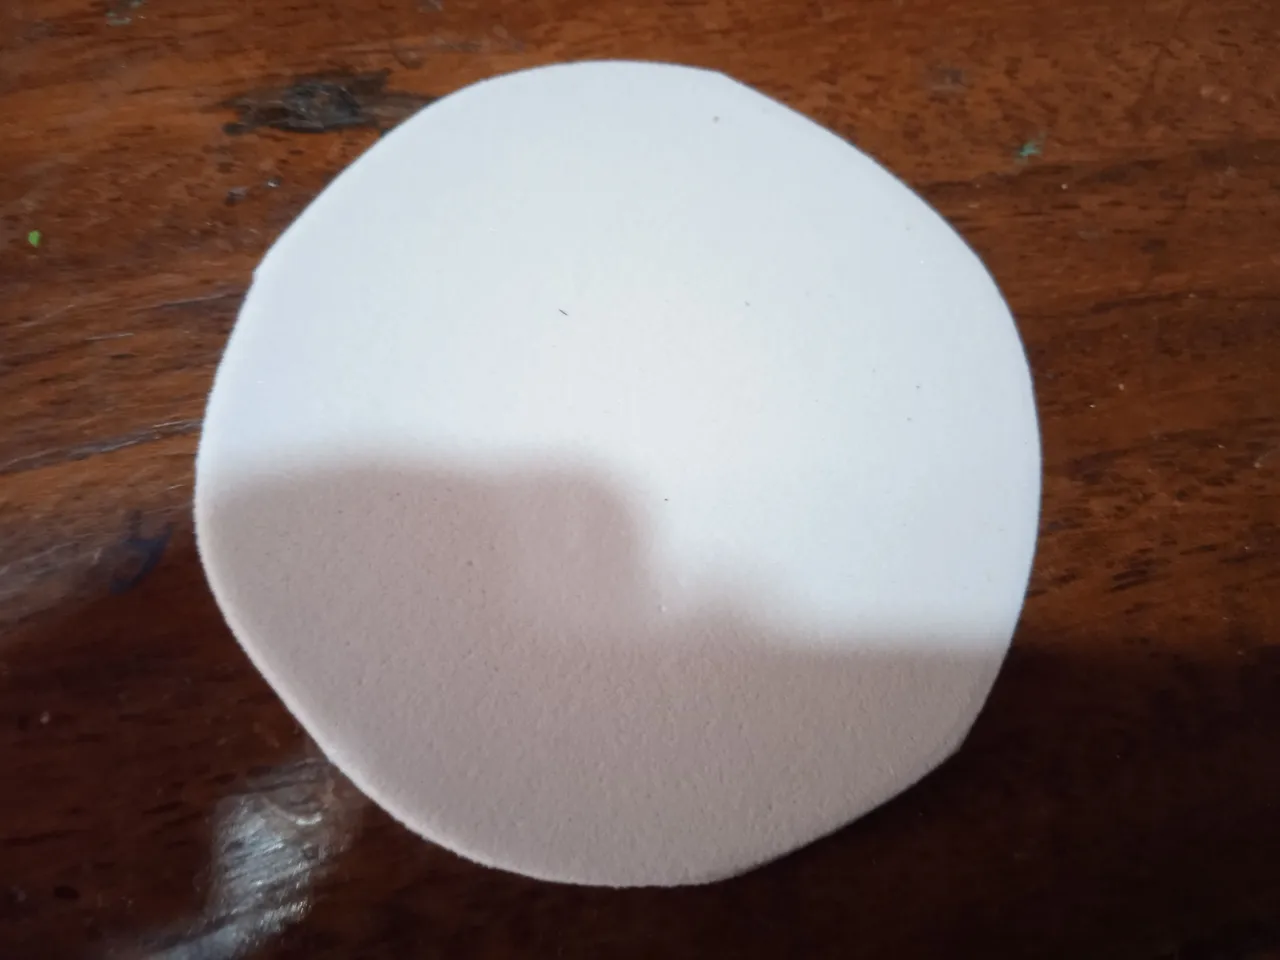
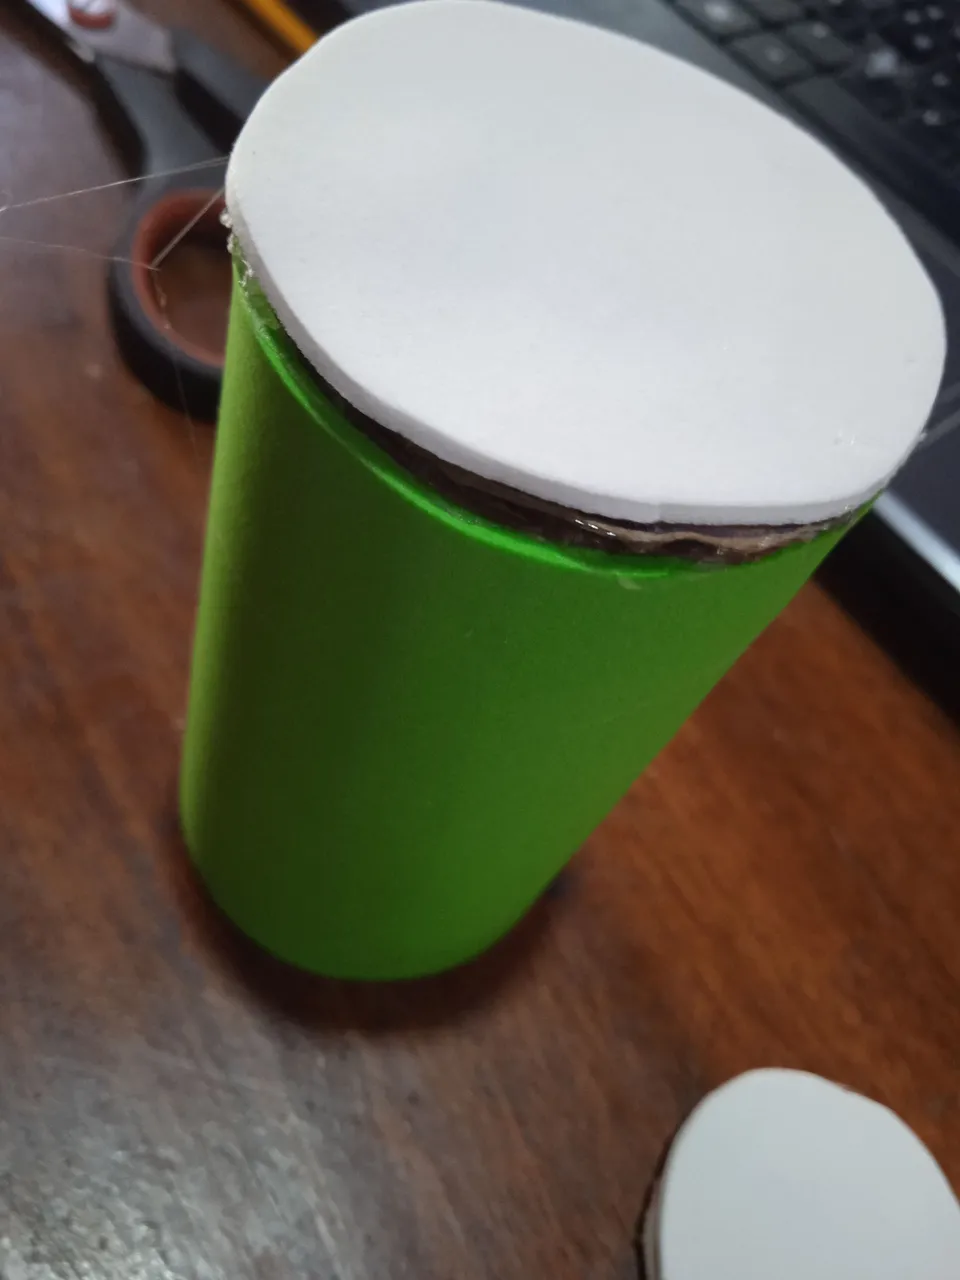
- Luego se mide los círculos en el foami blanco y luego se pega a los círculos.
- Then measure the circles on the white foami and glue them to the circles.
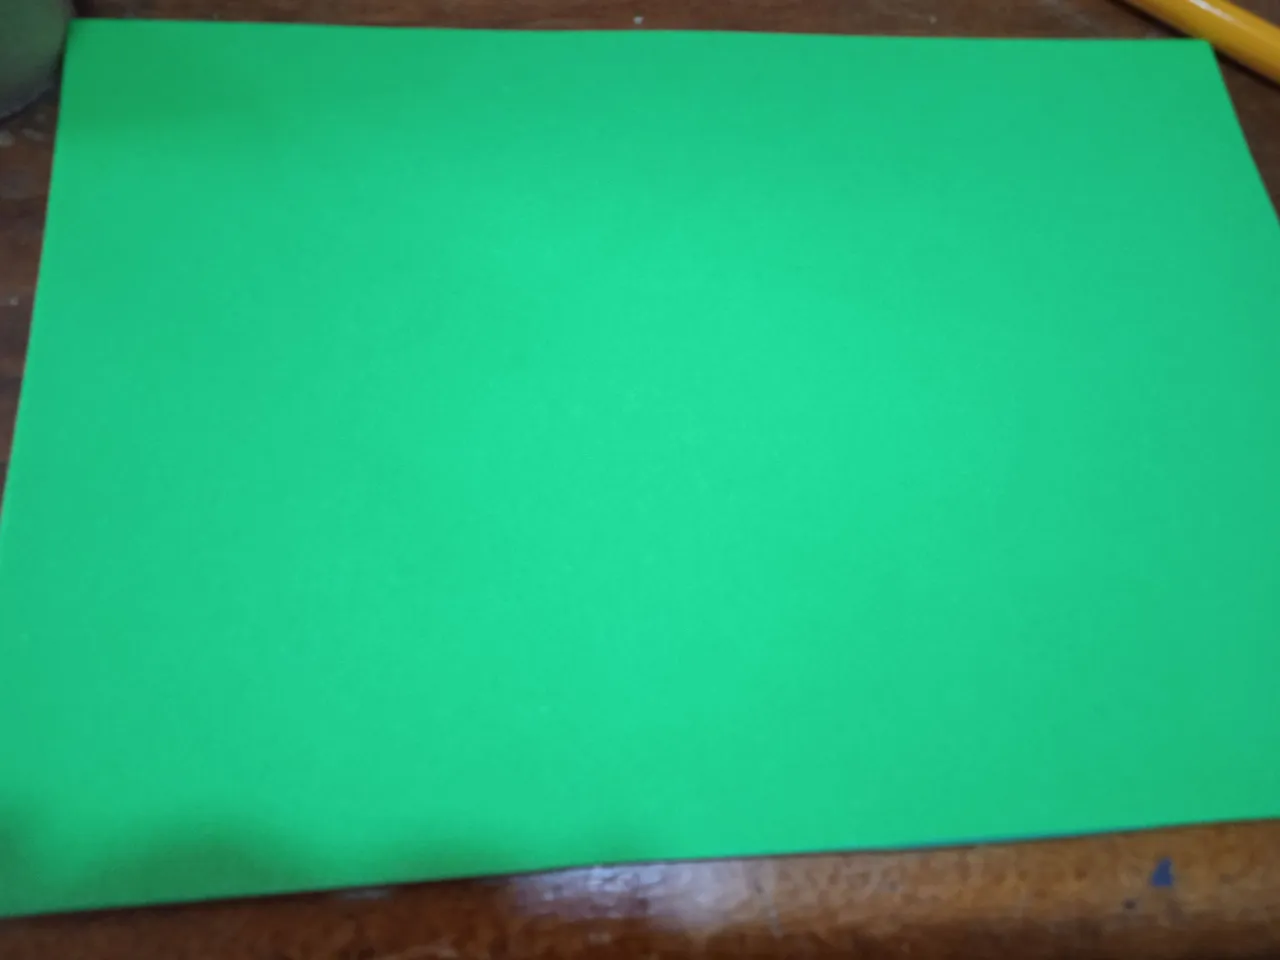
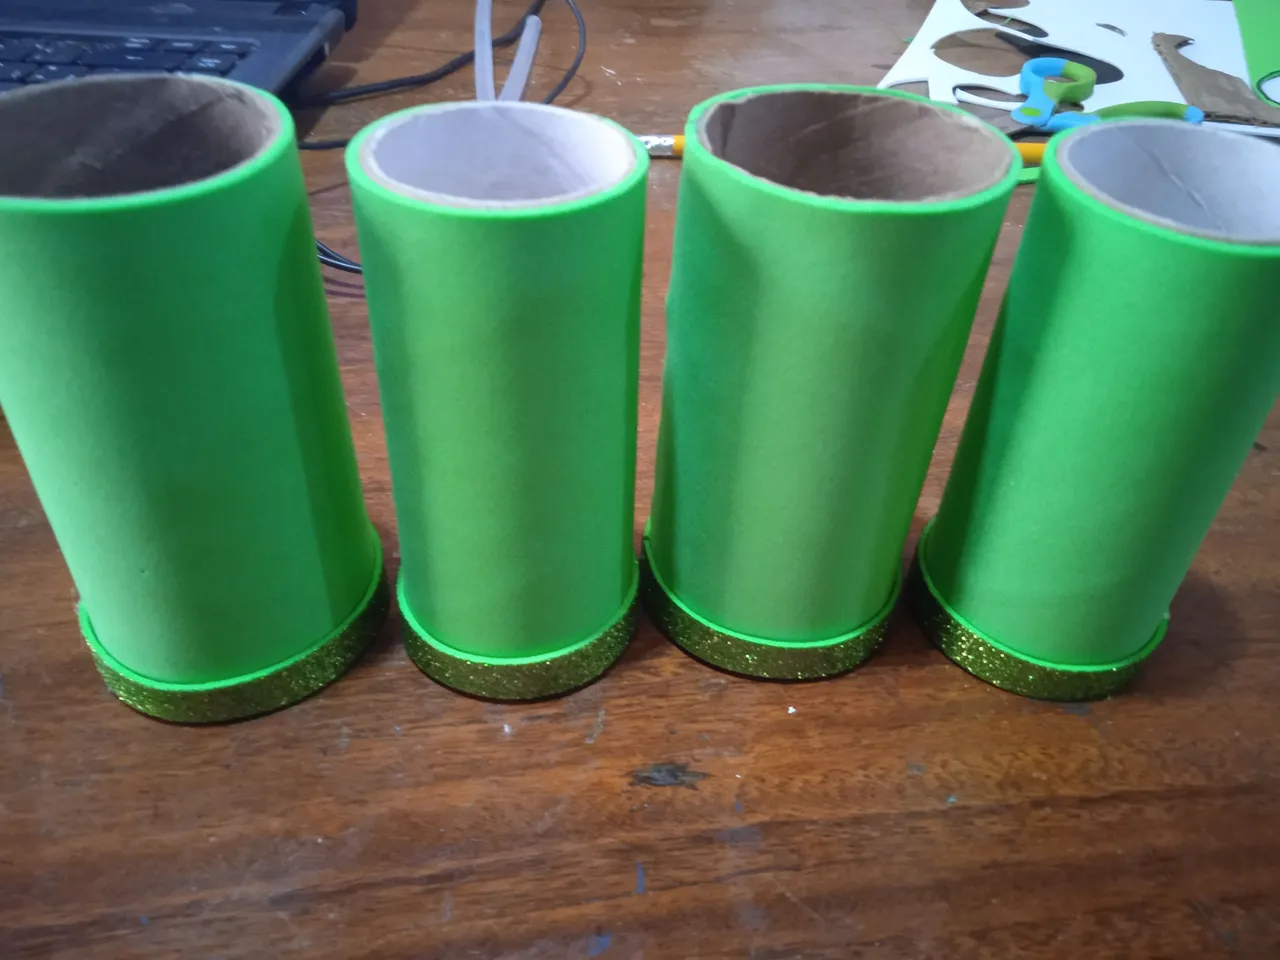
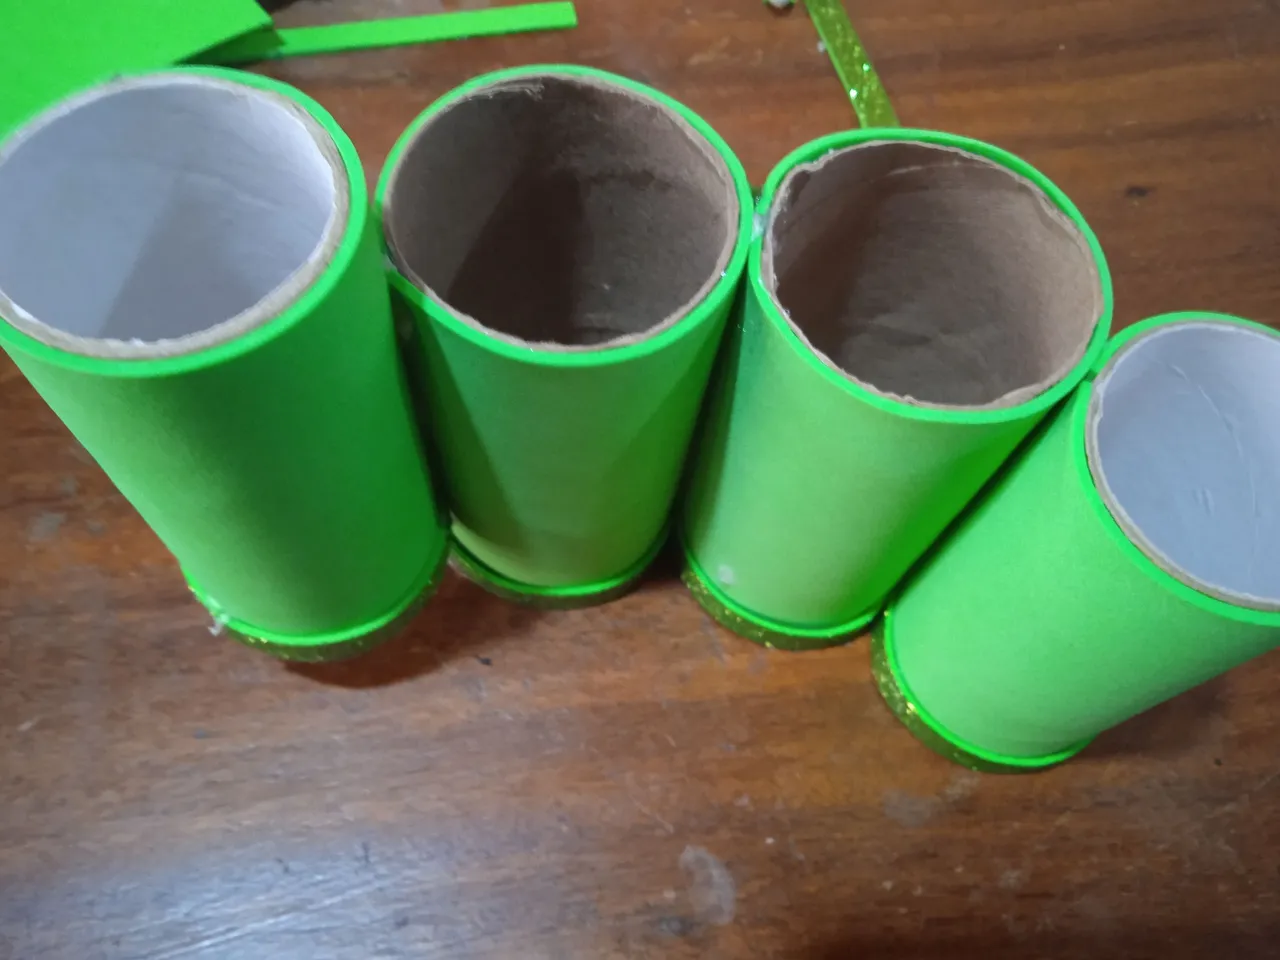
- Luego se corta un rectángulo con el foami verde y pegar en los tubos de papel higiénico.
- Then cut a rectangle with the green foami and glue it on the toilet paper tubes.
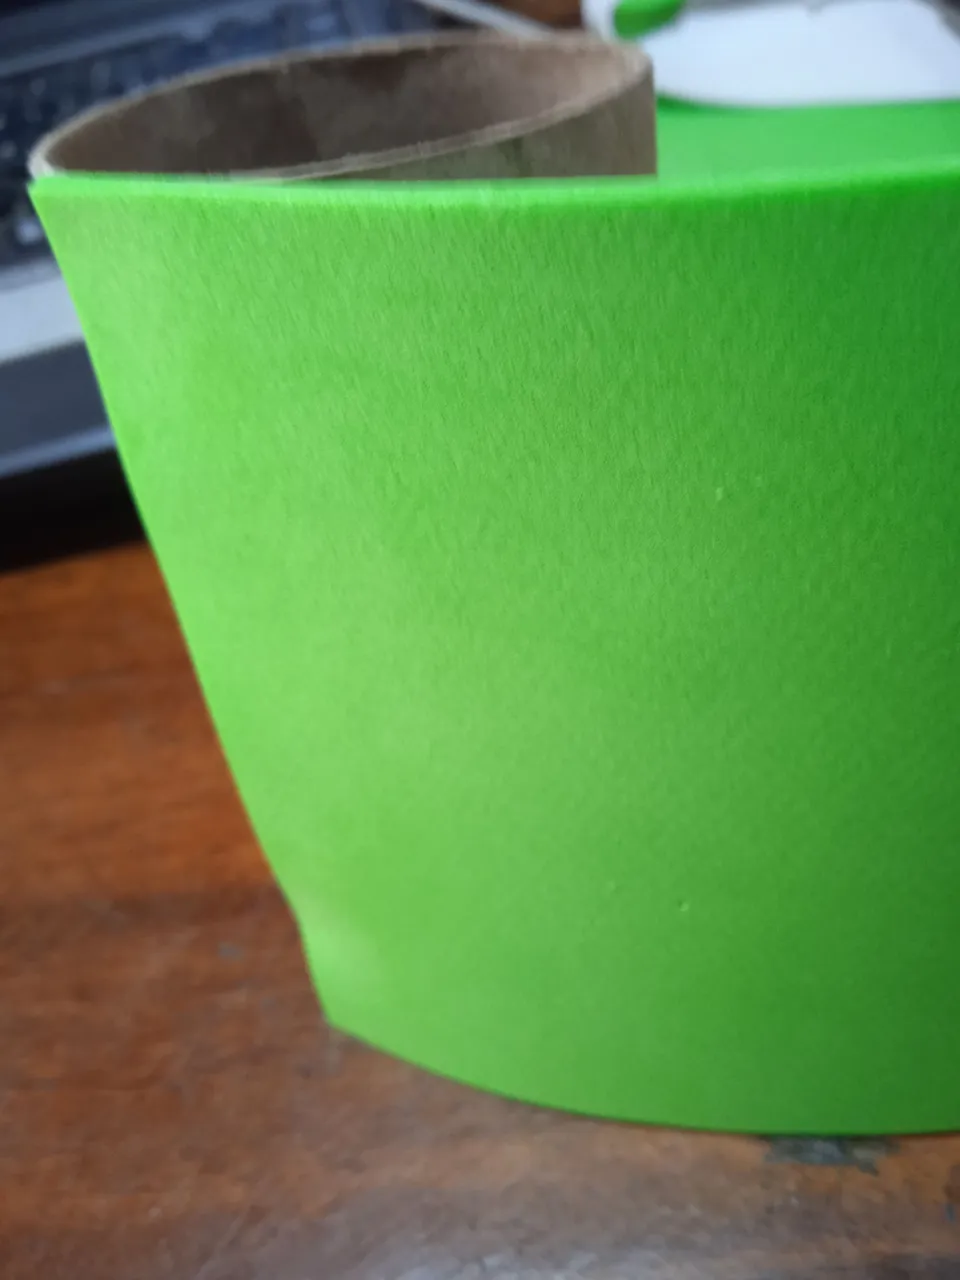
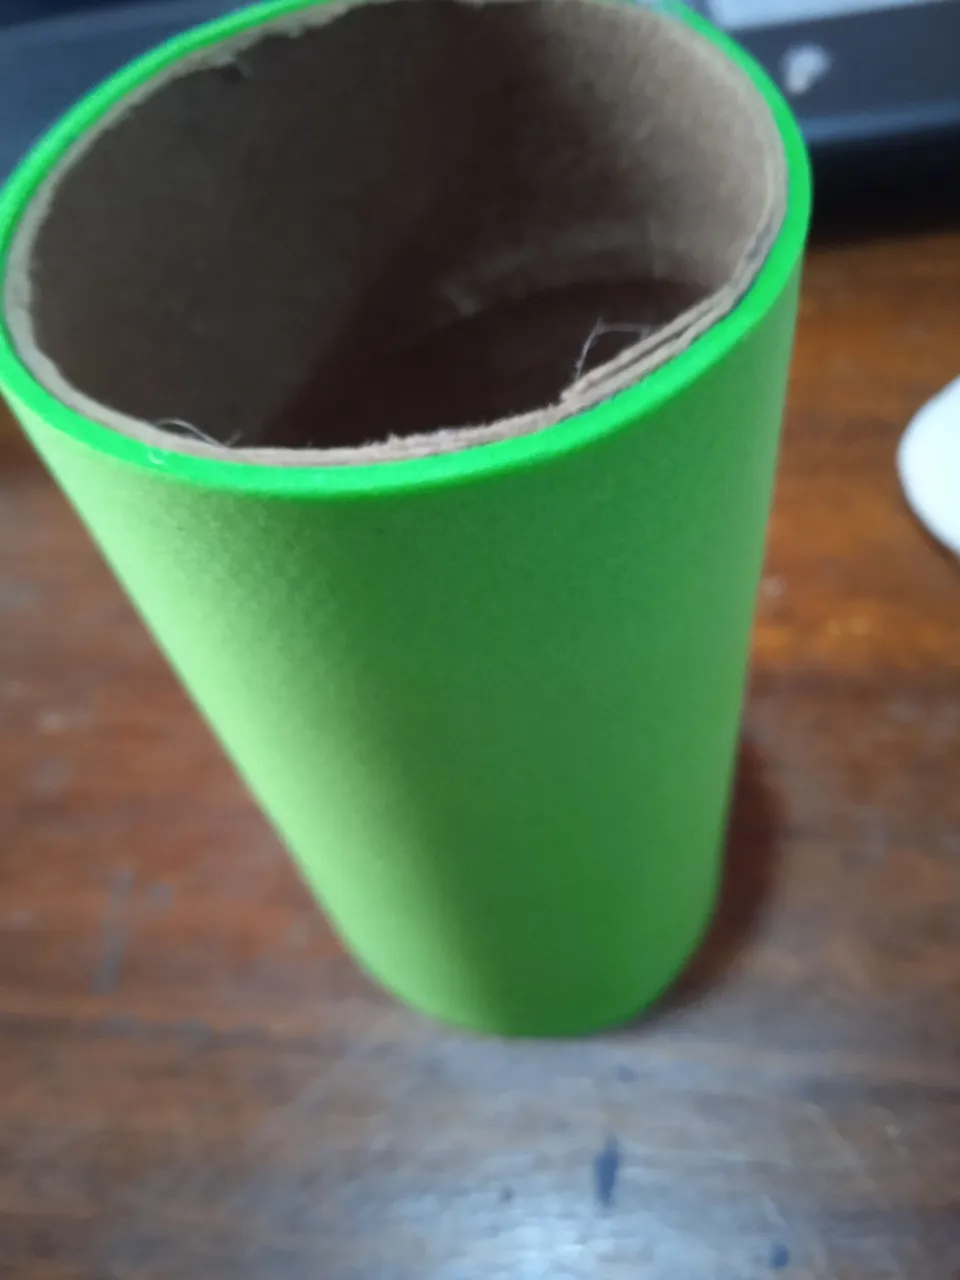
- Le pegamos el foami en todos los tubos de papel higiénico.
- We glue the foami on all the toilet paper tubes.
- Luego pegar la base a cada tubo de papel higiénico.
- Then glue the base to each toilet paper tube.
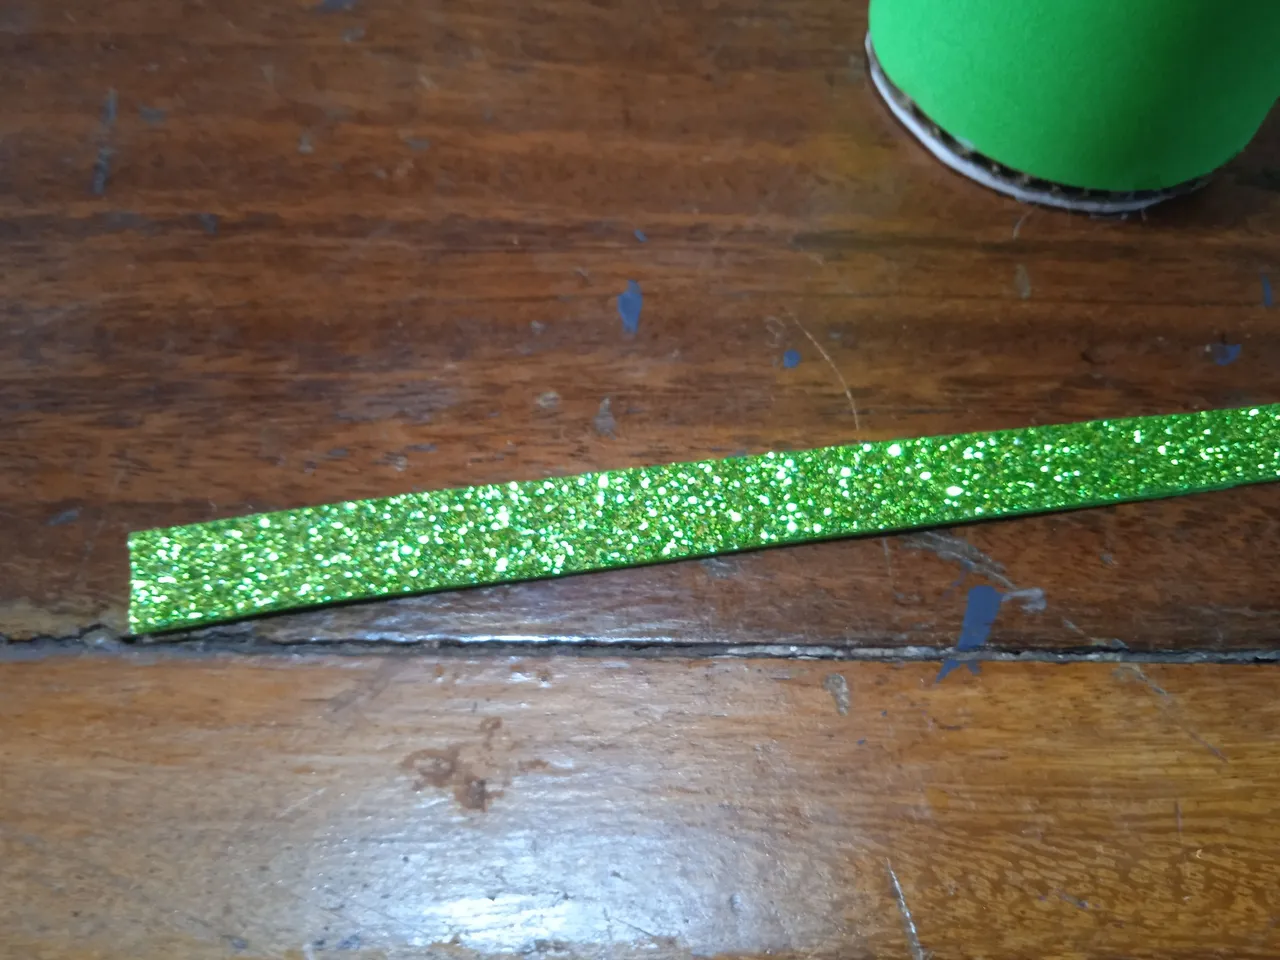
- Luego recortar una cinta de 1 cm de ancho y se pega en cada tubo.
- Then glue the base to each toilet paper tube.
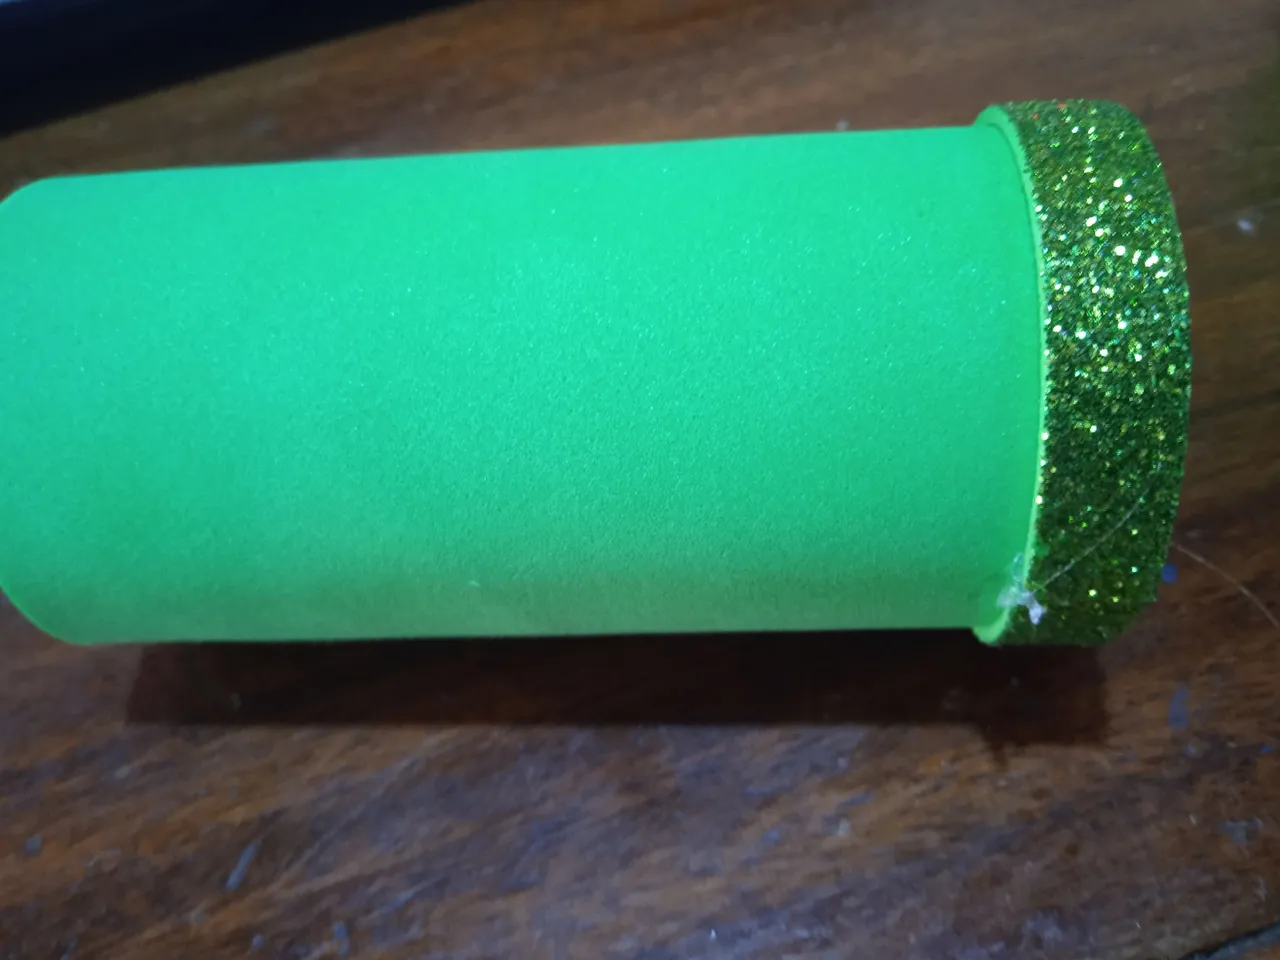
- Ya pegado la cinta a todos los tubos.
- Once the tape has been glued to all the tubes.
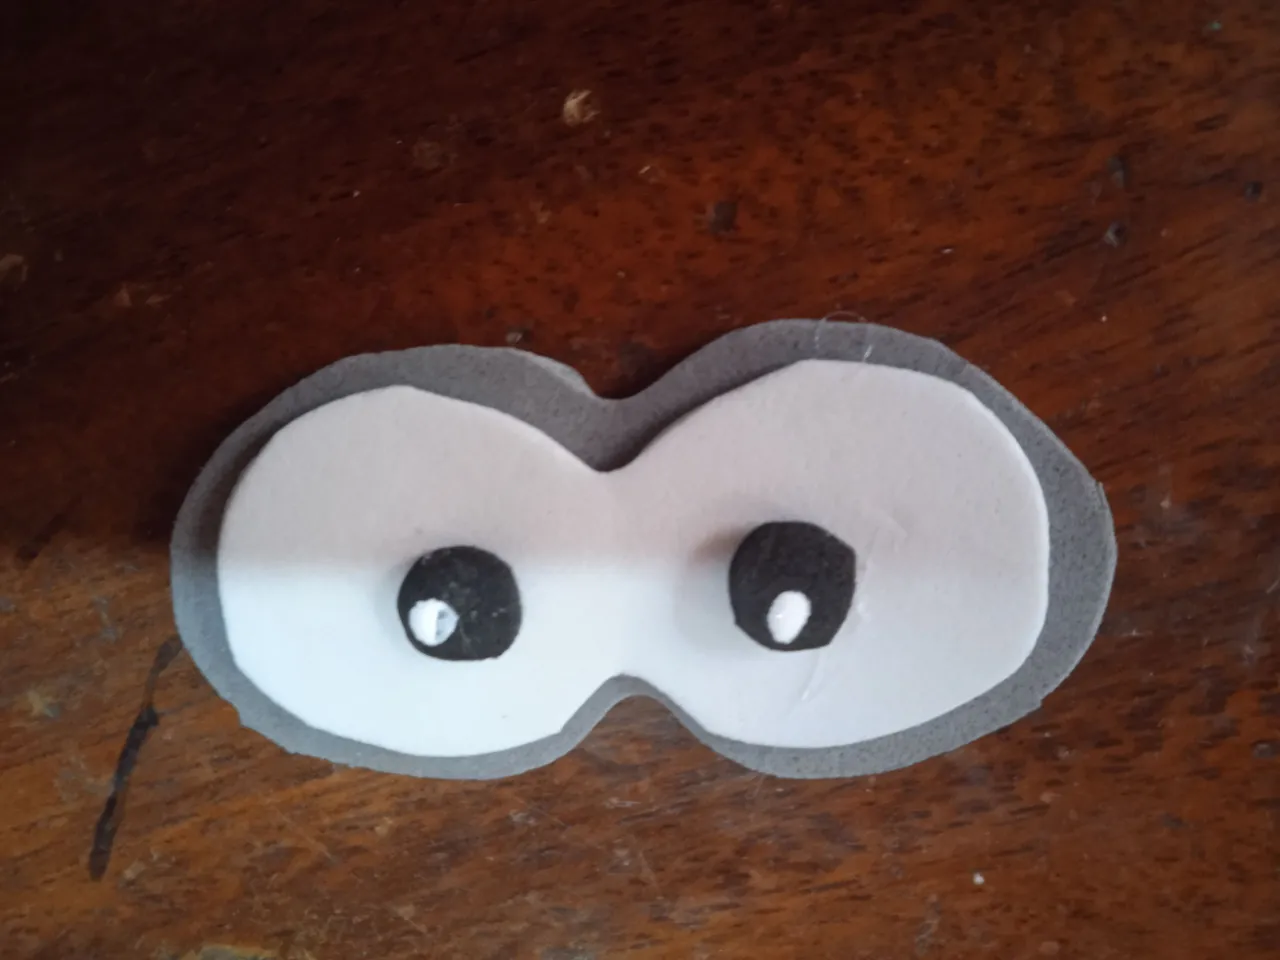
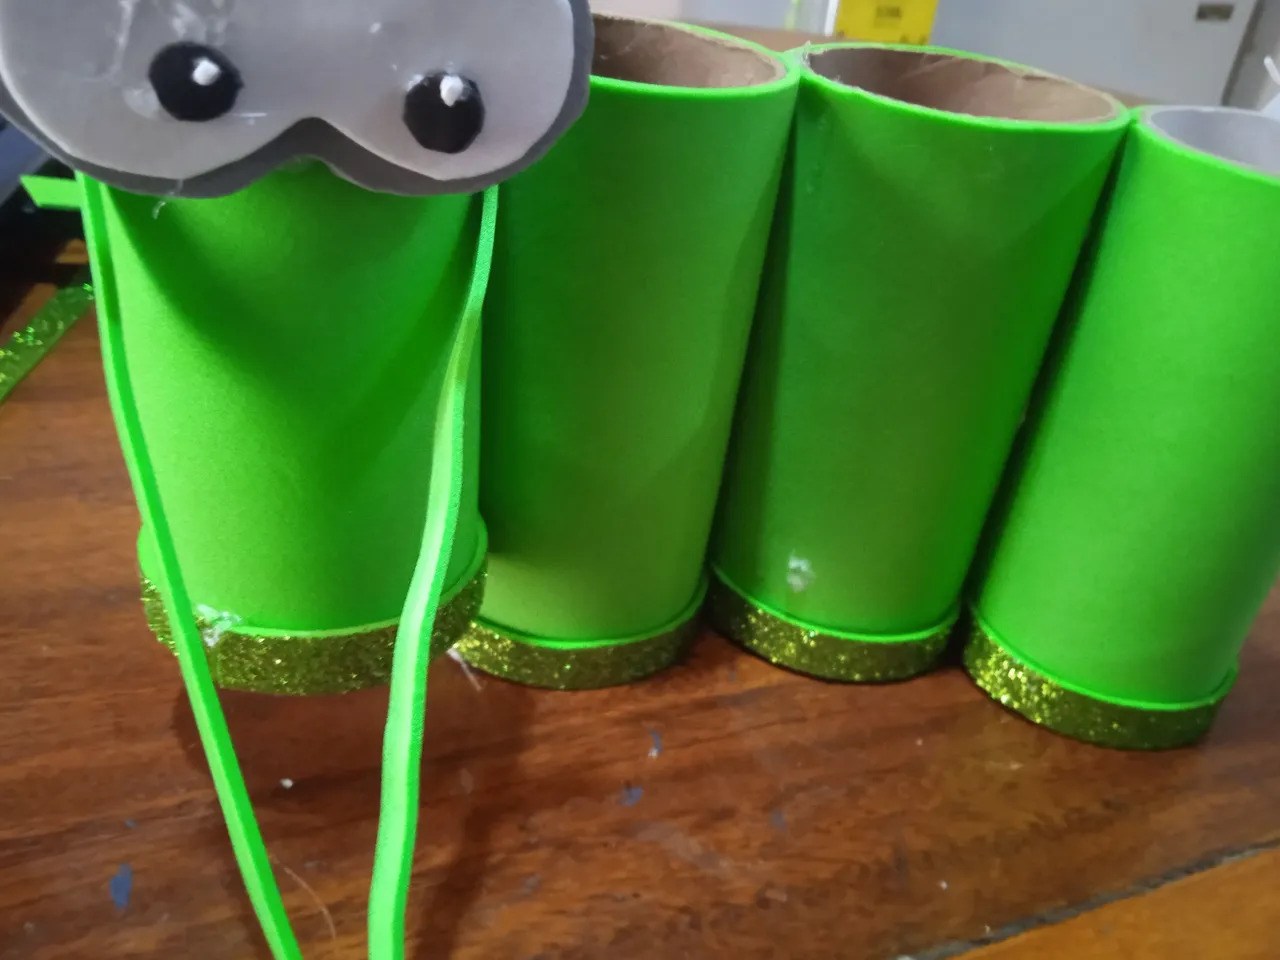
- Ahora procedemos hacer los ojos con el foami blanco, gris y negro.
- Now we proceed to make the eyes with the white, gray and black foami.
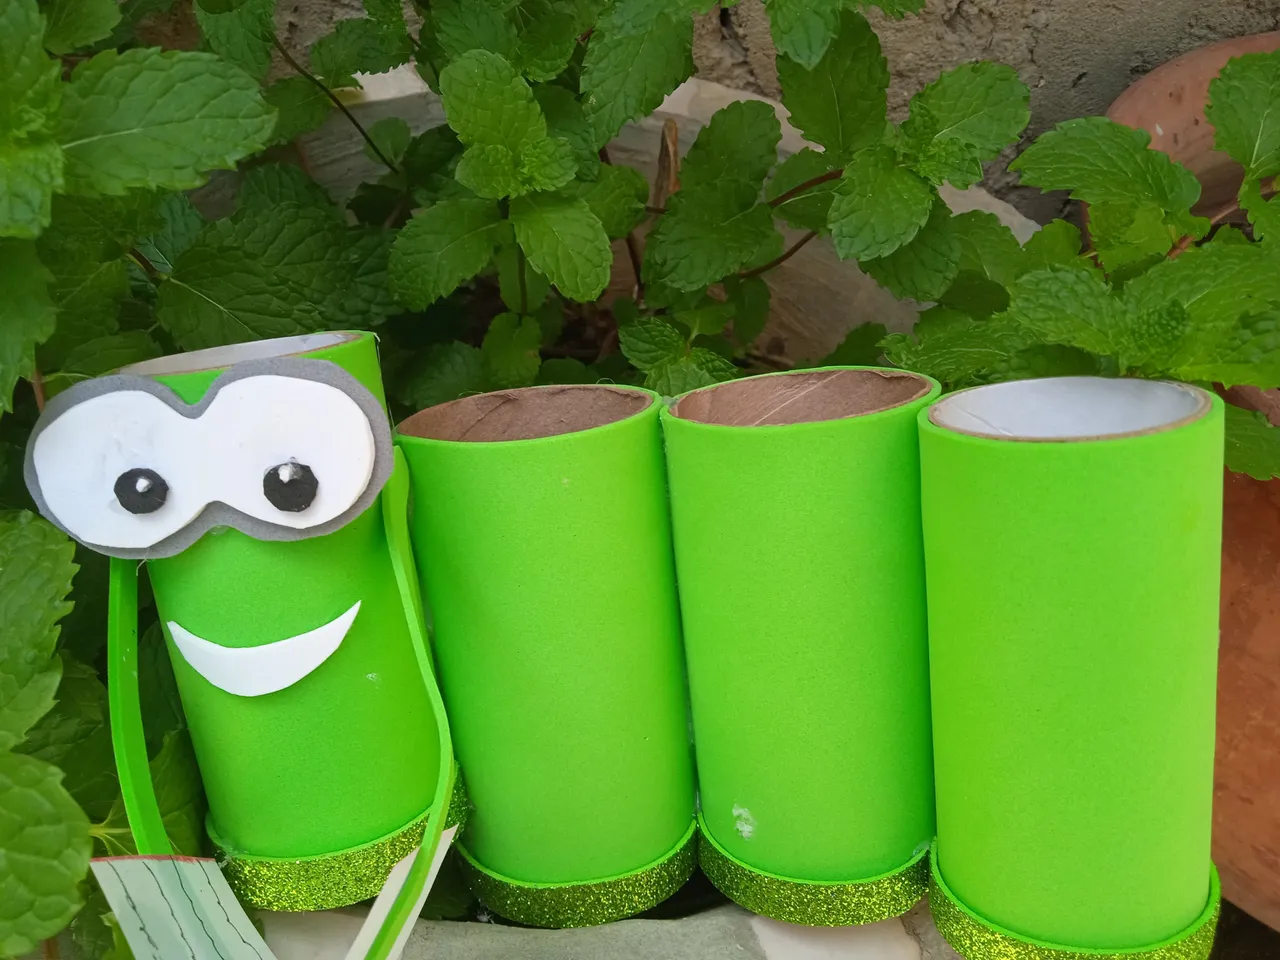
- Ahora procedemos pegar los tubos para formar el gusano.
- Now we proceed to glue the tubes together to form the worm.
- Ahora a pegar los ojos.
- Now to glue the eyes.

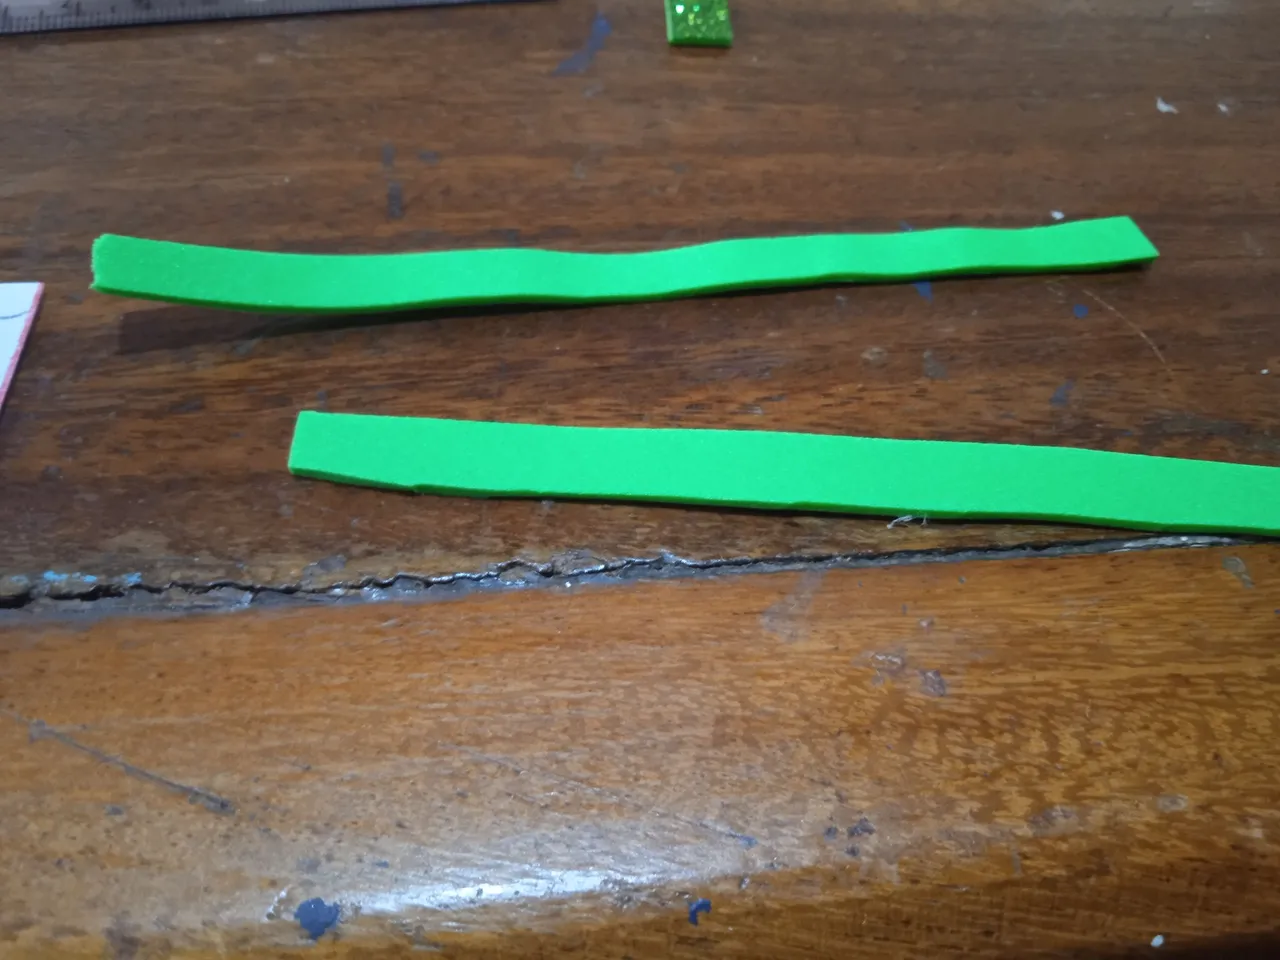
- Luego se recorta dos rectángulos de 1 cm para hacer los brazos y pegar cada uno.
- Then cut out two 1 cm rectangles to make the arms and glue each one.
- Ahora pegar la boca, el libro y listo.
- Now glue the mouth, the book and ready.
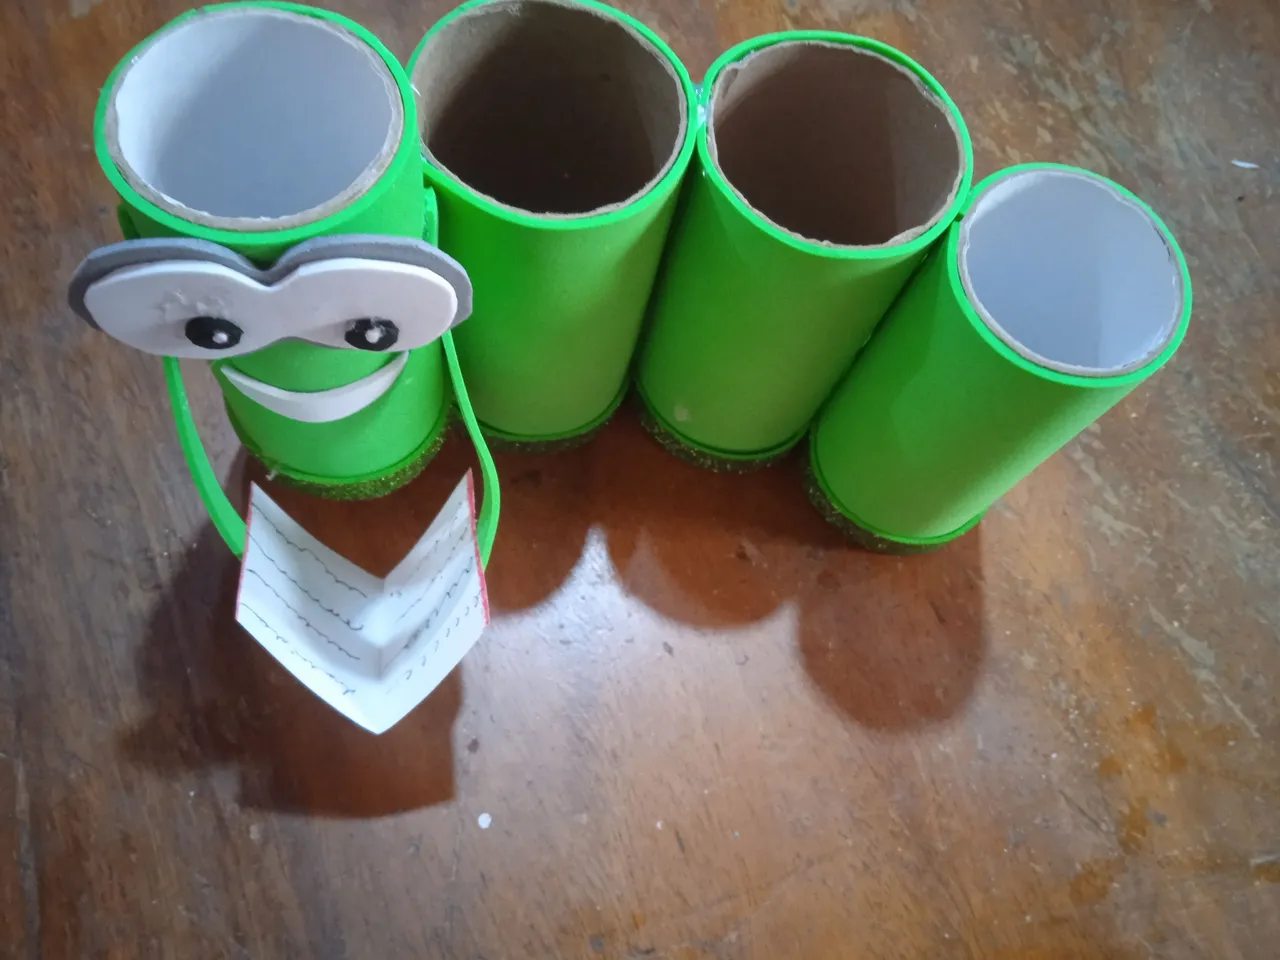
I hope you liked my project of the day.