¡Un saludo a todos! Estoy devuelta con una nueva publicación y en esta oportunidad quiero compartir con ustedes, el proceso de creación de una animación en formato gif, siendo este el ultimo proyecto del curso básico de Photoshop que estaba cursando en platzi.com. Anteriormente les había comentado sobre este último proyecto en el anterior post y si les interesa pueden ir a verlo a esta dirección: (https://peakd.com/hive-133872/@johstingmzk/esp-eng-extasis-portada-de-disco-ficticio--edicion-en-photoshop--procedimiento-ecstasy-fictitious-album-cover--editing-in-pho) Está muy bueno.
Greetings to all! I'm back with a new post and this time I want to share with you the process of creating an animation in gif format, being this the last project of the basic Photoshop course I was taking at platzi.com. I had previously told you about this last project in the previous post and if you are interested you can go to this address:(https://peakd.com/hive-133872/@johstingmzk/esp-eng-extasis-portada-de-disco-ficticio--edicion-en-photoshop--procedimiento-ecstasy-fictitious-album-cover--editing-in-pho) It is very good.

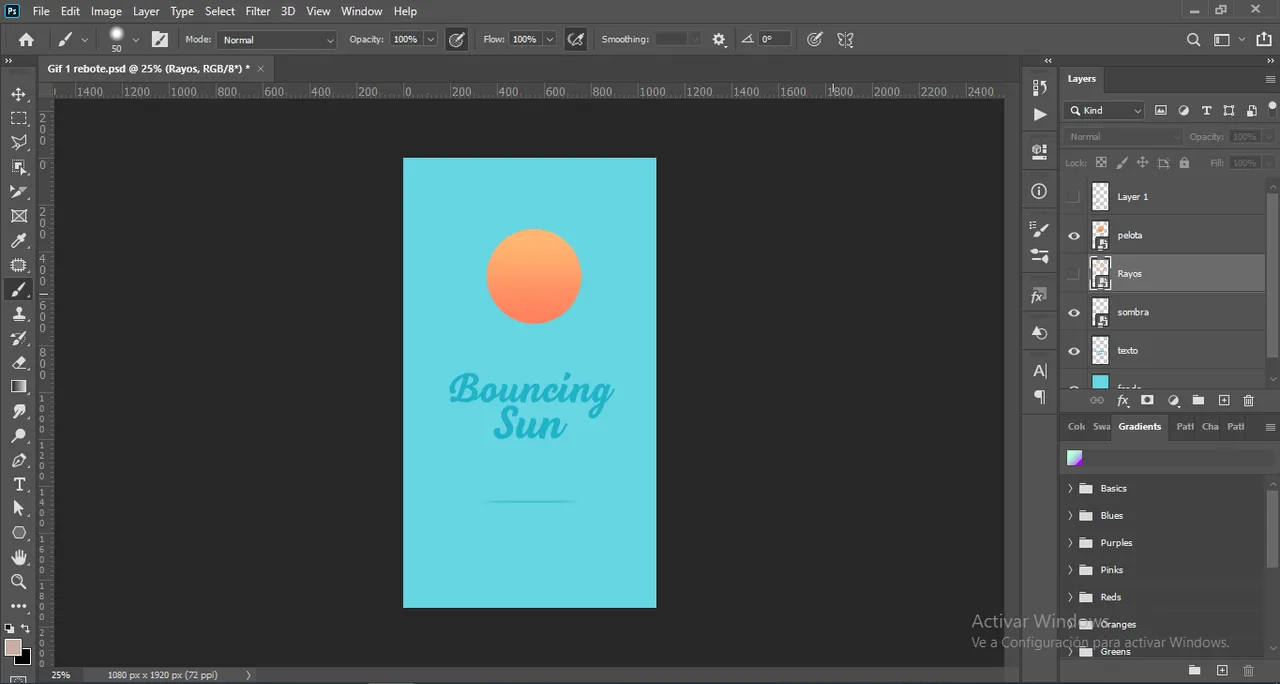
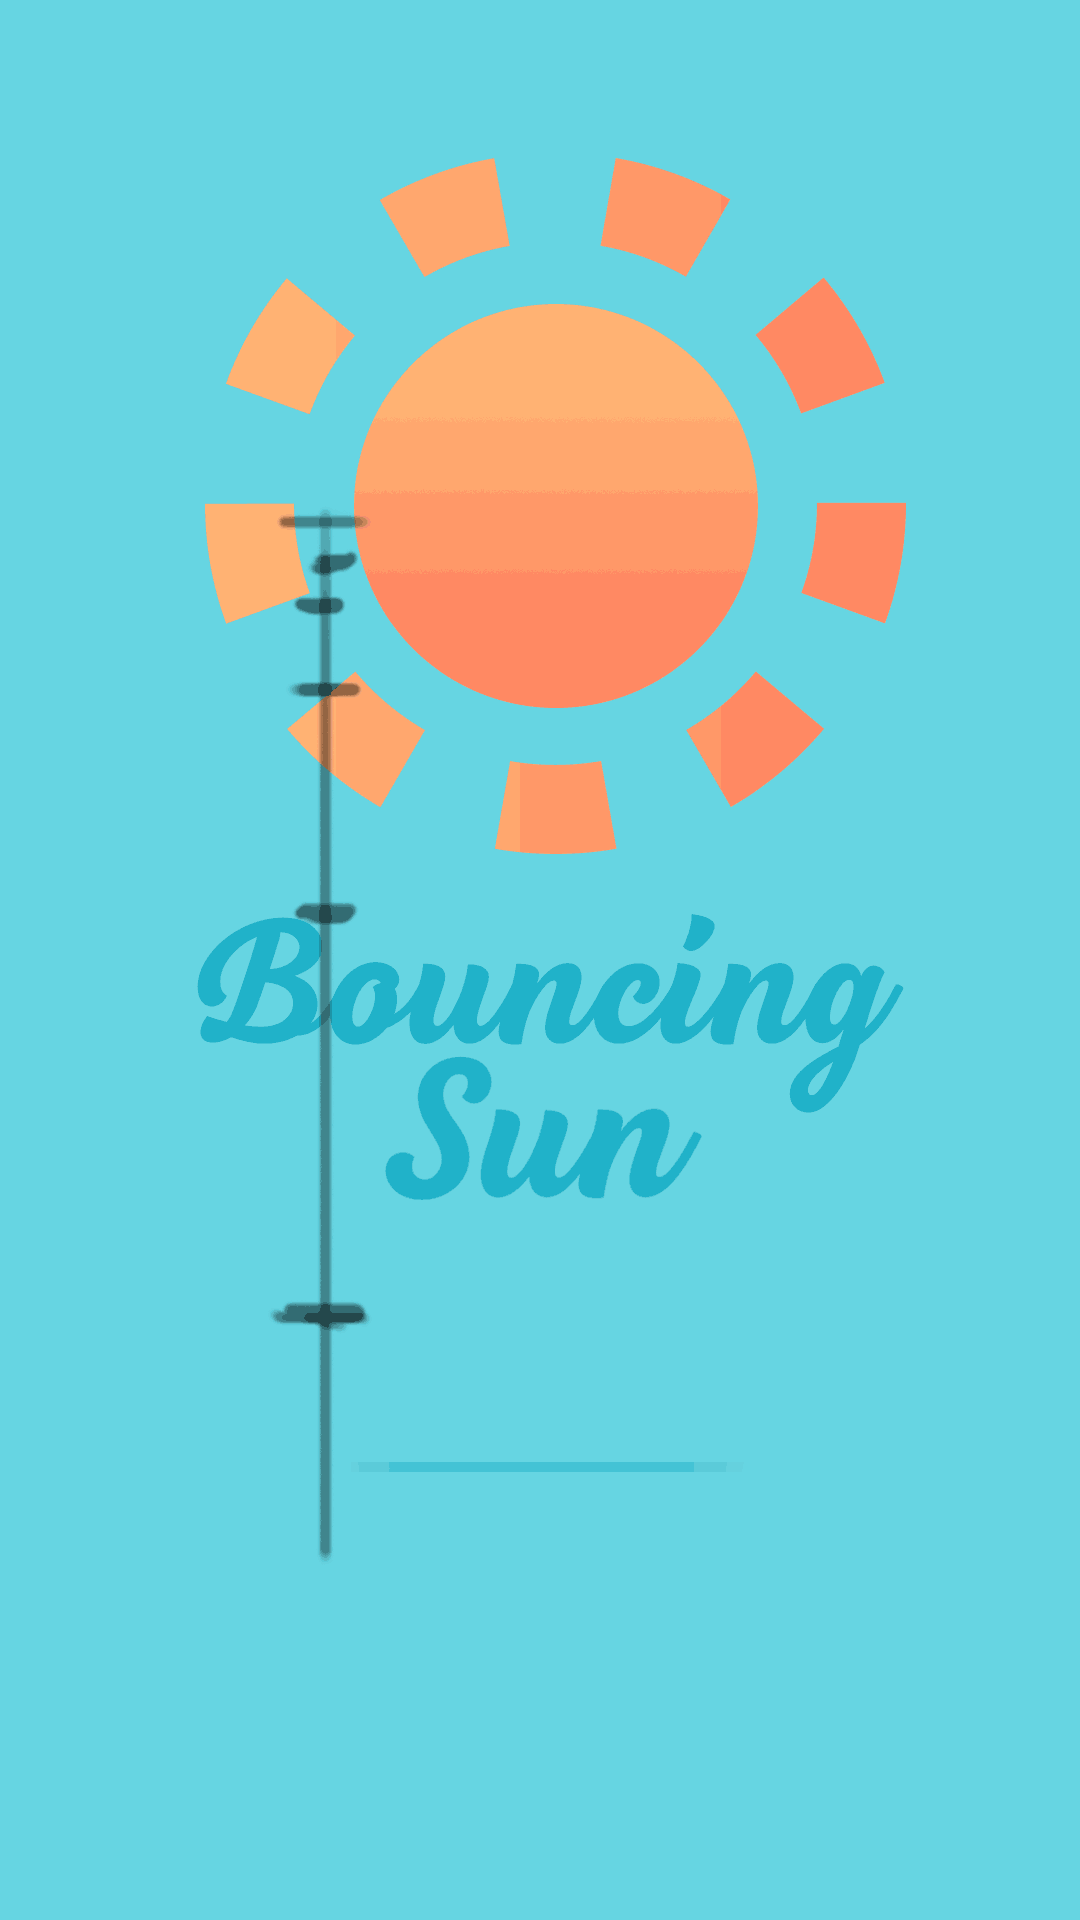
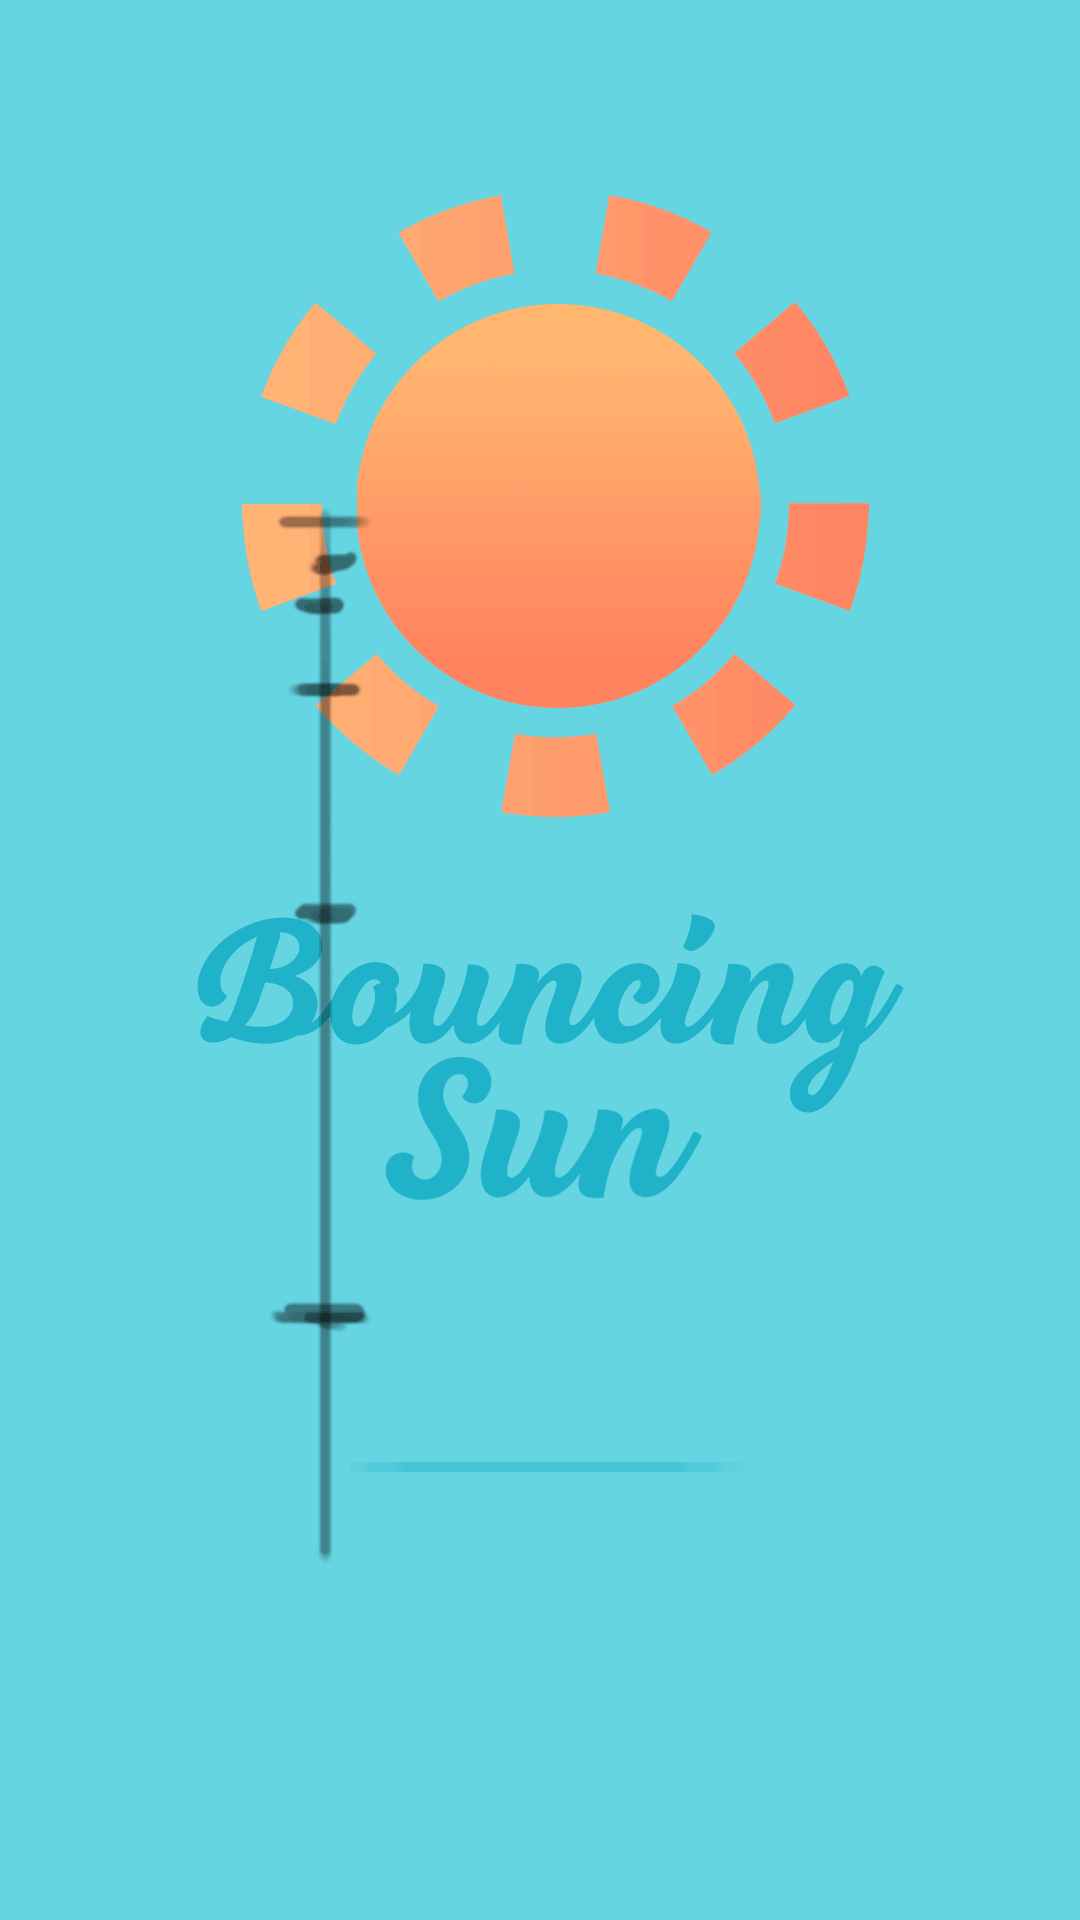
Ahora, como dije arriba esta vez quiero mostrarles algo un poco diferente; la creación de una animación sencilla en Photoshop. Así que, al tratarse de eso, no me enfocare tanto en compartirles los detalles del diseño del poster como tal, ya que es un diseño muy simple y además si han visto mis posts anteriores, no les contaría algo nuevo. Simplemente utilice un degradado para el circulo alusivo a un sol, un color solido para el fondo que me generara contraste, la sombra del sol a partir de un difuminado de un ovalo y una tipografía adecuada para los demás elementos.
Now, as I said above, this time I want to show you something a little different; the creation of a simple animation in Photoshop. So, since that's what it is, I won't focus so much on sharing the details of the poster design as such, since it's a very simple design and also if you have seen my previous posts, I wouldn't tell you anything new. I simply used a gradient for the circle alluding to a sun, a solid color for the background to generate contrast, the shadow of the sun from a blurred oval and a suitable typography for the other elements.
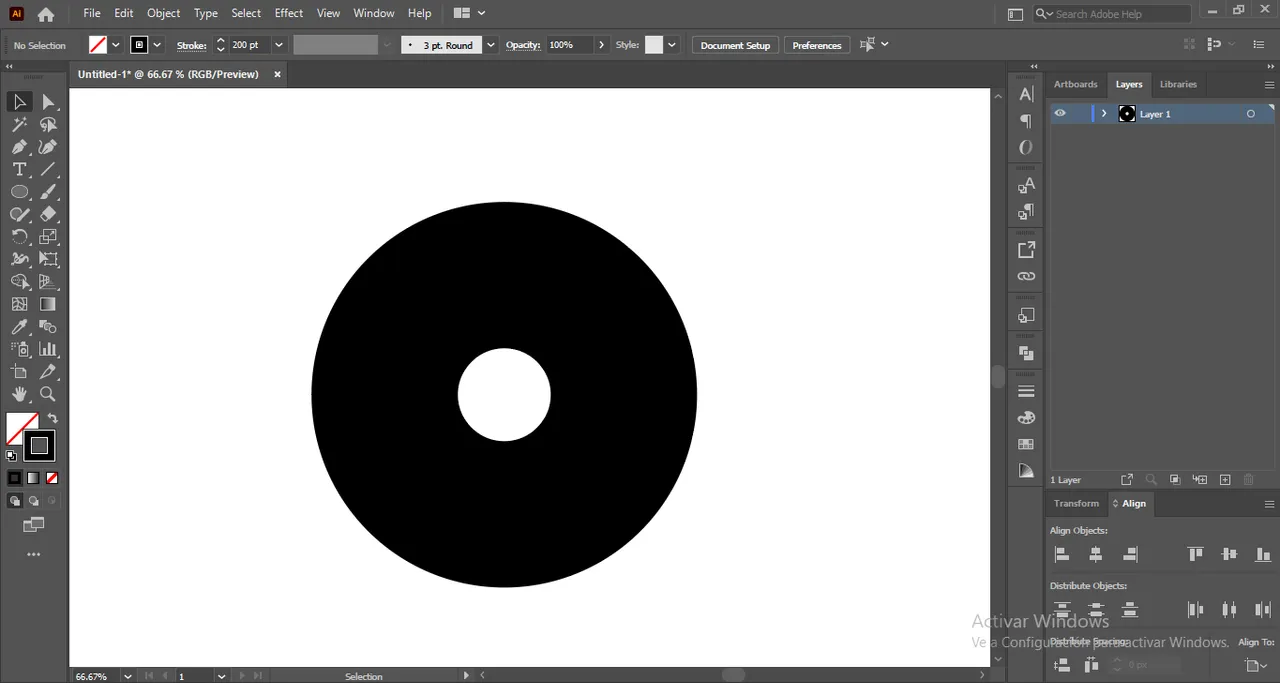
Para la creación de los rayos del sol en un solo elemento, si hice un proceso un tanto diferente así que se los contare rápidamente. Estando en illustrator, cree un círculo, desactive el relleno y deje solo el borde. Luego aumente la cantidad de puntos de los bordes hasta obtener un borde sumamente grueso. Luego me fui al panel de Stroke y me dirigí a dashed line, donde active la casilla y definí la cantidad de líneas que iban a ser divididas en este borde.
For the creation of the sun rays in a single element, I did a slightly different process so I'll tell you about it quickly. While in illustrator, I created a circle, turned off the fill and left only the border. I then increased the amount of dots on the edges until I got an extremely thick border. Then I went to the Stroke panel and went to dashed line, where I checked the box and defined the amount of lines this border was going to be divided into.


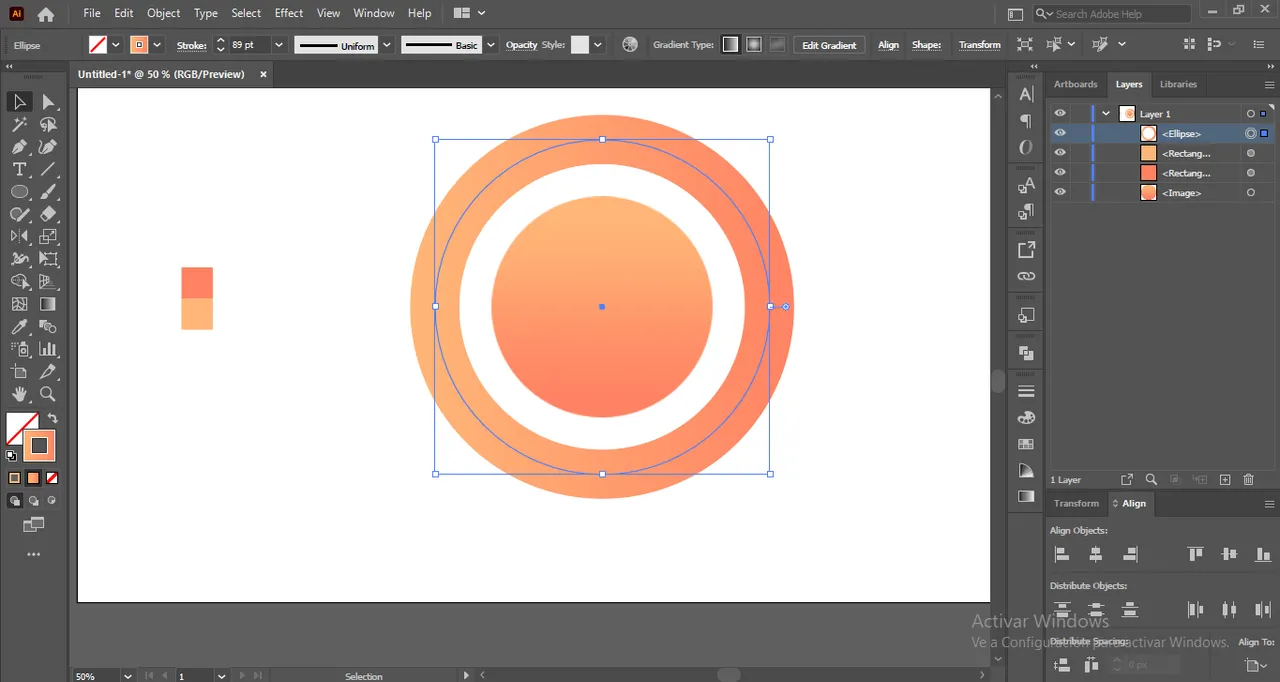
Luego, simplemente importe el circulo que había creado en Photoshop para tener una vista mas clara del espacio y tamaño que necesitaba para los rayos del sol. Alinee el borde al sol y lo pinte del mismo degrado de este y luego definí, la cantidad de rayos de sol que quería ¡y listo! Luego simplemente exporte estos rayos de sol a mi diseño en Photoshop, las alinee con el sol y listo.
Next, I simply imported the circle I had created in Photoshop to get a clearer view of the space and size I needed for the sun's rays. I aligned the border to the sun and painted it the same gradient as the sun and then defined the amount of sun rays I wanted and that was it! Then I simply exported these sun rays to my Photoshop design, lined them up with the sun and I was done.


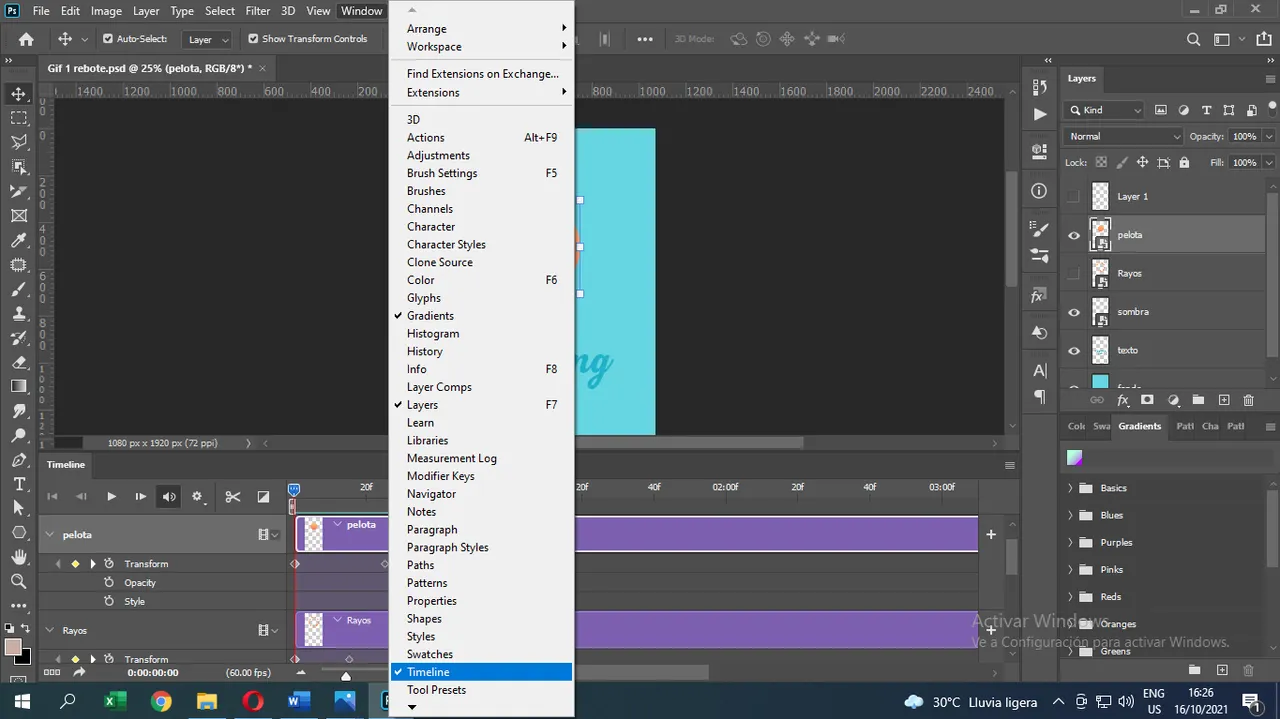
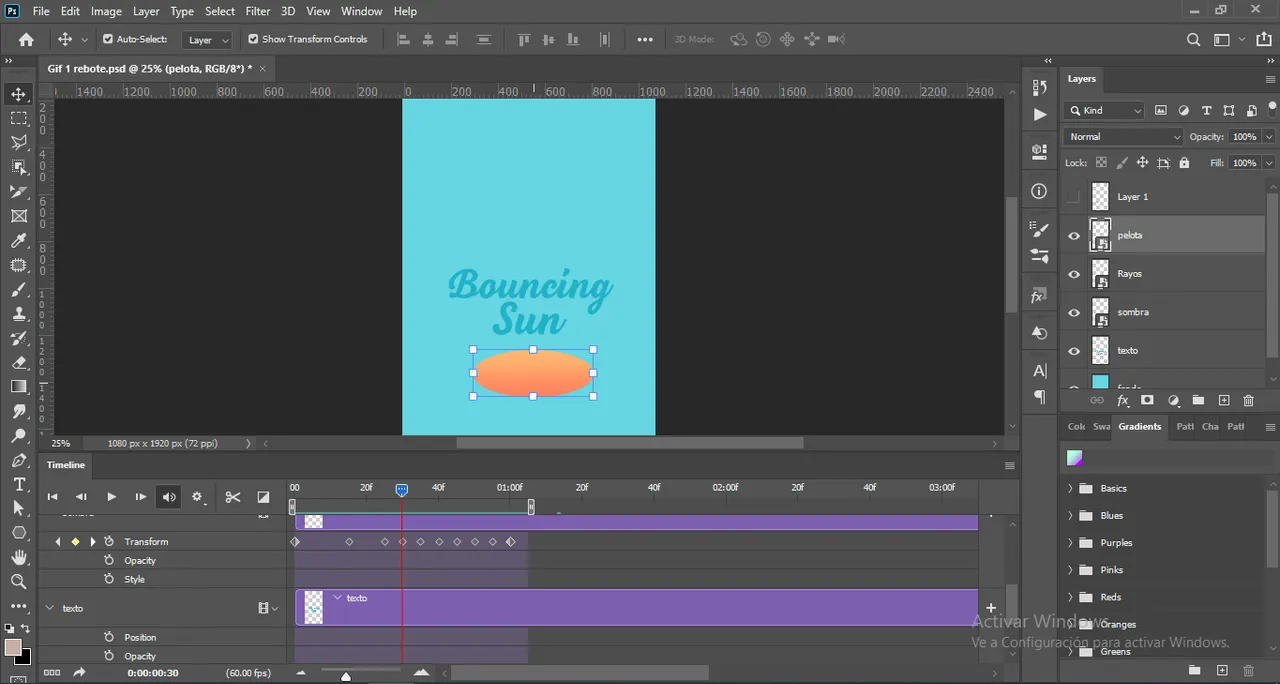
Ya con todos los elementos listo, fui a Windows y active la casilla de Timeline. Y una vez allí comencecon nuestra animación.
With all the elements ready, I went to Windows and activated the Timeline checkbox. And once there i started with our animation.
Lo primero que hice fue crear unas líneas guías para los recorridos que iba a hacer el sol. Lo que quería hacer, era generar un efecto de rebote como si fuera una pelota. Luego en el panel de elementos, seleccioné el sol y empecé a designar los puntos de recorrido de mi pelota. Mi animación iba a durar un segundo así que cree un punto en su posición inicial, otro en el medio (medio segundo) donde sol iba a tocar el suelo y otro a final (segundo 1) donde el sol regresaba a su posición inicial. Luego guardé y lo reproduje en la línea del tiempo y este fue el resultado:
The first thing I did was to create some guide lines for the paths that the sun was going to make. What I wanted to do, was to generate a bouncing effect as if it were a ball. Then in the elements panel, I selected the sun and started to designate the path points of my ball. My animation was going to last one second so I created a point at its initial position, another in the middle (half a second) where the sun would touch the ground and another at the end (second 1) where the sun would return to its initial position. Then I saved and played it on the timeline and this was the result:
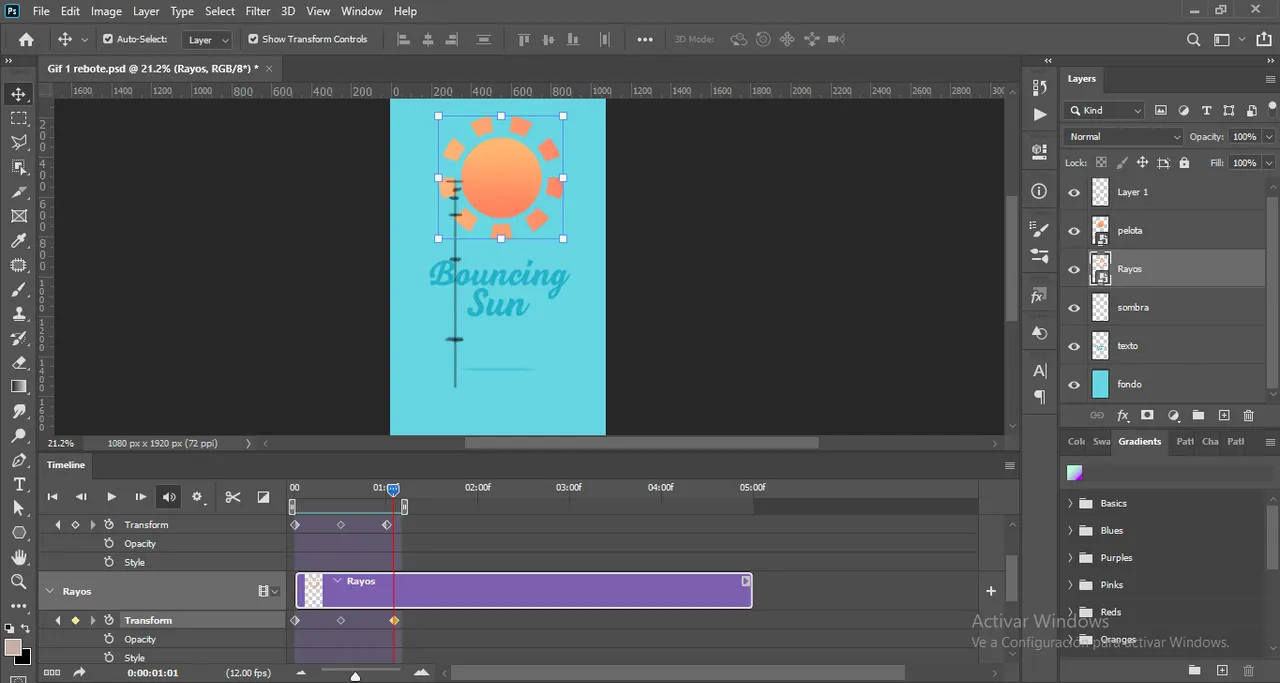

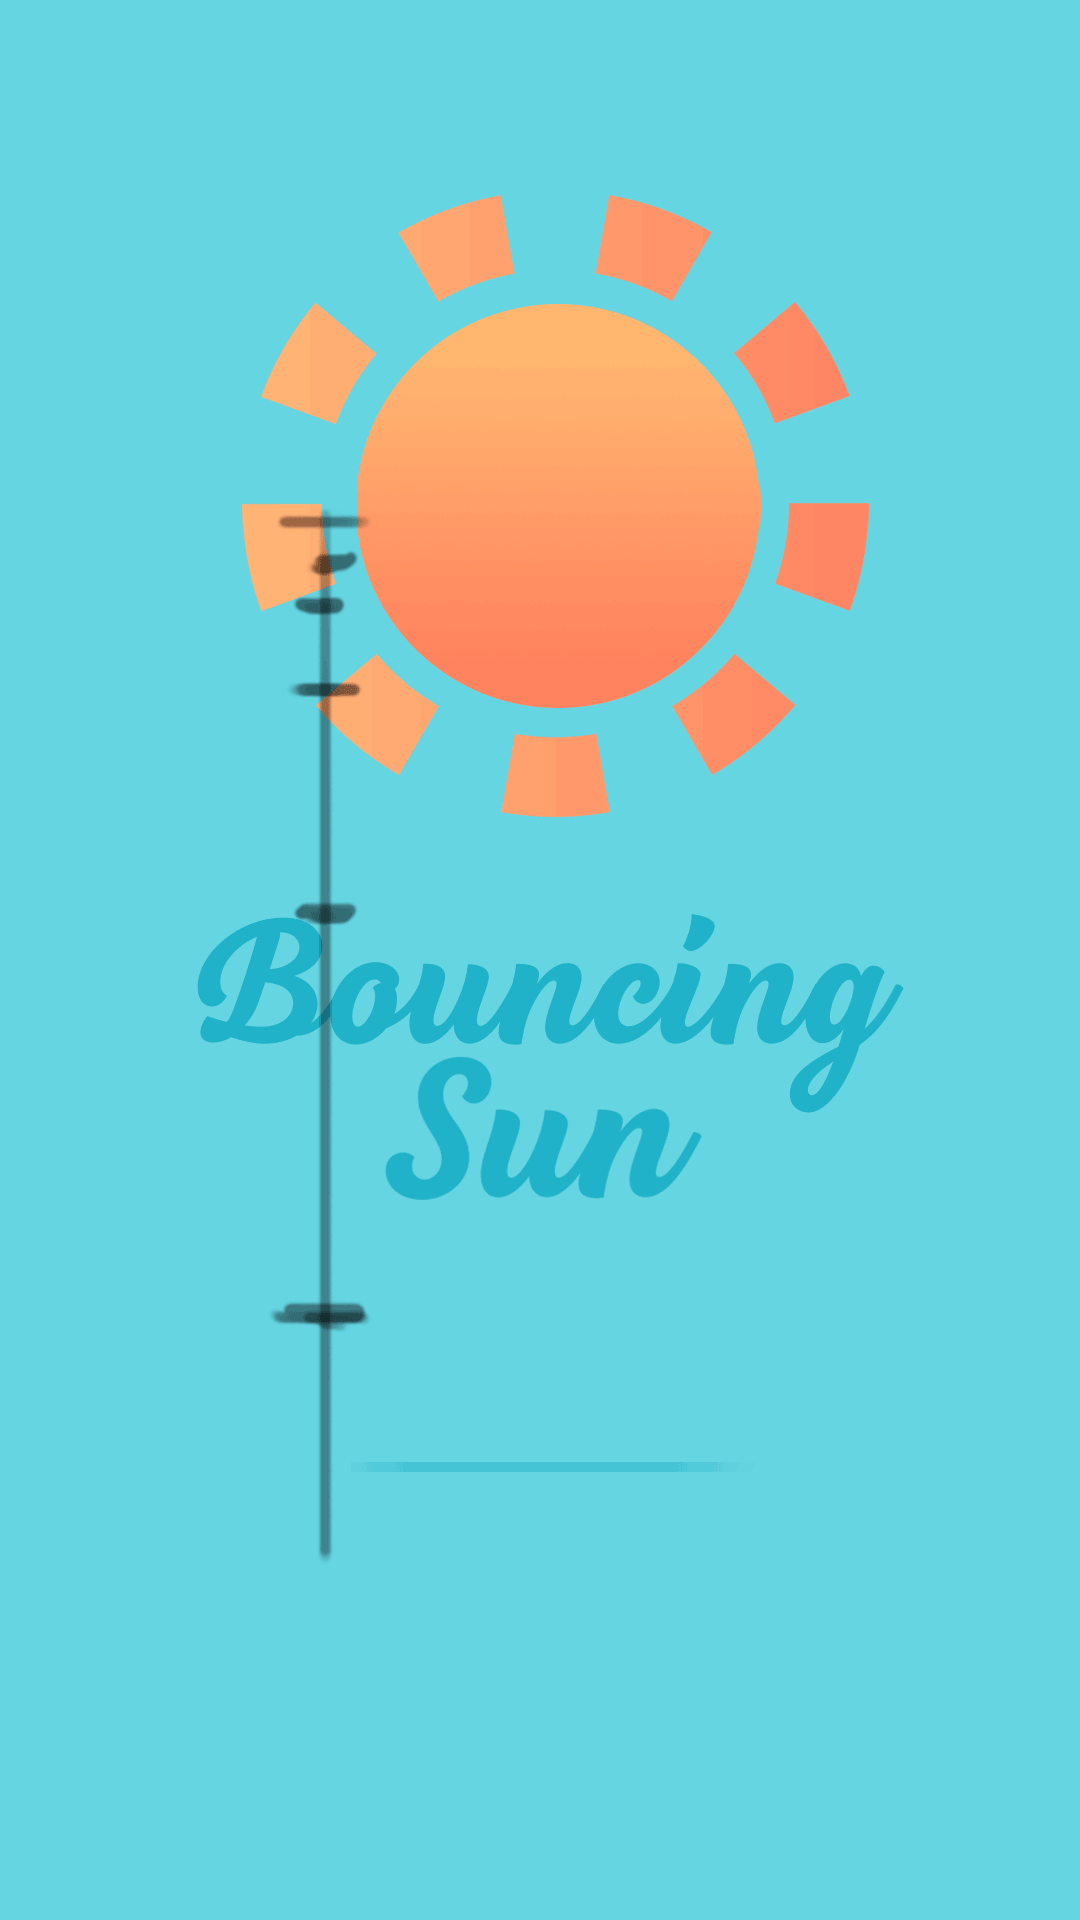
Pero como observaran, el rebote se ve muy mecánico. Pero eso se puede arreglar aplicando los principios de animación. En este caso, generar una aceleración, moviendo el sol a diferentes subpuntos, cada uno separado a una distancia distinta, para así generar un efecto de aceleración.
Además de esto, también animé los rayos del sol. Lo que quería lograr, era que mientras que el sol rebotara, los rayos desaparecieran y aparecieran para nuevamente encontrarse en la cima perfectamente alineados. Para lograr esto, primero cree un punto en la posición principal de los rayos del sol. Luego achiqué los rayos del sol, justo en el medio segundo cuando el sol rebota y creé otro punto allí. Y finalmente el ultimo punto fue llevar los rayos a su posición inicial. Hecho todo esto el resultado fue este:
But as you will notice, the bounce looks very mechanical. But that can be fixed by applying animation principles. In this case, generate an acceleration, moving the sun to different subpoints, each separated at a different distance, in order to generate an acceleration effect.
In addition to this, I also animated the sun's rays. What I wanted to achieve, was that while the sun bounced, the rays would disappear and appear to meet again at the top perfectly aligned. To achieve this, I first created a point at the main position of the sun's rays. Then I flattened the sun's rays, right in the middle second when the sun bounces and created another point there. And finally the last point was to bring the rays to their initial position. Done all this the result was this:


Luego, quería darle un poco mas de encanto a la animación haciendo que, cuando el sol tocara el suelo, se deformara un poco y luego en la cima volviera a su forma original. Esto lo hice, deformando un poco el sol en el punto en que toca el suelo. Guarde y este fue el resultado:
Then, I wanted to give a little more charm to the animation by making that, when the sun touches the ground, it deforms a little and then at the top it returns to its original shape. I did this by deforming the sun a little at the point where it touches the ground. Save and this was the result:
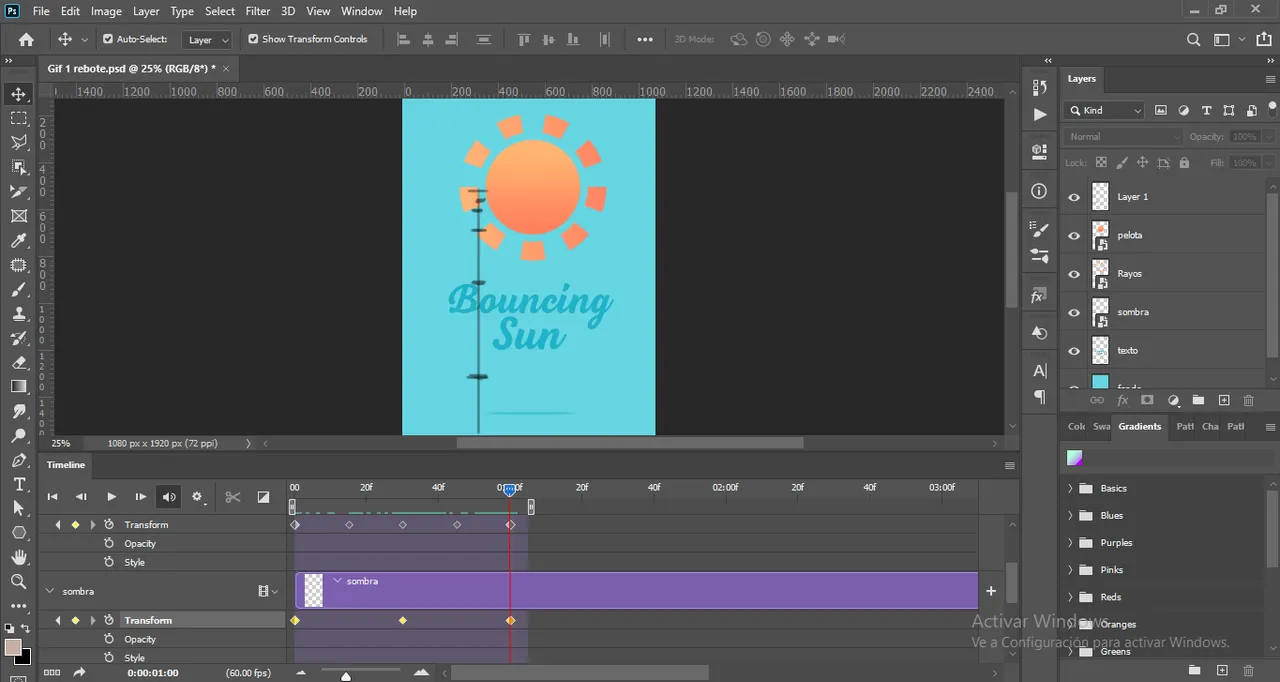
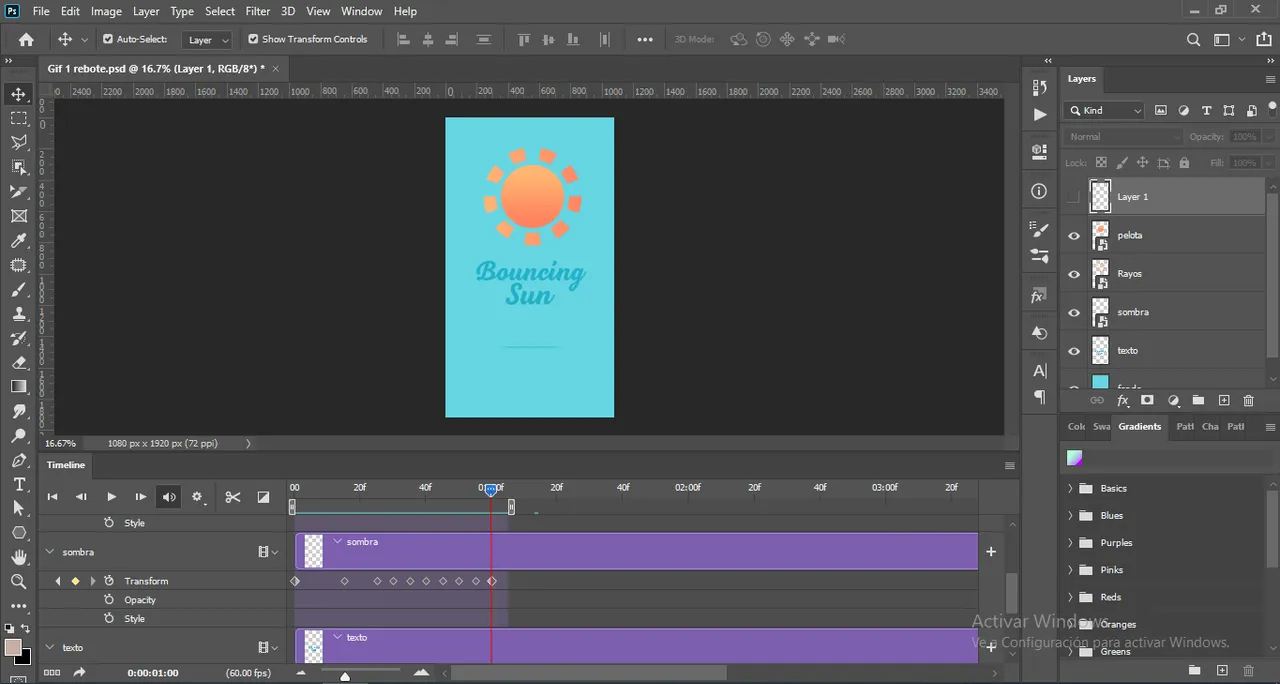
Para finalizar, animé también la sombra y lo hice siguiendo la misma metodología de los demás elementos. En este caso, mientras el sol bajaba, cree diferentes puntos donde la sombra disminuía su tamaño y luego se agrandaba a medida de que el sol volvía a su posición original. Hecho esto, mi animación estaba lista.
Finally, I also animated the shadow and I did it following the same methodology as the other elements. In this case, as the sun went down, I created different points where the shadow decreased in size and then got bigger as the sun returned to its original position. That done, my animation was ready.


Bouncing sunshing at 12fps

Bouncing sunshing at 60fps

Thanks for watching, I hope you liked my post. A hug and see you next time.😊