Un saludo mi gente creativa, el día de hoy he decidido participar en el concurso de la comunidad donde se nos invita a crear una manualidad para las fiestas infantiles.
Por ello he creado una práctica cesta que sirve de cotillón para las fiestas de niñas o para los cotillones de las niñas, realmente me gusta mucho ya que es económico y con materiales reciclables, solo un poco de imaginación y listo, así que manos a la obra les invito a ver mi paso a paso.

Greetings my creative people, today I decided to participate in the community contest where we are invited to create a craft for children's parties.
So I have created a practical basket that serves as a cotillion for girls parties or for girls cotillions, I really like it very much because it is economical and recyclable materials, just a little imagination and ready, so hands to work I invite you to see my step by step.
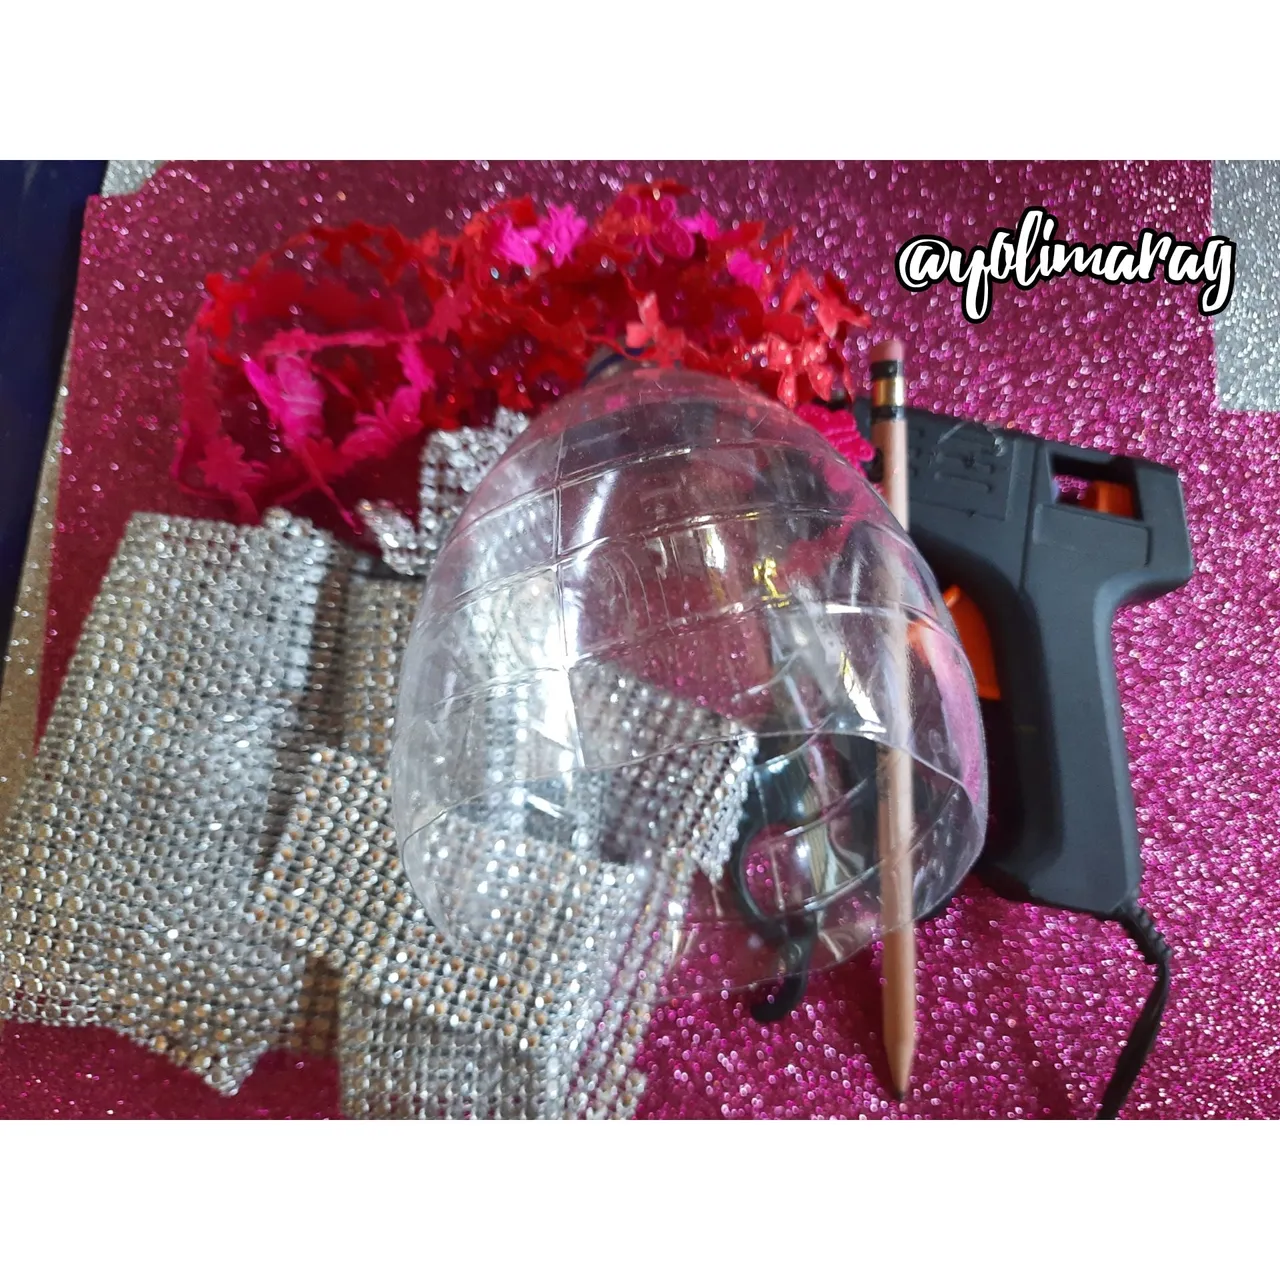
Materiales:
- Fomi escarchado.
- Papel y lápiz.
- Botella plástica de refresco.
- Piedreria.
- Cinta decorativa Strass
- Silicona
- Cuter.
Materials:
- Frosted Fomi.
- Paper and pencil.
- Plastic soda bottle.
- Rhinestones.
- Strass decorative tape.
- Silicone
- Cutter.
Paso a Paso / Step by Step

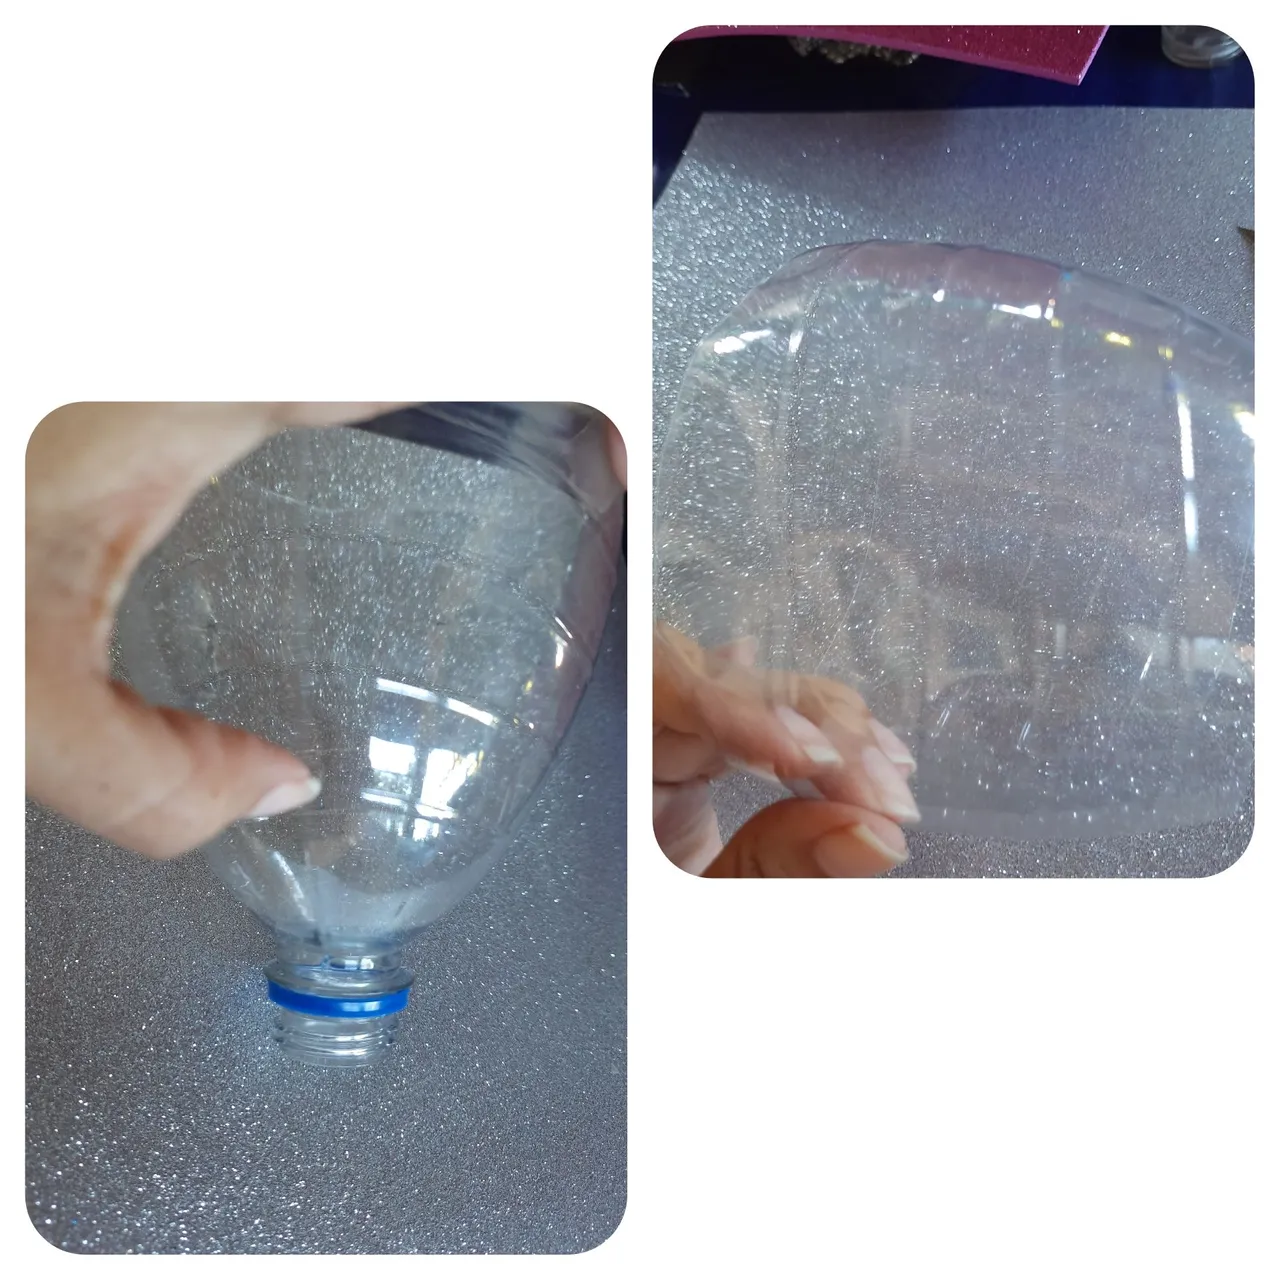
Lo primero es cortar de una botella plástica, la parte de arriba, tal como se ve en la foto, en este caso ya lo tenía cortado, con un cuter a 2 dedos cortaremos la parte del picó de la botella.
The first thing to do is to cut the top part of a plastic bottle, as shown in the photo, in this case I already had it cut, with a cutter to 2 fingers we will cut the part of the bottle.
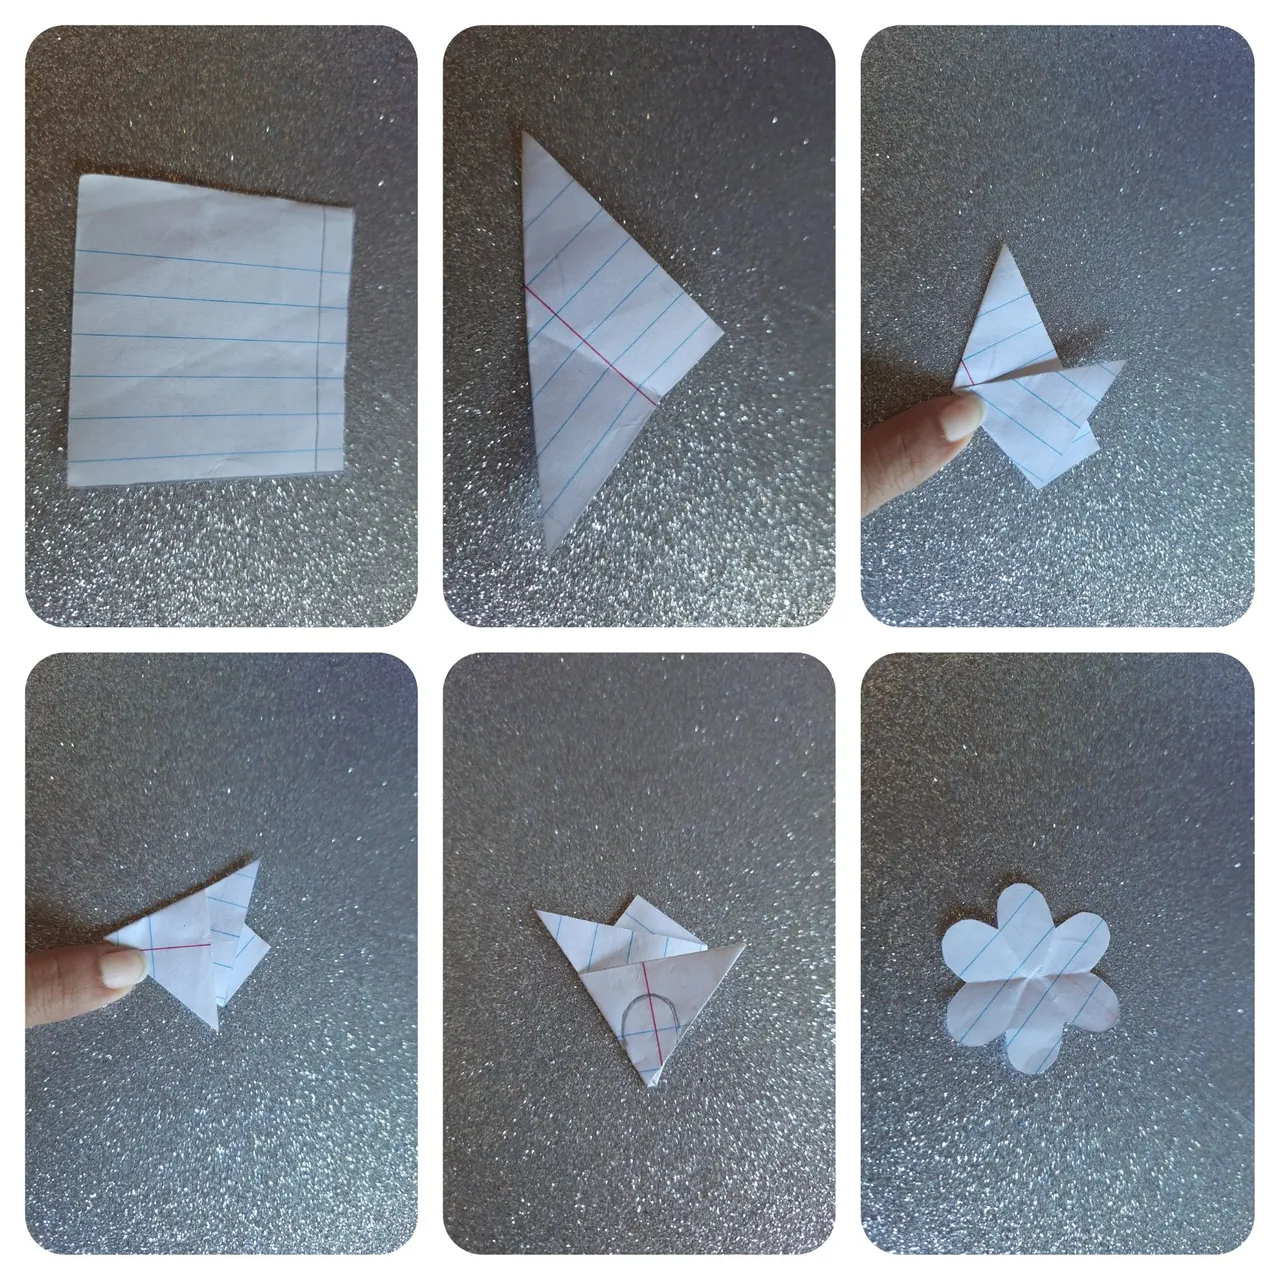
Ahora cortaremos un cuadrado 6 * 6cm en un papel, doblaremos a la mitad formando un triángulo, luego en una de las puntas la doblaremos hacia arriba que sobresalga y luego la otra, en el medio nos queda un pequeño triángulo hacia abajo formaremos una forma de un pétalo y cortaremos para que nos quede esta flor, tal como se muestra en la foto.
Now we will cut a square 6 * 6cm in a paper, we will fold in half forming a triangle, then in one of the tips we will fold it upwards and then the other one, in the middle we have a small triangle downwards we will form a shape of a petal and we will cut so that we have this flower, as shown in the photo.
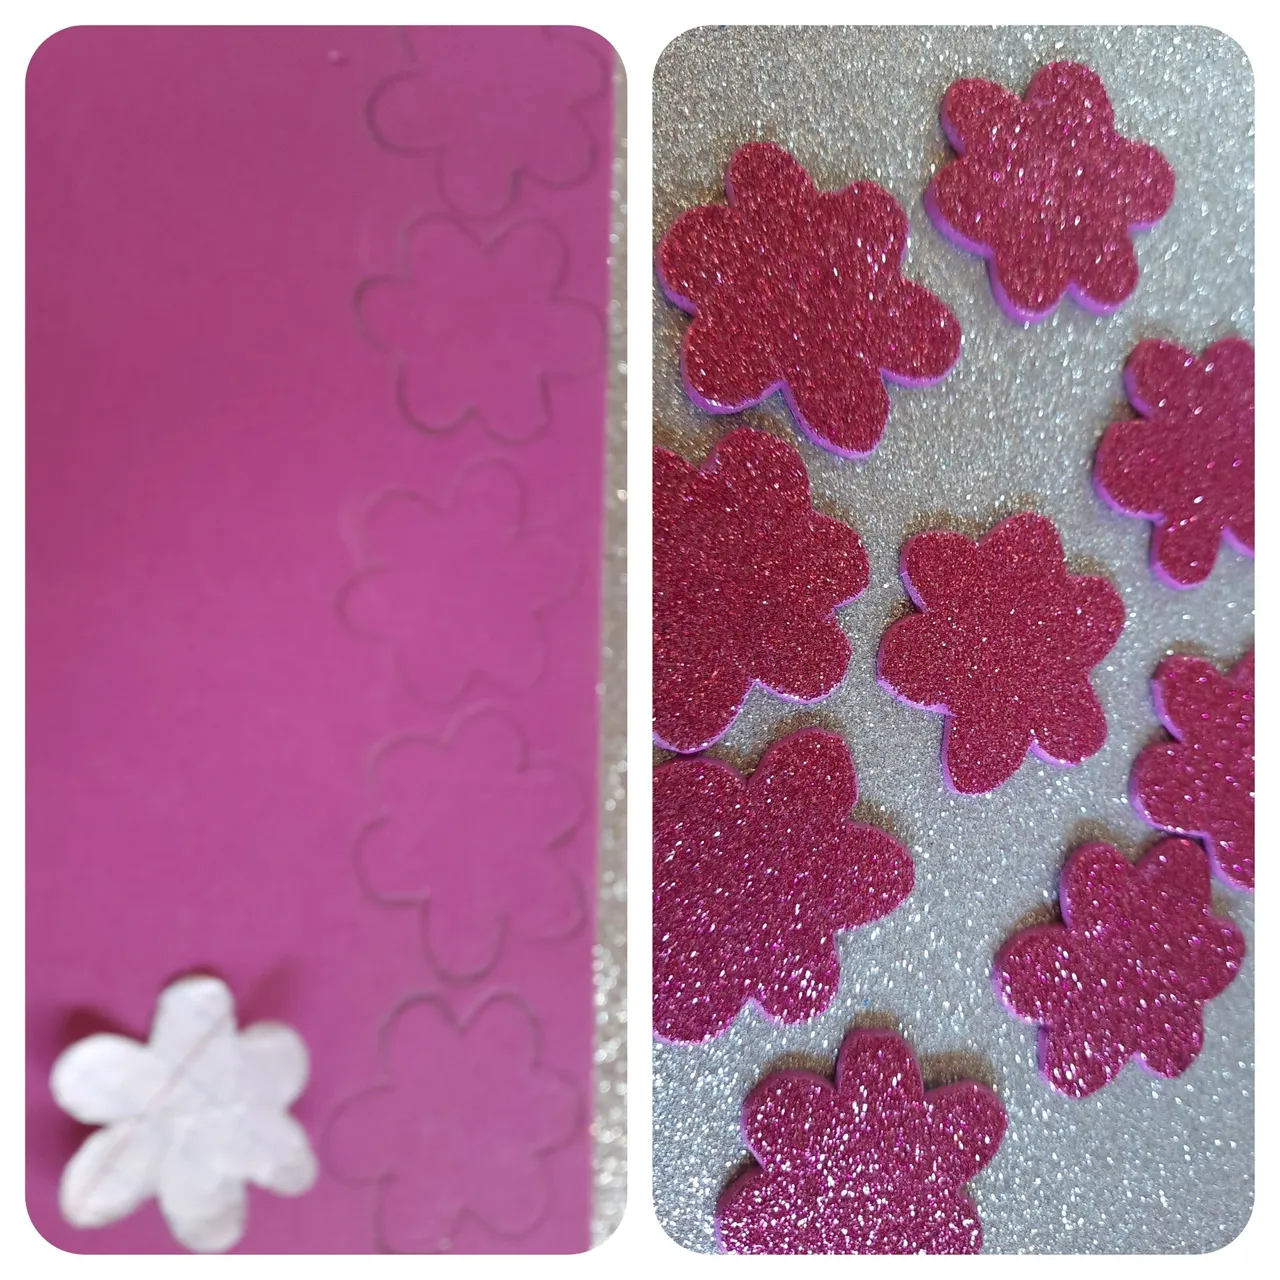
El molde de flor ahora lo pasaremos al fomi y cortaremos nueve flores en total.
We will now transfer the flower mold to the fomi and cut nine flowers in total.
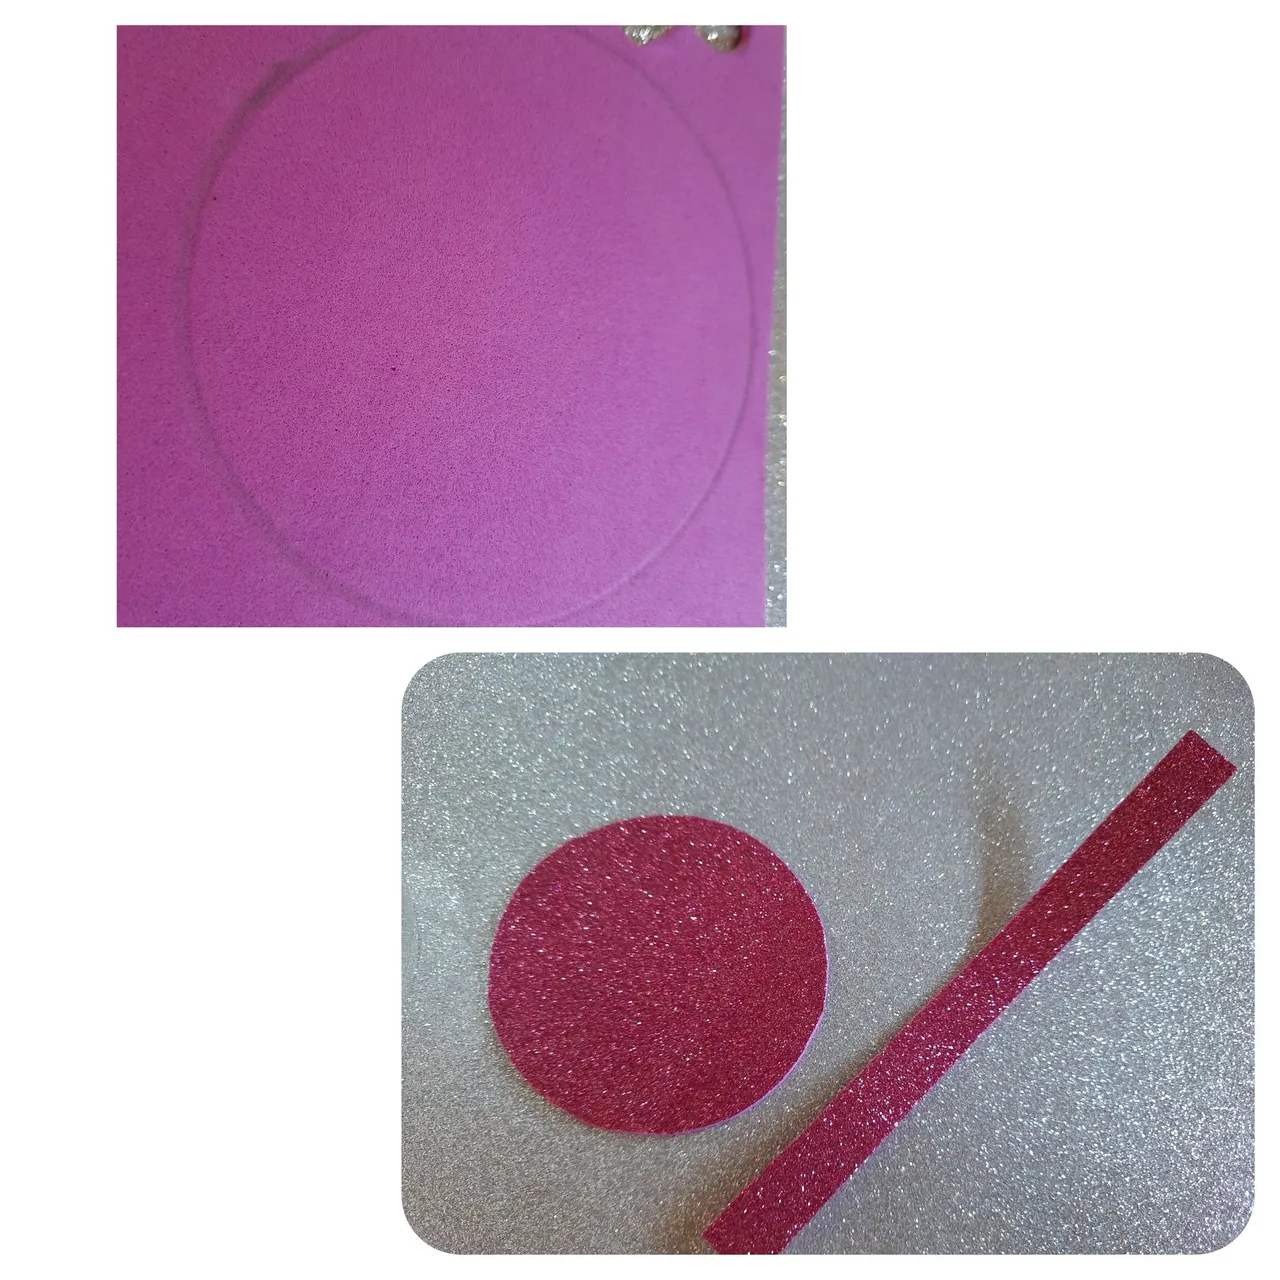
También haremos en fomi un círculo de 10 cm aproximadamente y una tira de 20 cm de largo por 1.5 de ancho.
We will also make in fomi a circle of 10 cm approximately and a strip of 20 cm long by 1.5 cm wide.
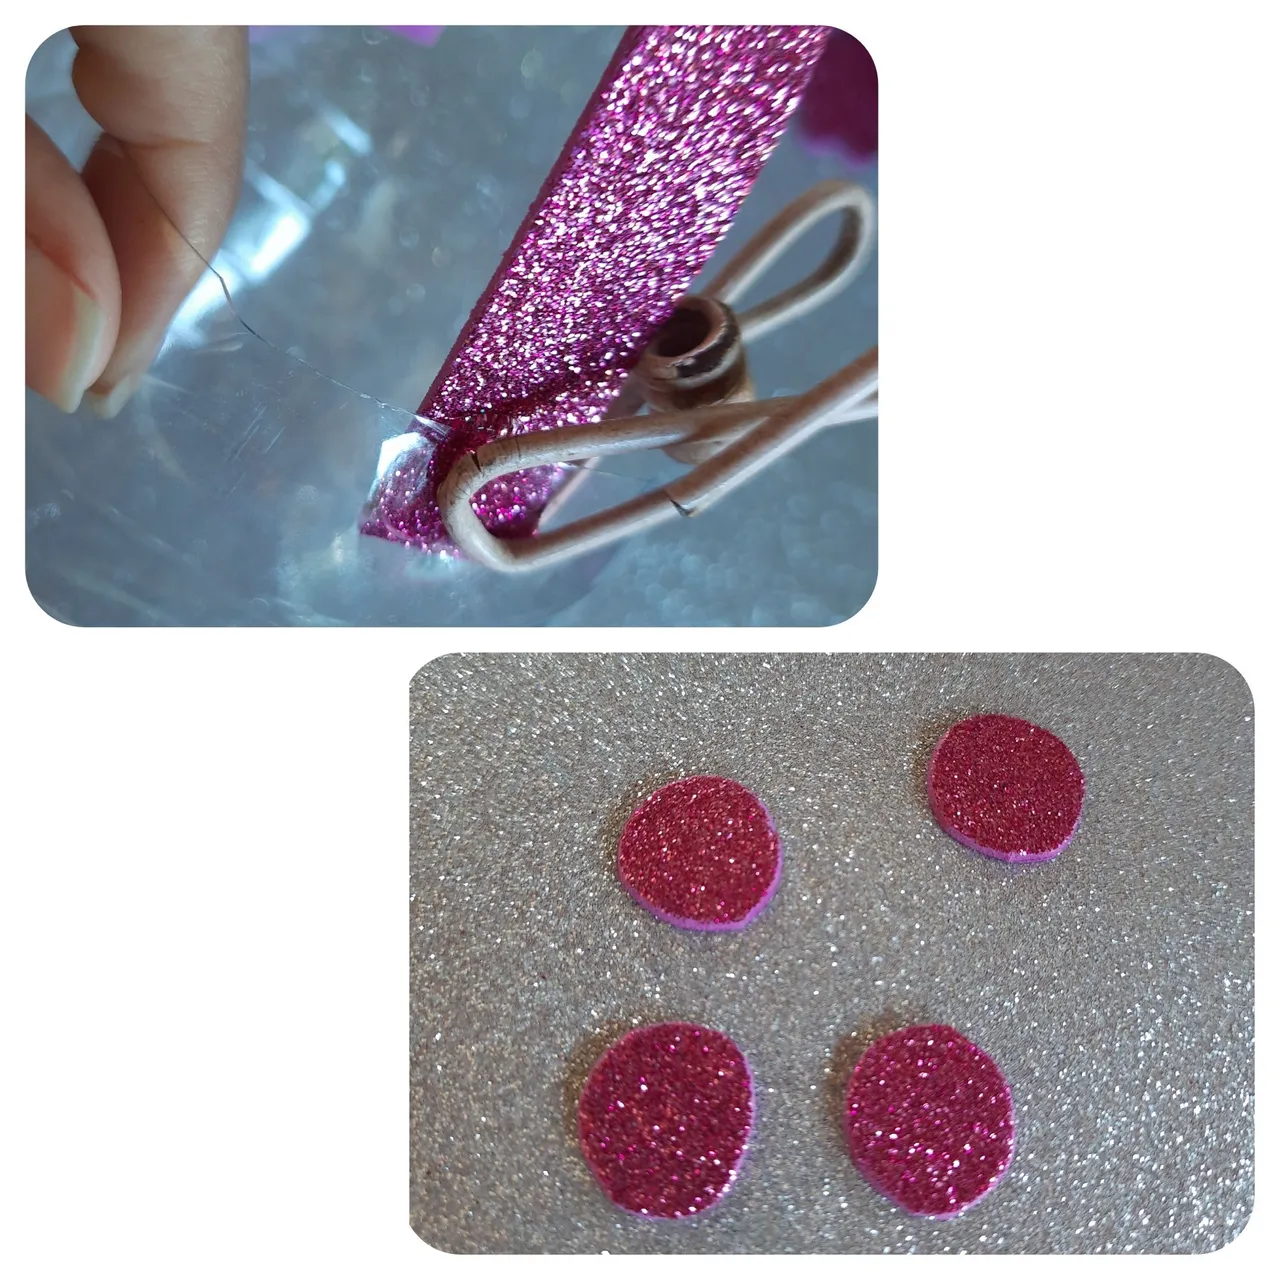
Ahora también cortaremos unos pequeños círculos unos más grandes y otros más pequeños, nuestra tira de 20 cm la pegaremos para formar el asa de lo que será nuestra cesta en la parte más ancha de nuestro plástico, yo la sostengo con un gancho para que quede bien fijada.
Now we will also cut some small circles some bigger and some smaller, we will glue our 20 cm strip to form the handle of what will be our basket in the widest part of our plastic, I hold it with a hook so that it is well fixed.
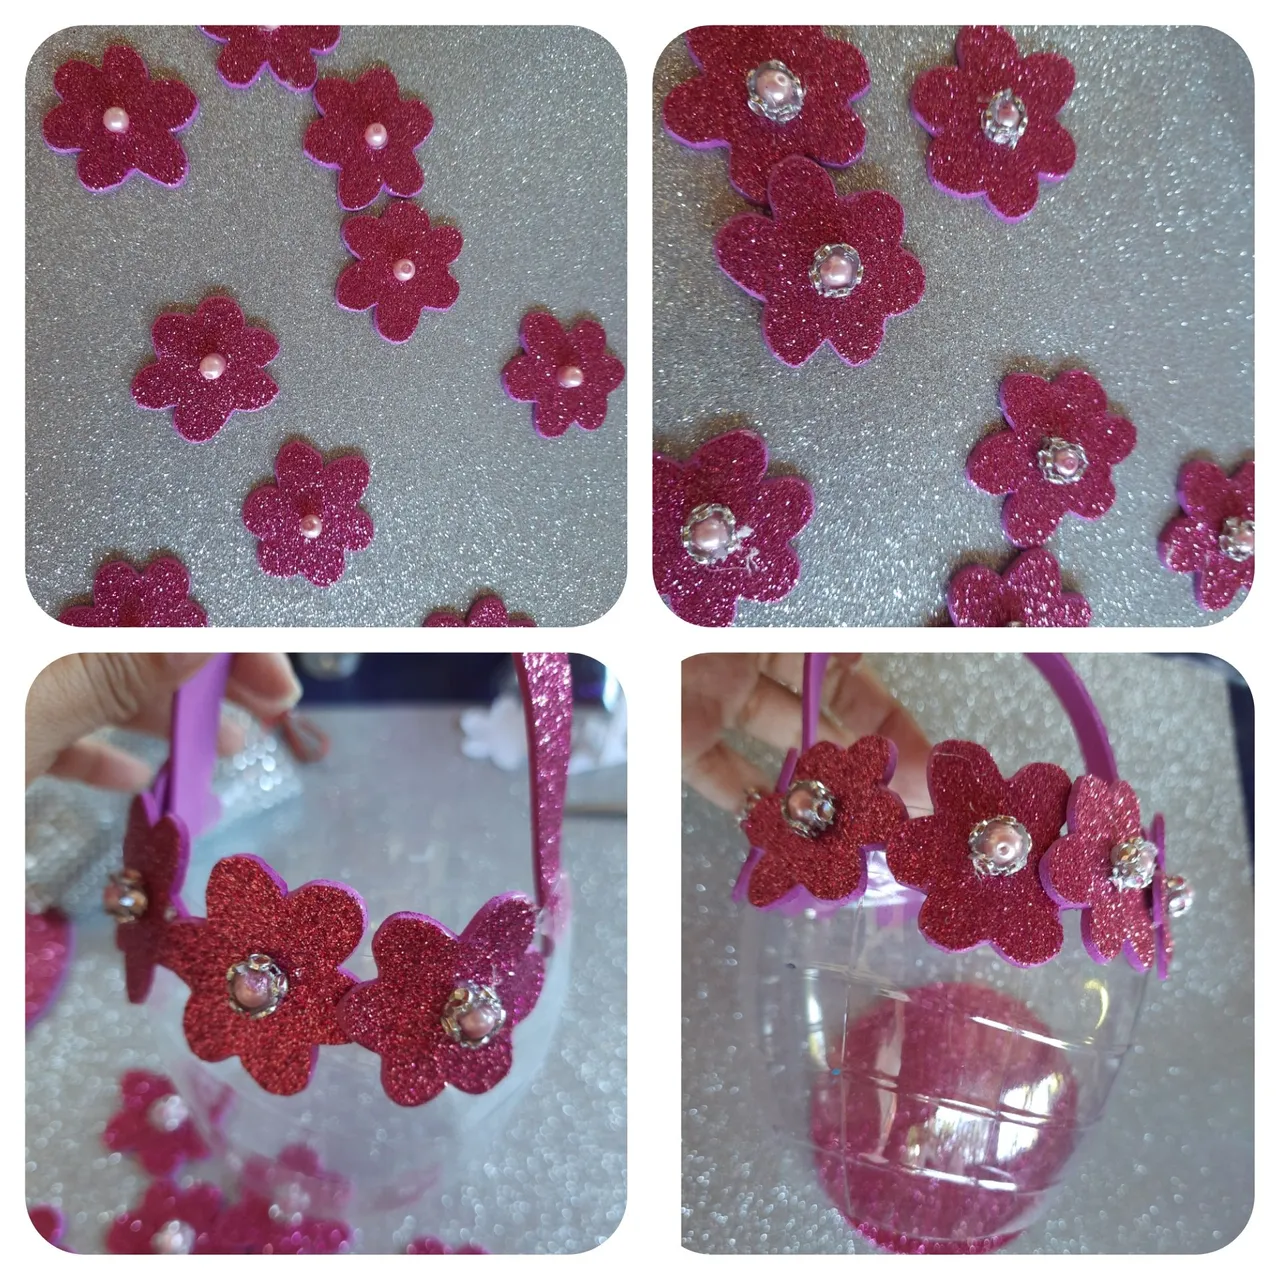
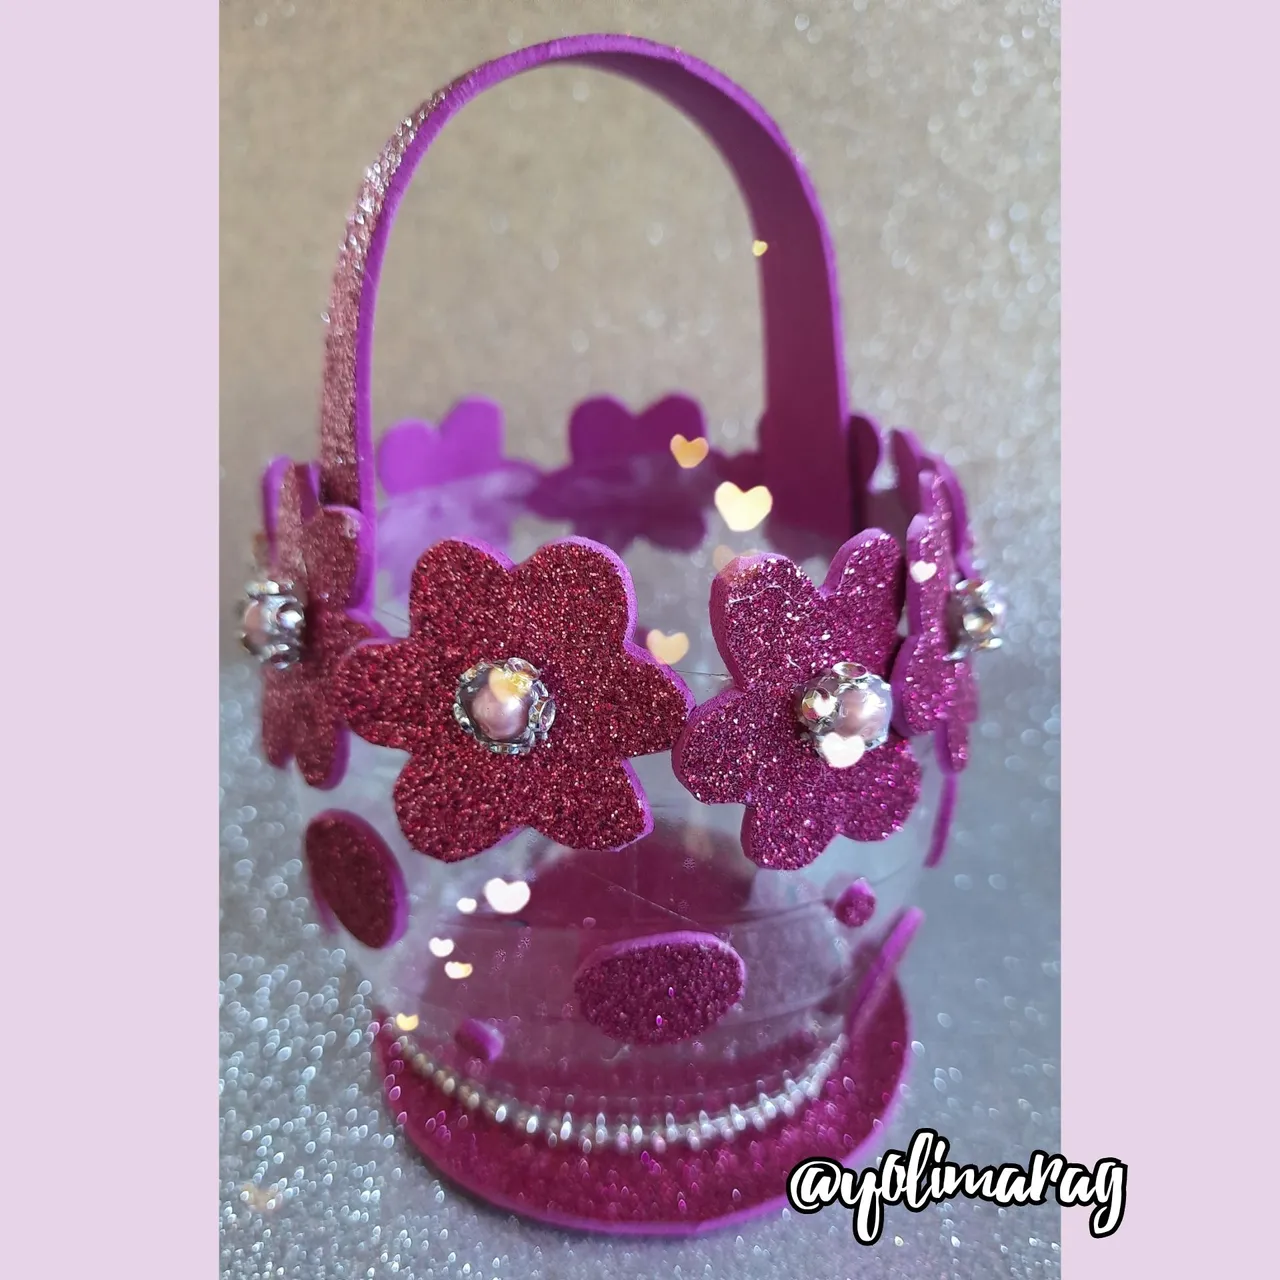
A las flores que hicimos en fomi le vamos a colocar en el centro una piedra,en este caso se la coloqué de color rosada es una tipo Perla, luego alrededor le coloque la cinta strasd para darle un toque diferente, después de tenerlas listas las comencé a pegar alrededor de la parte de arriba de lo que será nuestra cesta, como se muestra en la imagen.
To the flowers that we made in fomi we are going to place in the center a stone, in this case I placed it in pink, it is a pearl type, then around it I placed the strasd ribbon to give it a different touch, after having them ready I began to glue them around the top of what will be our basket, as shown in the image.
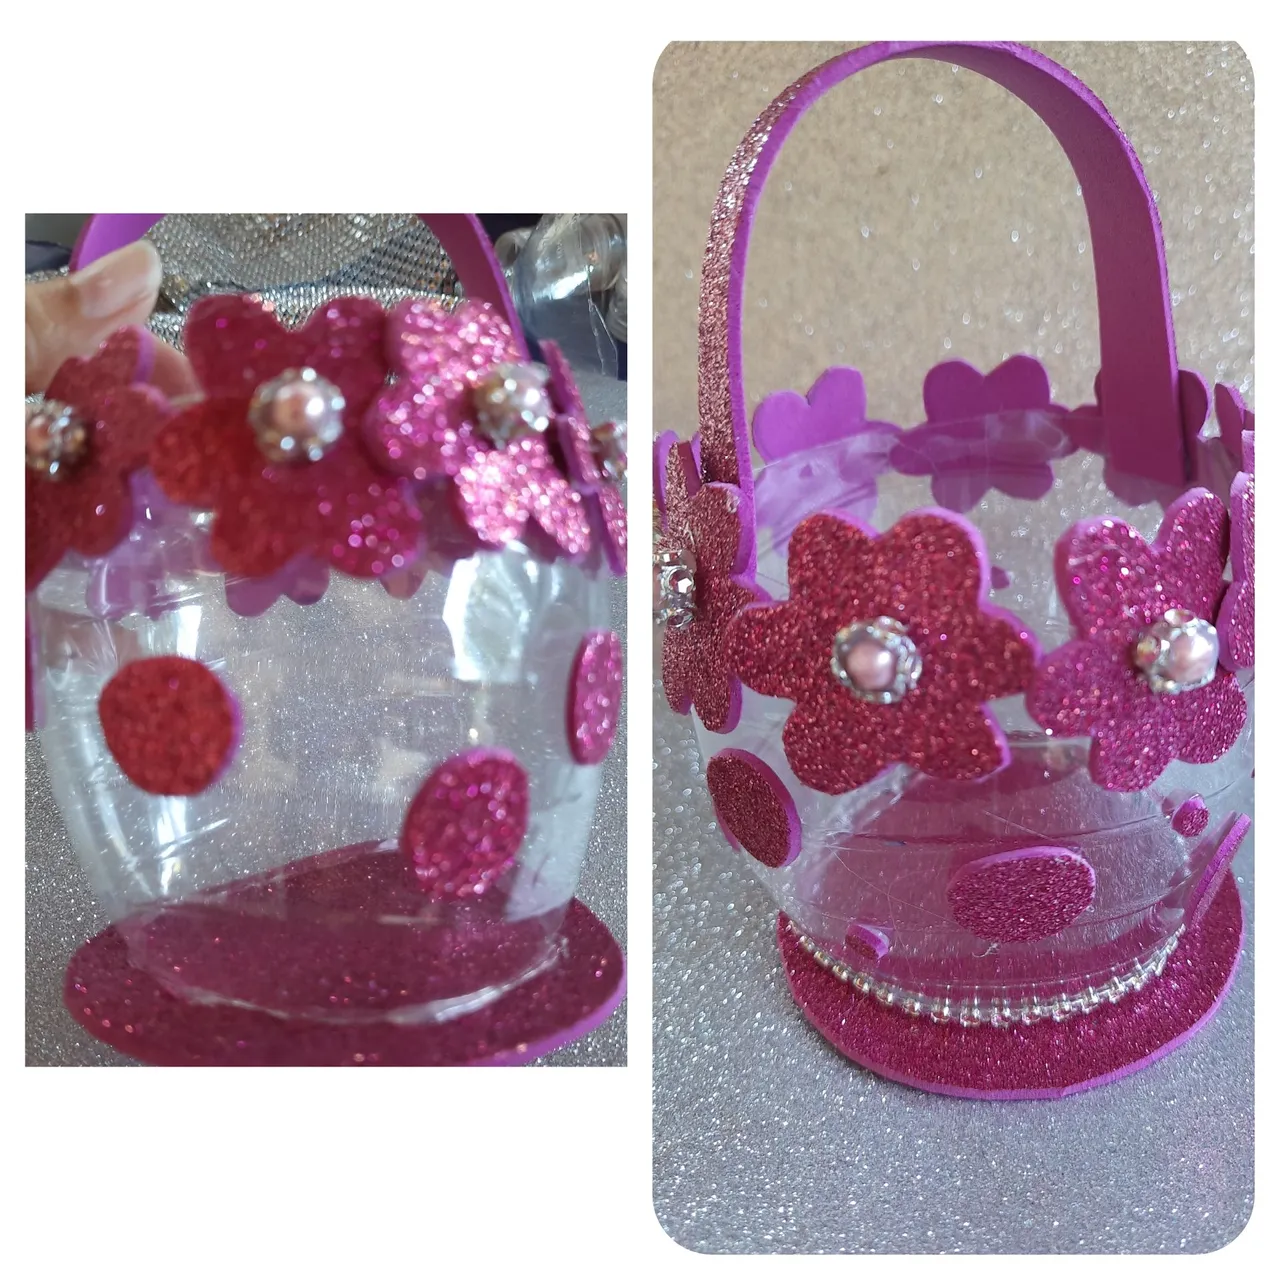
Ahora pegaremos el círculo de fomi en la parte más baja de lo que es nuestro plástico, para asi cerrar la cesta y alrededor de la parte de abajo le colocamos la cinta strass para cubrir las imperfecciones
Now we glue the circle of fomi on the lower part of our plastic to close the basket and around the bottom we place the strass ribbon to cover the imperfections.
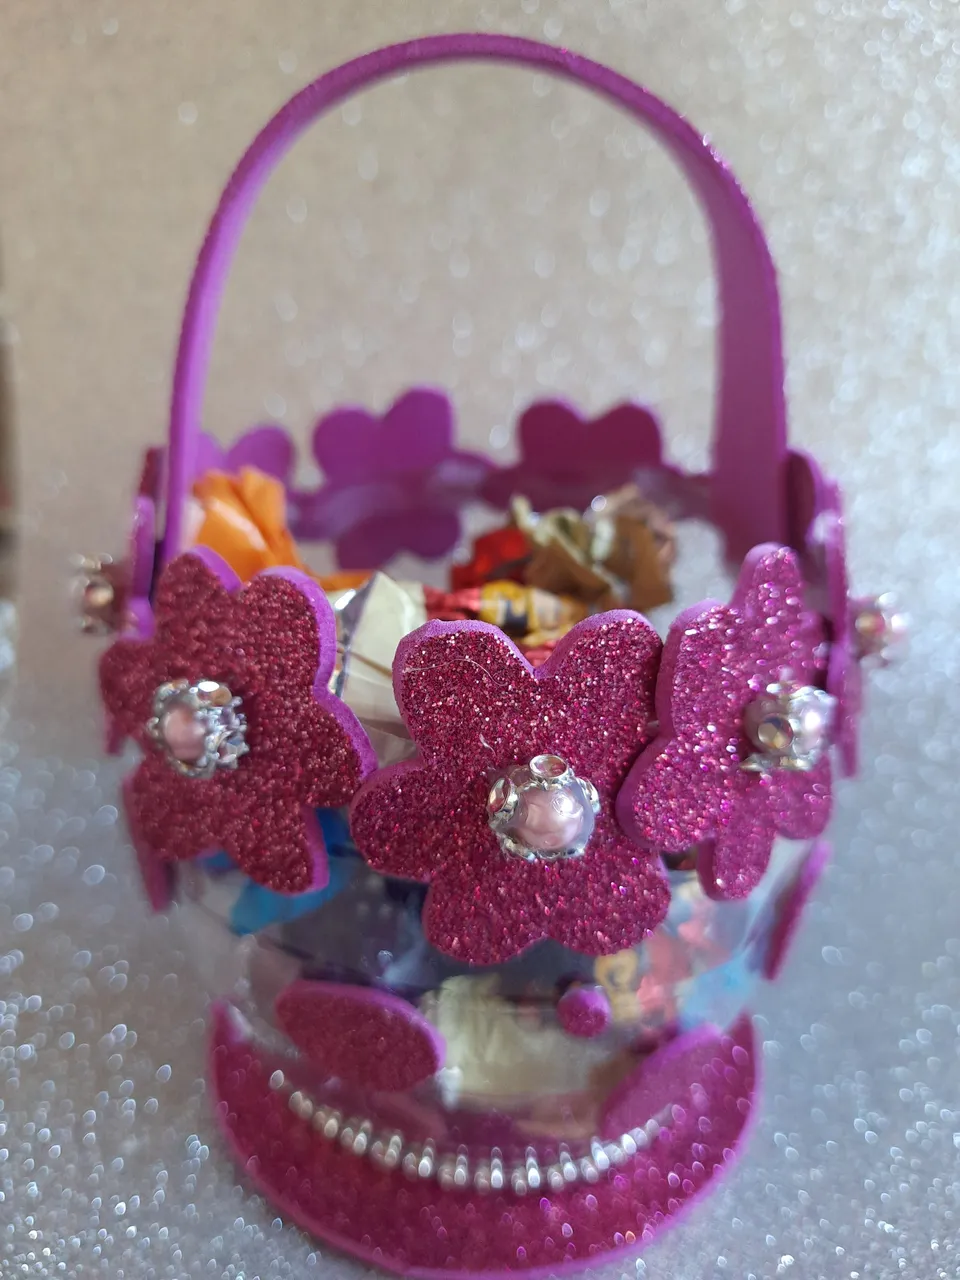
Y así a quedado este pequeño tutorial de cesta para cotillón, invito a @mariajcastro28 a participar es este hermoso concurso
Espero que les gustará gracias por ser parte de mi blog, nos vemos en una próxima publicación, bendiciones 😘.
And this is how this little cotillion basket tutorial turned out, I invite @mariajcastro28 to participate in this beautiful concurso
I hope you like it thanks for being part of my blog, see you in a next post, blessings 😘.
Fotos principal editada con Canva.
Fotos de mi Autoría derechos reservados
Cámara: Samsung A20S
Traducido con www.DeepL.com/Translator (versión gratuita)
Photos edited with Canva
Photos by me Author's rights reserved
Quote> Camera: Samsung A20S
Translated with www.DeepL.com/Translator (free version)