Cartera para Cotillón//Cotillon Wallet .
Cartera para Cotillón//Cotillon Wallet .
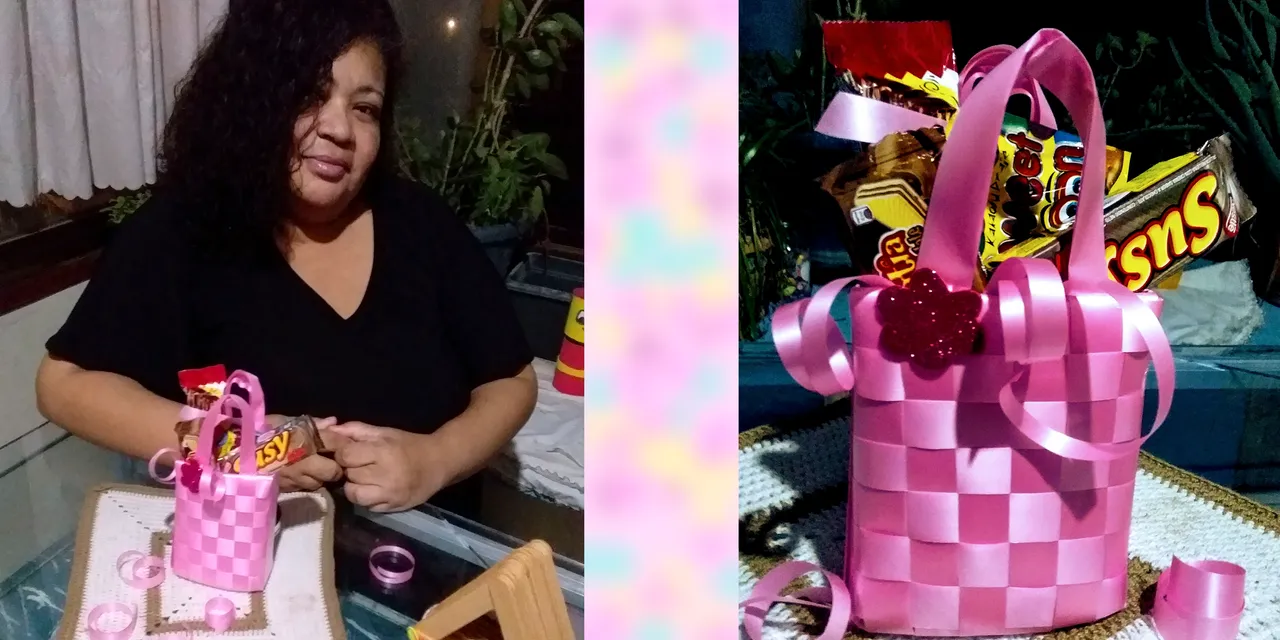
Una hermosa idea para las fiestas de las princesas de la casa, para entregar a cada niña las golosinas que tanto disfrutas, y lo mejor es que utilizamos material de reciclaje, dándole forma de cartera, acompáñame a su elaboración.
A beautiful idea for the parties of the princesses of the house, to give each girl the goodies that you enjoy so much, and the best thing is that we use recycling material, giving it the shape of a wallet, accompany me to its preparation.
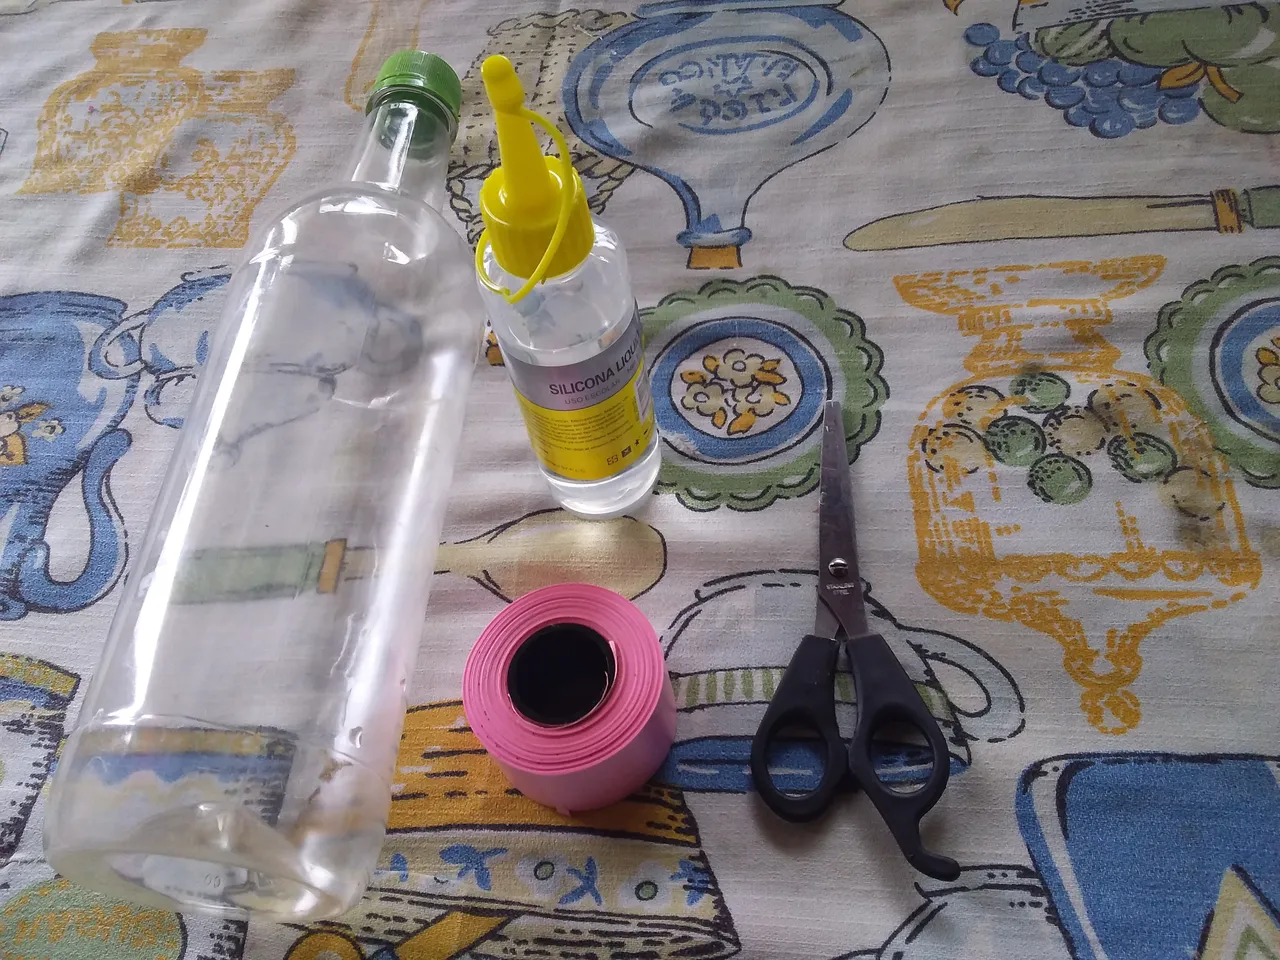
Materiales a Utilizar:
- 1 botella plástica.
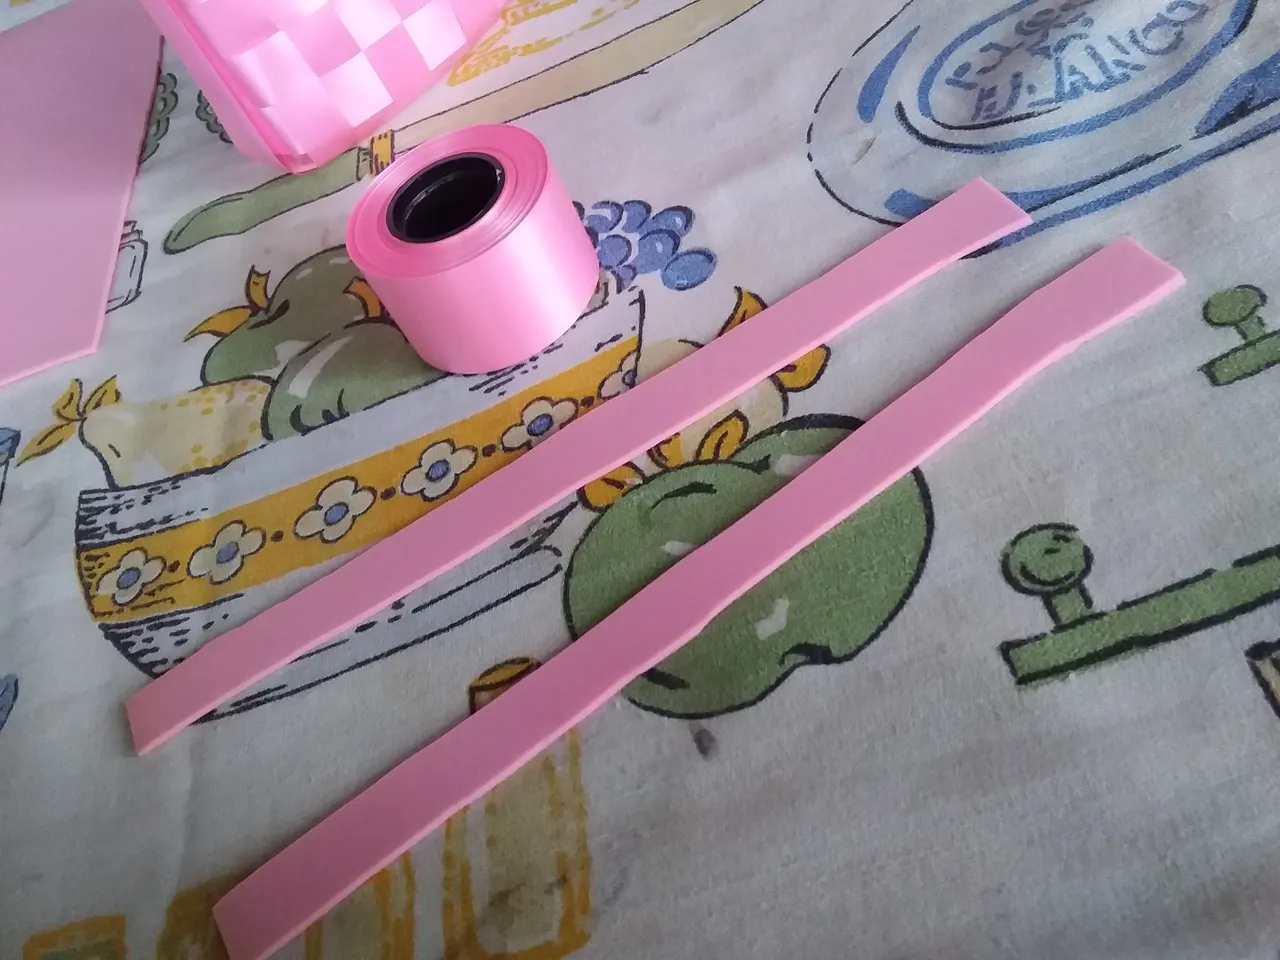
- Cinta color rosa.
- Foami.
- Tijera.
- Pega.
The materials to use:
- 1 plastic bottle.
- Pink ribbon.
- Foami.
- Scissors.
- Paste.
Proceso de Elaboración // Elaboration process:
Paso 1 //Step 1
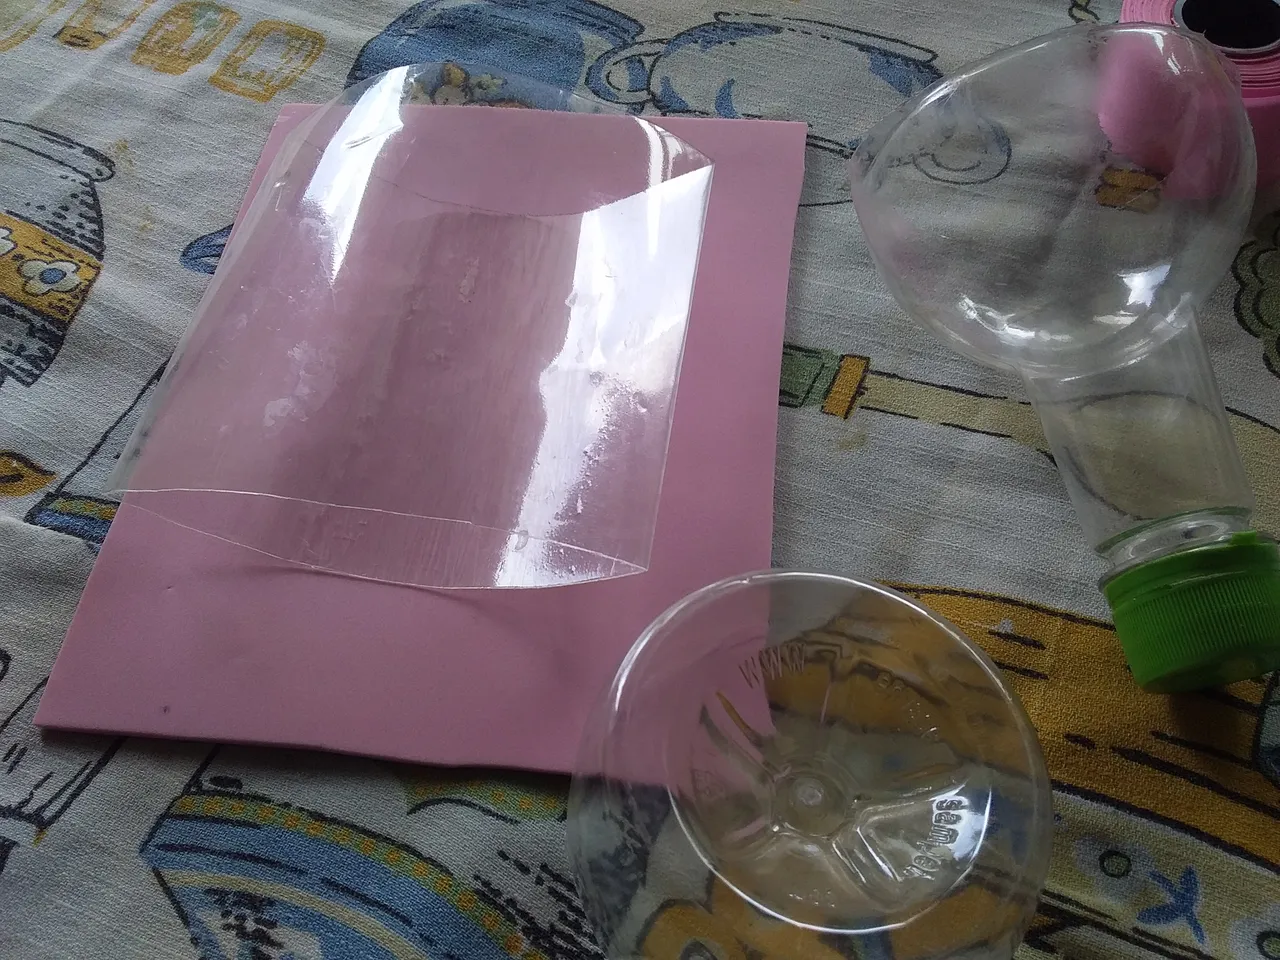
Con el uso de la tijera cortamos la botella aproximadamente de 12 cm de alto, y aplanamos la parte que se recorto.
With the use of the scissors we cut the bottle approximately 12 cm high, and we flattened the part that was cut out.
Paso 2//Step 2
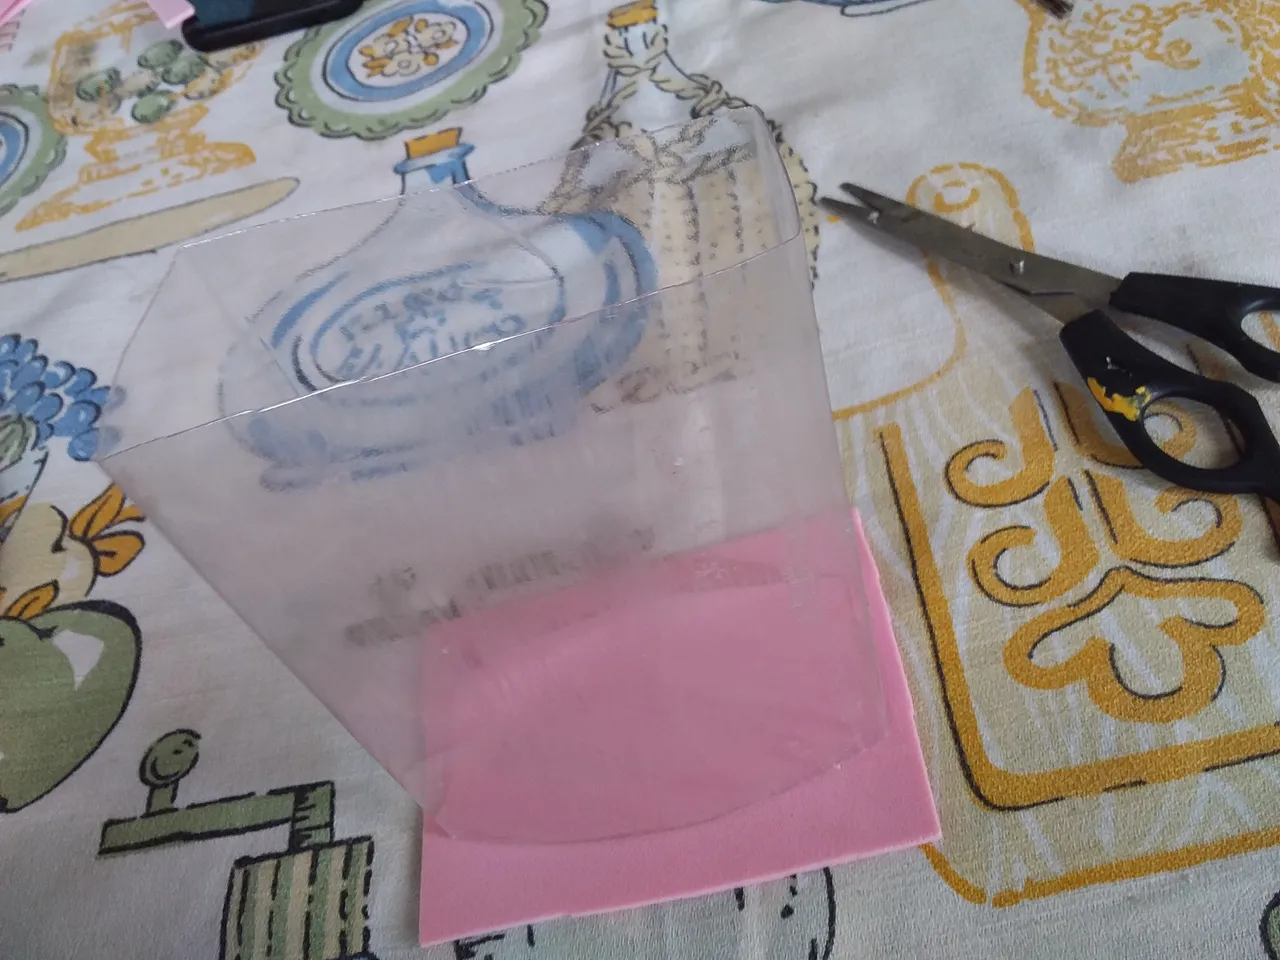
Luego hacemos un dobles por cada lado de 2 cm de ancho para ir dando la forma de rectángulo, como se muestra en la foto.
Then we make a double on each side of 2 cm wide to give the shape of a rectangle, as shown in the photo.

Paso 3 //Step 3
Se corta el foami, y tomamos las medidas para crear el fondo de la cartera; y así va tomando forma.
The foami is cut, and we take the measures to create the bottom of the portfolio; and so it takes shape
Paso 4 // Step 4
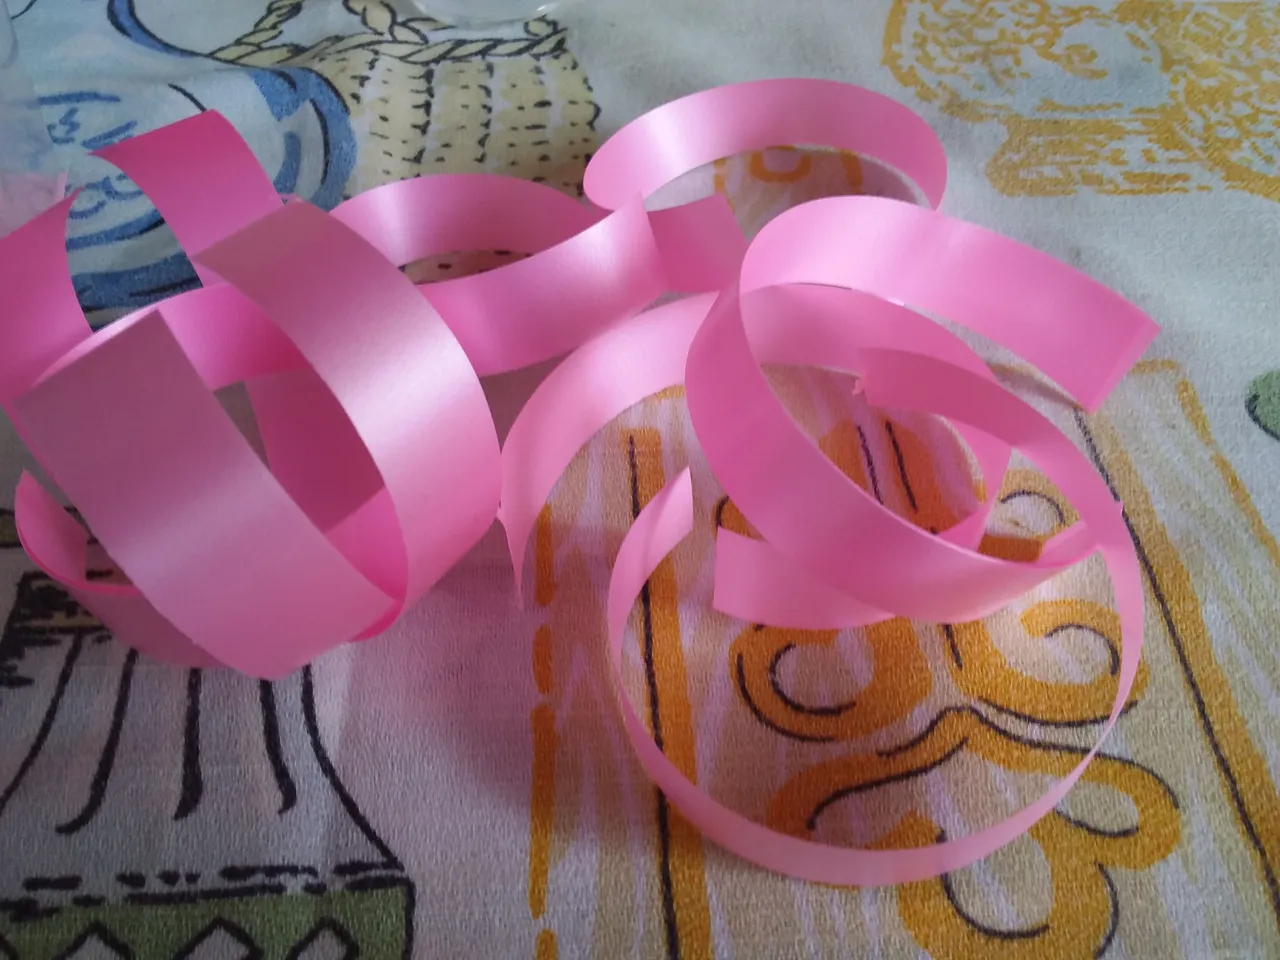
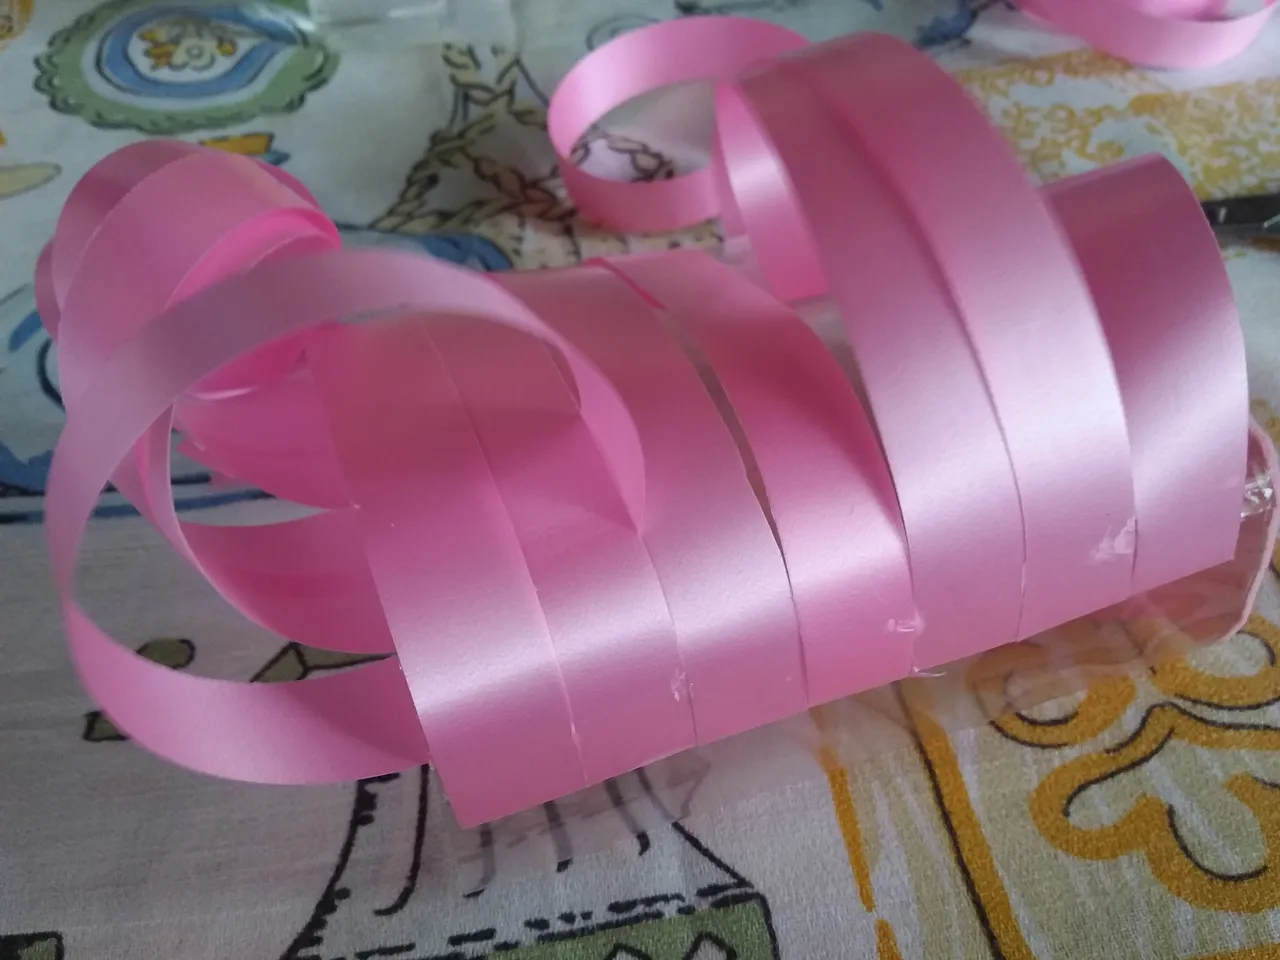
Se cortan las tiras de la cinta de 15 cm de largo y las de 10 cm para el ancho de la cartera.
The 15 cm long strips and the 10 cm strips are cut for the width of the wallet
Paso 5 //Step 5
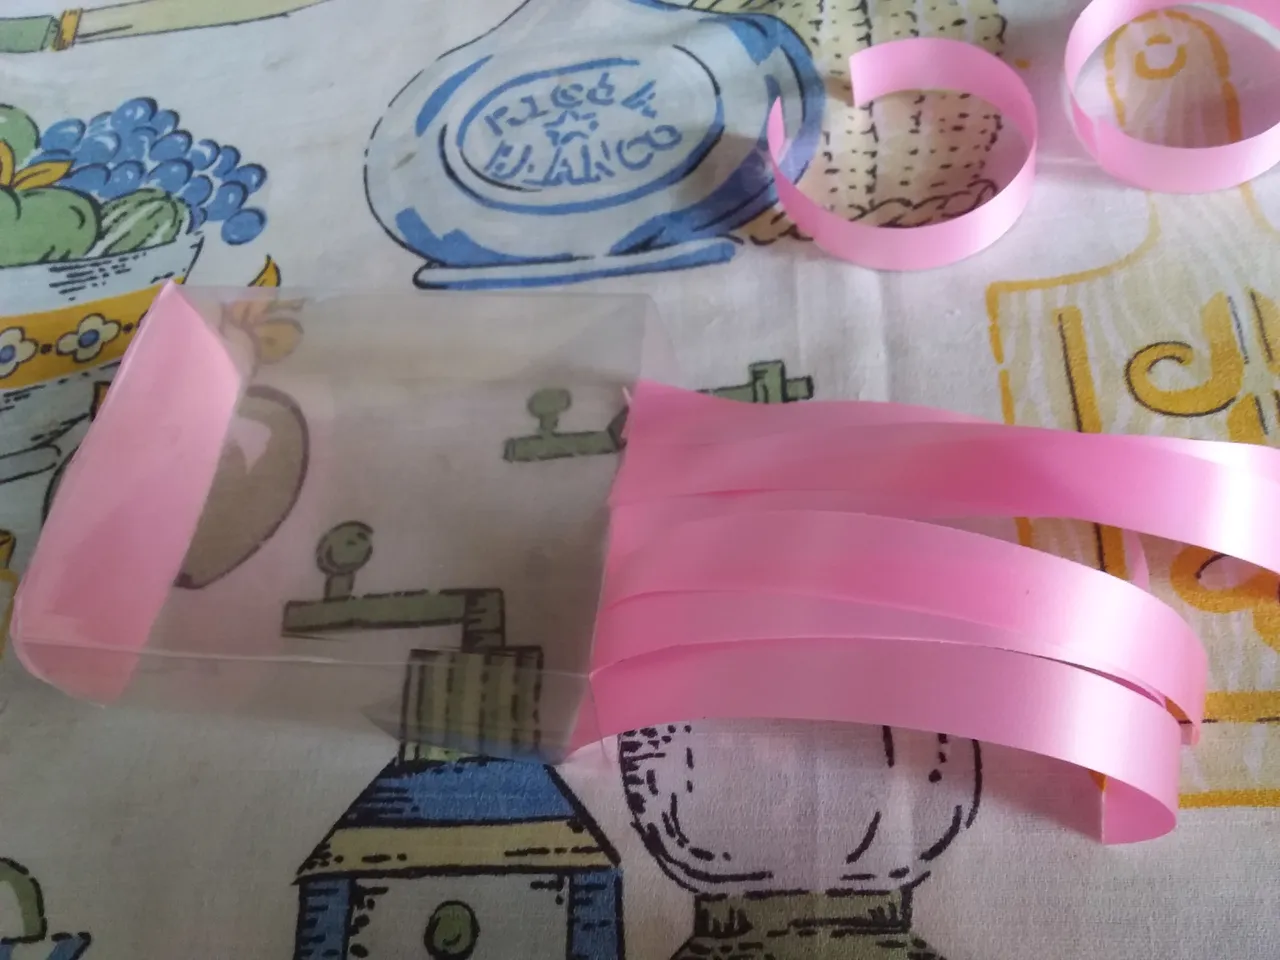
Luego procedemos a pegar las cintas de 15 cm desde la parte superior de la cartera.
Then we proceed to glue the 15 cm ribbons from the top of the wallet.
Paso 6 //Step 6
Se pegan las cintas de 10 cm en la parte lateral, y dejamos secar.
The 10 cm tapes are glued on the side, and let it dry.
Paso 7 //Step 7
Cuando ya las cintas estén bien pegadas, procedemos a tejer, entrelazando cada cinta, una por arriba y otra por abajo.
When the ribbons are well glued, we proceed to weave, interlacing each ribbon, one above and one below.
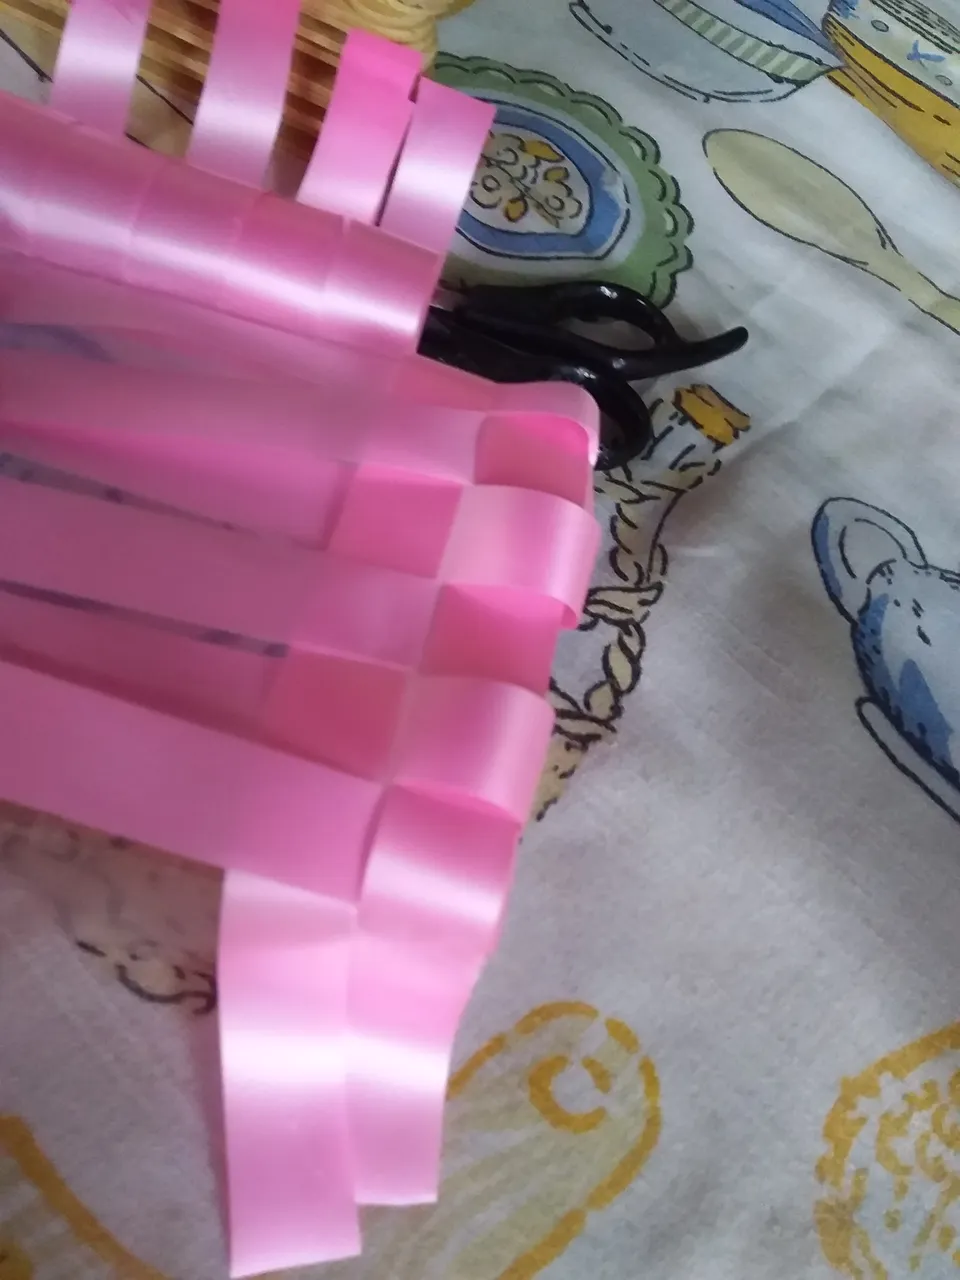
Y así va quedando el tejido, para la cartera.
And so the fabric is left, for the wallet.
Paso 8 // Step 8
Se corta una tira de la cinta para pegarla por los lados y parte baja.
A strip of the tape is cut to stick it on the sides and bottom.


Paso 9 // Step 9
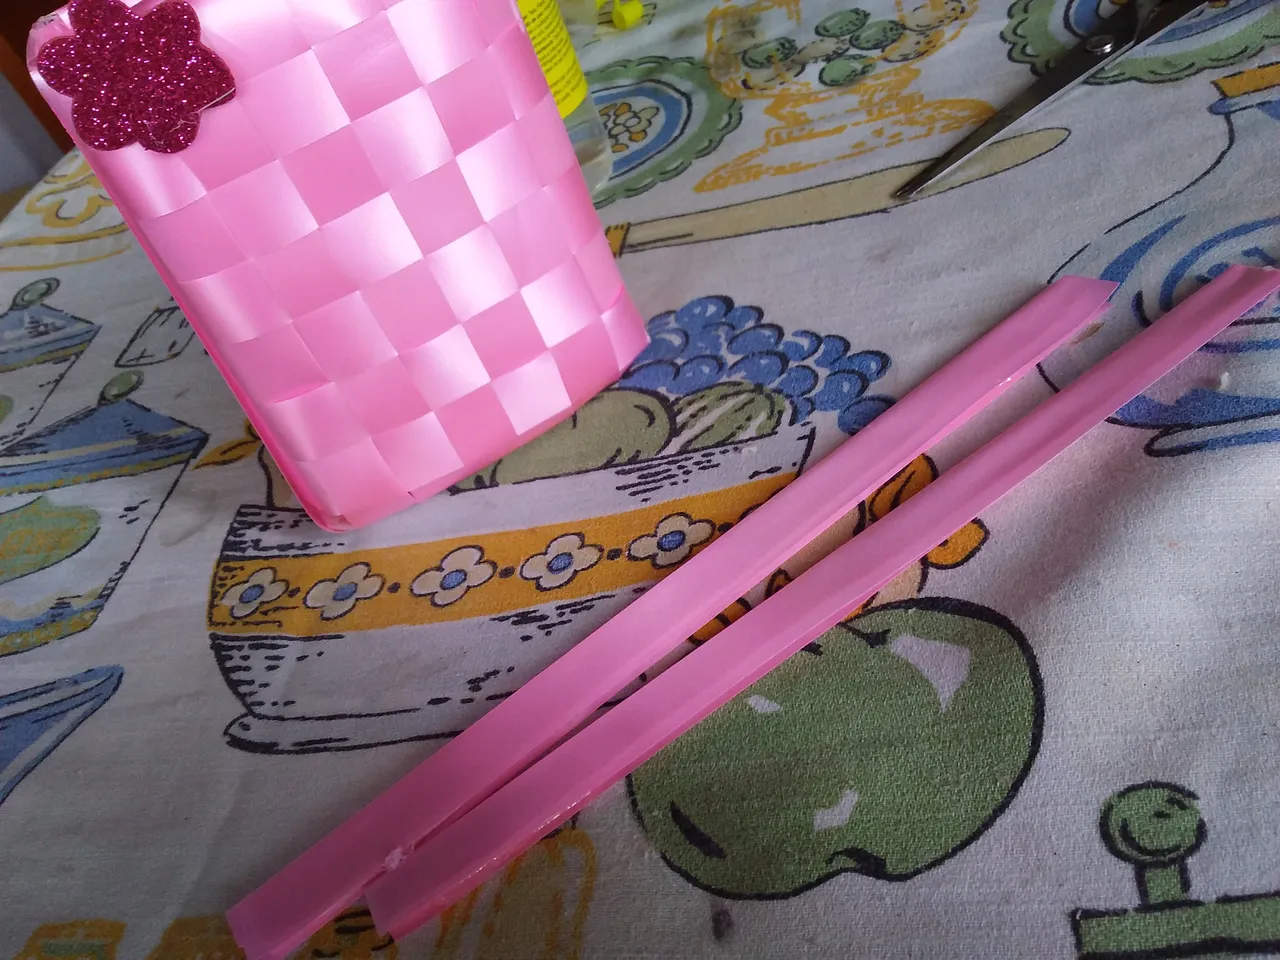
Se corta tiras de foami de 12 cm, que van hacer el sujetador de la cartera.
12 cm strips of foam are cut, which will make the fastener of the wallet.
Paso 10 //Step 10
Se forran las tiras de foami con la cinta rosada.
The foam strips are lined with the pink ribbon.
Paso 11// Step 11
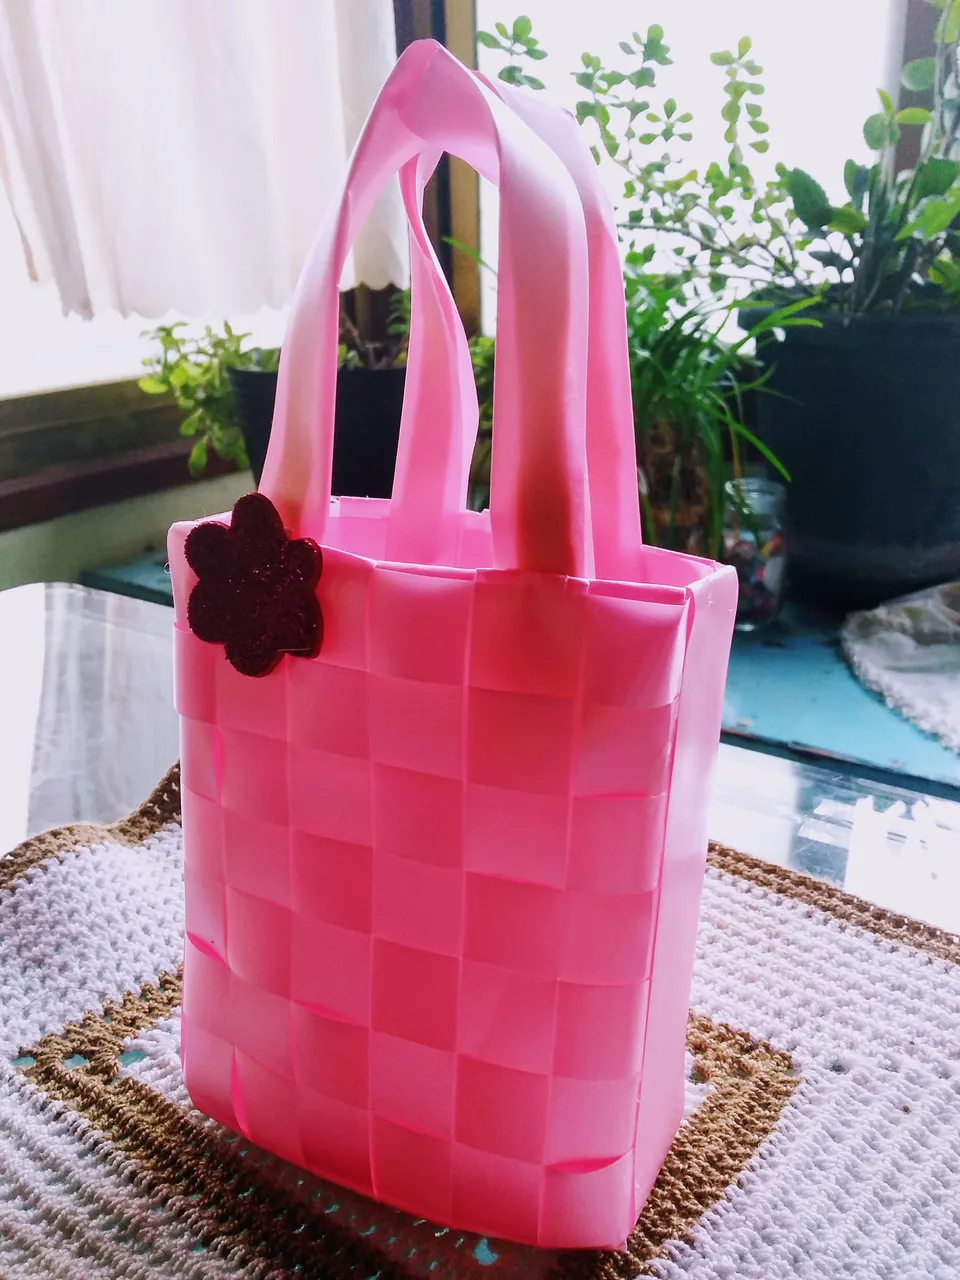
Se pegan los sujetadores en la parte superior y crear esta hermosa cartera.
Glue the bras on top and create this beautiful portfolio.
Paso 12// Step 12
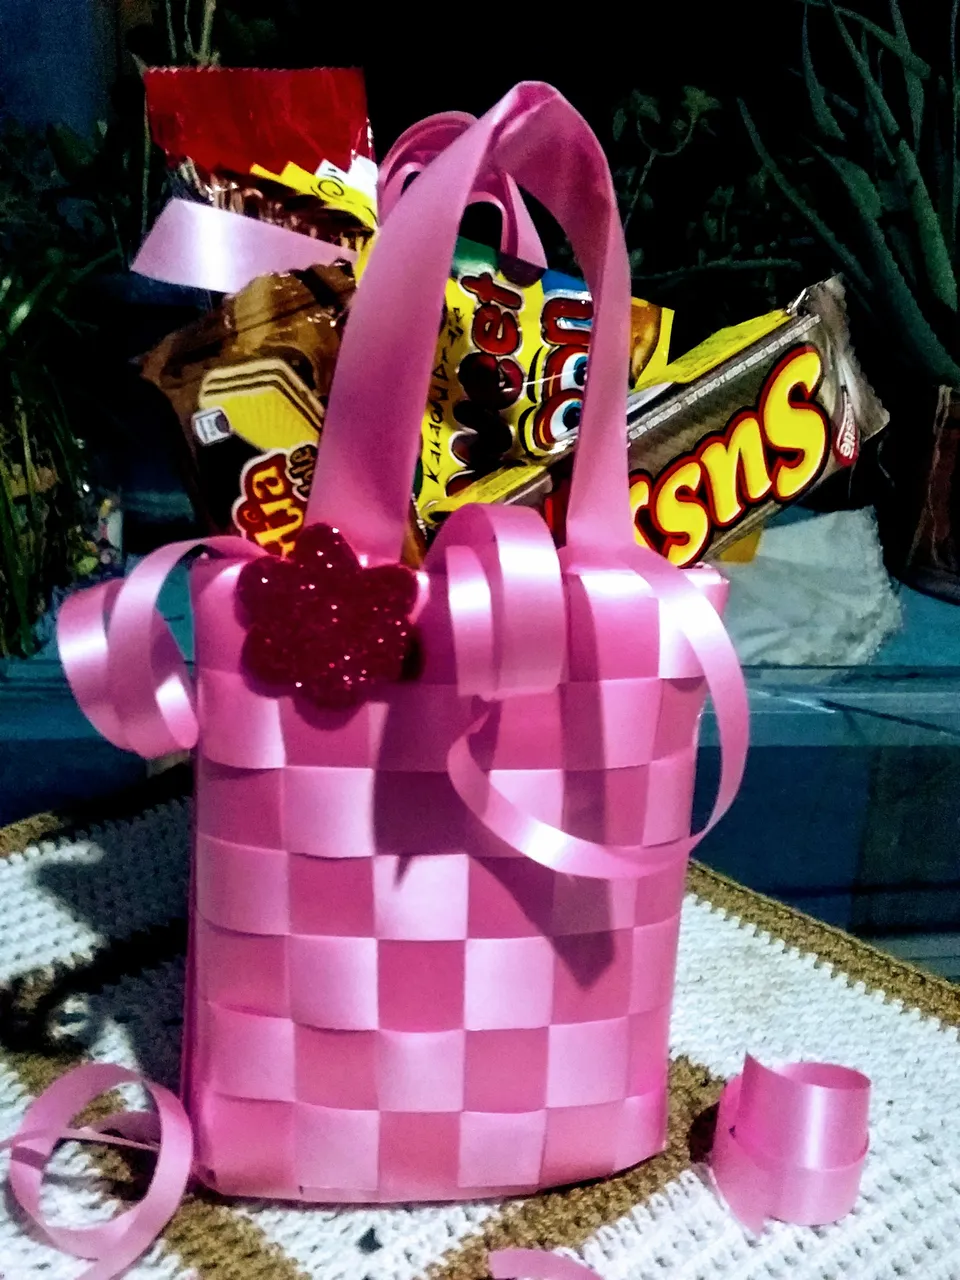
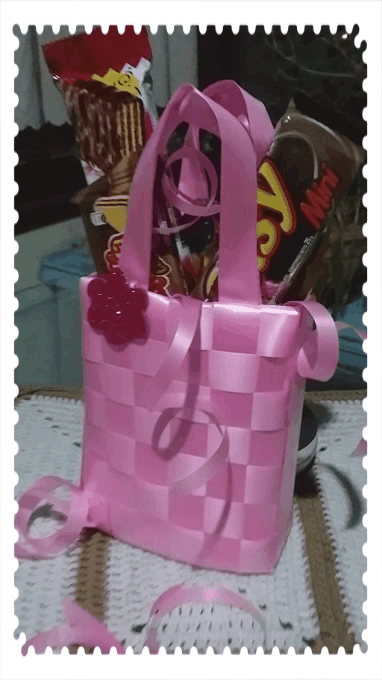
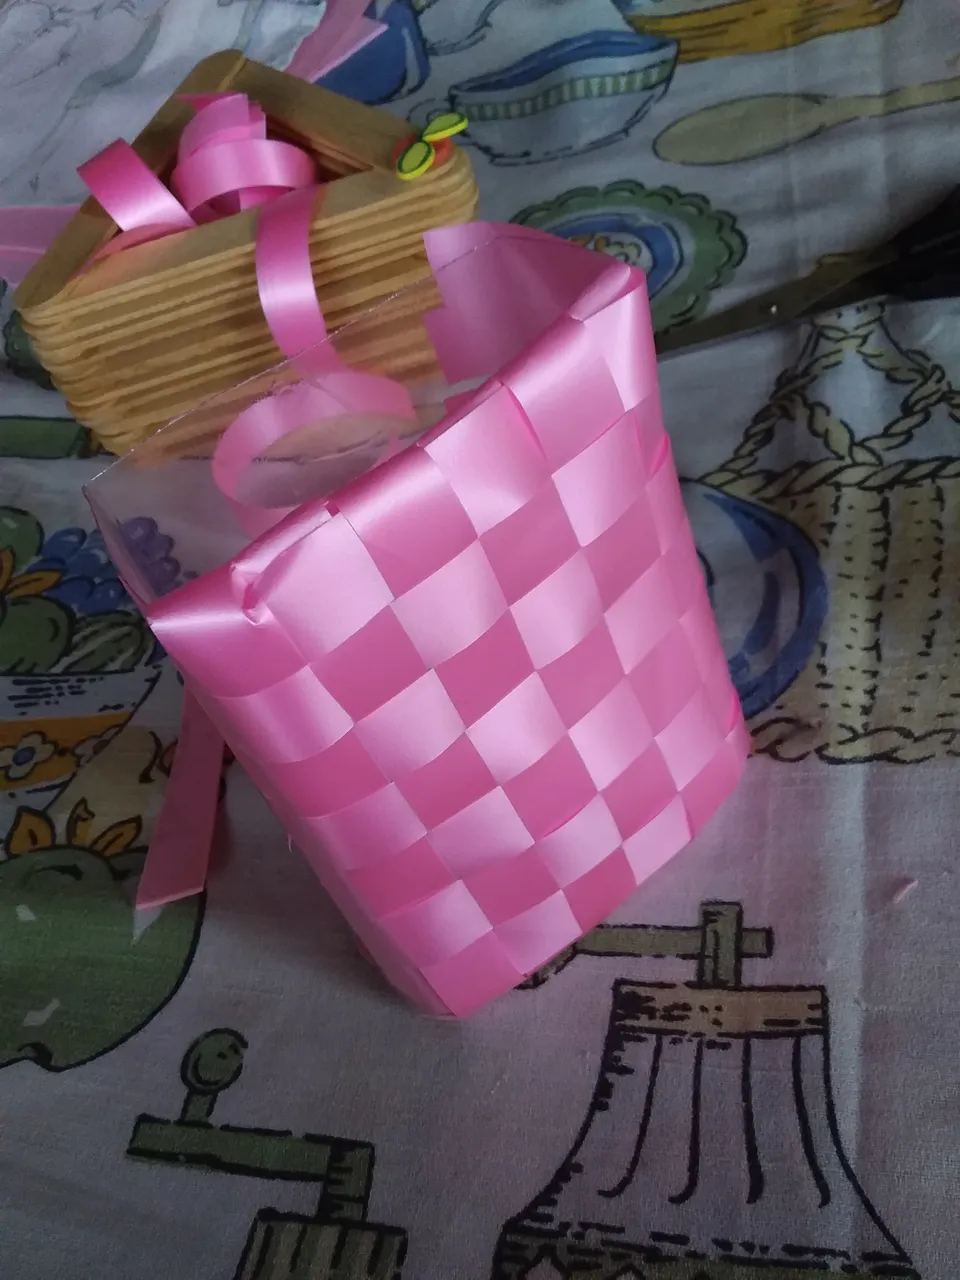
Ya por ultimo solo queda rellenar de golosinas y convertirla en un hermoso cotillón para las fiestas.
Finally, it only remains to fill with sweets and turn it into a beautiful party favors for the holidays.