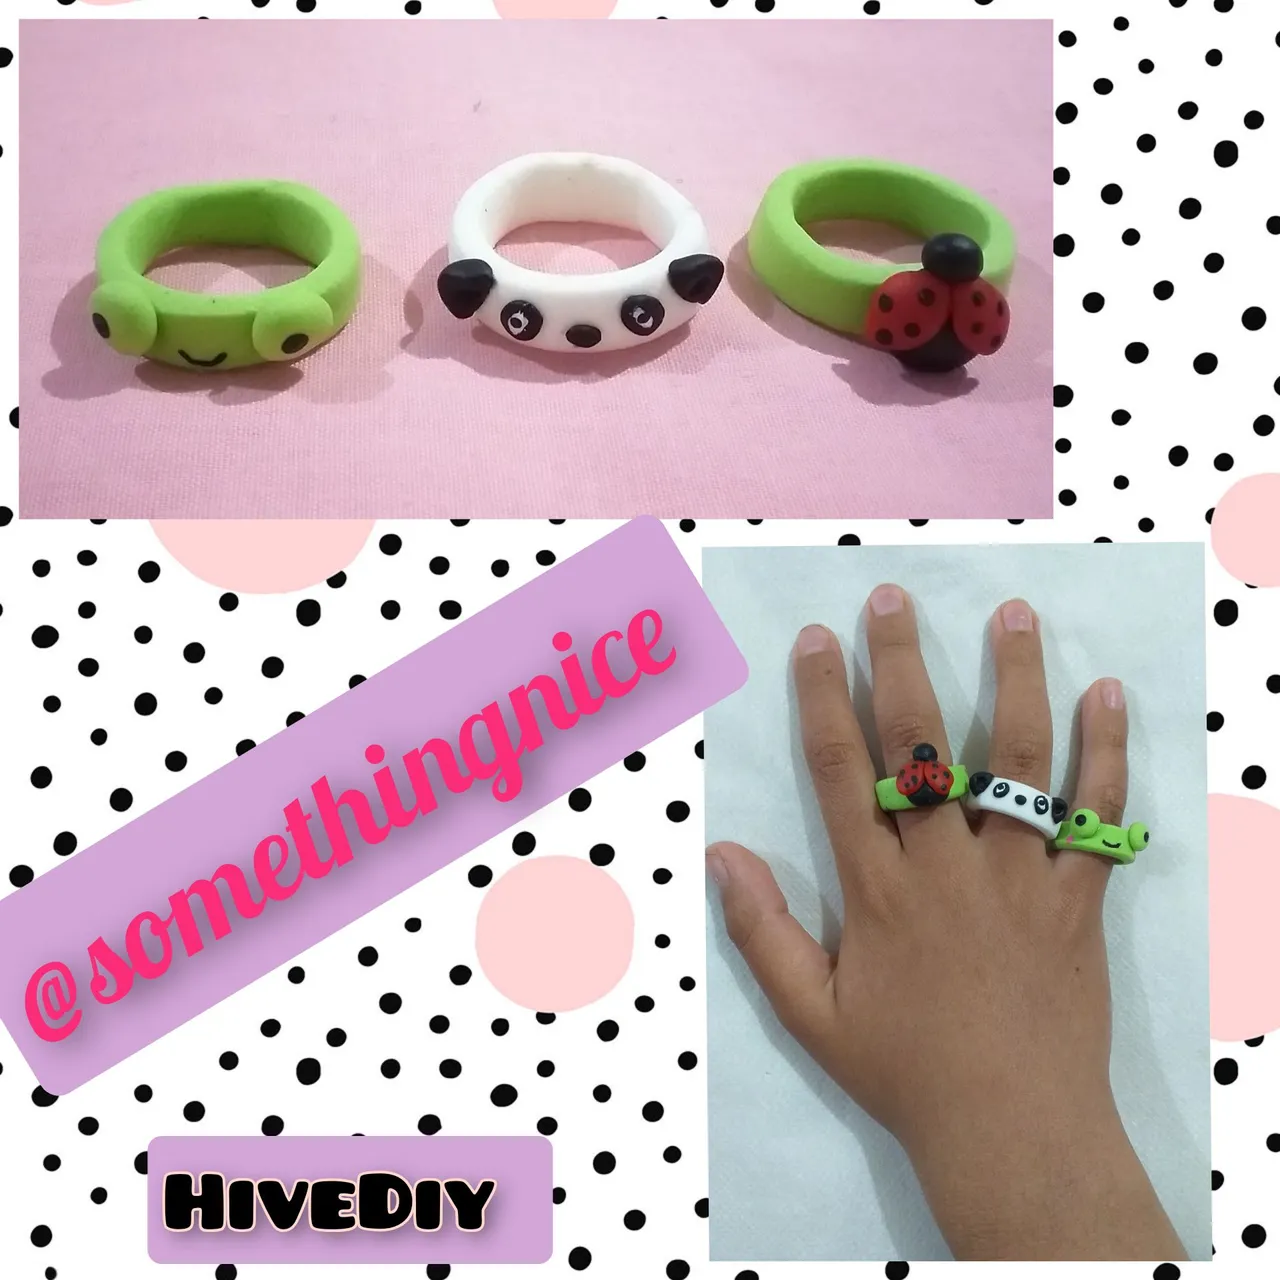
Hello creative friends from #HiveDiy, I hope you have a beautiful day. This time I teach them how to make very fun rings for our girls. They are very easy and inexpensive to make.
Hola amigos creativos de #HiveDiy, espero tengan un hermoso día. En esta oportunidad les enseño como hacer unos anillos muy divertidos para nuestras niñas. Son muy fáciles y económicos de hacer.
I did this work with images from Pinterest.
Este trabajo lo hice con imágenes de Pinterest.
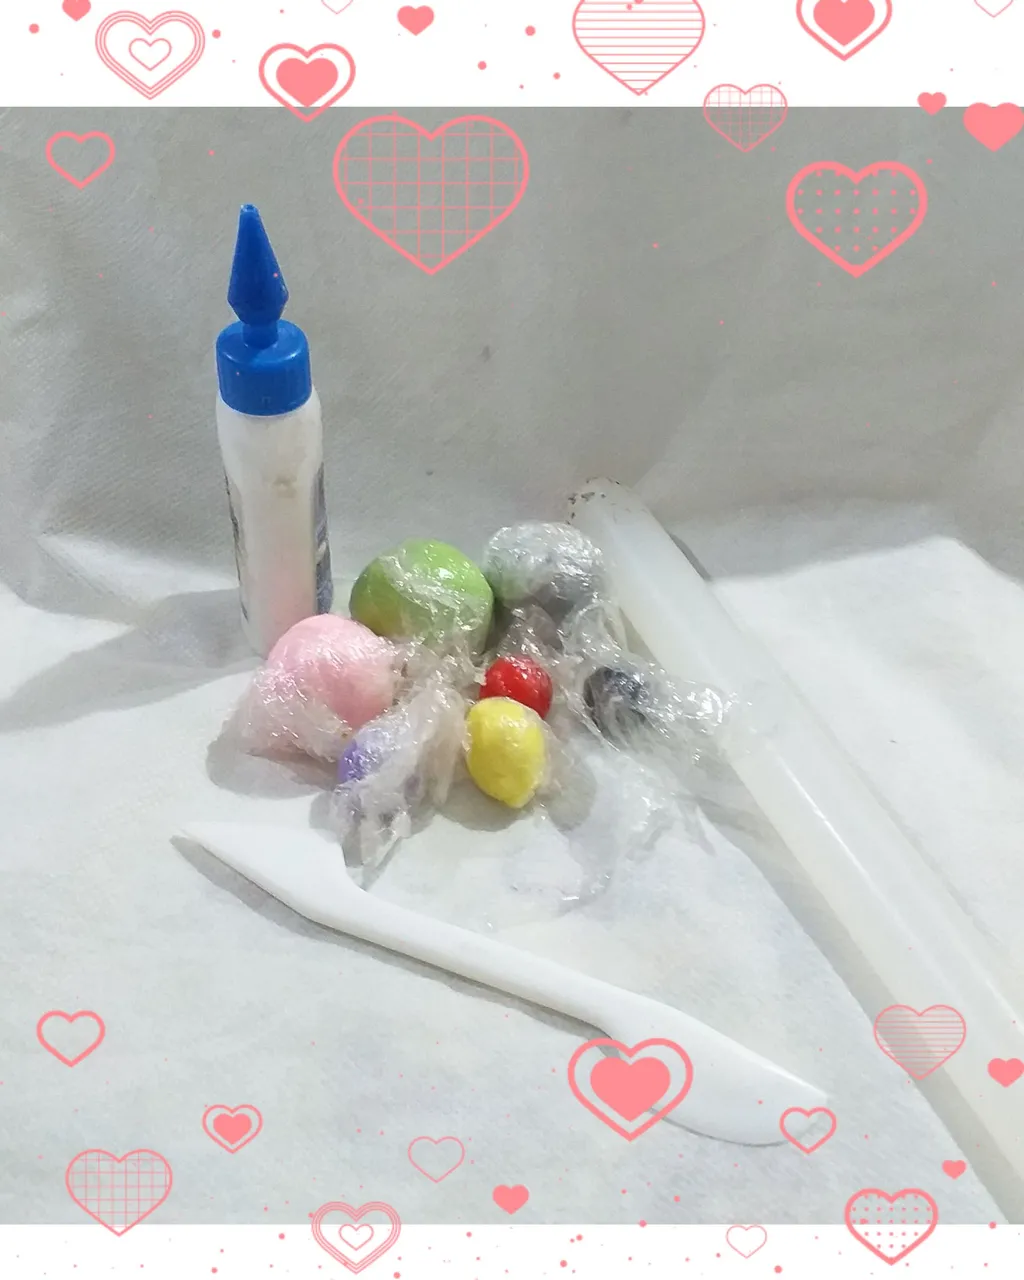
Materials
🌸Cold porcelain
🌸Vinyl glue
🌸Rolling pin
🌸Cuttings
Materiales
🌸porcelana fría
🌸cola vinilica
🌸palo de amasar
🌸estecas
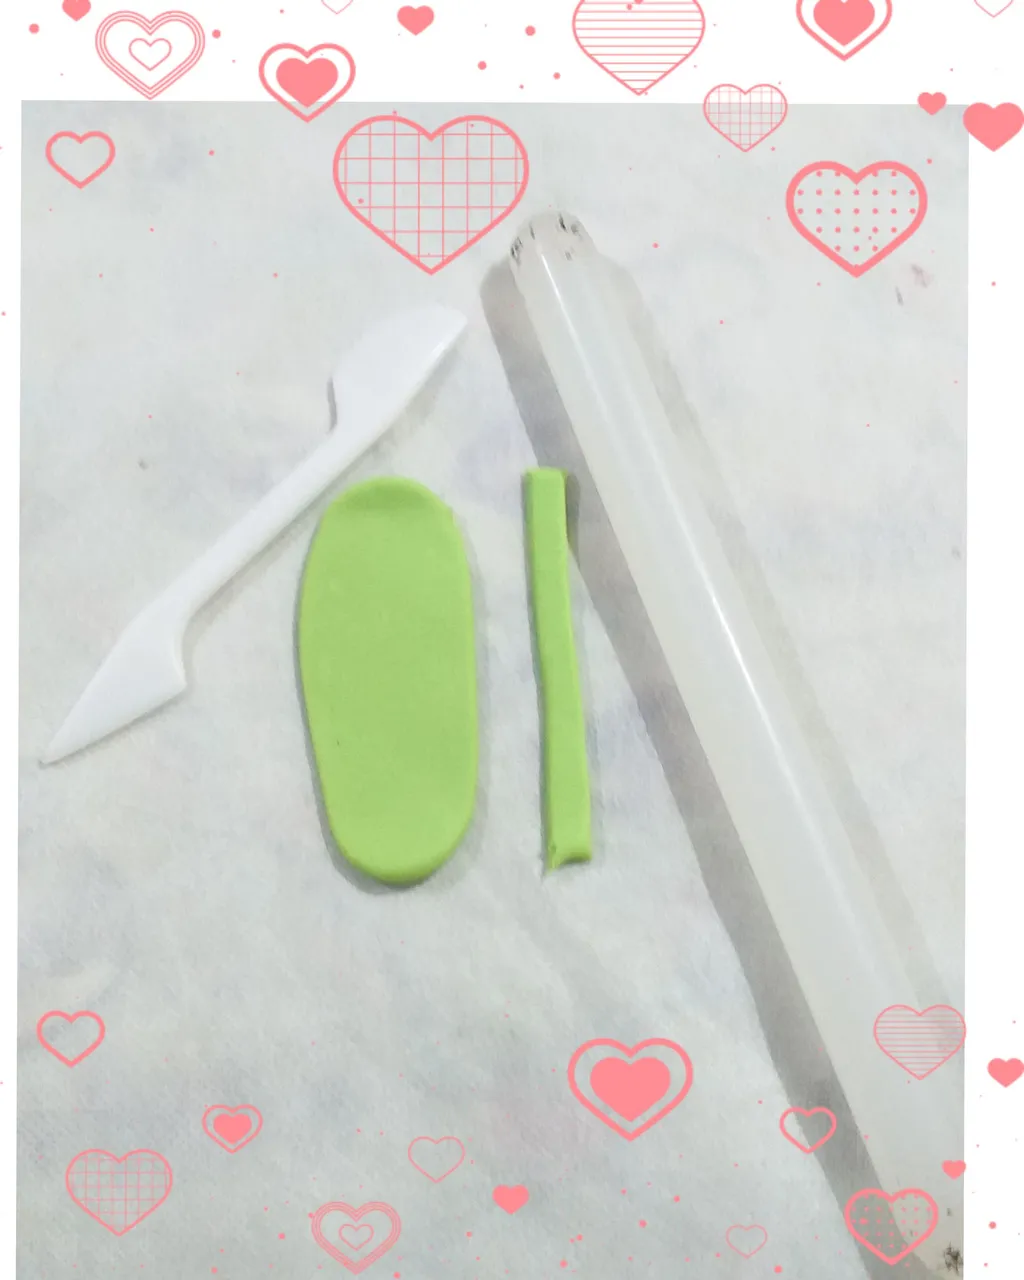
Roll out green cold porcelain and cut a strip to the required length.
We can make various colors, models and sizes.
Estirar porcelana fría de color verde y cortar una tira del largo necesario.
Podemos hacer de varios colores,modelos y tamaños.
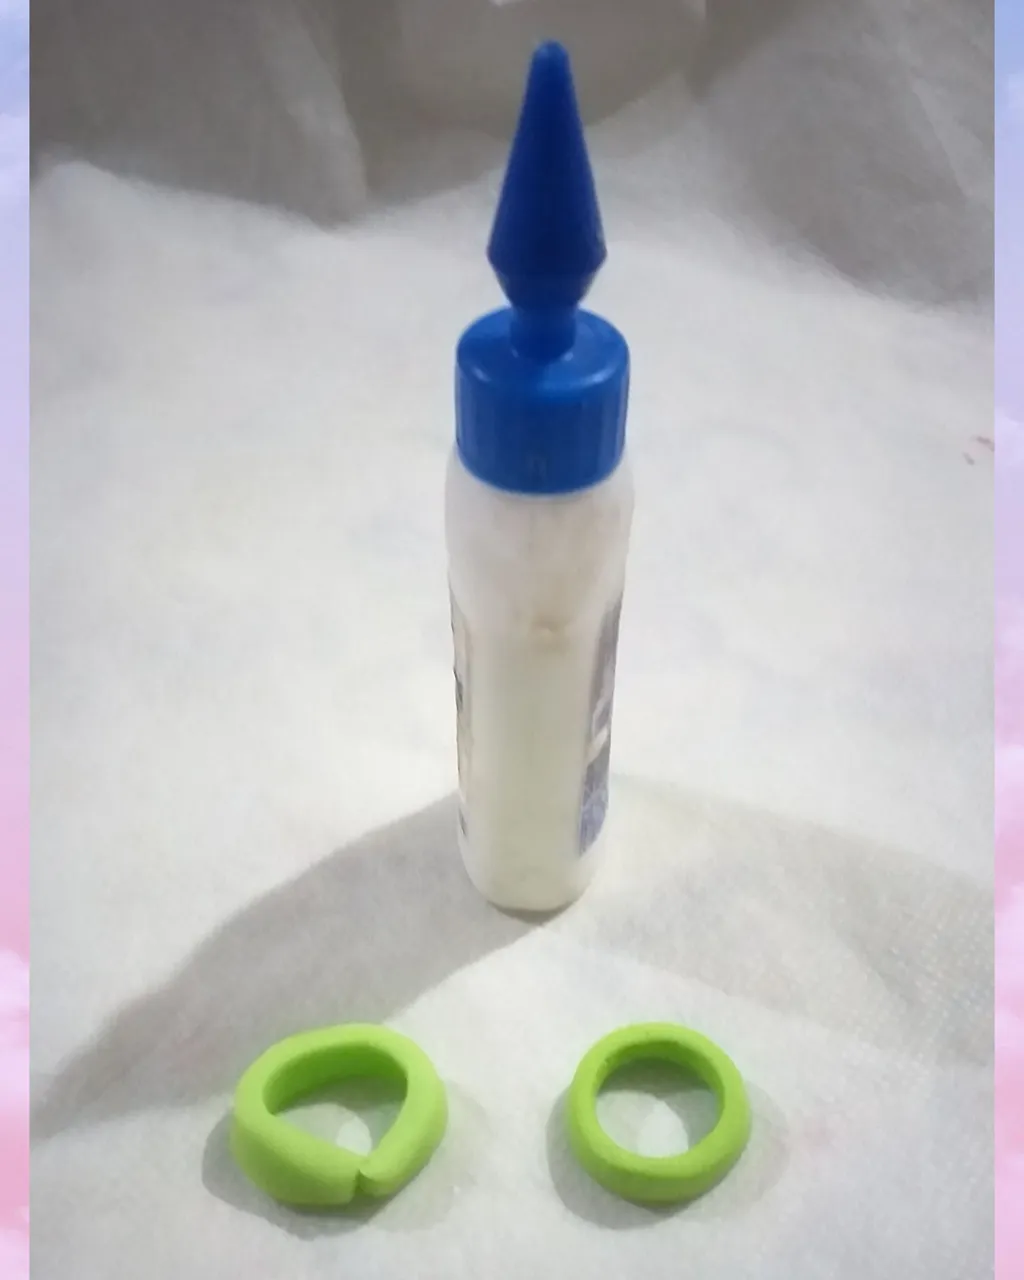
Form a circle and glue with vinyl glue. So that the union is not noticeable, it must be melted with a little water.
Formar un círculo y pegar con cola vinilica. Para que no se note la unión hay que fundir con un poco de agua.
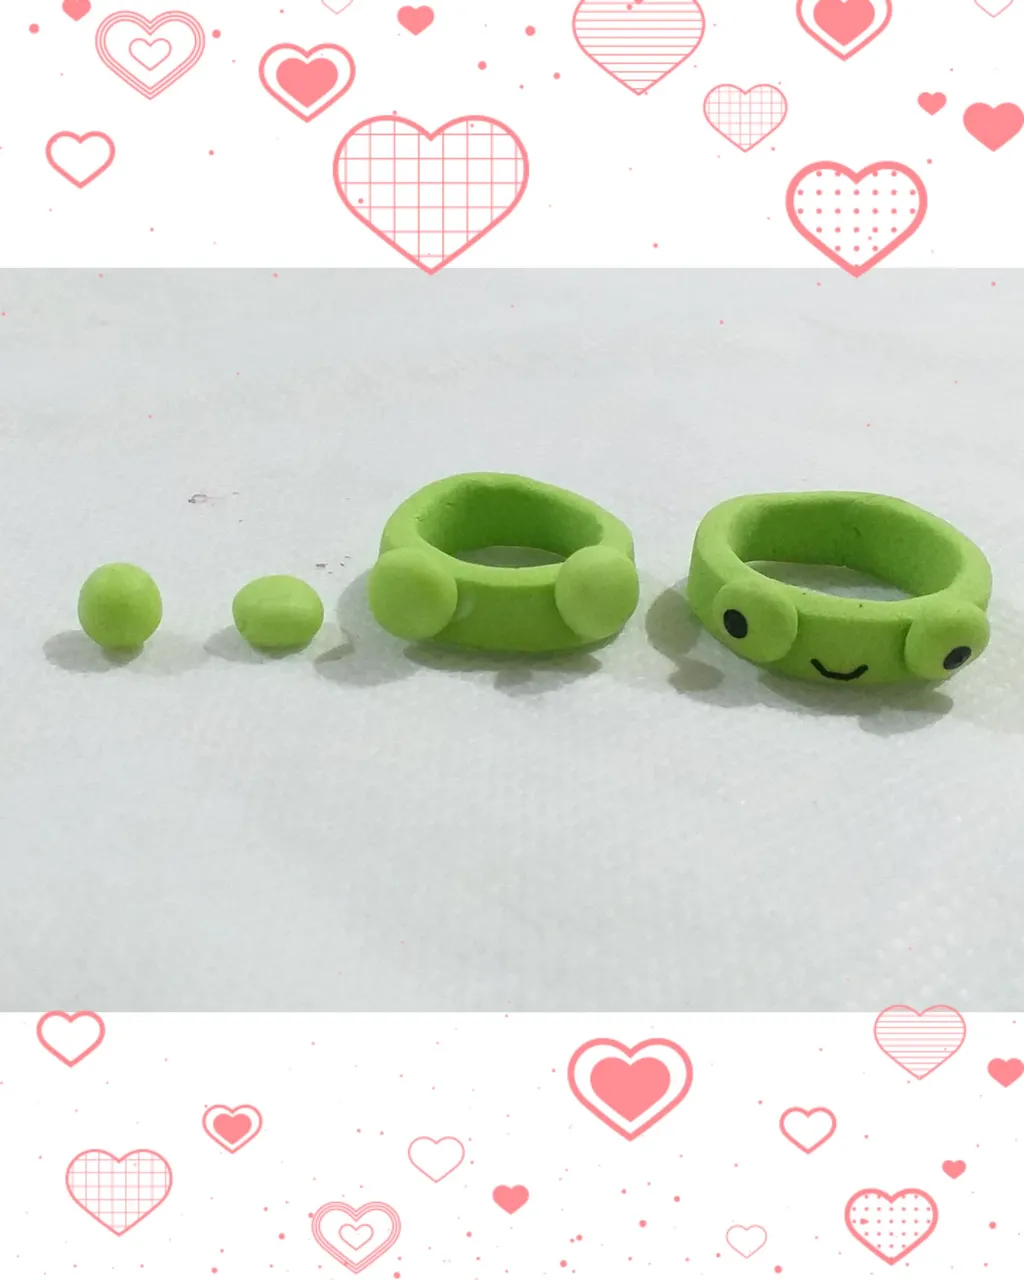
To make the toad, make two equal balls and flatten. Glue one on each end with vinyl glue. Let it dry for a few hours and draw the eyes and mouth with a black microfiber. As a detail I made two pink dots on the cheeks.
Para hacer el sapito, hacer dos bolitas iguales y aplanar. Pegar con cola vinilica uno en cada extremo. Dejar secar algunas horas y dibujar los ojos y la boca con una microfibra negra. Como detalle le hice dos puntos de color rosa en los cachetes.
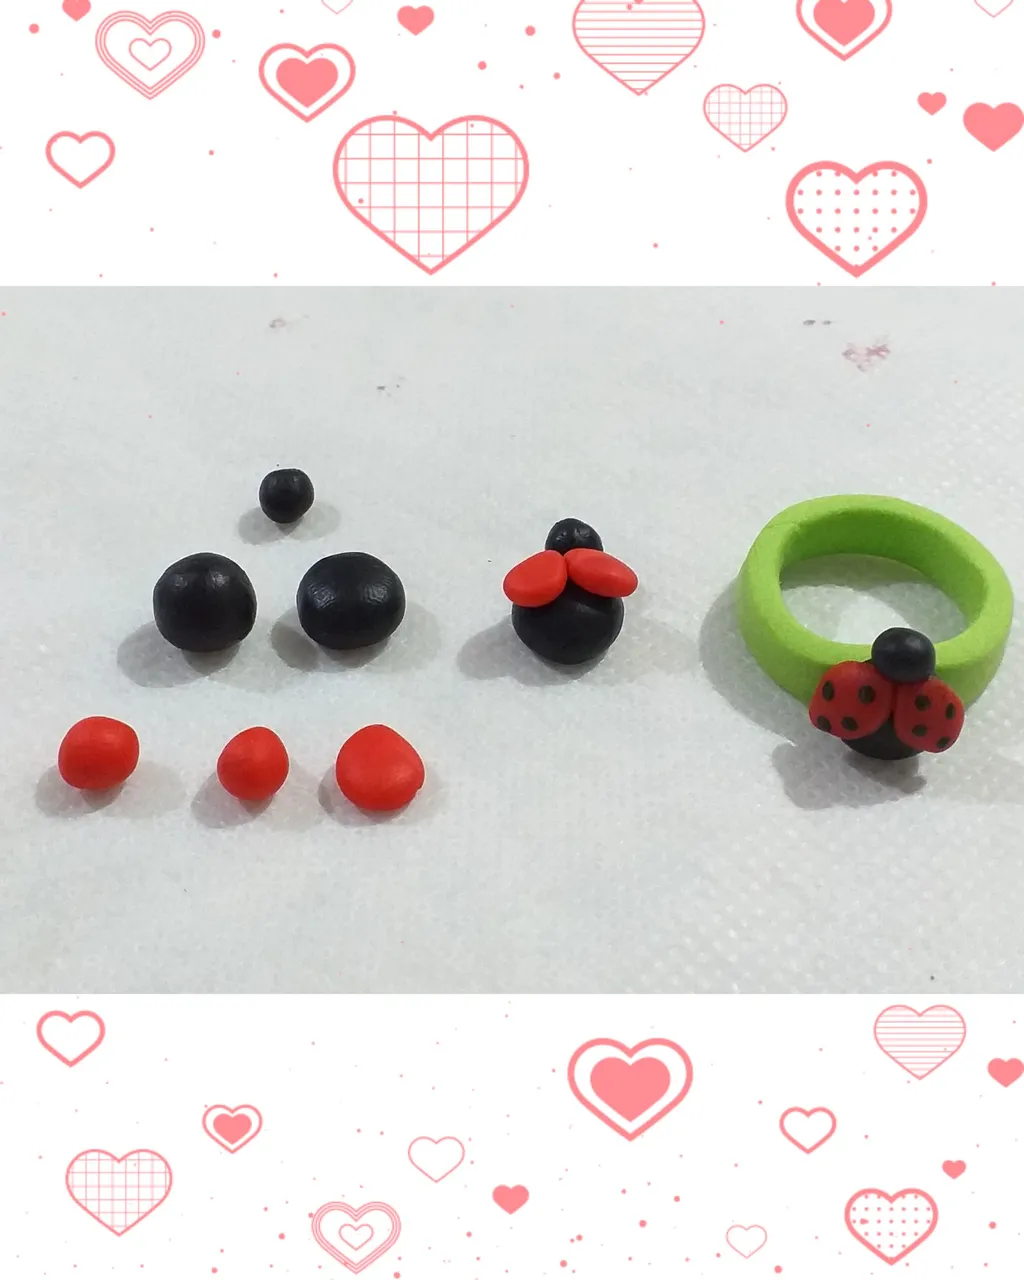
For the ladybug, make a black ball and flatten, we add a smaller ball for the head.
For the wings, make two equal red balls, shape into a drop and flatten.
Glue everything with vinyl glue. Let dry for a few hours and paint little black dots on the wings (we can use acrylic or fiber).
Para la mariquita hacer una bolita color negra y aplanar, agregamos una bolita más pequeña para la cabeza.
Para las alas hacer dos bolitas iguales de color rojo,dar forma de gota y aplanar.
Pegar todo con cola vinilica. Dejar secar unas horas y pintar puntitos negros en las alas (podemos usar acrílico o fibra).
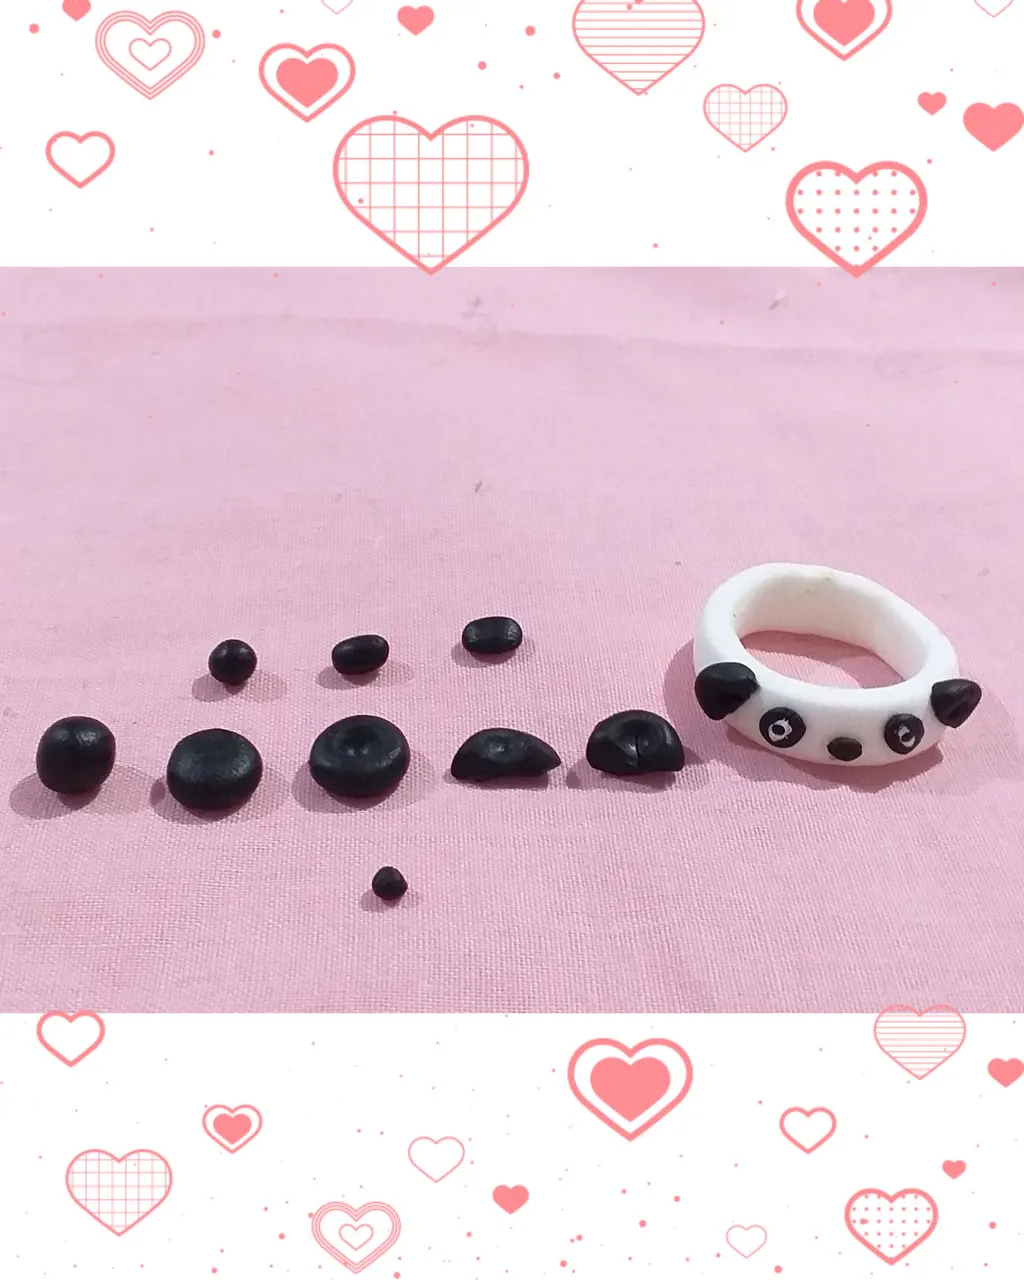
For the panda bear, make the eyes with two equal black balls, shape into a cylinder and flatten.
For the ears, make a black ball, flatten, hollow out and cut in the middle.
Make a very small ball for the nose.
Glue everything together and let it dry for a few hours. With black and white acrylic we finished painting the eyes.
Para el oso panda,hacer los ojos con dos bolitas iguales de color negro, dar forma de cilindro y aplanar.
Para las orejas hacer una bolita negra, aplanar, ahuecar y cortar al medio.
Hacer una bolita muy pequeña para la nariz.
Pegar todo y dejar secar unas horas. Con acrílico blanco y negro terminamos de pintar los ojos.
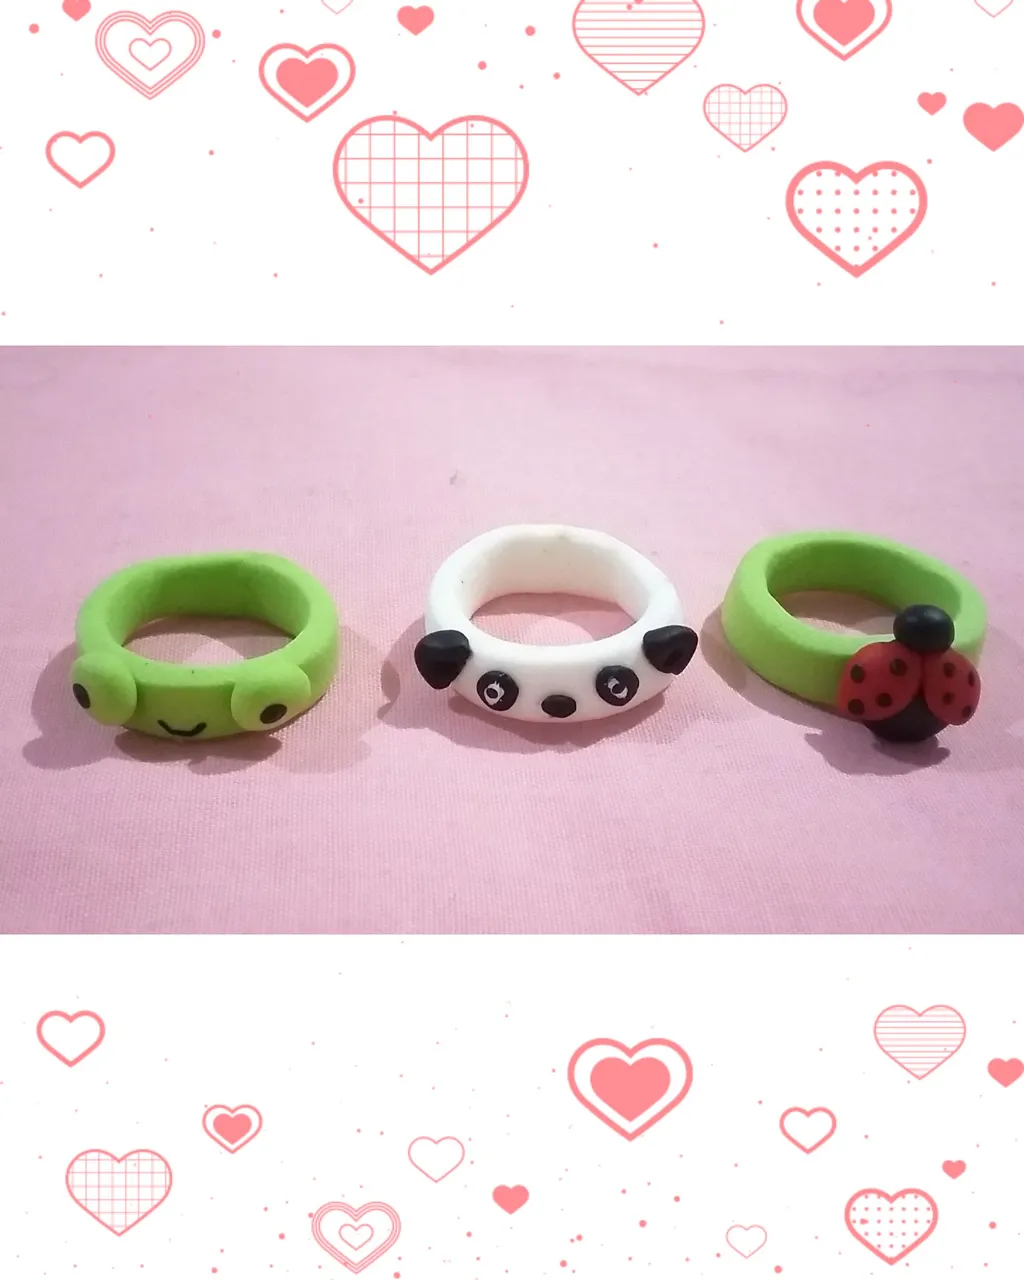
And so these fun rings that we can make to sell or give away are finished. You can find a variety of designs on Pinterest.
For this post I took photos with my Samsung Galaxy j4 cell phone, I used the Collage Marker app and Google Translate.
I hope you liked it and can do it since it is something super simple and inexpensive to do. Greetings. Andrea ❤❤❤
Y así quedan terminados estos divertidos anillos que podemos hacer para vender o regalar. En Pinterest pueden encontrar diseños variados.
Para esta publicación tomé fotos con mi teléfono celular Samsung Galaxy j4, usé la aplicación Collage Marker y el traductor de Google.
Espero les haya gustado y puedan hacerlo ya que es algo súper sencillo y económico.de hacer. Saludos. Andrea ❤❤❤