[Eng-Esp] Making a homemade mini fan.--- Haciendo un mini ventilador casero.

Making a homemade mini fan.

Haciendo un mini ventilador casero.


Greetings my dear friends readers, today I want to present you a small tutorial to make your own homemade mini fan.

Saludos mis queridos amigos lectores, el día de hoy les quiero presentar un pequeño tutorial para realizar su propio mini ventilador casero.

portada.jpg


These days it's getting a little hotter than usual so I wanted to make something to help cool me down (or at least distract me ;) ) so looking through some things I found some pretty simple materials that would be useful to accomplish this task.

En estos días está haciendo un poco más de calor de lo habitual así que quise realizar algo para que ayudara a refrescarme (o por lo menos a distraerme ;) ) así que buscando entre algunas cosas conseguí algunos materiales bastantes simples que me servirían para cumplir esta tarea.


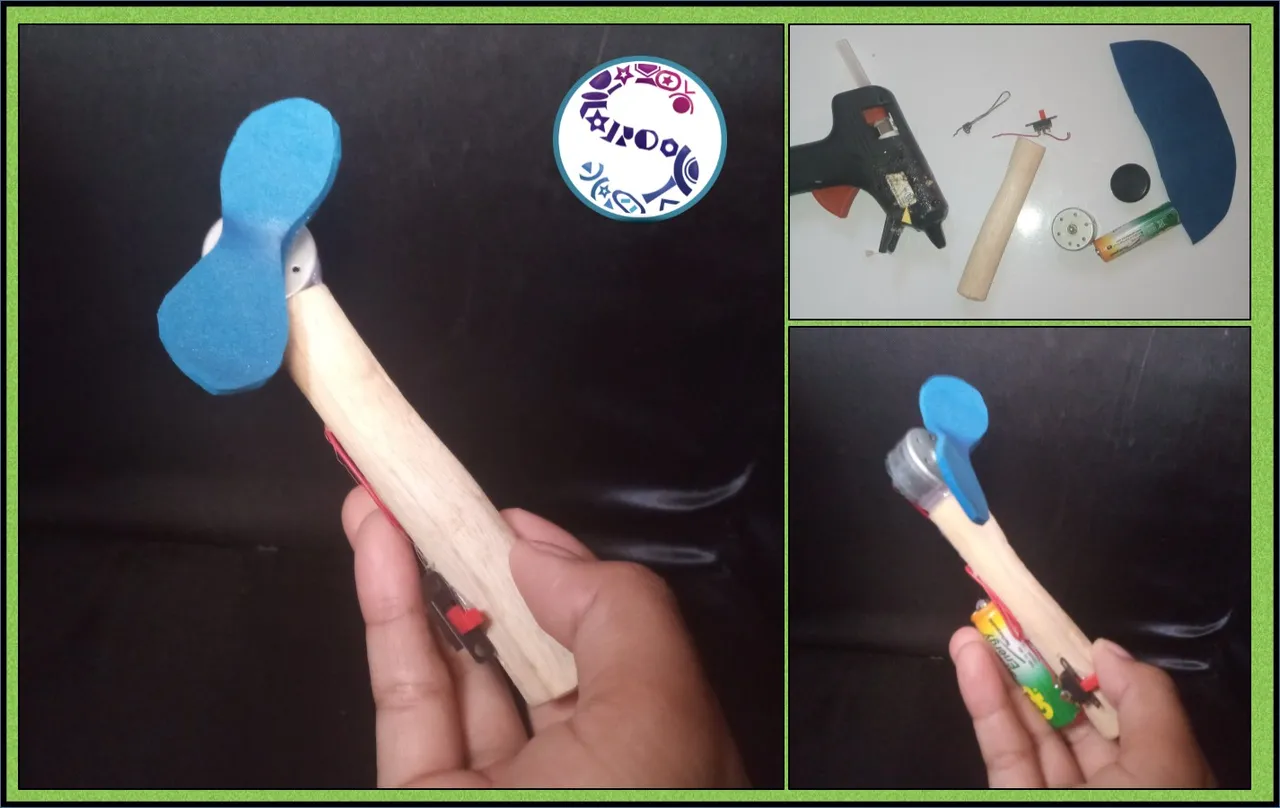
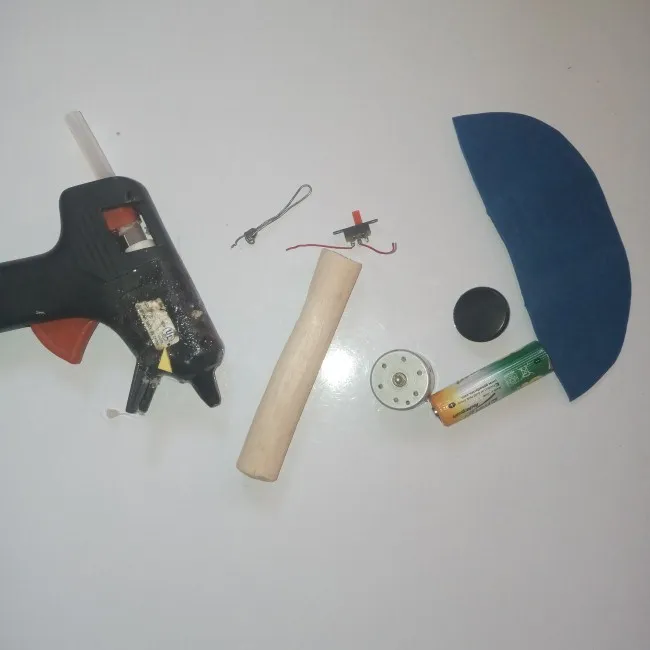
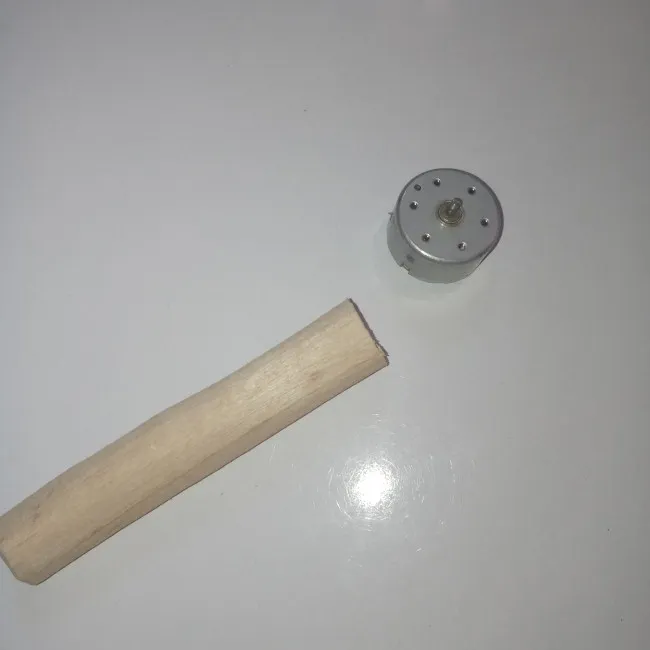
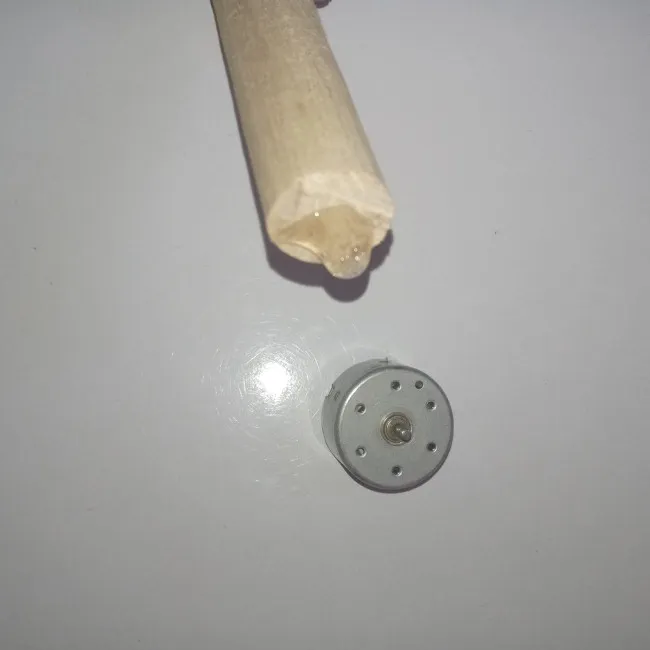
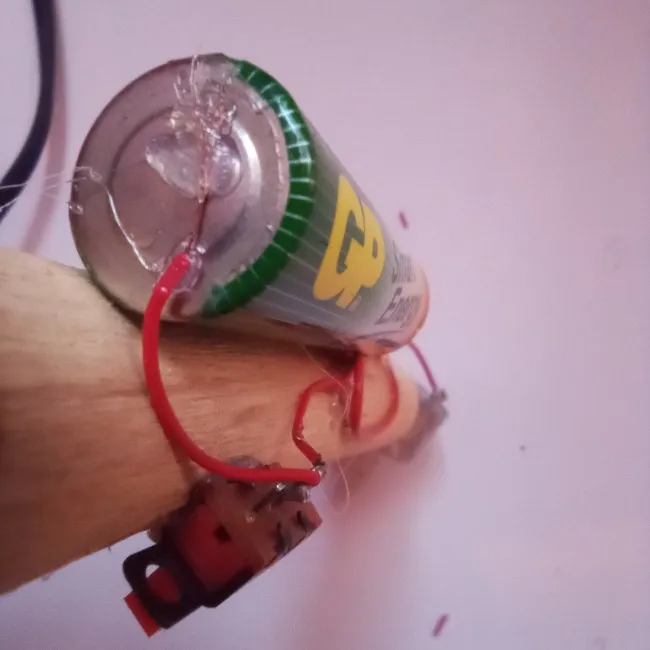
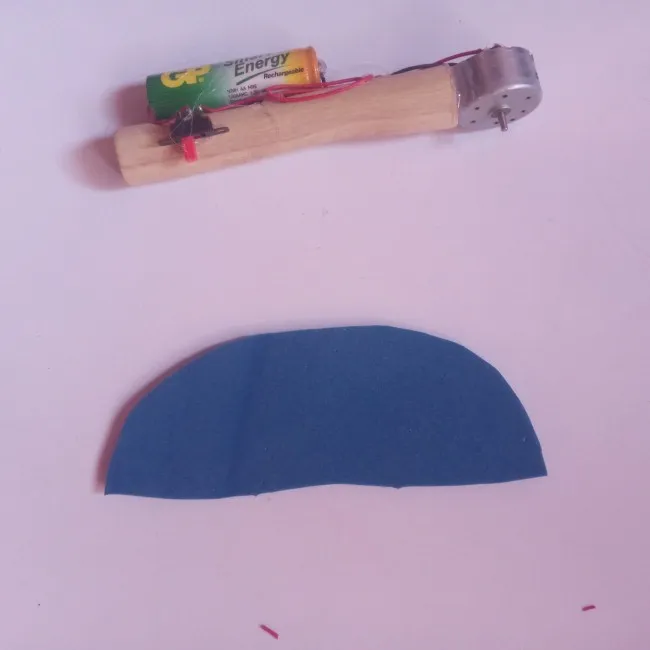
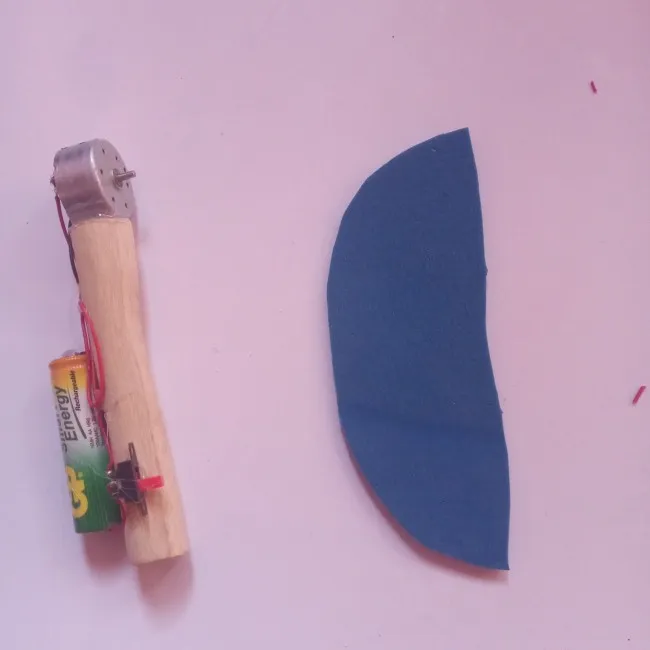
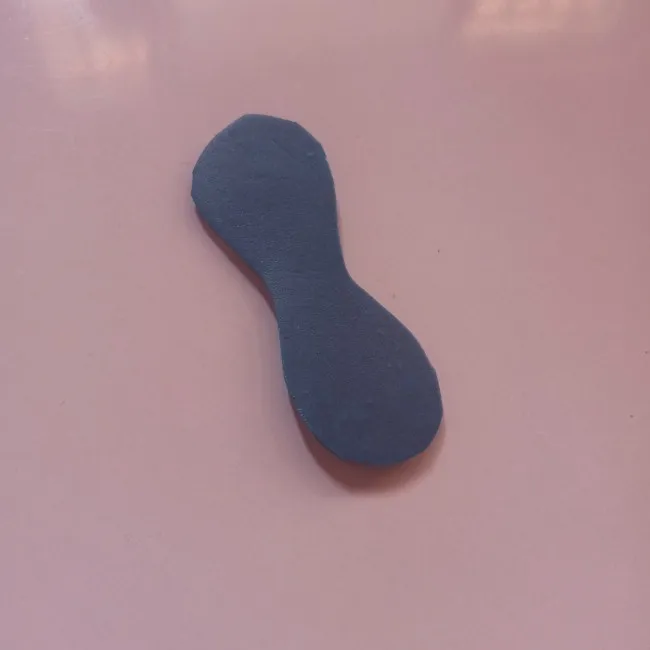
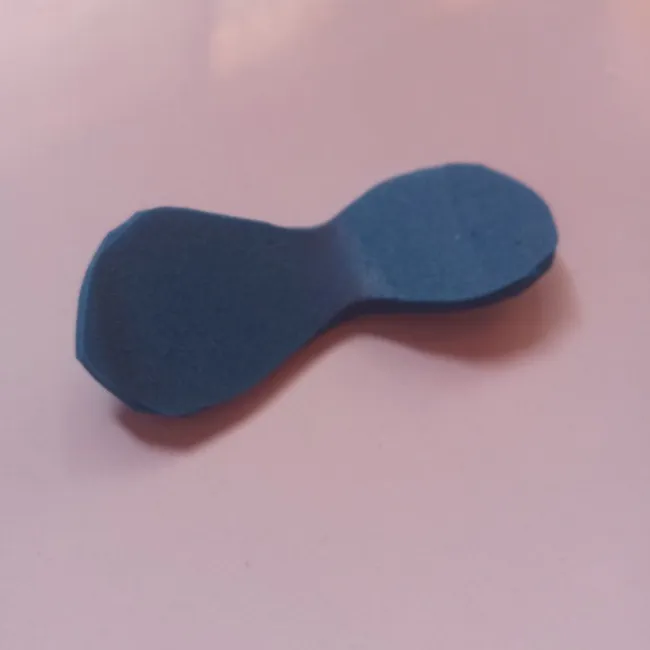
To make this mini fan, we will need: a small wooden or plastic stick, an electric motor (this one was taken from a floppy disk drive), a switch, some tin, 1 battery and a piece of eva rubber, two small pieces of wire, as well as silicon.

Para realizar este mini ventilador, necesitaremos: un palo pequeño de madera o plástico, un motor eléctrico (este fue sacado de una unidad de disket) un interruptor, un poco de estaño, 1 pila y un trozo de goma eva, dos trocitos de cable, además de silicon.

Imagen1.jpg


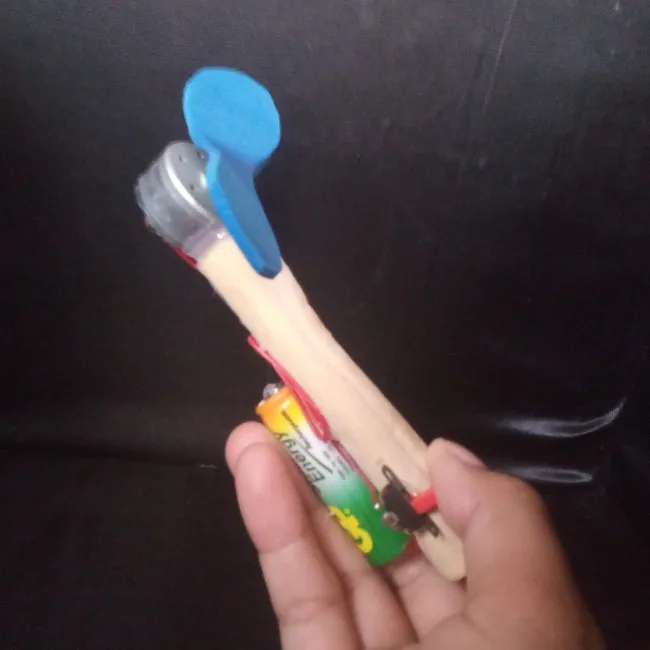
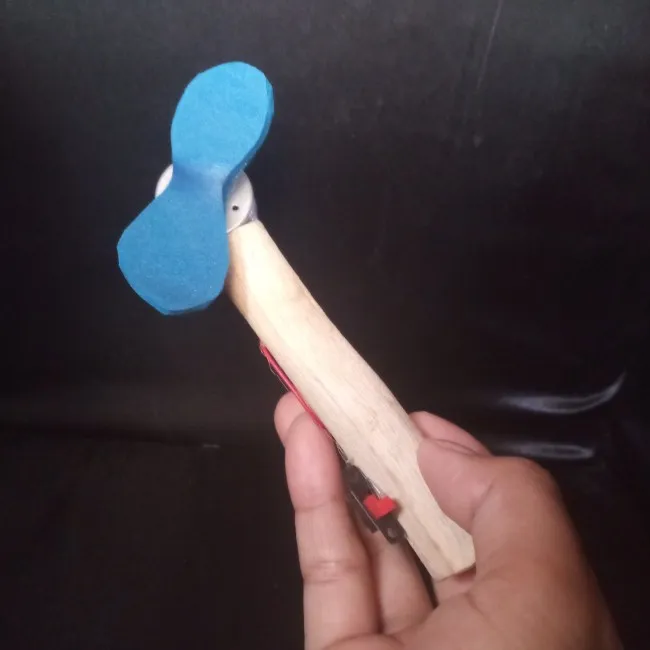
The steps are quite simple and the final product can be useful for some time or it can be an ideal toy for the little ones in the house ;)

Los pasos son bastante simples y el producto final puede ser útil por algún tiempo o bien puede ser un juguete ideal para los pequeños de la casa ;)


The first thing we will do is to glue the motor to the end of the stick with silicone.
Lo primero que haremos será pegar con silicón el motor a la punta del palito.

Imagen2.jpg

Imagen3.jpg

Imagen4.jpg


We will glue with the tin the pieces of cable to the motor as it is appreciated in the photos.
Pegaremos con el estaño los trozos de cable al motor tal y como se aprecia en las fotos.

Imagen5.jpg

Imagen6.jpg


To be able to decide when to turn on and off the mini fan, we will use a switch, in this case I already had the wires glued so just splice the tip of the red wire of the motor with one of the tips of the switch and then glue it with silicone to the stick at a strategic point.
Para poder decidir cuando encender y apagar el mini ventilador, usaremos un interruptor, en este caso ya tenía los cables pegados así que solo empalme la punta del cable rojo del motor con una de las puntas del interruptor y luego lo pegue con silicón a el palito en un punto estratégico.

Imagen7.jpg

Imagen8.jpg


To make it functional we will place a battery, glue it to the back, and with the help of the same silicone we will fix the wires to the positive and negative poles of the battery.
Para hacerlo funcional colocaremos una pila la pegaremos a la parte de atrás, y con ayuda del mismo silicón fijaremos los cables a los polos positivo y negativa de la pila.

Imagen9.jpg

Imagen10.jpg

Imagen11.jpg


Finally with a piece of paper we will make the basic shape of a blade and transfer it to the eva rubber. This being already cut, we will apply a little heat to bend it and we will fix it to the motor shaft with more silicone.
Por ultimo con un trozo de papel haremos la forma básica de un aspa y la pasaremos a la goma eva. Esta al estar ya cortada, le aplicaremos un poco de calor para doblarla y la fijaremos al eje del motor con mas silicón.

Imagen12.jpg

Imagen13.jpg

Imagen14.jpg

Imagen15.jpg

Imagen16.jpg


As always I will leave you the sample of this nice mini fan plus some pictures so you can appreciate how nice it has turned out.
Como siempre te dejare la muestra de este lindo mini ventilador además de algunas fotos para que aprecies lo lindo que ha quedado.

Imagen17.jpg

Imagen18.jpg


I hope this craft, will be useful and you can make your own version at home, love you @shirahoshi and I hope to see you in a future post.

Espero que esta manualidad, les sea de utilidad y puedan hacer su propia versión en casa, los quiere @shirahoshi y los espero en un próximo post.

Logo sin sombra.gif


The photographs are my own and were taken by me with a Redmi 9 and were edited in powerpoint.

Las fotografías son de mi autoría y fueron tomadas por mí con un Redmi 9 y se editaron en powerpoint.


The Step by Step Gif was made by me in AdobePhotoshop CC2014.

El Gif de Paso a Paso fue realizado por mi en AdobePhotoshop CC2014.


The logo was designed by me in Adobe Illustrator CC 2015 and its animated version was made in After Effects CC 2017.

El logo fue diseñado por mí en Adobe Illustrator CC 2015 y su versión animada la realice en After Effects CC 2017.


Language corrector used Deepl.

Corrector de idioma utilizado Deepl.


Remember that you can purchase these beautiful pieces of art made and tokenized by me at Nftshowroom at an excellent price. Link to the gallery here

H2
H3
H4
3 columns
2 columns
1 column
1 Comment
Ecency