Hello reader friends, happy and blessed Friday, today I want to share with you a beautiful card holder with eva rubber, very easy to make and at the same time quite economical. Stay with me until the end of the post and enjoy every step I will be taking to get this beautiful card holder.
Hola amigos lectores, feliz y bendecido viernes el día de hoy quiero compartirles un hermoso tarjetero con goma eva, muy fácil de realizar y a su vez bastante económico. Quédate conmigo hasta el final del post y disfruta de cada paso que estaré dando para llegar a obtener este lindo tarjetero.
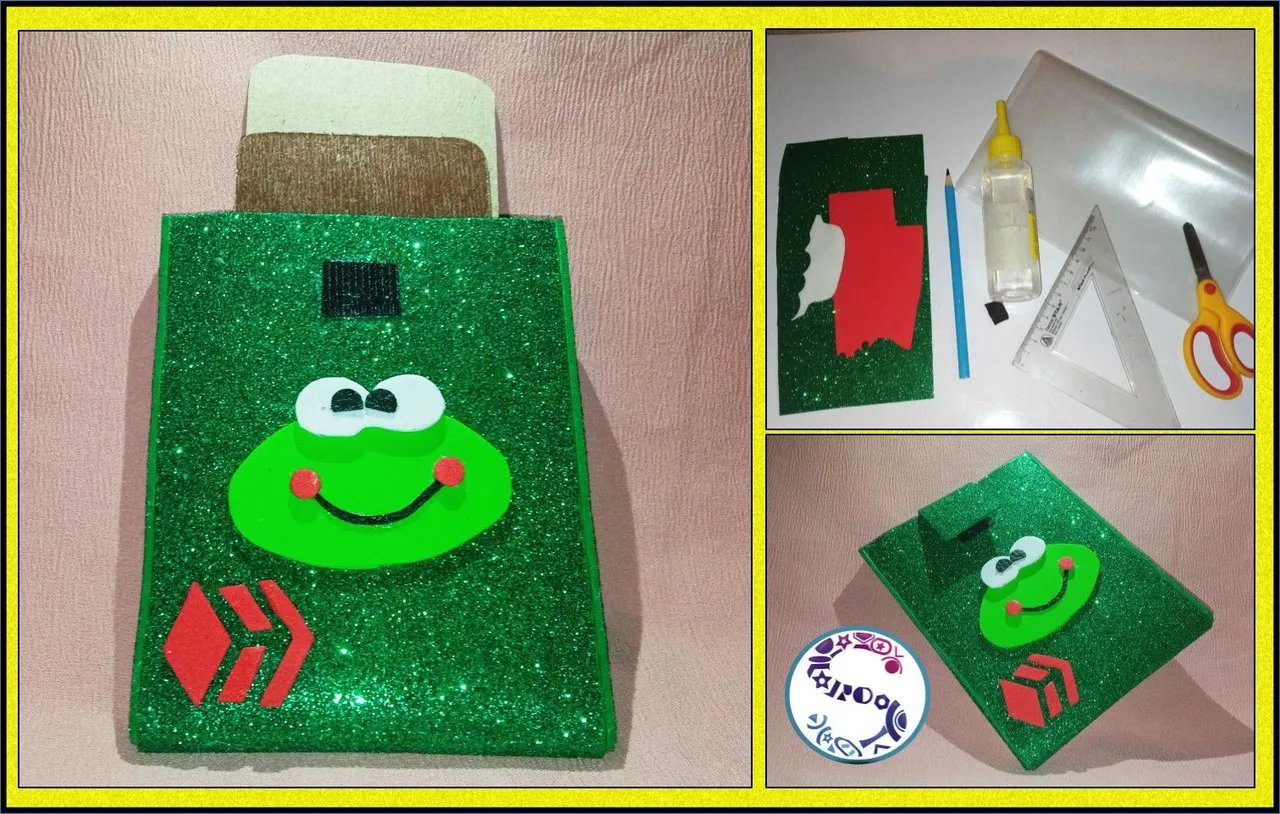
Cardholders are quite essential in the day to day life of people because there you can keep each of the cards you have in use and at the time of payment you only have to look for the card you want and you will not have any complications of losing it out of place.
Los tarjeteros son bastantes esenciales en el día a día de las personas ya que allí pueden guardas cada una de las tarjetas que tengan en uso y al momento de pagar solo debes buscar la tarjeta que desea y no tendrás ninguna complicación de perderla de lugar.
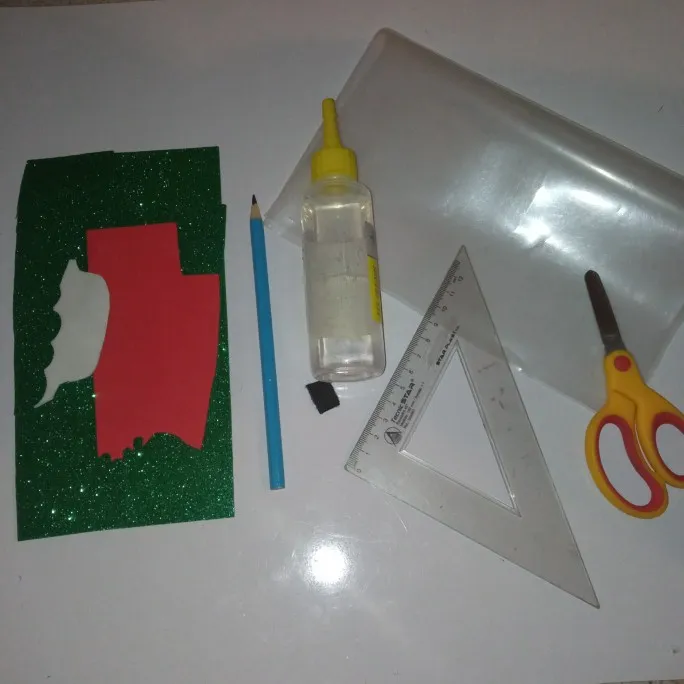
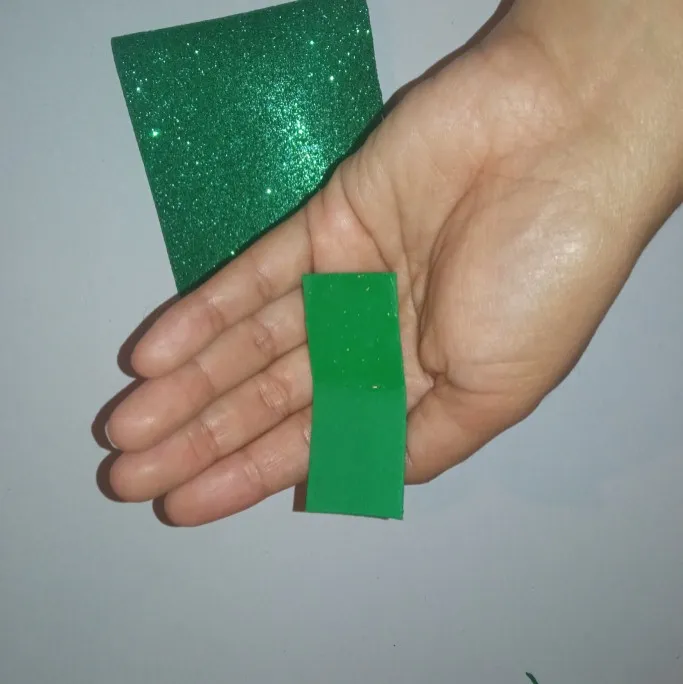
The materials I used for this fantastic craft were the following: eva rubber, pencil, liquid silicone, a piece of plastic sheet, scissors, ruler, hole opener and magic zipper.
Los materiales que utilice para esta fantástica manualidad fueron los siguientes: goma eva, lápiz, silicón líquido, un pedazo de una lámina de plástico, tijera, regla, abre hueco y cierre mágico.


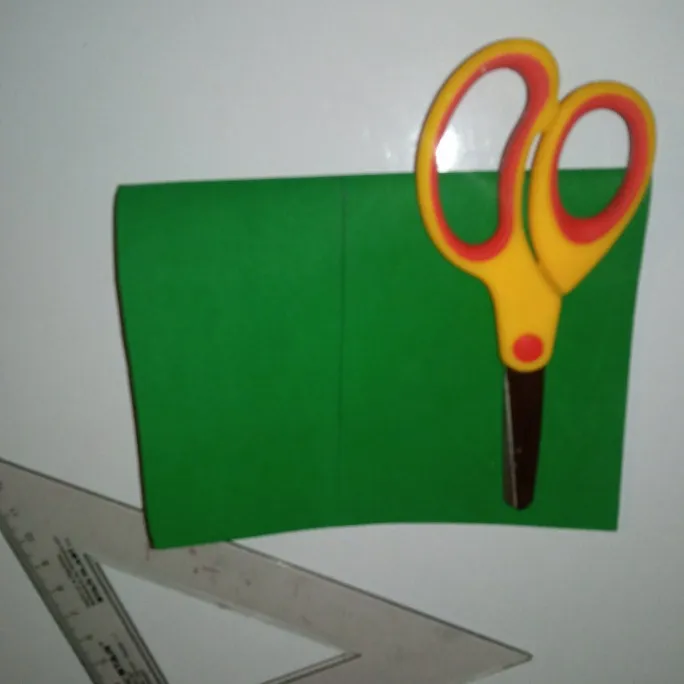
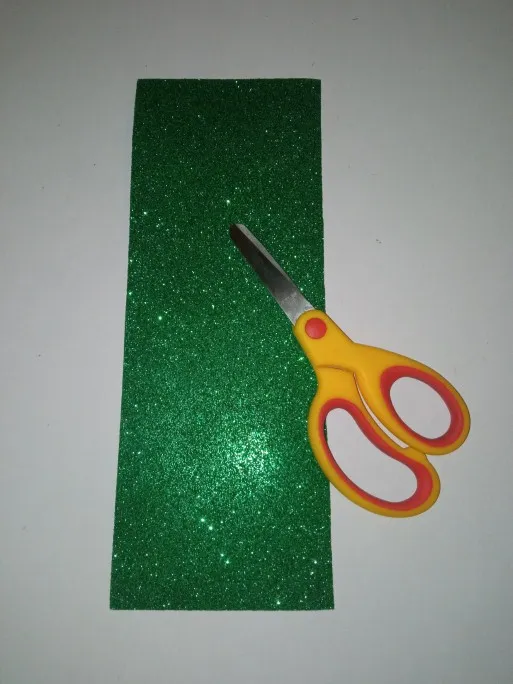
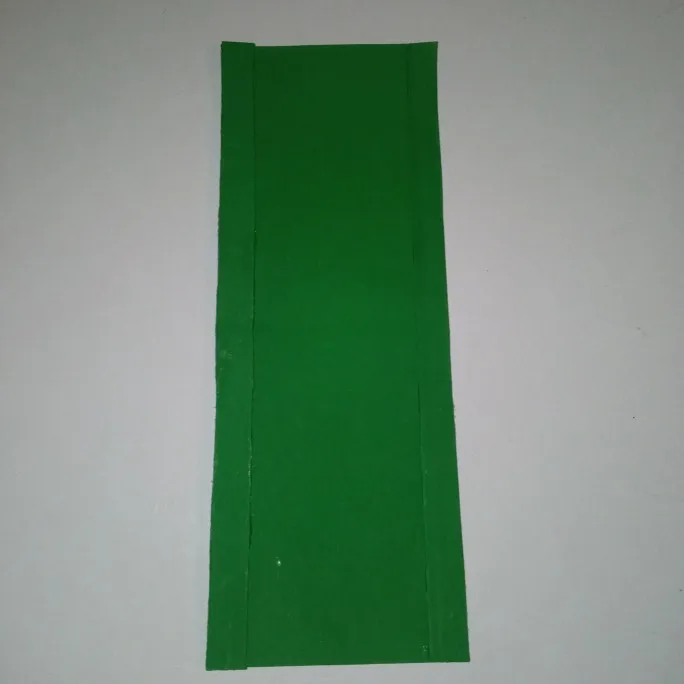
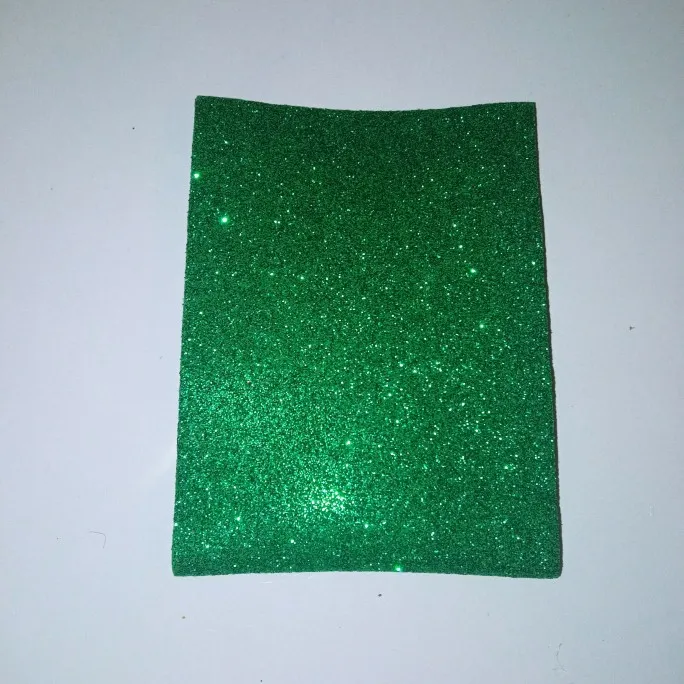
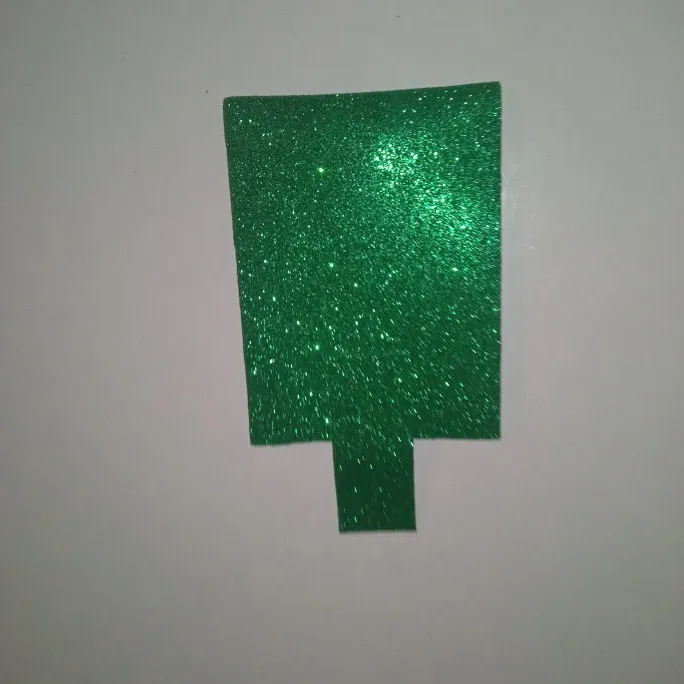
The first thing I proceed to do is to mark with a pencil the length and width I want for the card holder and then cut it out.
Lo primero que procedo hacer es marcar con el lápiz el largo y el ancho que deseo para el tarjetero y luego recortó.
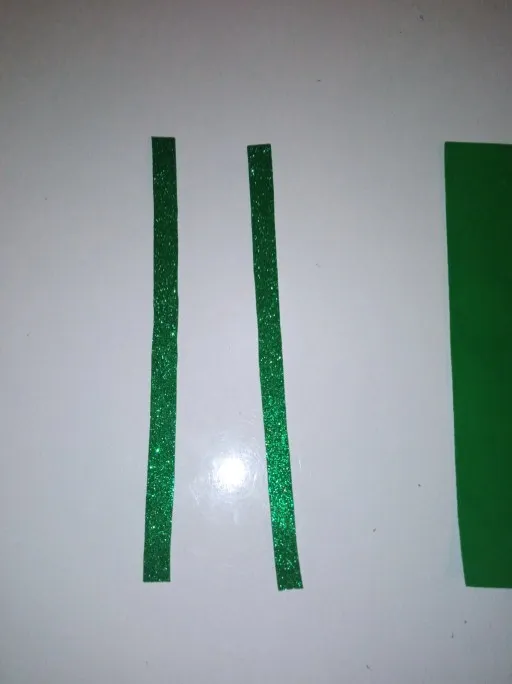
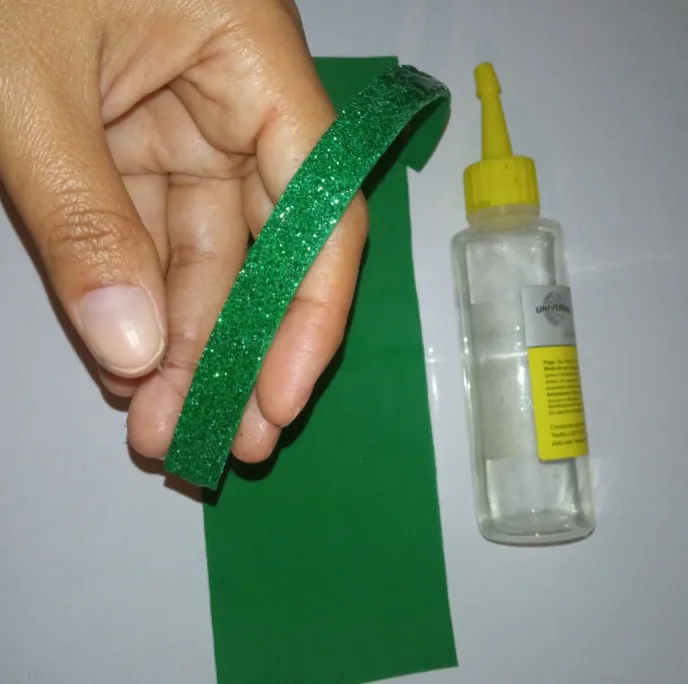
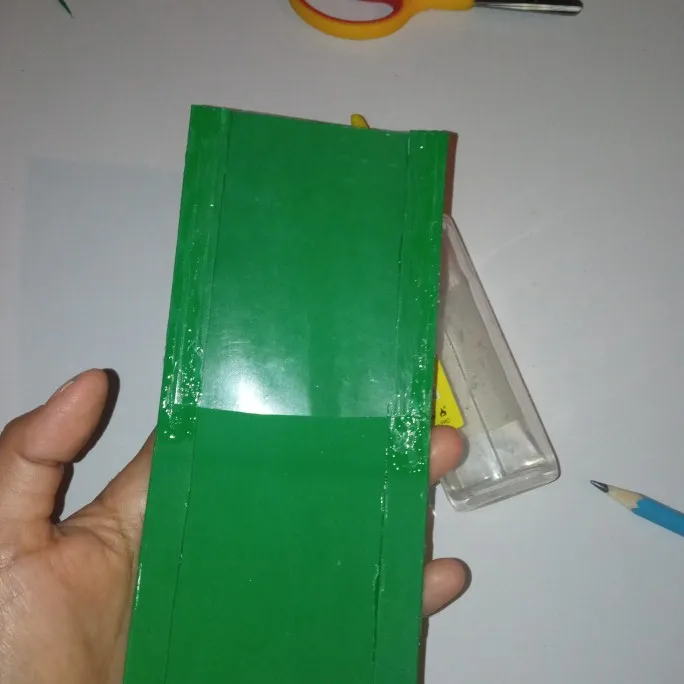
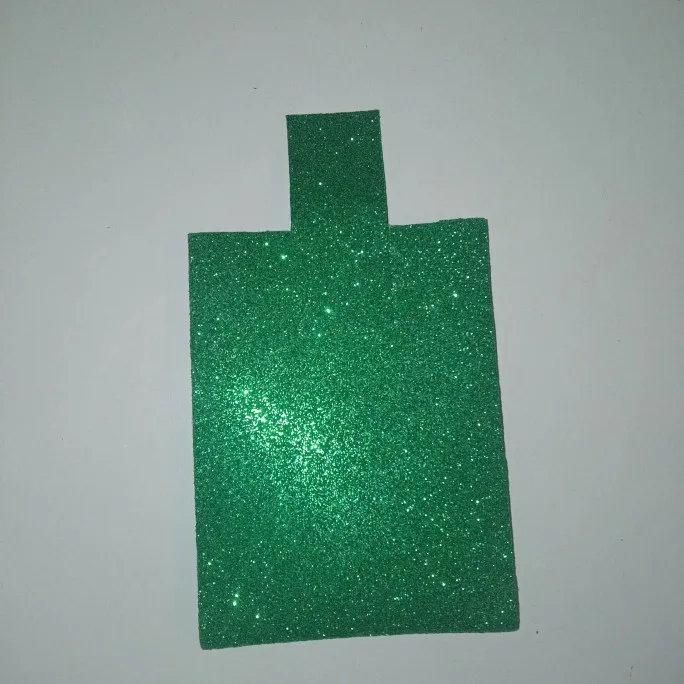
In this step, I cut out two 1 cm strips of eva rubber and glue them to the inside of the eva rubber sheet that will be the body of the card holder, as you can see in the images.
En este paso recortó dos tiras de goma eva de 1cm y pego por la parte de adentro de la plancha de goma eva que será el cuerpo del tarjetero así como podrán apreciar en las imágenes.
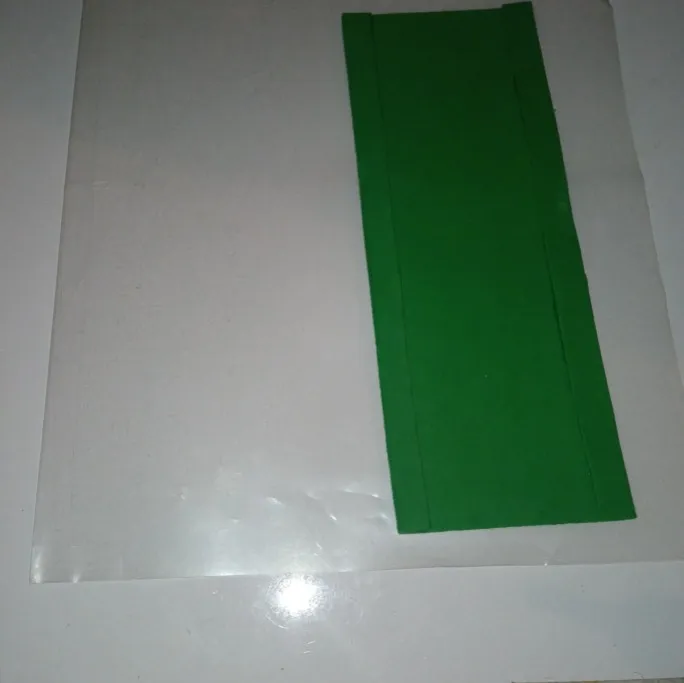
With the plastic sheet we are going to cut a rectangle that will be paid to the two strips of eva rubber as you can see in the image.
Con la lámina de plástico vamos a recortar un rectángulo que irá pagado a las dos tiras de goma eva como pueden apreciar en la imagen.
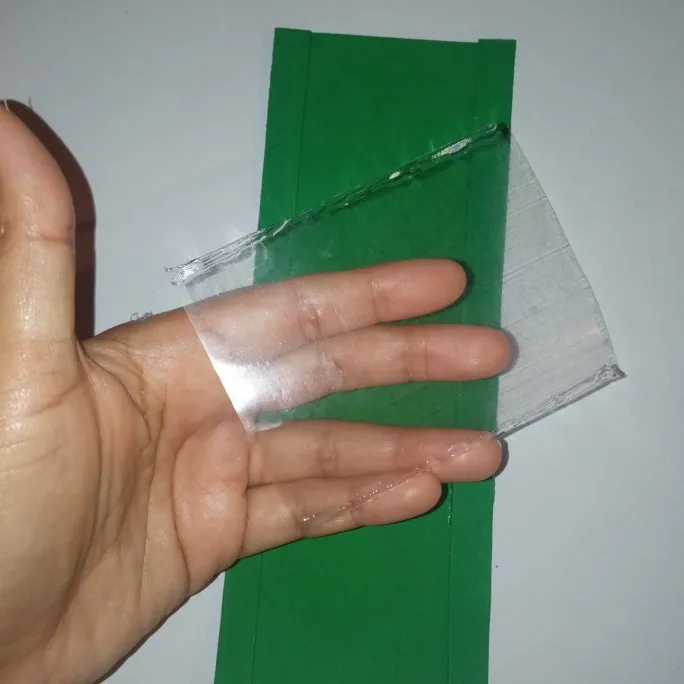
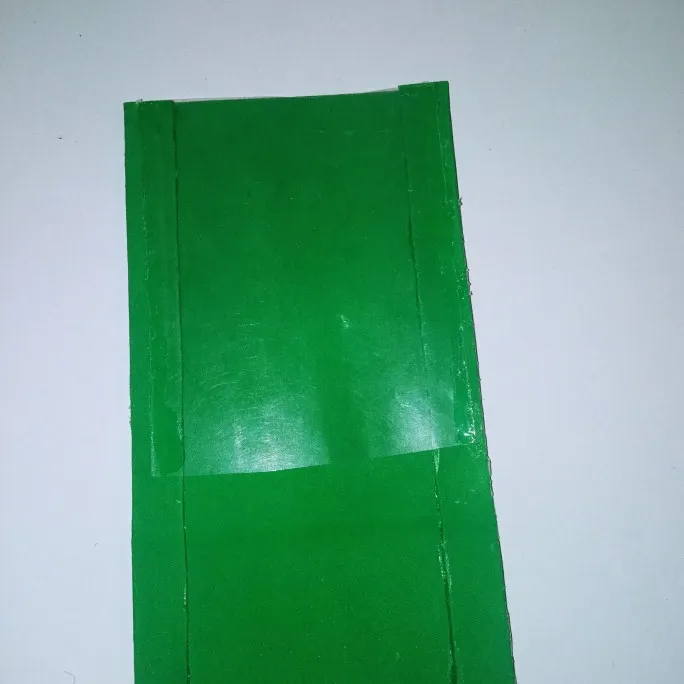
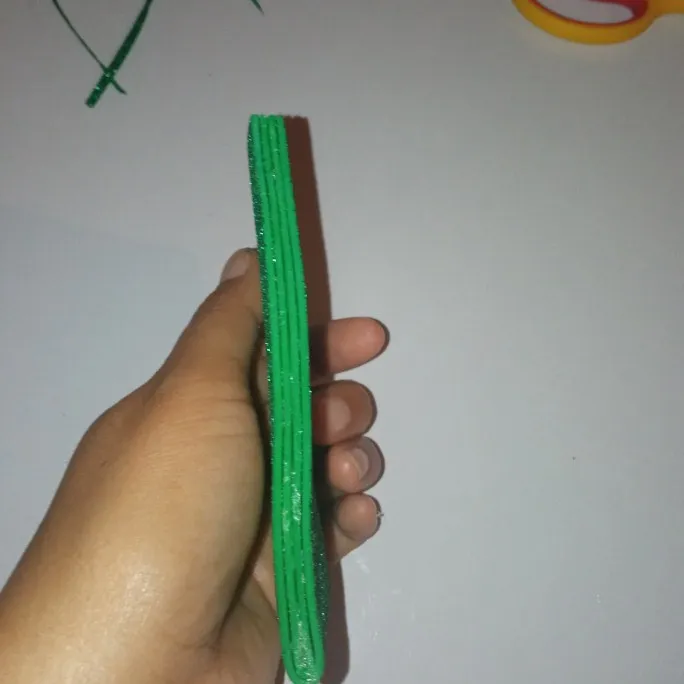
After having the plastic with the two strips already glued, place silicone on the edge of the eva rubber on both sides and then fold the other part and join them together to glue them.
Luego de tener el plástico con las dos tiras ya pegado se coloca silicón en el borde de la goma eva en ambos lados y luego se dobla la otra parte y unimos para pegarlas.
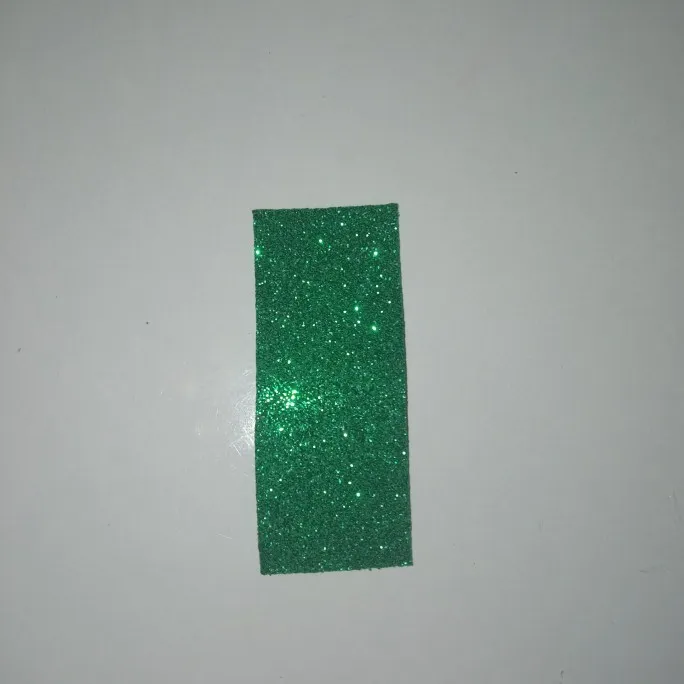
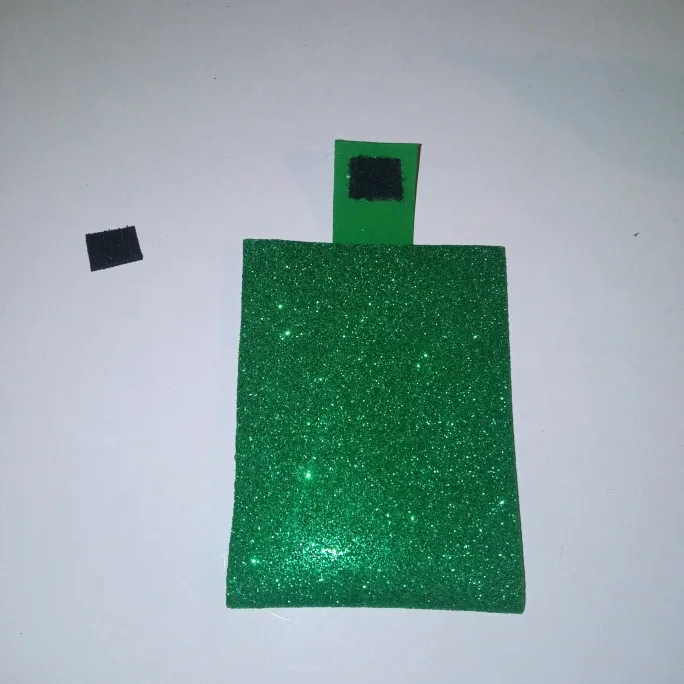
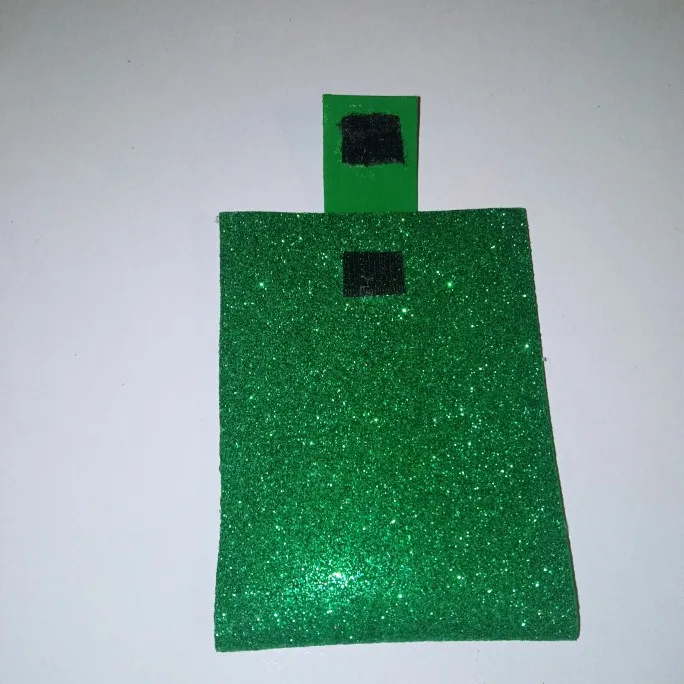
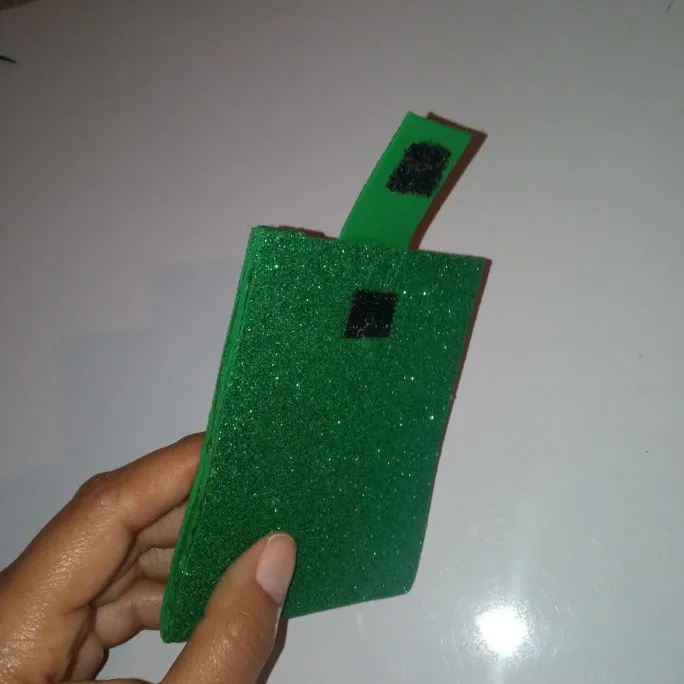
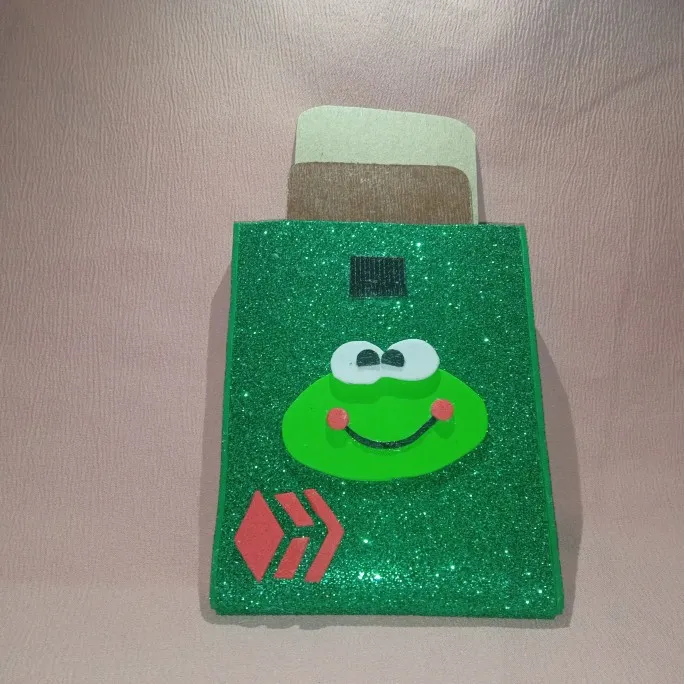
With a 2.5 cm wide and 4 cm long strip, we will use it as a clasp to close, placing one piece of magic clasp on the strip and the other on the card holder. It is also important to mention that first we put silicone on half of the strip and then glue it on the back of the card holder.
Con una tira de 2cm y medio de ancho y 4 de largo la utilizaremos como broche para cerrar, colocándole un pedazo de cierre mágico en la tira y el otro en el tarjetero. También es importante mencionar que primero se le coloca silicón a la mitad de la tira y se procede a pegar por la parte de atrás del tarjetero.
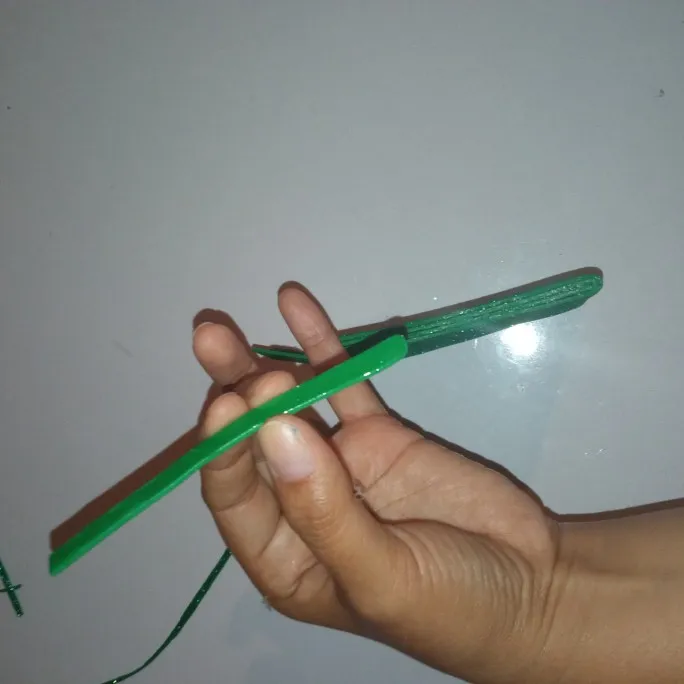
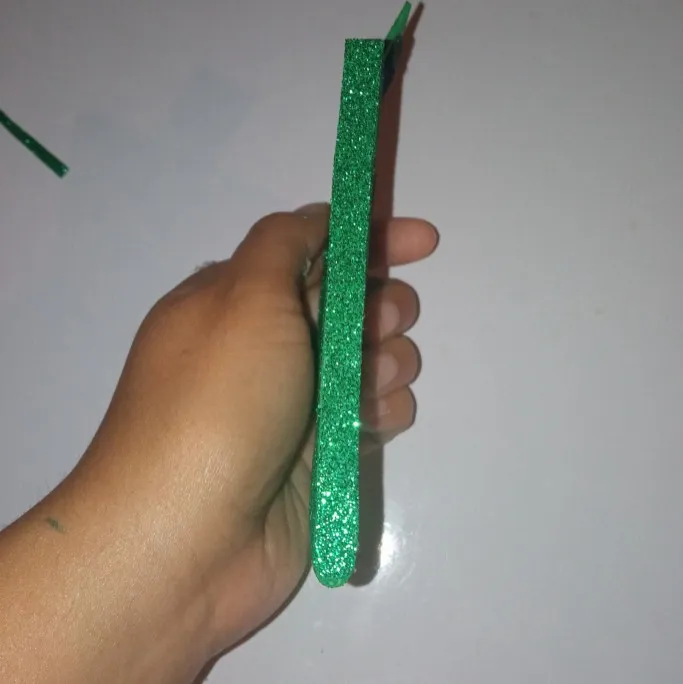
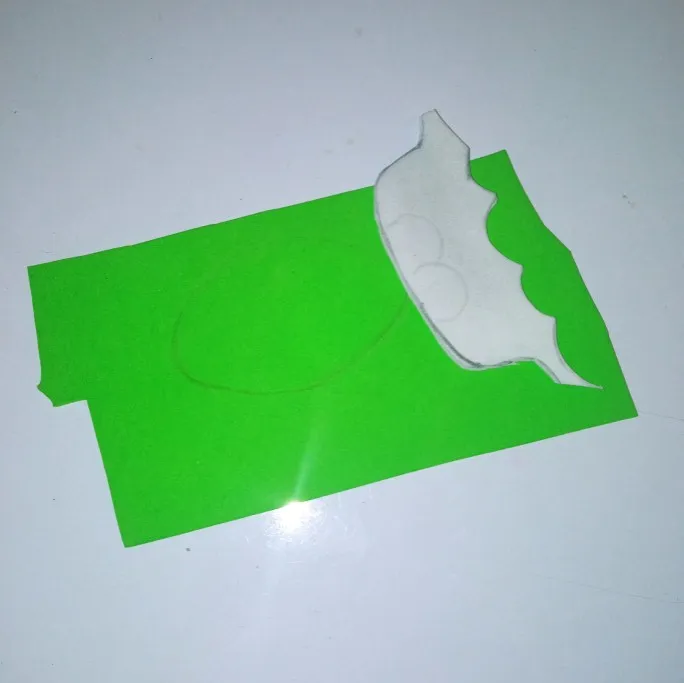
As I didn't want to show the rubber bands on the sides, I decided to make two oval-shaped strips on the bottom to cover the imperfections and it looked as nice as this after gluing it.
Como no deseaba que se notaran las capaz de las gomas eva a los lados decidí hacer dos tiras dándole forma ovalada en la parte de abajo para tapar las imperfecciones y quedó así de linda luego de pegarla.
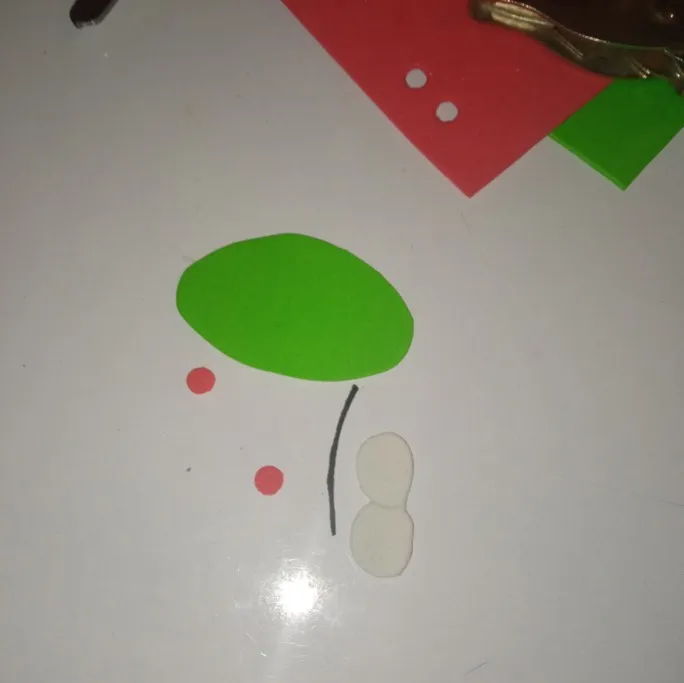
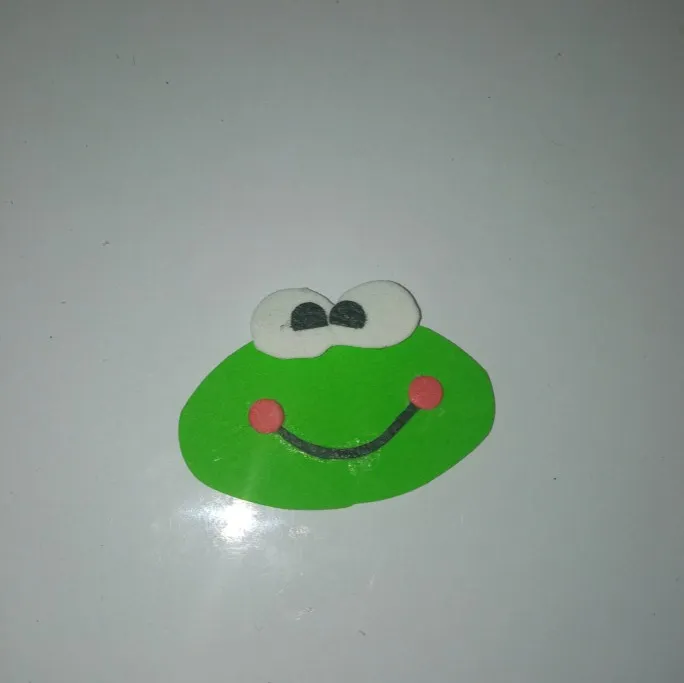
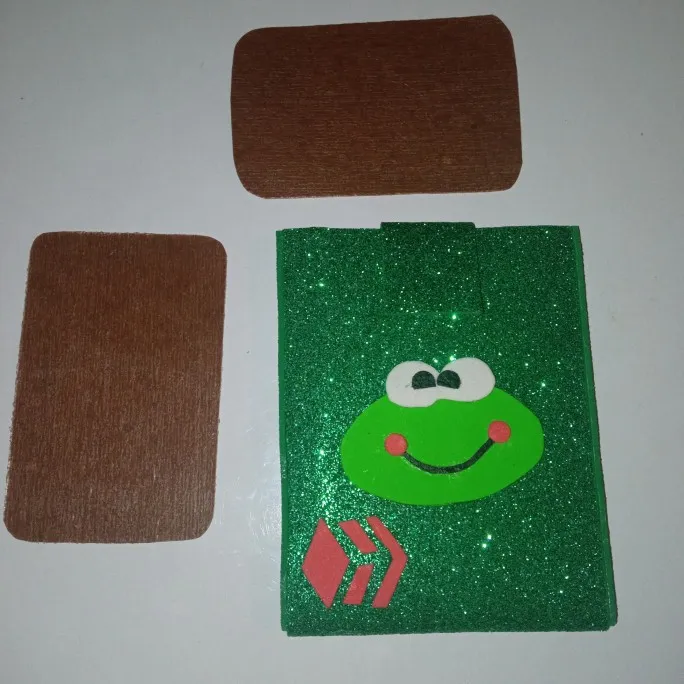
In order not to leave it simple I decided to make a little toad as an ornament and with eva rubber and leather I took out the pieces of the toad and assembled it.
Para no dejarla simple decidí hacerle un sapito como adorno y con goma eva y cuerina saque las piezas del sapo y arme.
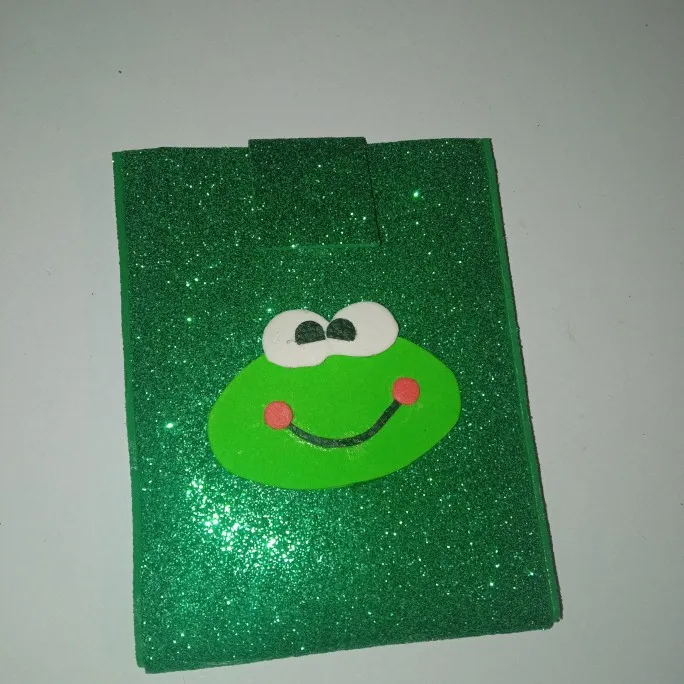
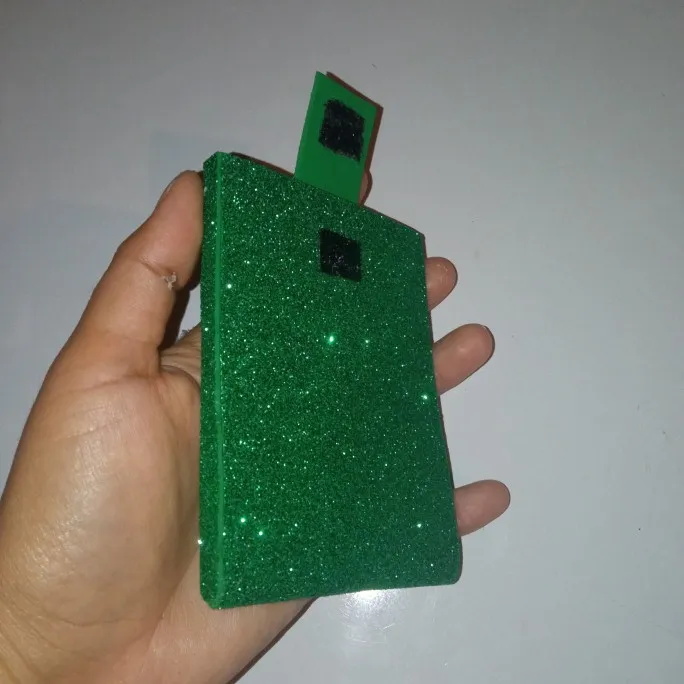
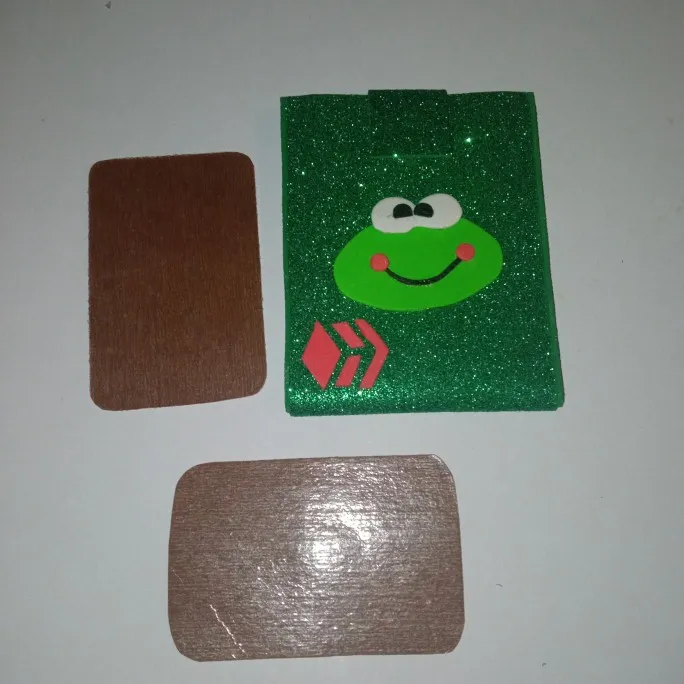
Almost at the end I decide to make a hive logo that I will also display on the card holder and some cardboard cards to put inside for the presentation.
Ya casi para finalizar decido hacer un logo de hive que también mostraré en el tarjetero y unas tarjetas de cartón para colocarlas dentro para la presentación.
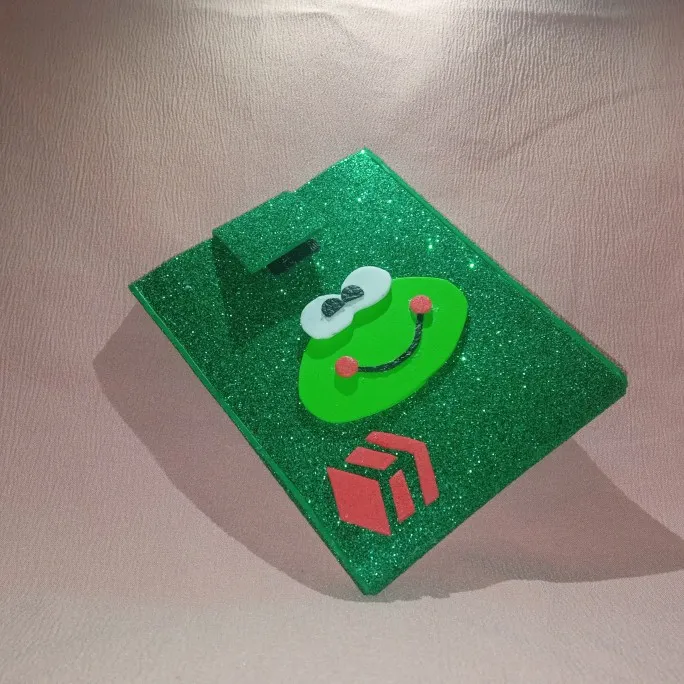
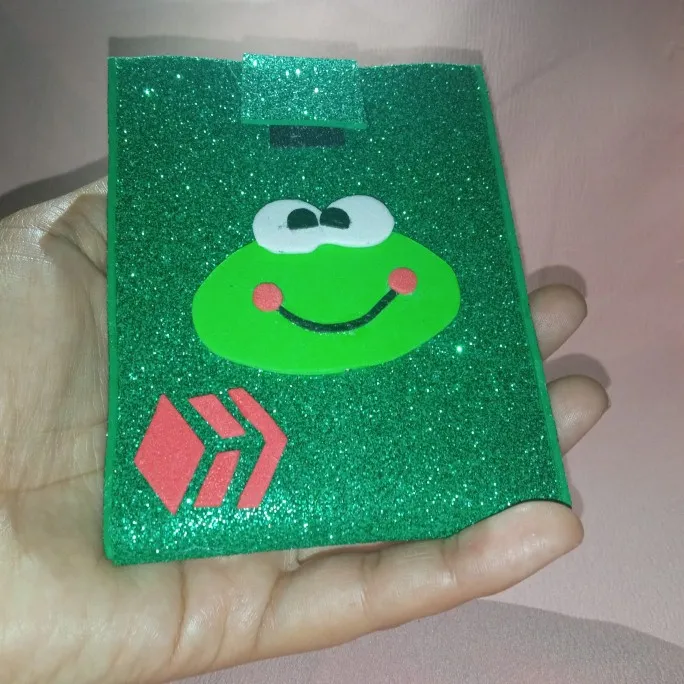
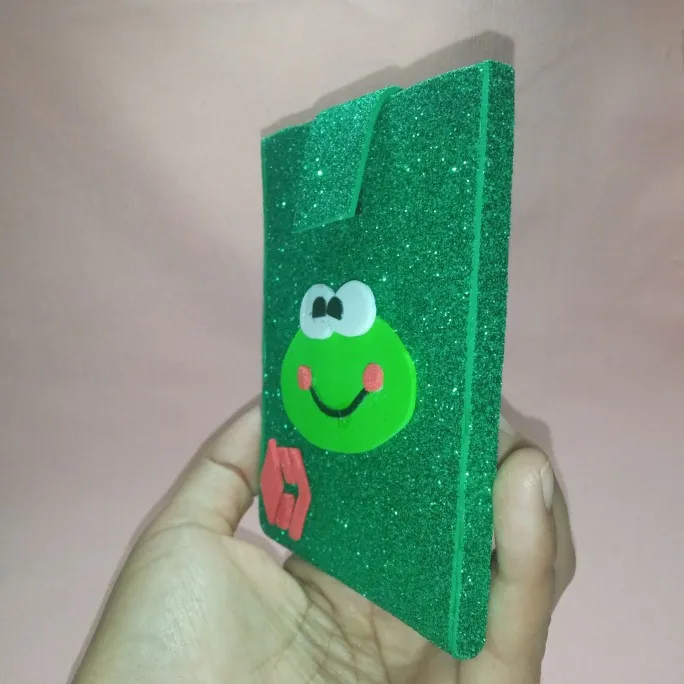
Here are some nice and charming pictures of the final result of the card holder. Enjoy them
Aquí les dejo unas lindas y encantadoras imágenes del resultado final del tarjetero. Disfrutenlas
Without more to say and hoping that this craft post is to the liking of each reader I say goodbye with a big hug to you @shirahoshi and see you in a next opportunity.
Sin más que decir y esperando que este post de manualidad sea del agrado de cada lector me despido con un fuerte abrazo los quiere @shirahoshi y nos vemos en una próxima oportunidad.
The photographs are my own and were taken by me with a Redmi 9 and were edited in powerpoint.
Las fotografías son de mi autoría y fueron tomadas por mí con un Redmi 9 y se editaron en powerpoint.
The Step by Step Gif was made by me in AdobePhotoshop CC2014.
El Gif de Paso a Paso fue realizado por mi en AdobePhotoshop CC2014.
The logo was designed by me in Adobe Illustrator CC 2015 and its animated version was made in After Effects CC 2017.
El logo fue diseñado por mí en Adobe Illustrator CC 2015 y su versión animada la realice en After Effects CC 2017.
Language corrector used Deepl.
Corrector de idioma utilizado Deepl.
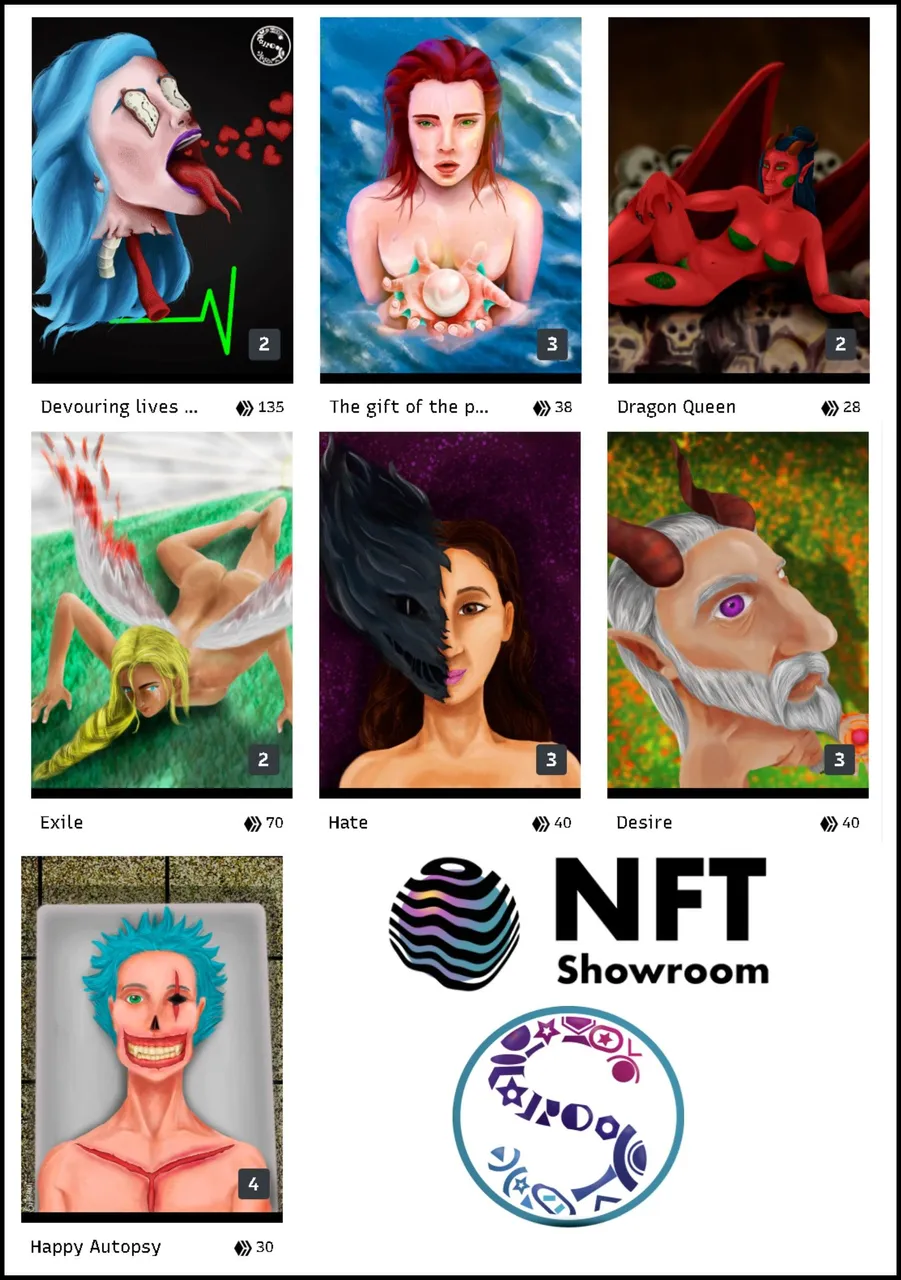
Remember that you can purchase these beautiful pieces of art made and tokenized by me at Nftshowroom at an excellent price. Link to the gallery here