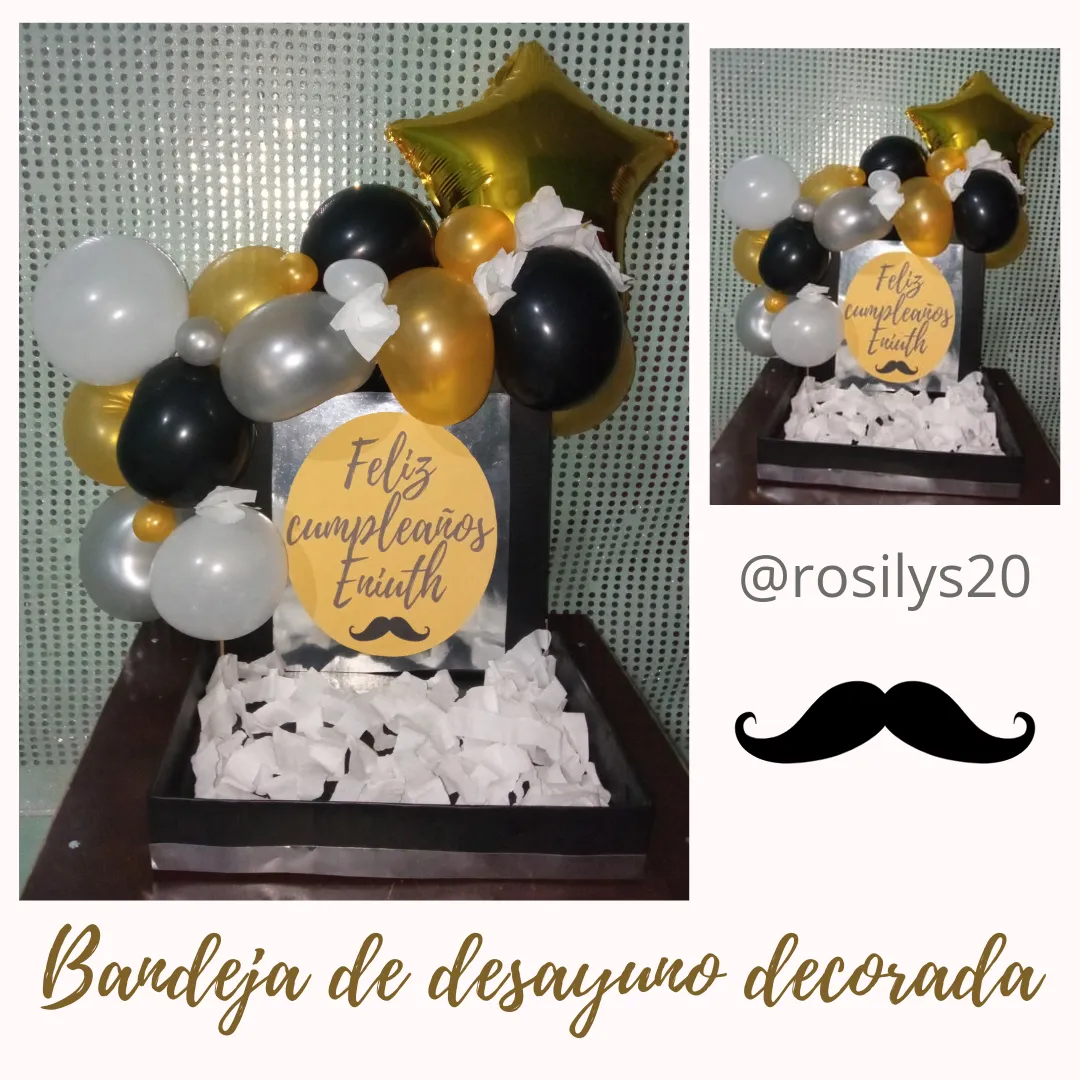
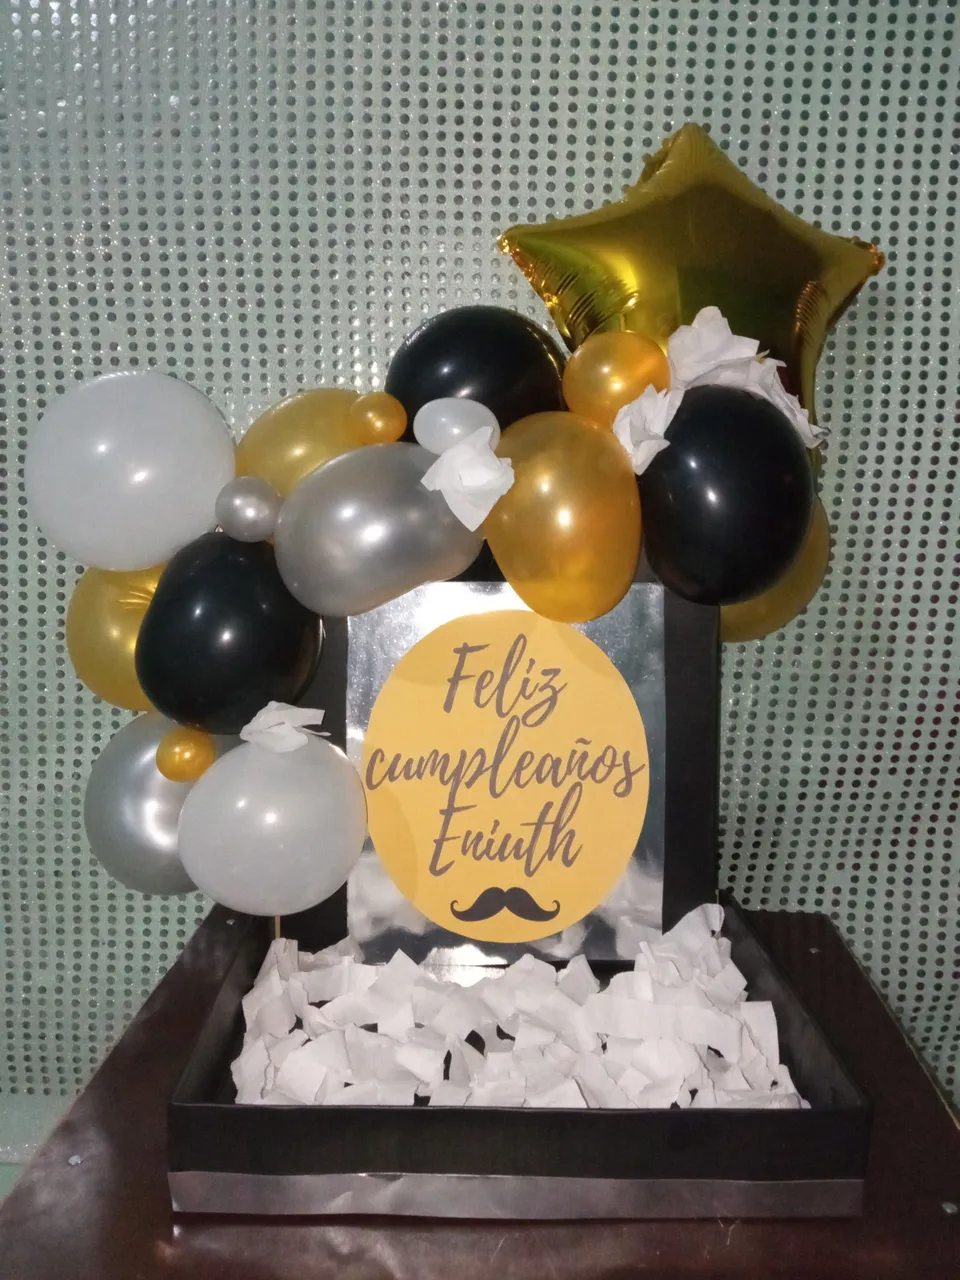
Hoy les quiero compartir un hermoso tutorial para obsequiar a nuestros seres queridos se trata de una elegante bandeja de desayuno decorada utilizando como base cartón reciclado, espero les guste y se animen a realizarlo.
Happy Saturday dear Hive blessings to all, I hope you are very well.
Today I want to share a beautiful tutorial to give to our loved ones is an elegant breakfast tray decorated using recycled cardboard as a base, I hope you like it and are encouraged to make it.
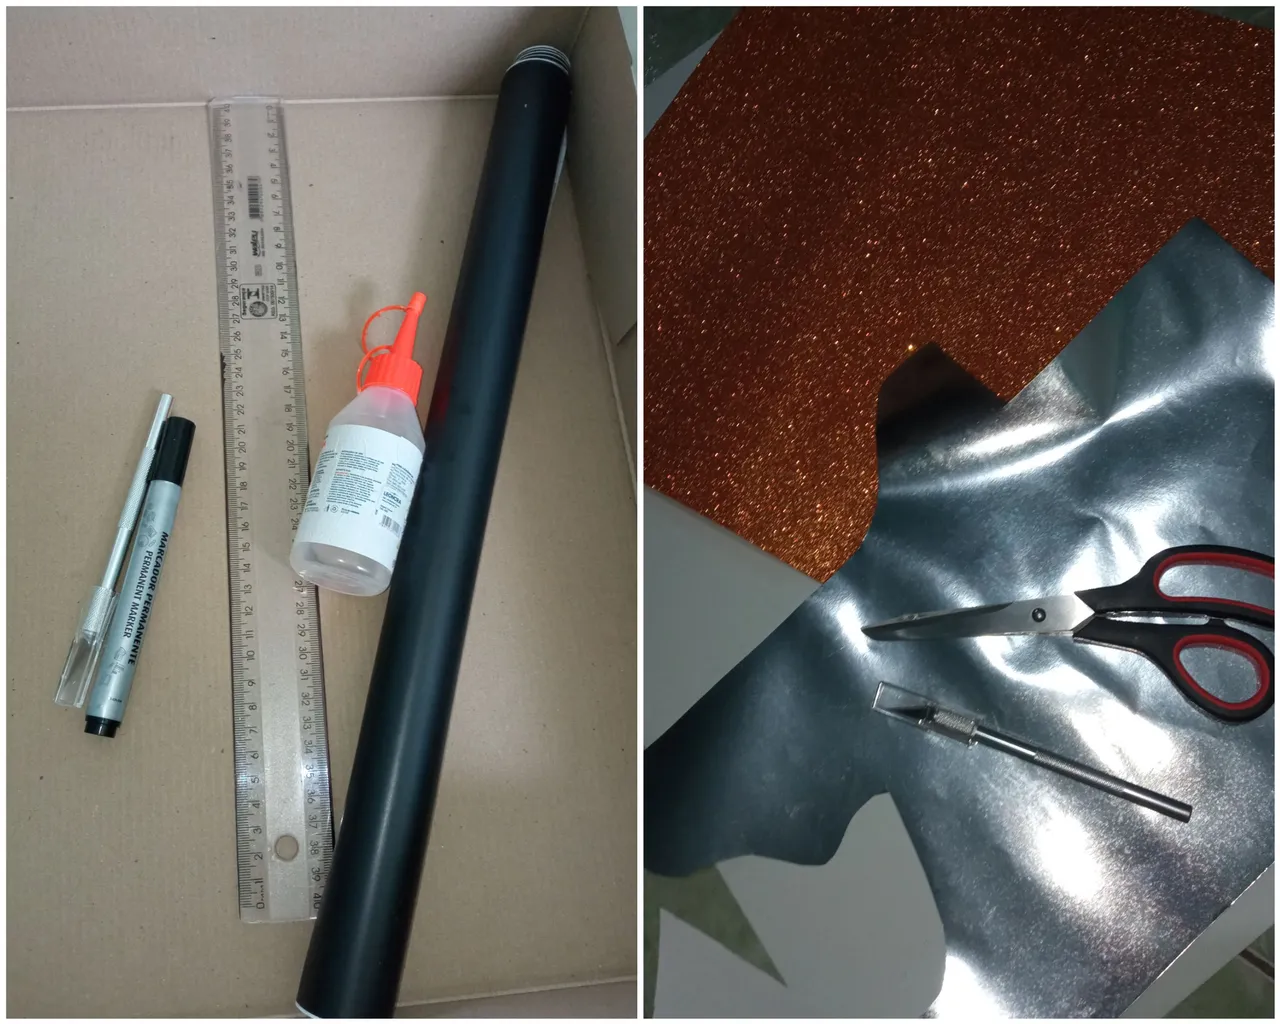
Materiales utilizados:
Caja de cartón reciclada
Papel contact
Cutters
Tijera
Silicón
Regla
Papel crepé
Crepé
Globos
Palillo de globos
Cartulina metalizada o Foami
Cartel decorativo
Marcador
Materials used:
Recycled cardboard box
Contact paper
Cutters
Scissors
Silicone
Ruler
Crepe paper
Crepe
Balloons
Balloon stick
Metallic cardboard or Foami
Decorative poster
Marker
Pasos a seguir | Steps to follow
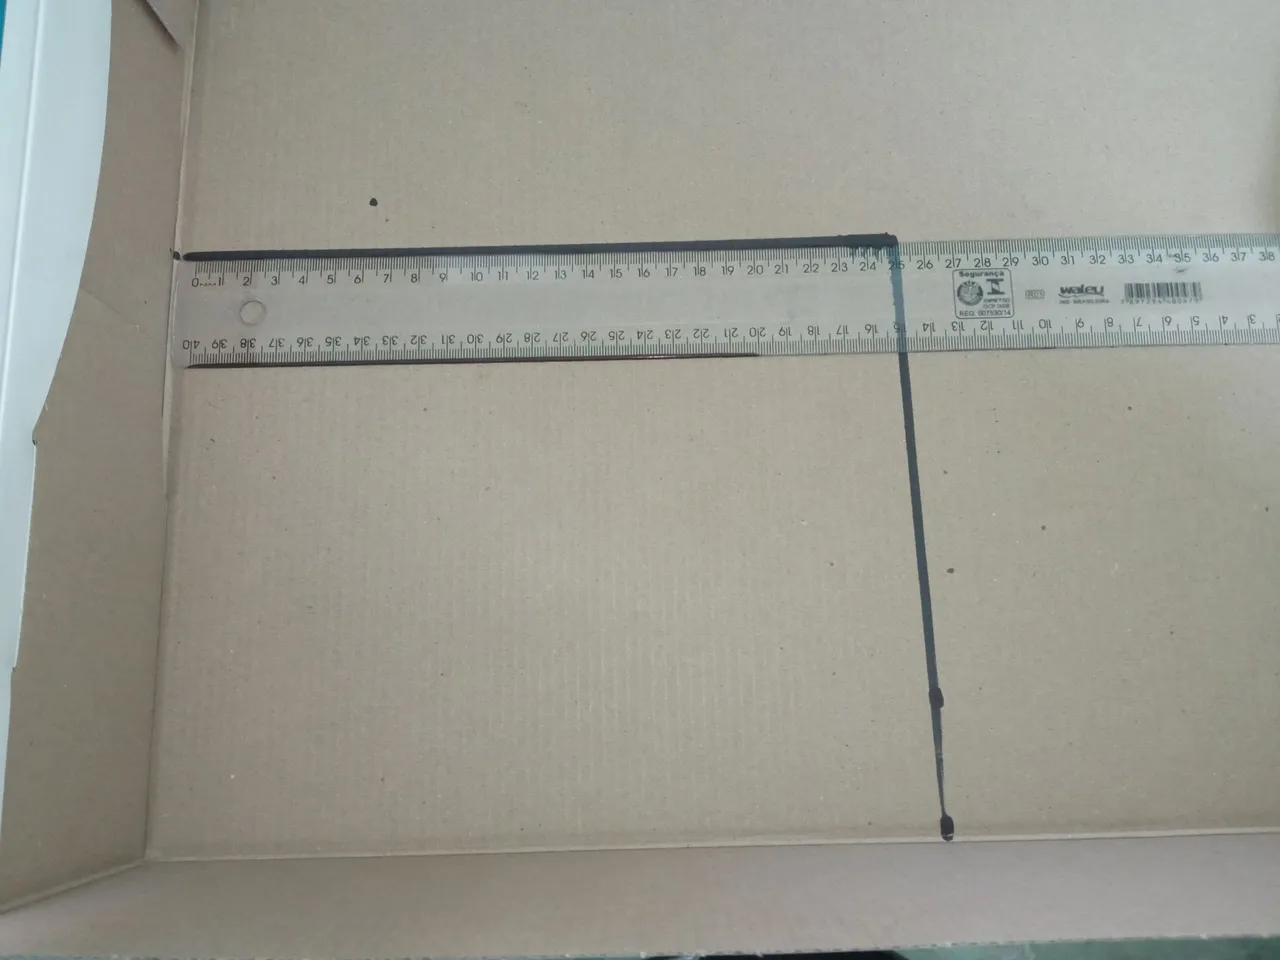
Iniciamos el midiendo la caja de cartón reciclada y marcamos 25cm de ancho y 20cm de largo adicional recortamos una tira para completar el lado que faltará en la caja.
We start by measuring the recycled cardboard box and mark 25cm wide and 20cm long and cut a strip to complete the missing side of the box.
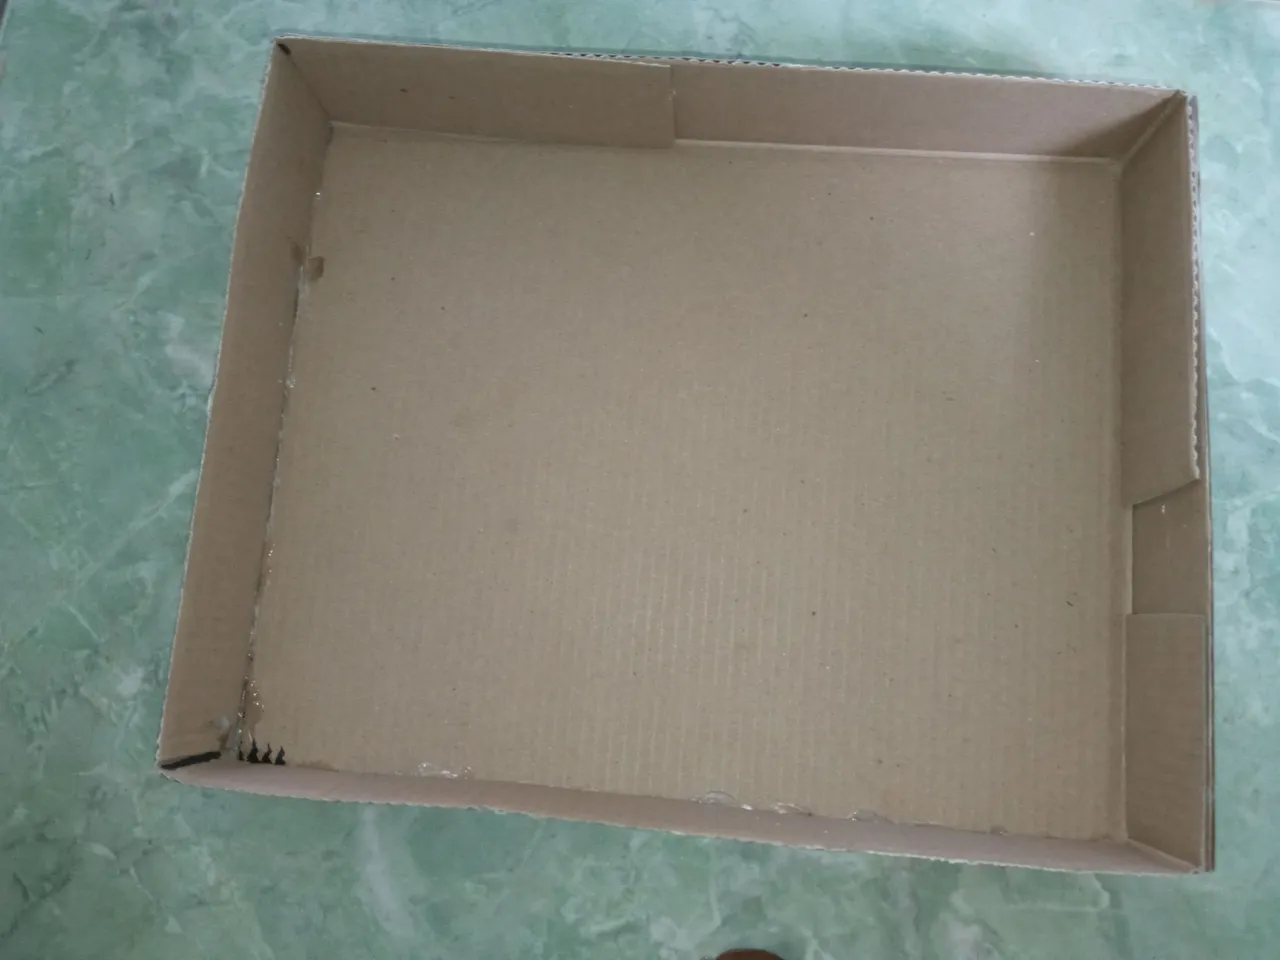
Pegamos con el silicón la tira de cartón en el lado faltante de la caja.
Glue the cardboard strip on the missing side of the box with the silicone.
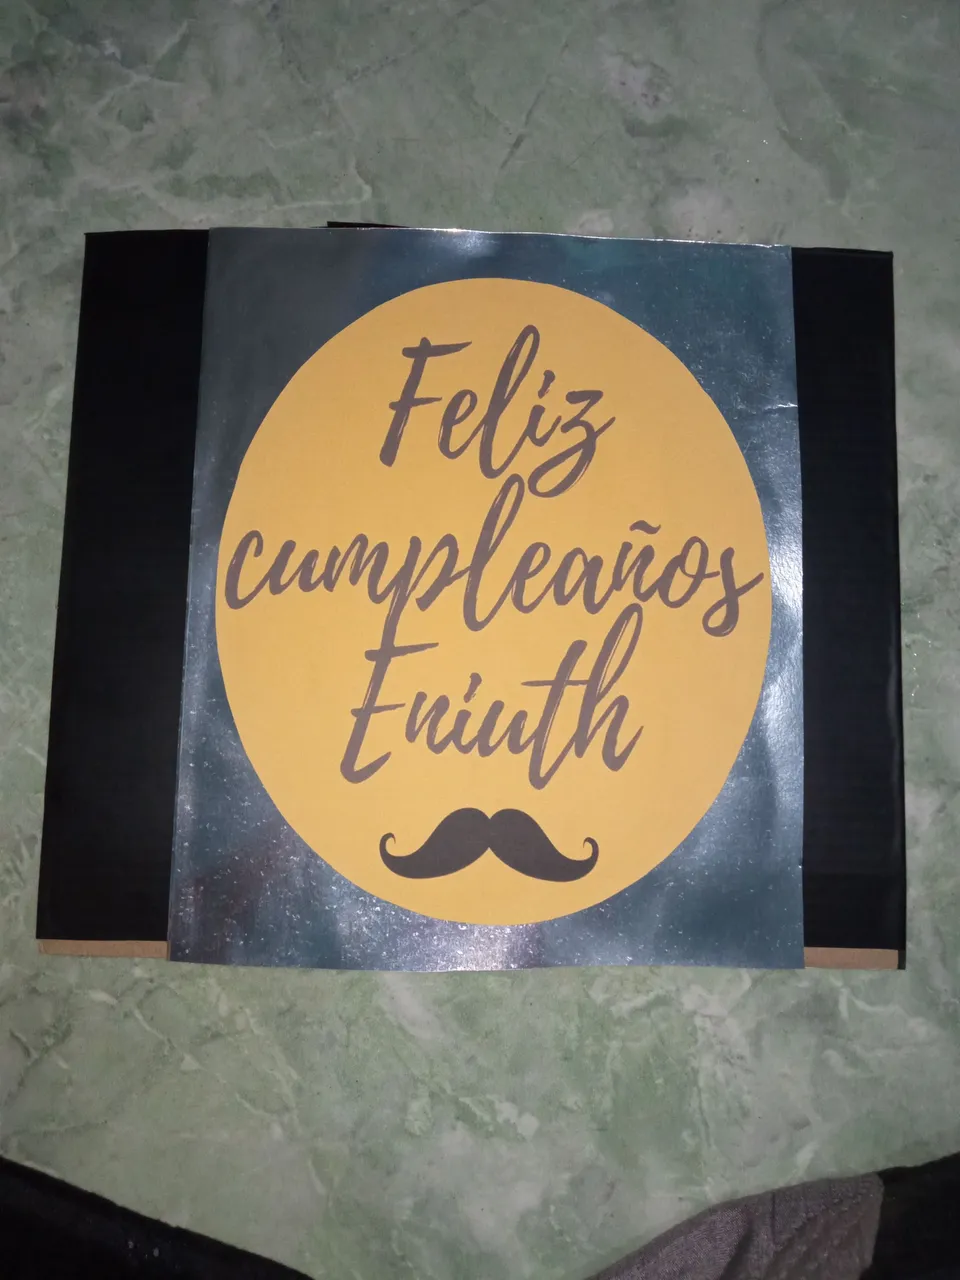
Recortamos un cuadro de cartón para ponerlo como panel en la bandeja, lo forramos con papel contact al igual que la caja realizada en el paso anterior en mi caso utilicé negro para la bandeja es para un caballero, luego recorte un rectángulo de cartulina metalizada (pueden utilizar foami) y lo pegamos al cuadro junto con el cartel decorativo.
We cut a cardboard box to put it as a panel on the tray, we line it with contact paper like the box made in the previous step in my case I used black for the tray is for a gentleman, then cut a rectangle of metallic cardboard (you can use foami) and glue it to the box along with the decorative sign.
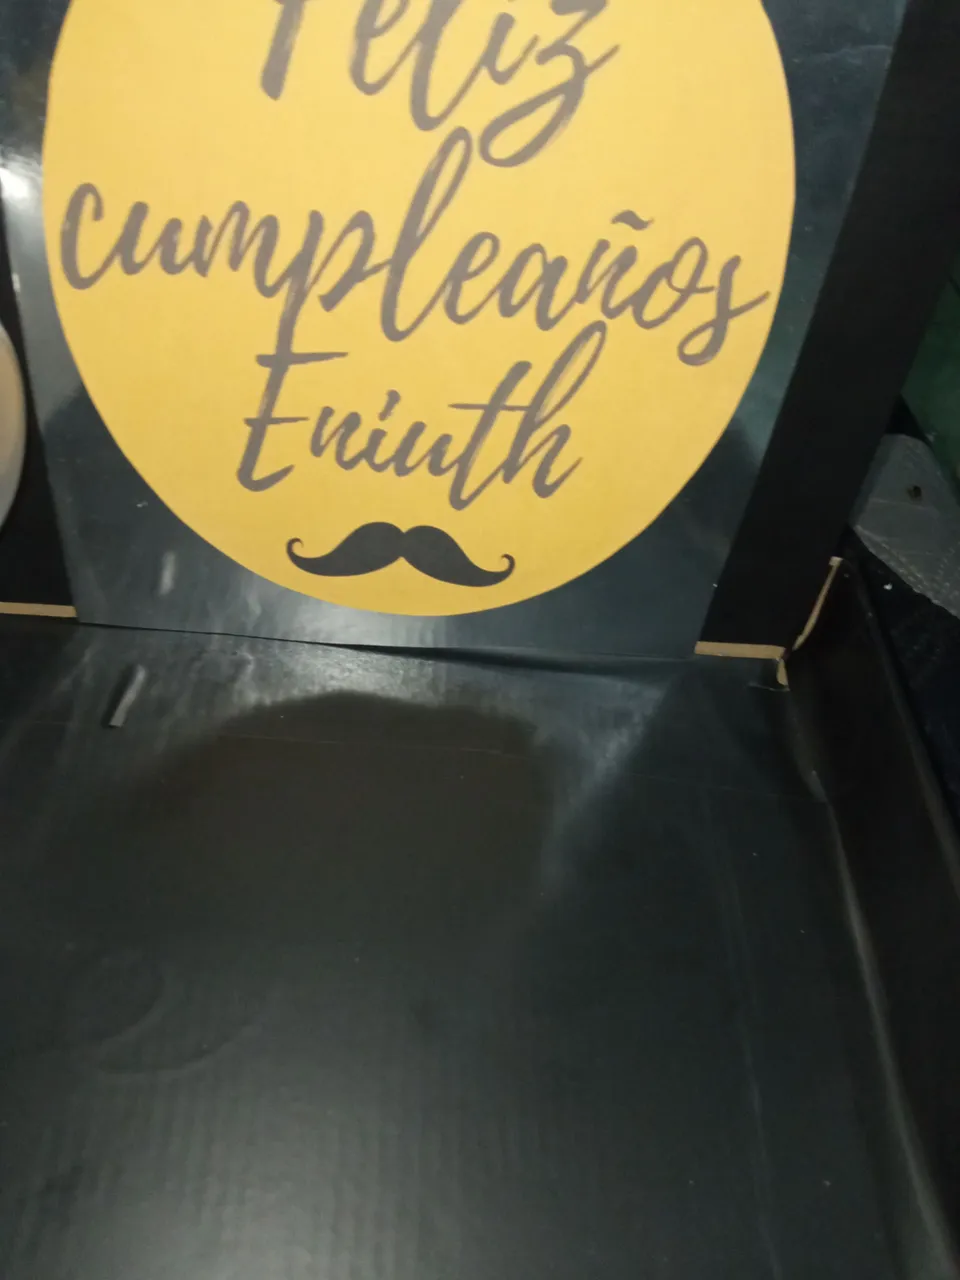
Seguidamente pegamos el cuadro en la bandeja o caja para así dar forma a nuestro obsequio.
Then we glue the picture on the tray or box to give shape to our gift.
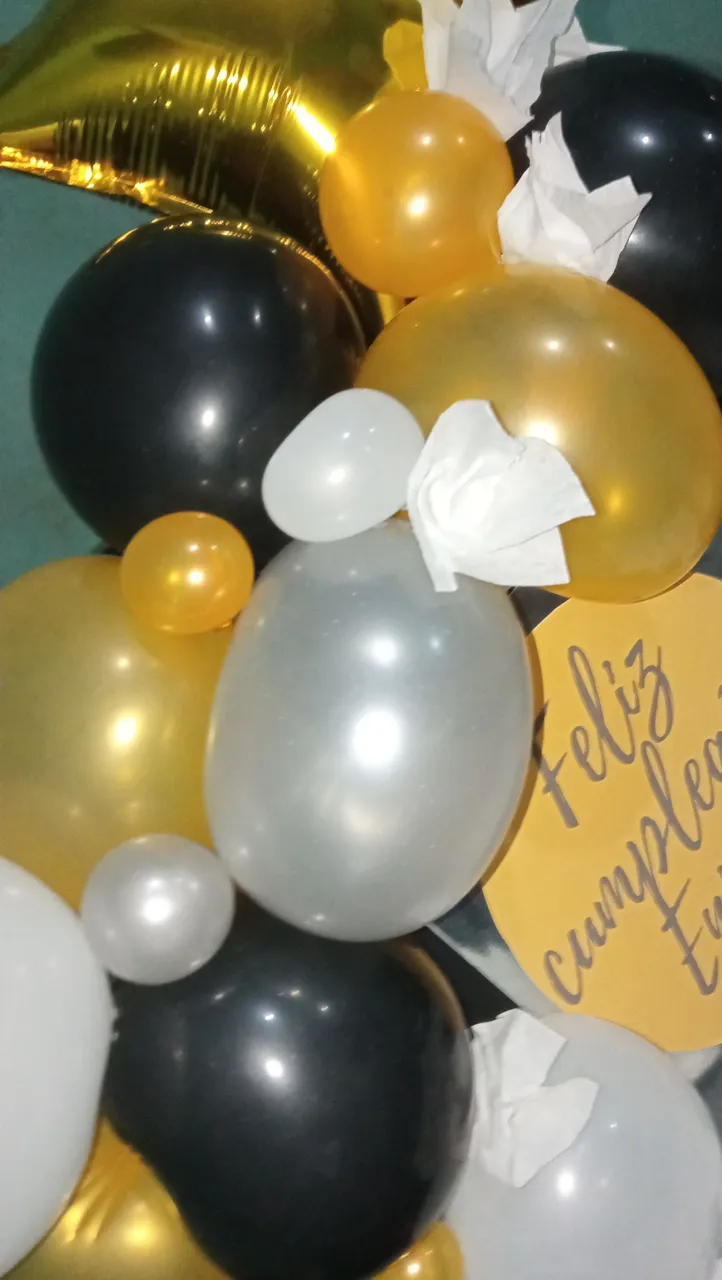
Luego llenamos los globos de tamaños variados, hacemos grupos de tres y vamos uniendo, rellenamos los espacios vacíos con globos más pequeños y con flores de papel crepé.
Then we fill the balloons with different sizes, make groups of three and join them together, fill the empty spaces with smaller balloons and crepe paper flowers.
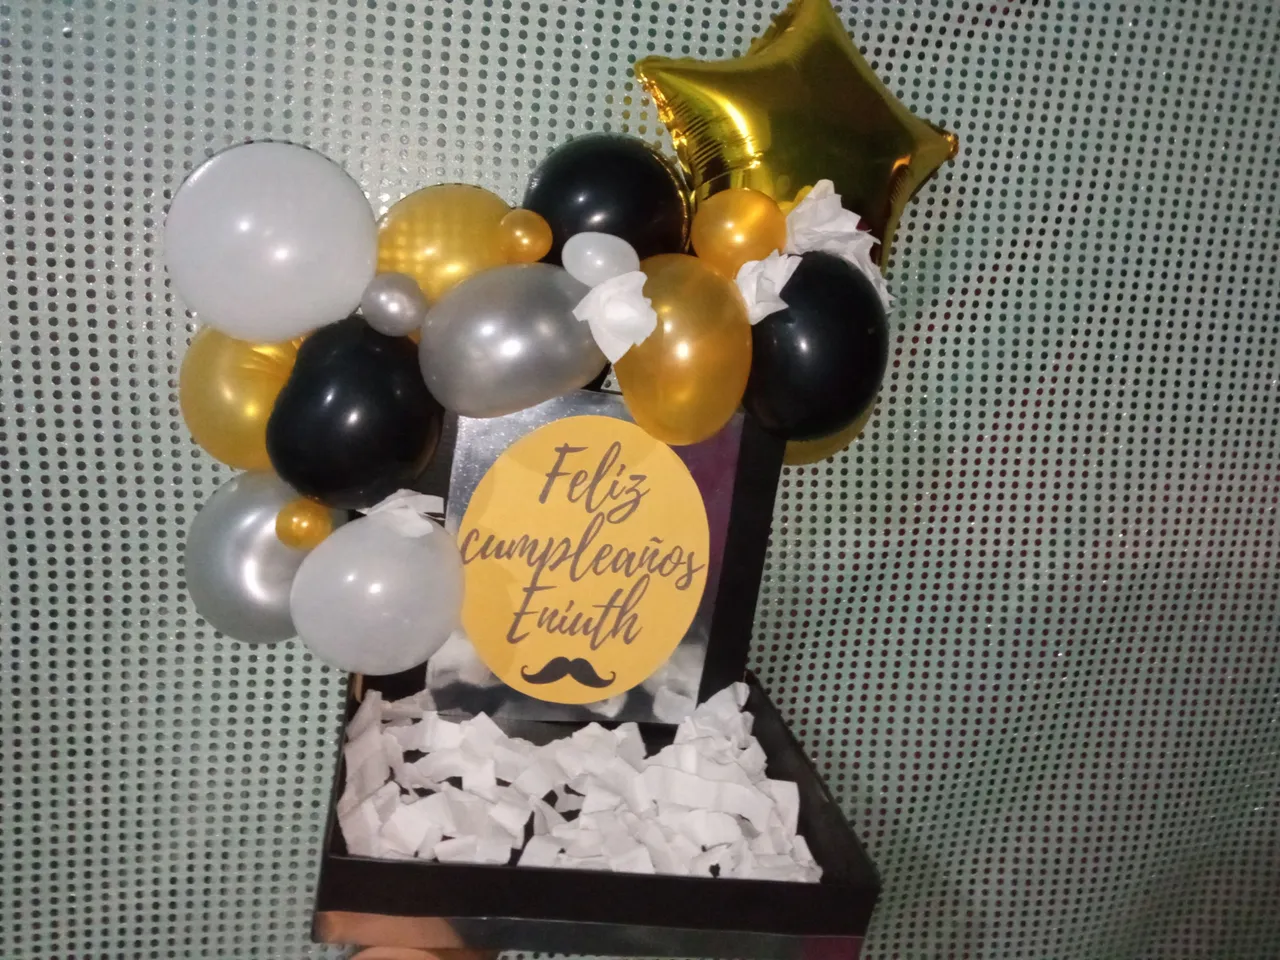
Para finalizar pegamos una tira de cartulina metalizada en la parte de adelante y recortamos tiras de papel crepé e introducimos dentro de la bandeja.
Finally, we glue a strip of metallic cardboard on the front and cut out strips of crepe paper and insert them into the tray.
Espero les haya gustado este tutorial de hoy y se animen a realizarlo, como pudieron ver es muy fácil de hacer.
I hope you liked today's tutorial and I encourage you to make it, as you could see it is very easy to do.
Me despido hasta un próximo post, siempre deseándoles los mejores éxitos.
I bid you farewell until a future post, always wishing you the best success.
¡Nos vemos!
¡See you!
@rosilys20