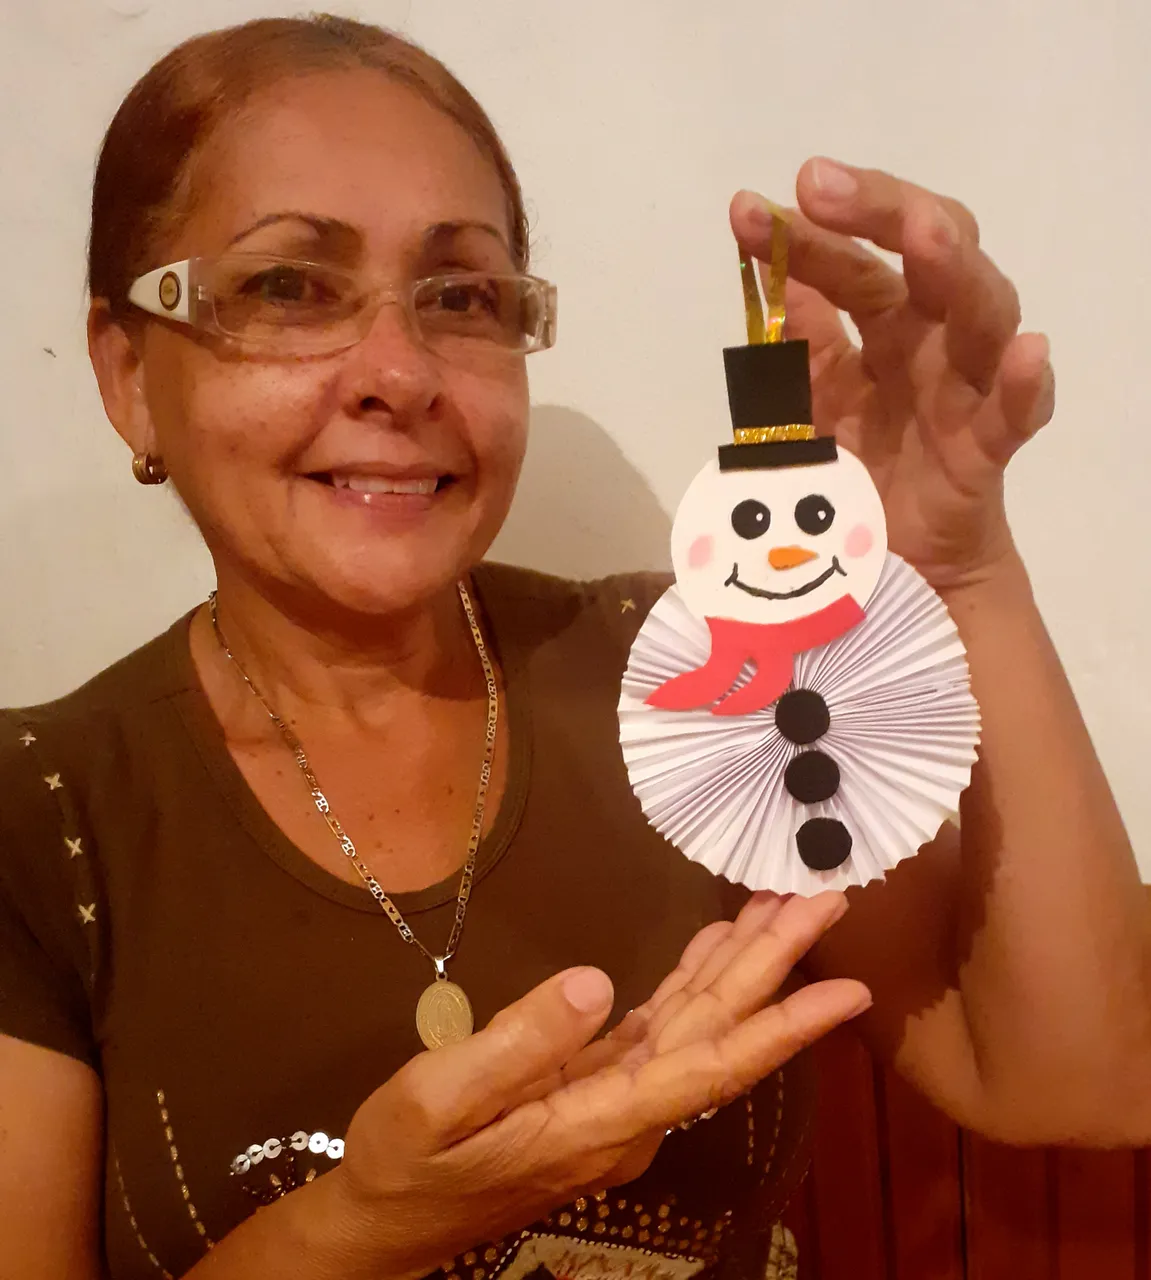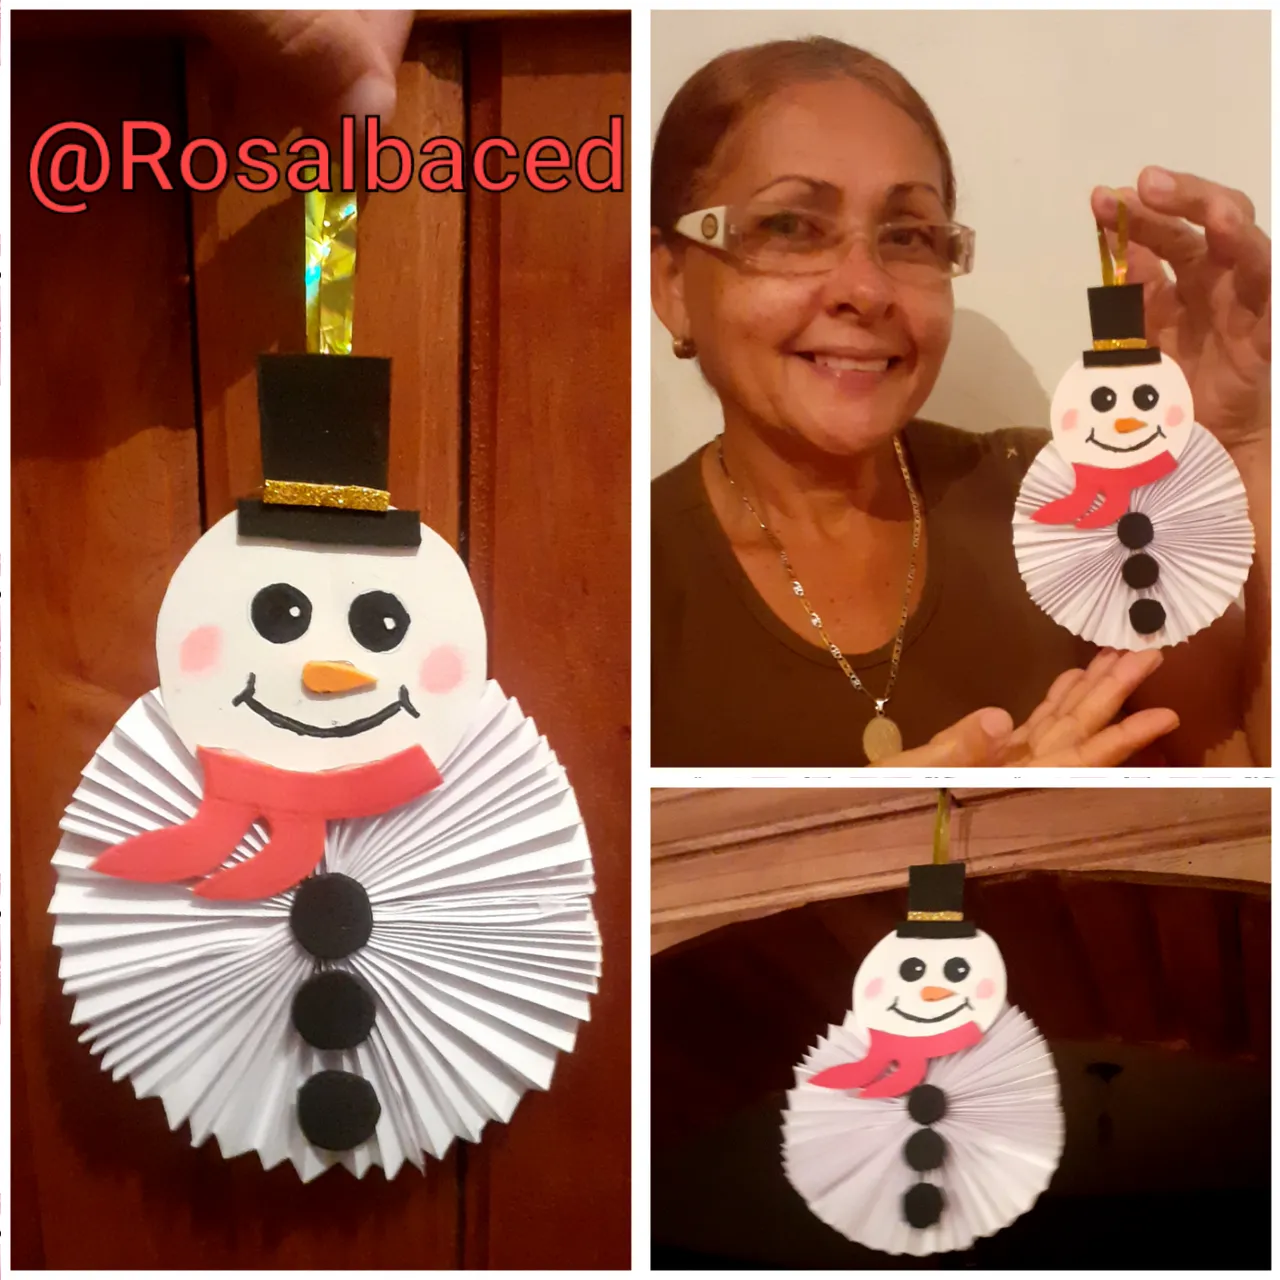
hello my #hive colleagues, I hope you are doing Excellent well. Today I will share with you a beautiful Christmas ornament to decorate our tree with recyclable material, A beautiful snowman, I loved the result, I hoped that you are encouraged to do it,
hola mis compañeros de #hive, espero que estén Excelente bien. El dia de hoy les compartiré un hermoso adornó de navidad para decorar nuestro árbolito con material reciclable, Un precioso muñeco de nieve, a mi me encanto el resultado, esperó que se animen hacerlo,

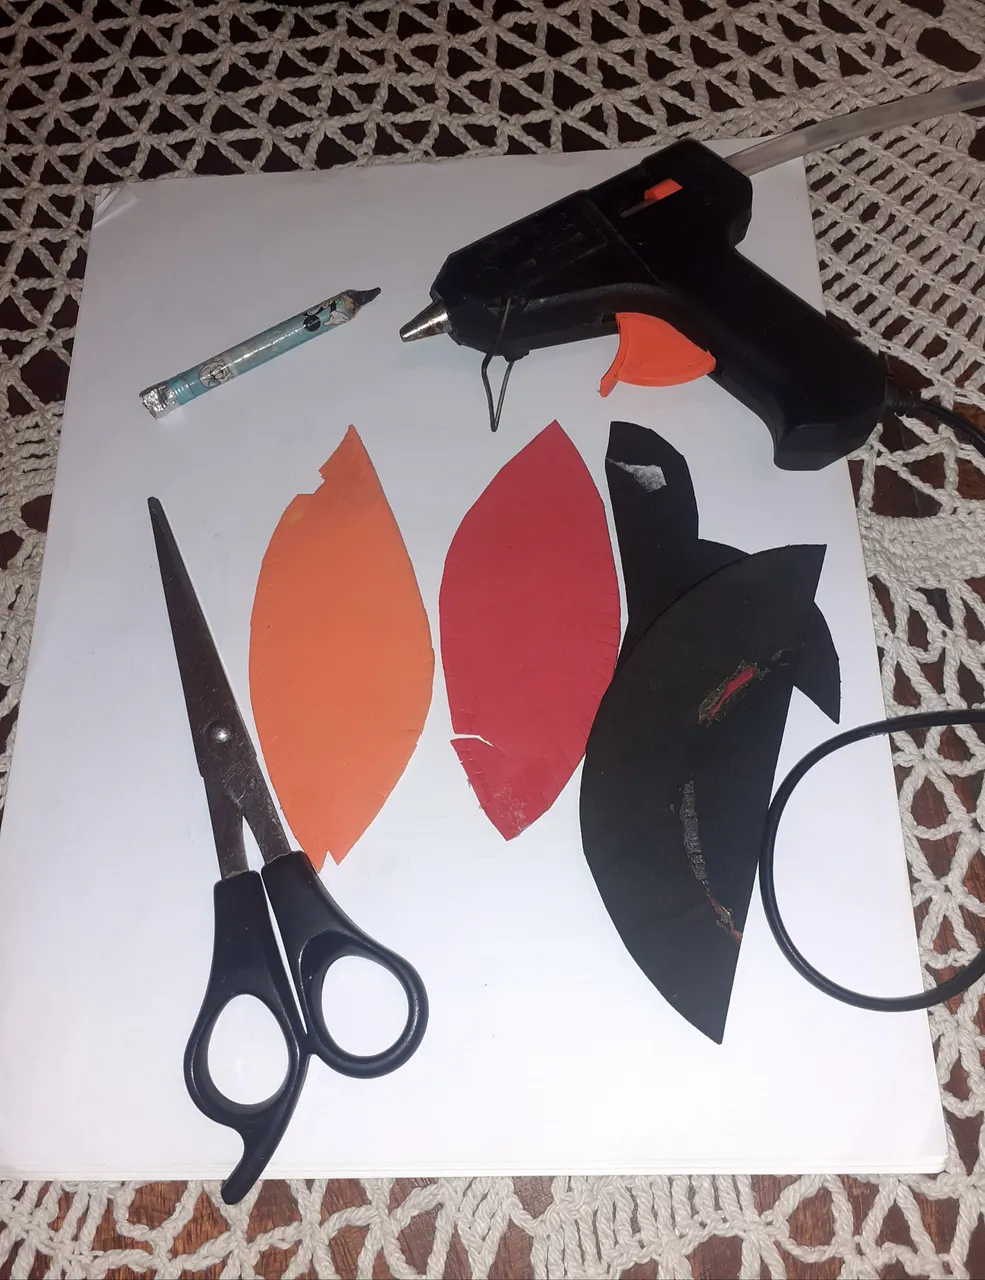
materials
▪︎White cardboard.
▪︎Recyclable normal sheet.
▪︎scissors.
▪︎silicon
▪︎black paint.
▪︎ lip paint.
Black, red and gold frosted foam.
materiales
▪︎Cartulina Blanca.
▪︎hoja normal reciclable.
▪︎tijera.
▪︎silicon
▪︎pintura negra.
▪︎pintura de labios.
Foami negro, rojo y dorado escarchado.
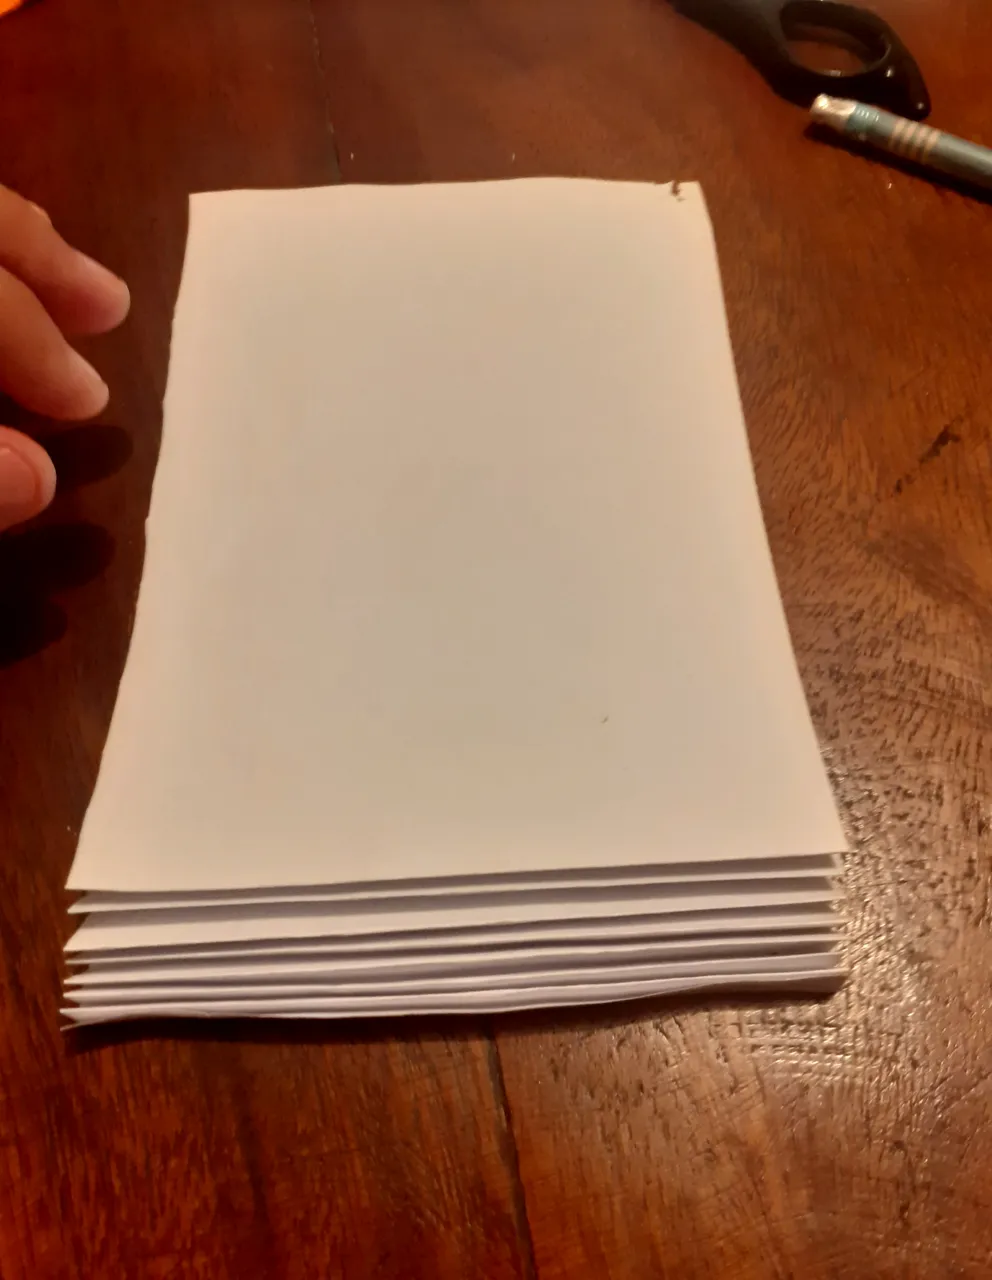
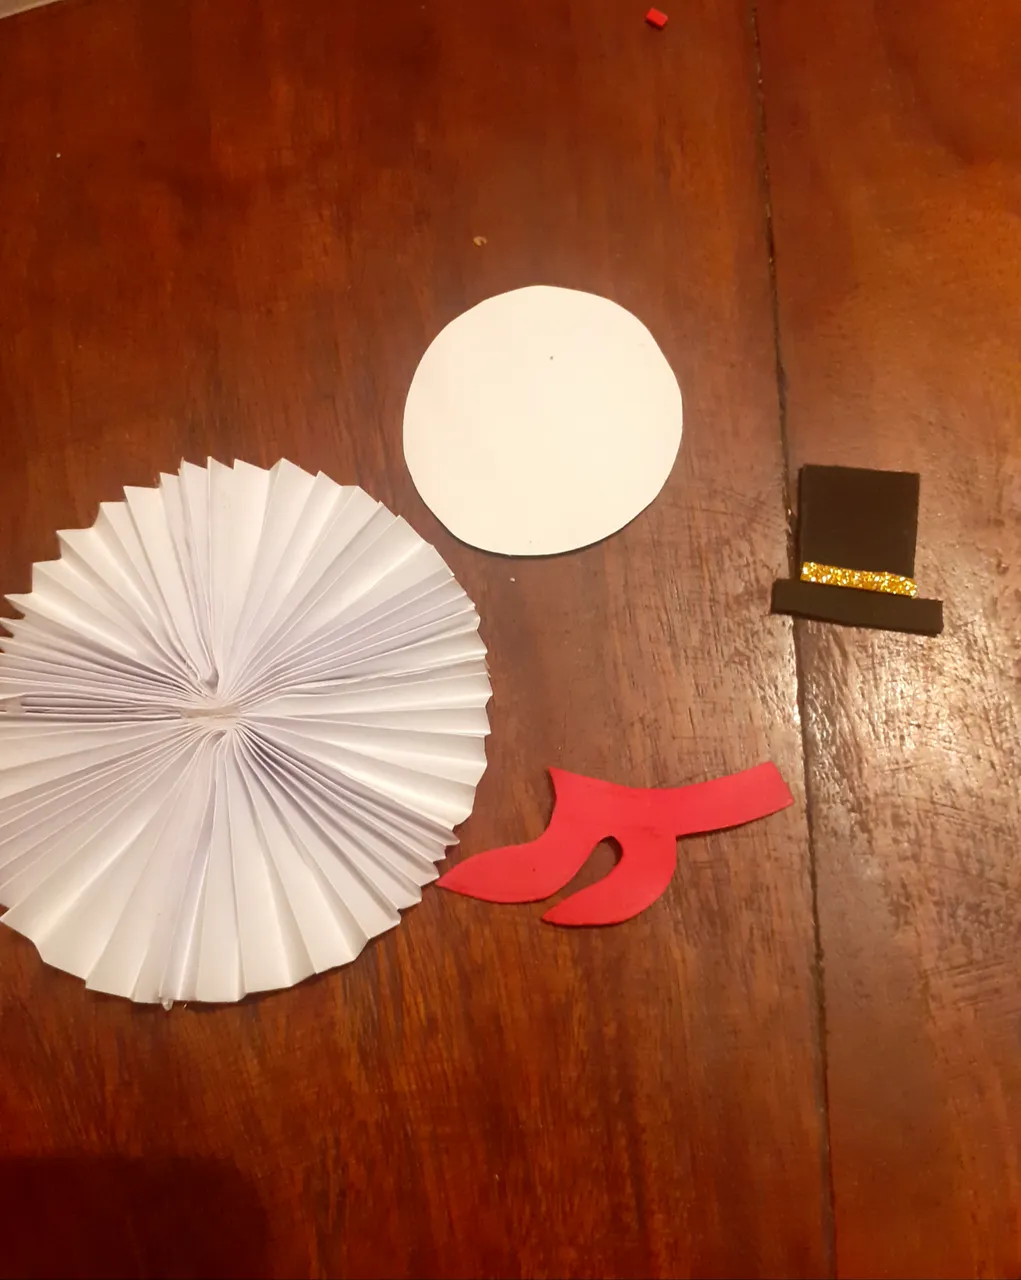
step 1
The first thing we do is grab the normal sheet and cut it in two, then we are going to be folding like a fan. And we have something like that.
paso 1
Lo primero que hacemos es agarrar la hoja normal y cortarla en dos, luego vamos ir doblando tipo abanico. Y tenemos algo así.

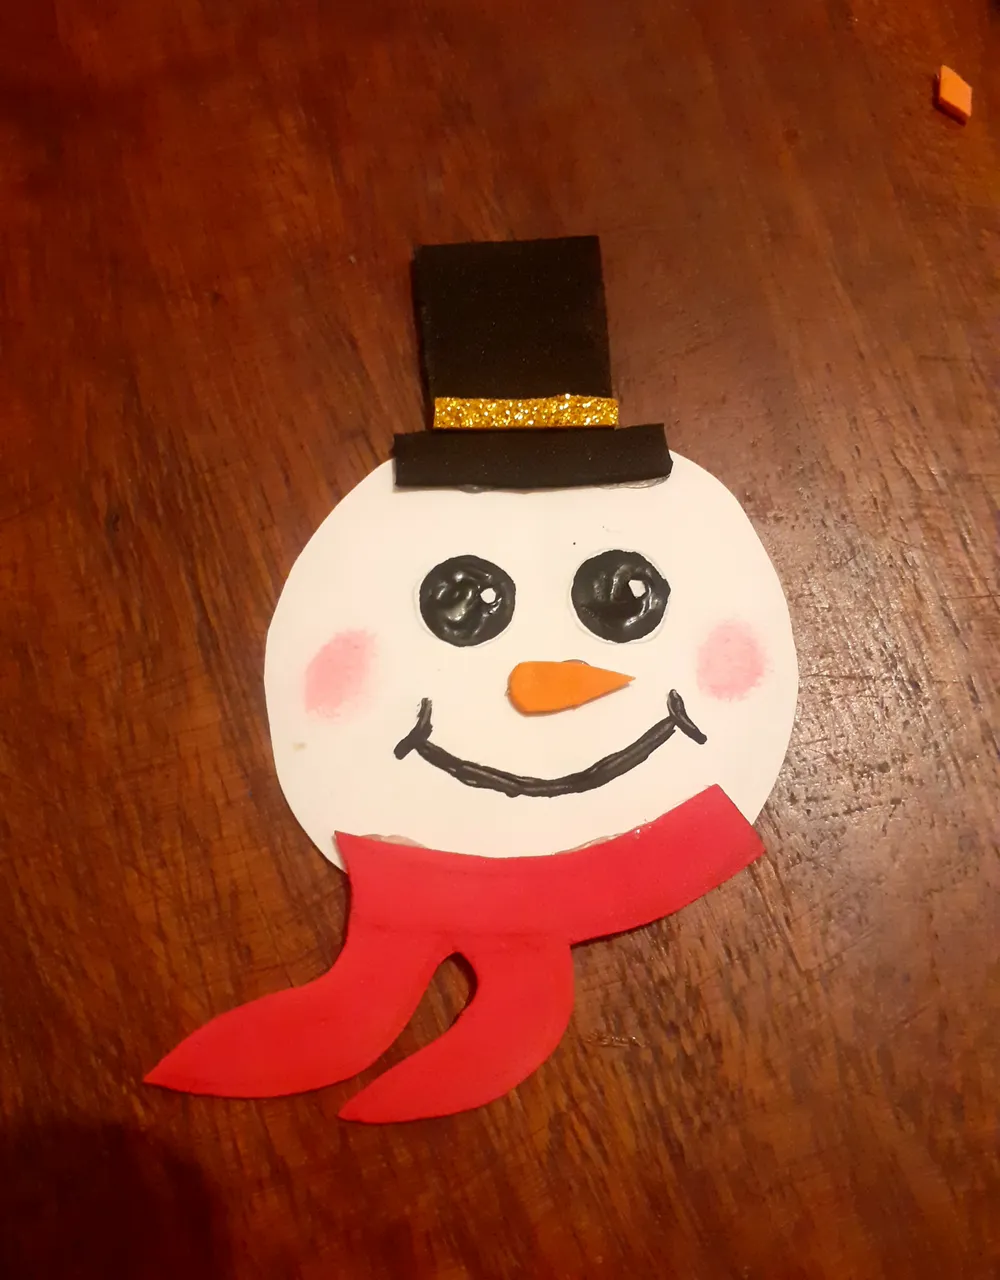
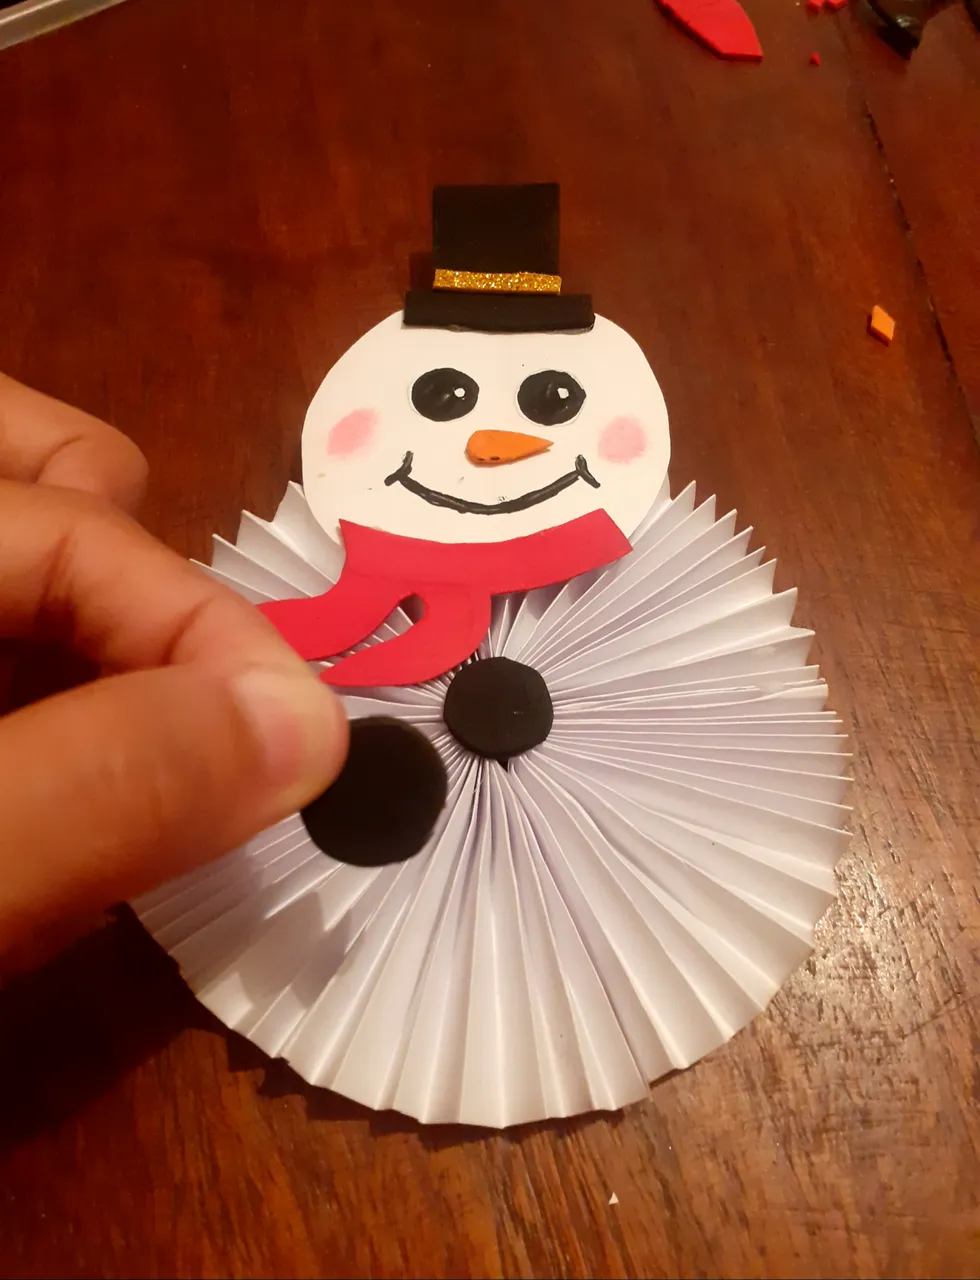
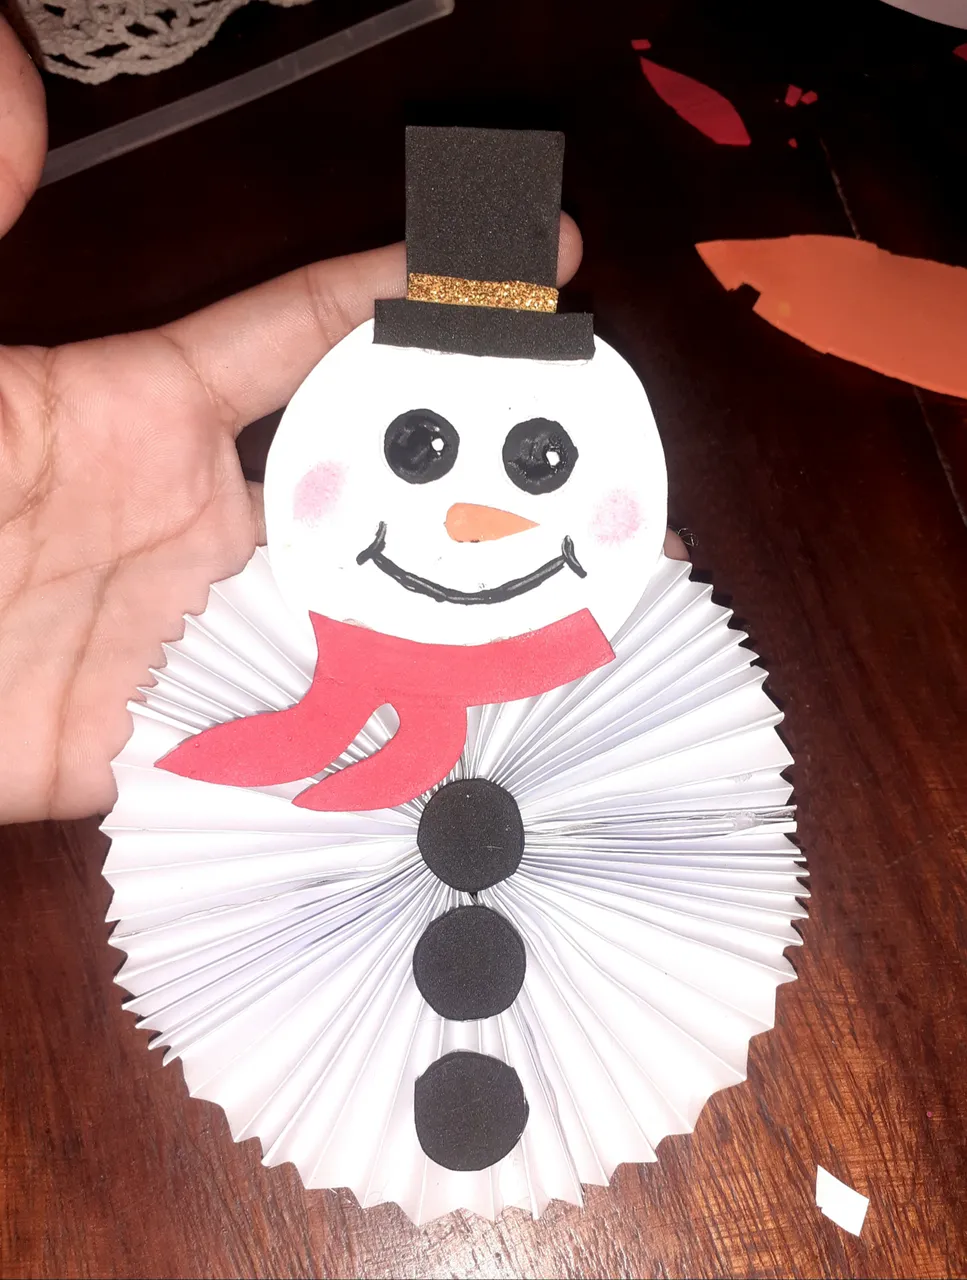
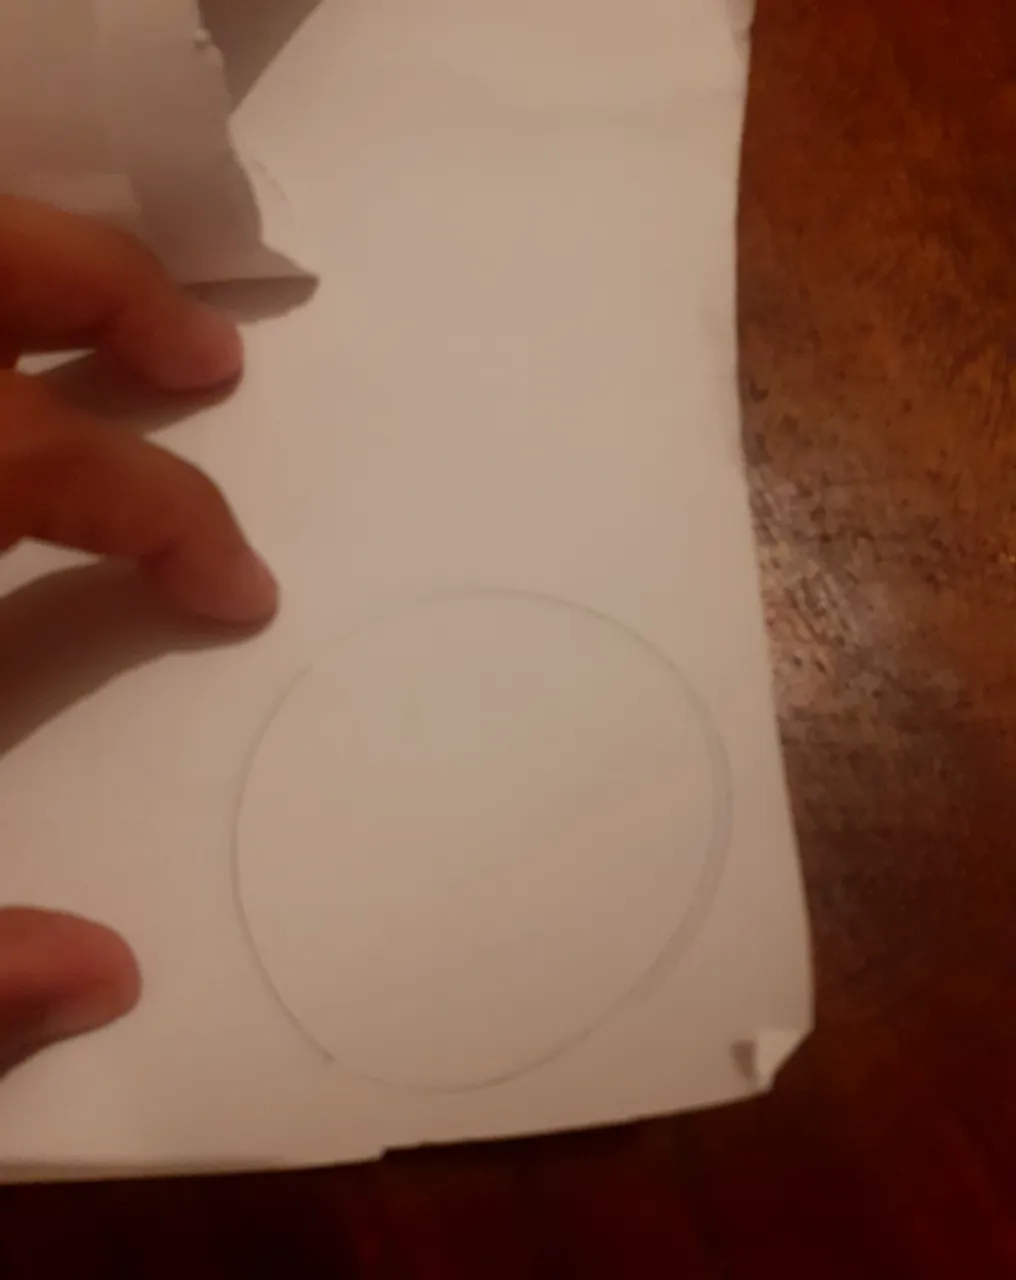
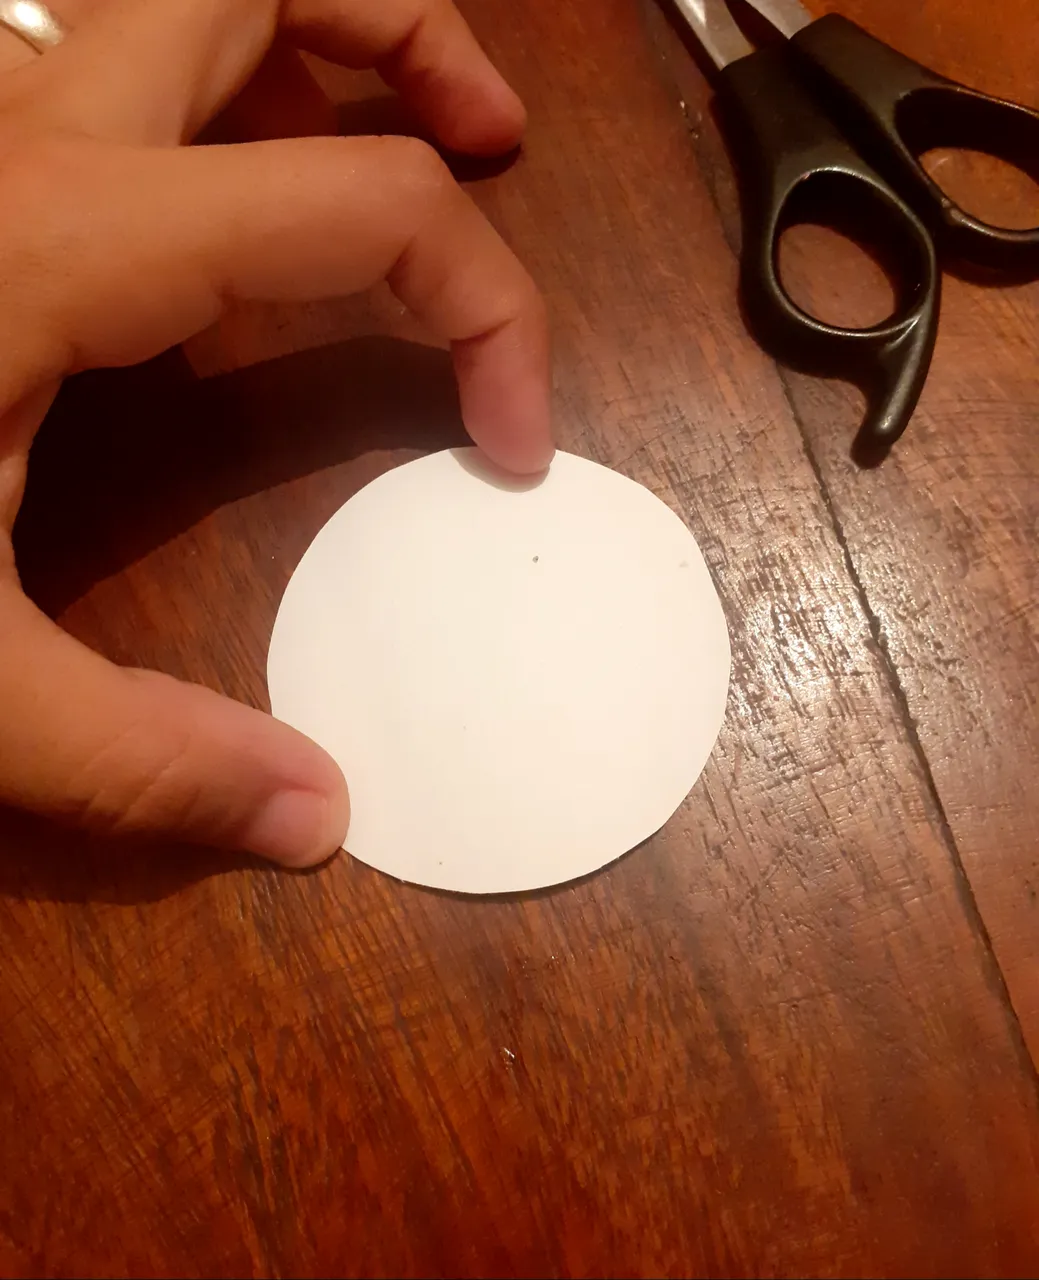
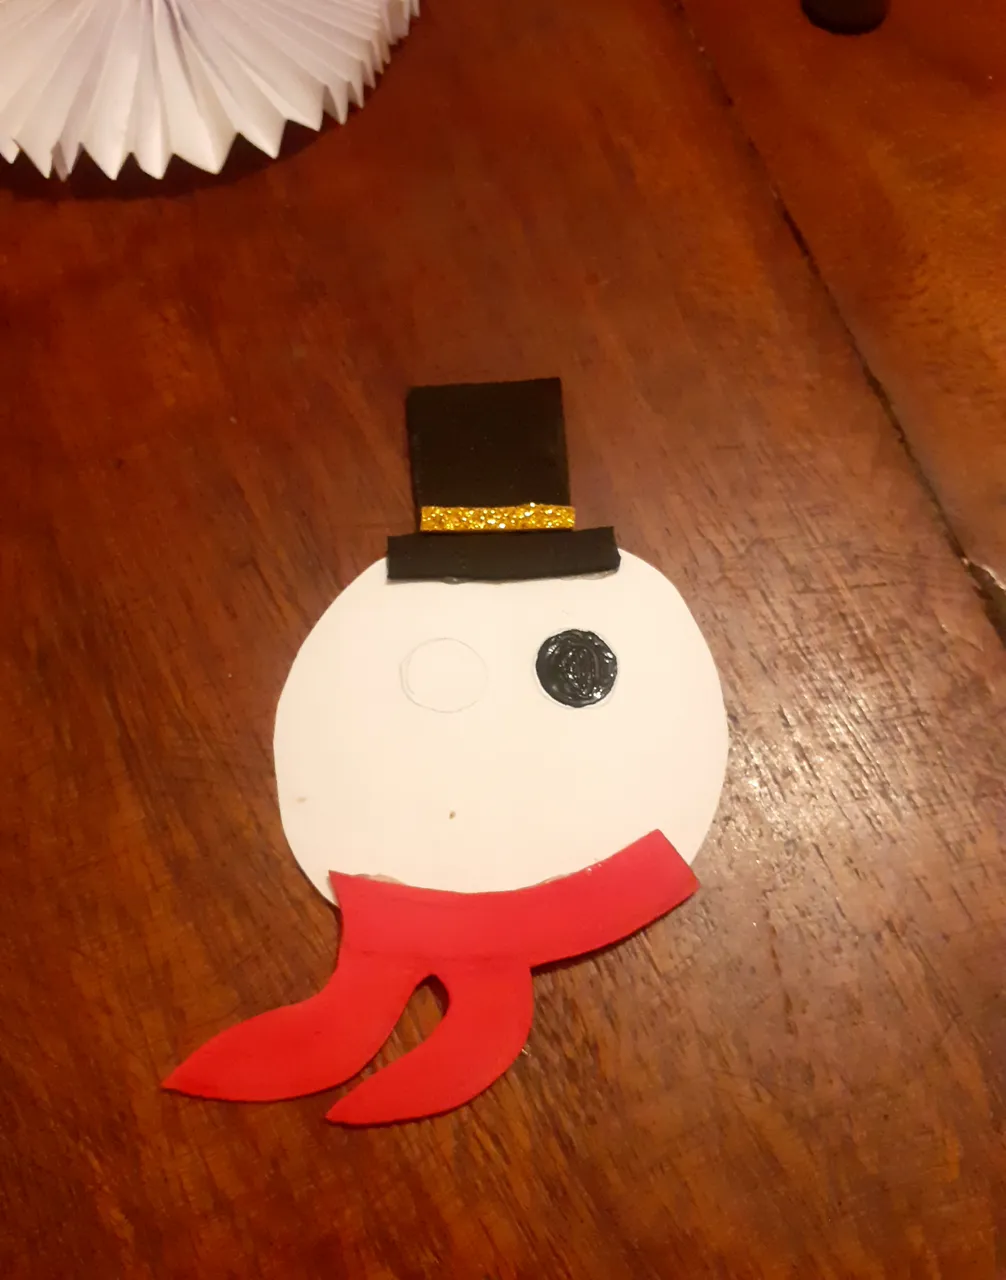
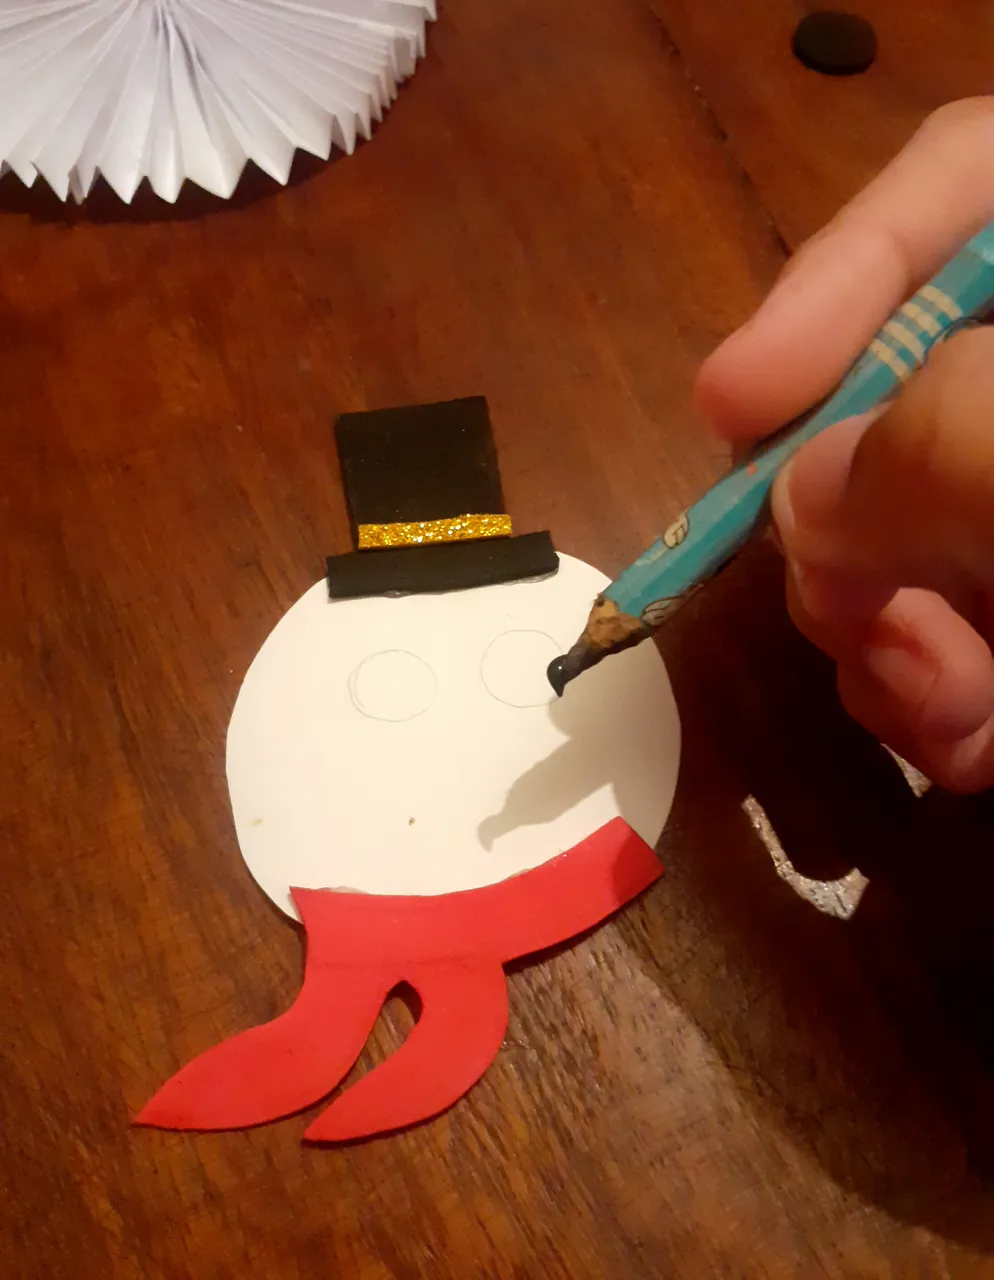
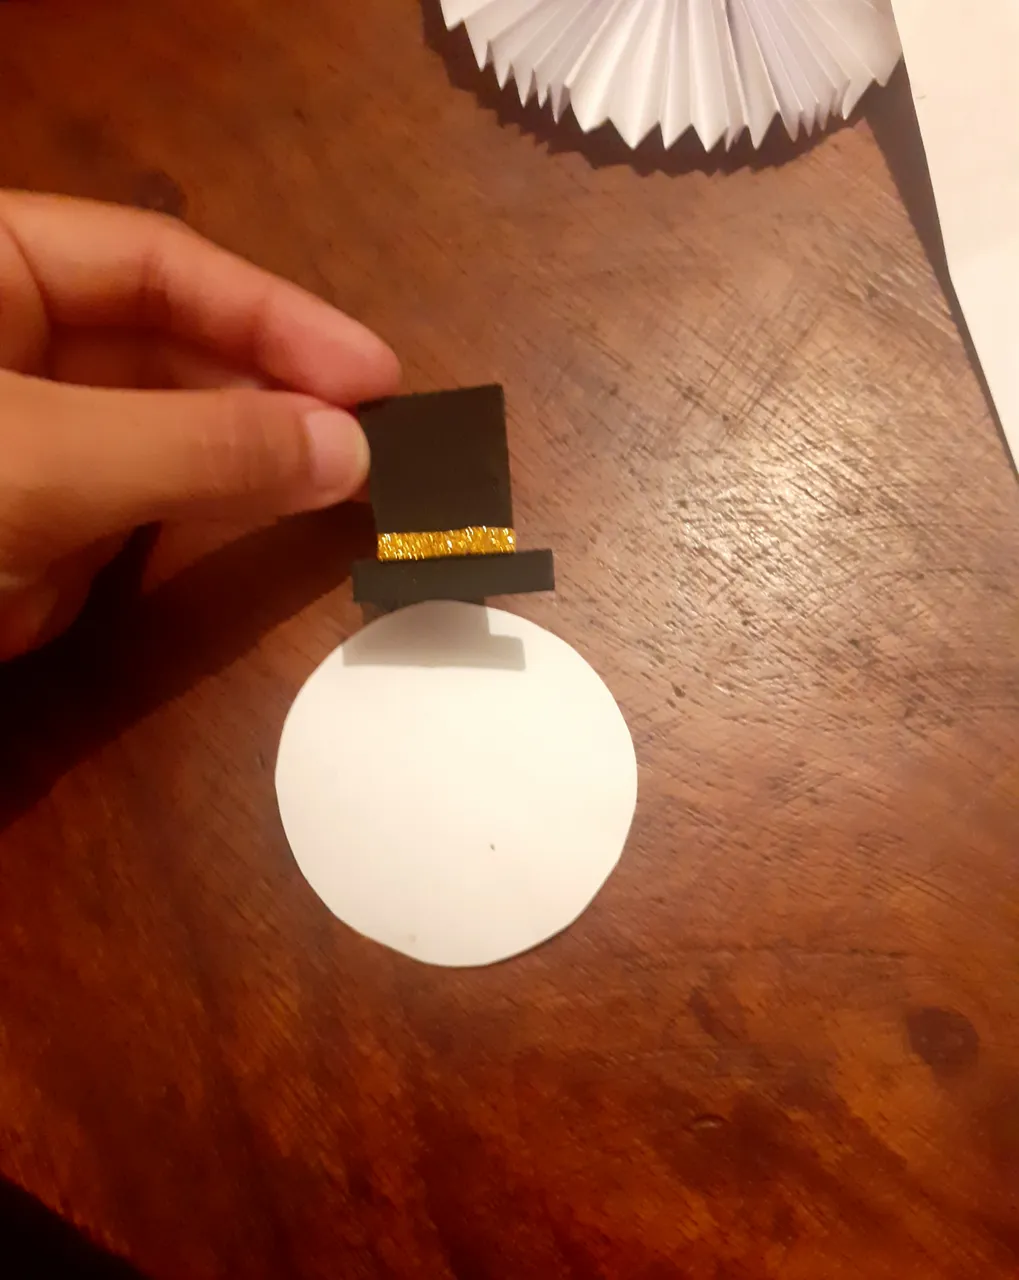
Step 2
With the white cardboard we make a circumference. The size is up to us. To then continue making the hat with the black and gold foami, we make the nose with the orange foami, with the red foami we paint a scarf and stick it on the snowman's neck, with the black paint, we are going to make the eyes and a beautiful smile, with a pink or blush paint we put on the cheek part. In which it would look towards.
paso 2
Con la cartulina blanca hacemos una circunferencia. El tamaño depende de nosotros. Para luego continuar haciendo el sombrero con el foami negro y dorado, hacemos la nariz con el foami naranjado, con el foami rojo pintamos una bufanda y la pegamos en el cuello del muñeco de nieve, con la pintura negra, vamos hacerle los ojitos y una hermosa sonrisa, con una pintura rosada o rubor le colocamos en la parte del cachete. En la cual se vería hacia.


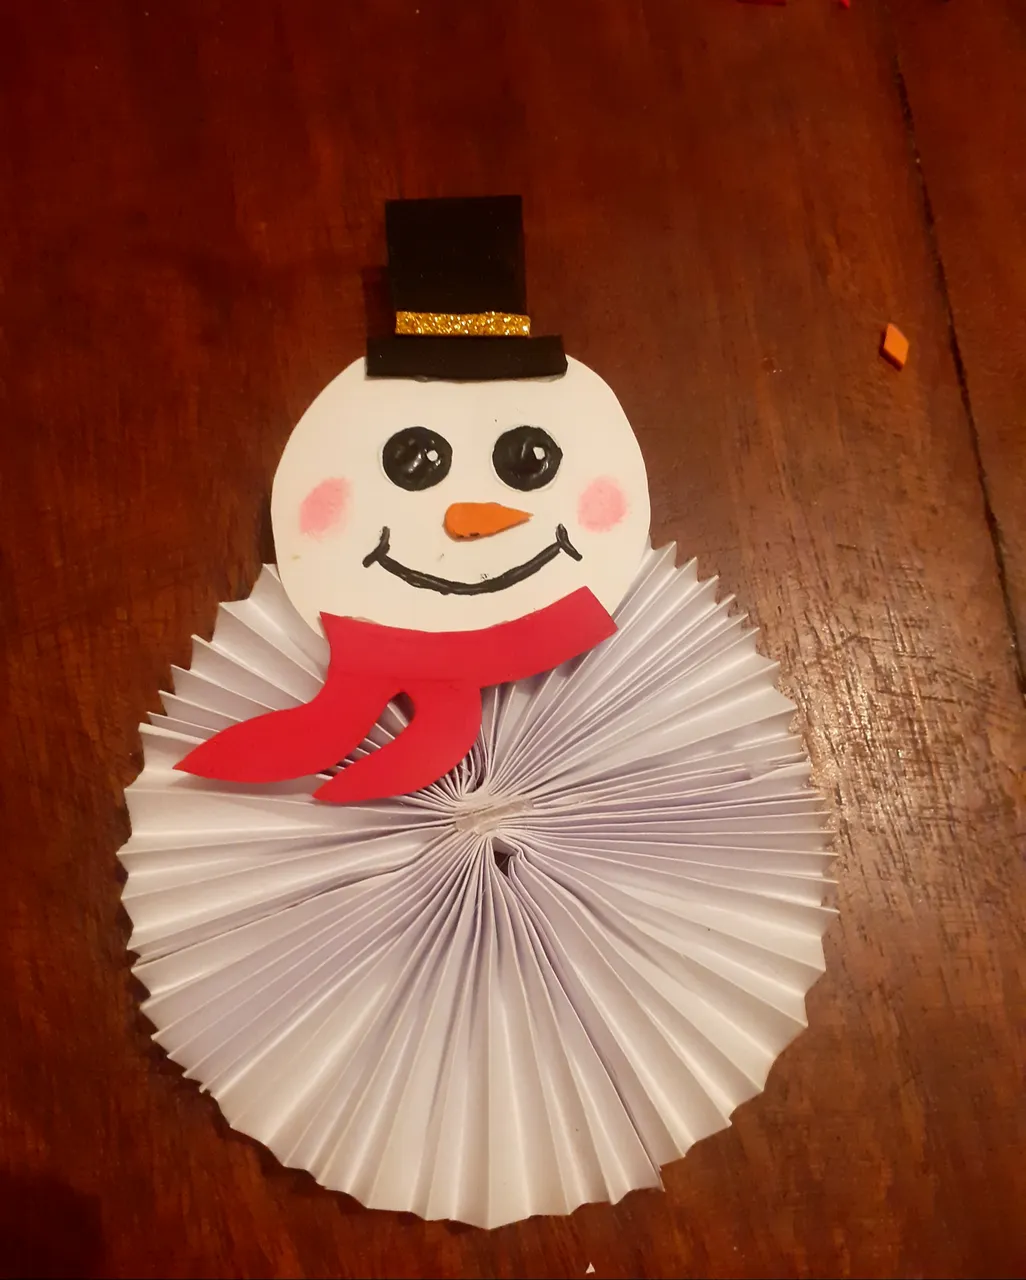
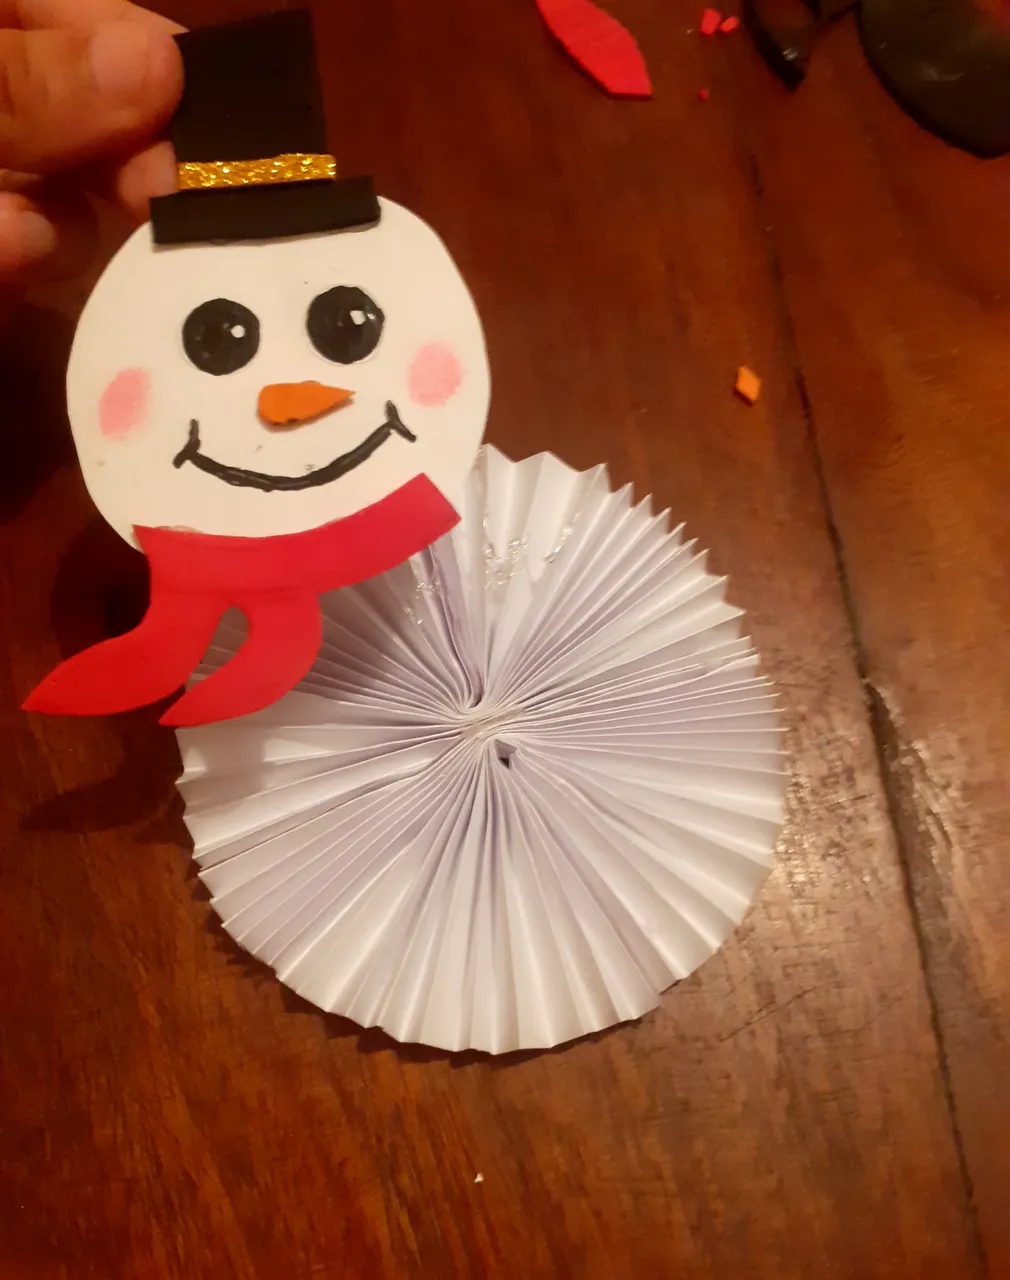
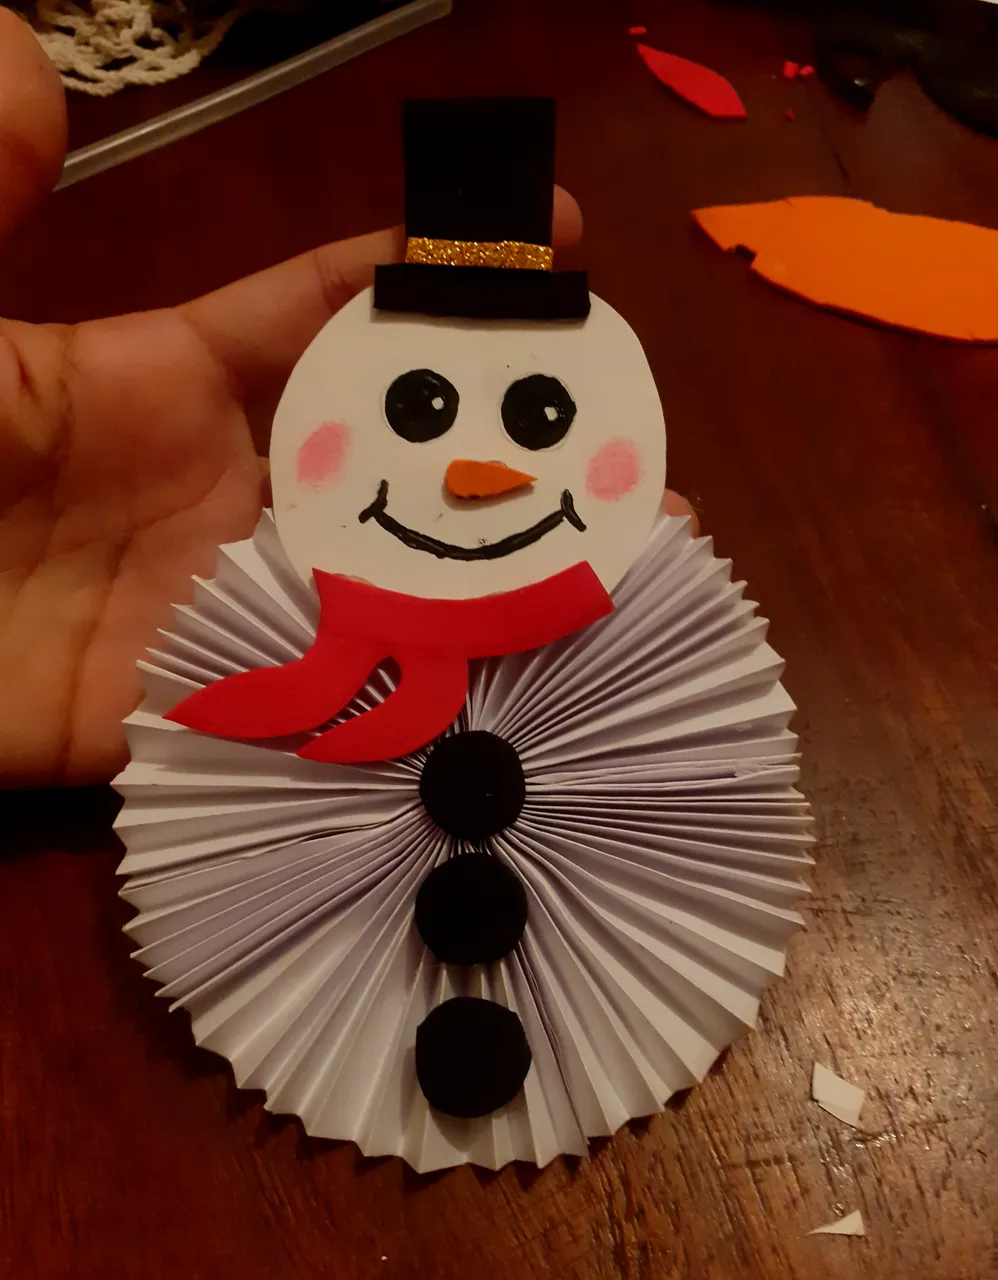
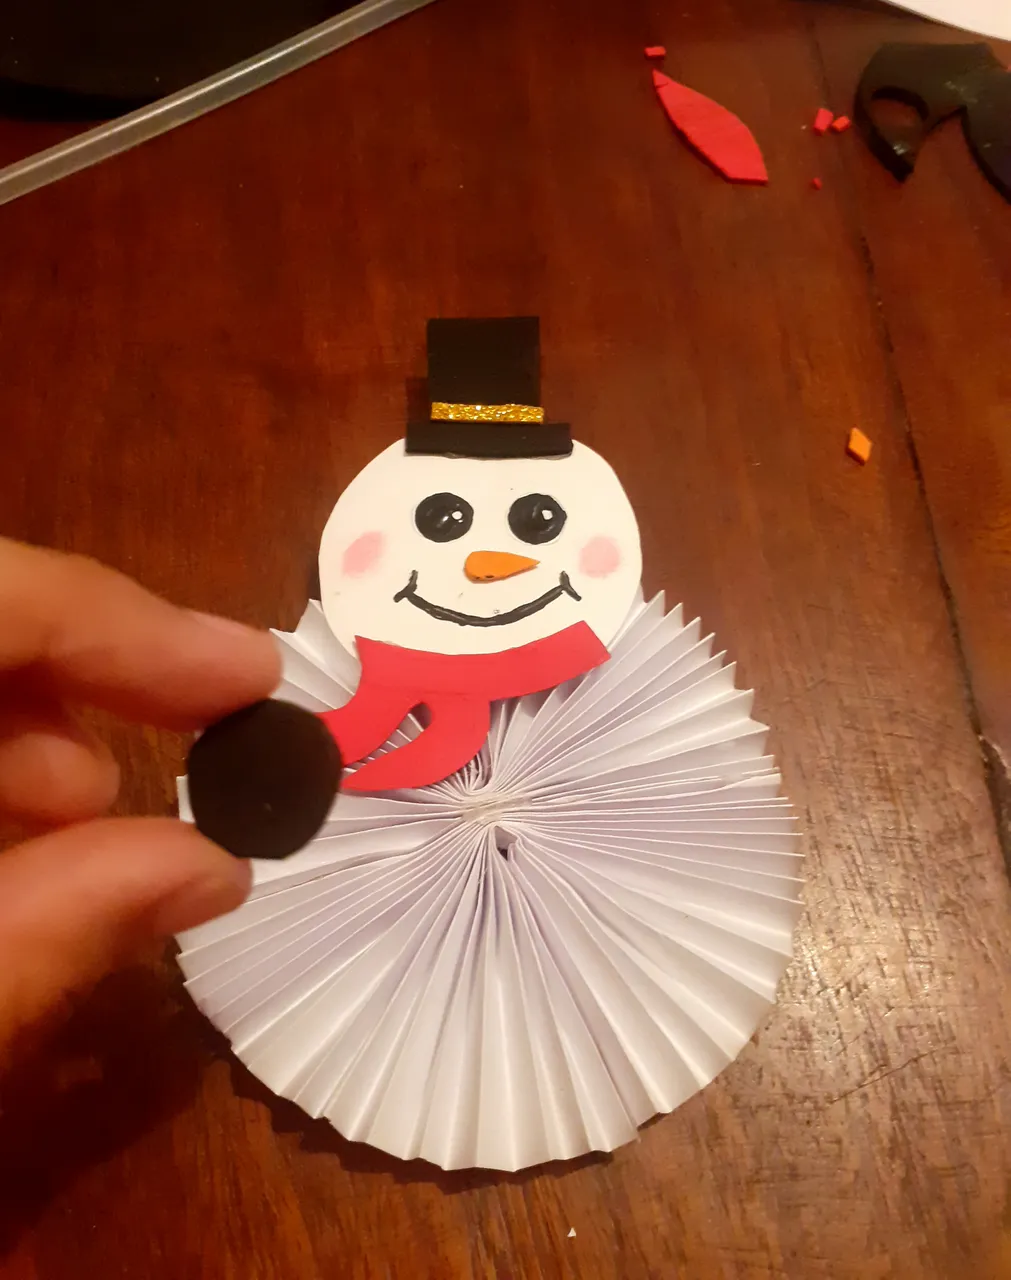
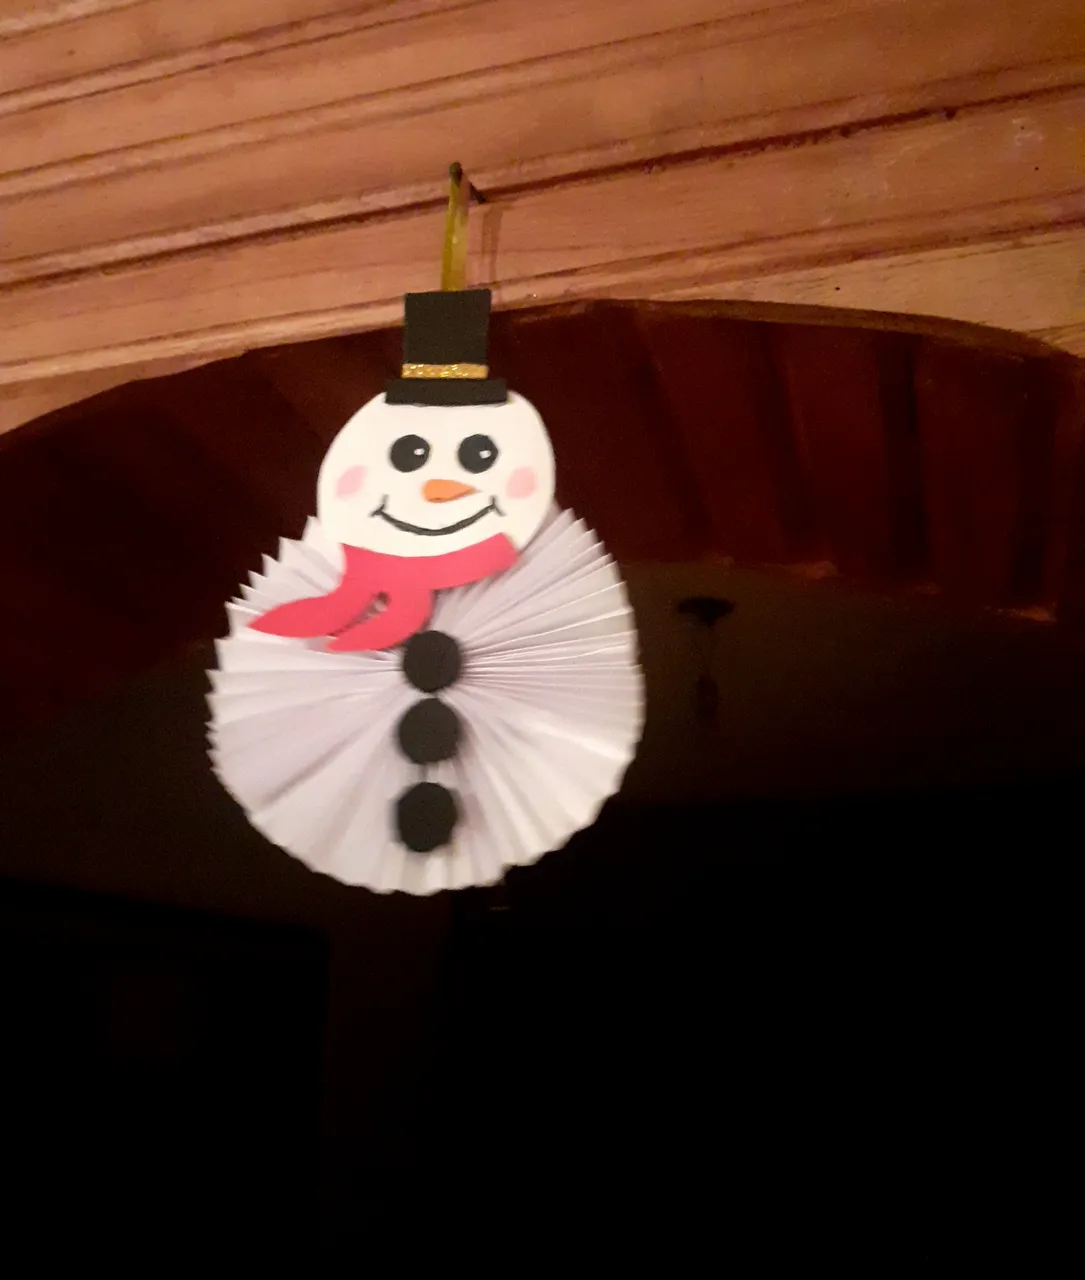
step 3
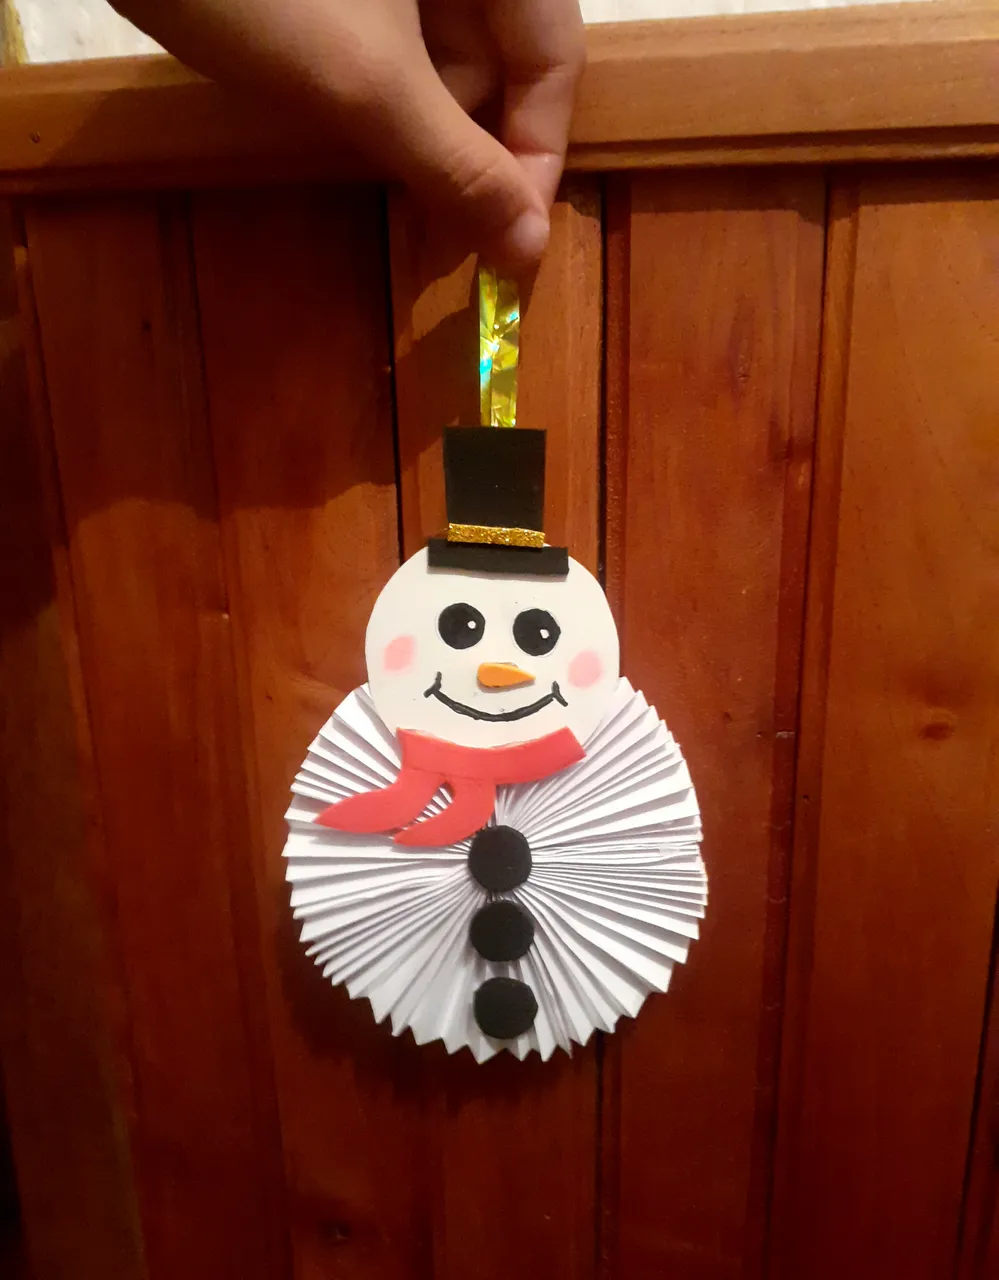
The head of our snowman is ready, we are going to glue it on the part of the fan in which his body is going to be made, then to finish we make three rounds with the black foami buttons. And on the back, we put a ribbon to hang it. And ready our beautiful snowman.
paso 3
Ya lista la cabeza de nuestro muñeco de nieve, la vamos a pegar en la parte del abanico en el cual va hacer su cuerpo, luego para finalizar hacemos tres redondo con el foami negro botones. Y por la parte de atrás, le colocamos una cinta para guindarla. Y listo nuestro hermoso muñeco de nieve.