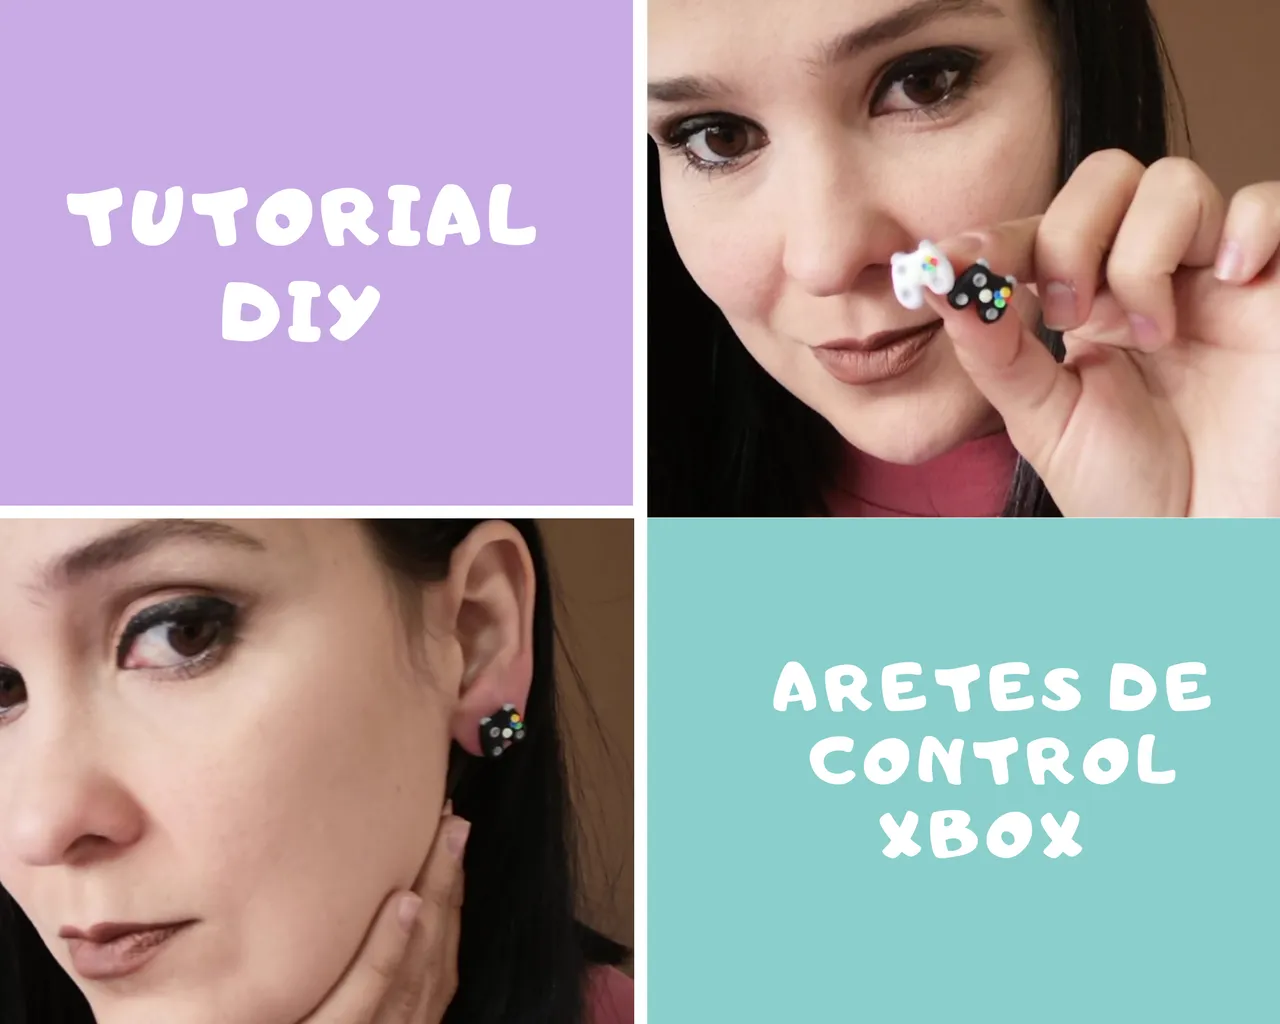
Collage hecho con canva y fotos de mi autoría. Collage made with canva and photos of my authorship.
Hola comunidad de Hive!! Hoy vengo con un pequeño tutorial para hacer aretes de control de xbox en porcelana fría 😊. Comencemos por el principio : materiales!
Necesitaremos :
- Porcelana fría de los siguientes colores: blanco, negro, gris, verde, azul, rojo, amarillo, amarillo muy claro.
- Pega blanca o pega escolar.
- Bolillos (herramienta que tiene una bolita en las puntas, o alguna herramienta similar que tengan a su disposición)
- Esteca (herramienta similar a un cuchillito).
Hello Hive community !! Today I come with a small tutorial to make xbox control earrings in cold porcelain 😊. Let's start at the beginning: materials! We will need : - Cold porcelain of the following colors: white, black, gray, green, blue, red, yellow, very light yellow. - White glue or school glue. - Bobbins (tool that has a ball at the ends, or some similar tool that they have at their disposal) - Stake (tool similar to a small knife).
Collage hecho en canva con fotos propias. Collage made in canva with my own photos.
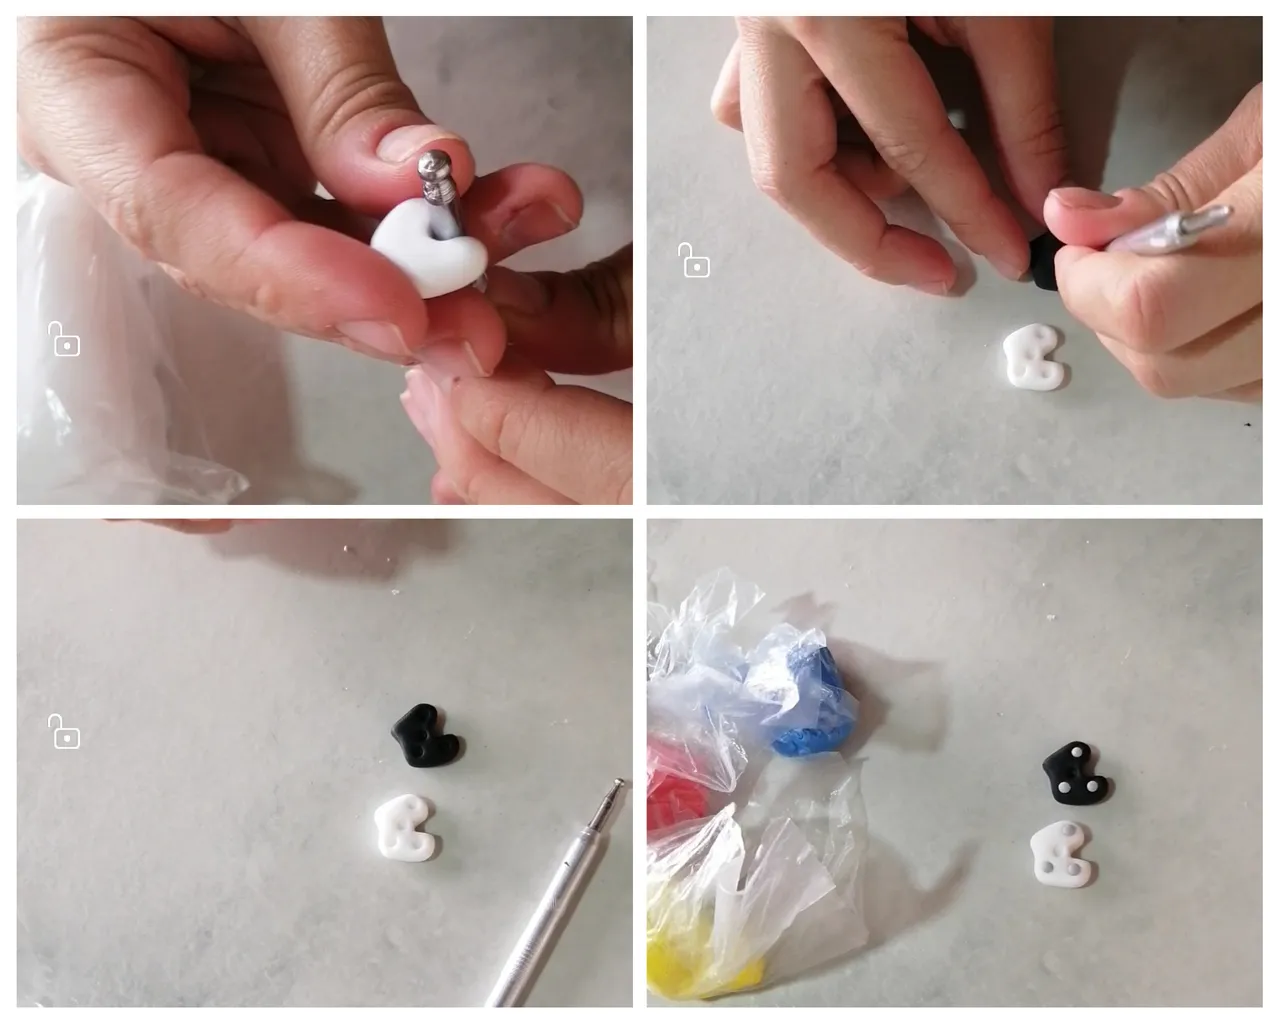
Procedimiento :
- Siempre vamos a partir de una bolita de aproximadamente 1, 5 cm de diámetro. Hacemos una bolita negra y una blanca.
- Con el bolillo vamos dando forma al control en la parte de arriba y abajo al mismo tiempo que aplanamos con los dedos. Lo hacemos con ambos colores, blanco y negro.
- Cuando tengamos la forma semejante a la foto, con el lado pequeño del bolillo hundimos donde irán los botones grises de los controles, así como se ve en la imagen.
- Realizamos los pequeños botones grises haciendo pequeñas bolitas, son 3 por cada control, en la imagen se aprecia su posición.
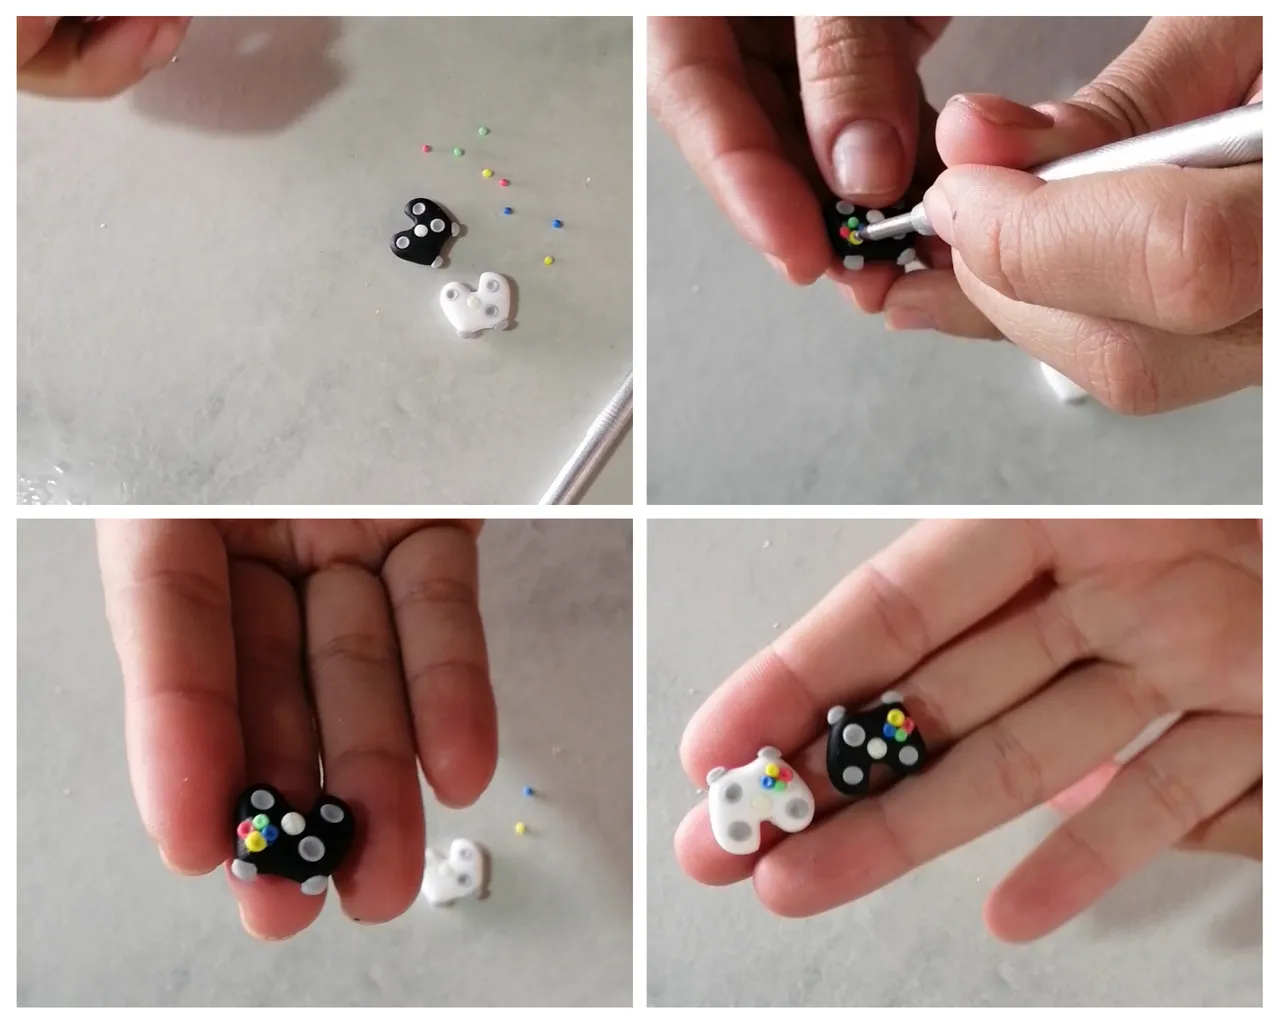
- El botón del centro es de color amarillo clarito, ese botón le marcamos una x en el centro con la esteva.
- Igualmente pegamos los botones que van en la parte superior de los controles, son dos cuadraditos por cada control.
Procedure : - We always start with a ball of approximately 1.5 cm in diameter. We make a black ball and a white one. - With the bobbin we are shaping the control in the upper and lower part at the same time that we flatten with our fingers. We do it with both colors, black and white. - When we have the shape similar to the photo, with the small side of the bobbin we sink where the gray buttons of the controls will go, as seen in the image. - We make the small gray buttons making small balls, there are 3 for each control, in the image you can see their position. - The button in the center is light yellow, that button we mark an x in the center with the steva. - We also paste the buttons that go to the top of the controls, there are two little squares for each control.
Collage hecho con canva y fotos de mi propiedad. Collage made with canva and photos of my property.
Procedemos a realizar los mini botones de los colores amarillo, azul, verde, rojo. Todos los botones se fijan a la pieza con puntos de pega blanca.
Una vez terminados, dejamos secar al menos 12 horas, y luego para terminar podemos pegar el topito de arete con pega para bisuteria.
We proceed to make the mini buttons in the colors yellow, blue, green, red. All buttons are attached to the piece with white glue dots. - Once finished, let it dry for at least 12 hours, and then to finish we can glue the earring top with glue for jewelry.
Si no tienes experiencia sé amable contigo mismo y recuerda que la práctica lleva a la perfección 😉. Espero que haya sido de su agrado y que puedan ponerlo en práctica, ya seguiré subiendo otros tutoriales #Diy para que sigan aprendiendo este hermoso arte. Bendiciones para todos! 🤗
If you don't have experience, be kind to yourself and remember that practice leads to perfection 😉. I hope it has been to your liking and that you can put it into practice, I will continue uploading other #Diy tutorials so that you continue learning this beautiful art. Blessings for all! 🤗