How are you today my excellent Hive family, I hope very well. I am going to show you today how to make a cute elephant made with foami and a disposable plastic plate, it is a nice detail to decorate your wall anywhere in your home.
Español
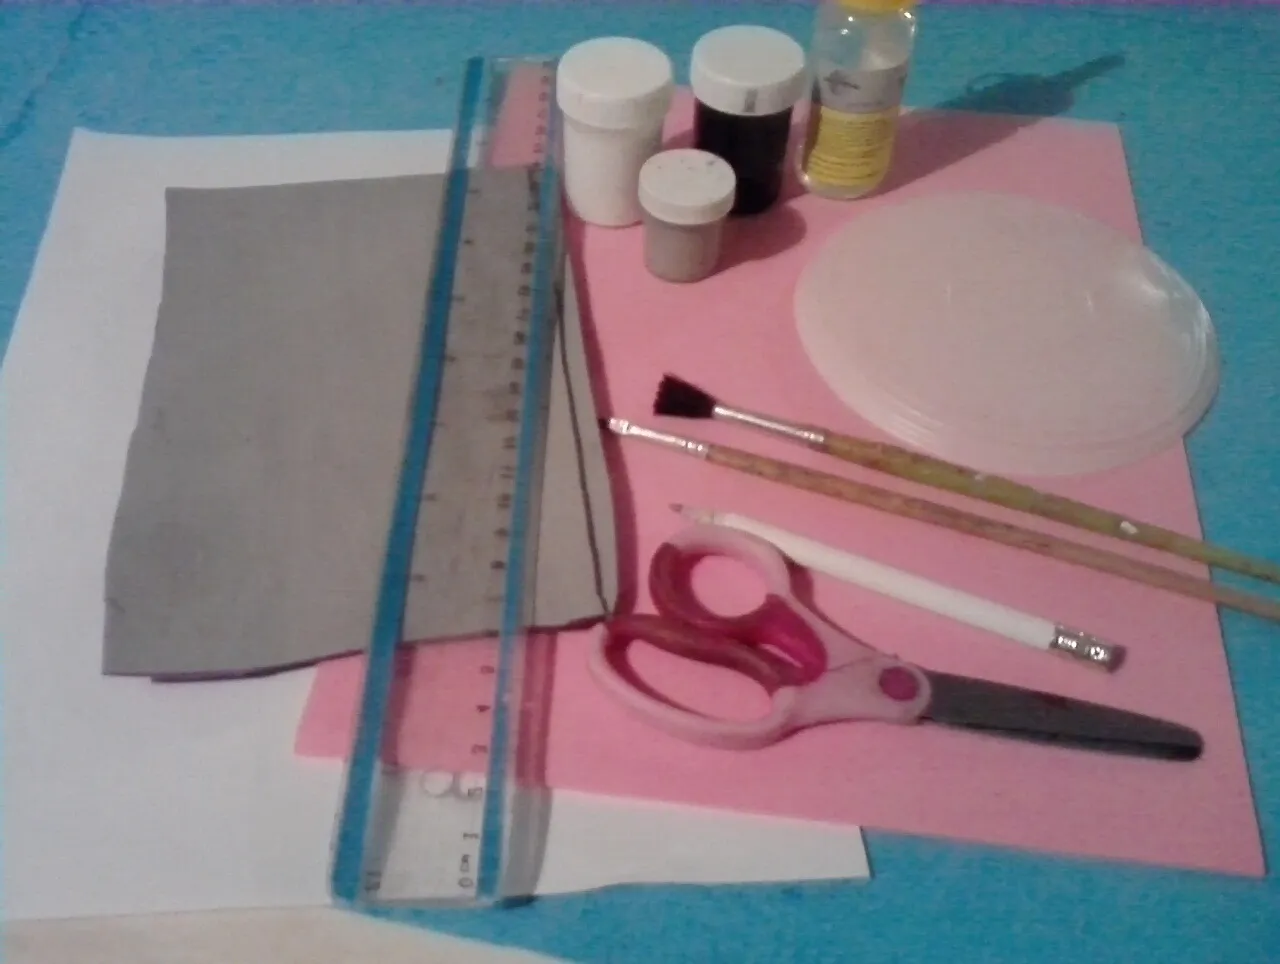
Materiales:
- Foami (rosado y gris).
- (1) plato plástico desechable.
- Lápiz.
- Pincel.
- Tijera.
- Silicon liquido.
- Pintura (negra, blanca y gris).
- (1) hoja blanca.
English
Materials:
- Foami (pink and gray).
- (1) disposable plastic plate.
- Pencil.
- Paintbrush.
- Scissors.
- Liquid silicon.
- Paint (black, white and gray).
- (1) white sheet.

Español
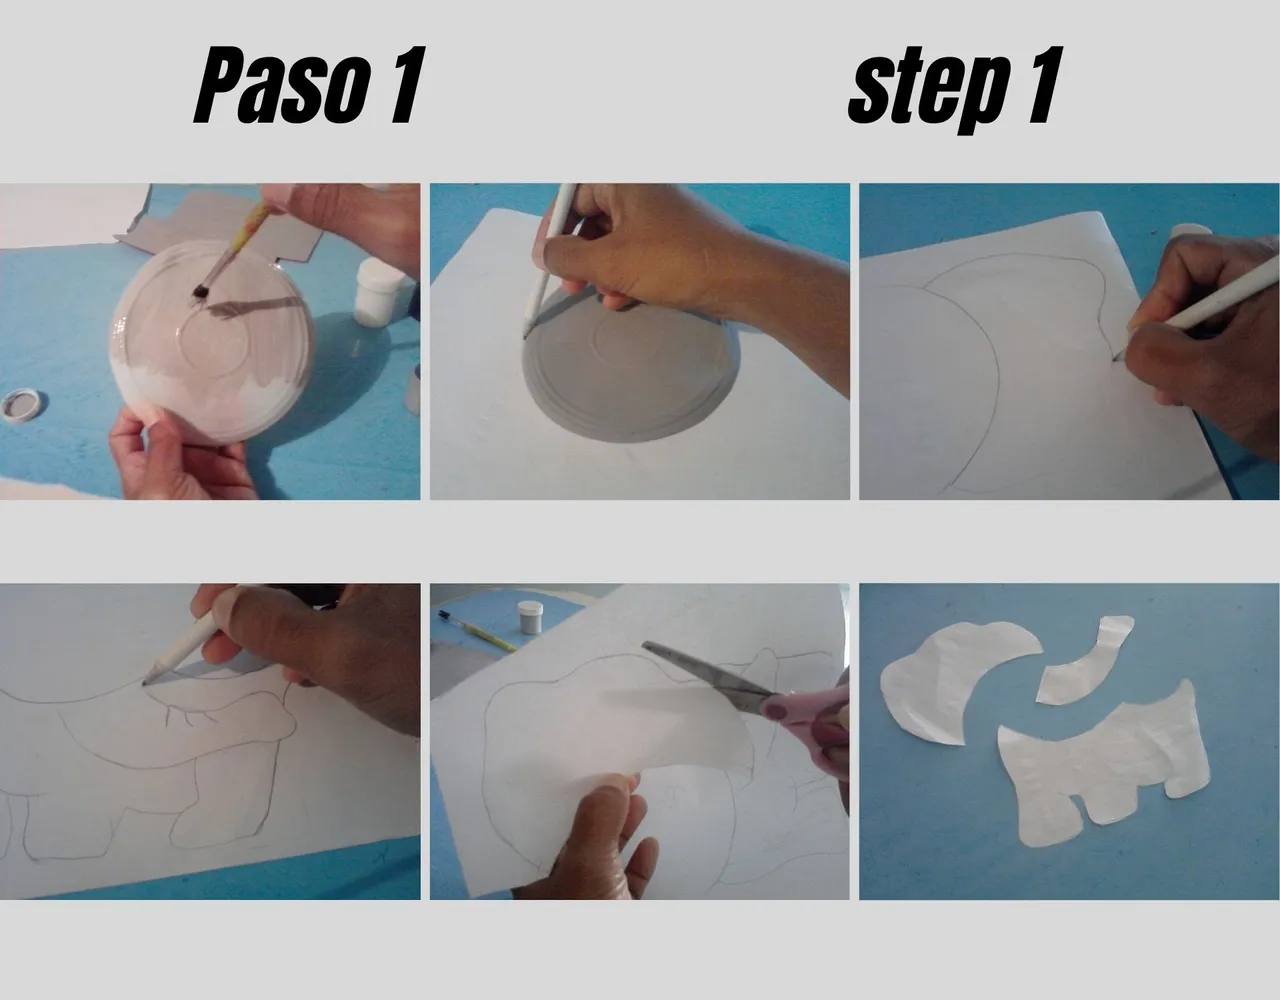
Paso 1:
- Comienzo pintando el plato plástico con el color gris, espero que la pintura este seca y lo marco en la hoja blanca, luego comienzo dibujando las orejas y el resto del cuerpo del elefante para recortarlo y sacar por partes el patrón del elefante.
English
Step 1:
- I start by painting the plastic plate with the gray color, I wait for the paint to be dry and mark it on the white sheet, then I start drawing the ears and the rest of the elephant's body to cut it out and draw the elephant pattern in parts.
Español
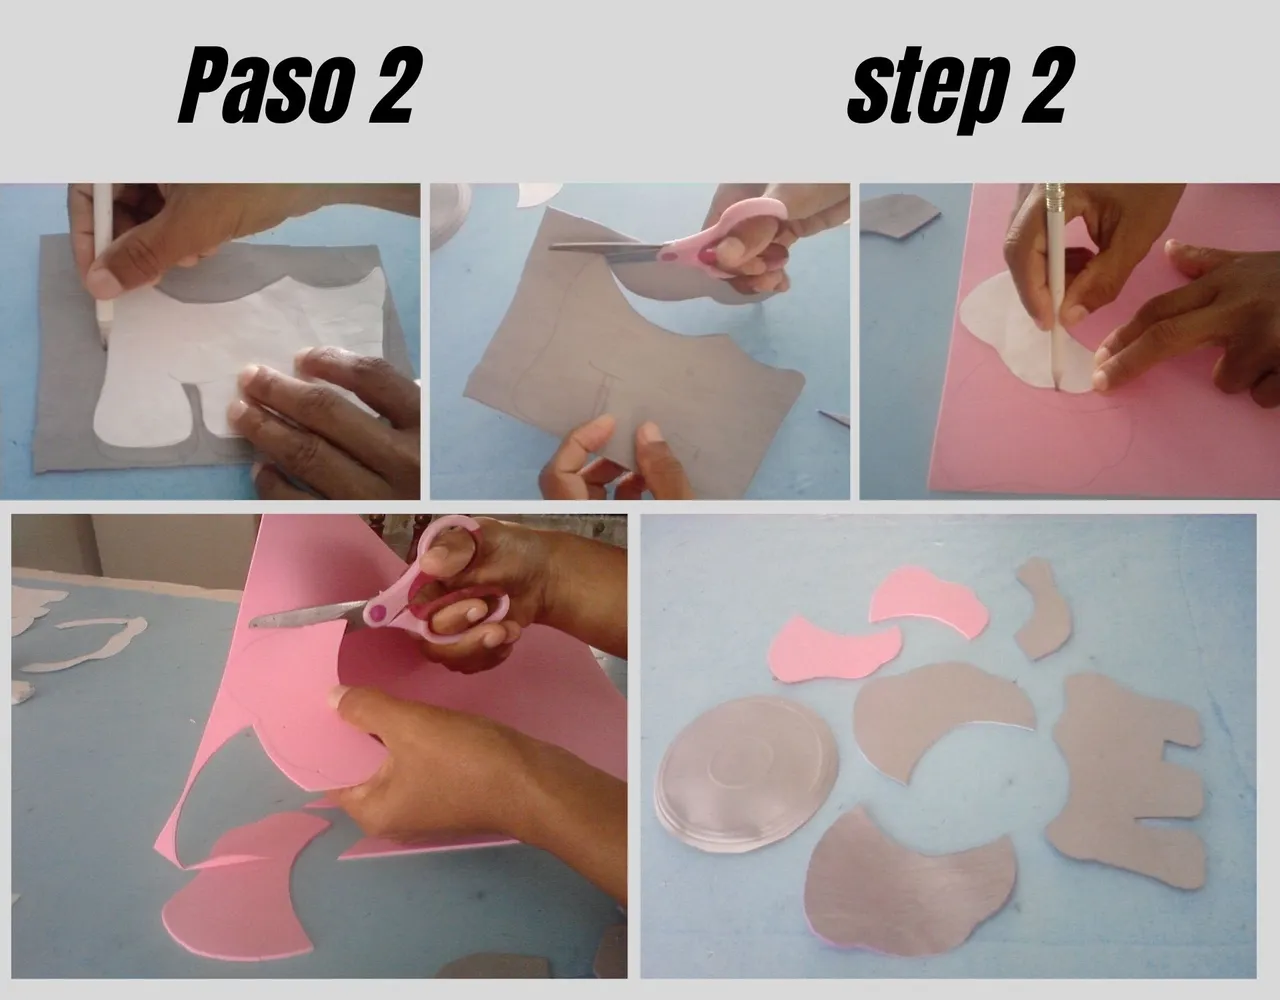
Paso 2:
- Después que tengo el patrón comienzo a marcarlo en el foami , para recortarlo.
English
Step 2:
- After I have the pattern I start marking it on the foami, to cut it out.
Español
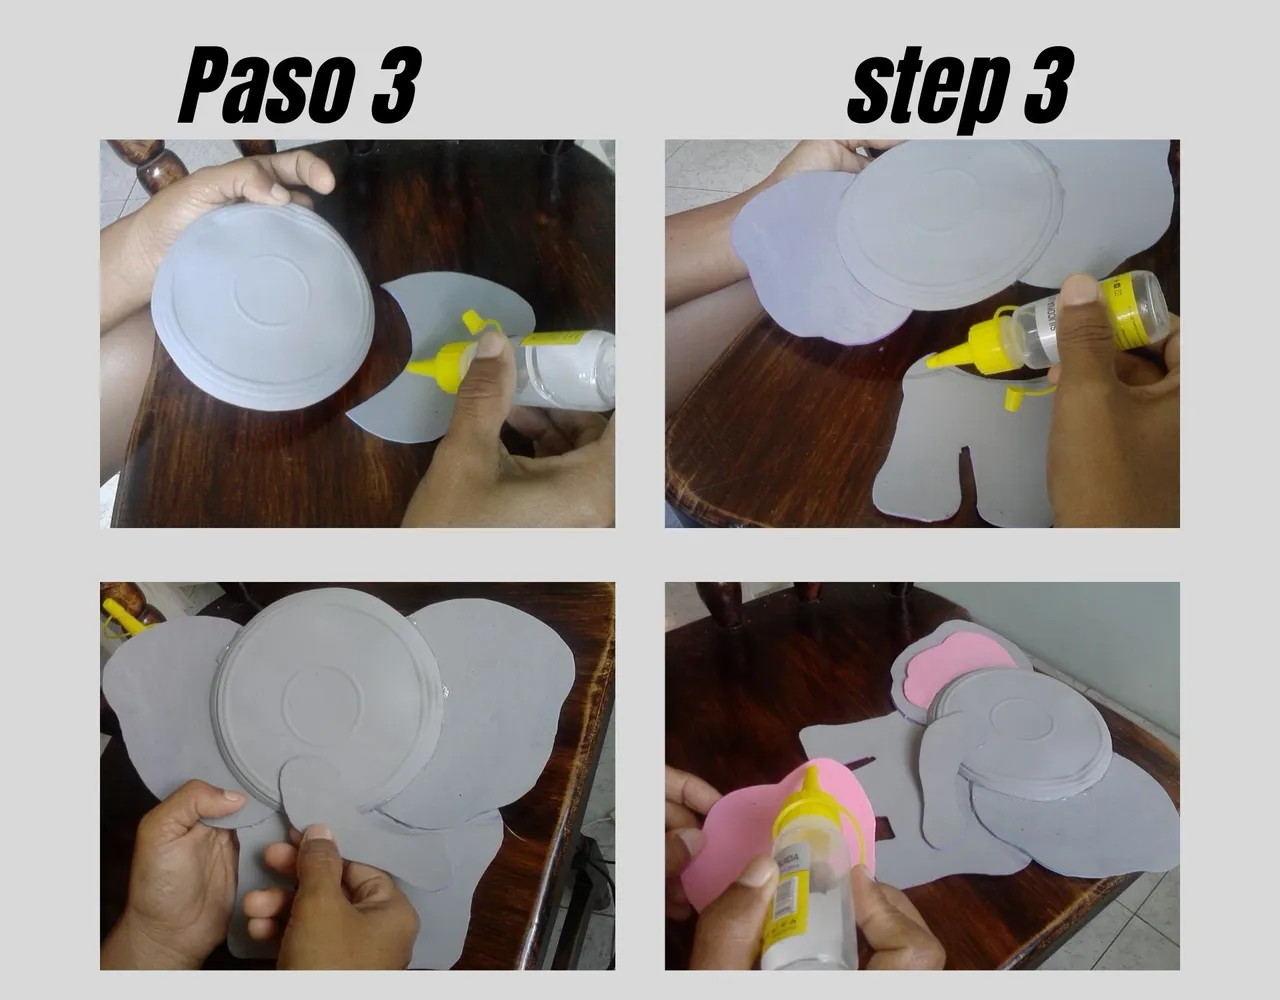
Paso 3:
- Ahora comienzo pegando las orejas del plato que vendría siendo la cabeza del elefante, y así procedo pegando el cuerpo, la trompa y por ultimo la parte de adentro de la oreja con el foami rosado.
English
Step 3:
- Now I start gluing the ears of the plate that would be the head of the elephant, and so I proceed by gluing the body, the trunk and finally the inside of the ear with the pink foami.
Español
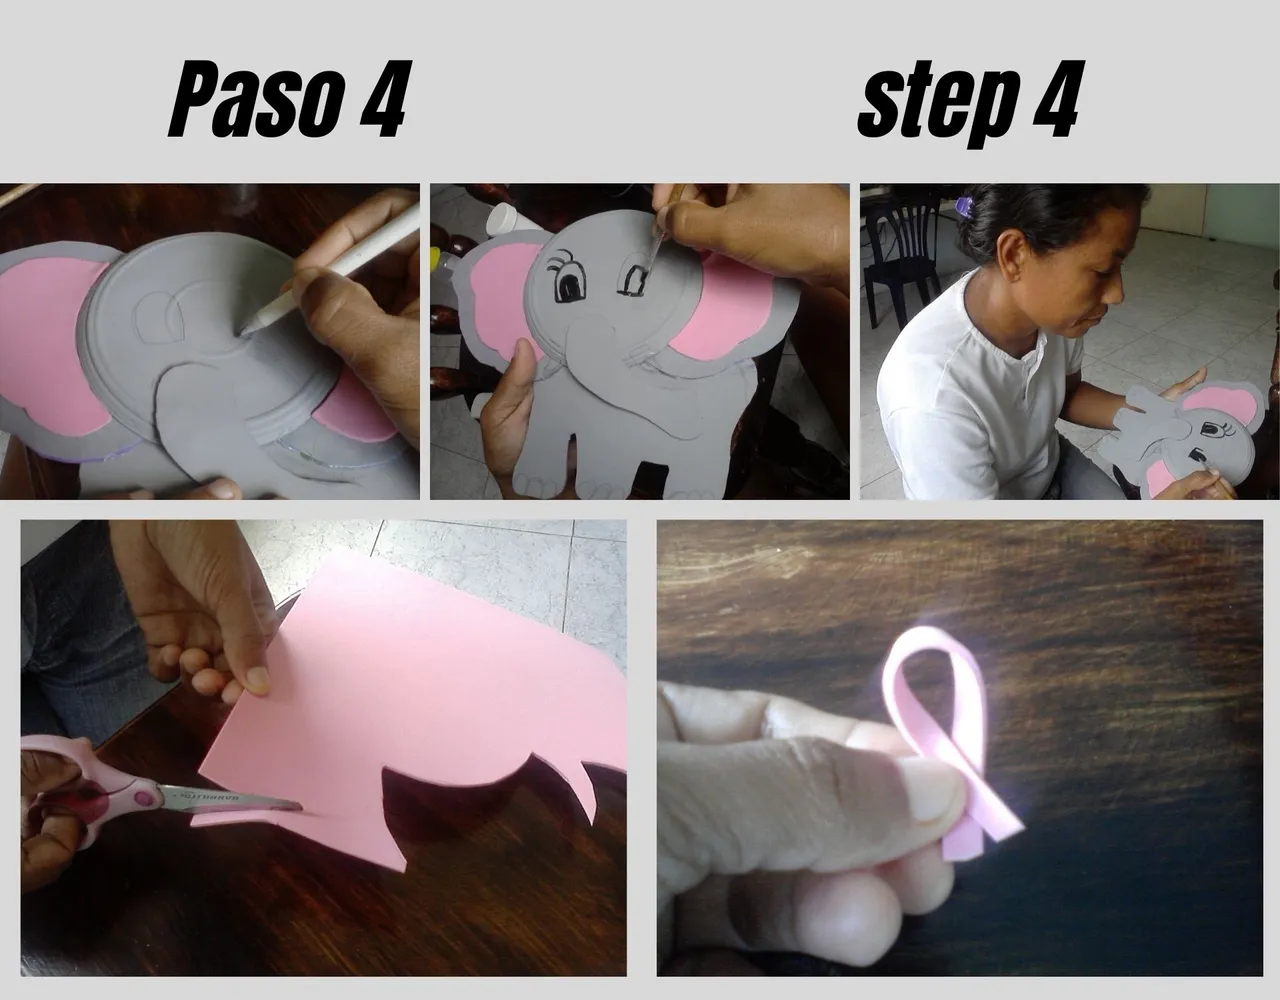
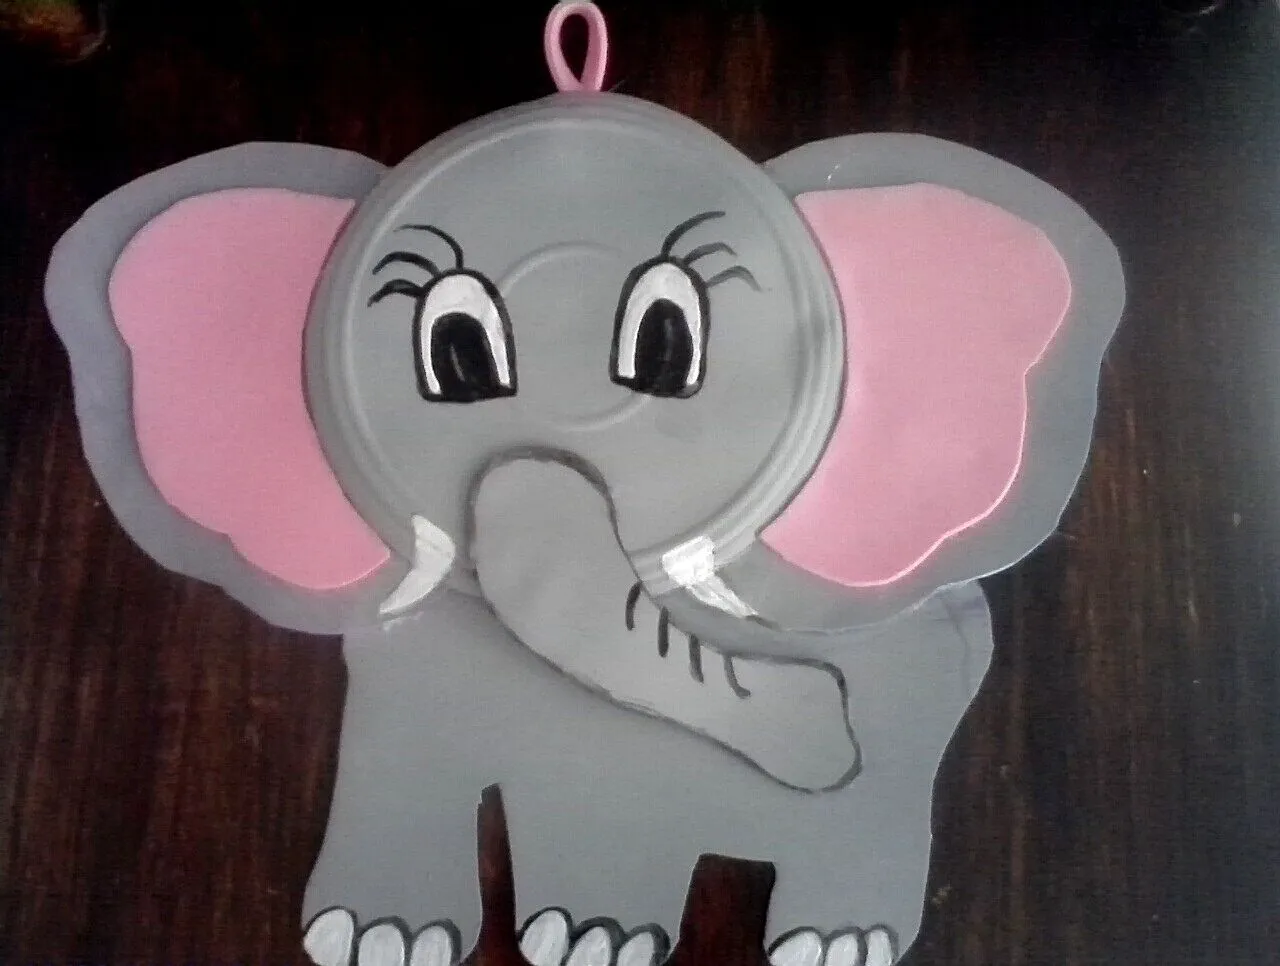
Paso 4:
- Y por último pintamos los ojos, los colmillos y uñas del elefante y lo coloreamos. Luego recorto una tira de foami rosado de 9 cm lo uno en las 2 puntas y lo pegamos detrás de la cabeza del elefante, para poder colgarlo en la pared.
English
Step 4:
- And finally we paint the elephant's eyes, tusks and nails and color it. Then I cut a strip of pink foami of 9 cm I join it at the 2 ends and glue it behind the elephant's head, so I can hang it on the wall.
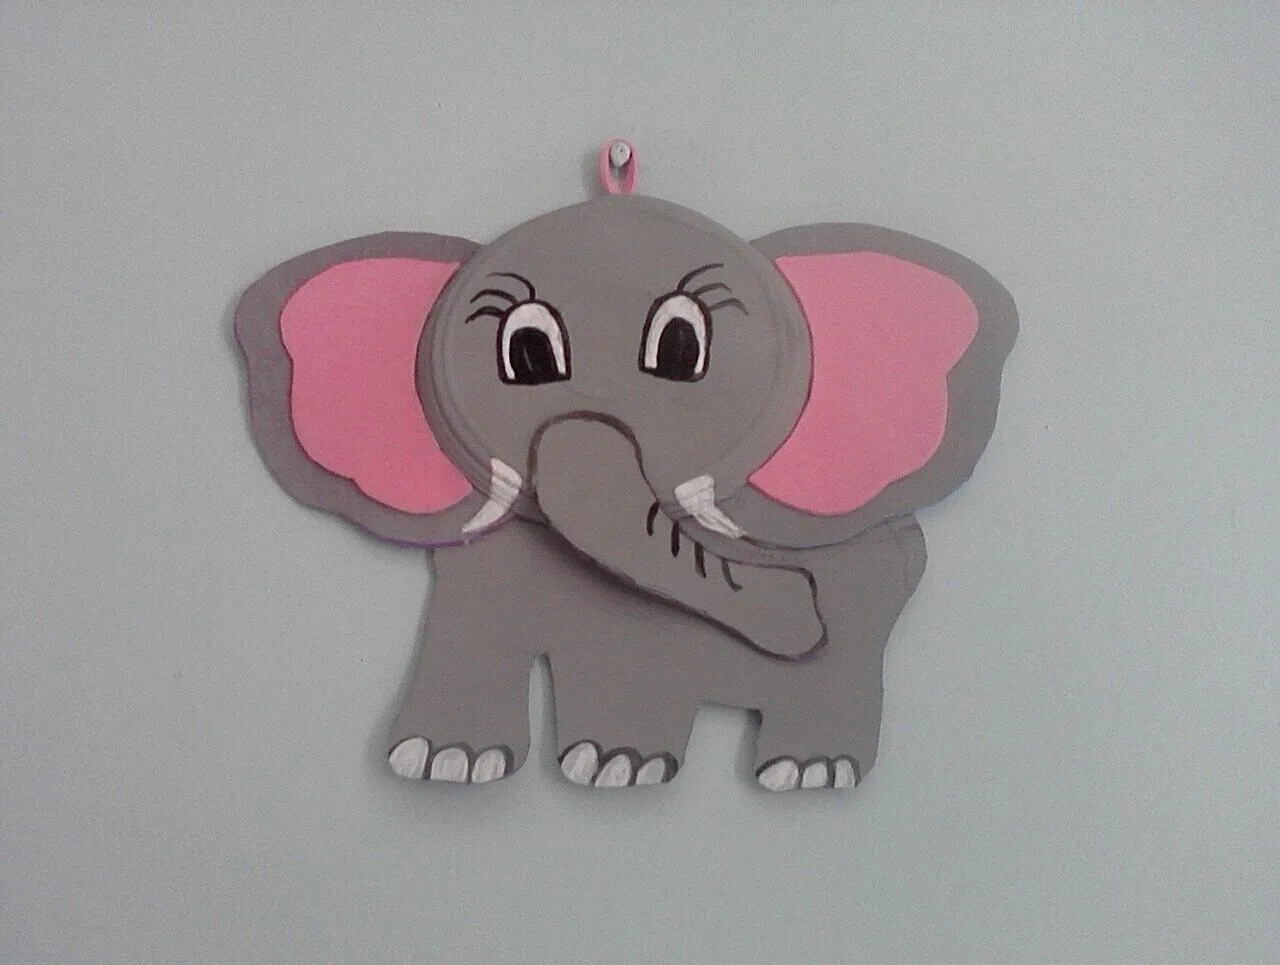
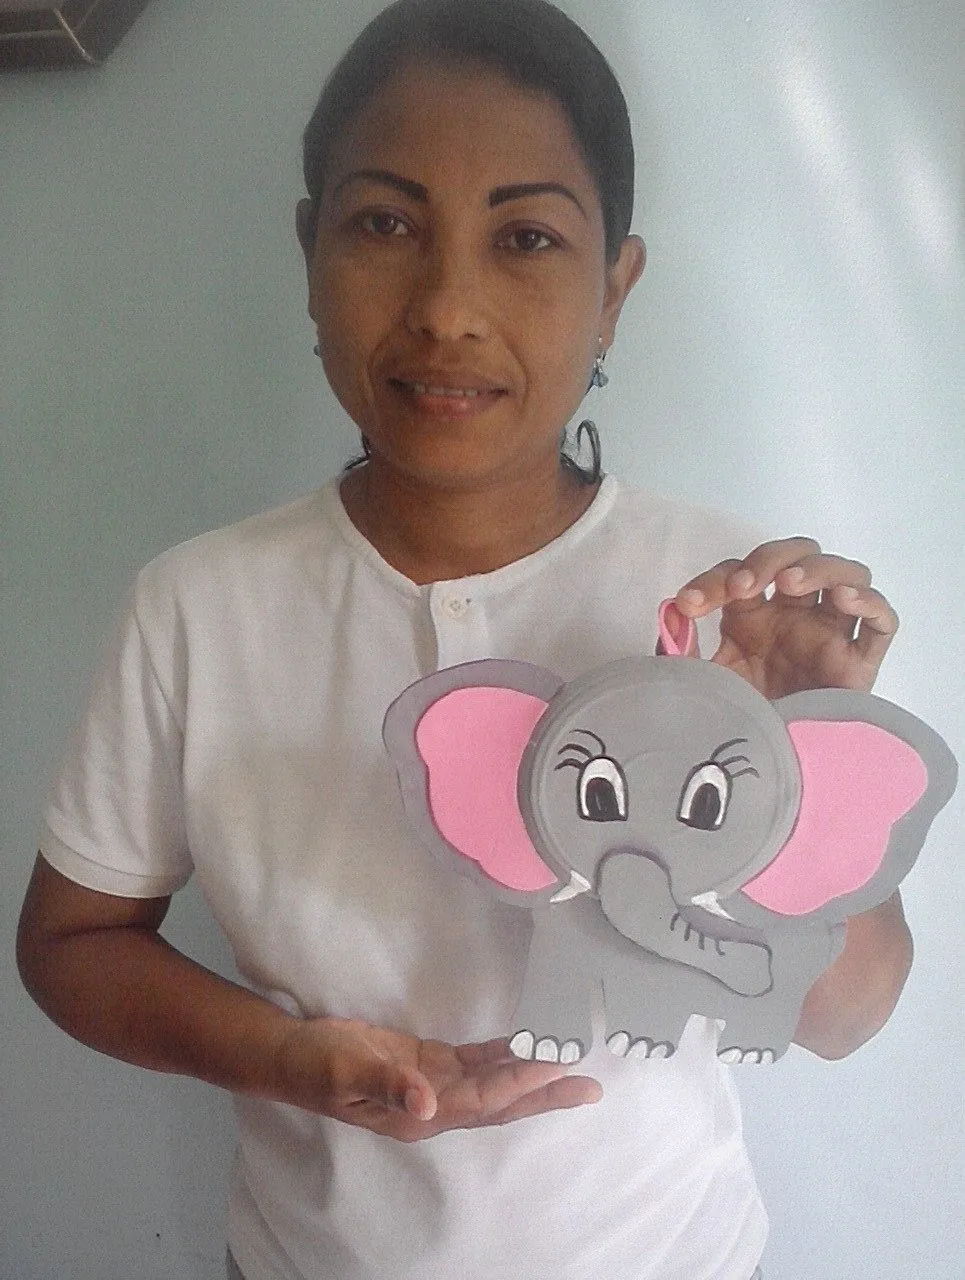
Es muy sencillo de elaborar y con poco material, espero les haya gustado el resultado final.
It is very simple to make and with little material, I hope you liked the final result.
Todas las fotos son de mi autoria y editadas con Canva.
All photos are my own and edited with Canva.