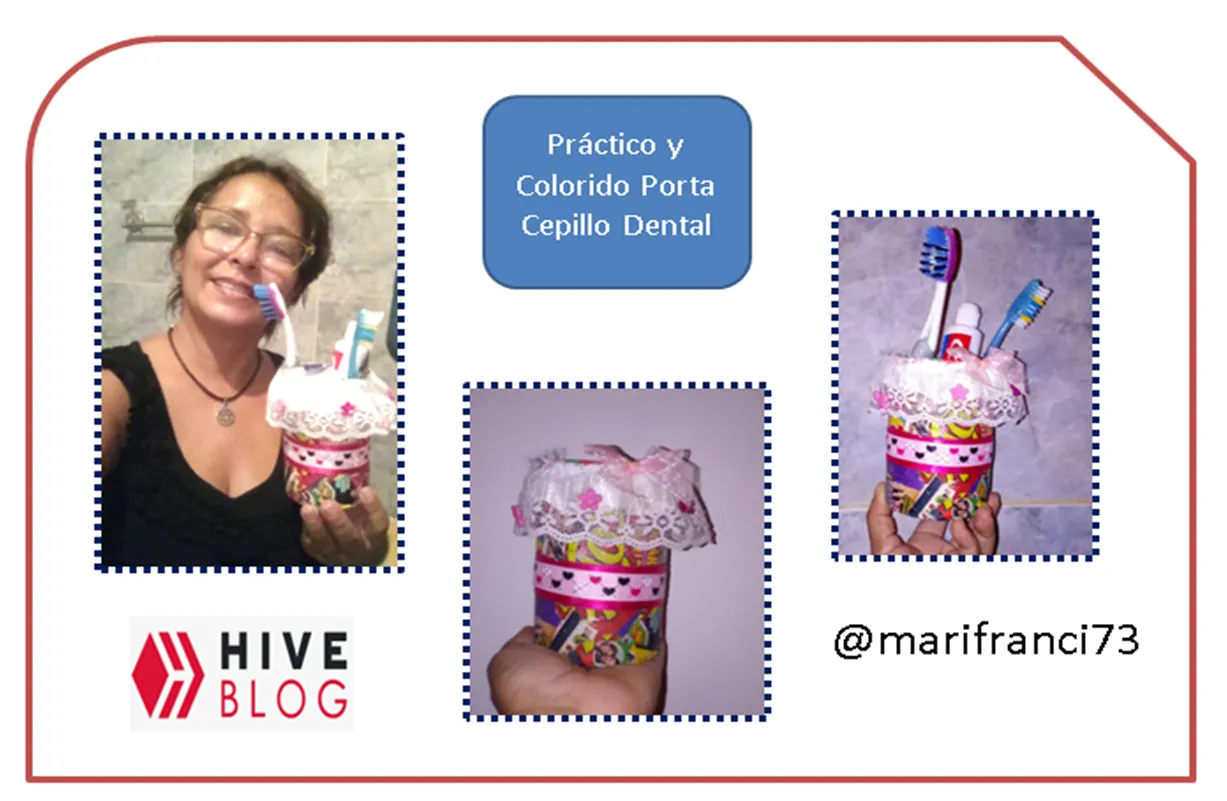
Amigos de la hermosa comunidad de HIVER, espero se encuentren bien, en esta oportunidad les traigo un paso a paso de un Practico y Colorido Porta Cepillo Dental, este divertido y colorido envase lo realice con material de reciclaje, tenia tiempos con esa latica de aluminio y no había encontrado la oportunidad para proyectar algo con ella y se me ocurrió hacer un porta cepillos, es practico y fácil de hacer y no se oxida. Para ello utilice revistas y una lata inoxidable como material principal..... Manos a la obra amigos.
Friends of the beautiful HIVER community, I hope you are well, this time I bring you a step by step of a Practical and Colorful Toothbrush Holder, this fun and colorful container is made with recycling material, I had times with that aluminum tin and I had not found the opportunity to project something with it and it occurred to me to make a brush holder, it is practical and easy to do and it does not rust. To do this, use magazines and a stainless steel can as the main material ..... Let's get to work, friends..
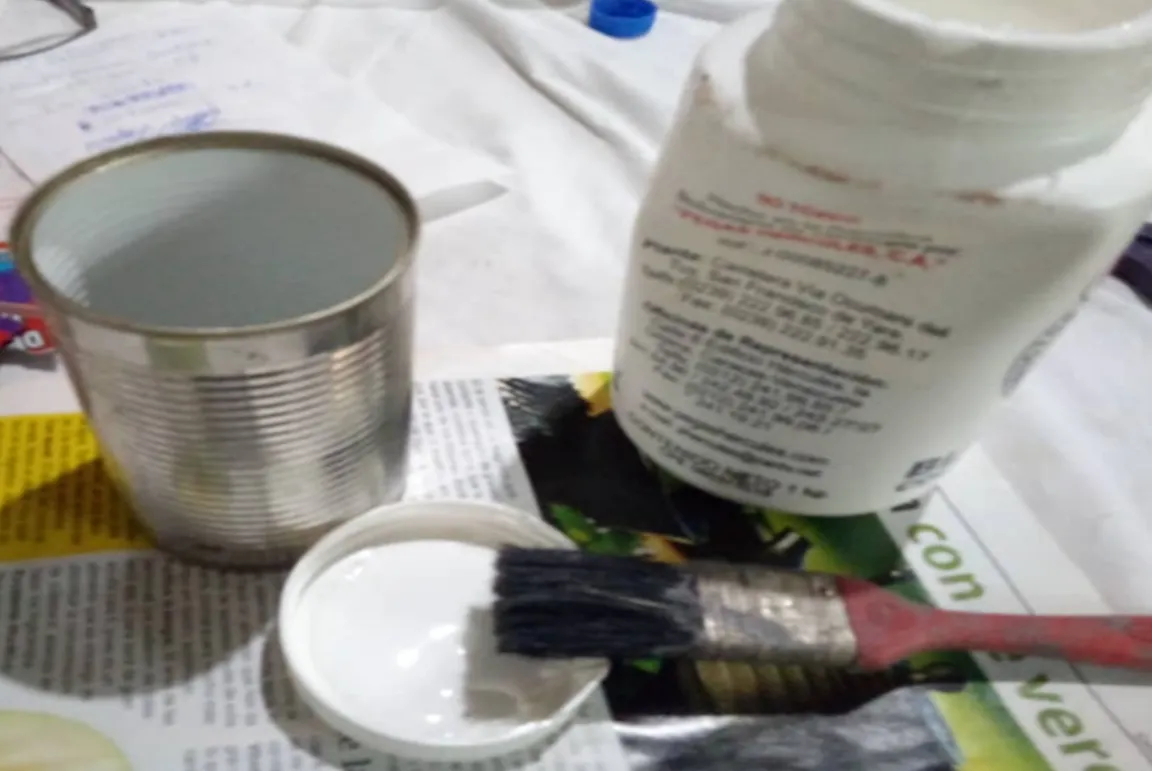
Los materiales que utilice fueron los siguientes:
Lata inoxidable
Revista
Pega
Cintas
Encajes
Tijera
Flores plasticas
The materials I used were the following:
Stainless can
Magazine
Job
Ribbons
Lace
Scissor
Plastic flowers

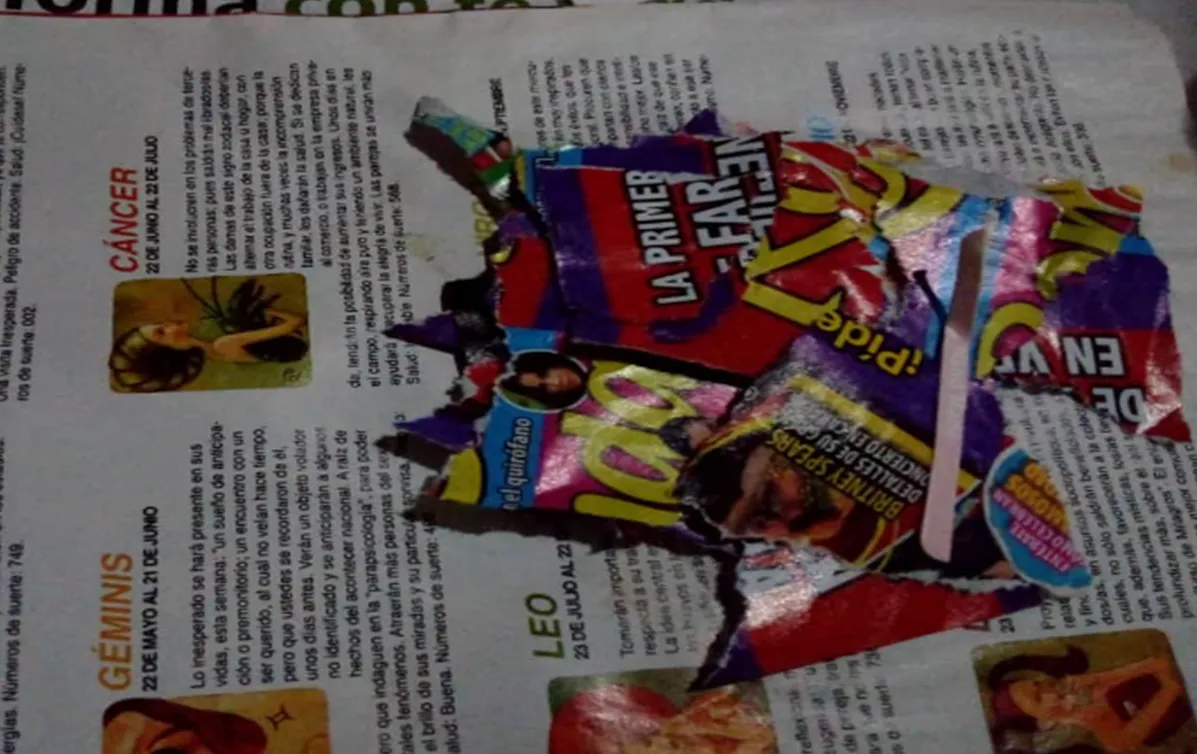
Pasos:
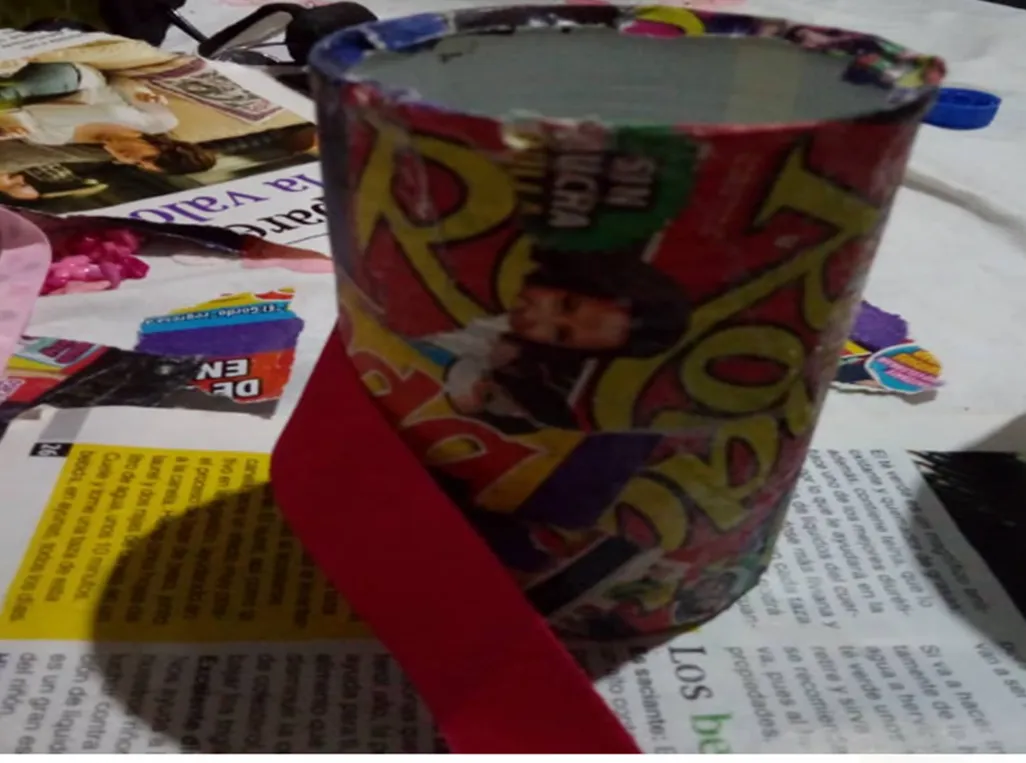
Tomamos una hoja de revista, la rasgamos en varios pedazos, luego con una brocha y pega le pasamos a la lata para pegar los trozos de papel.
Steps:
We take a magazine sheet, tear it into several pieces, then with a brush and paste we pass it to the can to glue the pieces of paper..
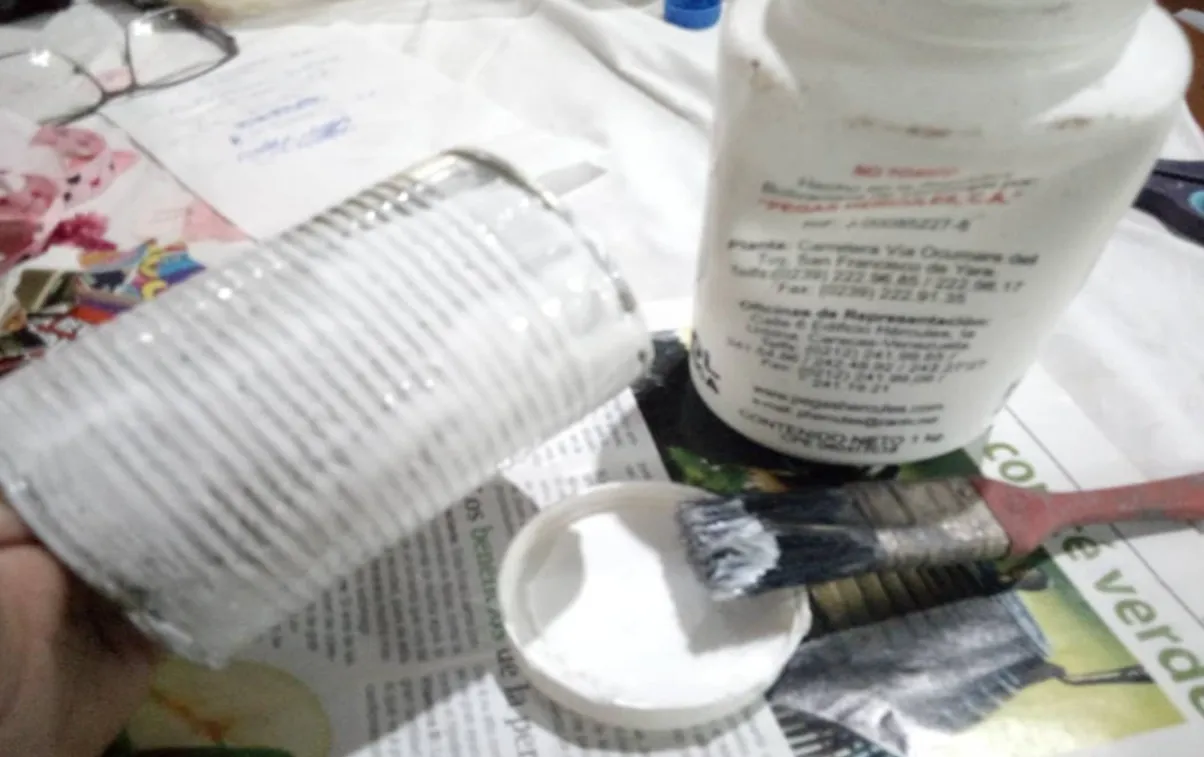
Una vez que hemos pegado los trozos de revista le pasamos con la brocha un poco de pega para que si se moja no se dañen los trozos de revistas y esperamos que se seque un poco.
Once we have glued the magazine pieces we brush a little glue so that if it gets wet the magazine pieces are not damaged and we hope it dries a bit.

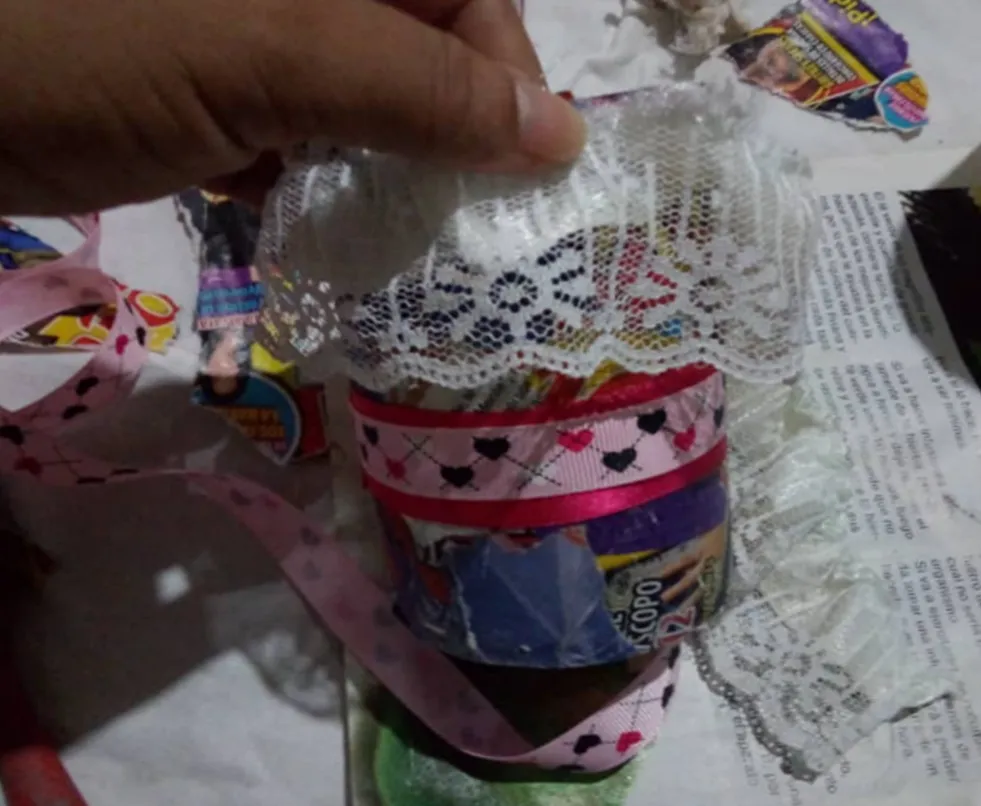
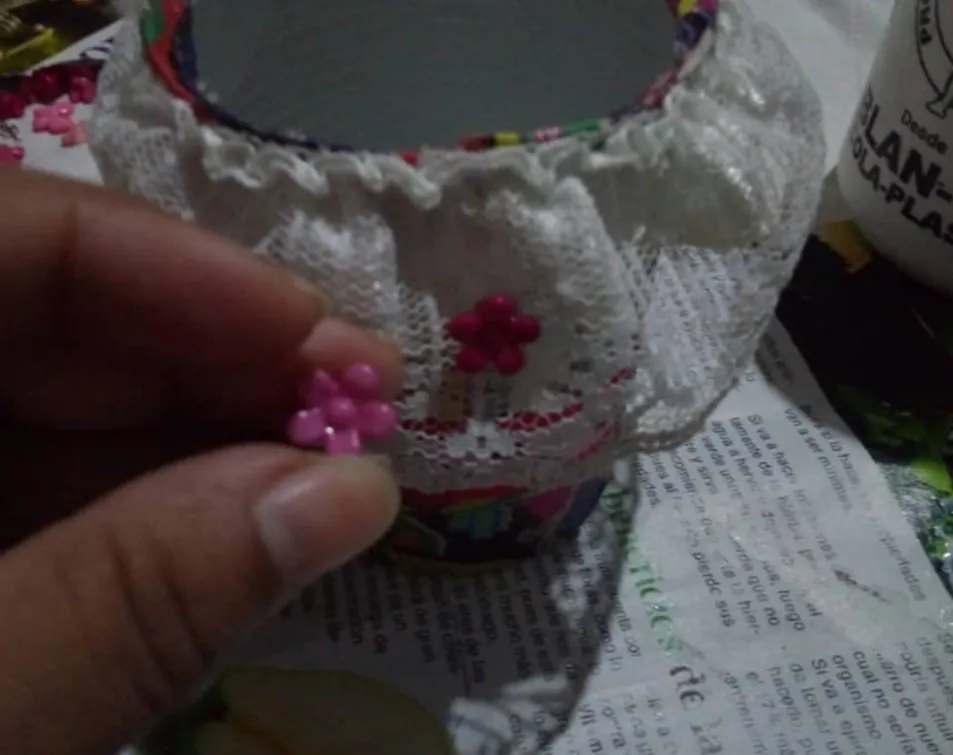
Una vez secado el envase, comenzamos a colocarle las cintas, los encajes y algunas flores de plástico.
Once the container is dry, we begin to place the ribbons, lace and some plastic flowers.
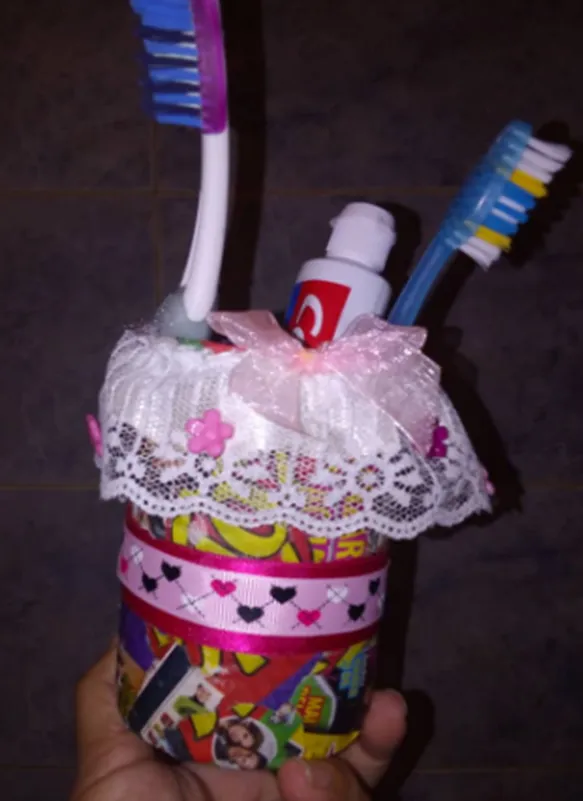
Terminado mi proyecto del día de hoy, espero les haya gustado. ! hasta la próxima!
Finished my project today, I hope you liked it. ! until next time!
Las fotografías fueron tomadas con un teléfono inteligente HUAWE Y5, el texto traducido al inglés con el traductor de Google.
The photographs were taken with a HUAWE Y5 smartphone, the text was translated into English with the Google translator.