Español
Hola Amigos en Hive, gusto en saludarles nuevamente.
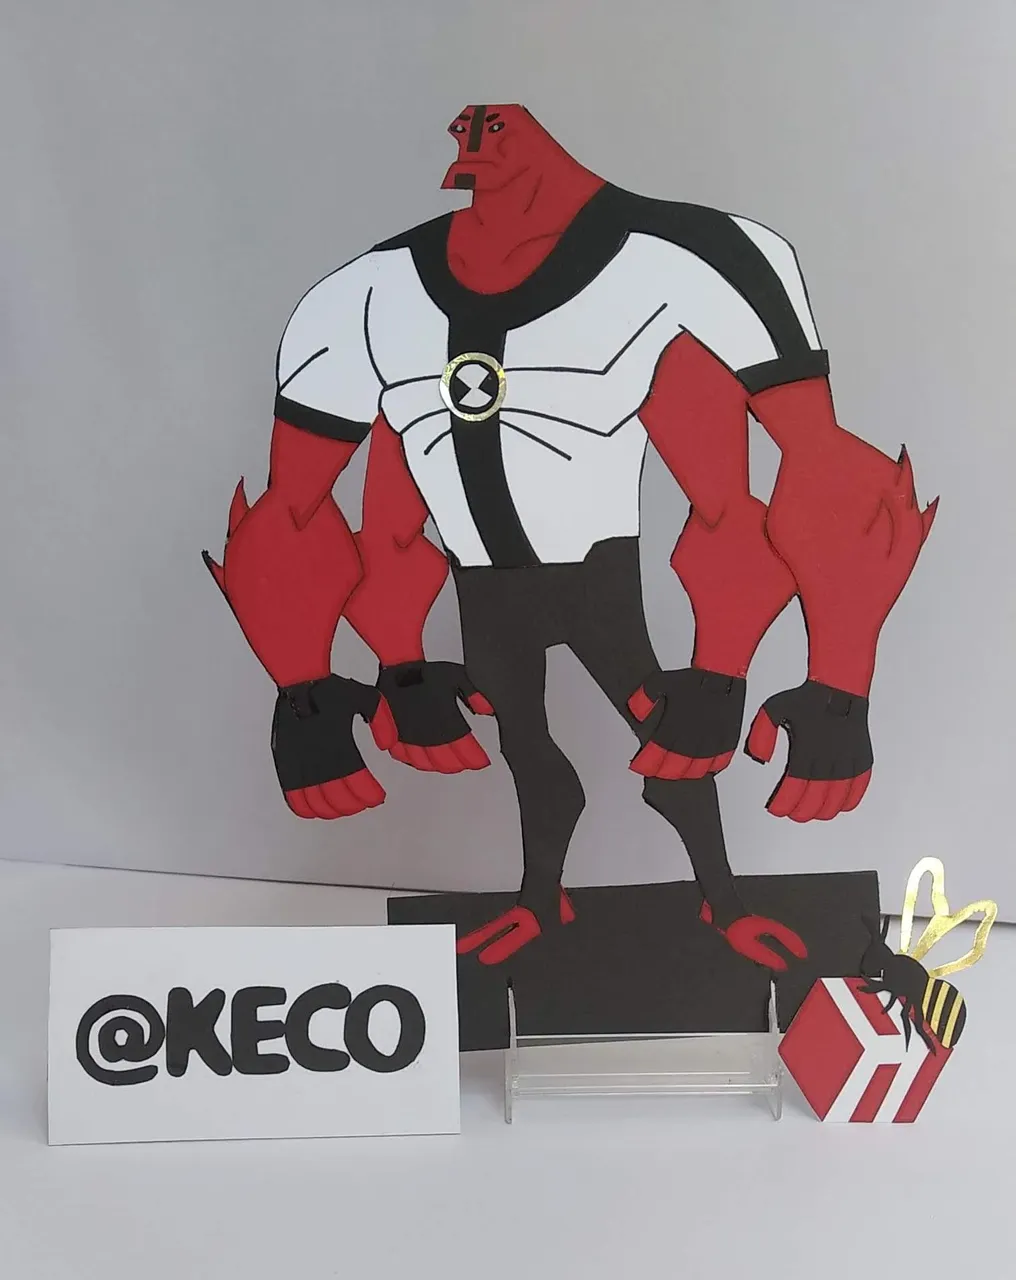
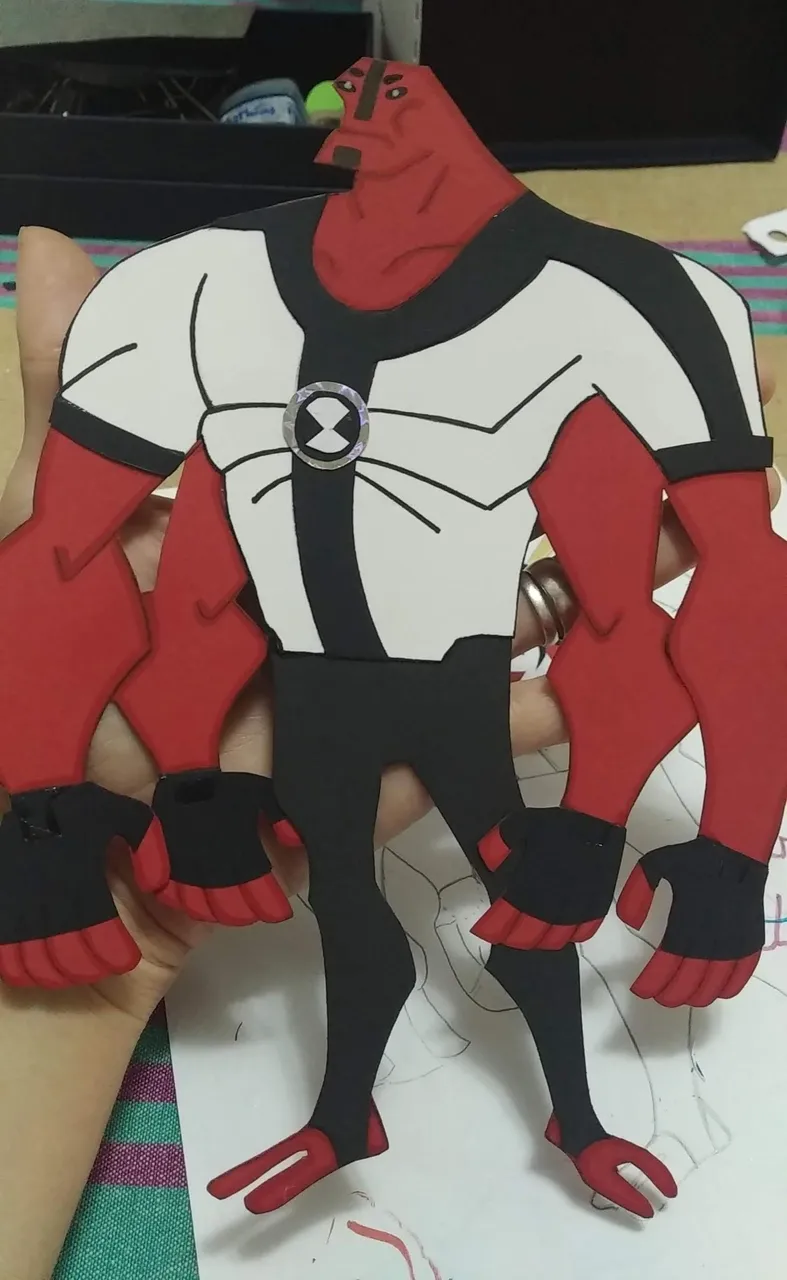
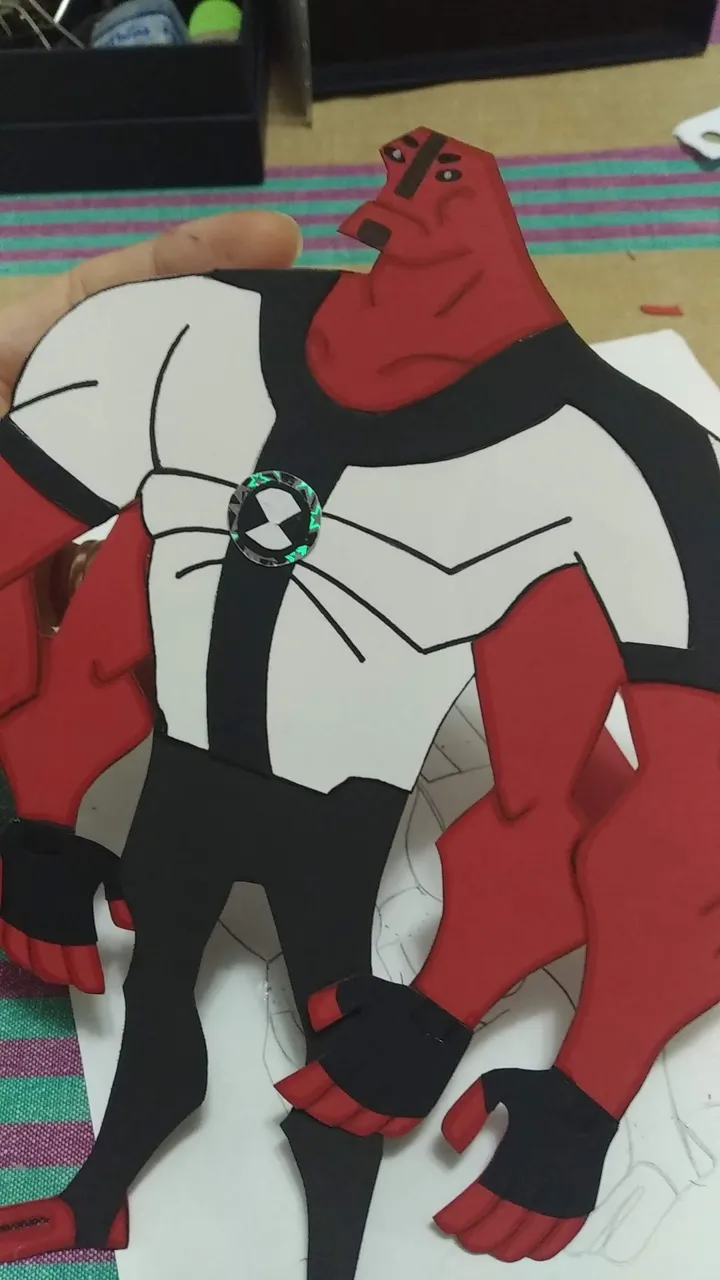
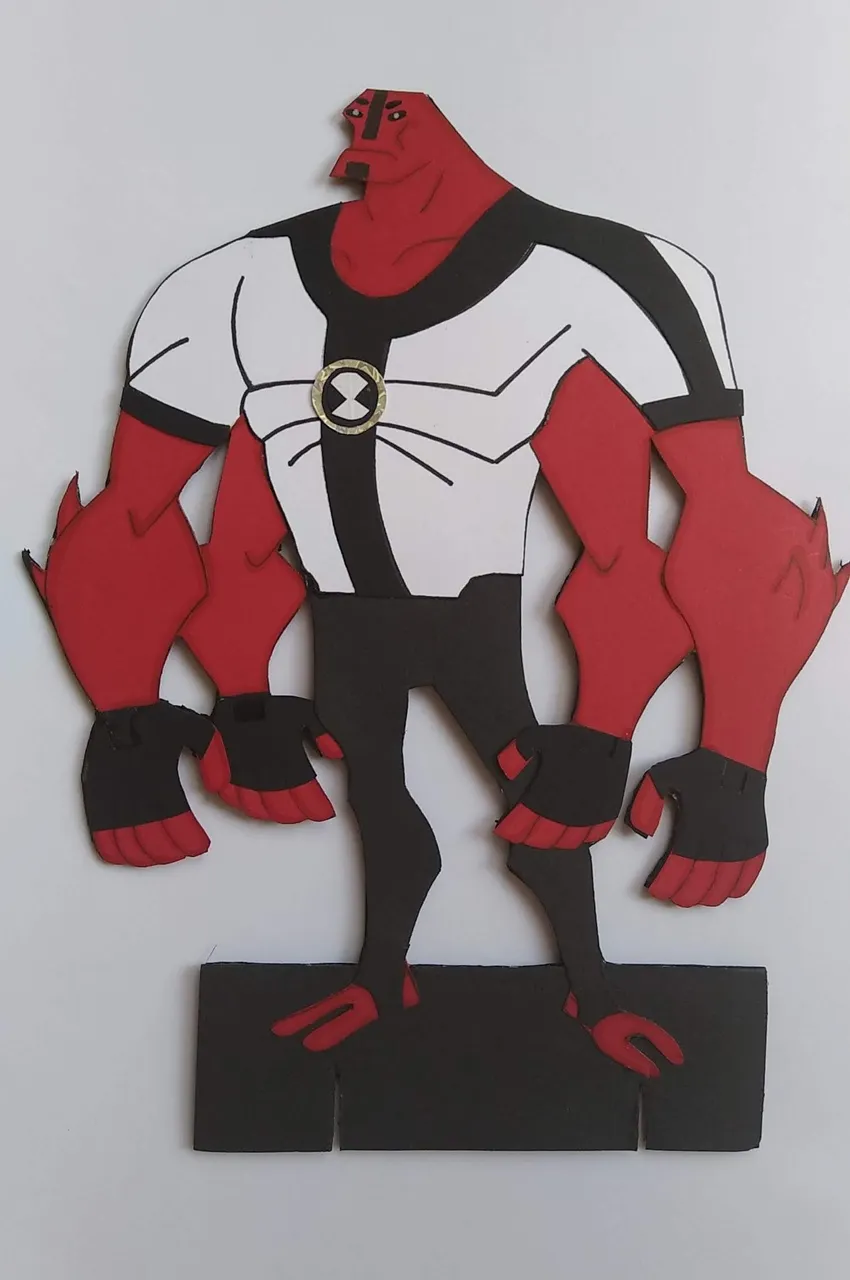
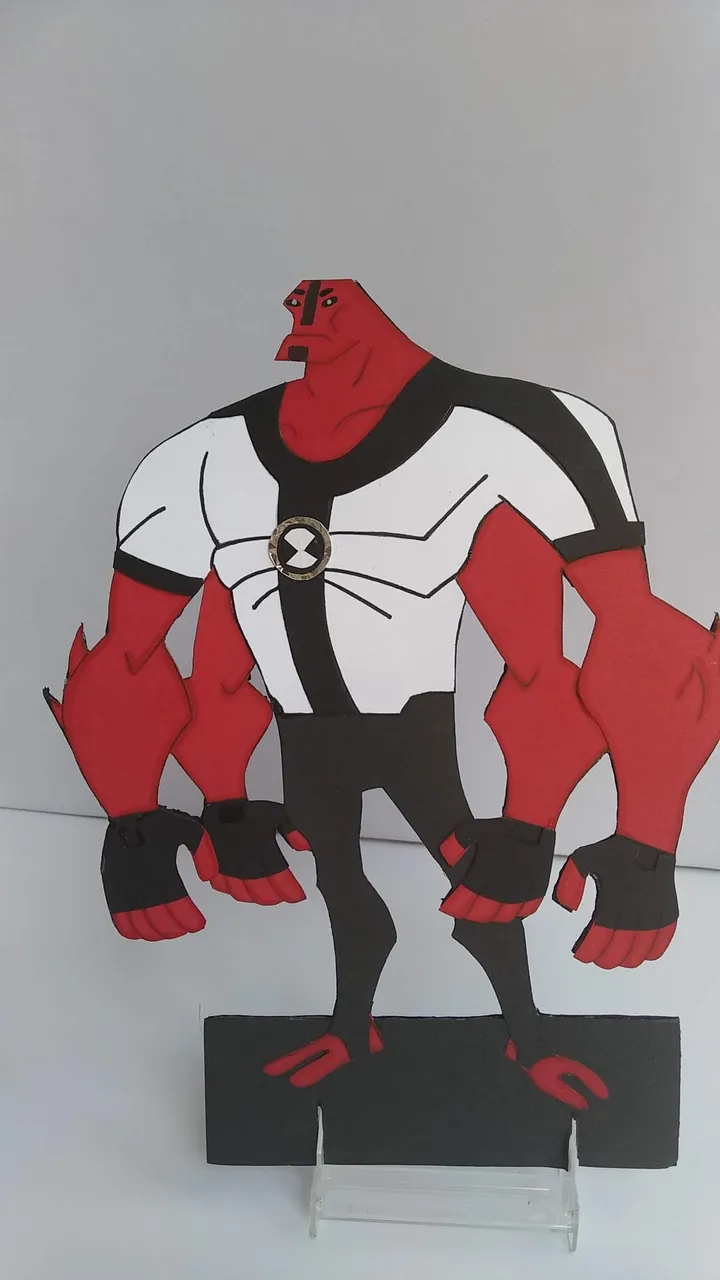
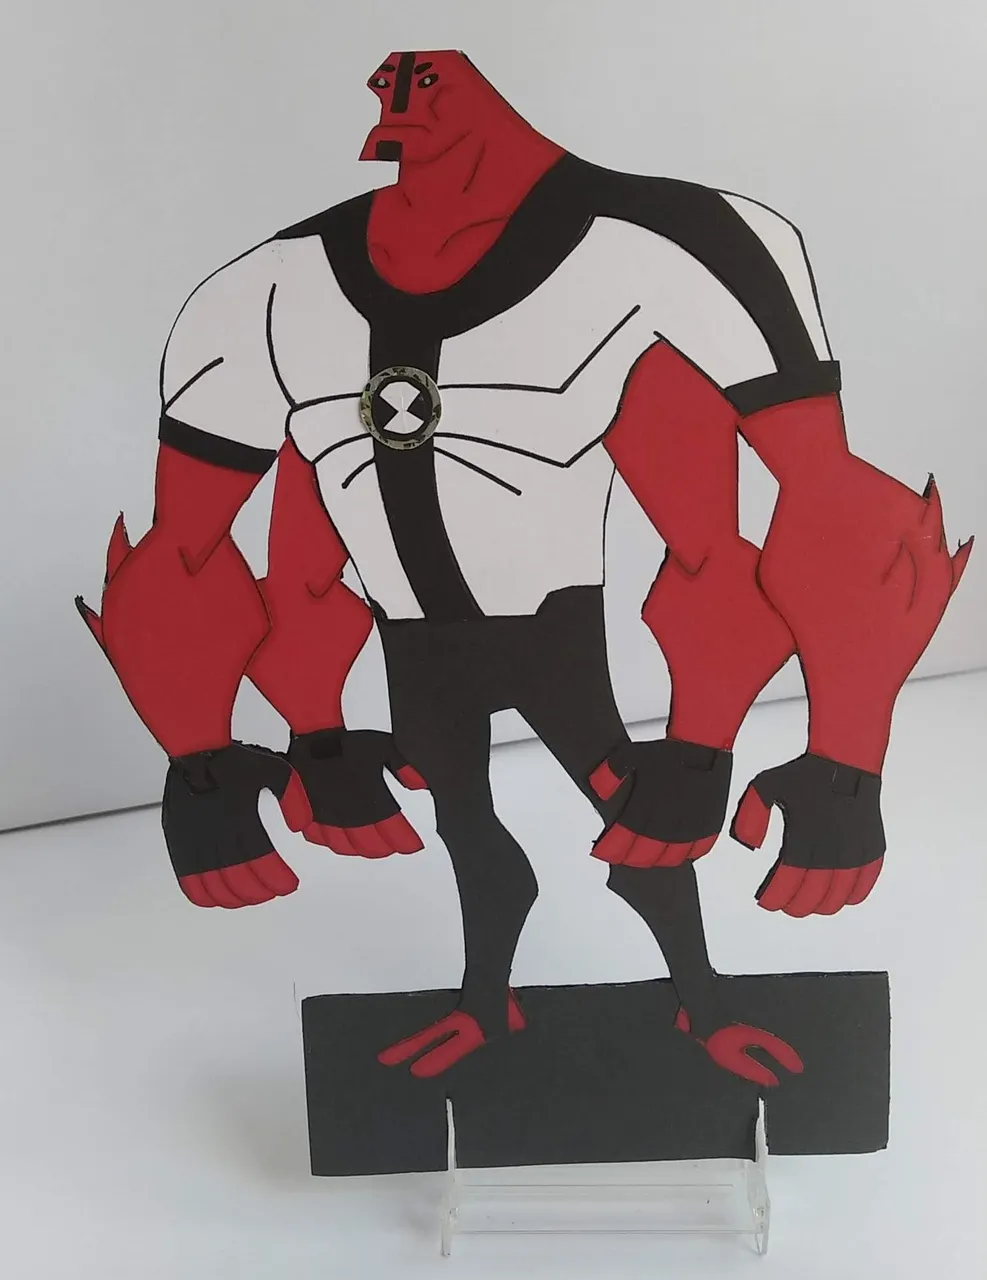
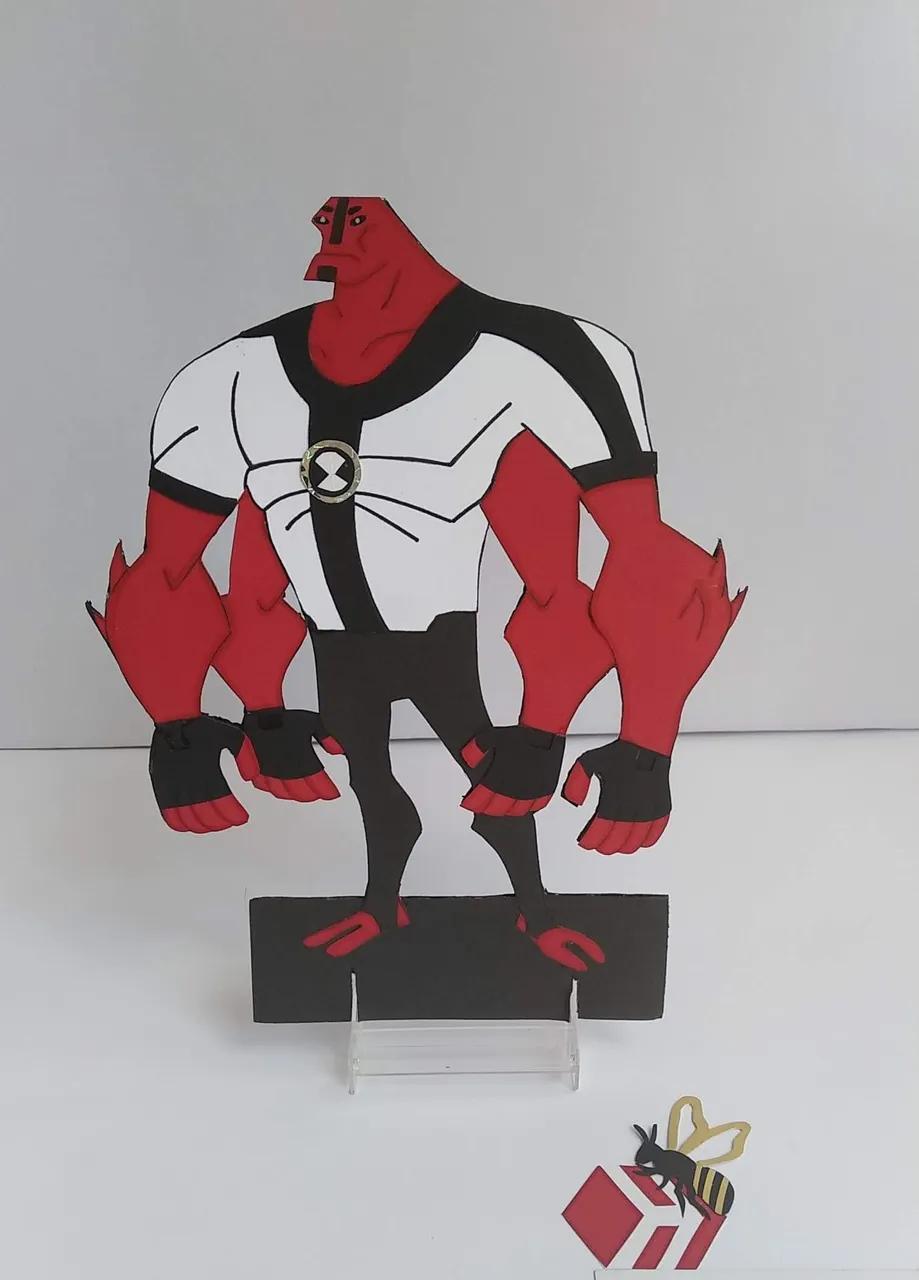
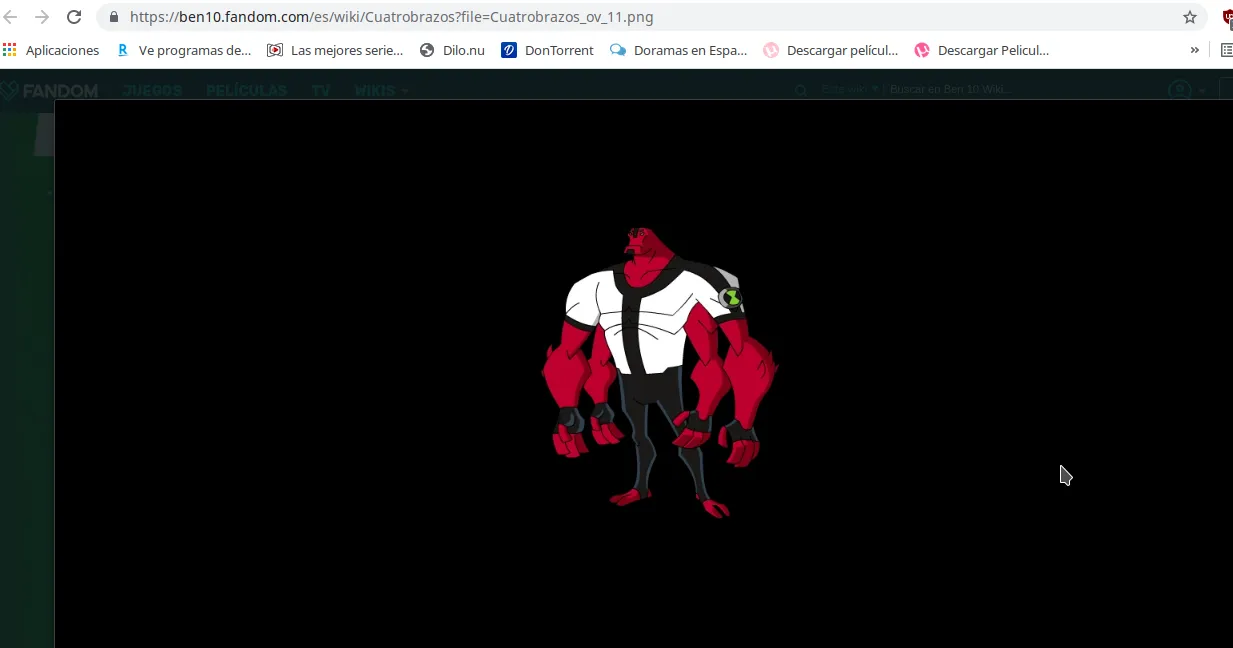
Hoy les mostraré el ultimo elemento creado para el cumpleaños de mi amiguito Noel, el personaje de “4 Brazos” del dibujo animado de BEN-10. Esta decoración forma parte de las dos publicaciones anteriores y es un personaje que no podía faltar en la decoración ya que es un personaje súper importante en la trama, así que decidí crear su villano favorito y hacerle feliz al tenerlo en su mesa (risas).
Este personaje no fue tan grande como el personaje principal, mide exactamente 22 centímetros de alto, sin embargo, fue la medida perfecta para resaltar la decoración en mesa. Está construido con cartón (reciclado), retazo de cartulina de colores y para sostenerlo se usó un estuche de cassette reciclado, un poco de pintura al frio y mucho amor
Es una decoración extremadamente sencilla, que aporta alegría y color a la decoración y lo mejor, lo mejor de todo, es que se realiza con materiales súper económicos. Sin más y esperando disfruten del trabajo realizado , les dejo los materiales utilizados, el proceso y las imágenes del trabajo.
- Diseño o plantilla de “4 Brazos”.
- Cartón Grueso (reciclado)
- Cartulinas de colores (retazo) de acuerdo al diseño del personaje, para este personaje se usó: negro, rojo y blanco
- Marcadores de colores.
- Pintura al Frio de color negro.
- Corrector liquido en lápiz (para hacer los ojos blancos)
- Silicón frío
- Cutter
- Tijera
- Regla
- Estuche de cassette (reciclado)
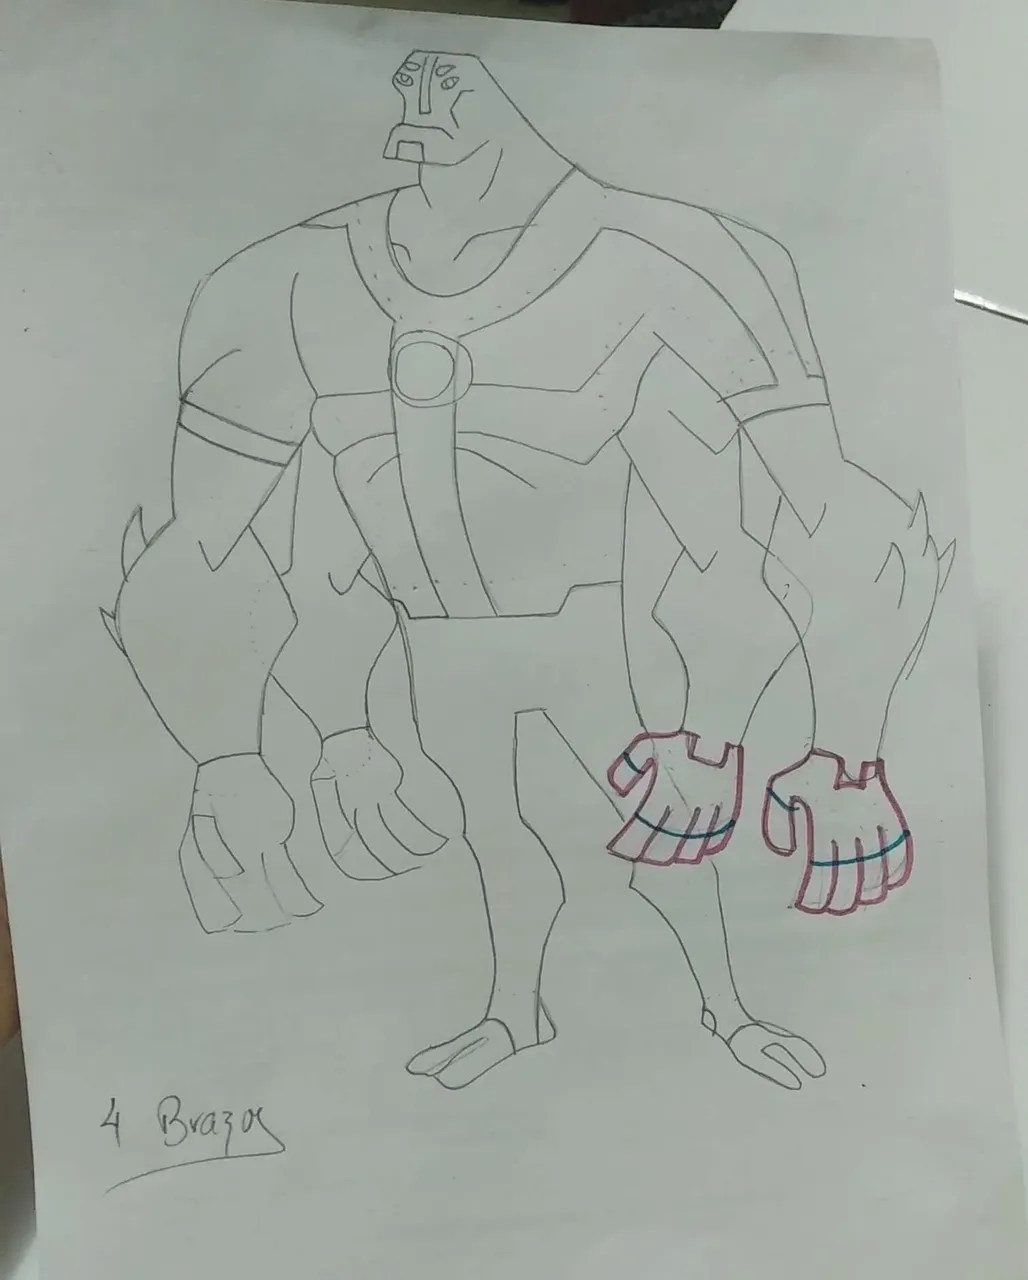
- Sacar la plantilla del personaje de acuerdo al tamaño deseado. Éste trabajo mide de alto 22 cm.
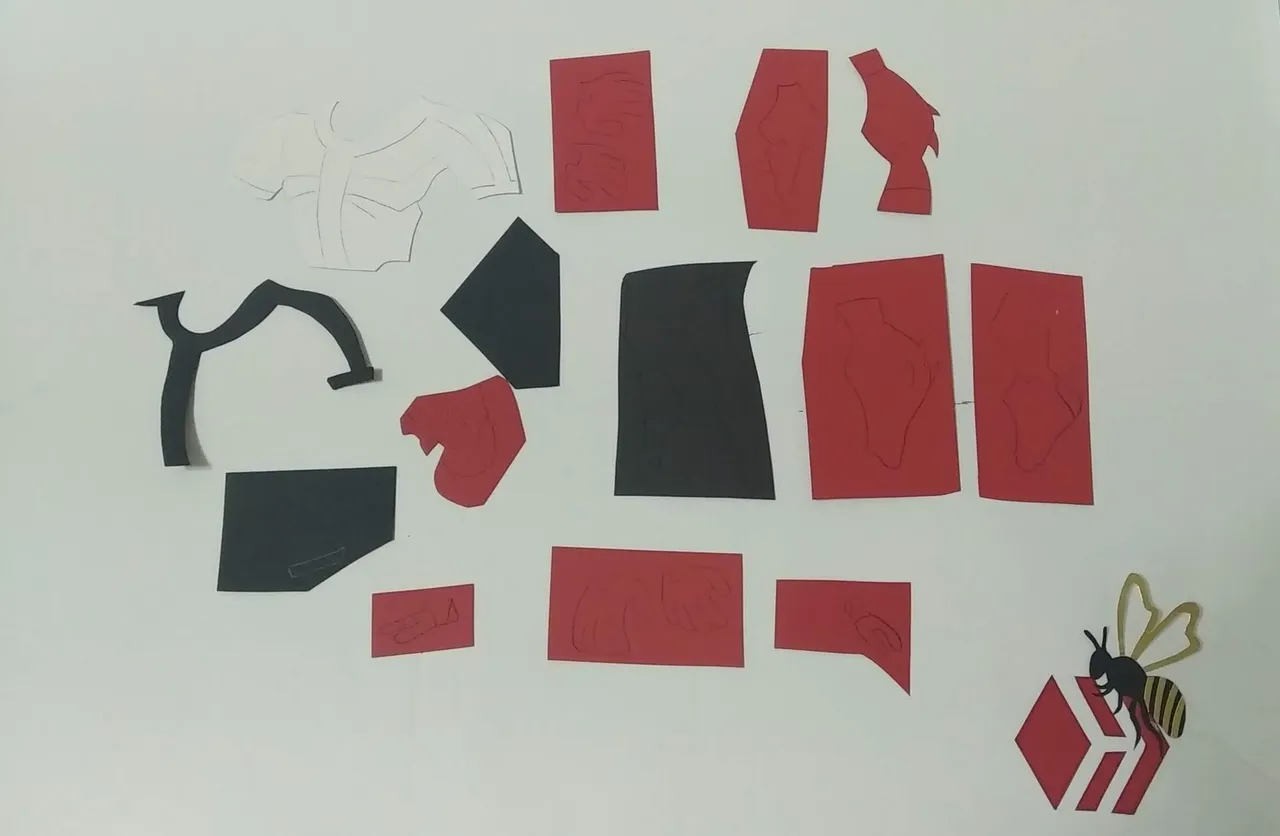
- Haciendo uso de la plantilla creada, marcar en las cartulinas de colores las partes que correspondan según el diseño y recortar cada parte.
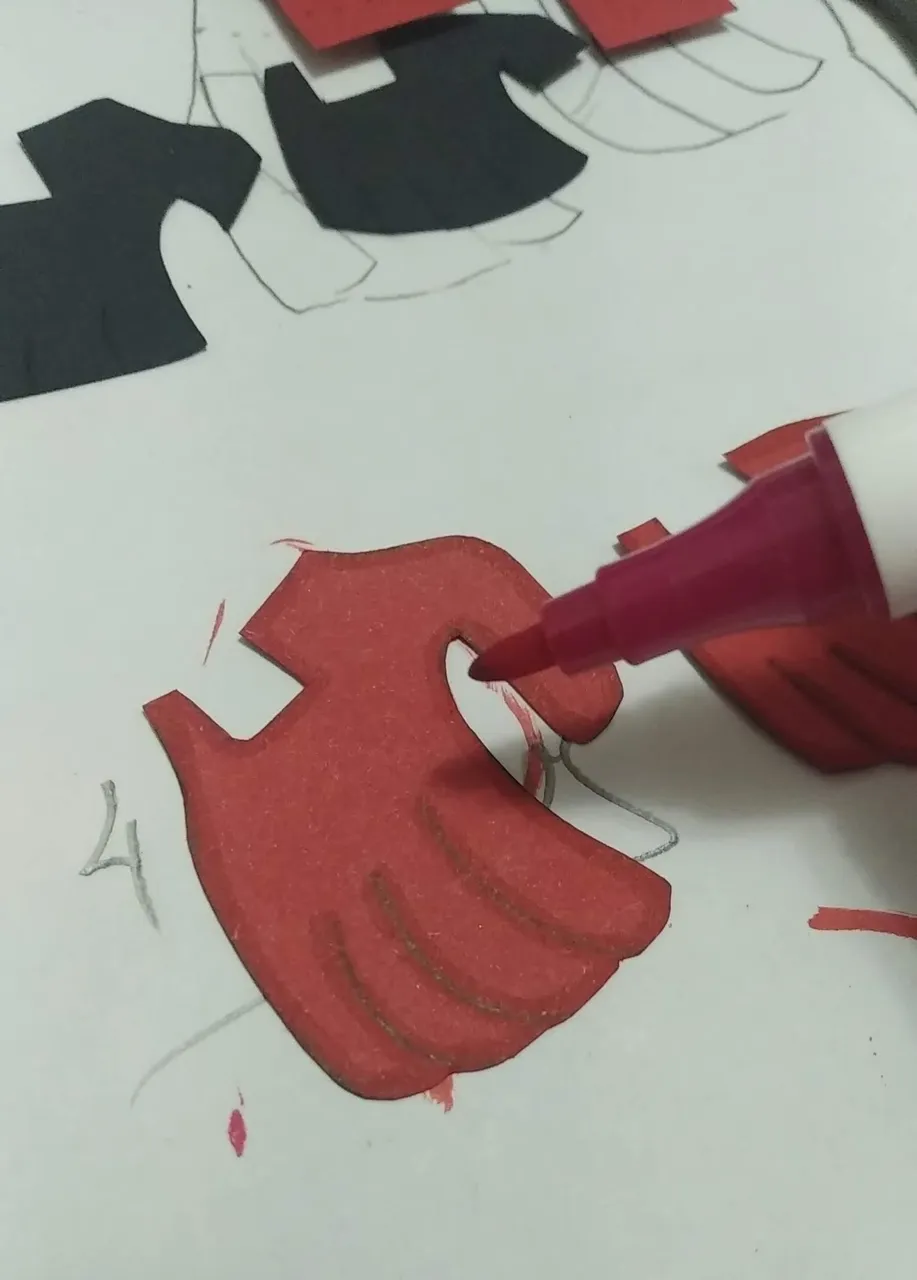
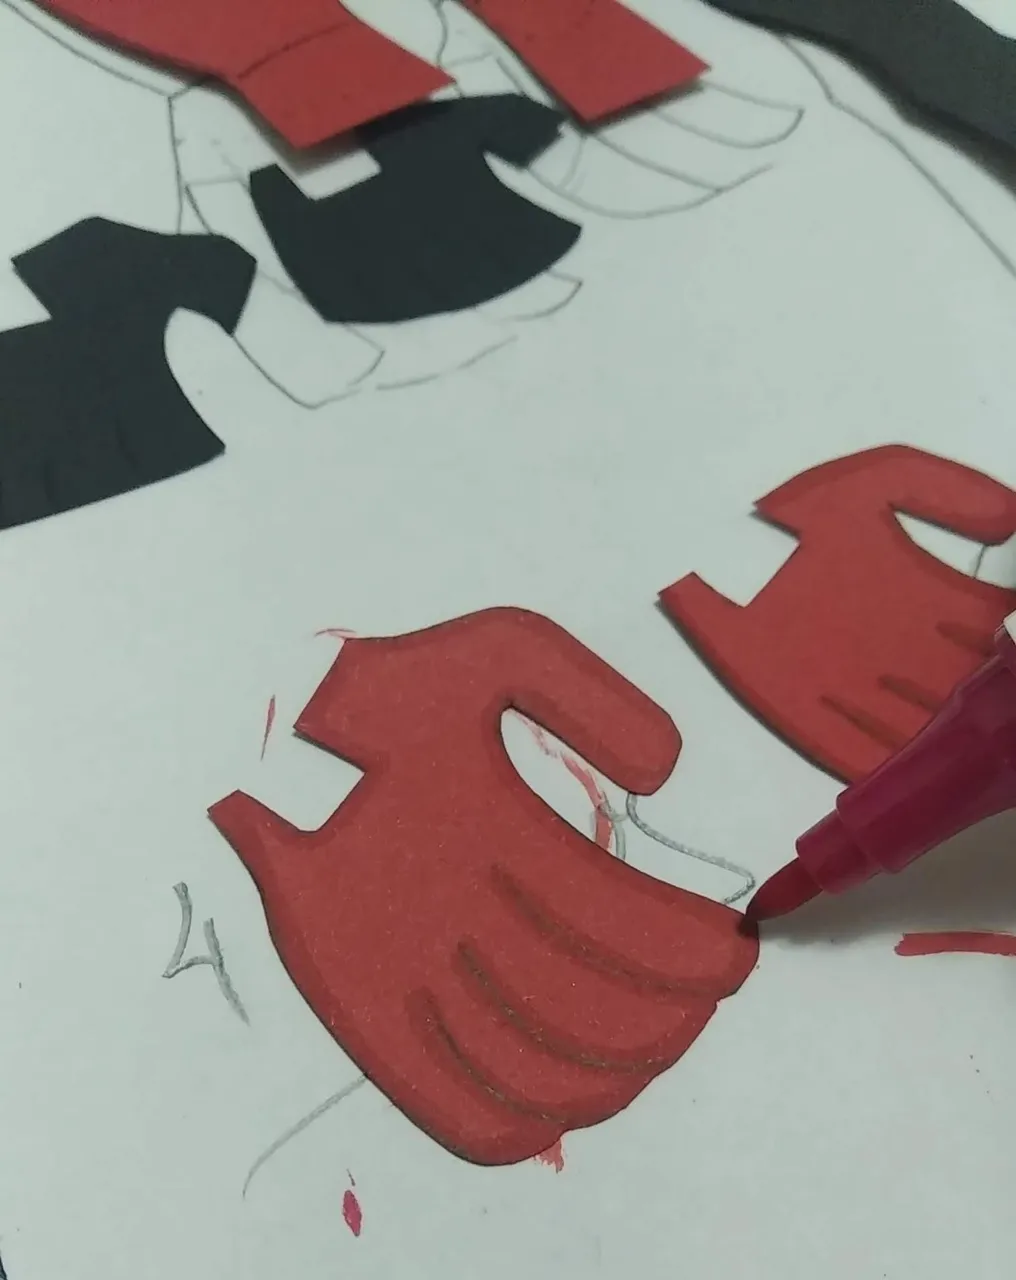
- Cada parte , resaltarla con marcador de color. Puede ser en contraste con el mismo color de la cartulina o en contraste con otro color.
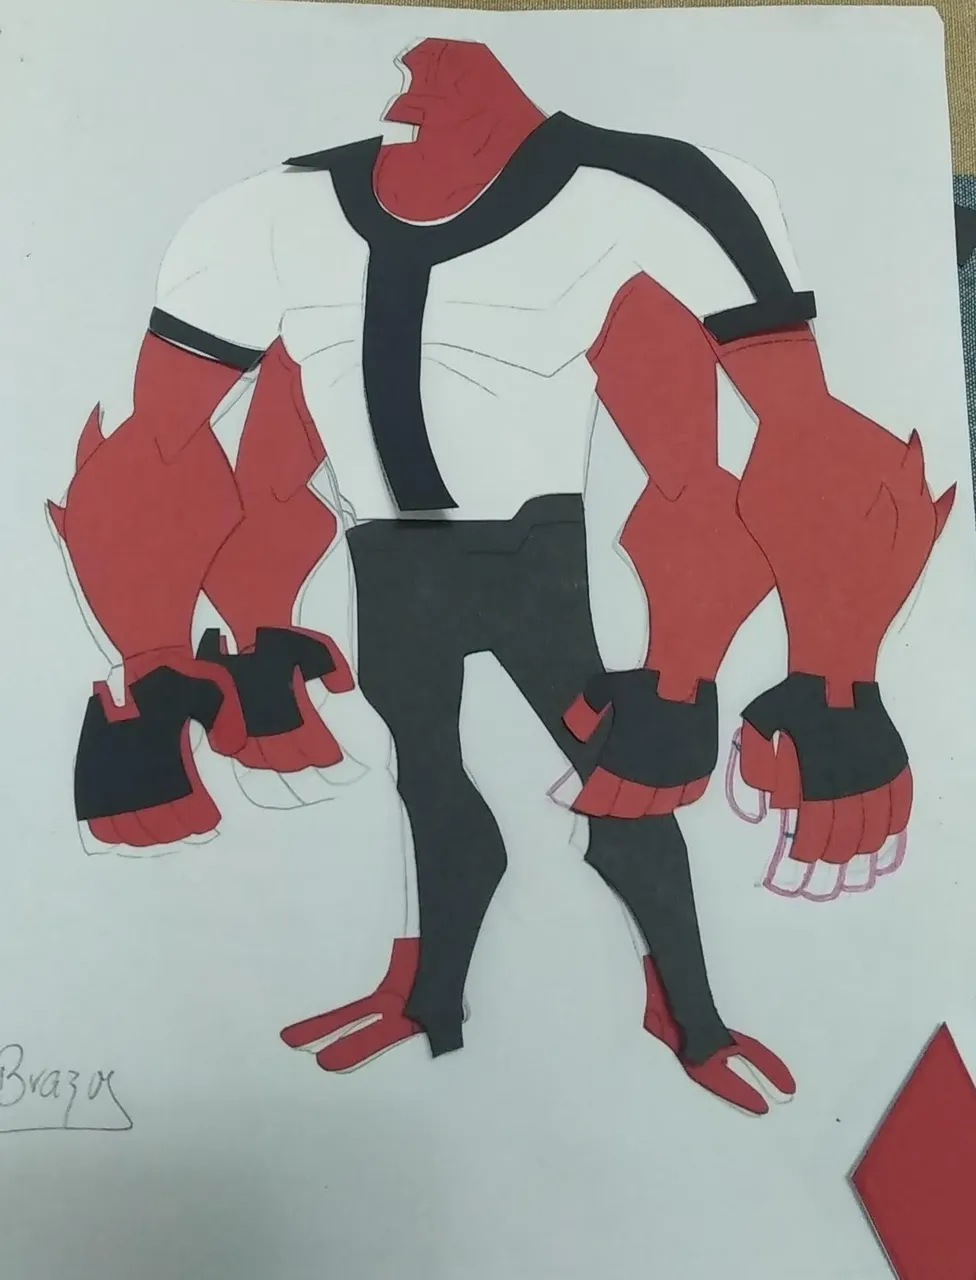
- Al tener todas las partes listas, guiarse con la plantilla, ensamblar y pegar las partes para crear la figura. Usar silicón frio cuidando de no aplicar demasiado.
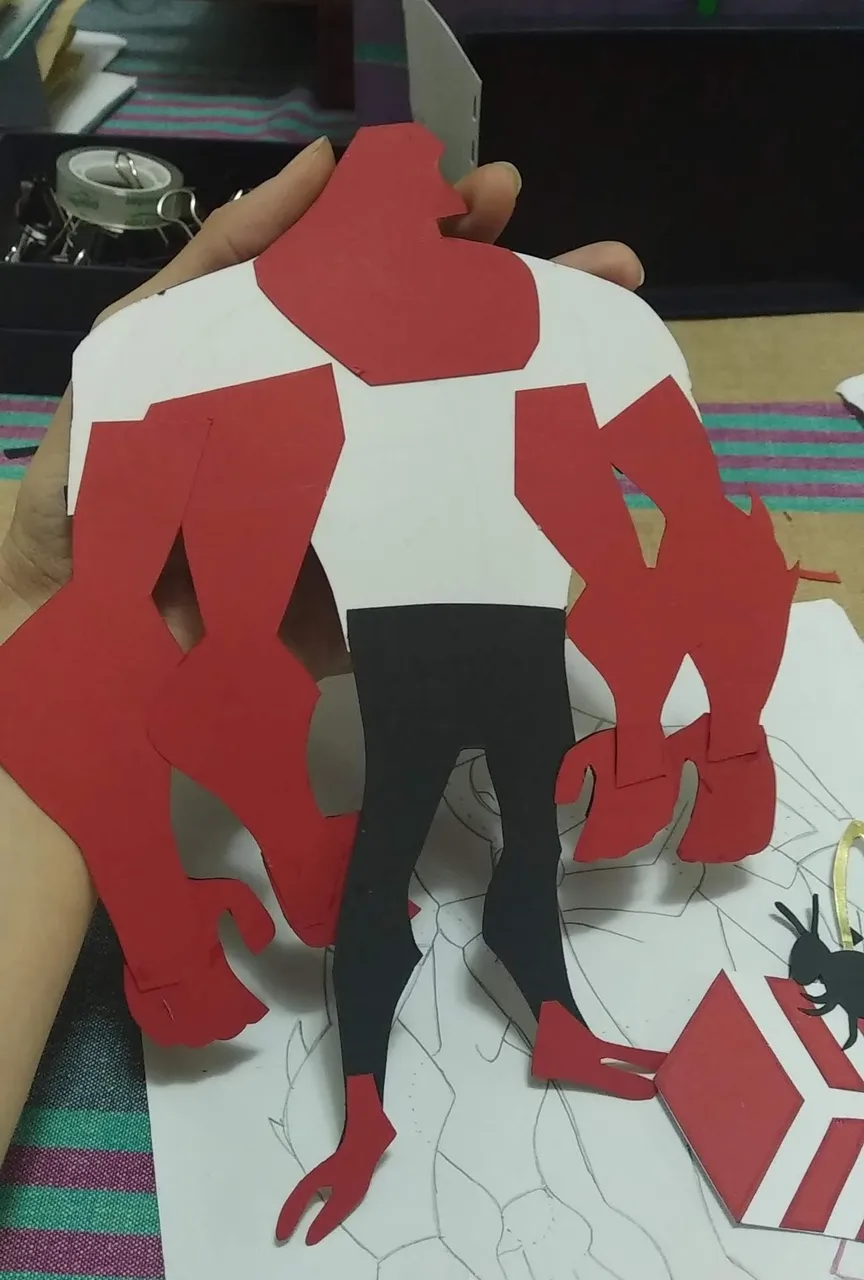
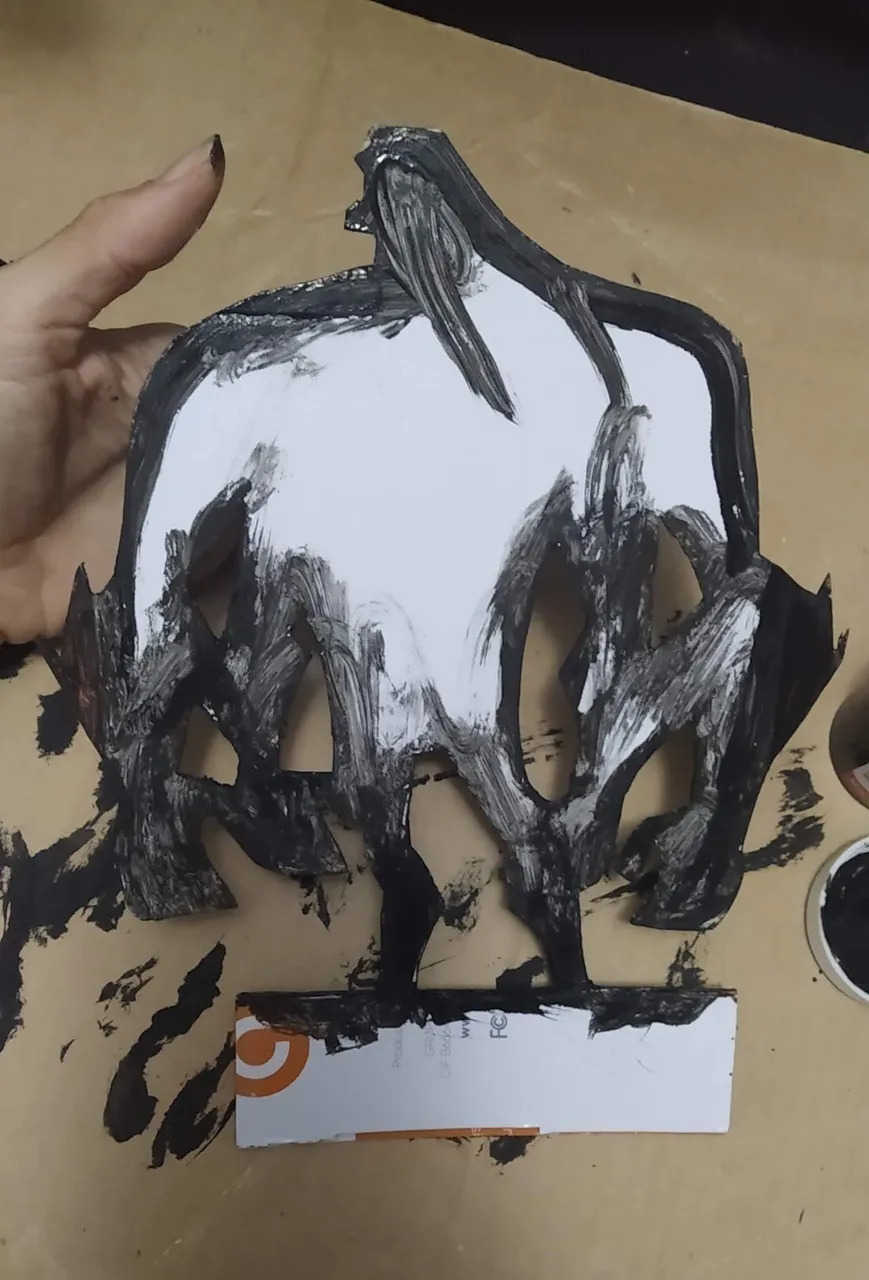
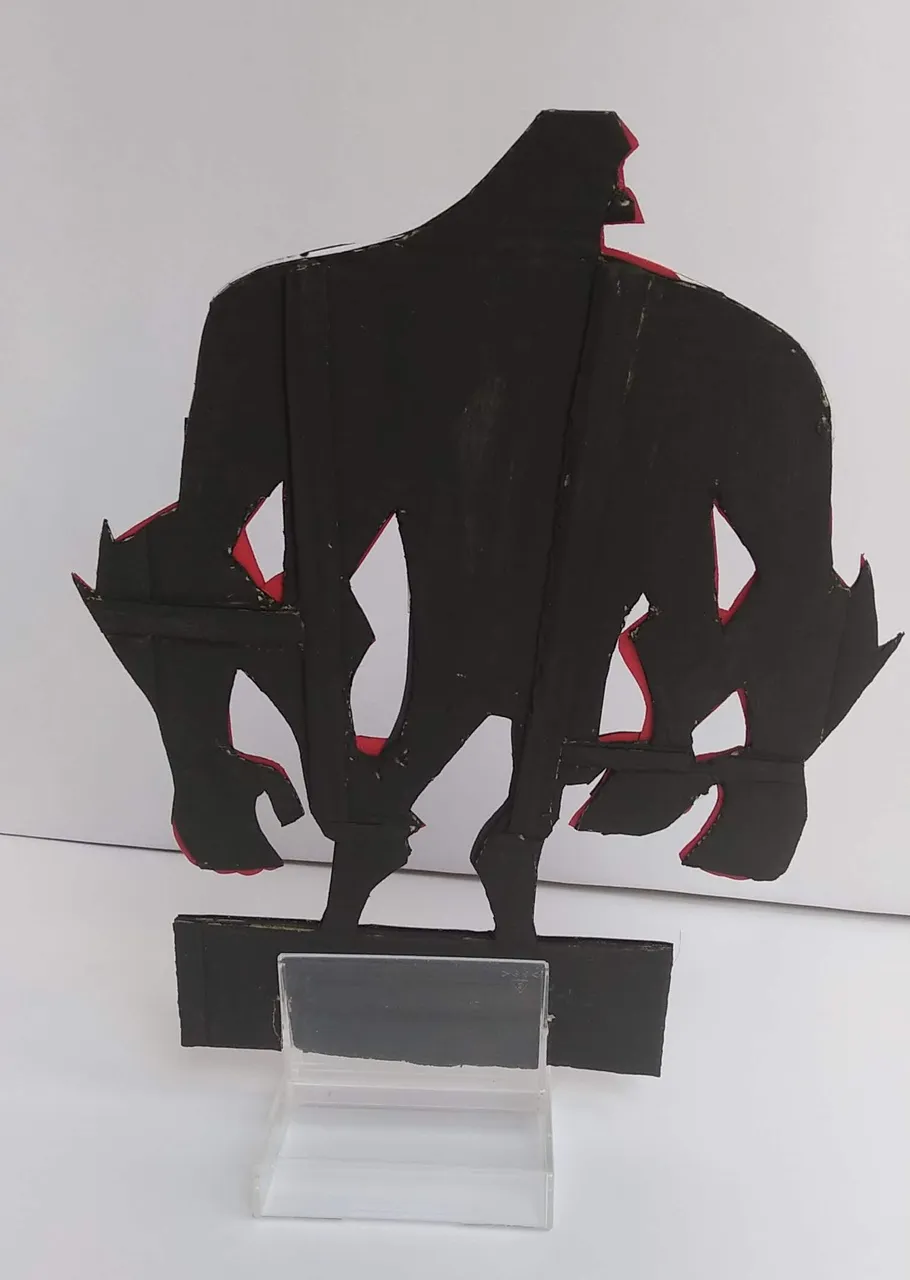
- Con el personaje listo (ensamblado), marcar sobre el cartón y recortar con la ayuda de un cutter. Se deberá marcar en el cartón posterior a la creación para que ambas piezas sean iguales en tamaño.
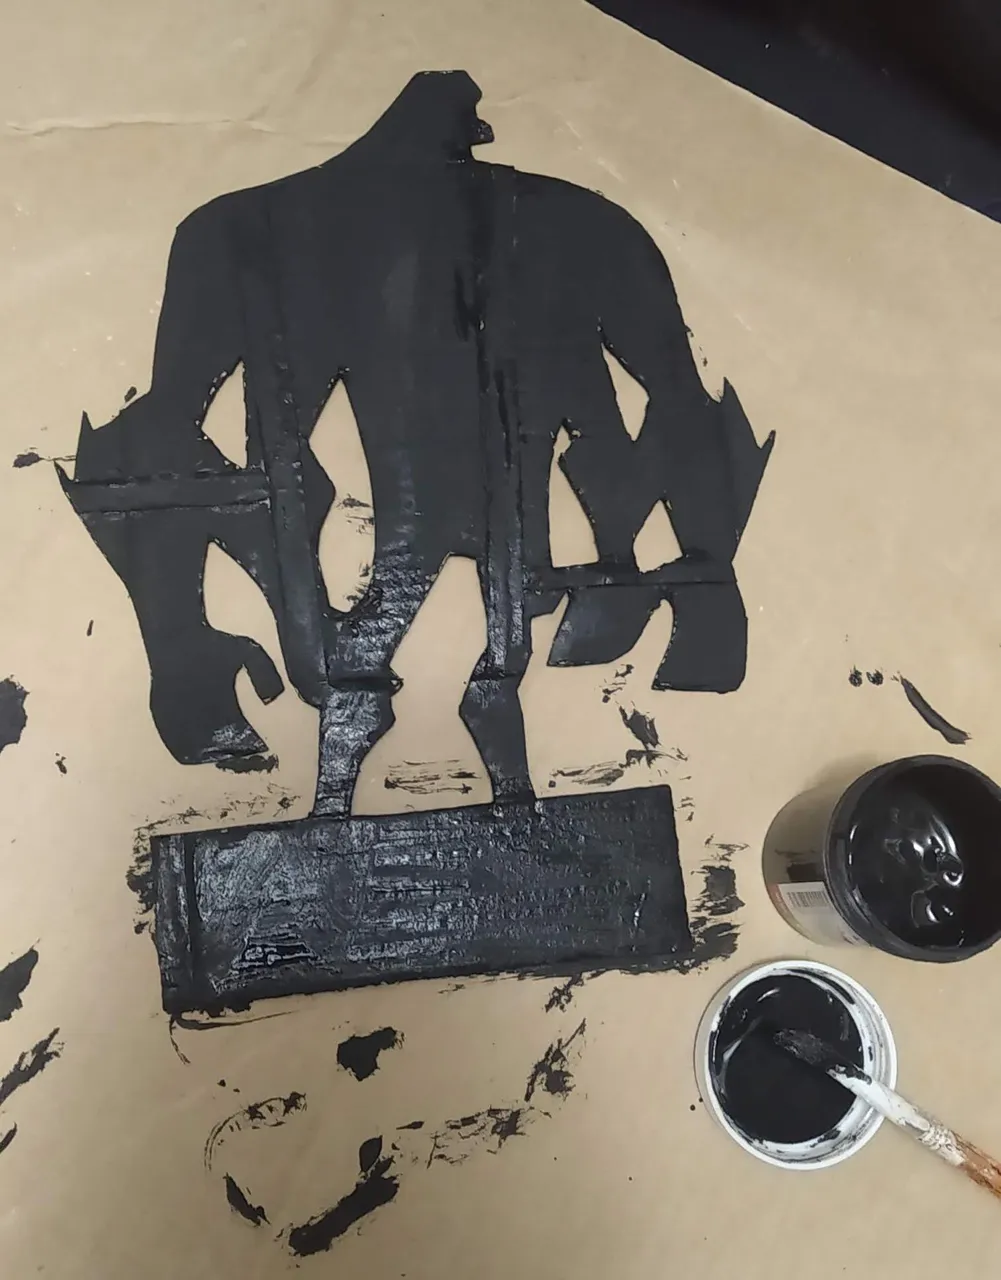
- La figura en cartón, pintarla de negro. Ésta parte es opcional, pueden dejarla al natural o pueden incluso forrarla con cartulina negra o de otro color que sea de su agrado.
- Una vez seca la pintura, pegar con silicón frio la figura de cartulina.
- ¡listo! A disfrutar de la maravilla de crear en casa de forma artesanal…
English
Hello friends at Hive, nice to greet you again.
Today I will show you the last element created for the birthday of my little friend Noel, the character "4 Brazos" from the BEN-10 cartoon. This decoration is part of the two previous publications and is a character that could not be missing in the decoration since he is a super important character in the plot, so I decided to create his favorite villain and make him happy to have him on his table (laughs).
This character was not as big as the main character, he is exactly 22 centimeters tall, however, it was the perfect size to highlight the table decoration. He is made of cardboard (recycled), a piece of colored cardboard and a recycled cassette case to hold him, a little bit of cold paint and a lot of love
It is an extremely simple decoration, that brings joy and color to the decoration and the best, the best of all, is that it is made with very cheap materials. Without further ado and hoping you enjoy the work done, I leave you the materials used, the process and the images of the work.
- Design or template of "4 Arms".
- Thick cardboard (recycled).
- Colored cardboard (scrap) according to the design of the character, for this character we used: black, red and white.
- Colored markers.
- Cold paint in black color.
- Liquid corrector in pencil (to make the eyes white).
- Cold silicone
- Cutter
- Scissors
- Ruler
- Cassette case (recycled)
- Take out the template of the character according to the desired size. This work measures 22 cm high.
- Making use of the template created, mark on the colored cardstock the parts that correspond according to the design and cut out each part.
- Highlight each part with a color marker. It can be in contrast with the same color of the cardboard or in contrast with another color.
- Once all the parts are ready, using the template as a guide, assemble and glue the parts together to create the figure. Use cold silicone being careful not to apply too much.
- With the character ready (assembled), mark on the cardboard and cut out with the help of a cutter. It should be marked on the cardboard after the creation so that both pieces are equal in size.
- Paint the cardboard figure black. This part is optional, you can leave it natural or you can even cover it with black cardboard or any other color you like.
- Once the paint is dry, glue the cardboard figure with cold silicone.
- Ready! Enjoy the wonder of creating at home in a handmade way
Translated with www.DeepL.com/Translator (free version)
IMÁGENES / IMAGES

SALUDOS / REGARDS
Todas las Fotos fueron tomadas con mi teléfono Redmi 7A.
Contenido original de @keco (fotos y texto) - Todos los derechos reservados Publicado en HIVE así como en mi instagram : http://instagram.com/carton_pintura_algo_mas
All Photos were taken with my Redmi 7A phone.
Original content from @keco (photos and text) - All rights reserved Posted on HIVE as well as on my instagram: http://instagram.com/carton_pintura_algo_mas