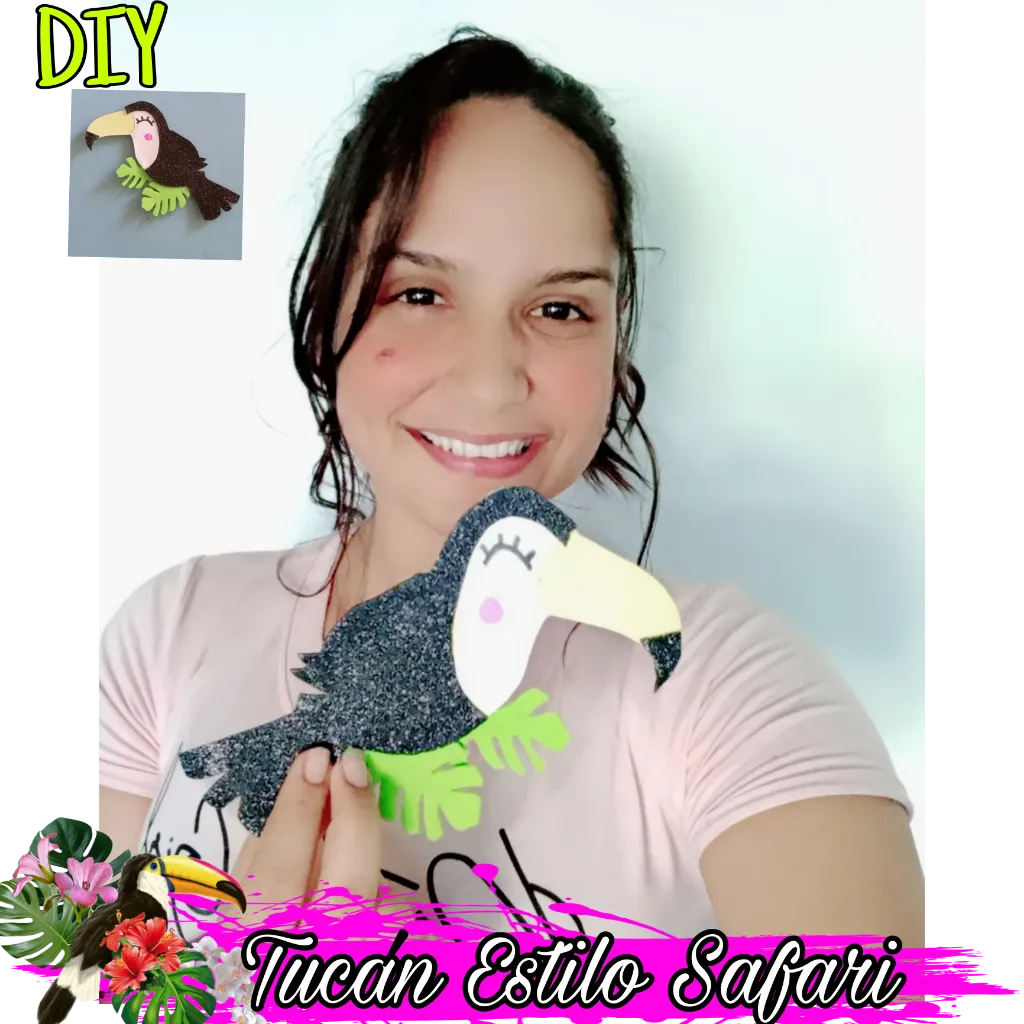
Hello my dear friends of #Hive I hope you are having a great weekend, today's DIY is about a kawaii Toucan safari style, made of paper and Goma Eva, I hope you like it and I encourage you to do it.

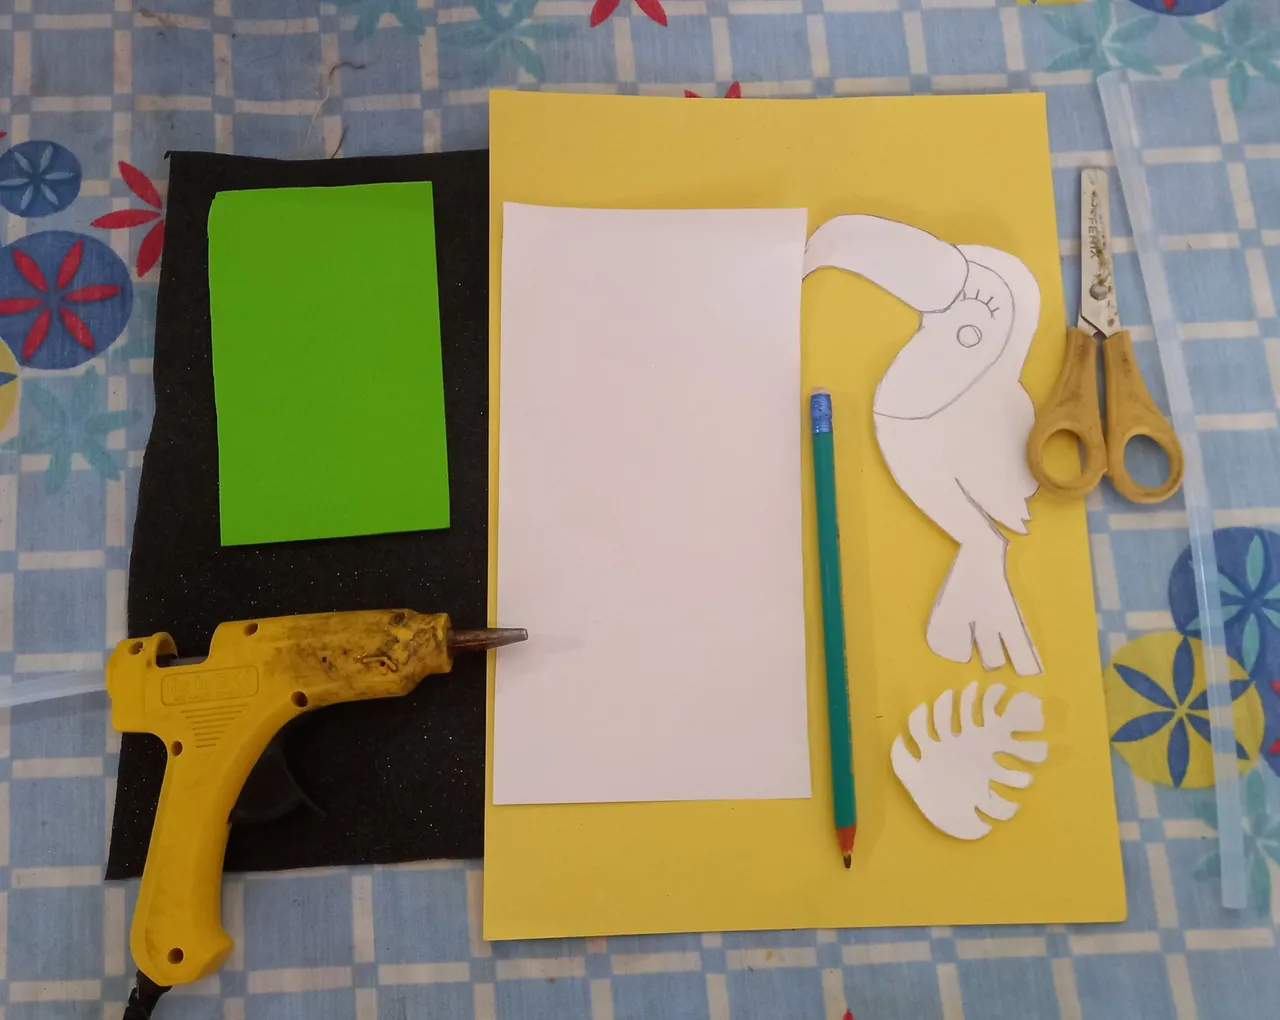
Materiales a utilizar:
- Patrón de Tucán.
- Patrón de hoja.
- Papel de color amarillo y blanco.
- Goma Eva verde 💚 y negra ⚫.
- Marcadores de color negro y fucsia.
- Pistola de silicona.
- Silicona.
- Tijeras.
- Lápiz ✏.
Materials to use:
- Tucán pattern.
- Leaf pattern.
- Yellow and white paper.
- Eva rubber 💚 and black ⚫.
- Black and fuchsia markers.
- Silicone gun.
- Silicone.
- Scissors.
- Pencil ✏.
¡AHORA SI AMIGOS, MANOS A LA OBRA!
NOW FRIENDS, HANDS TO WORK!
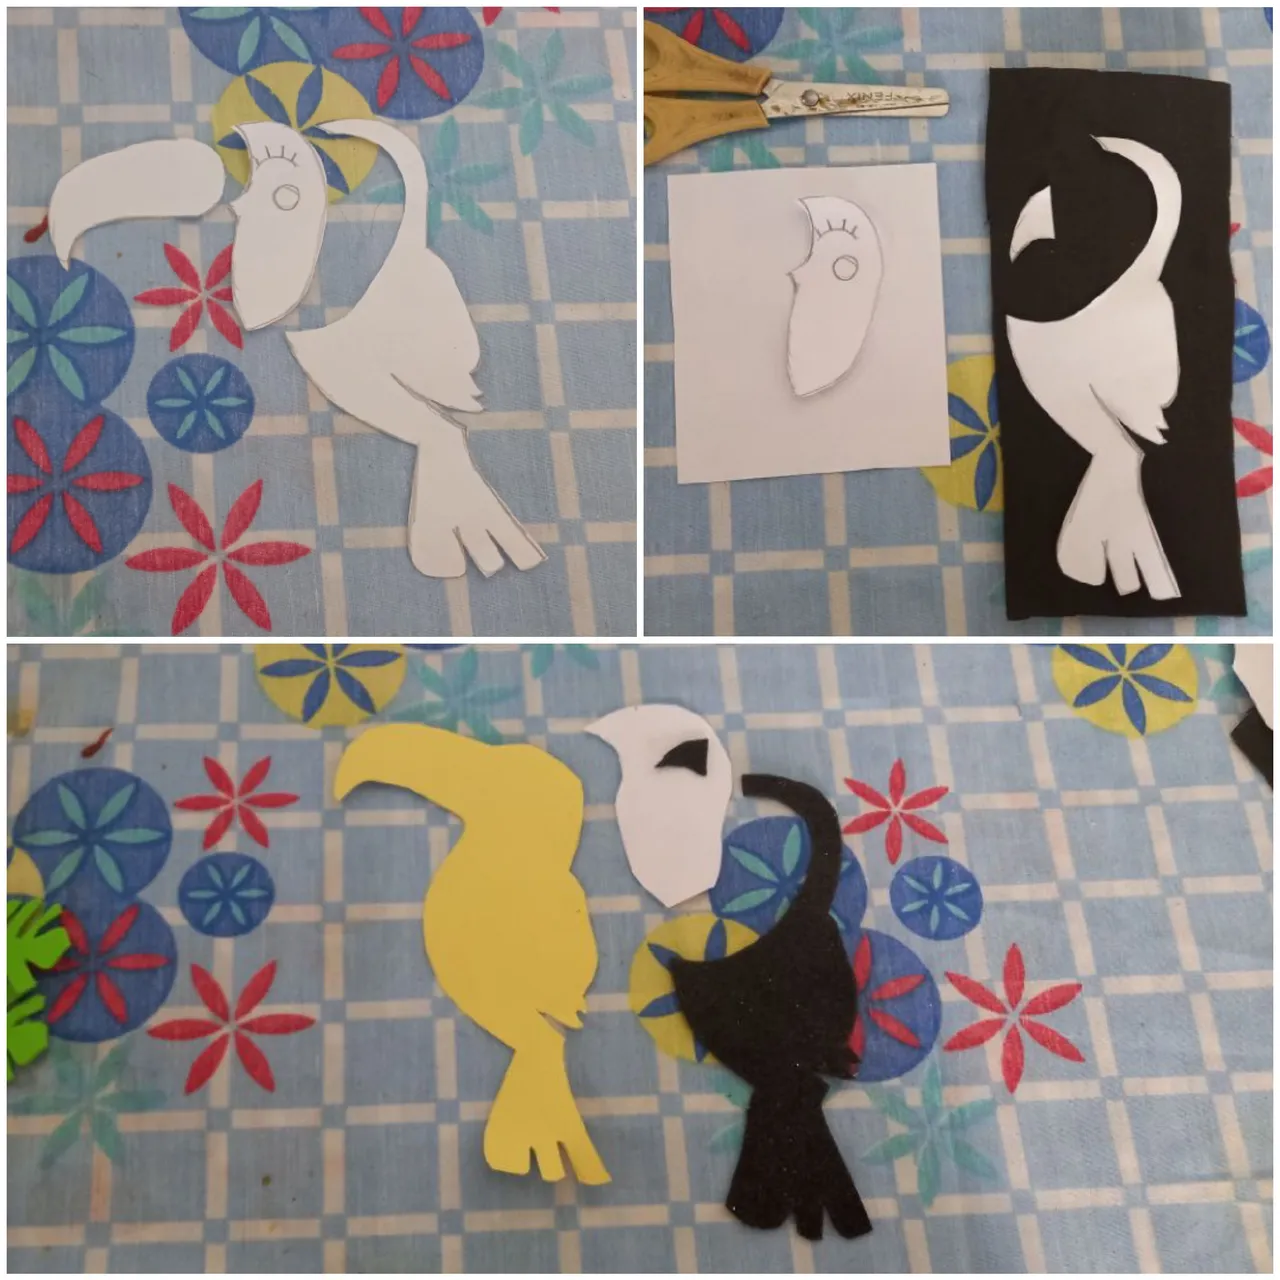
Paso 1:
Colocamos el patrón completo del Tucán sobre la hoja amarilla y el patrón de la hoja 🍃, lo colocamos en la Goma Eva verde, marcamos y cortamos.
We place the complete Toucan pattern on the yellow leaf and the 🍃 leaf pattern, place it on the green Goma Eva, mark and cut.
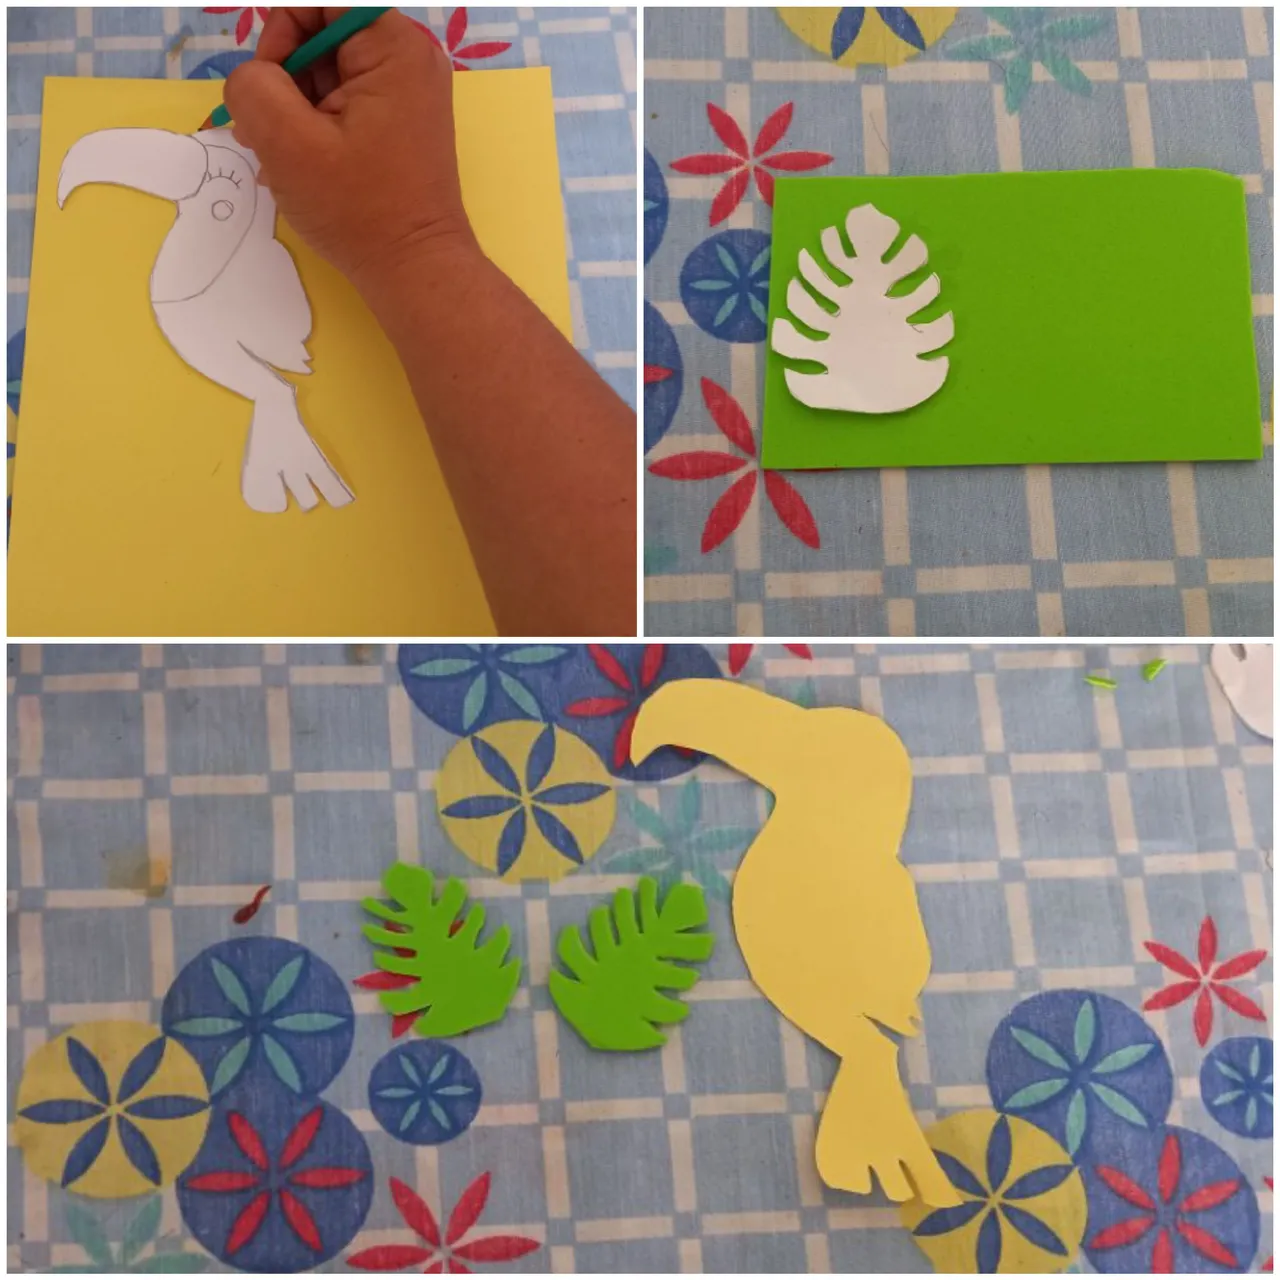
Paso 2:
Después cortamos todas las piezas del patrón completo del Tucán, y las colocamos sobre el papel o Goma Eva que corresponda; marcamos y recortamos.
Then we cut all the pieces of the complete toucan pattern, and place them on the paper or eva gum that corresponds; we mark and cut them out.
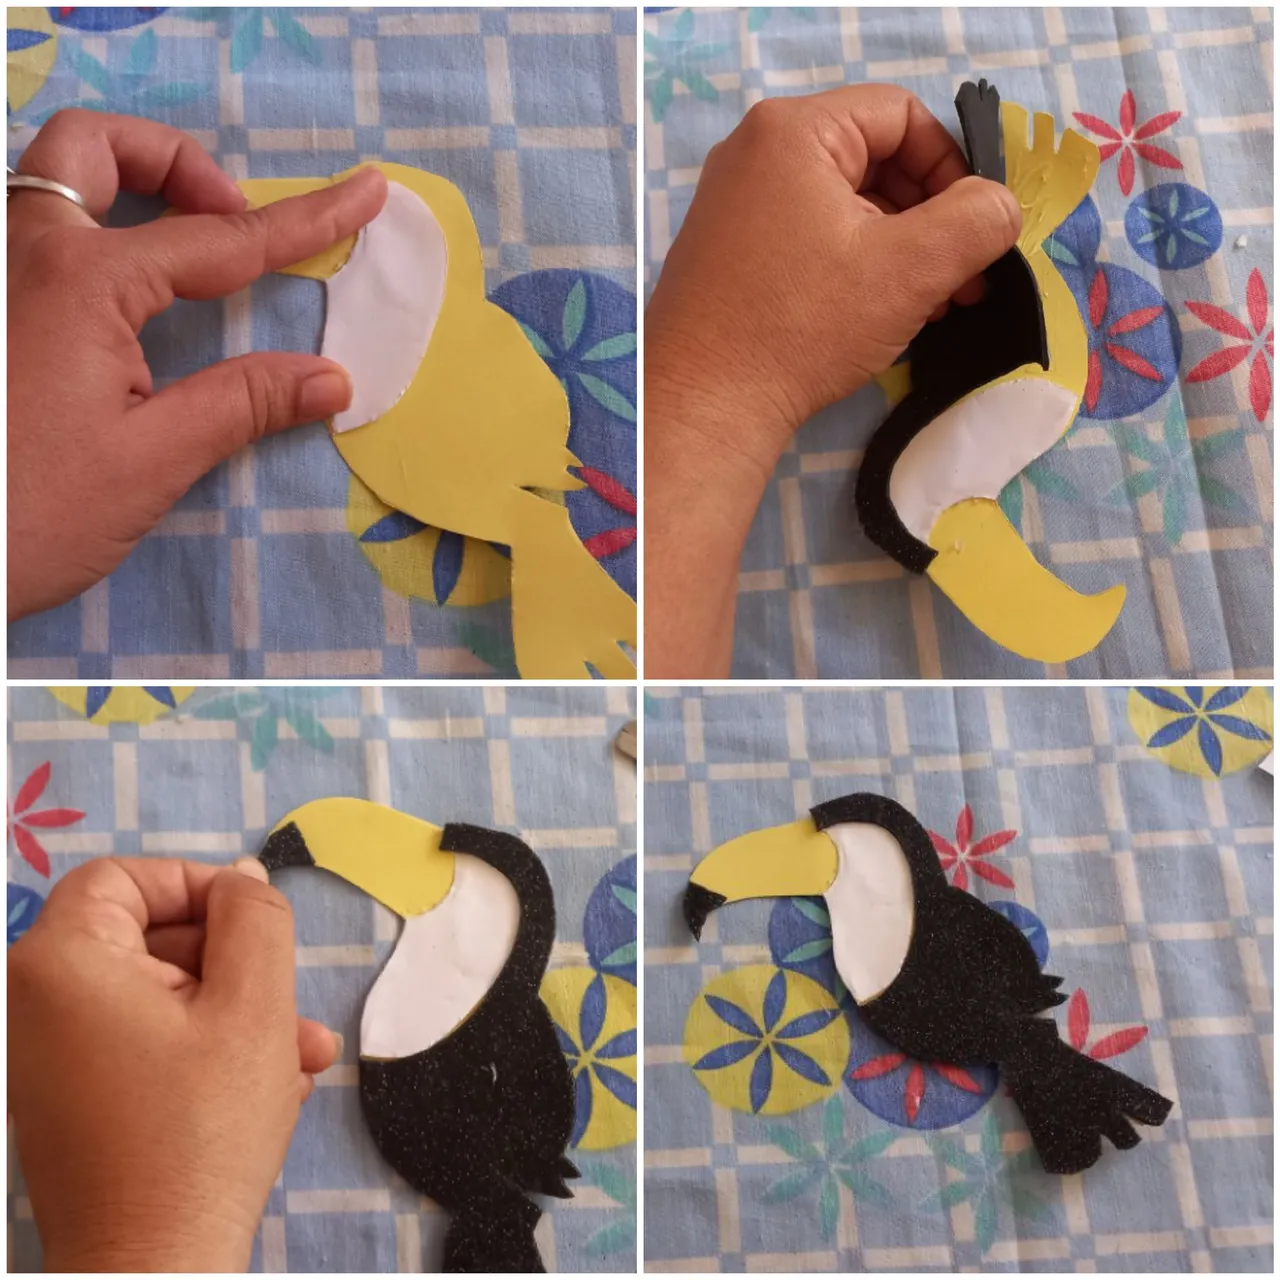
Paso 3:
Luego pegamos sobre el primer patrón que recortamos del Tucán completo, las piezas recortadas, empezando por el pecho, después el plumaje negro y por último, la punta del pico.
Then we glue on the first pattern we cut out of the complete Toucan, the cut out pieces, starting with the chest, then the black plumage and finally, the tip of the beak.
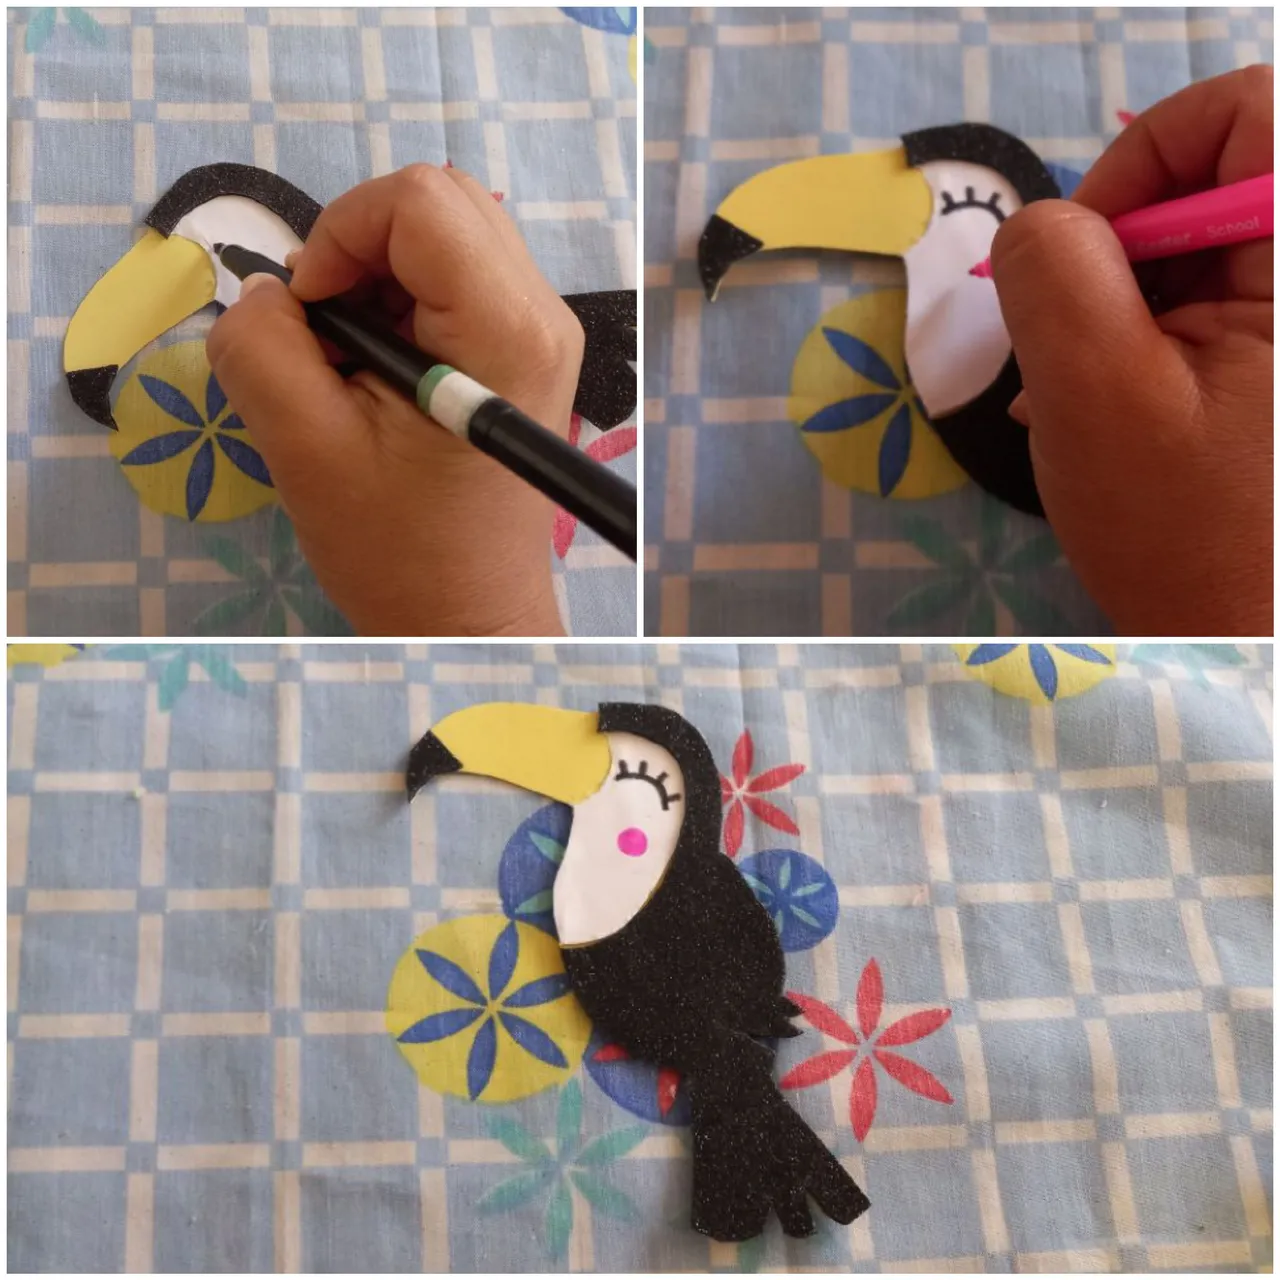
Paso 4:
Pintamos el ojo del Tucán y el rubor con marcadores.
We painted the toucan's eye and blush with markers.
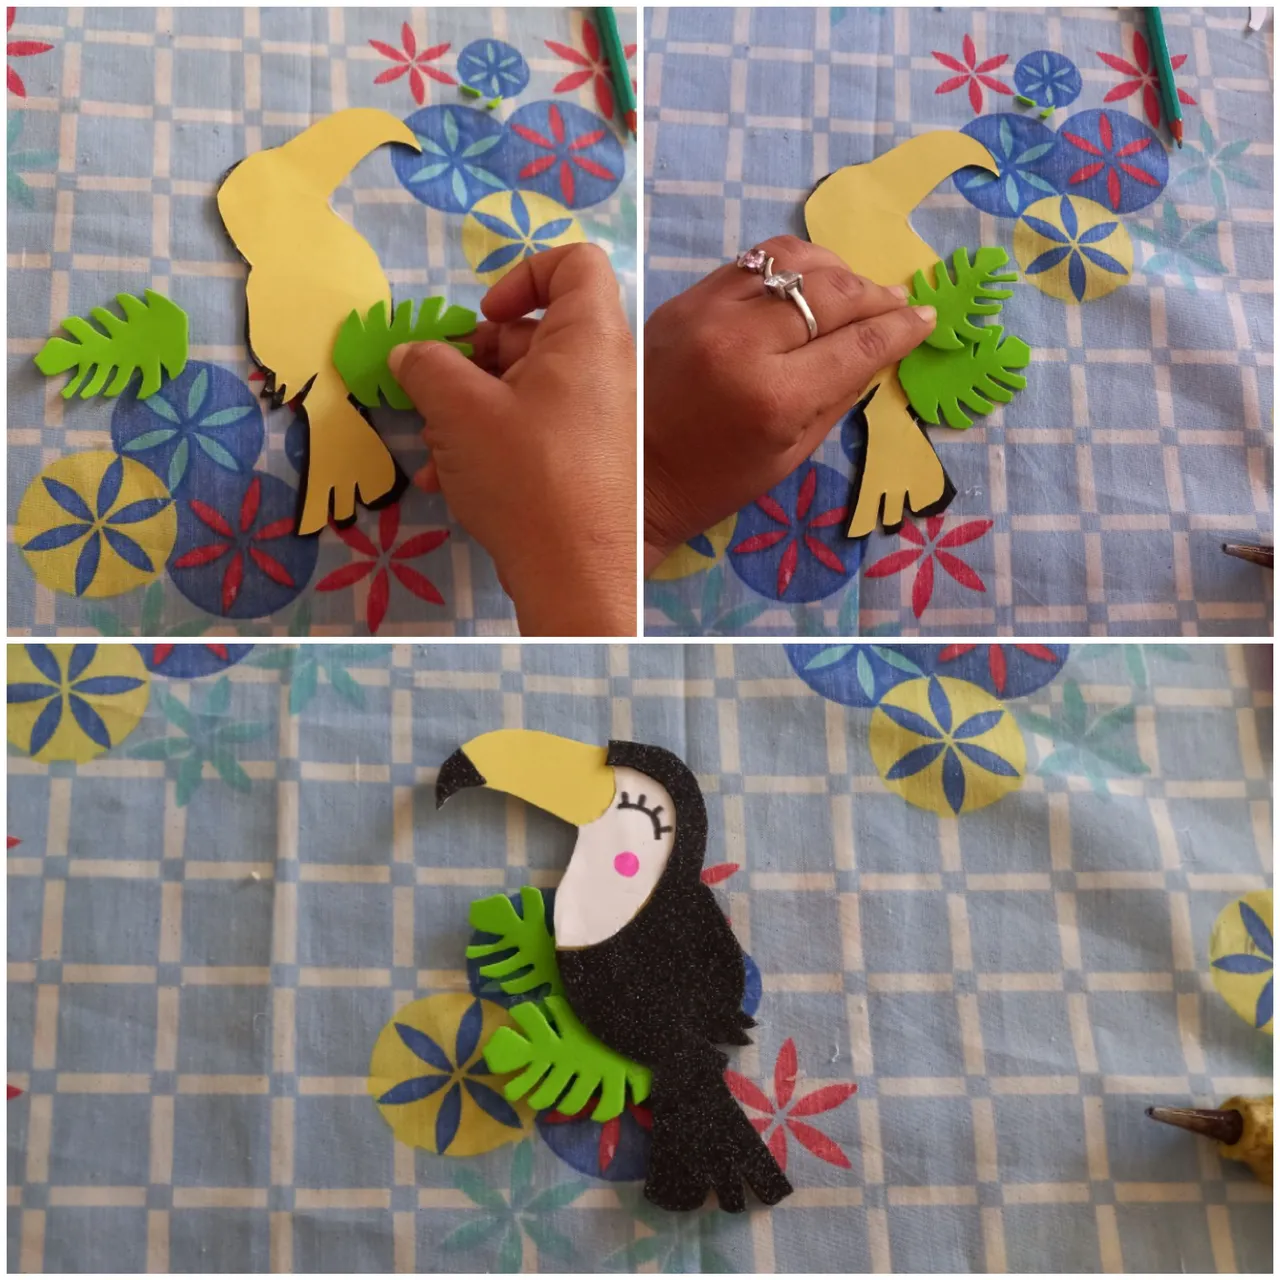
Paso 5:
Fijamos por la parte de atrás del Tucán las hojas.
We attach the leaves to the back of the toucan.
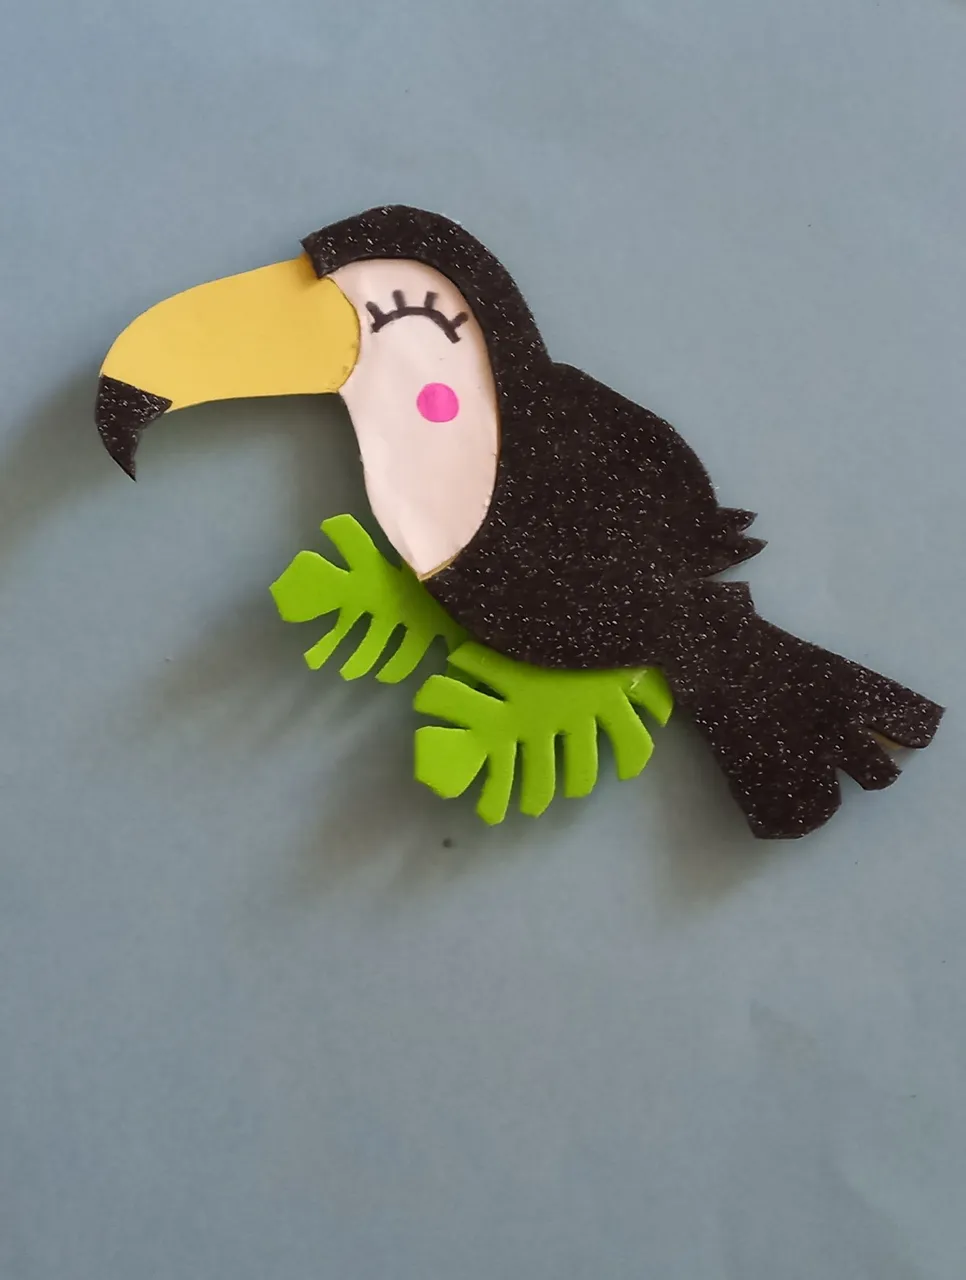
RESULTADO FINAL
FINAL RESULT