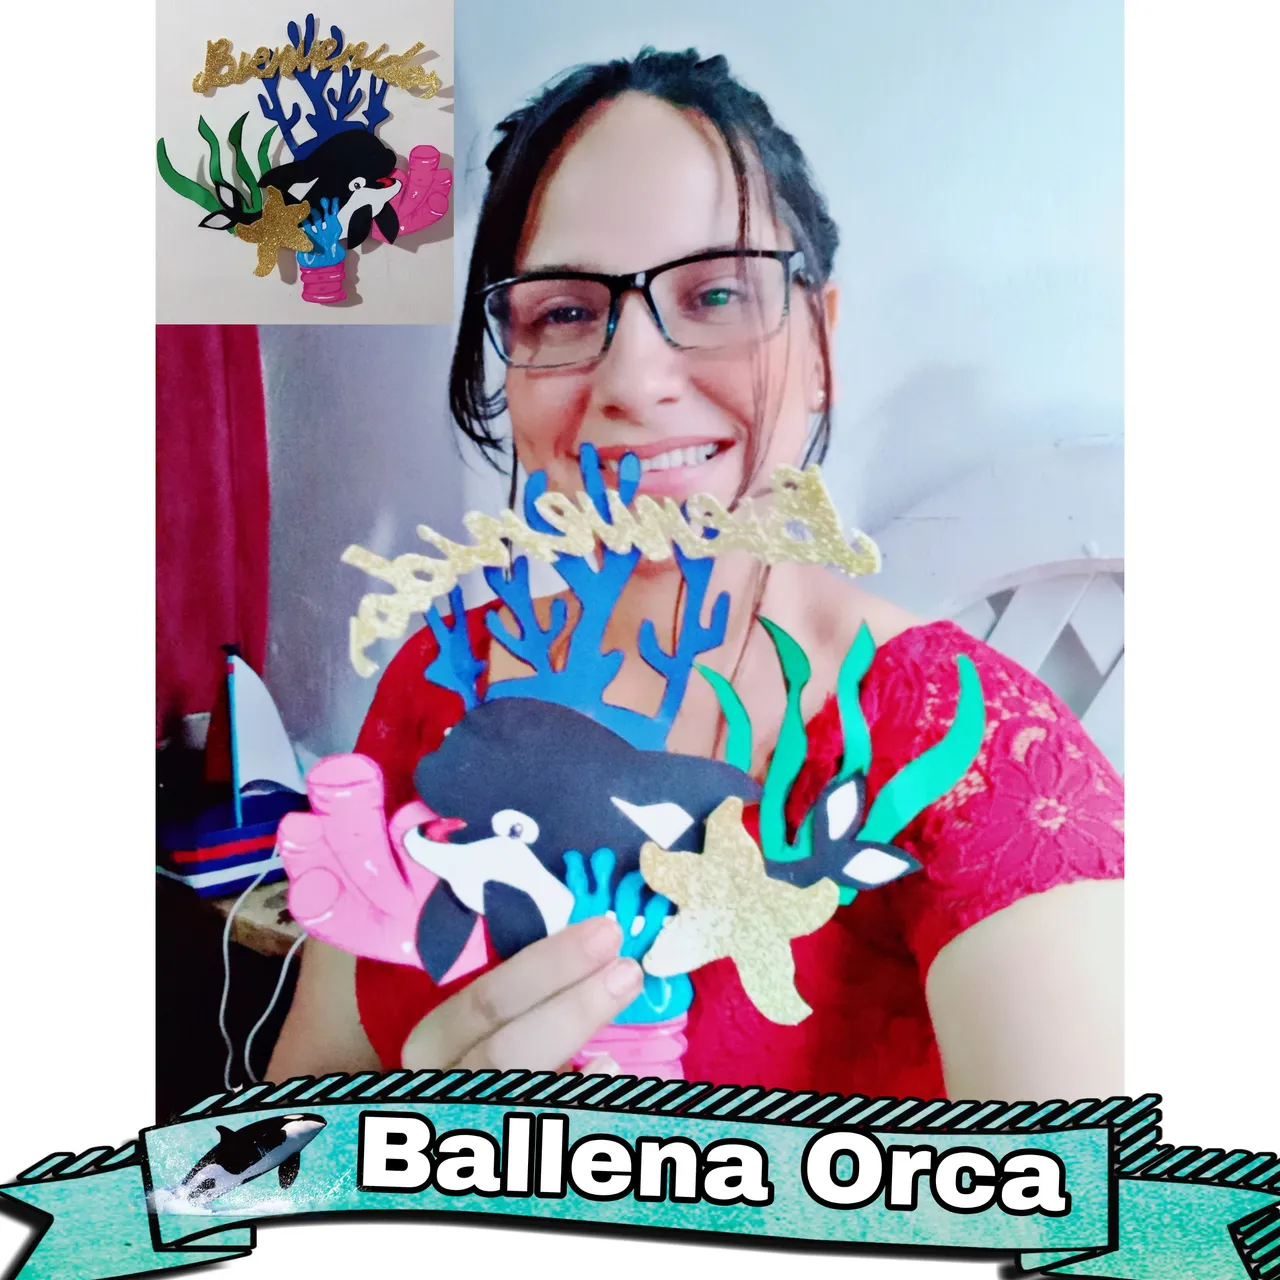
Hola 👋 amigos creativos de #HiveDiy, me complace saludarlos una vez más y mostrarle un pequrño tutorial, para hacer un letrero de bienvenida con temática de Ballena Orca 🐳, está muy lindo, creo que les gustará.
Hello 👋 creative friends of #HiveDiy, I'm pleased to greet you once again and show you a little tutorial, to make an Orca Whale themed welcome sign 🐳, it's very cute, I think you will like it.

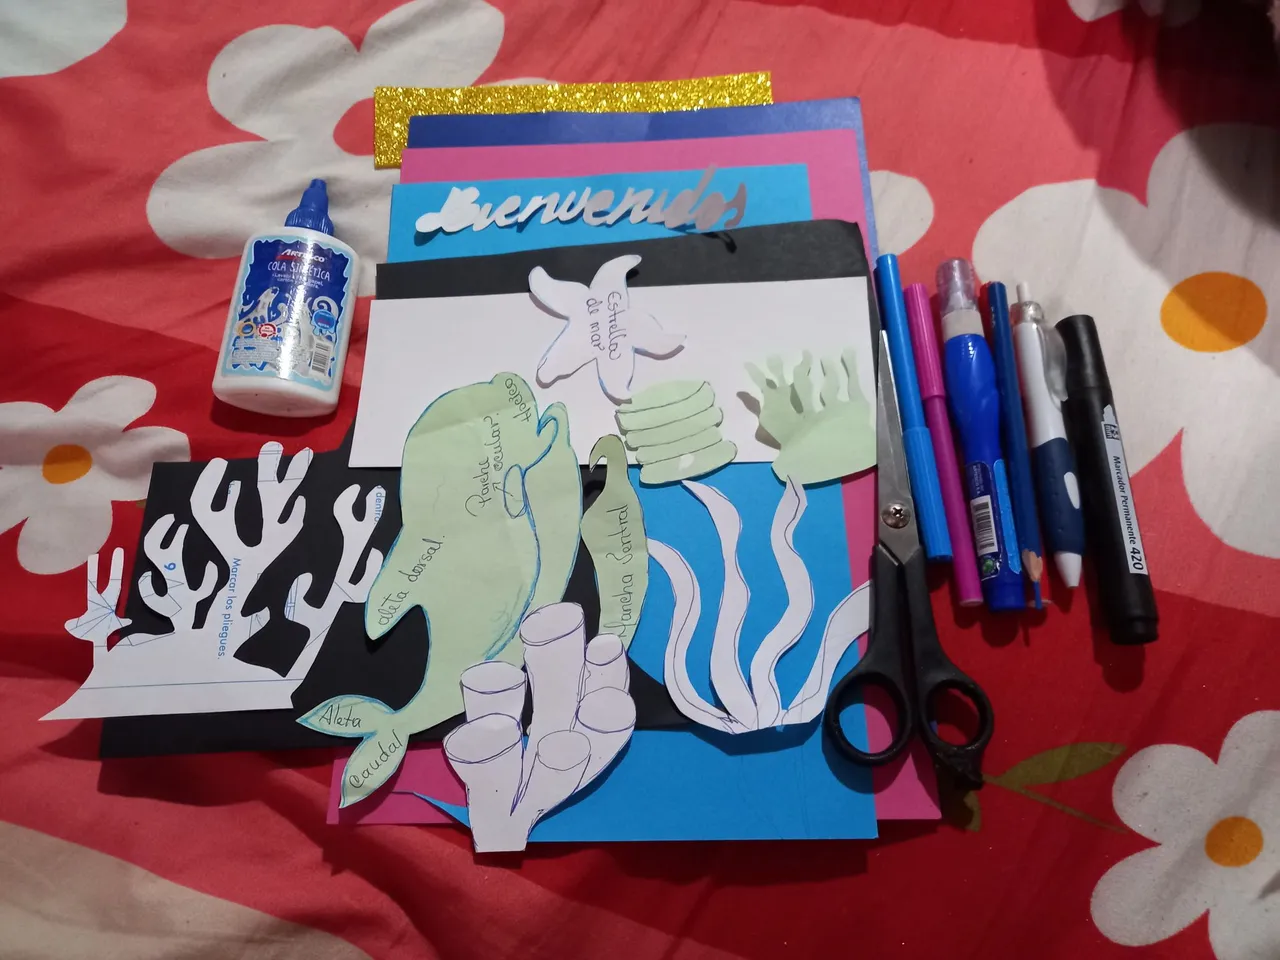
MATERIALES NECESARIOS:
- Cartulina blanca, negra, azul, verde, rosada.
- Patrón de la ballena Orca, estrella de mar, coral, algas y letras de Bienvenidos.
- Marcador negro, azul, rojo y fucsia.
- Corrector blanco.
- Cola blanca escolar.
- Goma Eva (opcional).
- Lapicero.
- Tijeras ✂.
MATERIALS NEEDED:
- White, black, blue, blue, green, pink cardboard.
- Orca whale pattern, starfish, coral, seaweed and welcome letters.
- Black, blue, red, fuchsia marker.
- White corrector.
- White school glue.
- Eva glue (optional).
- Pencil.
- Scissors ✂.
PROCEDIMIENTO
PROCEDURE
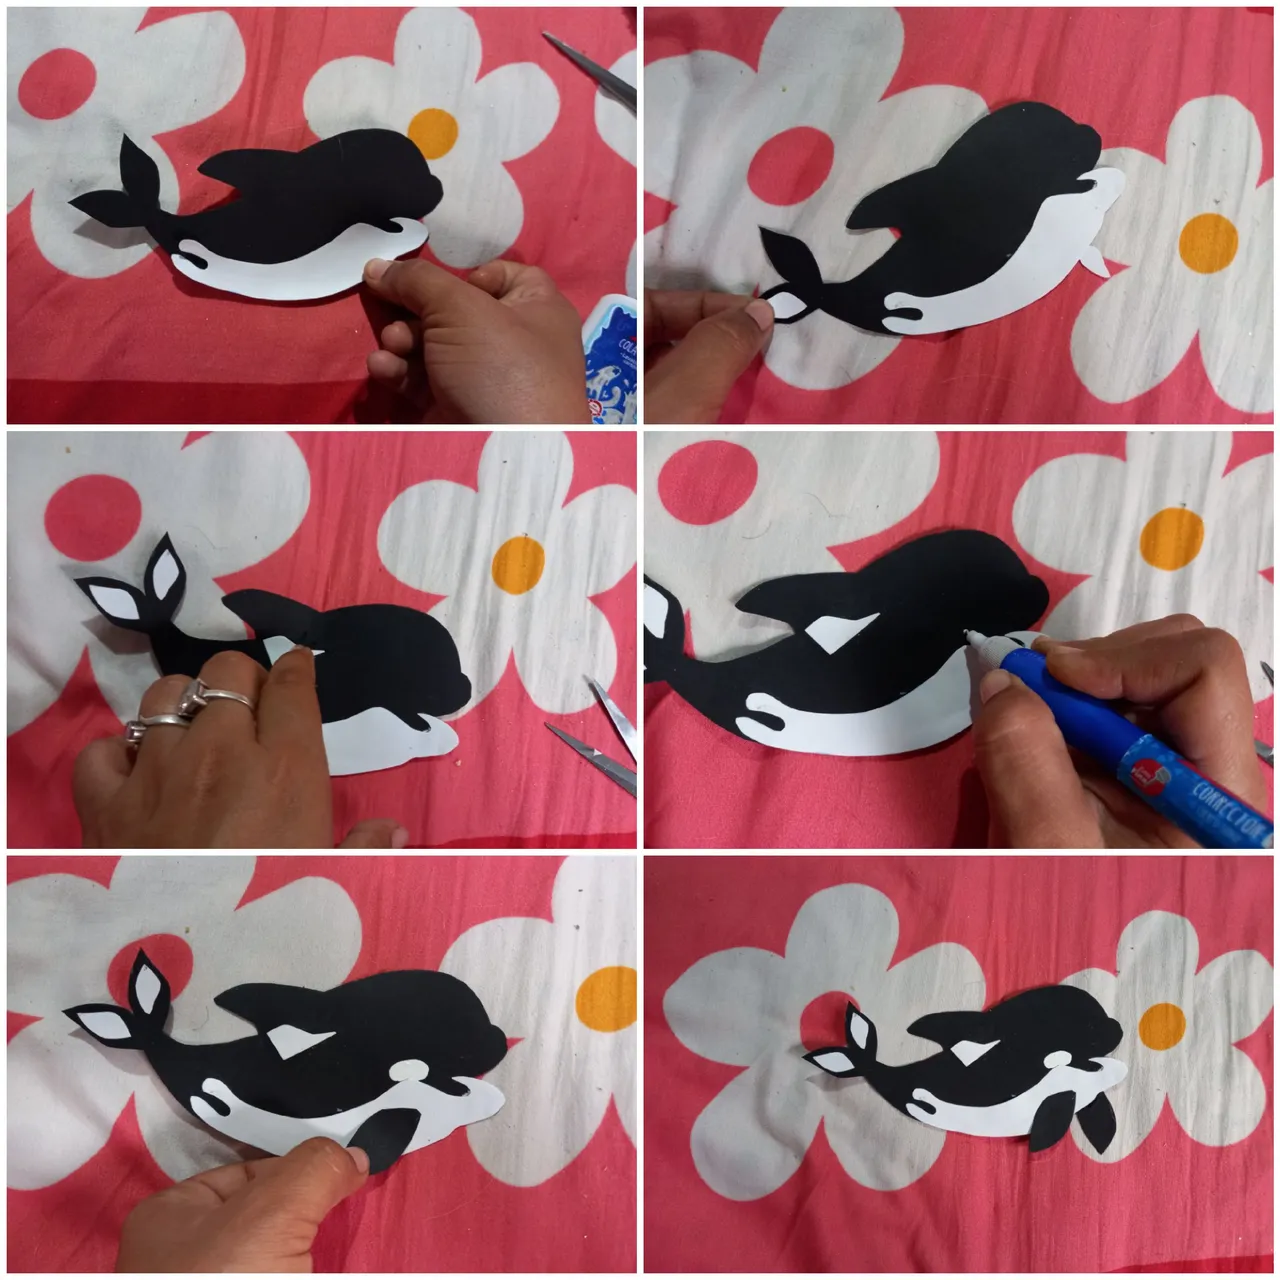
Primero colocamos los patrones sobre cada una de las cartulinas según el color que hayamos escogido para cada uno de ellos, marcamos y recortamos.
First we place the patterns on each of the cards according to the color we have chosen for each of them, mark and cut them out.
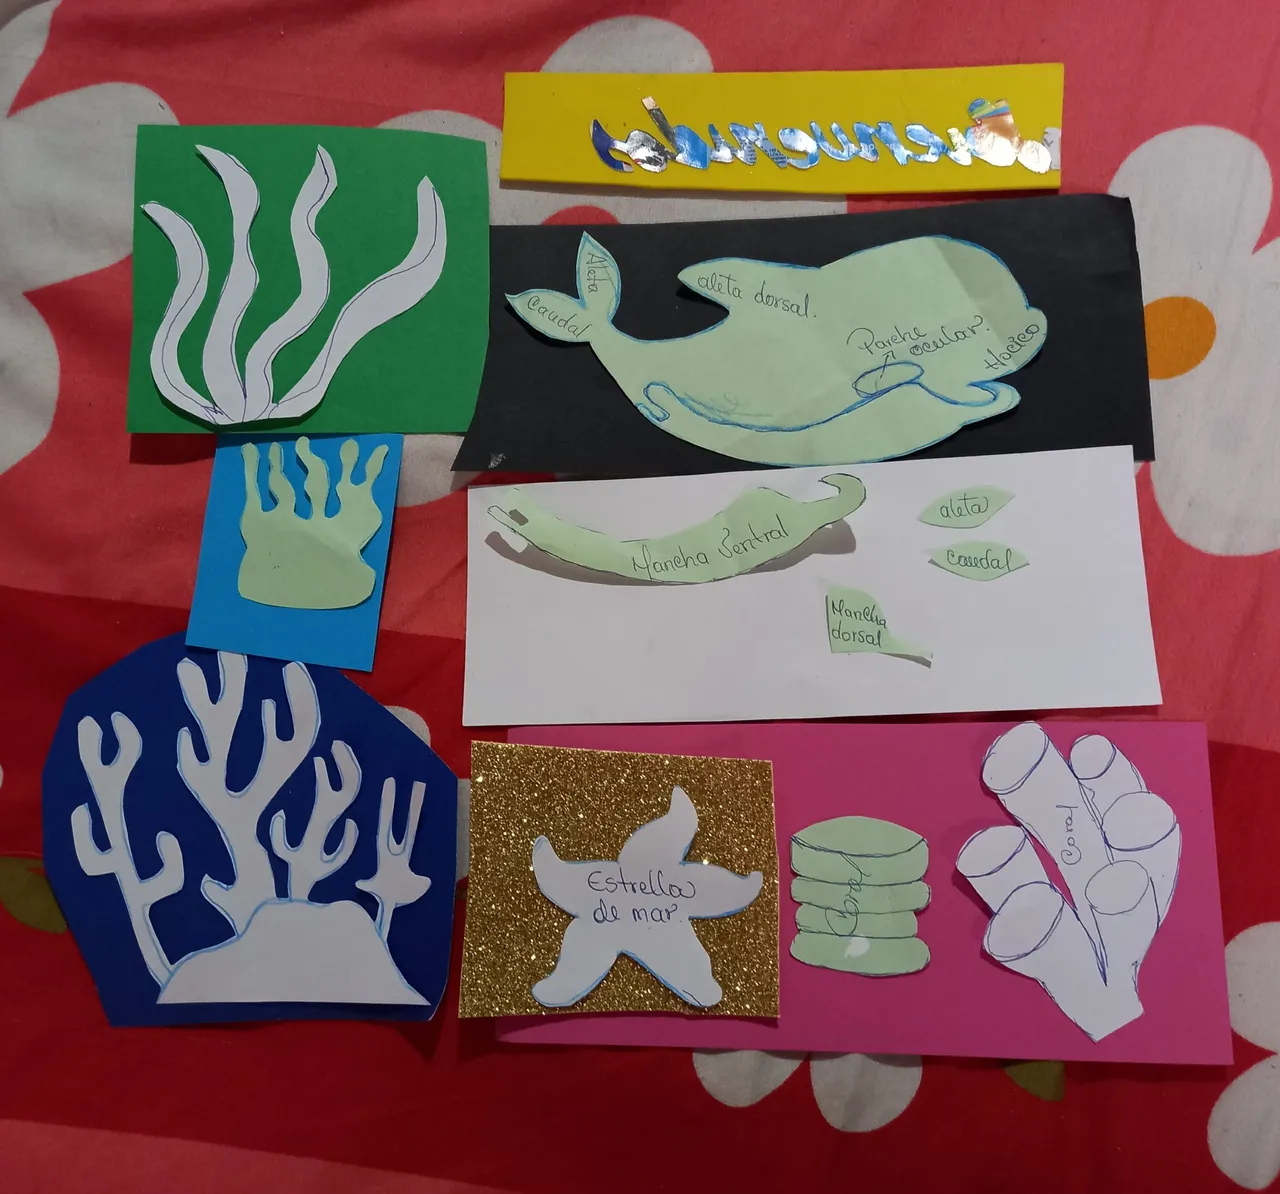
Después armamos la ballena, esto lo haremos fijando la mancha ventral por la parte inferior del cuerpo, después,
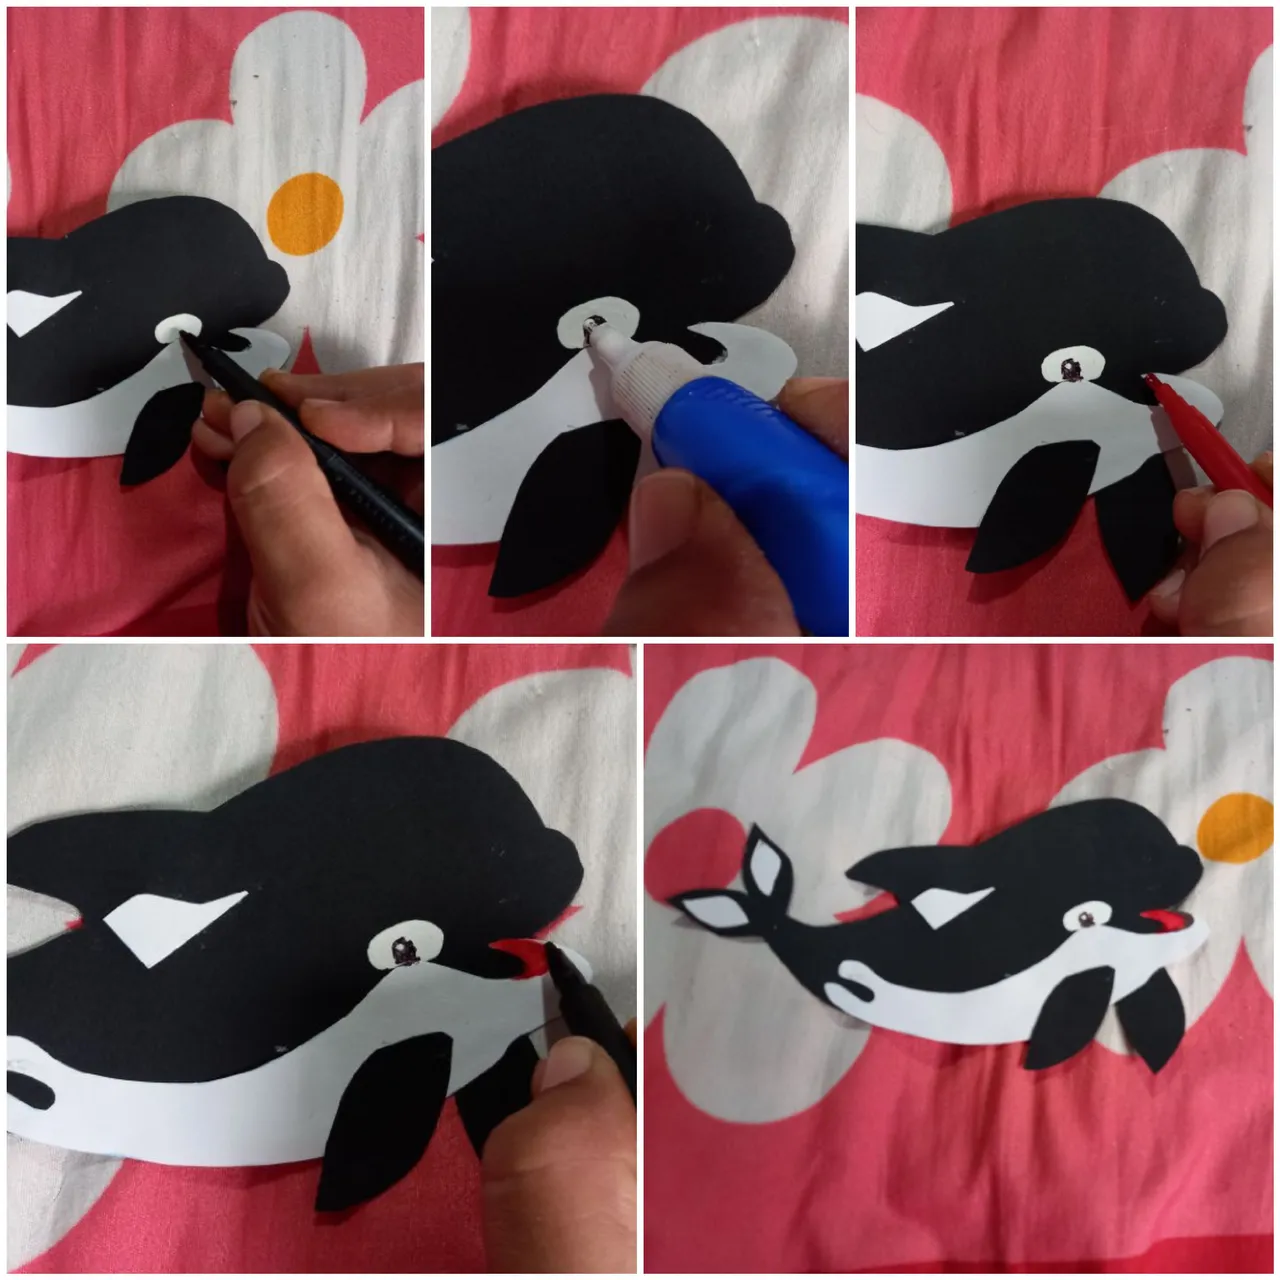
pegamos las dos manchas de la aleta caudal, fijamos una mancha blanca debajo de la aleta dorsal, pintamos con corrector blanco el parche ocular,asimismo, fijaremos cerca de la cabeza las aletas pectorales. Todas estas partes son características que posee éste tipo de ballena.
Then we assemble the whale, this will be done by attaching the ventral spot on the lower part of the body, then we glue the two spots on the caudal fin,
We glue the two spots of the caudal fin, we fix a white spot under the dorsal fin, we paint with white corrector the eye patch, also, we will fix near the head the pectoral fins. All these parts are characteristics of this type of whale.
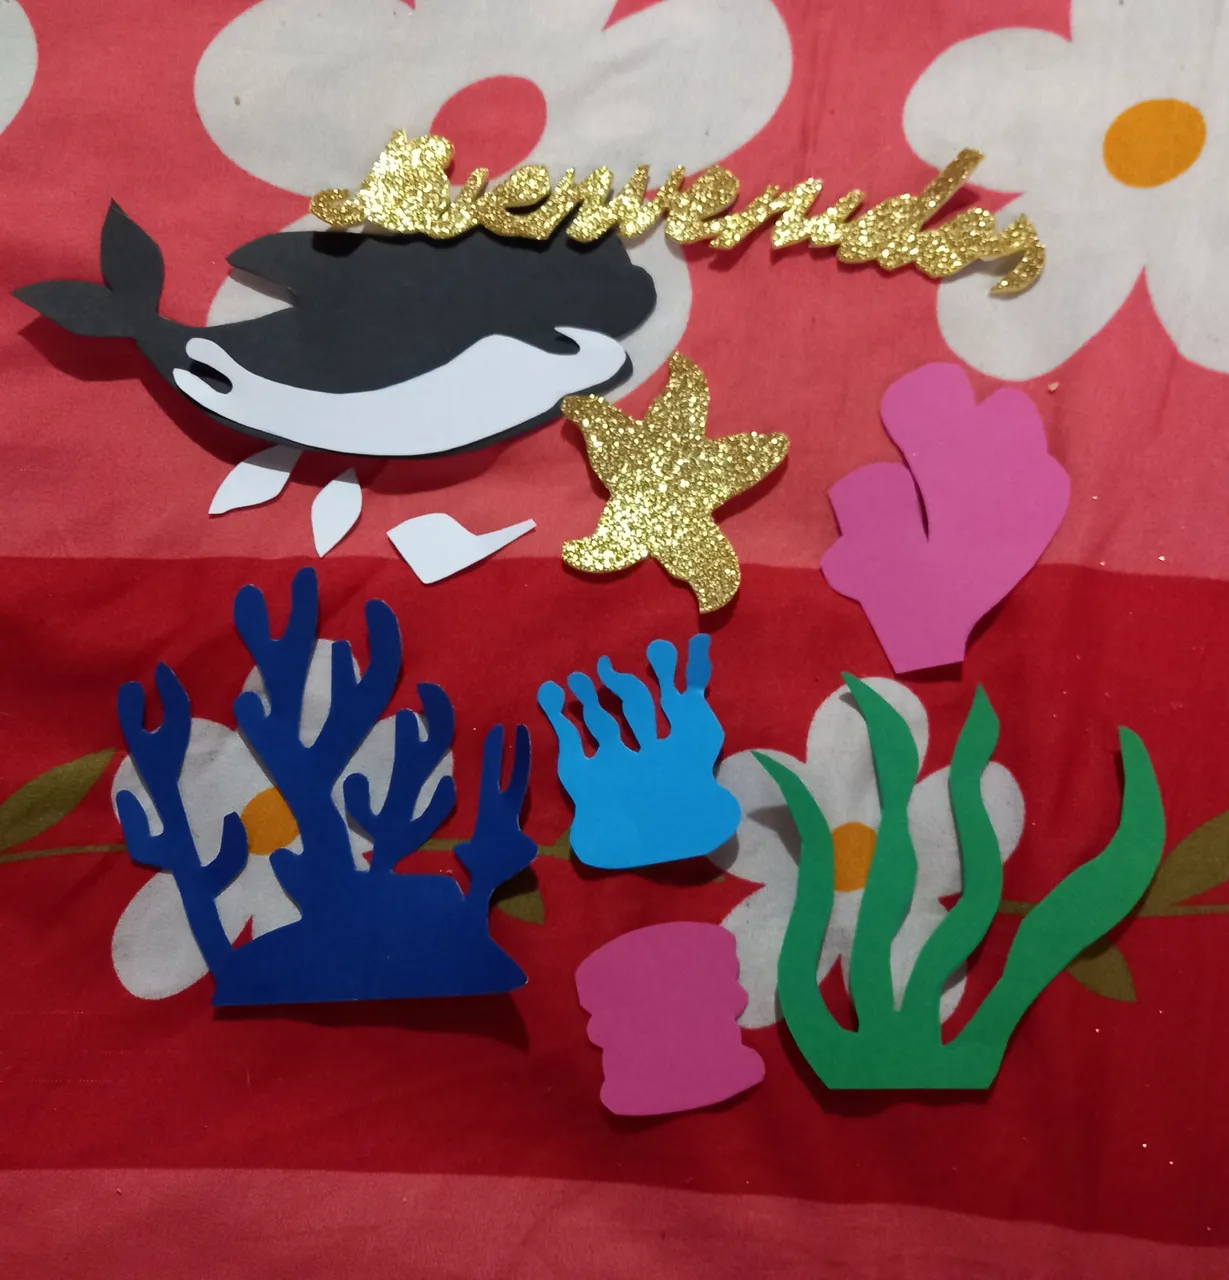
Luego pintamos el ojito y la boca de la ballena, para el ojito utilizaremos marcador negro y corrector blanco y para la boca marcador negro y rojo.
Then we paint the eye and the mouth of the whale, for the eye we will use black marker and white corrector and for the mouth we will use black and red marker.
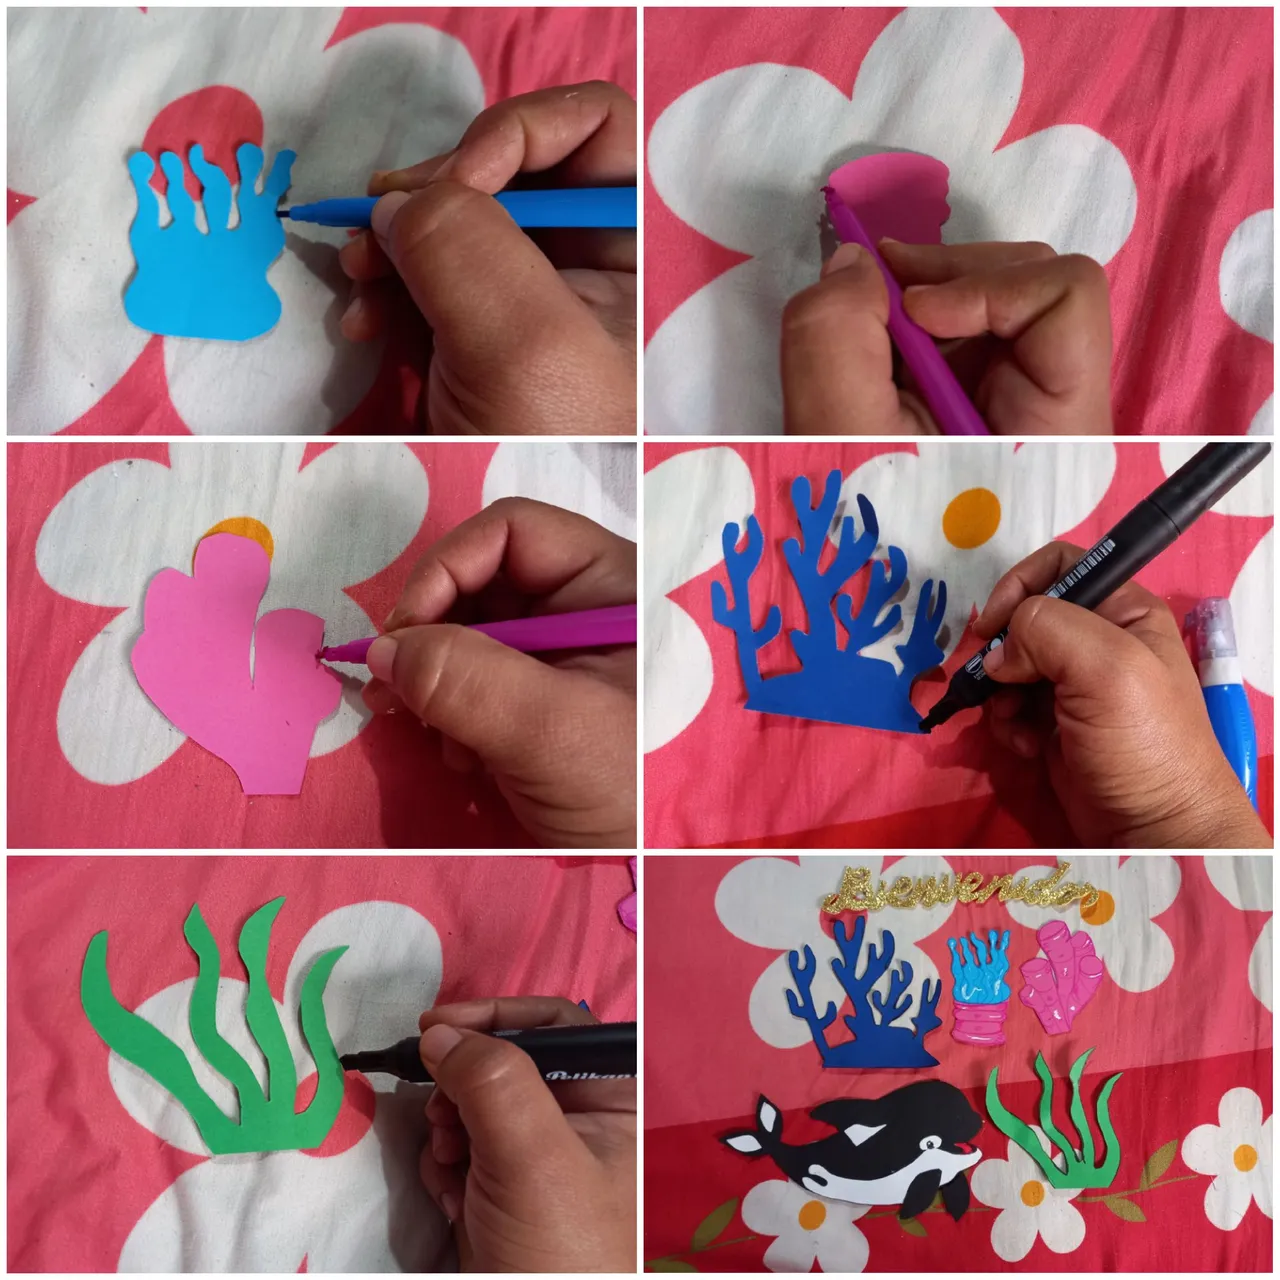
Posteriormente, procedemos a marcar los bordes y los detalles de las algas y los corales.
Subsequently, we proceed to mark the edges and details of the algae and corals.
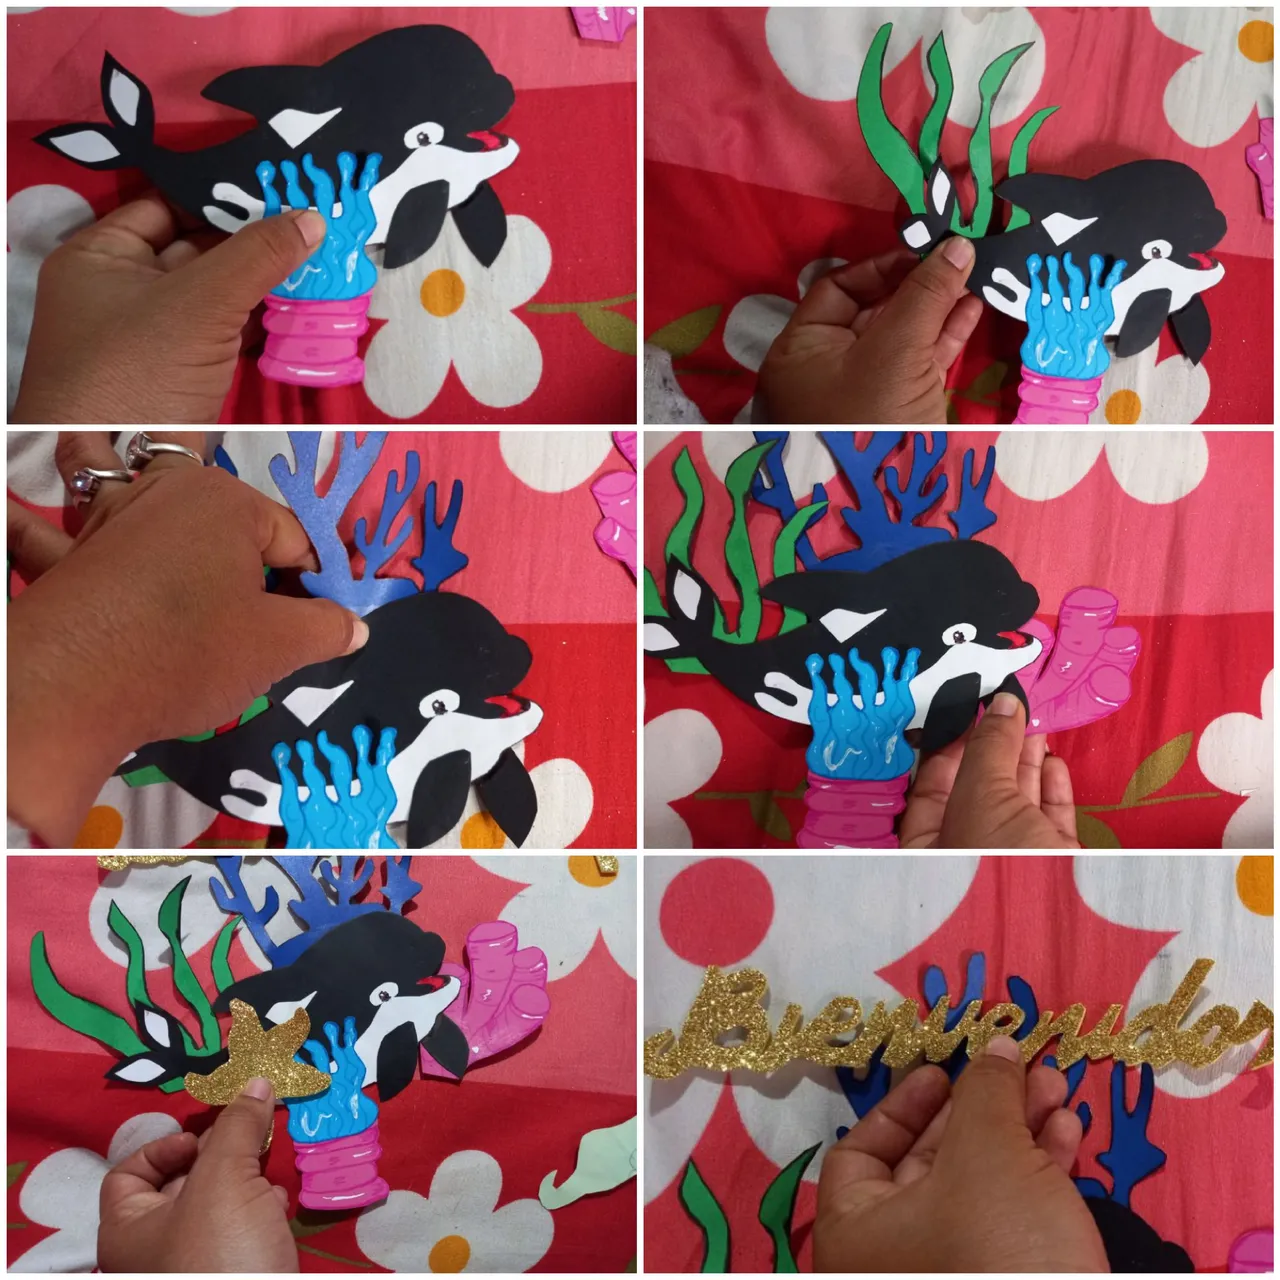
Por último, pegamos el coral rosado con azul y la estrella por la parte de el frente de la ballena, el coral azul, rosado y las algas verdes las fijaremos por la parte de atrás de la misma.
Finally, we glue the pink and blue coral and the star on the front of the whale, the blue and pink coral and the green algae on the back of the whale.
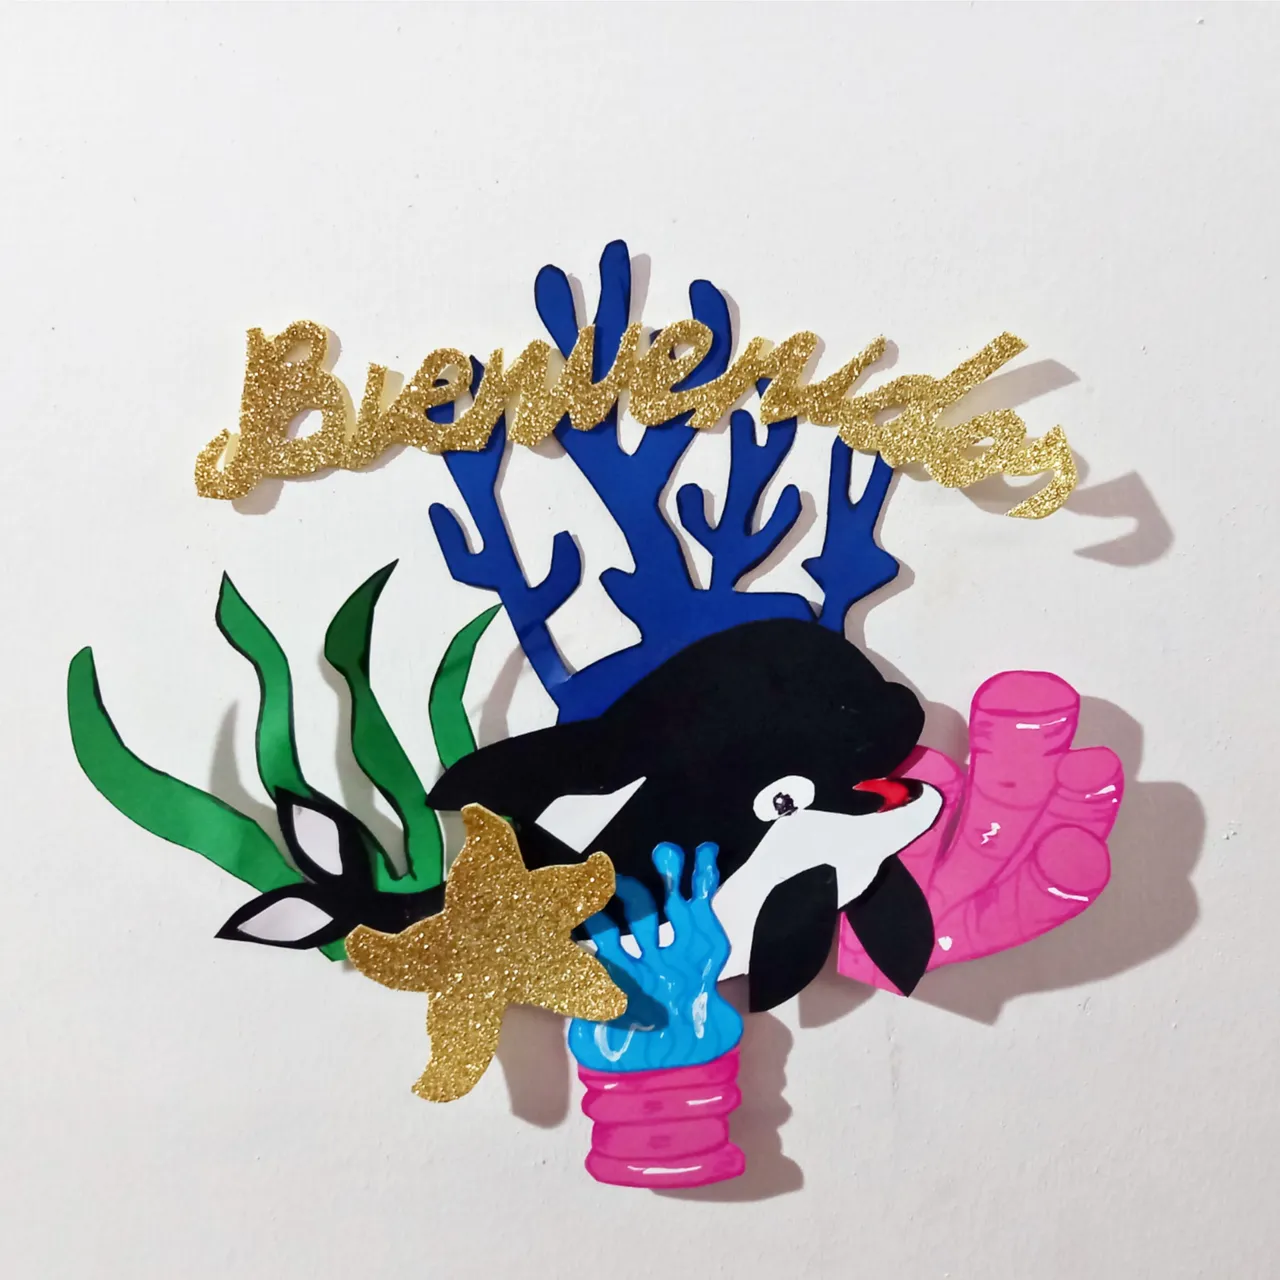
RESULTADO FINAL
FINAL RESULT
Gracias por leer, espero te haya gustado éste contenido, será hasta otra oportunidad amigos.
Thank you for reading, I hope you liked this content, I'll see you again friends.