Un encaje es una pieza tejida que puede ser realizada a mano o a máquina, se puede realizar de varios tipos de hilos, de colores y de motivos.
Hoy le muestro cómo realicé un encaje tejido en la técnica crochet con varios colores.
Este es un proyecto con un nivel intermedio de realización, ya que involucra cambios de colores de hilos y varios puntos para lograr el resultado.
Personalmente, me encantan los encajes, ya que embellecen en donde sean colocados, y si este encaje es tejido, el resultado donde sea colocado es impresionante hermoso.
A lace is a woven piece that can be made by hand or by machine, it can be made with various types of yarns, colors and motifs.
Today I show you how I made a lace woven in the crochet technique with various colors.
This is a project with an intermediate level of realization, since it involves changes of yarn colors and several stitches to achieve the result.
Personally, I love lace, as it embellishes wherever it is placed, and if this lace is woven, the result where it is placed is breathtakingly beautiful.

Materiales
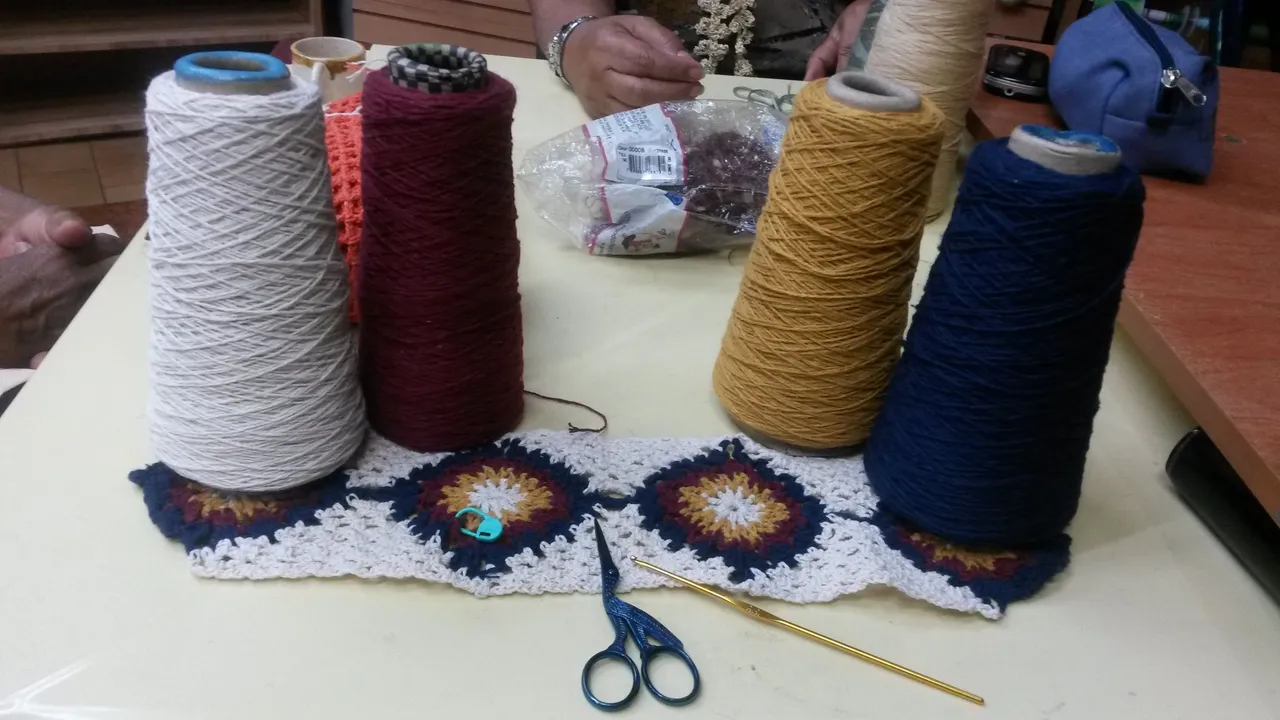
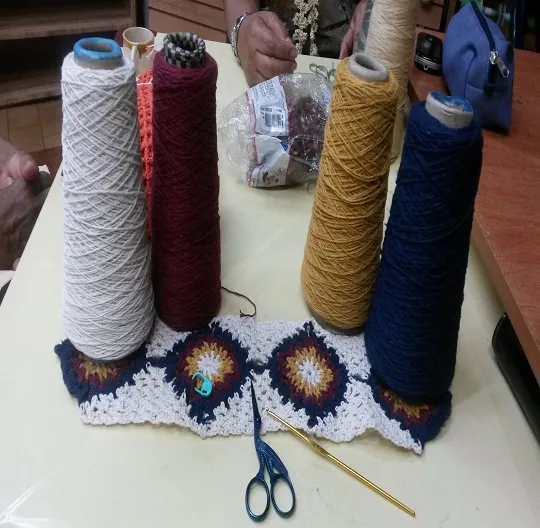
Este es un proyecto ambicioso, ya que involucra varios colores de hilos, la idea es que sean cuatro colores de hilos diferentes, para que se pueda apreciar claramente el diseño del proyecto, he seleccionado hilos de algodón. También para este proyecto se requieren, aguja lanera, marcador de puntos, ganchillo y tijeras.
Particularmente esta combinación de colores de hilos que seleccioné, puedes elegir la combinación que desees y el tipo de hilo que más te agrade, lo importante es que el crochet seleccionado, este acorde con el hilo.
Materials
This is an ambitious project, as it involves several colors of yarns, the idea is to have four different colors of yarns, so that the design of the project can be clearly appreciated, I have selected cotton yarns. Also for this project, blunt yarn needle, stitch marker, crochet hook and scissors are required.
Particularly this combination of yarn colors that I selected, you can choose the combination you want and the type of yarn you like the most, the important thing is that the crochet selected, this according to the yarn.
Pasos
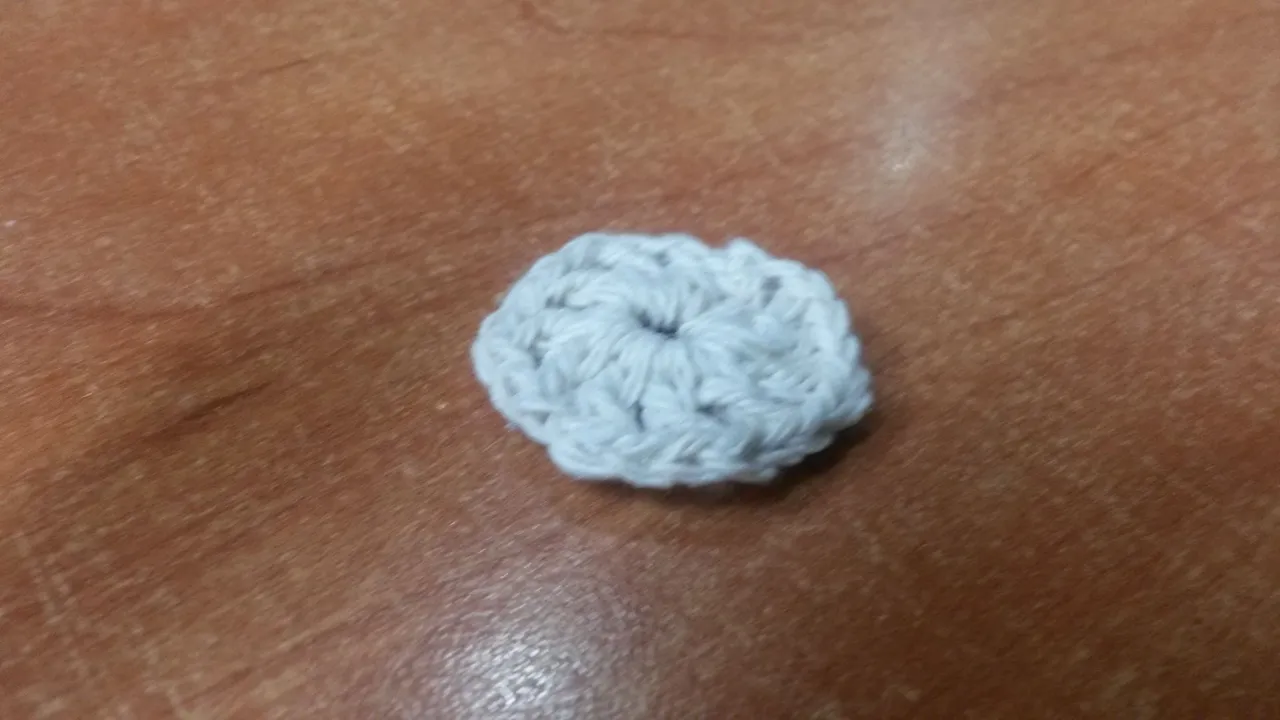
Para este proyecto, inicié tejiendo un anillo mágico y tejí dentro del anillo mágico 24 puntos altos, cerré con un punto deslizado.
Actualmente lo que hago antes de cerrar el punto deslizado, introduzco el nuevo hilo, de manera que el resultado sea aún más prolijo. Esto lo aprendí luego que realicé este encaje; definitivamente es la mejor forma.
Steps
For this project, I started by knitting a magic ring and knit inside the magic ring 24 double crochet, I closed with a slip stitch.
Actually what I do before I close the slip stitch, I introduce the new yarn, so that the result is even neater. I learned this after I made this lace; it is definitely the best way.
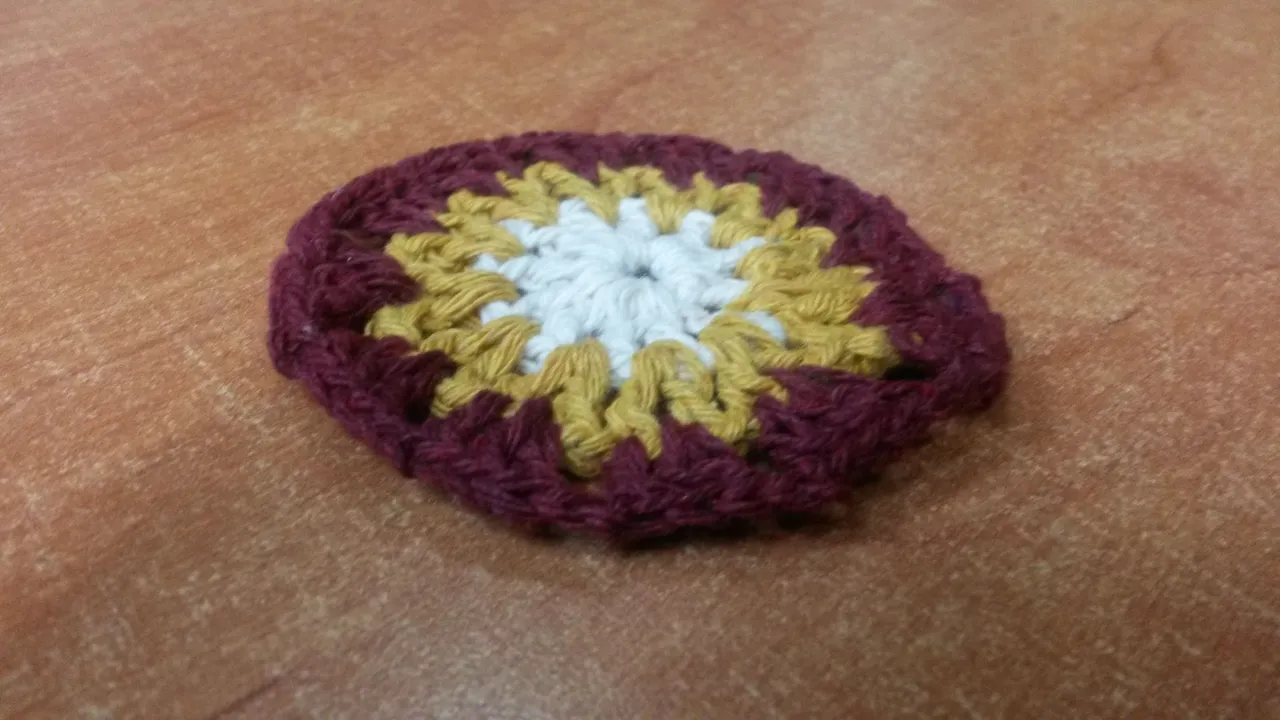
A continuación, tejí dos puntos altos en medio de cada punto de la vuelta anterior.
En este caso, al momento de cerrar, antes de completar el punto deslizado, realizar el cambio de hilo.
Next, I knit two double crochet in the middle of each stitch of the previous row.
In this case, when closing, before completing the slipped stitch, make the yarn change.
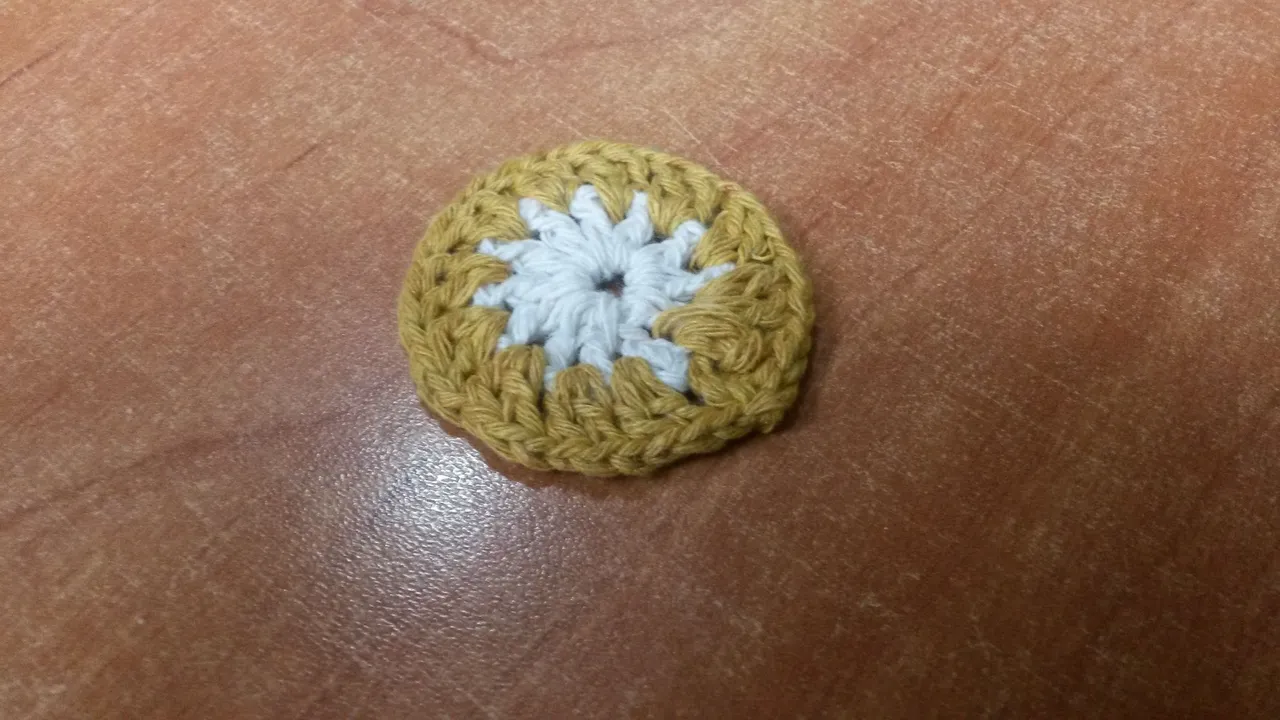
Seguí tejiendo con el nuevo color usando puntos altos durante la vuelta.
I continued knitting with the new color using double crochet during the round.
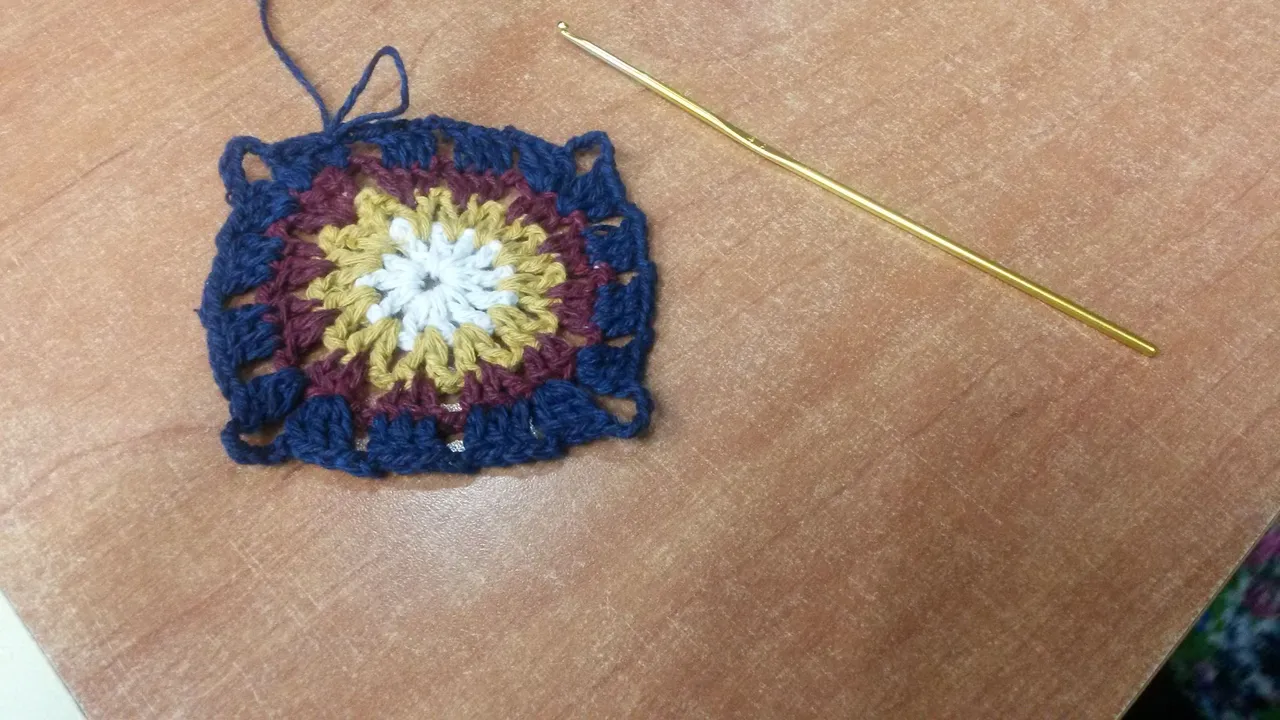
Seguidamente tejer la última ronda luego de realizar el cambio de hilo previamente. Para el primer cuadrito. cortar y esconder el hilo sobrante.
Then knit the last round after previously changing the yarn. To finish, close, cut and hide the remaining yarn. For the first square, cut and hide the excess yarn.
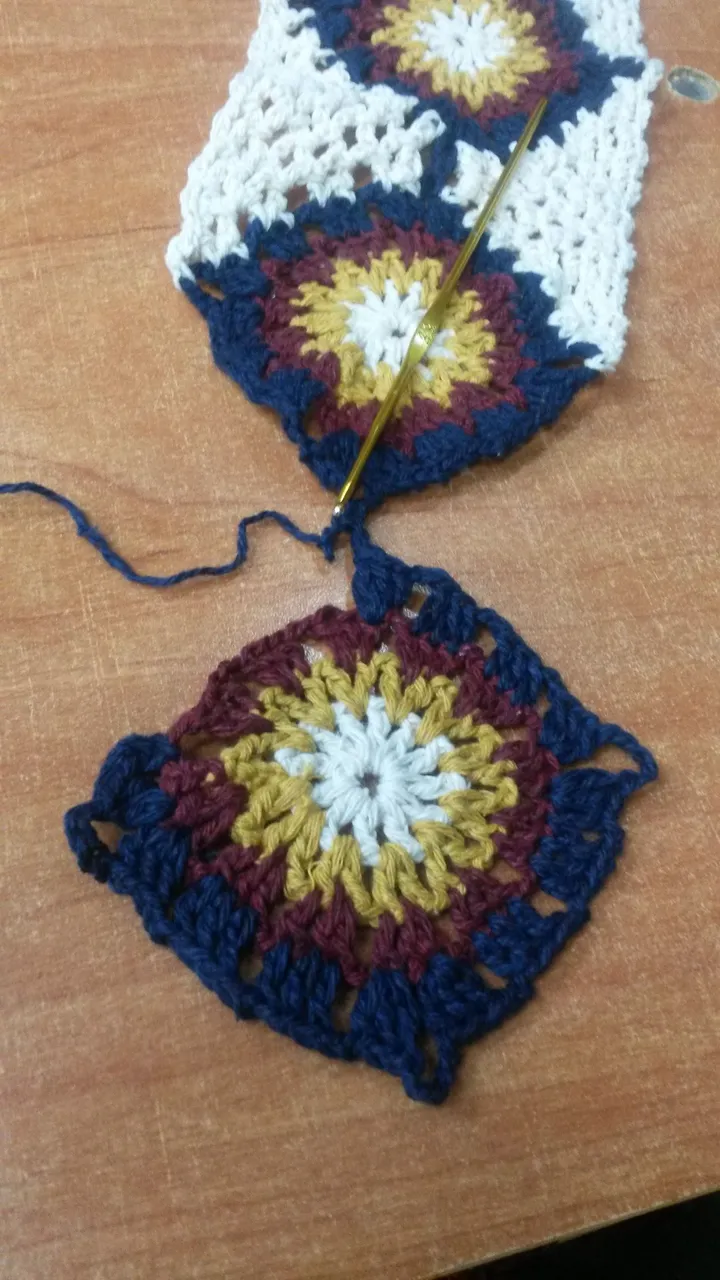
Para el segundo cuadrito seguir la secuencia realizada para el primer cuadrito con la excepción de antes de finalizar unirse al primer cuadrito, cerrar, cortar y esconder el hilo sobrante. Realizar los otros dos cuadritos y unir al cuadrito anterior antes de cerrar la última vuelta.
A medida que se van uniendo los cuadritos, se van rellenando los espacios entre ellos con otro color, esta unión se realiza en punto red.
For the second square follow the same sequence as for the first square except that before finishing, join the first square, close, cut and hide the excess yarn. Make the other two squares and join to the previous square before closing the last row.
As the squares are joined, the spaces between them are filled with another color, this joining is done in garter stitch.
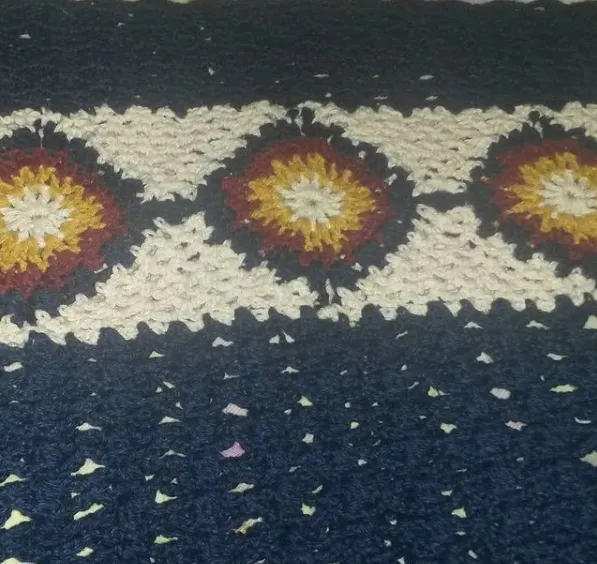
Luego de haber completado el encaje, me dispuse a tejer, de tal forma incorporar ese encaje a un sweater tejido en la técnica crochet que estaré completando. Me gusta mucho como luce, luce elegante y delicado.
Este encaje puede ser incorporado para decorar un cojín, una funda, una toalla, entre otros. Lo que es seguro, es que donde sea colocado lucirá precioso.
After completing the lace, I set out to knit, so that I could incorporate the lace into a crochet sweater that I will be completing. I really like the way it looks, it looks elegant and delicate.
This lace can be incorporated to decorate a cushion, a cover, a towel, among others. What is certain is that wherever it is placed it will look beautiful.
Gracias por dedicar un espacio de su tiempo para leer la publicación. Si hay alguna pregunta, por favor pregúntame en la sección de comentarios a continuación.
Thank you for taking the time to read this publication. If there are any questions, please ask me in the comments section below.
Texto e imágenes: Por @jicrochet
Text and images: By @jicrochet