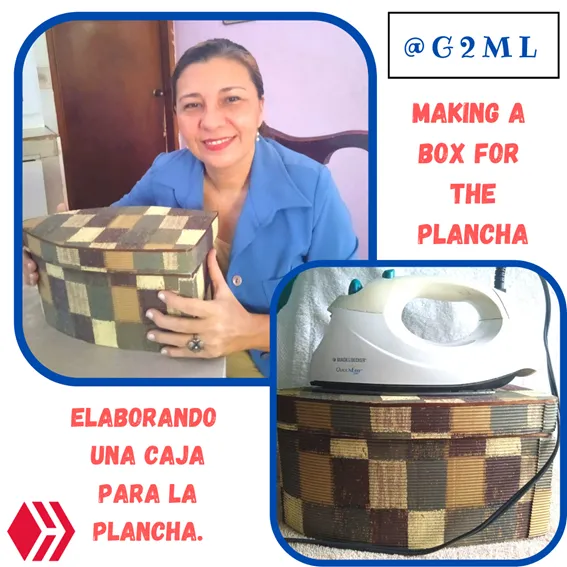
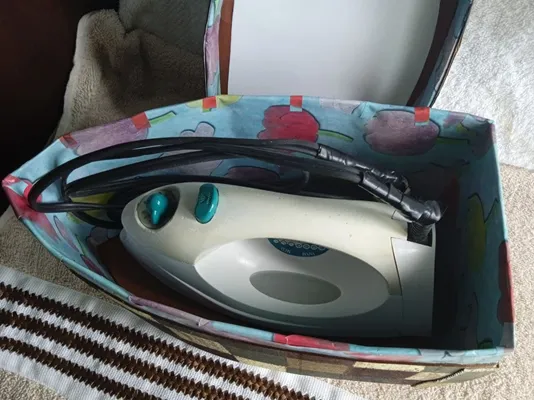
Hola comunidad Hive! que gusto encontrarnos hoy por acá. Tenía mi plancha de un lugar al otro, cuando necesitamos planchar la trasladamos al cuarto y ahí planchábamos. Así que pensé hacer esta caja o estuche, para cuidarla mejor del polvo u otros elementos y evitar golpes.
Hello Hive community, nice to meet you here today. I had my iron from one place to another, when we need to iron we move it to the bedroom and there we ironed. So I thought I would make this box or case, to better protect it from dust or other elements and avoid bumps.
Te explico brevemente como la hice, pues cada plancha tiene medidas diferentes. Con la misma obtuve las medidas necesarias para elaborar esta idea.
I will explain briefly how I made it, because each plate has different measurements. With it I obtained the necessary measures to elaborate this idea.

Materiales necesarios:
Cartón
Cartulina corrugada
Papel de regalo
Cartulina escolar
Silicón
Regla, tijera, lápiz
Cinta decorativa
Materials needed:
Cardboard
Corrugated cardboard
Gift wrapping paper
School cardboard
Silicone
Ruler, scissors, pencil
Decorative tape
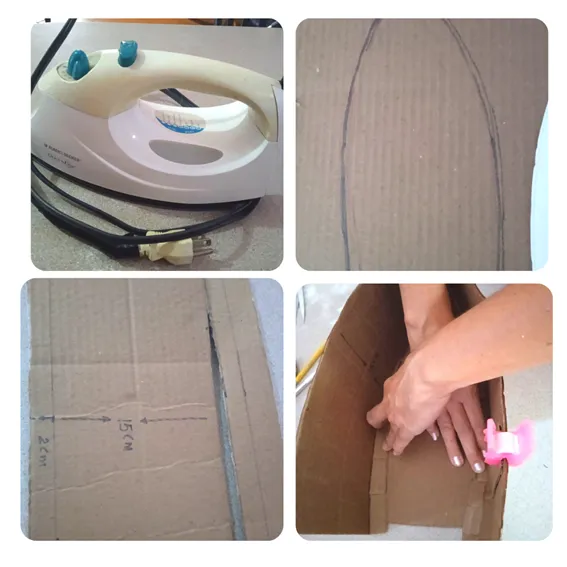
Pasos Para la Elaboración:
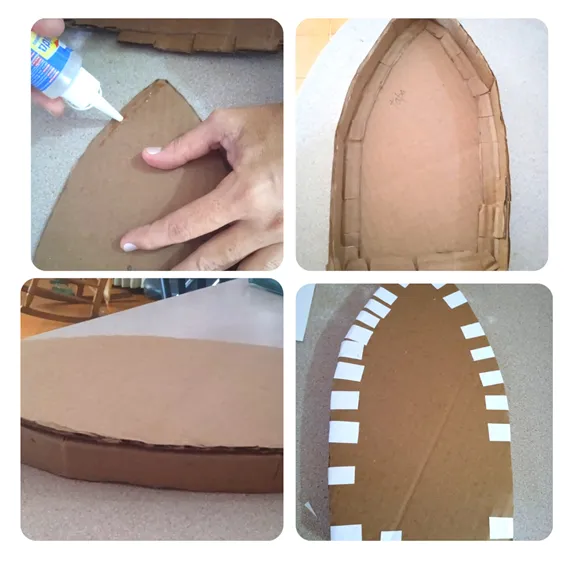
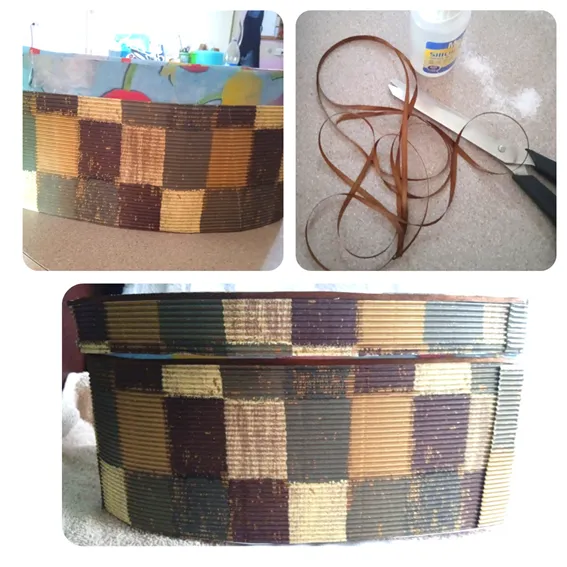
Tomé la base de la plancha y saqué un patrón agregando un centímetro alrededor. Corté la base y además otra un poco más grande para la tapa. Con cartón hice un rectángulo con la altura de la plancha hasta tapar donde tiene el cable. Esta medida fueron 15 centímetros y de largo fueron 63 centímetros. Luego la pegué pacientemente a la base.
Steps for the Elaboration:
I took the base of the iron and made a pattern adding a centimeter around it. I cut the base and another one a little bigger for the lid. With cardboard I made a rectangle with the height of the plate to cover where the cable is. This measure was 15 centimeters and the length was 63 centimeters. Then I patiently glued it to the base.
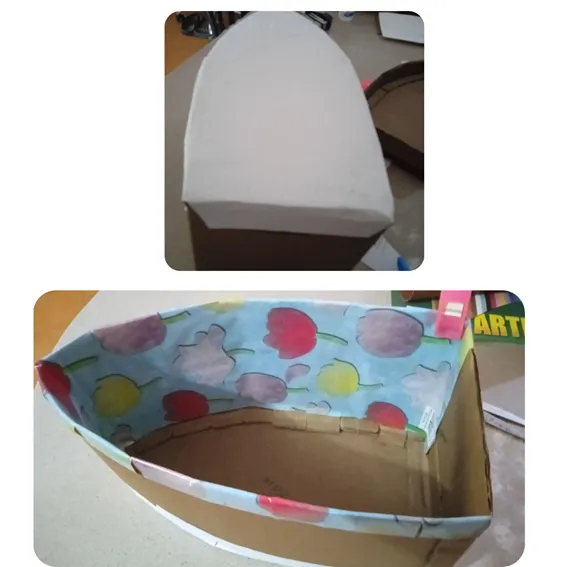
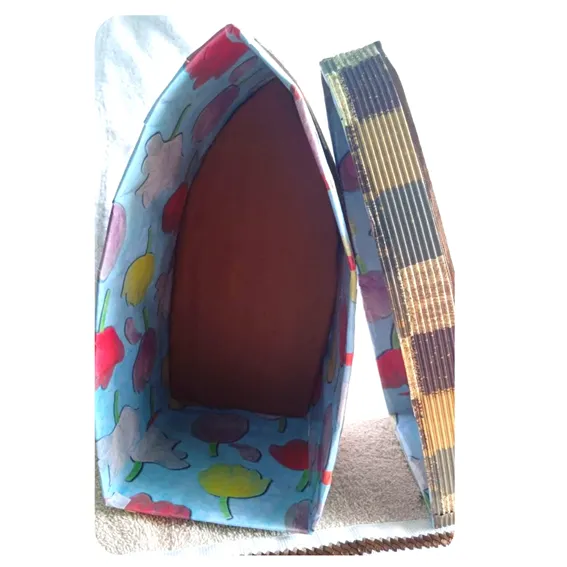
Después de tener la base lista, tomé una hoja reciclada y la coloqué en la parte posterior de la base. Y con el papel de regalo, corté un rectángulo y lo pegué por todo el alrededor interno sacando el resto hacia el frente que luego quedaran tapadas con el papel corrugado.
After I had the base ready, I took a recycled sheet and placed it on the back of the base. And with the wrapping paper, I cut a rectangle and glued it all around the inside, taking out the rest towards the front that would then be covered with the corrugated paper.
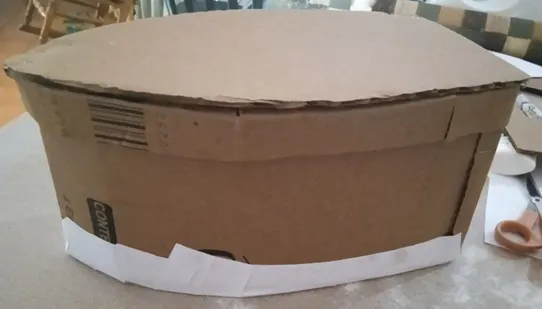
Para la tapa, seguí el mismo procedimiento, con la base le pegué por todo el alrededor un rectángulo de cartón de 5 centímetros. y para fijarlo por fuera le coloqué pedazos de hojas recicladas, para evitar que se despegue por el uso.
For the lid, I followed the same procedure, with the base I glued a 5-centimeter cardboard rectangle all around it, and to fix it on the outside I placed pieces of recycled leaves to prevent it from peeling off with use.
Verifiqué que calzaran las dos piezas, la base y la tapa (esta aun lo le había colocado los papeles reciclados).
I verified that the two pieces, the base and the lid, fit together.(this one still had the recycled papers in place).
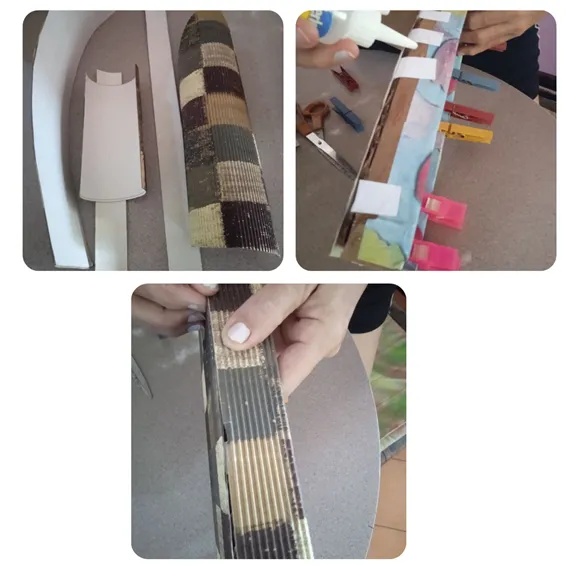
Luego con el papel corrugado, que me encantó este diseño, saqué las piezas necesarias para pegar alrededor y por encima. Pero además la parte interna para que quedara bien hecho. Utilicé algunos ganchos de ropa para poder fijar bien el papel.
Then with the corrugated paper, which I loved this design, I took the necessary pieces to glue around and on top. But also the inner part so that it would be well done. I used some clothespins to fix the paper well.
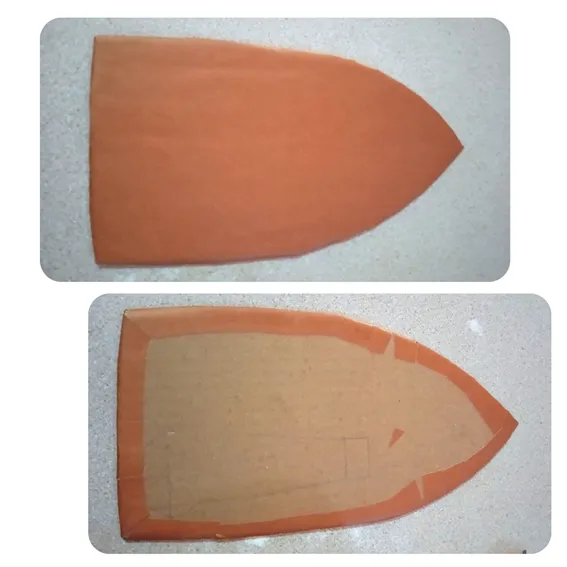
Con cartulina escolar, hice la base interna de la manera que se muestra en la foto, esta se coloca en la base grande de la caja y se fija con pegamento.
With school cardboard, I made the inner base as shown in the photo, this is placed on the large base of the box and fixed with glue.
Tenía un poco de esta cinta decorativa de color marrón, la coloqué al borde de la tapa para mejorar la presentación y también alrededor de la base en la parte entre el papel corrugado y el papel de regalo.
I had some of this decorative brown ribbon, I placed it around the edge of the lid to enhance the presentation and also around the base in the part between the corrugated paper and the gift wrap.
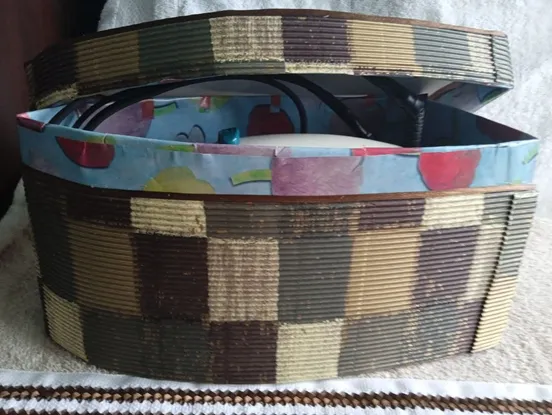
De esta manera queda la vista interna de la caja.
This is the internal view of the box.
Me gustó elaborar esta idea, así que ya tengo protegida del polvo y de otros elementos mi preciada plancha con un lugar especial.
I liked to elaborate this idea, so I already have my precious iron protected from dust and other elements with a special place.
Las fotos fueron con el teléfono Redmi 9 A, la edición con Canva, el traductor es Deepl y los separadores de @eve66.
Photos were with Redmi 9 A phone, editing with Canva, translator is Deepl and separators by @eve66.