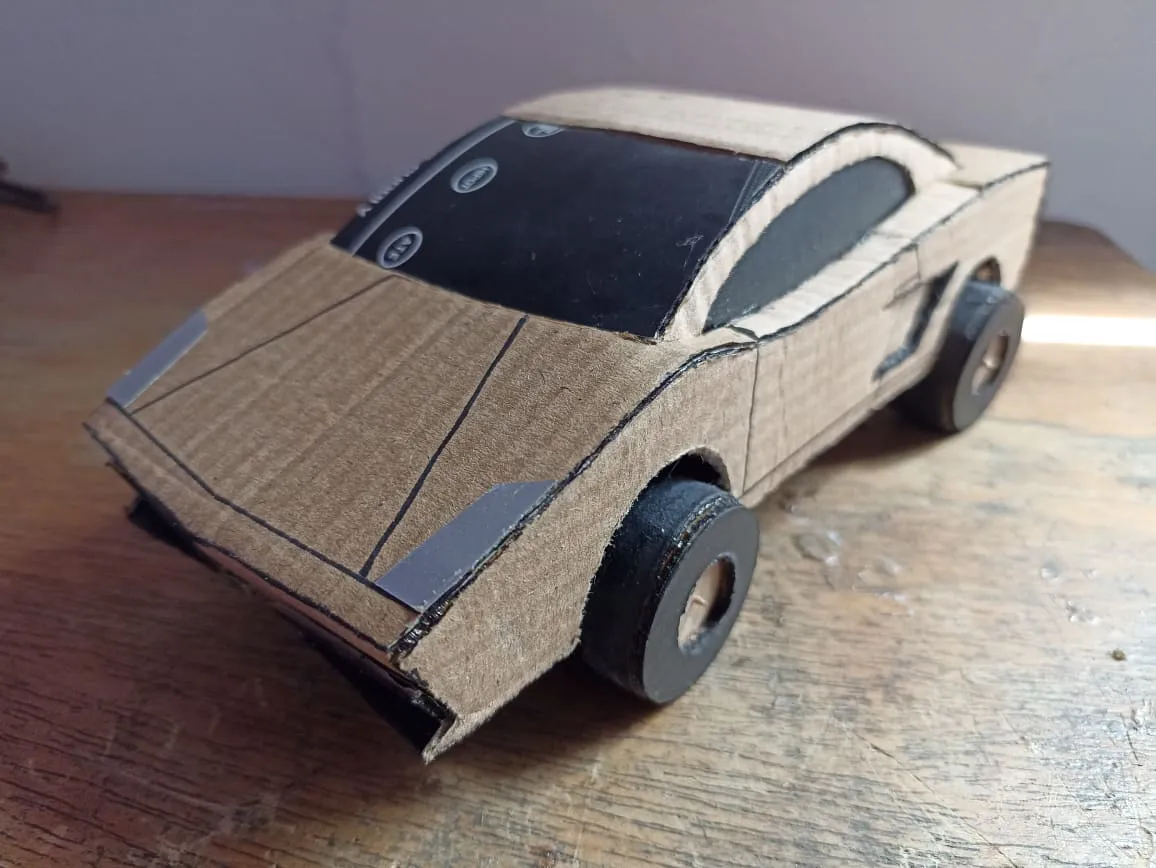
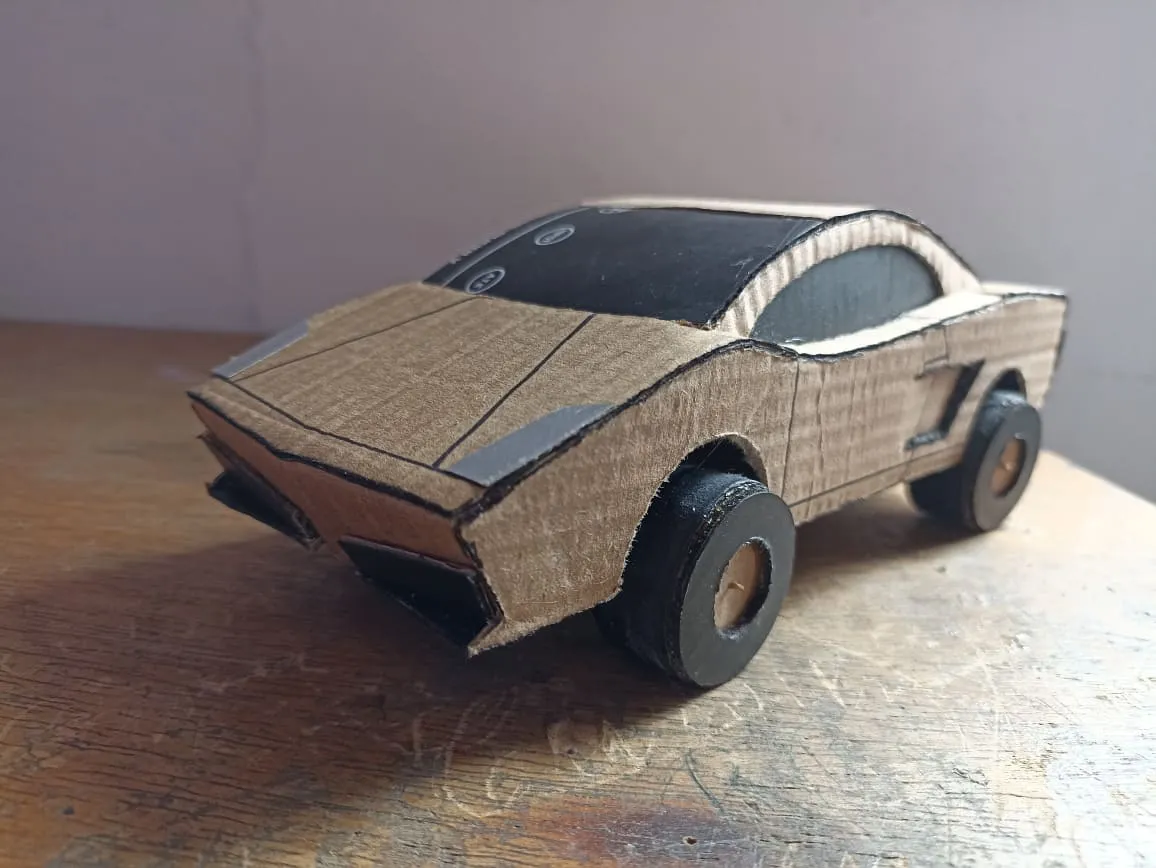
Hello friends, I hope you are very well today I want to share with the community my latest manual work, this time I have made a scale model of the Lamborghini Gallaro sports car, one of the models that I like the most from this brand. Its futuristic stylized shape always seemed to me to have seen it in movies. I have made this scale model using materials such as cardboard to a greater extent, and to a lesser extent a little aluminum. Hope you like.
Hola amigos, espro que se encuentren muy bien hoy quiero compartir con la comunidad mi último trabajo manual, esta vez he realizaod un modelo a escala del automovil deportivo Lamborghini Gallaro, uno de los modelos que más me gustan de esta marca. Su forma estilizada tan futurista siempre me pareció haberlo visto en películas. He realizado este modelo a escala utilizando materiales como el cartón en mayor medida, y en menor medida un poco de aluminio. Espero que les guste.

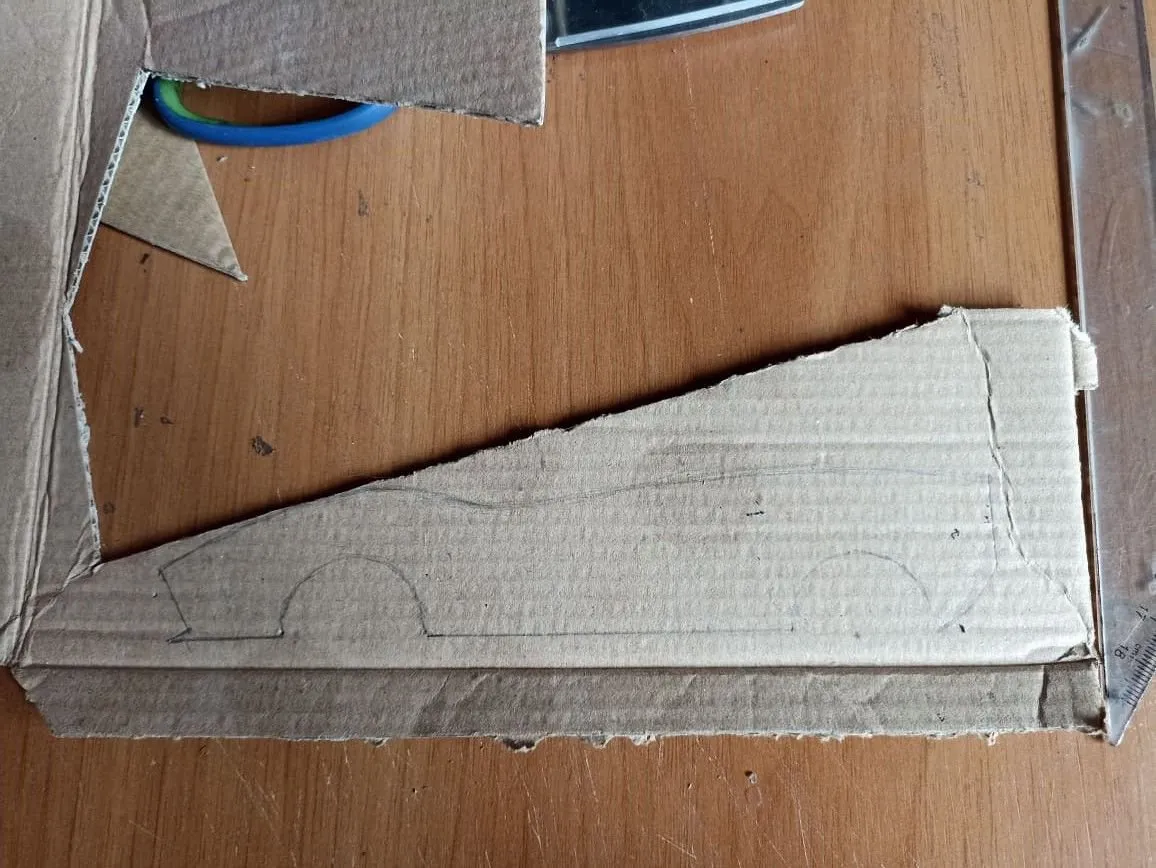
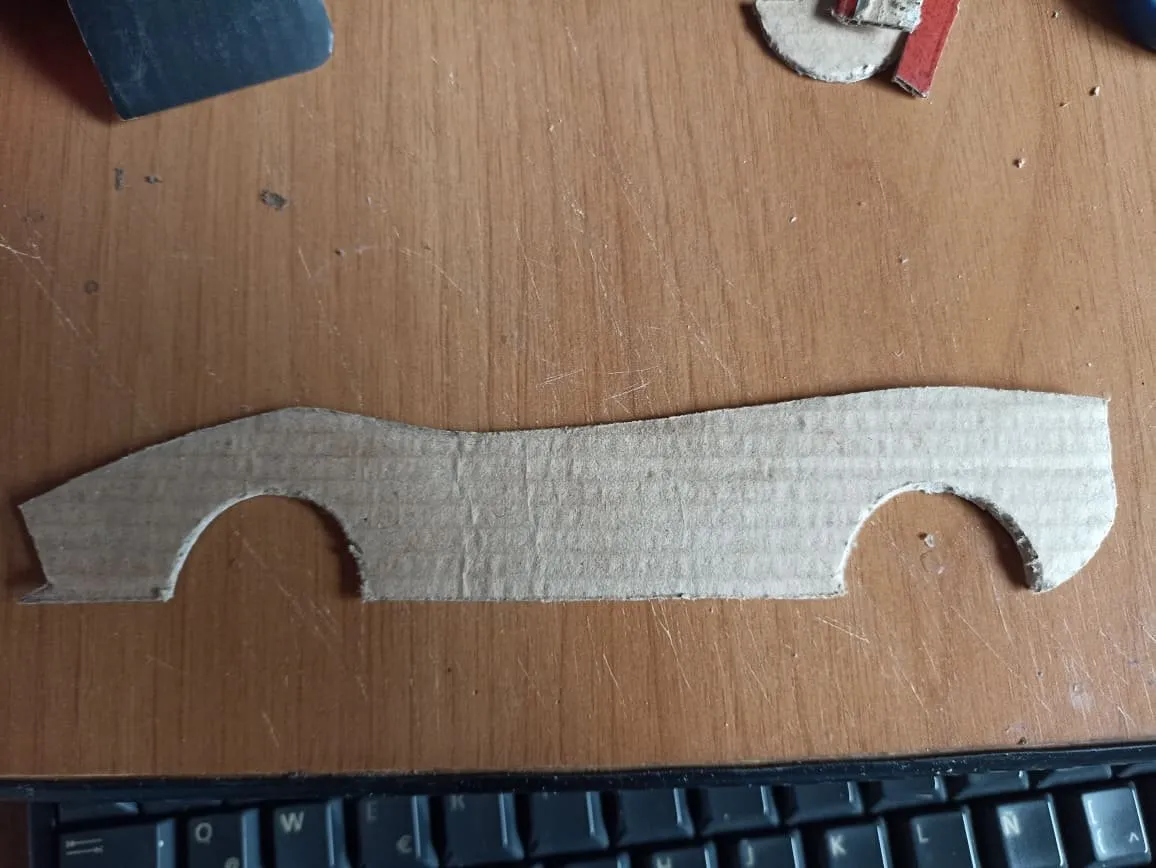
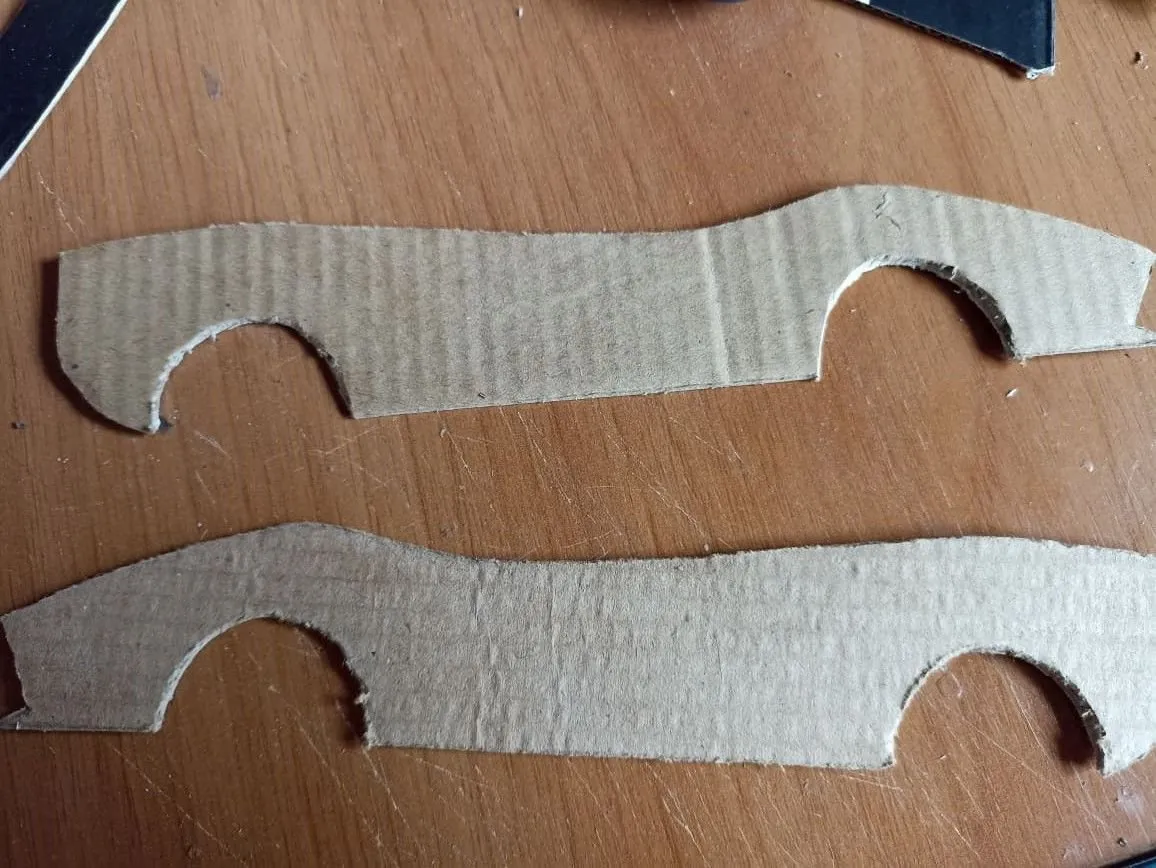
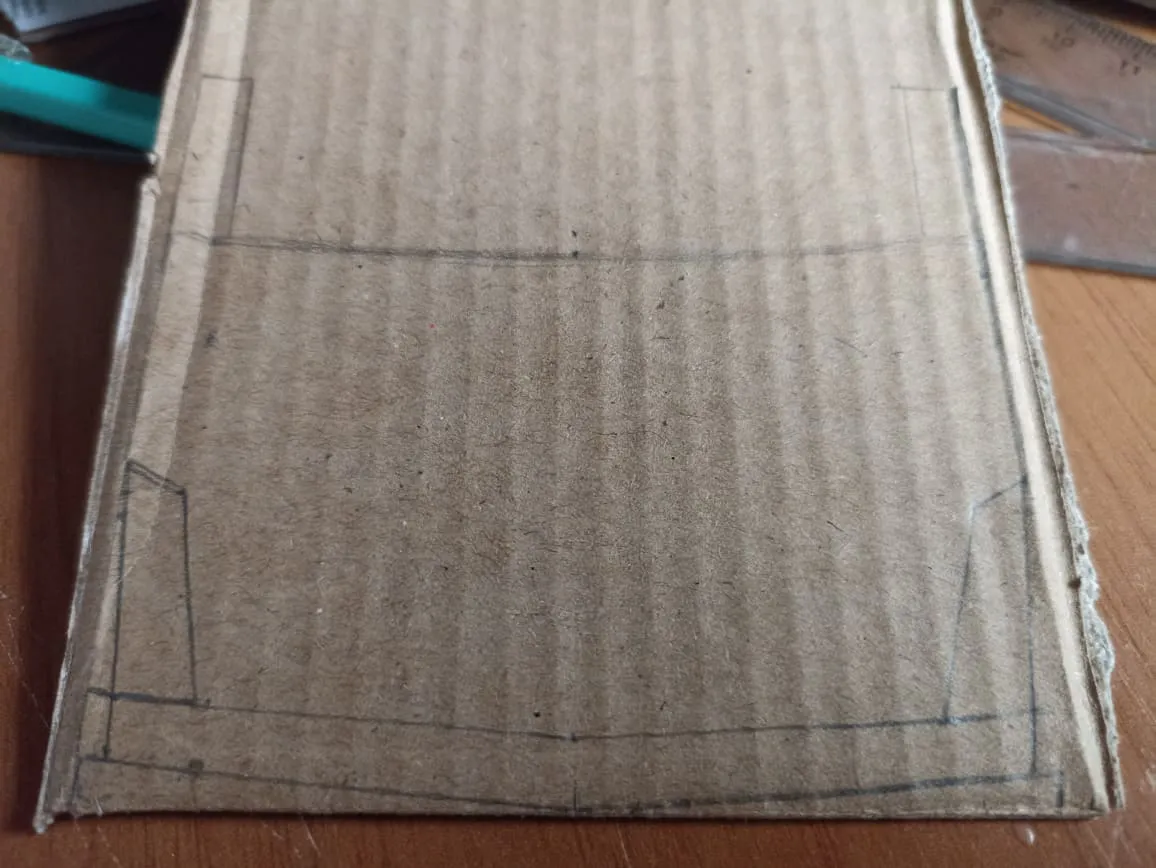
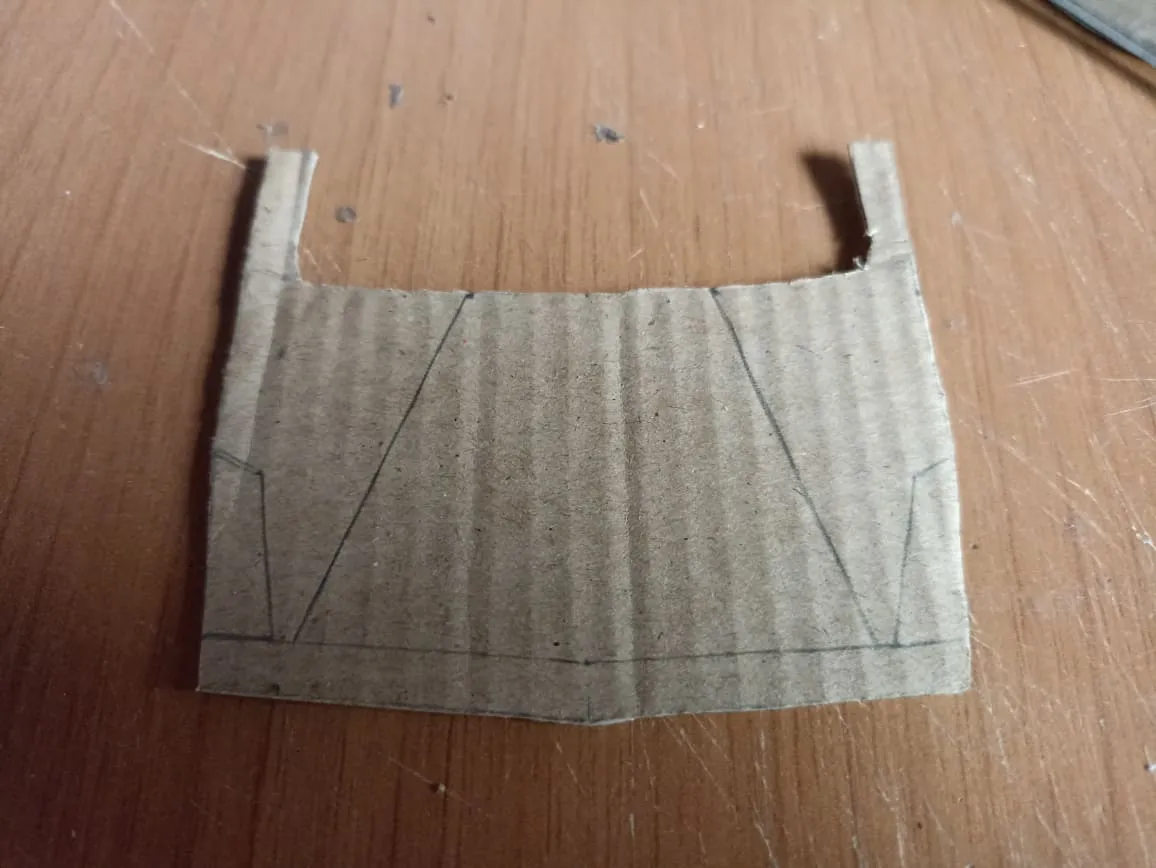
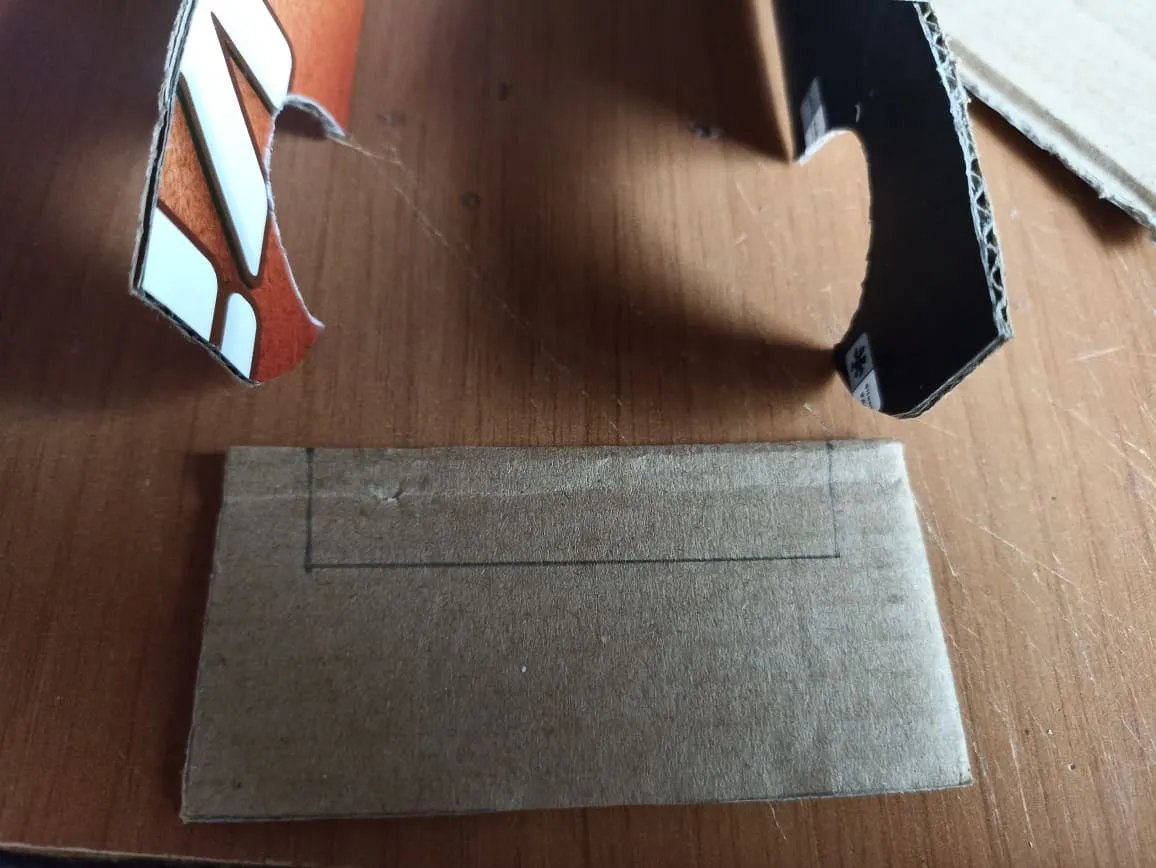
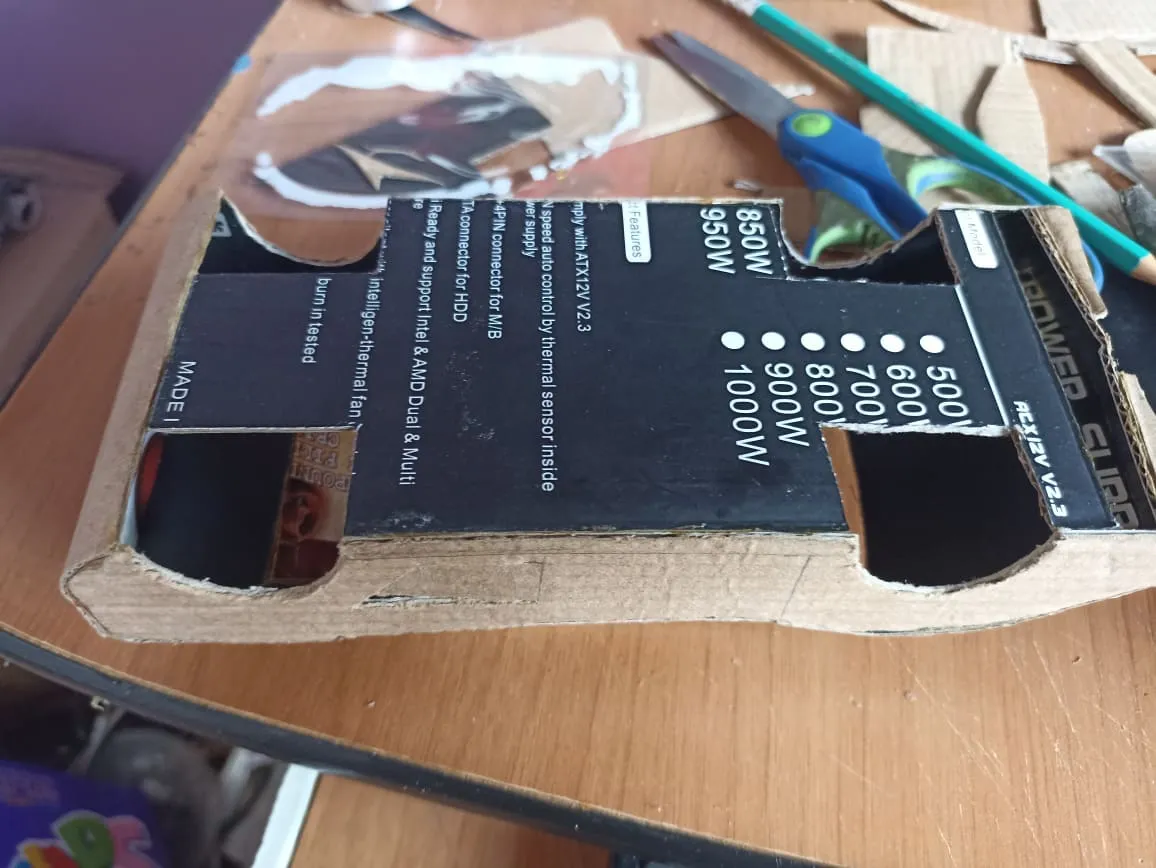
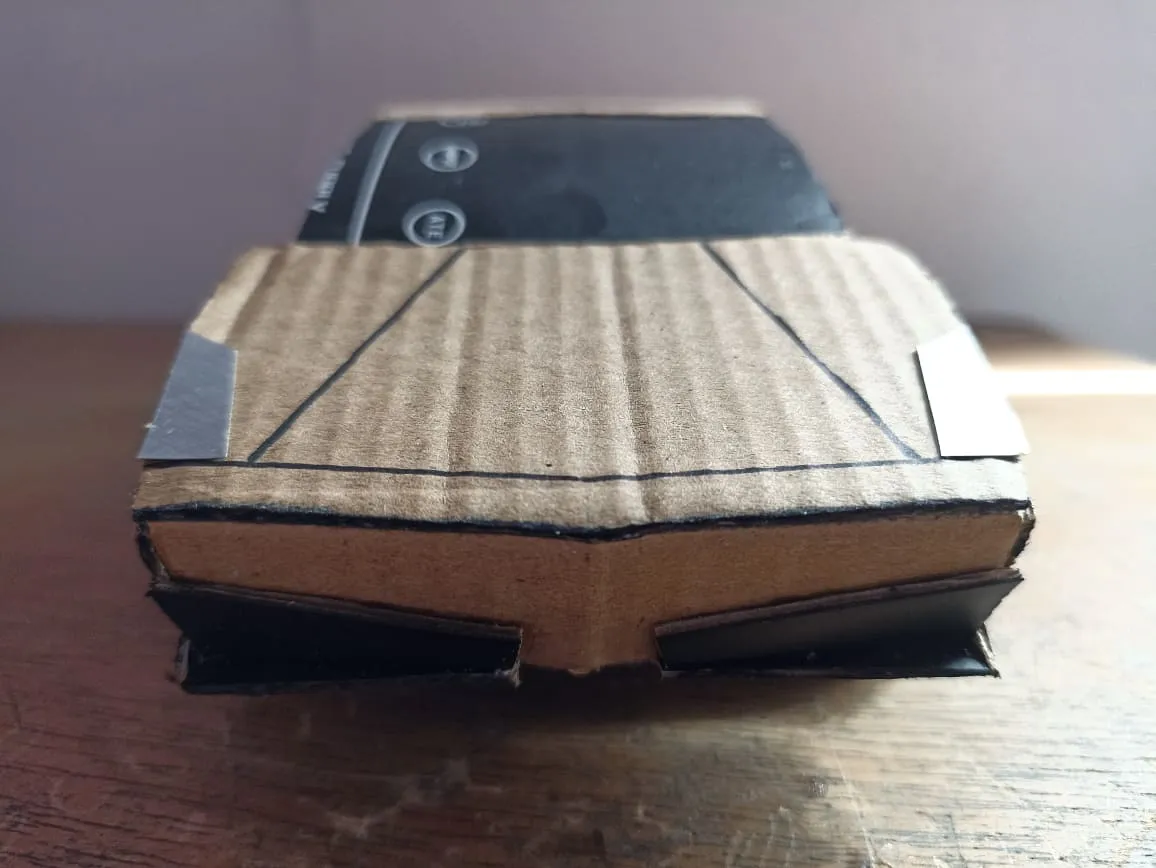
To make this car we will take the most essential measures, as it is a model with a futuristic design it will not be full of extravagant details, on the contrary almost the entire surface of the body is uniform, this when designing the templates is easier to do . We take a piece of cardboard and we will draw the part of the doors from the beginning in the front bumpers to the rear. After drawing a template, we will use it as a template to make the second one. Then we are going to draw the hood that covers the engine and where the headlights go, we cut it so that it serves to join both pieces, this will give us the width, I used a measure of 8 centimeters.
Para hacer este carro tomaremos las medidas mas escenciales, como es un modelo con un diseño futurista no estará colmado de detalles extravagantes, por el contrario casi toda la superficie de la carrocería es uniforme, esto al momento de diseñar las plantillas resulta más sencillo de hacer. Tomamos un trozo de cartón y dibujaremos la parte de las puertas desde el incicio en las defensas delanteras hasta la parte trasera. Después de dibujar una plantilla, la utilizaremos como molde para hacer la segunda. Luego vamos a dibujar el capó que cubre el motor y donde van los faros de iluminación, lo cortamos de manera que nos sirva para unir ambas piezas, esto nos dará el ancho, yo utilicé una medida ede 8 centímetros.
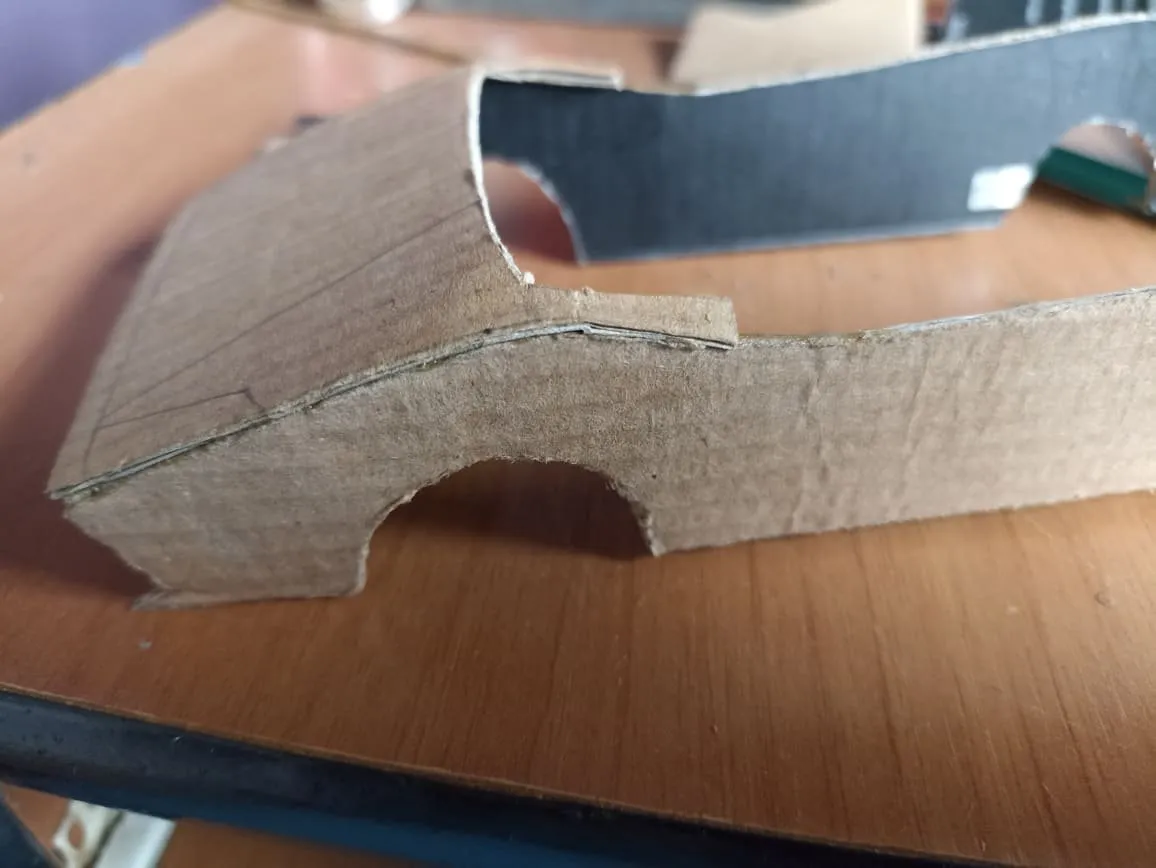
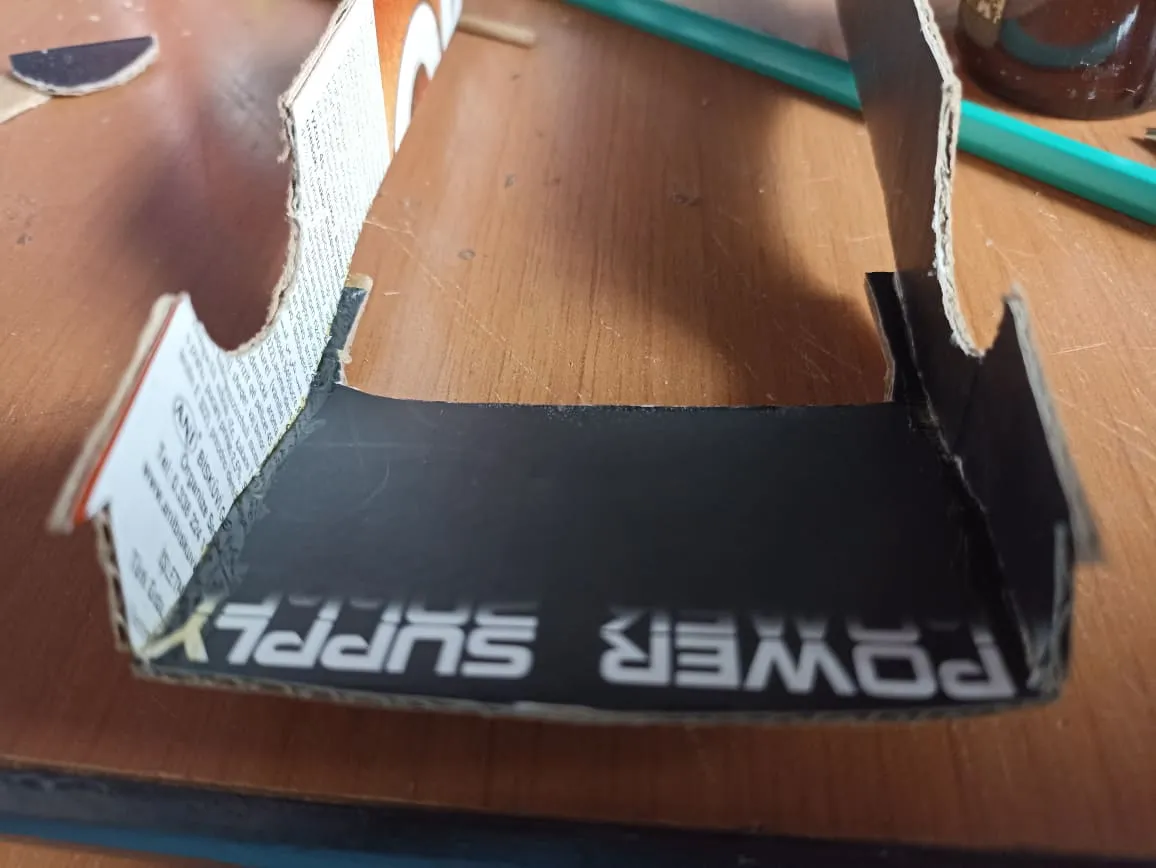
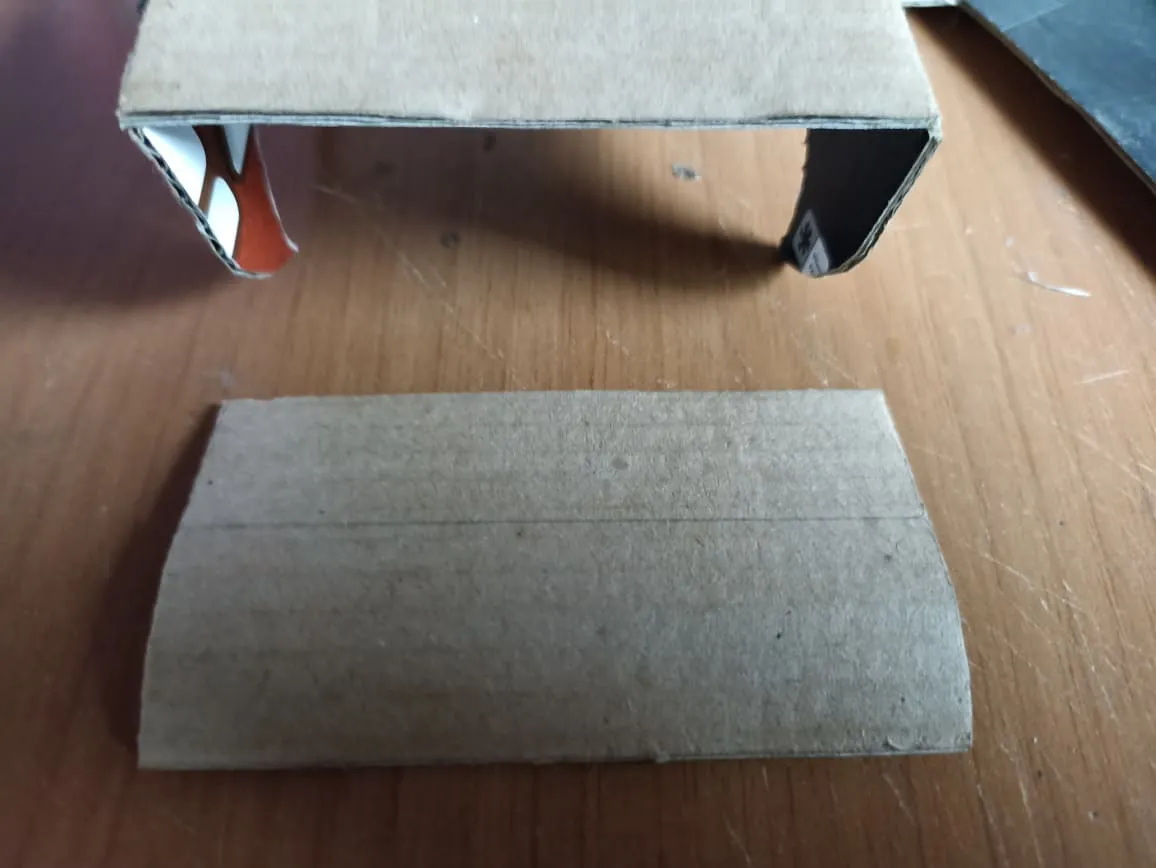
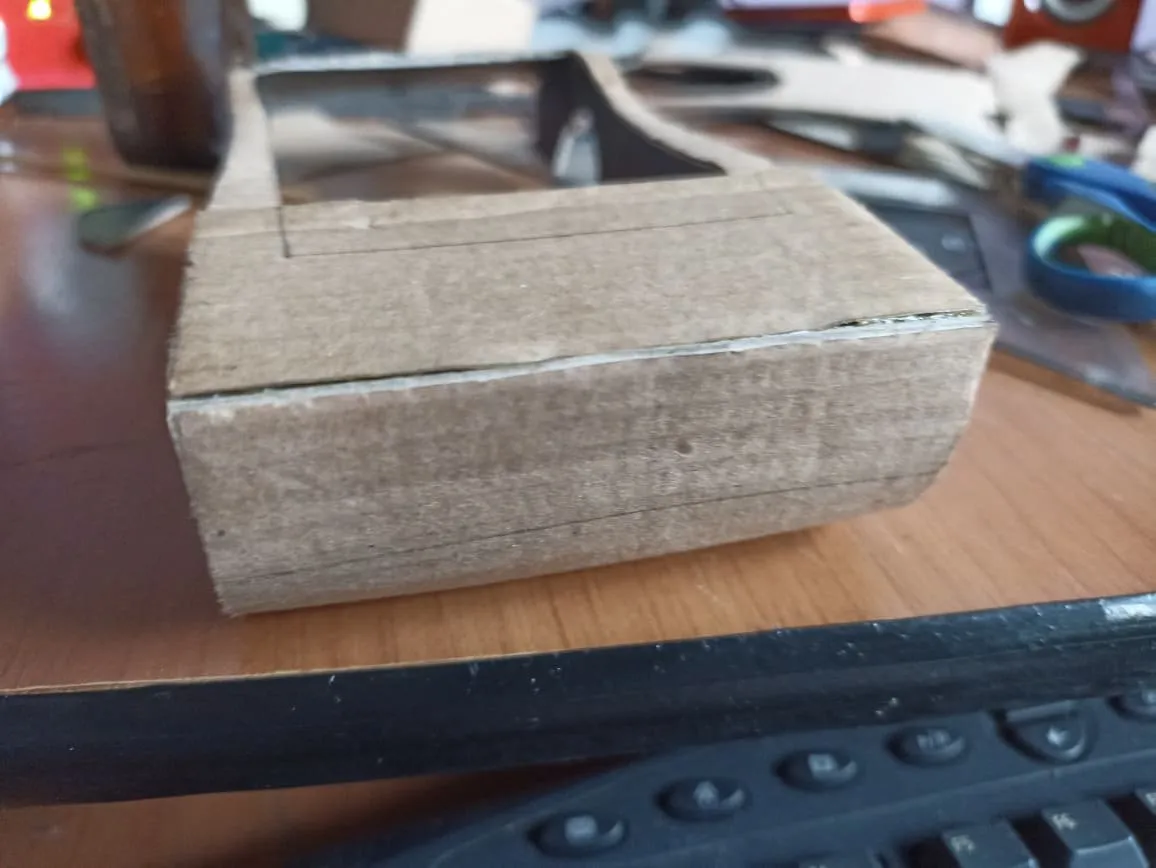
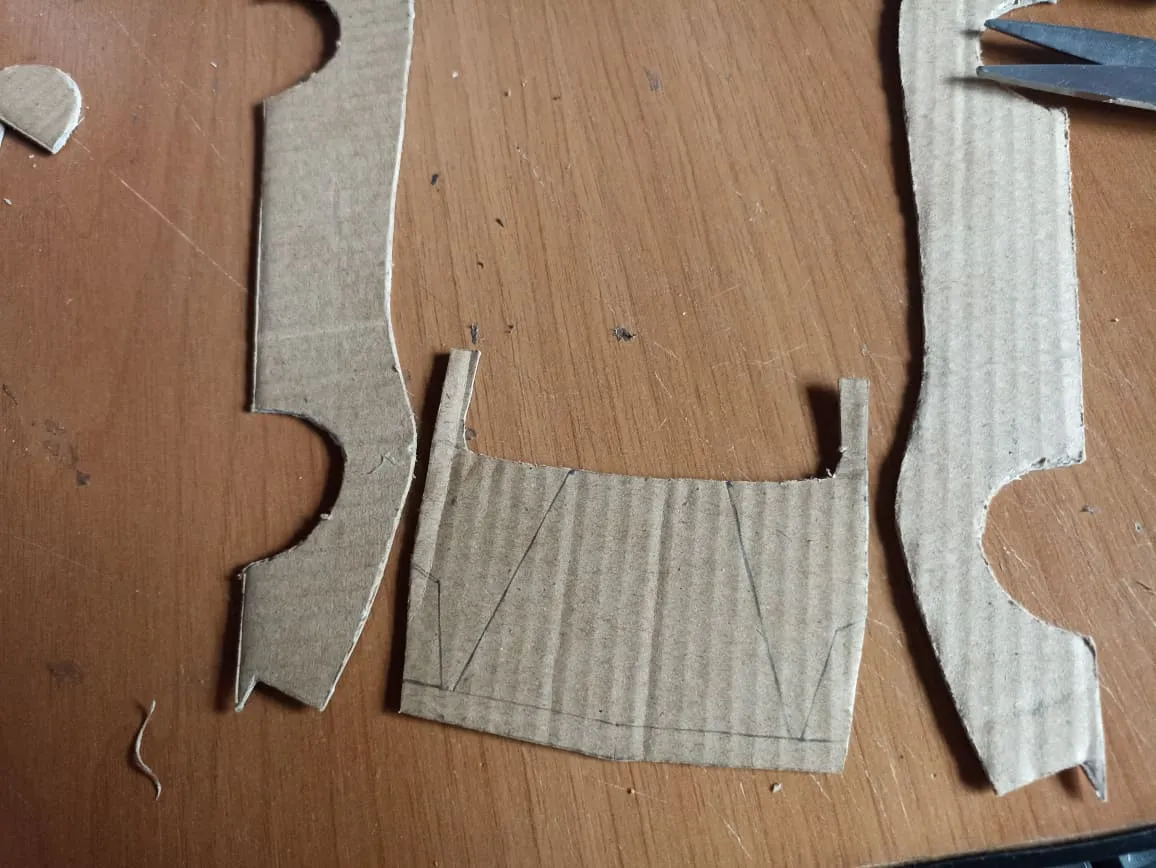
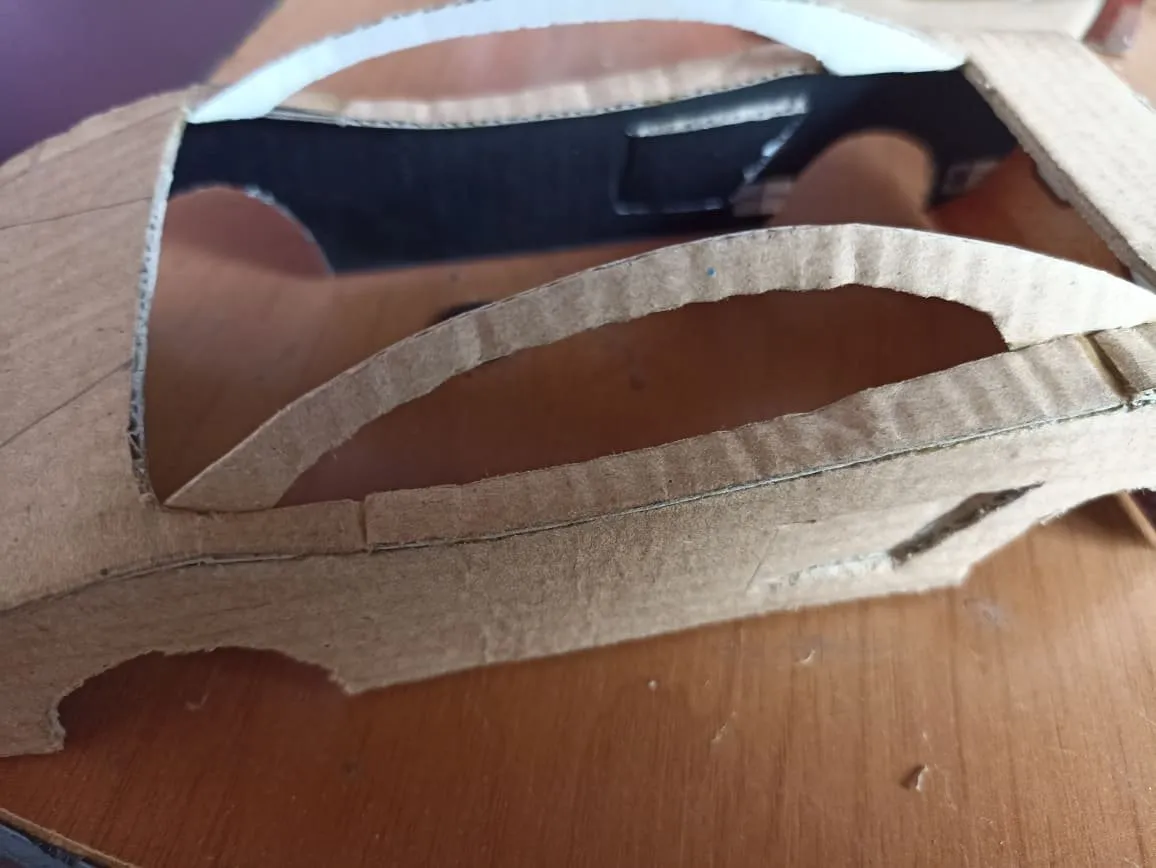
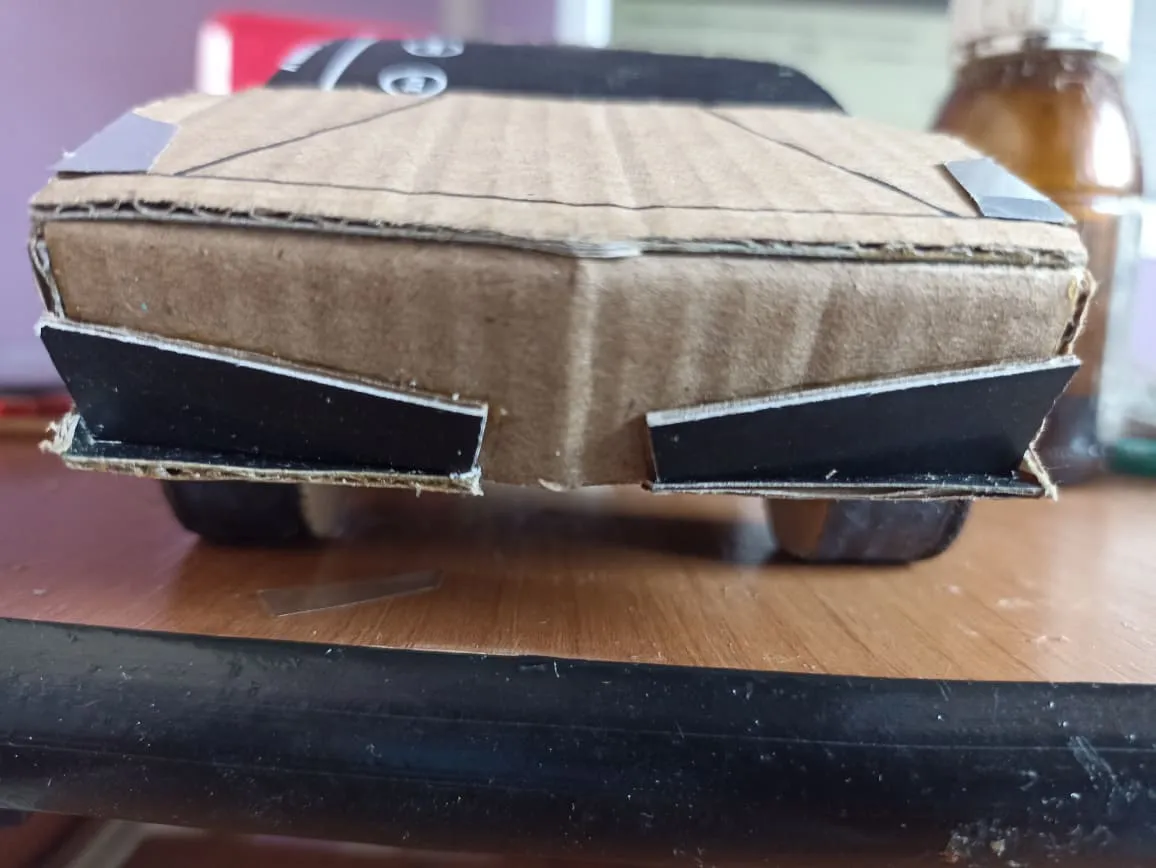
Once we have cut these templates we can start joining them. We will do the rest of the parts on the fly. So we take the side parts and they will be attached by the hood, we use any glue that can hold the cardboard together well. After that we will make the rear hood including the lower part where the lighting headlights go. We will also make a small corridor that this car model has and that goes above the doors specifically and that serves to join the front part of the hood with the rear part, giving the body more firmness.
Una vez ya hemos cortado estas plantillas podemos comenzar a unirlas. El resto de partes las hiremos haciendo sobre la marcha. Así que tomamos las partes laterales y estarán unidas por el capó, utilizamos cualquier pegamento que pueda unir bien el cartón. Despues de ello haremos el capó traseró incluyendo la parte más inferior por donde van los faros de iluminación. También haremos y una pequeña corredor que posee este modelo de carro y que va encima de las puertas concretamente y que sirve para unir la parte delantera del capó con la parte trasera dándole más firmeza a la carrocería.
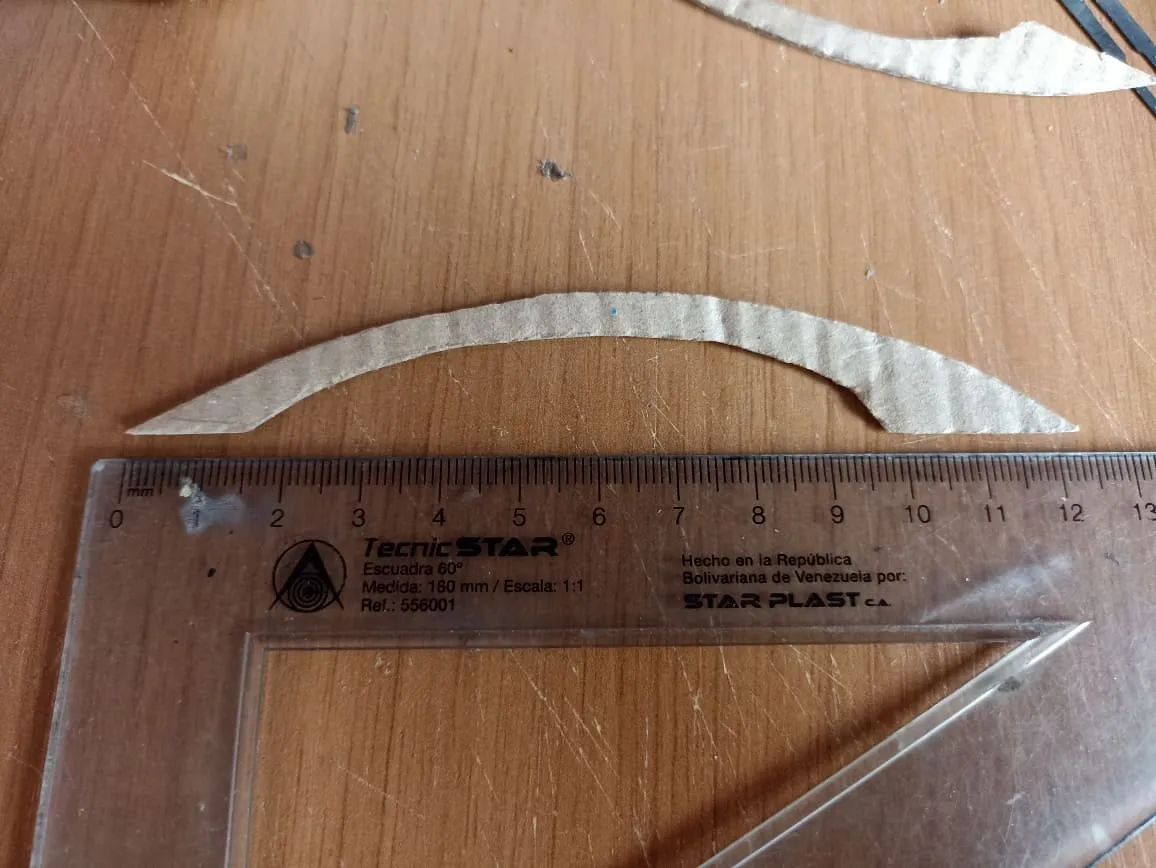
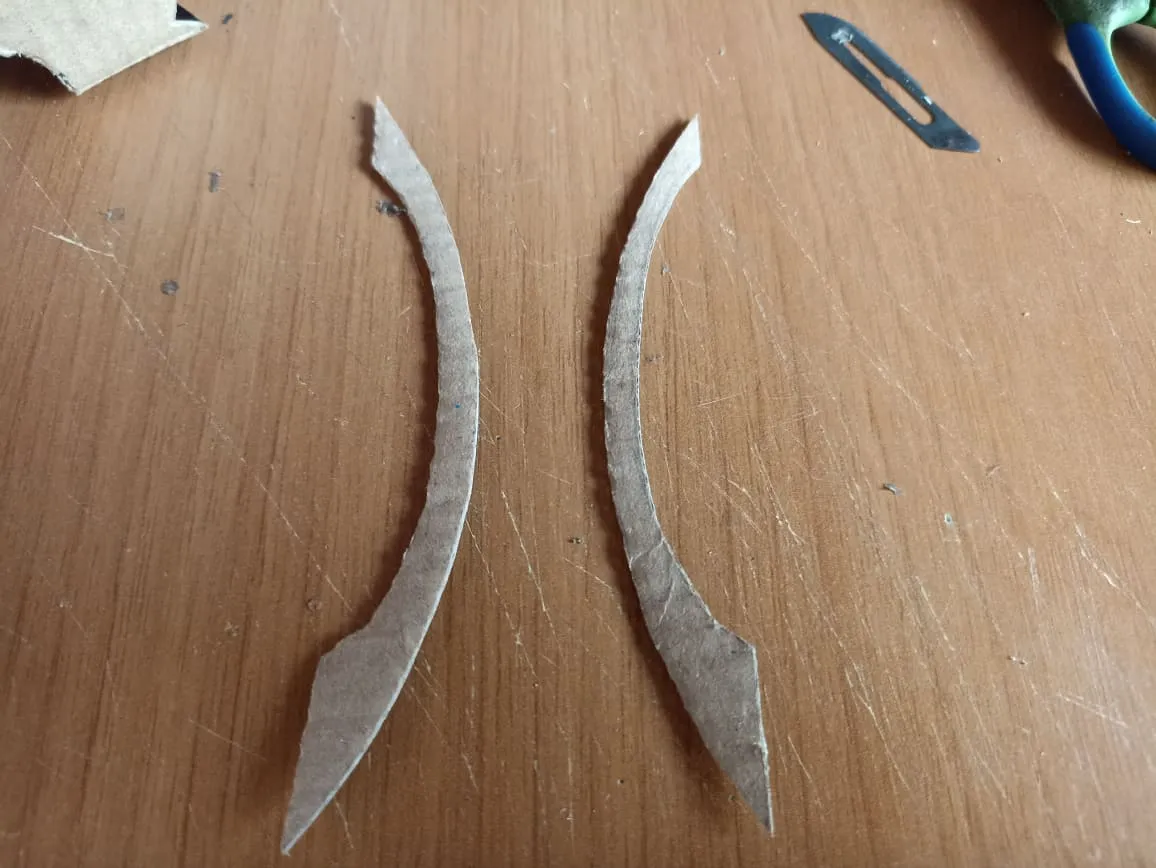
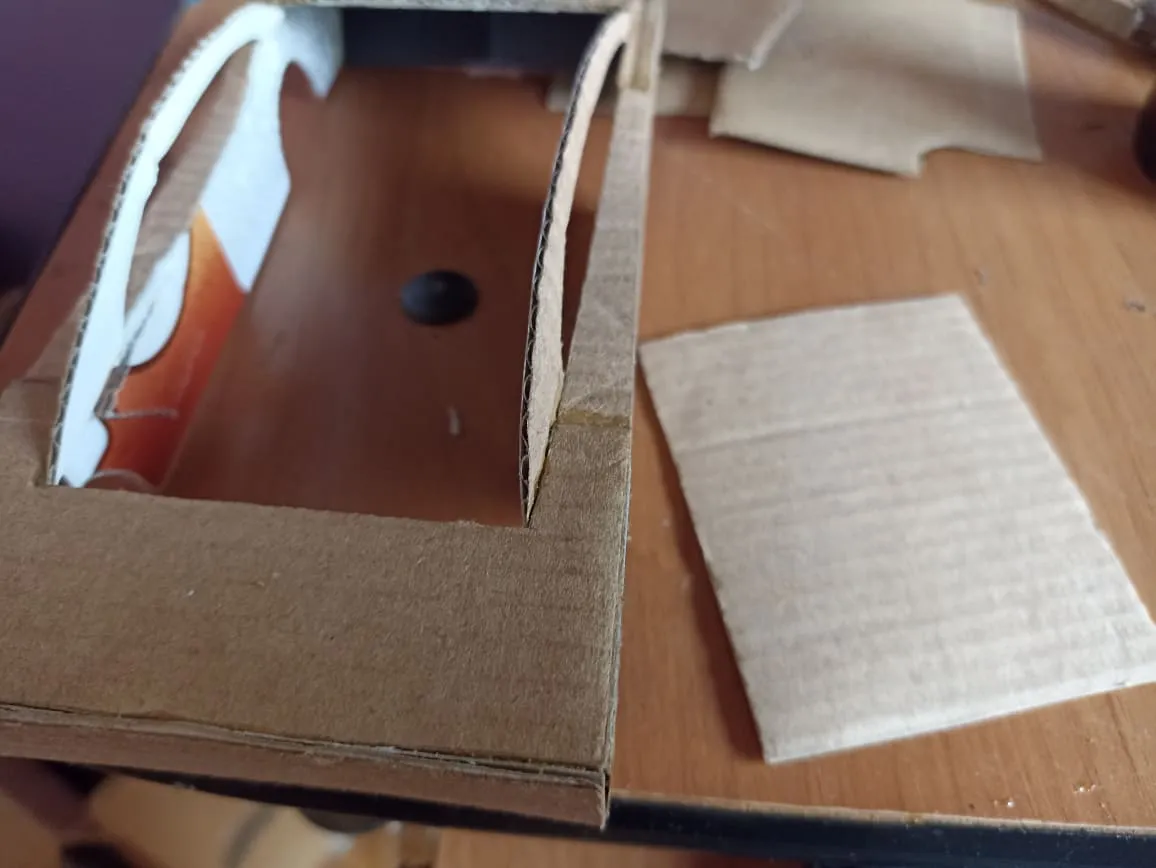
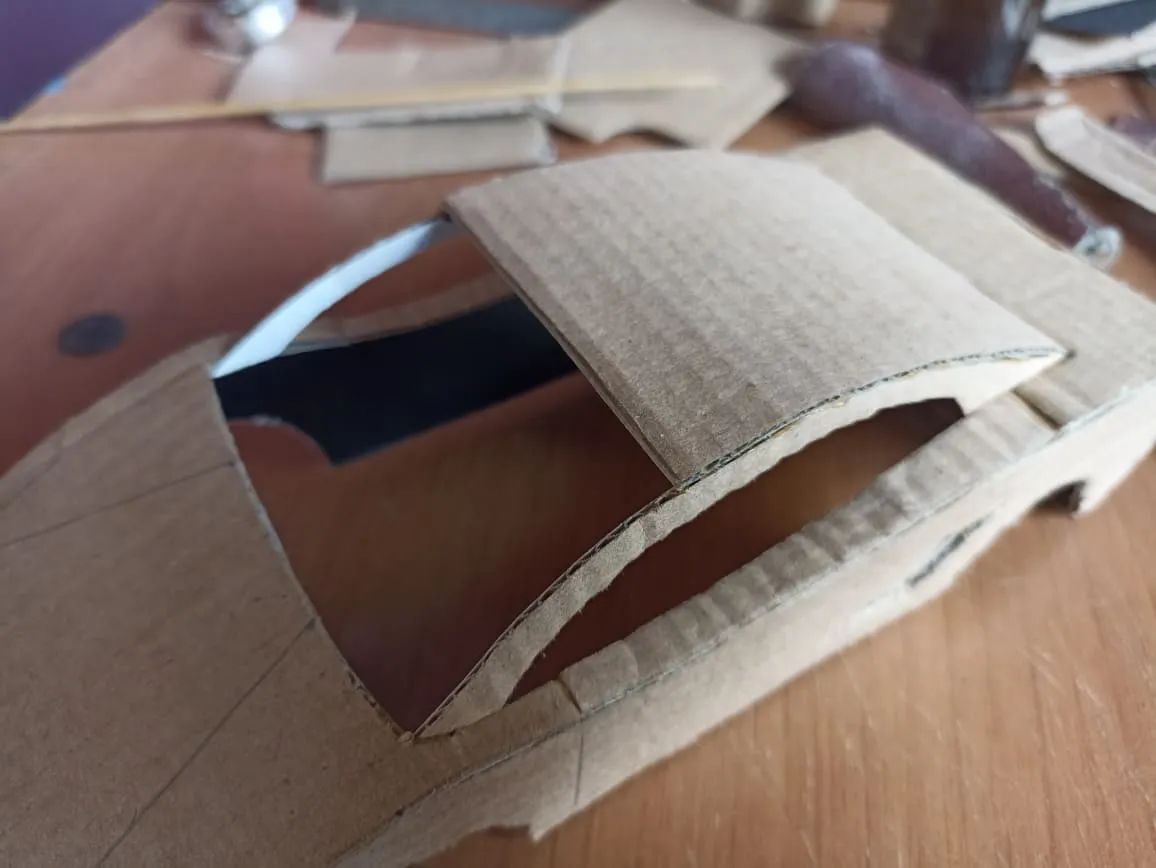
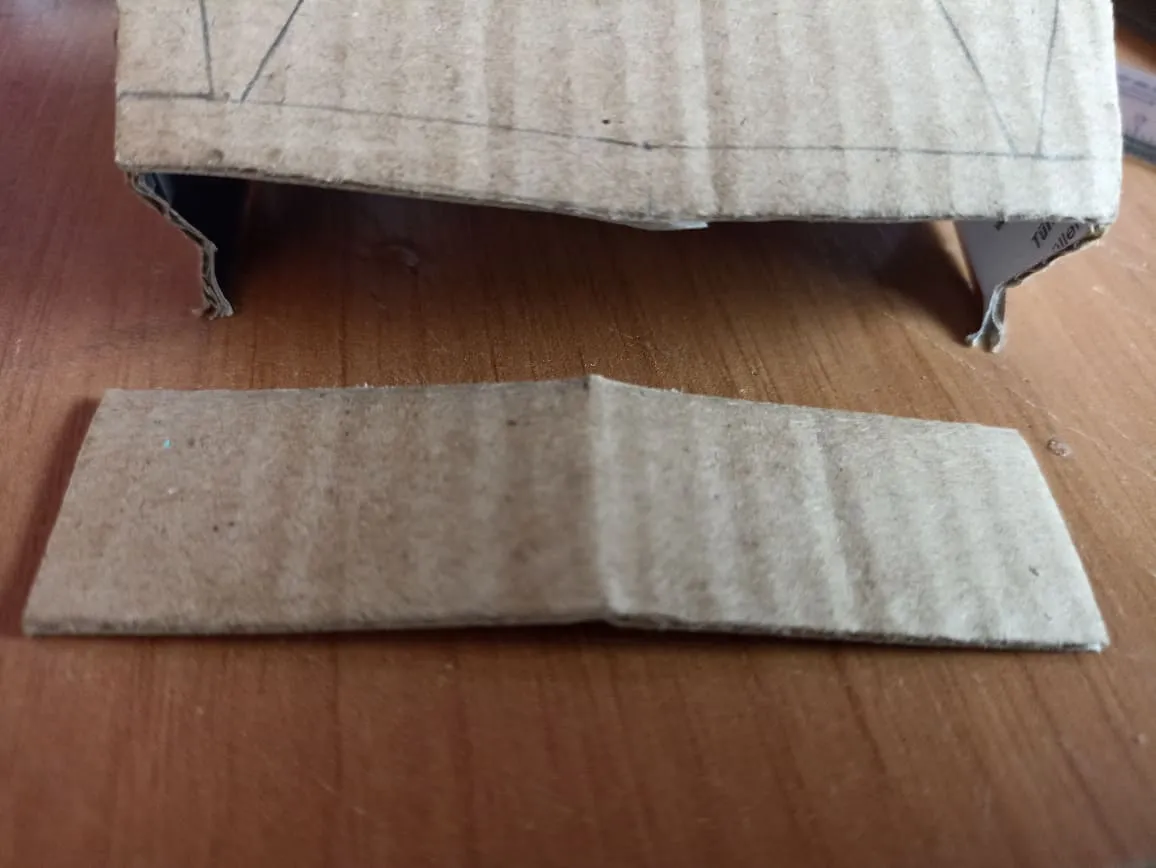
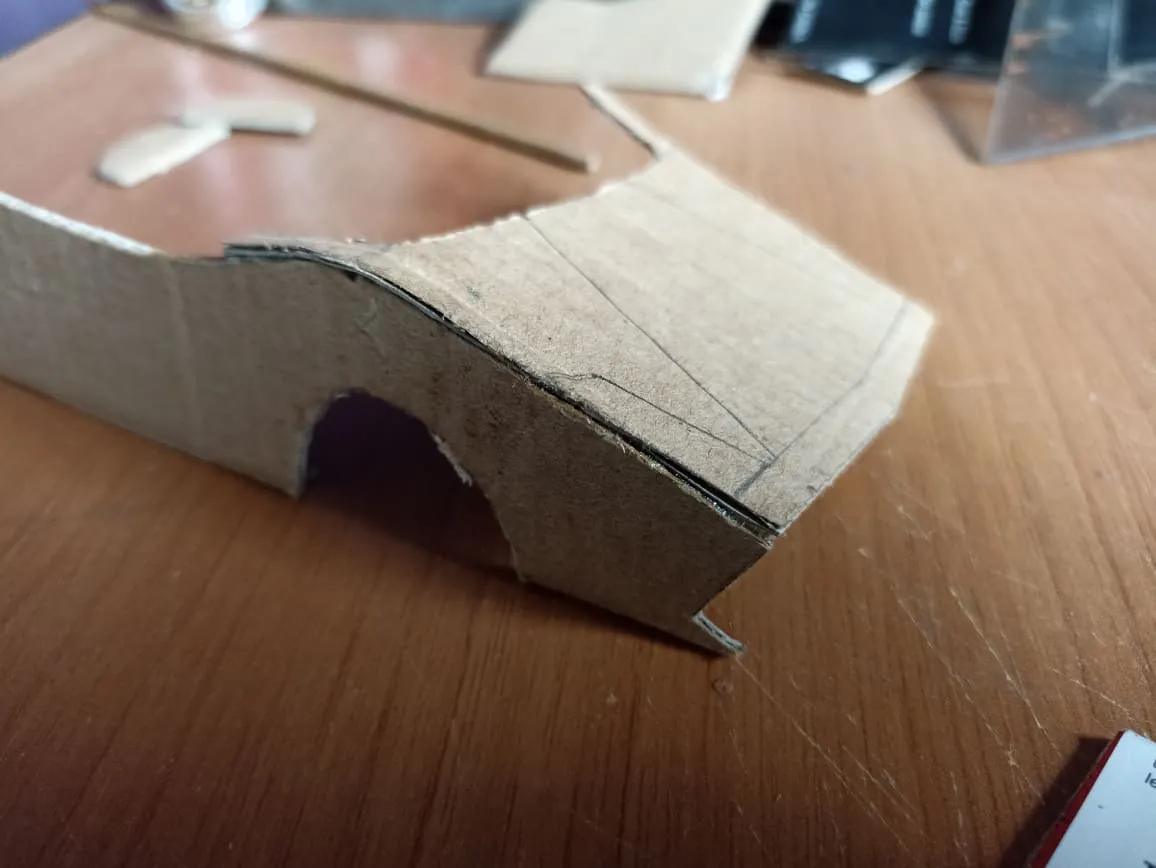
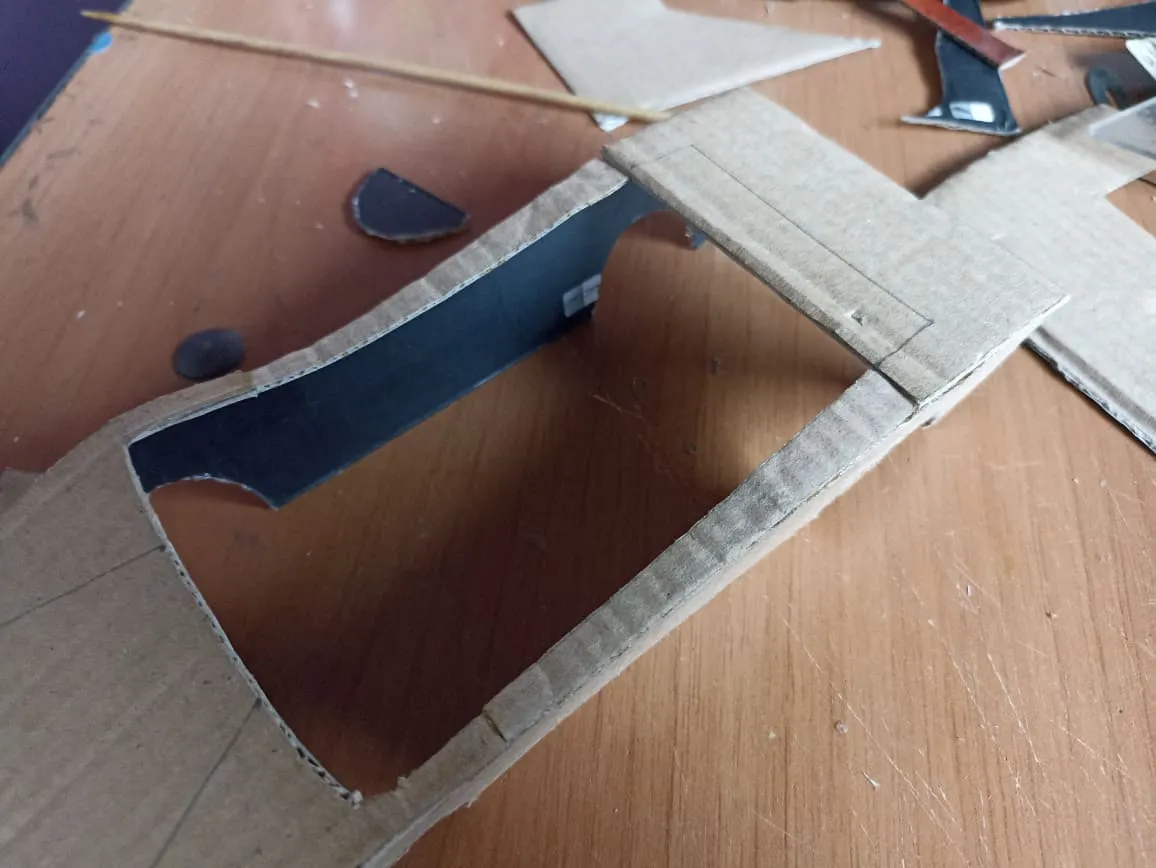
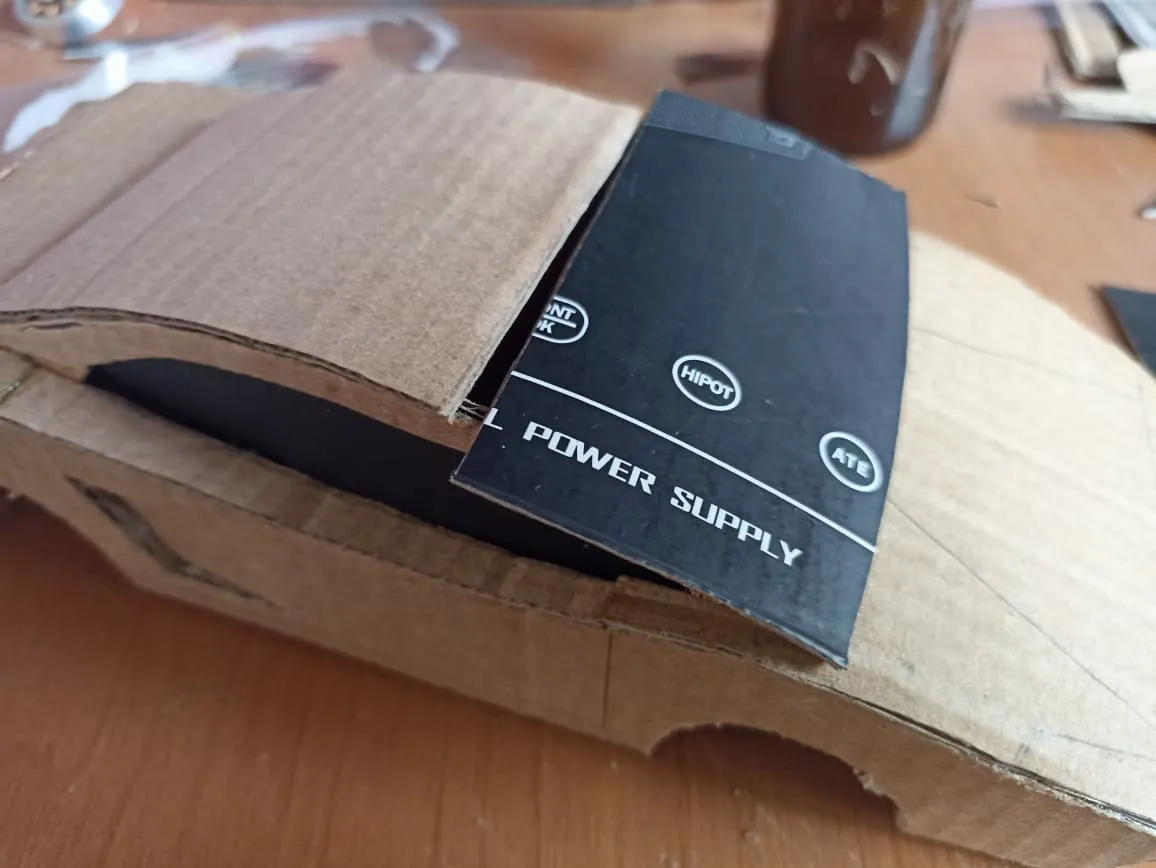
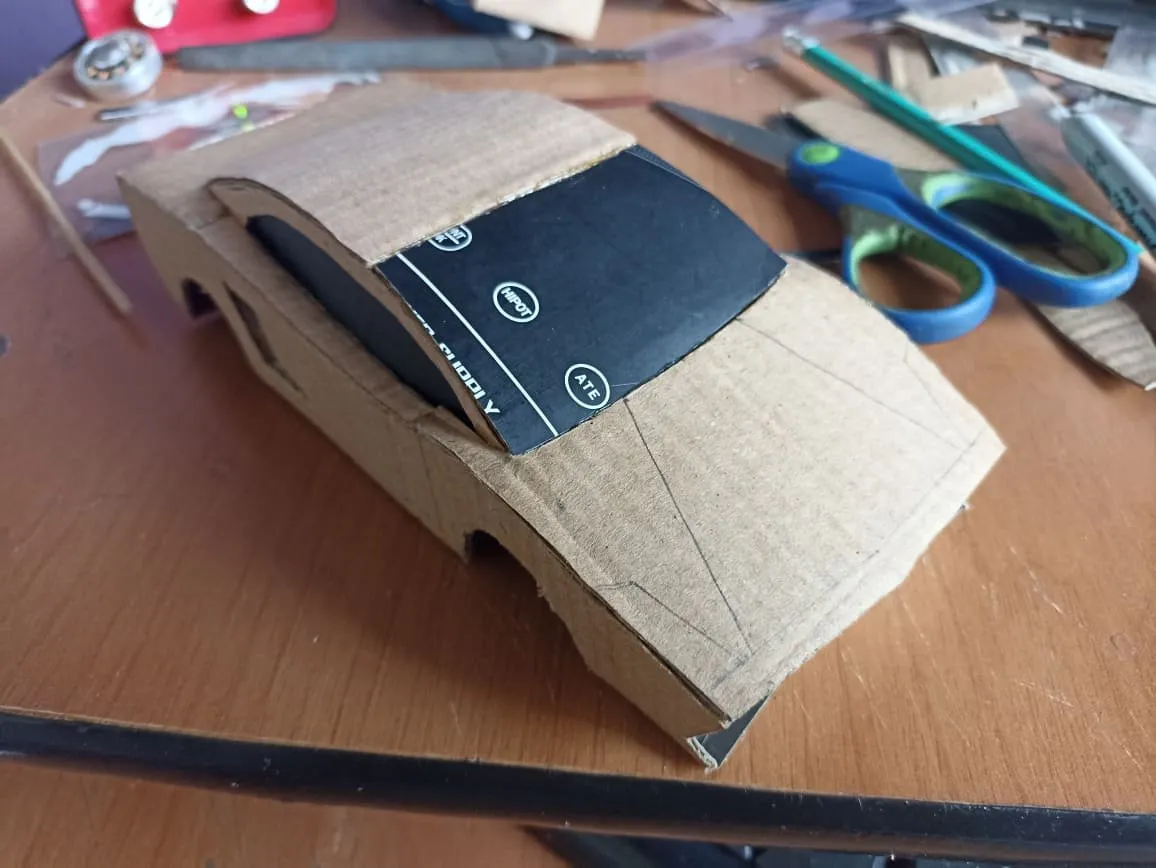
Once we have completed the previous process we will start with the upper part, in this case the roof and the windows. We cut two pieces of cardboard in the shape of an arch, these will have the measurement from one end to the other, as seen in the image and from there they will be joined. In the same way we cut a square card for the roof, using a long and circular object like a pencil we will flatten the cardboard to give it the curvature it needs and be able to resemble the previous model in that detail. Then we cut an 8-centimeter piece of cardboard that will go on the front.
Una vez hayamos completado el proceso anterior comenzaremos con la parte superior, en este caso el techo y las ventanas. Cortamos do piezas de cartón en forma de arco, estos tendrán la medida desde un extremo hasta el otro, tal como se ve en la imagen y desde ahí se unirán. De la misma forma cortamos un cartó cuadrado para el tecto, utilizando un objeto largo y circular como un lápiza aplastaremos el cartón para darle la curvatura que necesita y poder asemejarse en ese detalle al modelo anterior. Despupes cortamos una pieza de carton de 8 centímetros que irá en la parte frontal.
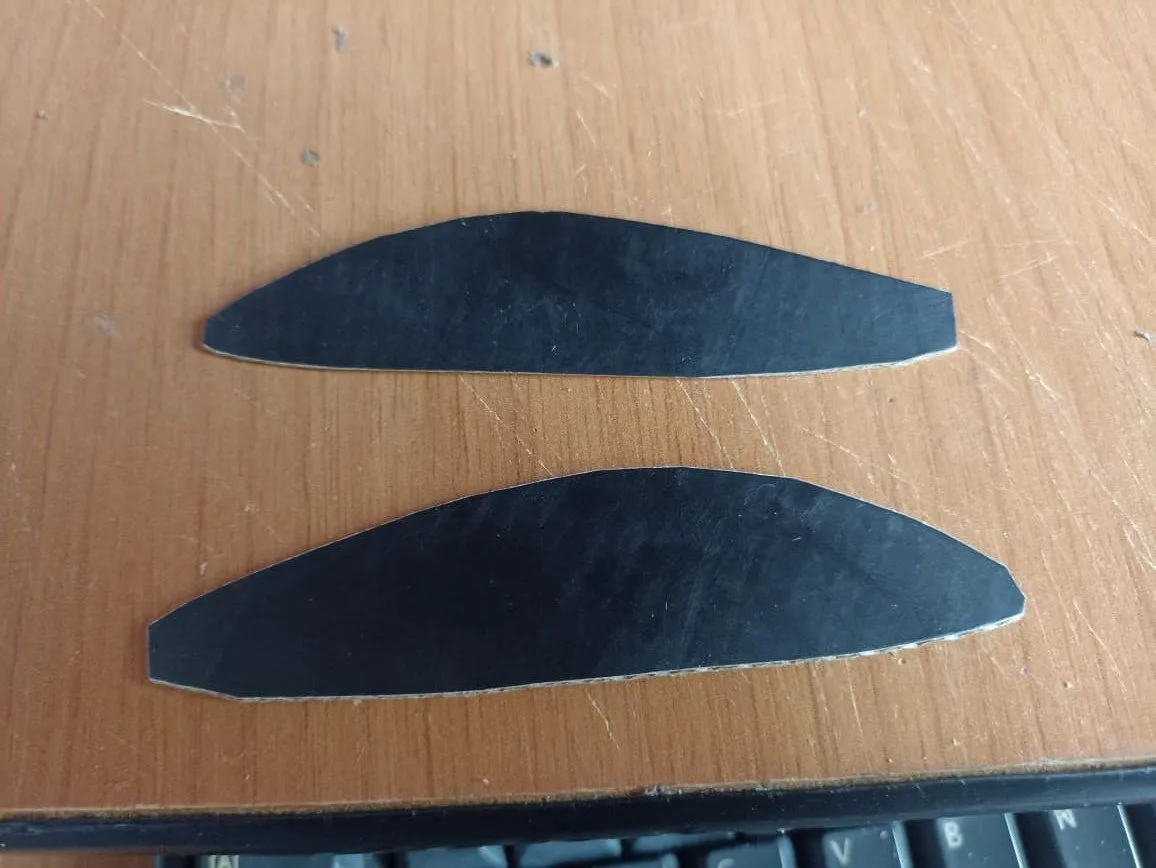
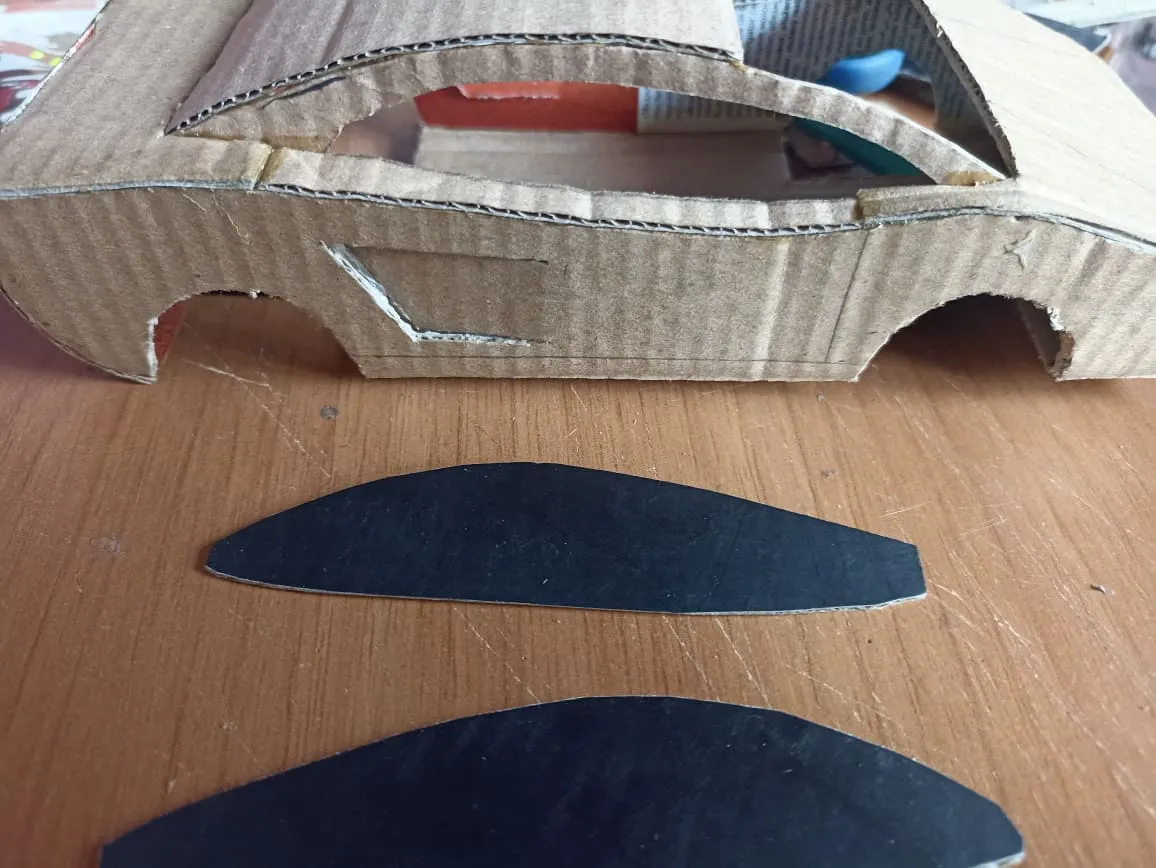
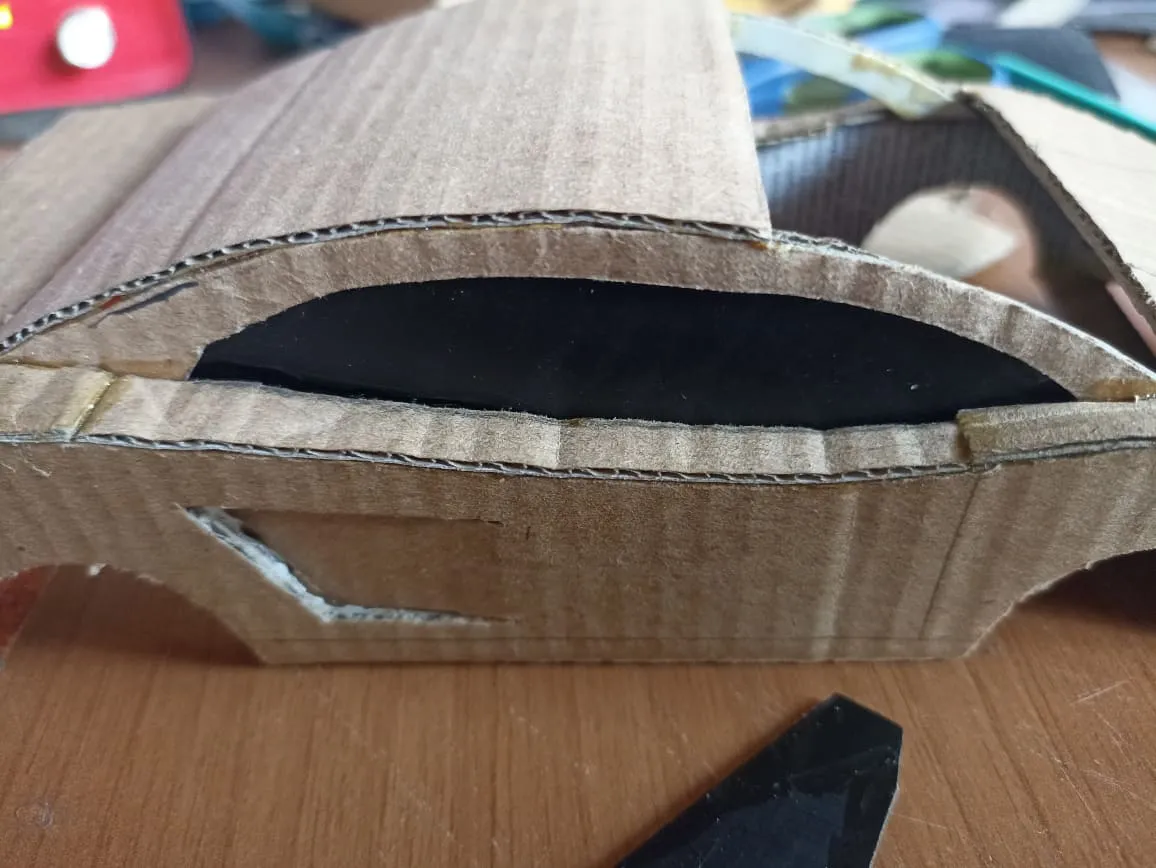
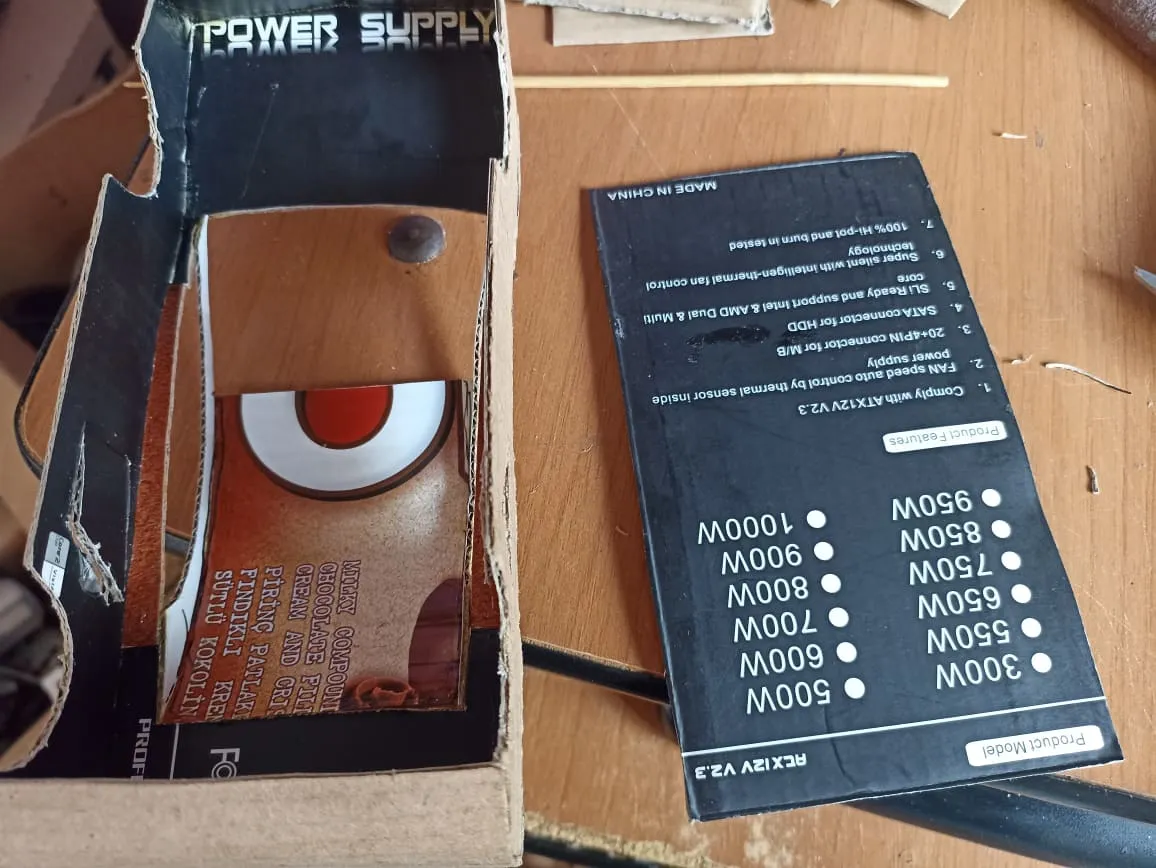
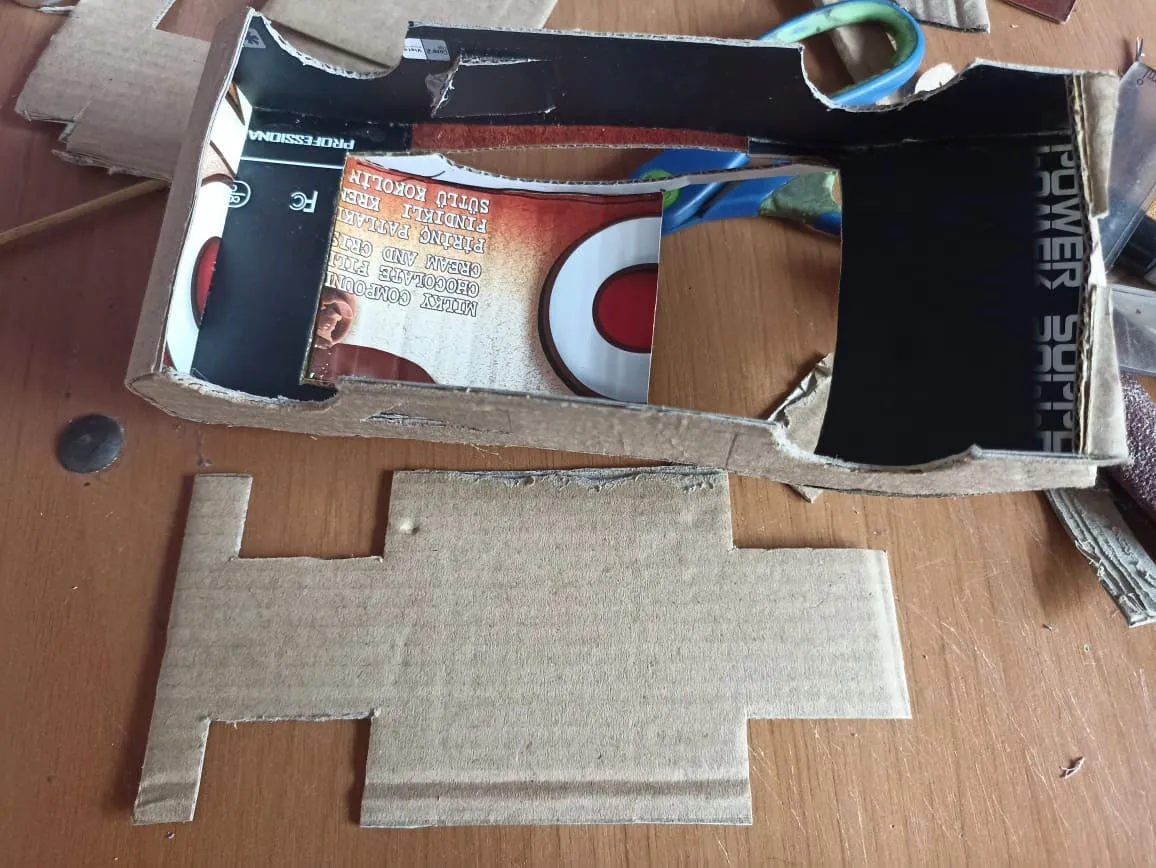
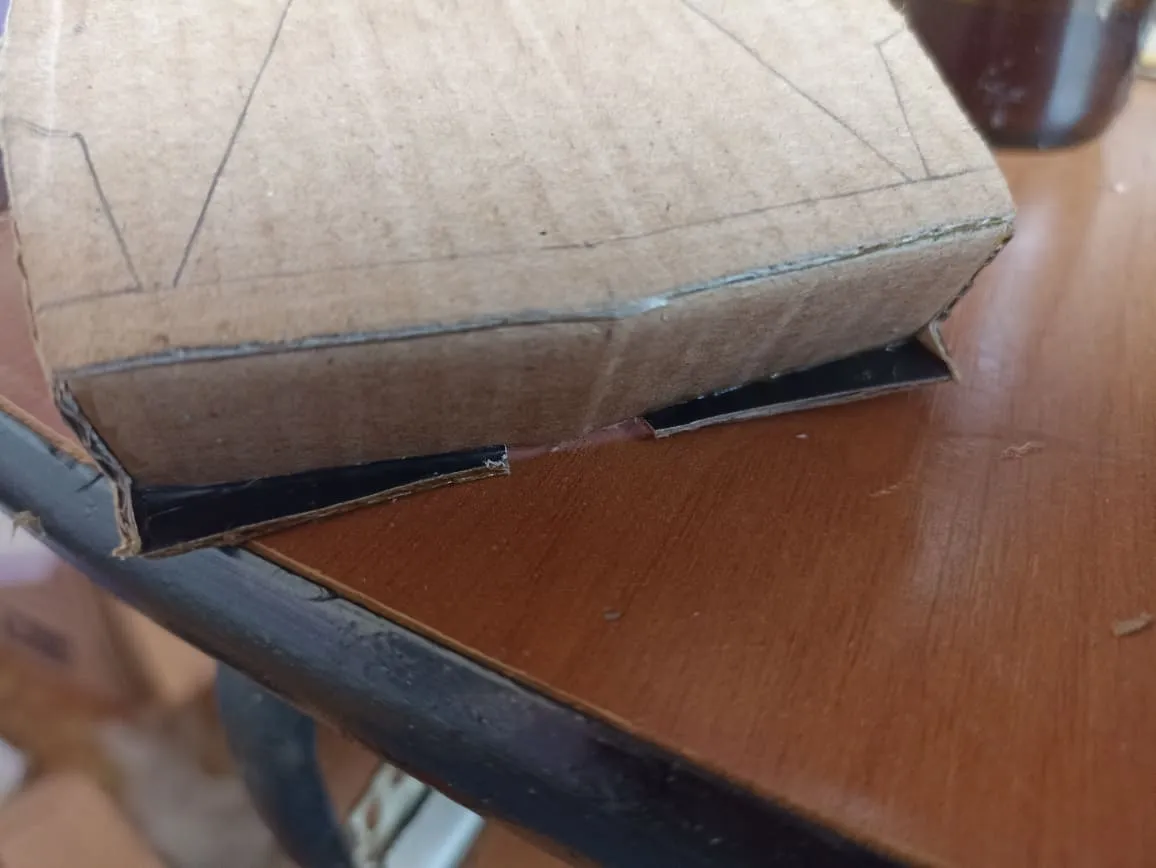
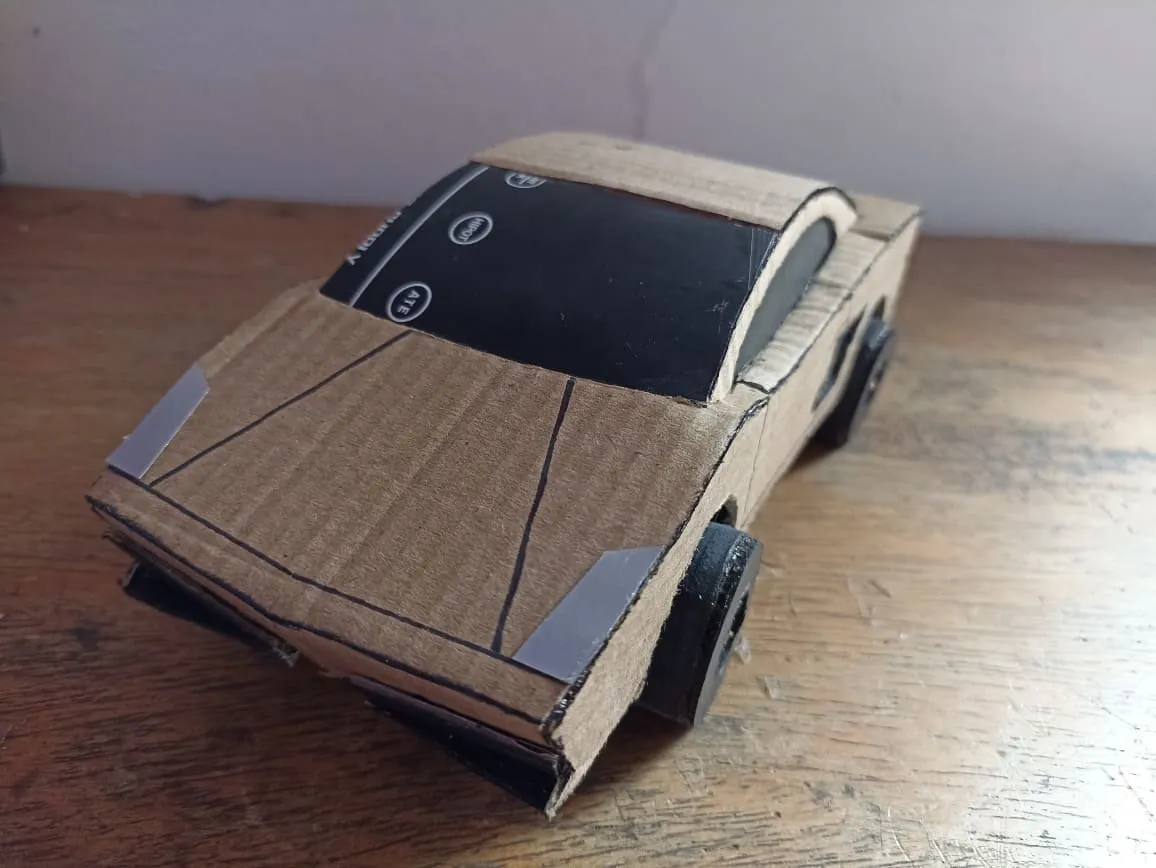
Having almost completed all the body now we will put the glass to all the windows. On this occasion we will use the same cardboard but black, so using the measurements of the doors and the windshield we will cut the cardboard so that it is just the right size. Then we will place the floor of the car and where we will place the axles for the wheels.
Al tener casi completa toda la carrocería ahora pondremos los vidrios a todas las ventanas. En etsa ocasión utilizaremos el mismo cartón pero de color negro, así que utilizando las medidas de las puertas y el parabrisas cortaremos el cartón para que quede justo a la medida. Despues colocaremos el piso del carro y donde colocaremos los ejes para las ruedas.
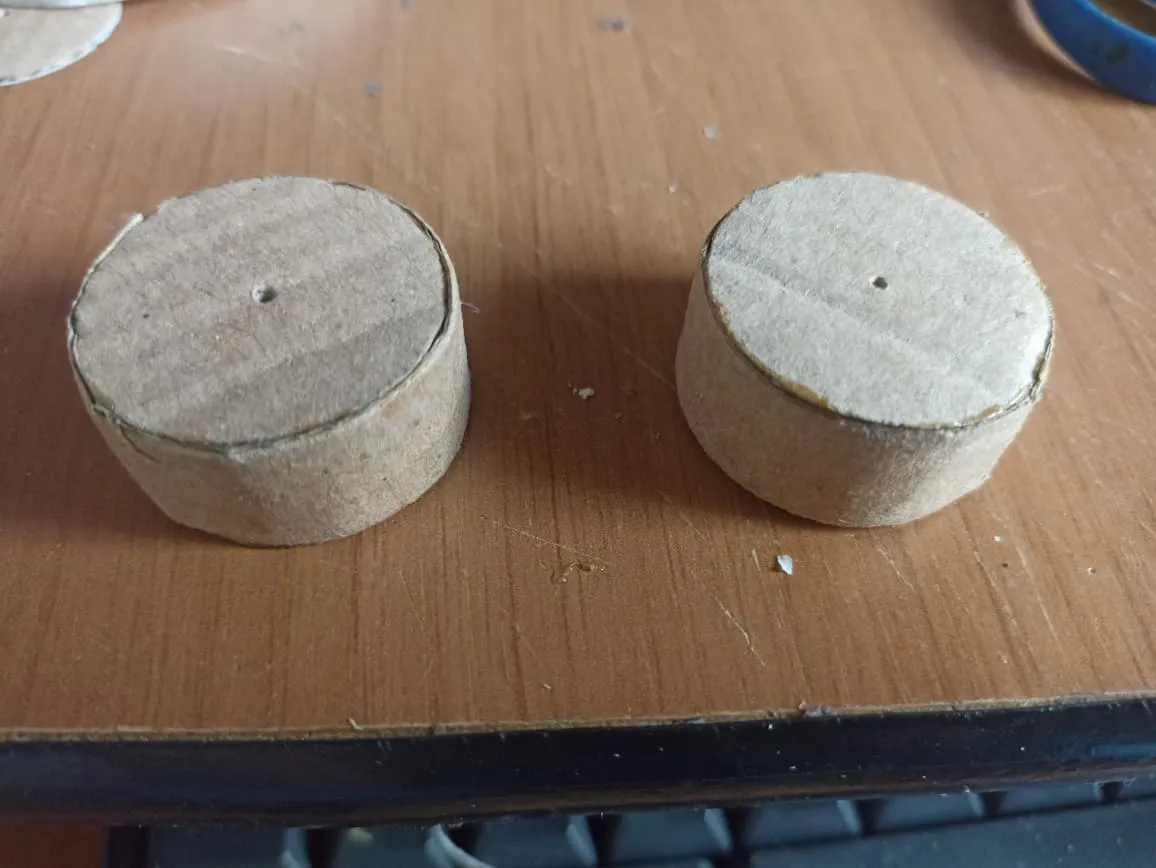
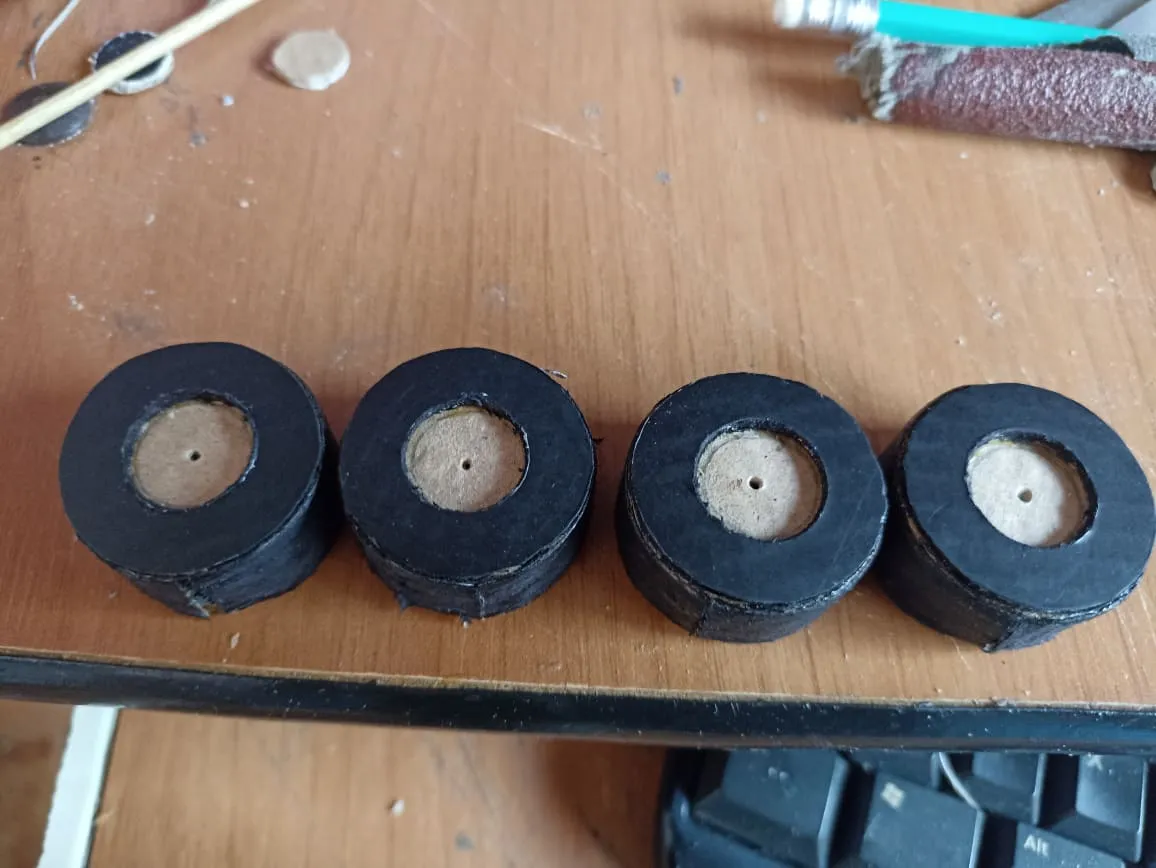
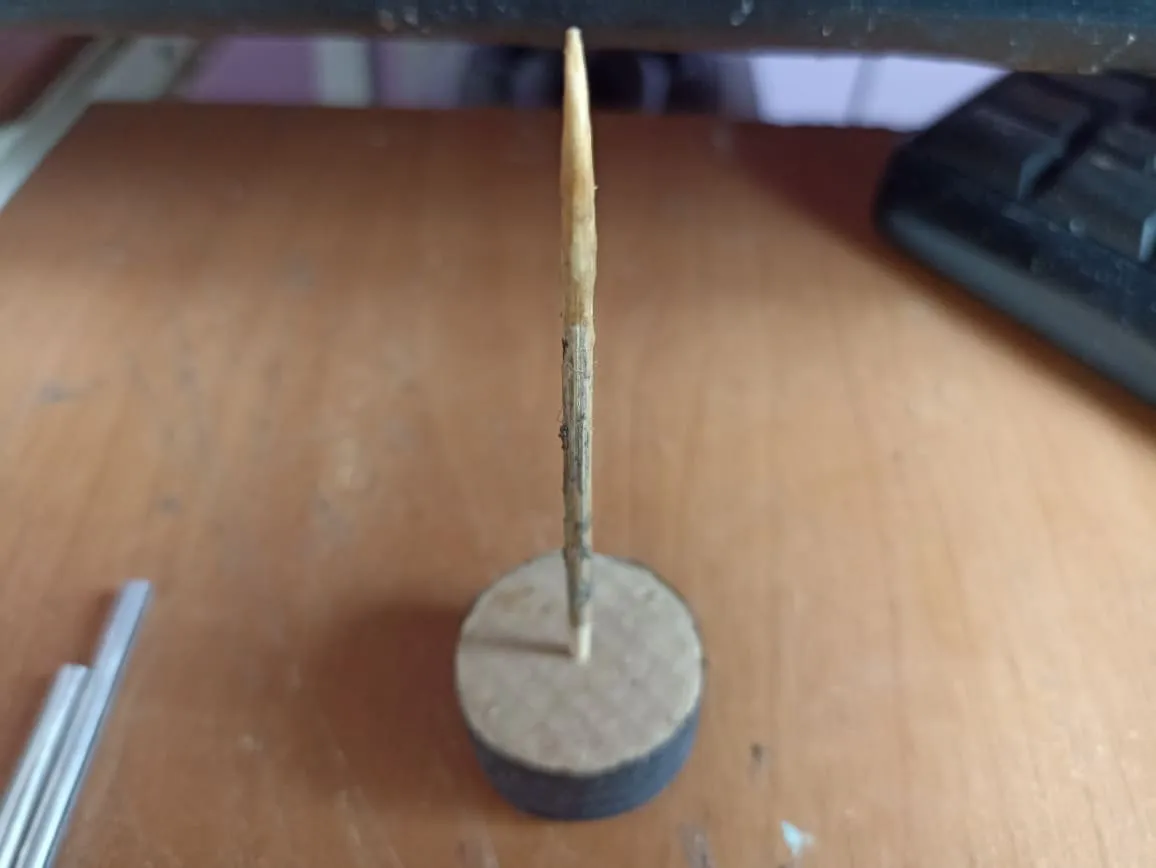
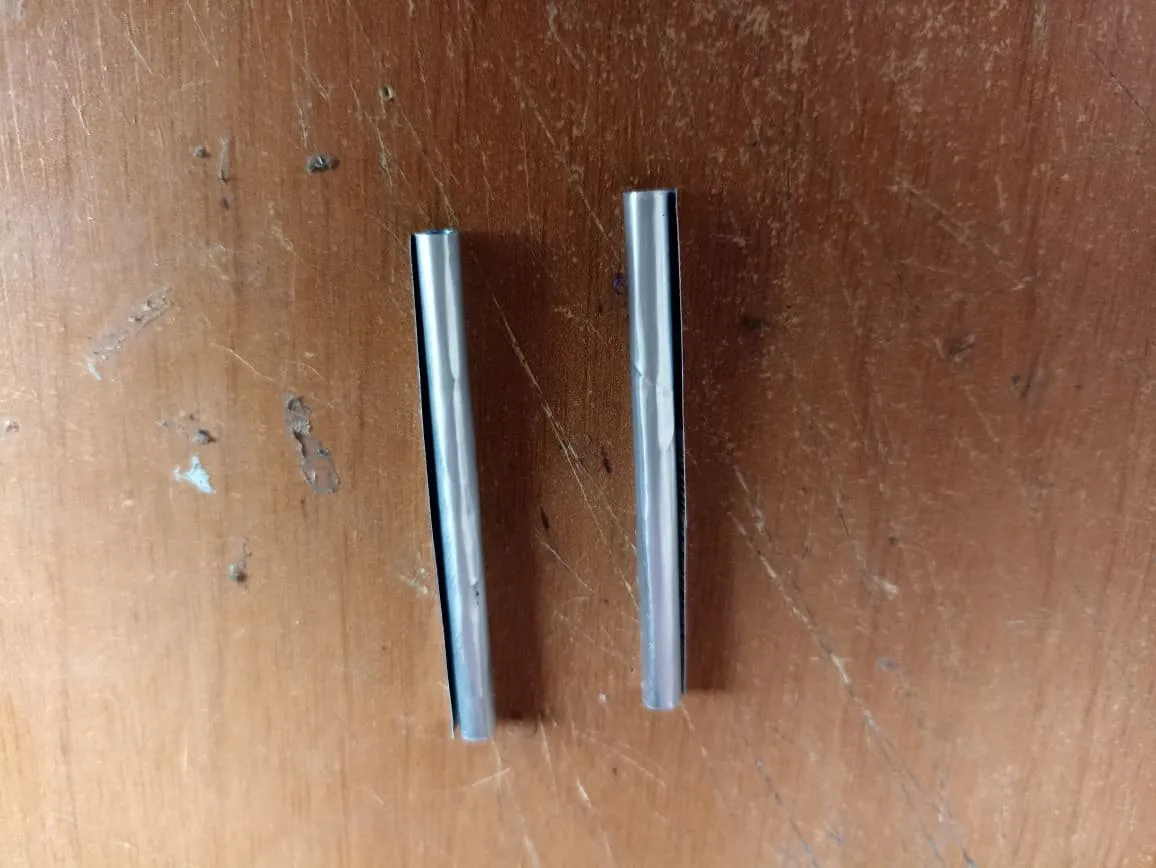
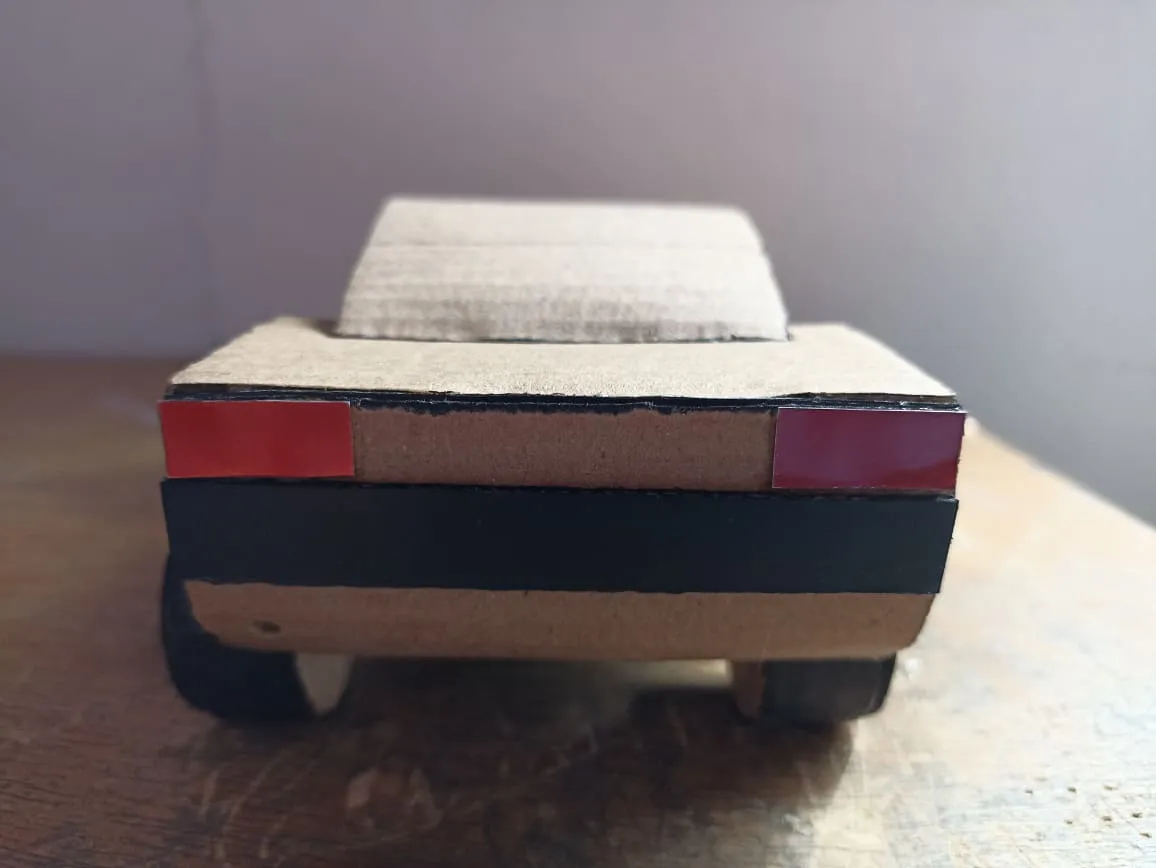
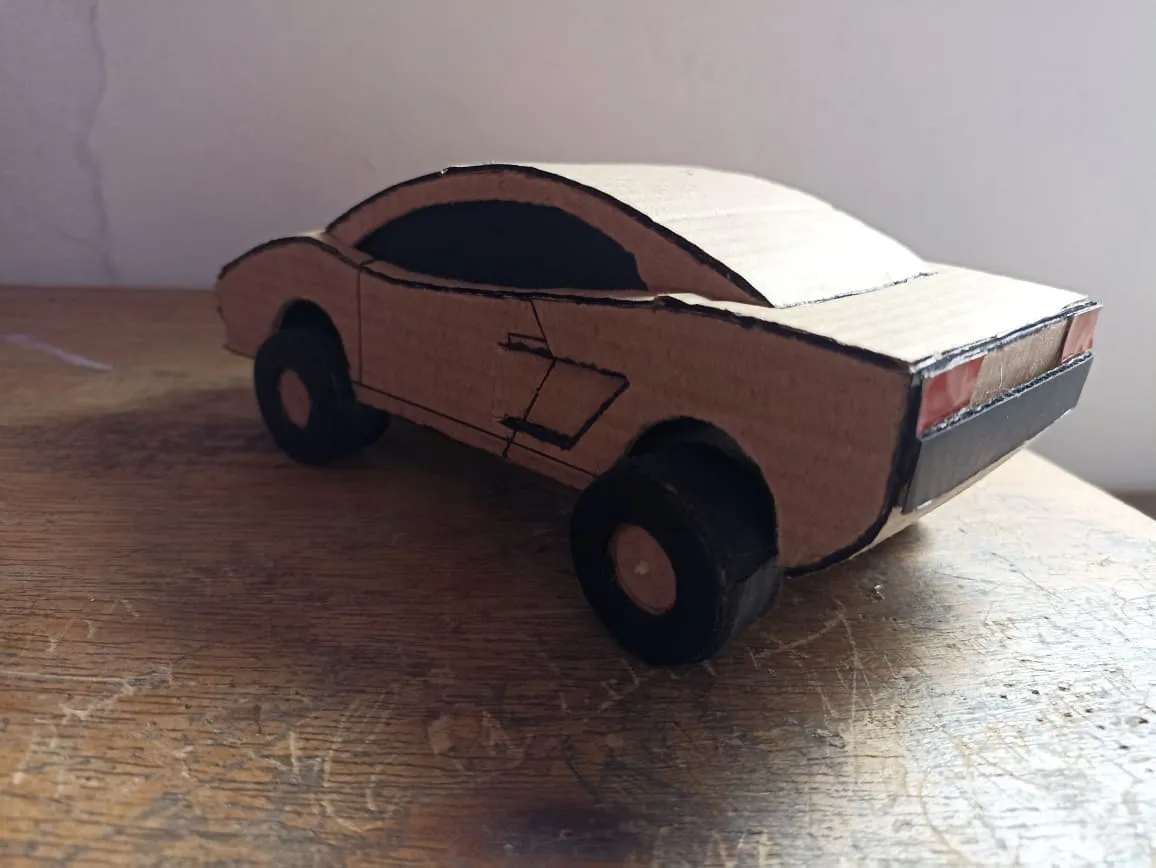
To finish we make the wheels. Using the same cardboard we will cut 8 circles and we will join them with a paper or cardboard tape, thus we will obtain the four wheels, with small pieces of wood we make the axles and mount them on the car. Finally we will make the details of the front and rear lights and thus we will have finished.
Para finalizar hacemos las ruedas. Utilizando el mismo cartón cortaremos8 círculos y los uniremos con una cinta de papel o cartón, así obtendremos las cuatro ruedas, con pequeñas piezas de madera hacemos los ejes y los montamos en el carro. Por último haremos los detalles de los faros delanteros y traseros y así habremos finalizado.
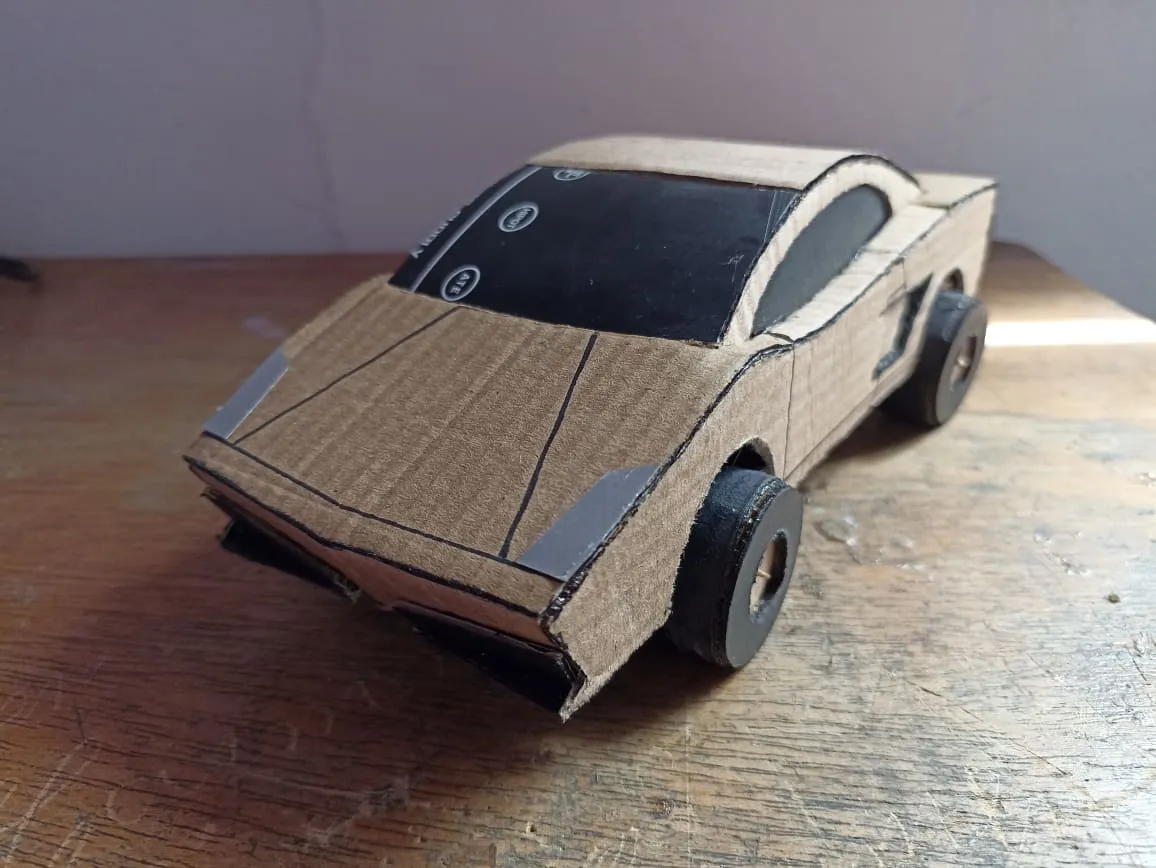
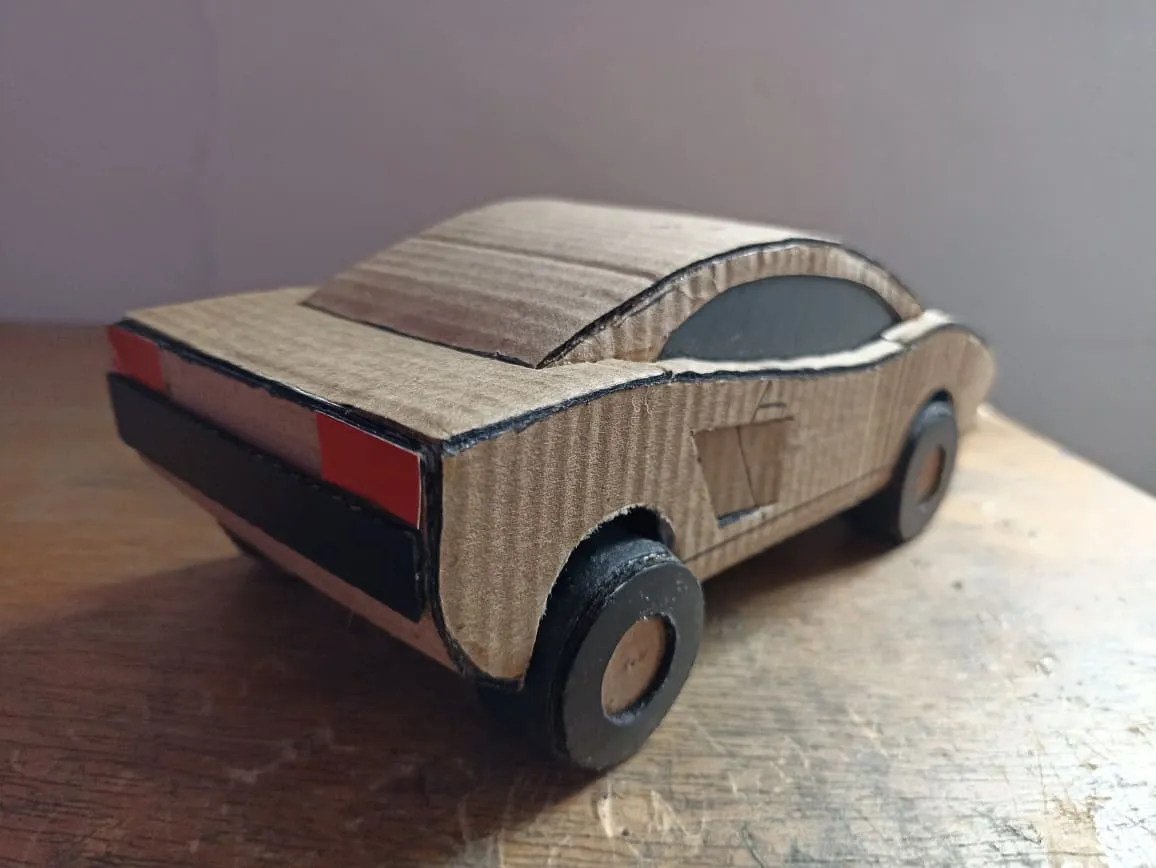

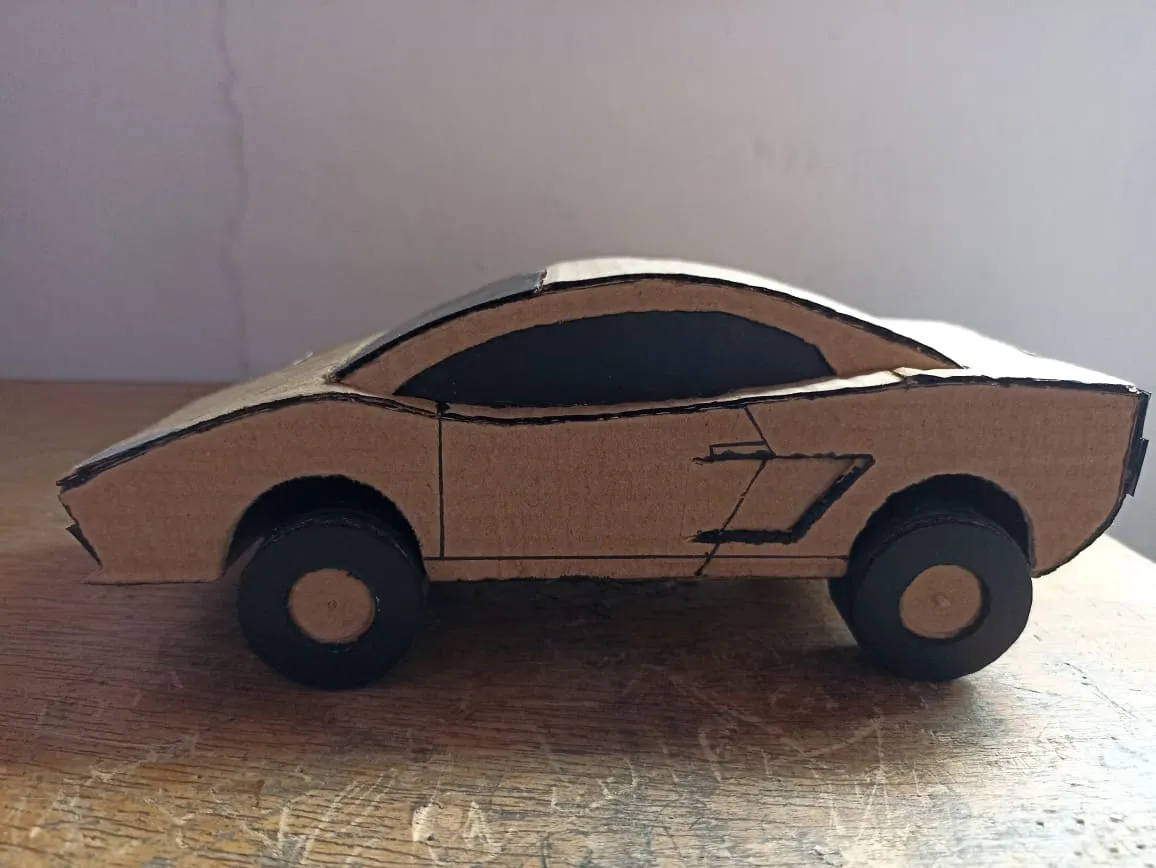
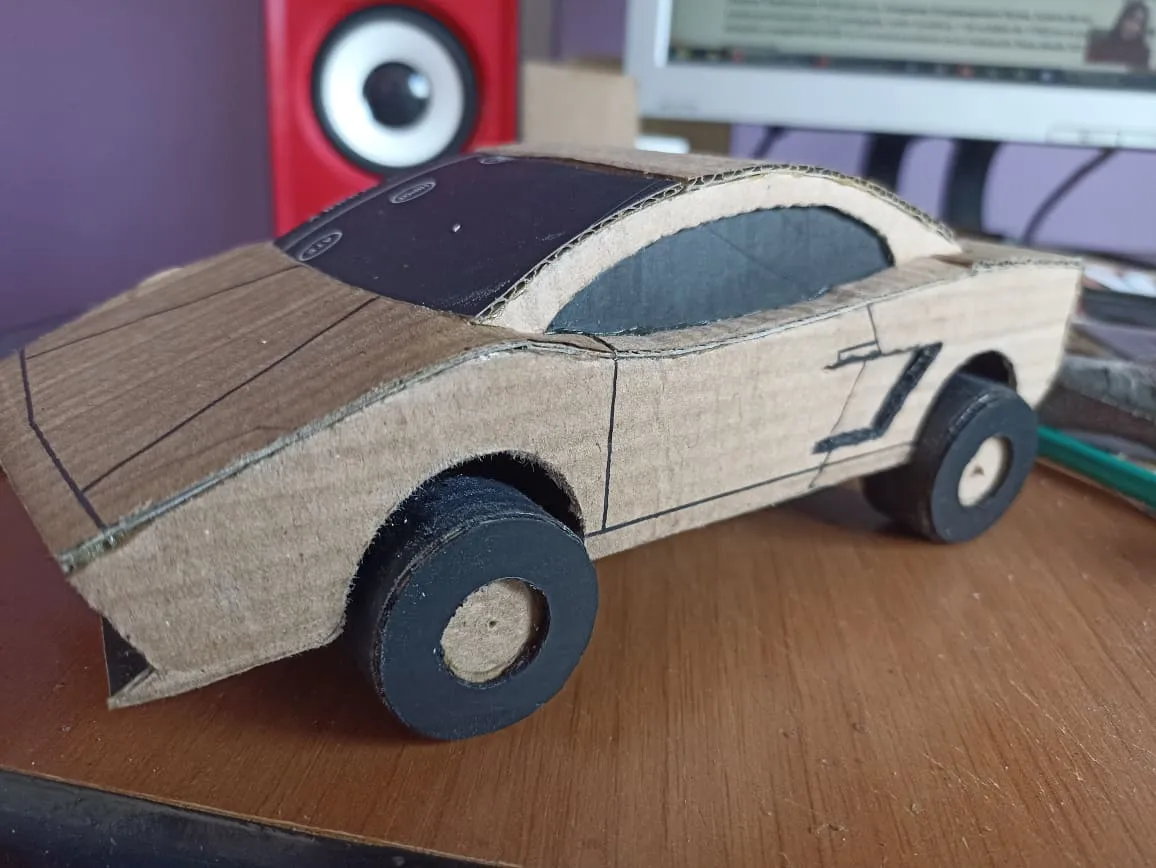
This is how the model of this famous car has been finished. After this line, the company launched more detailed models in terms of finishes and system improvements, without a doubt a beauty of automotive engineering. I liked this model for its futuristic but at the same time simple design and as you could see, the templates are easy to make. I hope you liked it, don't forget to comment what you think, and if someone has a favorite car, don't forget to mention it, maybe I'll be encouraged to make one. I say goodbye soon. Thank you very much for your time and attention. Bye.
Así ha quedado finalizado el modelo este famoso auto. Después de esta línea la compañia lanzó modelos más detallados en cuanto a acabados y mejoras en los sistemas, sin dudas una belleza de la ingenieria automotriz. Me gustó este modelo por su diseño futurista pero a la vez simple y como pudieron ver, las plantillas son fáciles de realizar. Espero que les haya gustado, no dejen de comentar que les ha parecido, y si alguien tiene un auto favorito no dejen de mencionarlo, tal vez me anime a hacer uno. Me despido hasta pronto. Muchas gracias por su tiempo y atención. Hasta luego.